Articles
How To Make Whipped Cream In Stand Mixer
Modified: October 20, 2024
Discover the best articles on how to make whipped cream in a stand mixer. Find step-by-step instructions and expert tips for perfect, fluffy whipped cream everytime.
(Many of the links in this article redirect to a specific reviewed product. Your purchase of these products through affiliate links helps to generate commission for Storables.com, at no extra cost. Learn more)
Introduction
Whipped cream is a versatile and delicious addition to many desserts and beverages. Its light and fluffy texture adds a touch of indulgence to cakes, pies, hot chocolates, and more. While store-bought whipped cream is readily available, there is something satisfying about making your own from scratch. Not only does homemade whipped cream taste better, but you have control over the sweetness and consistency.
In this article, we will guide you through the process of making whipped cream using a stand mixer. A stand mixer is a great tool to have for this task as it provides consistent results and allows you to whip the cream effortlessly. So, let’s gather our ingredients and get ready to whip up some delicious homemade whipped cream!
Key Takeaways:
- Indulge in the decadence of homemade whipped cream by chilling the mixing bowl and whisk, mixing on low speed, and achieving the perfect balance of sweetness and stability. Elevate your desserts with velvety, fluffy goodness!
- Master the art of making whipped cream using a stand mixer to enjoy the rich flavor and versatility of homemade creations. Experiment with different flavor variations and elevate your desserts and beverages to a whole new level of deliciousness!
Read more: How To Whip Cream With Hand Mixer
Equipment and Ingredients
Before we begin making whipped cream, let’s gather all the necessary equipment and ingredients:
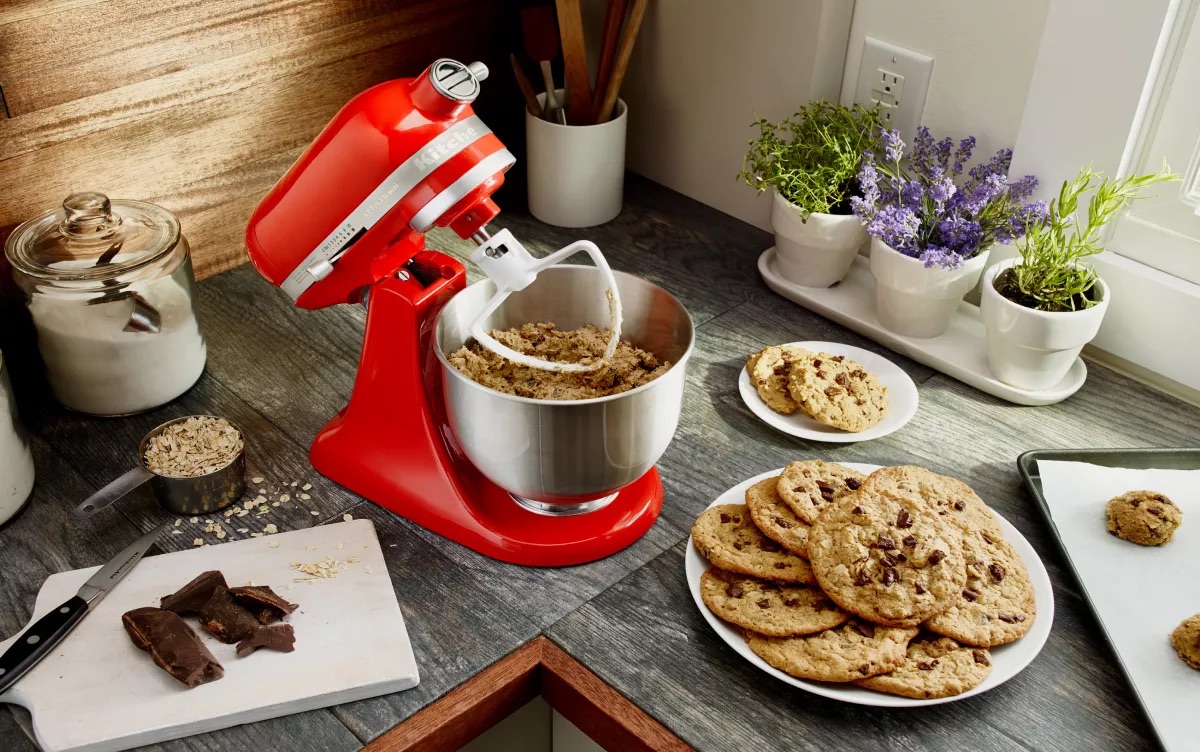
- A stand mixer: This is the key tool for making whipped cream. A stand mixer provides the necessary power and stability to whip the cream to perfection.
- A mixing bowl: Ensure that the mixing bowl is sturdy enough to be used with your stand mixer. It should also be deep enough to accommodate the volume of cream you are using.
- A whisk attachment: Most stand mixers come with a whisk attachment specific to whipping cream. This attachment is designed to incorporate air into the cream and create the desired fluffy texture.
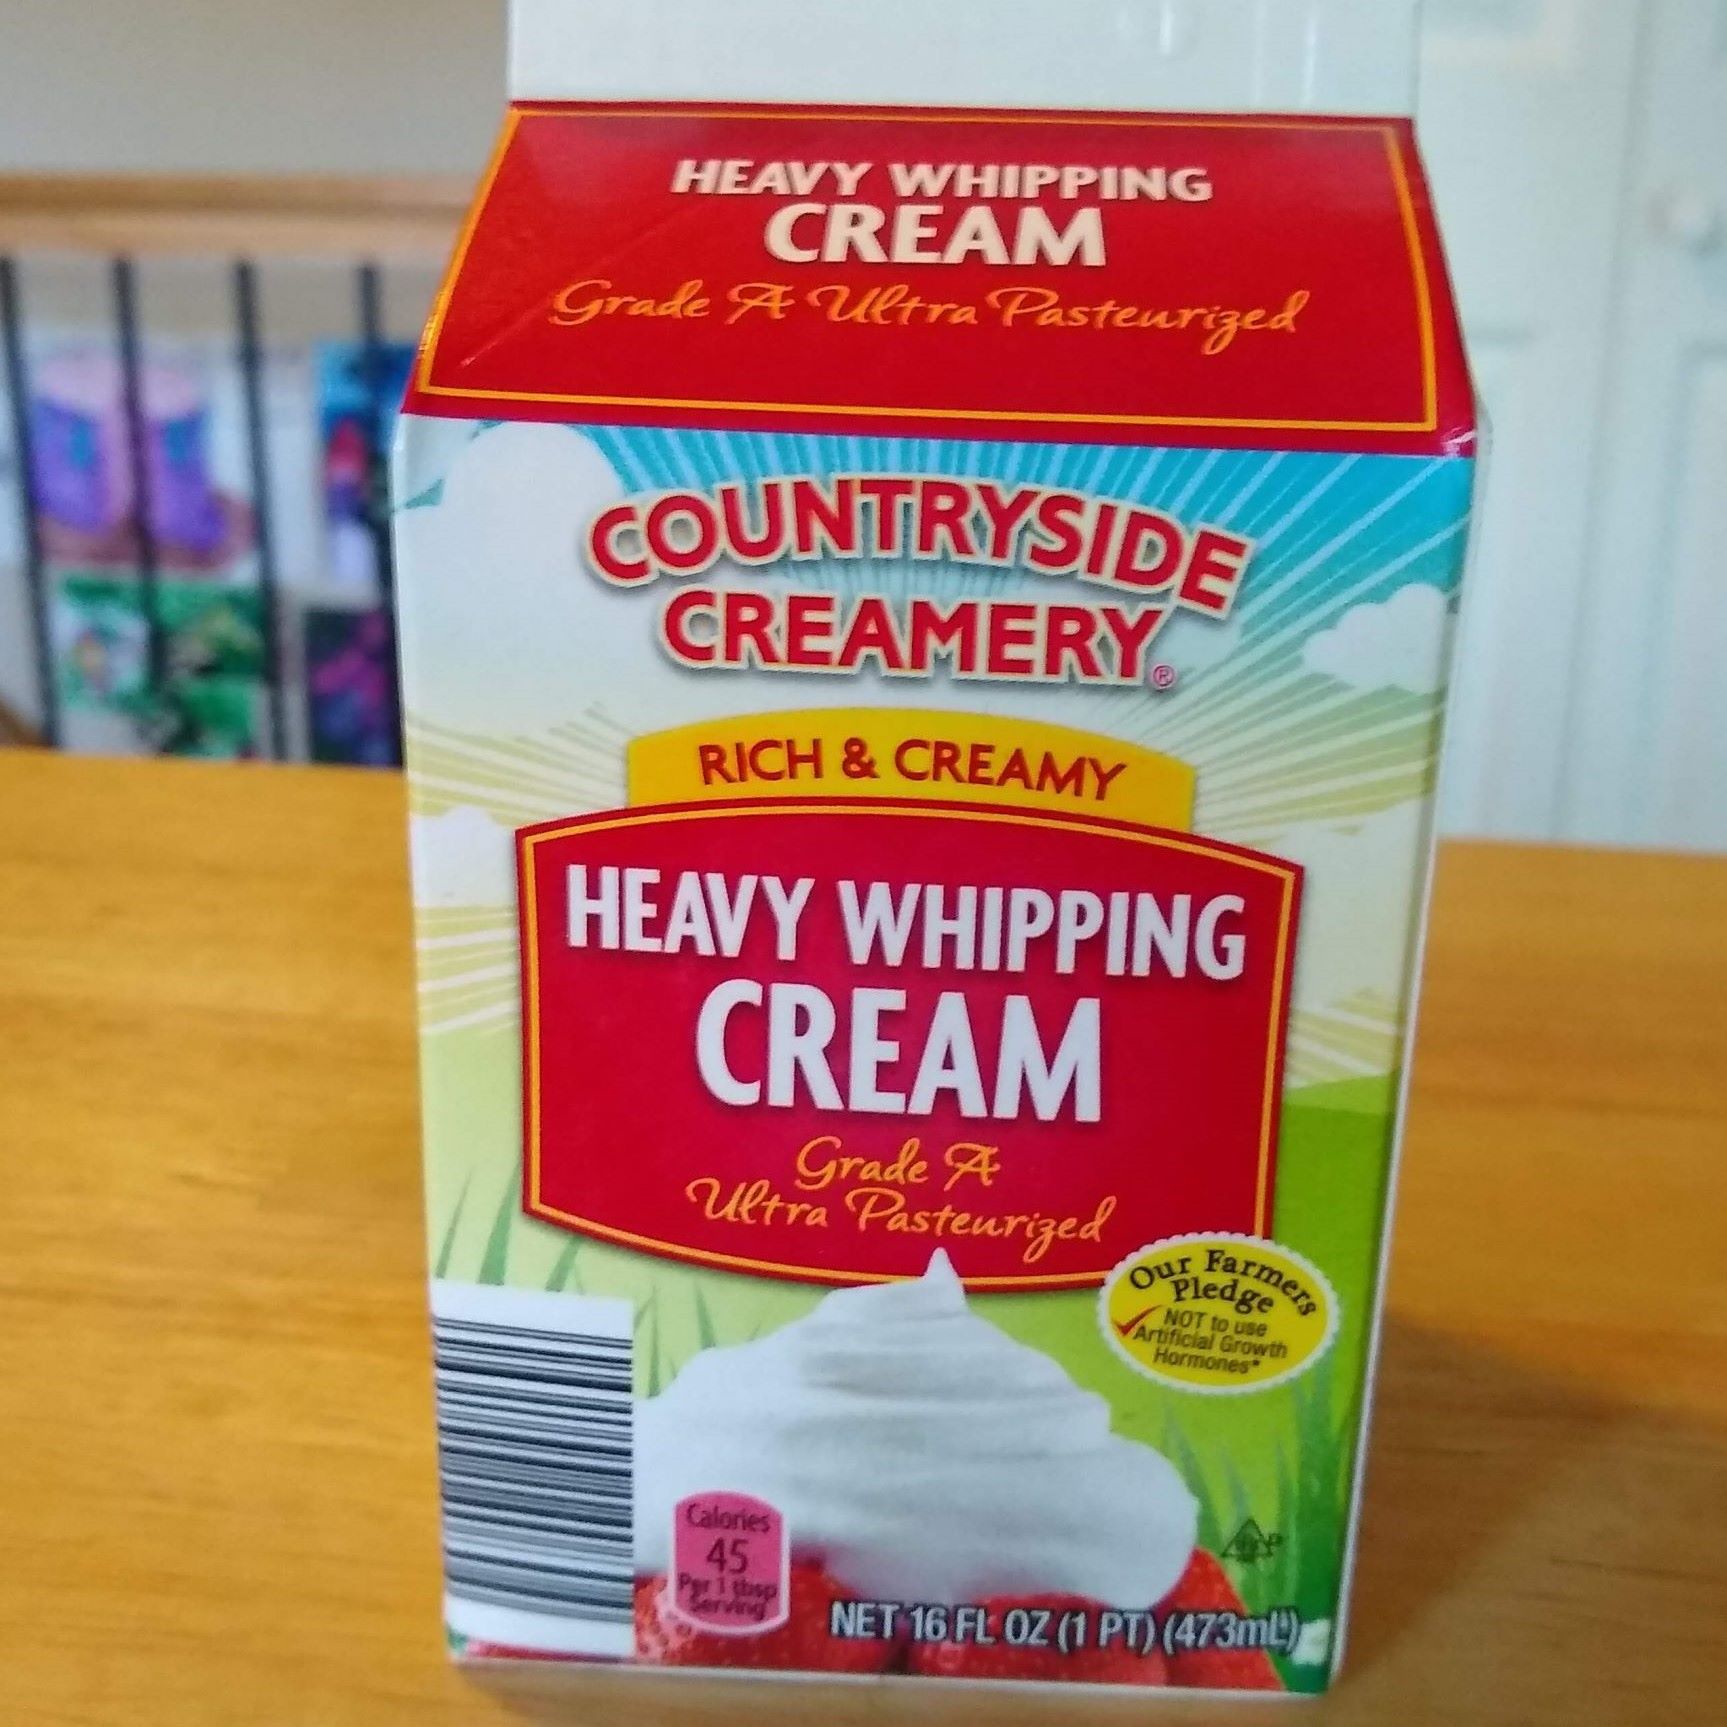
- Heavy cream: Also known as whipping cream, this is the main ingredient for whipped cream. Choose a high-fat content heavy cream for the best results. Make sure that the cream is chilled before use, as it whips better when cold.
- Sugar: Granulated sugar is typically used to sweeten whipped cream. The amount of sugar can be adjusted according to personal preference. If you prefer a less sweet whipped cream, you can reduce the amount of sugar or omit it altogether.
- Vanilla extract: Adding a splash of vanilla extract enhances the flavor of whipped cream. It is optional but highly recommended for an extra layer of taste.
- Optional additional flavorings: If you want to get creative, you can experiment with different flavorings such as cocoa powder, powdered sugar, or fruit extracts. These additions can add a unique twist to your whipped cream.
Once you have gathered all the necessary equipment and ingredients, we are ready to move on to the next step – making whipped cream!
Step 1: Chill the Mixing Bowl and Whisk
Before starting the process of making whipped cream, it’s important to chill the mixing bowl and whisk attachment. This step helps to keep the cream cold, allowing it to whip up more easily and quickly.
Begin by placing the mixing bowl and whisk attachment in the refrigerator for at least 15-30 minutes prior to whipping the cream. This will help to lower the temperature of the equipment and prevent the cream from warming up too quickly during the mixing process.
It’s worth noting that using a metal mixing bowl can help to keep the cream colder for longer periods of time compared to plastic bowls. However, both types of bowls will work fine as long as they are chilled adequately.
Once the mixing bowl and whisk attachment are thoroughly chilled, take them out of the refrigerator and proceed to the next step. The cold equipment will ensure that the cream stays at a low temperature while being whipped, resulting in a stable and fluffy whipped cream.
Now that our mixing bowl and whisk are chilled, we’re ready to move on to the next step – adding the heavy cream.
Step 2: Add the Heavy Cream
With our chilled mixing bowl and whisk ready, it’s time to add the heavy cream. Pour the desired amount of cold heavy cream into the chilled mixing bowl. The quantity of cream will depend on how much whipped cream you want to make, so adjust accordingly.
It’s important to note that the volume of heavy cream will increase significantly once it is whipped. So, keep in mind that a small amount of cream can yield a larger quantity of whipped cream.
Make sure to choose high-fat content heavy cream, as it whips better and yields a creamier result. You can find heavy cream with different fat percentages in stores, so opt for one with the highest fat content available.
Once you’ve added the heavy cream to the mixing bowl, it’s time to move on to the next step – mixing on low speed.
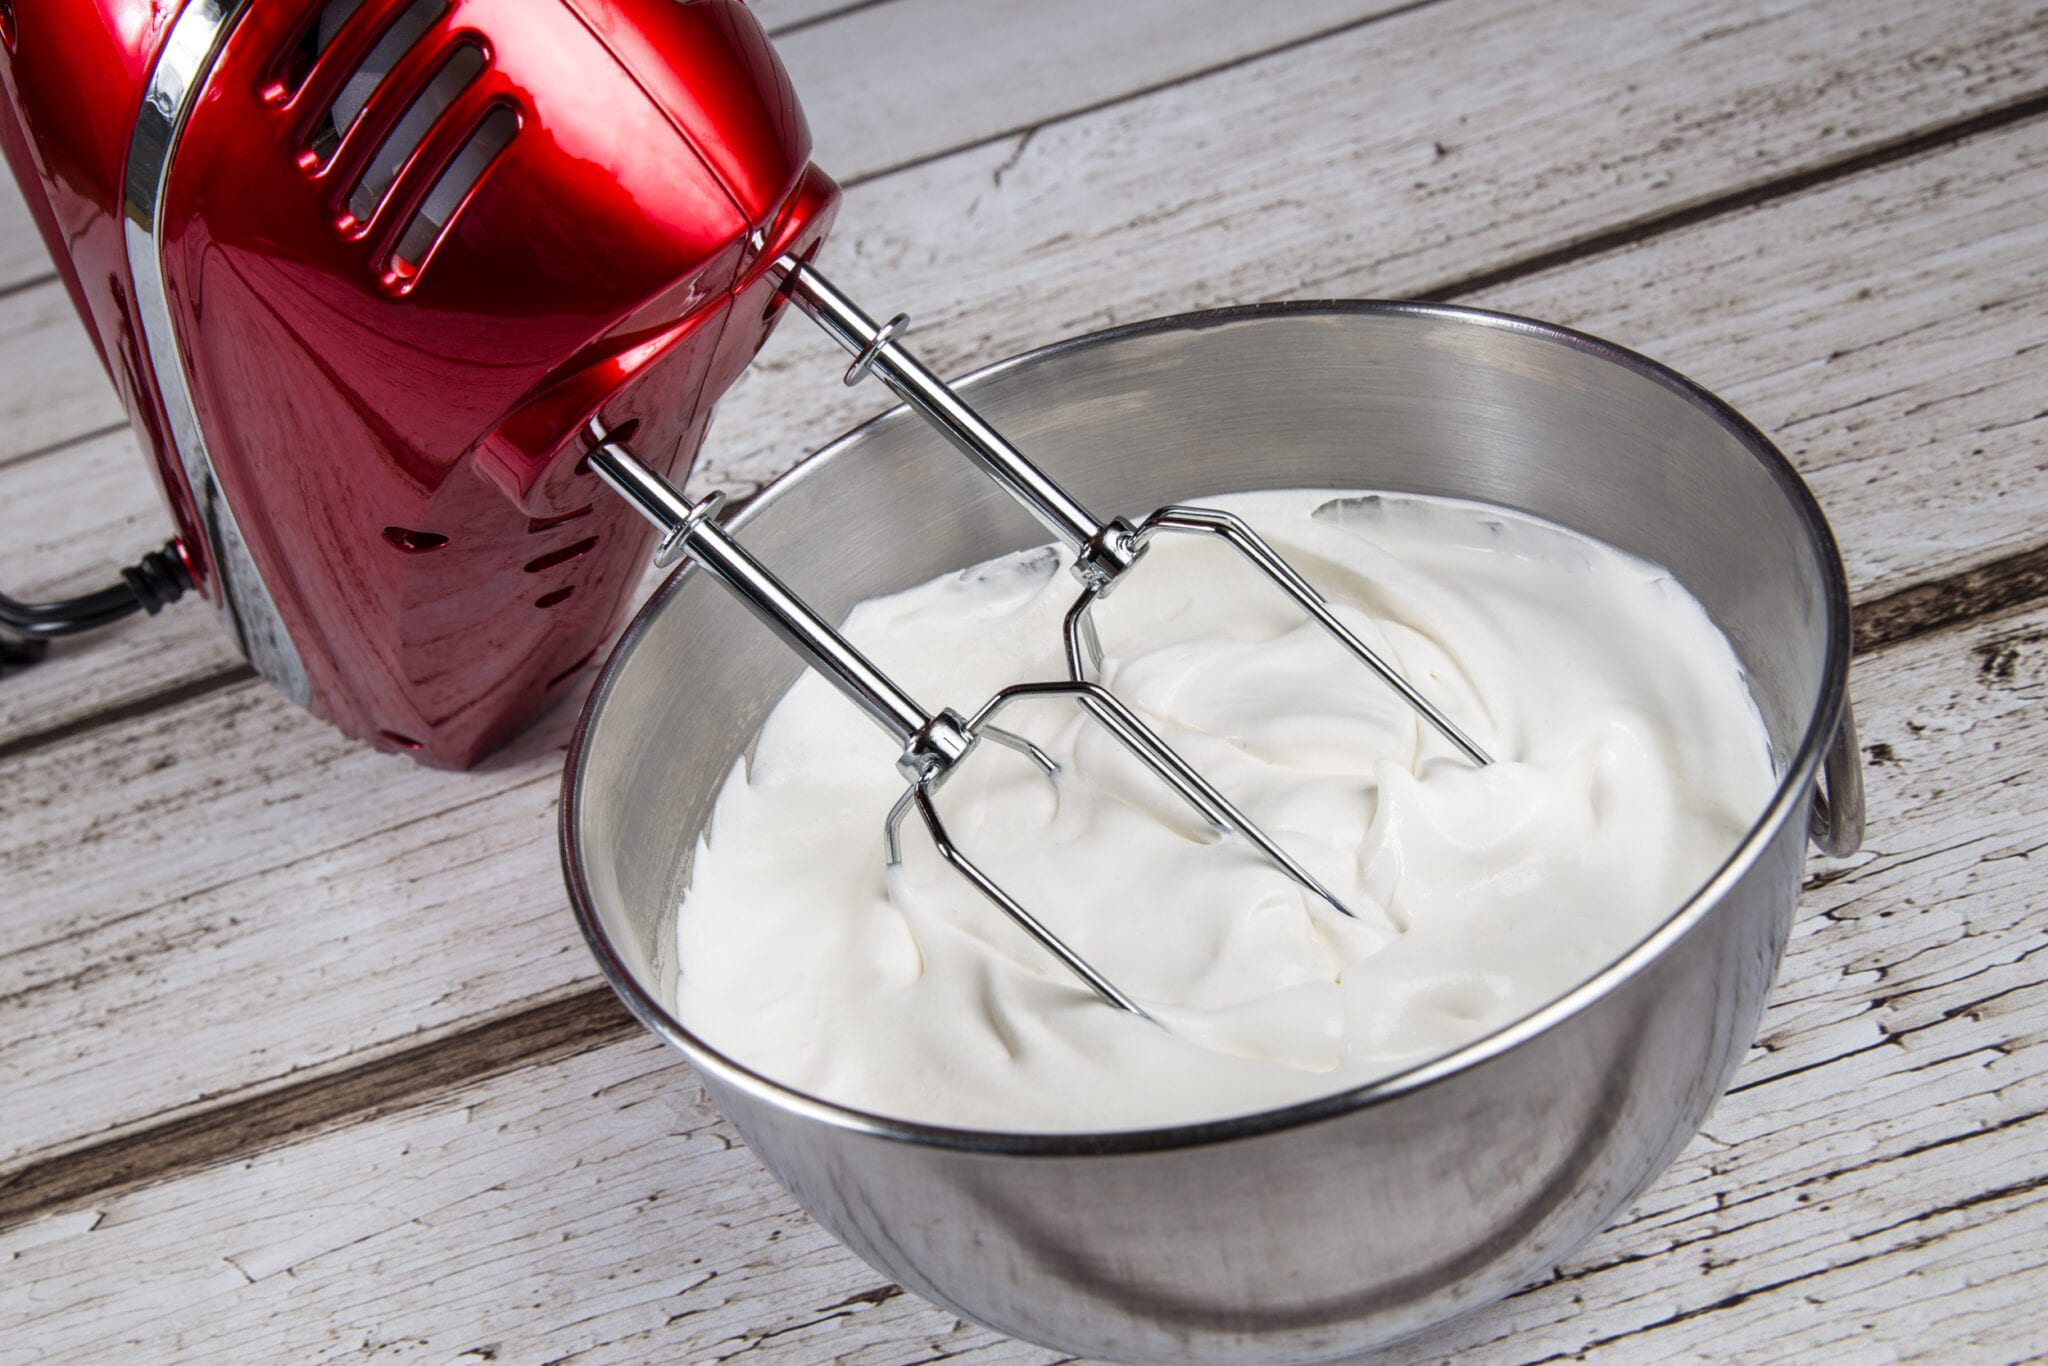
Step 3: Mix on Low Speed
Now that the heavy cream is in the mixing bowl, it’s time to start the mixing process. Begin by setting your stand mixer to low speed. This allows the cream to start incorporating air and gradually builds up its volume.
Mixing on low speed at the beginning helps to avoid any splattering or mess. It also ensures that the cream is evenly whipped and prevents any lumps from forming.
Let the stand mixer run on low speed for about 1-2 minutes or until the cream starts to thicken slightly. You should start to see small bubbles forming on the surface of the cream.
During this time, make sure to keep an eye on the cream and avoid overmixing. Overmixing can result in stiff or grainy whipped cream, so it’s important to stop mixing once the cream reaches a soft, billowy texture.
Once the cream has thickened slightly, we’re ready to move on to the next step – increasing the speed and adding sugar.
Chill the mixing bowl and whisk attachment in the freezer for 10-15 minutes before whipping the cream. This will help the cream whip faster and hold its shape better.
Read more: How To Whip Heavy Cream Without A Mixer
Step 4: Increase Speed and Add Sugar
Now that the cream has started to thicken on low speed, it’s time to increase the speed of the stand mixer. Gradually increase the speed from low to medium-high, allowing the cream to whip further and incorporate more air.
As the cream is whipping on medium-high speed, it’s the perfect time to add the sugar. The sugar not only adds sweetness but also helps stabilize the whipped cream. Add the desired amount of granulated sugar to the mixing bowl, depending on your preference for sweetness.
If you prefer a less sweet whipped cream, you can reduce the amount of sugar or even omit it altogether. Keep in mind that the sugar also contributes to the stability and structure of the whipped cream, so it’s advisable to at least add a small amount.
Continue whipping the cream on medium-high speed until it forms soft peaks. Soft peaks are achieved when the cream holds its shape but gently folds over when the whisk is lifted. This usually takes around 3-4 minutes of mixing.
It’s important to avoid overmixing at this stage, as it can lead to the cream becoming too stiff and losing its fluffy texture. Keep a close eye on the cream and stop mixing once it reaches the desired consistency.
With the cream whipped to perfection, we can move on to the next step – checking for stiff peaks.
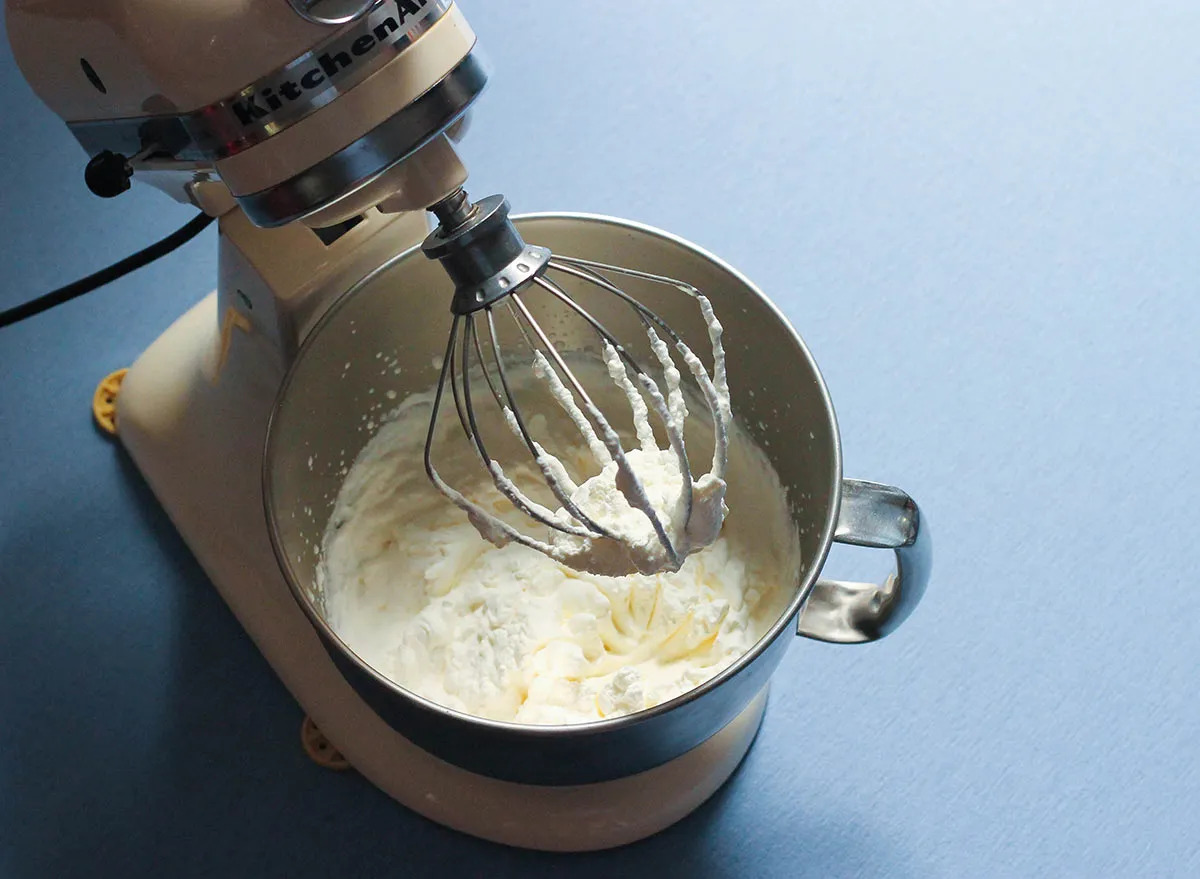
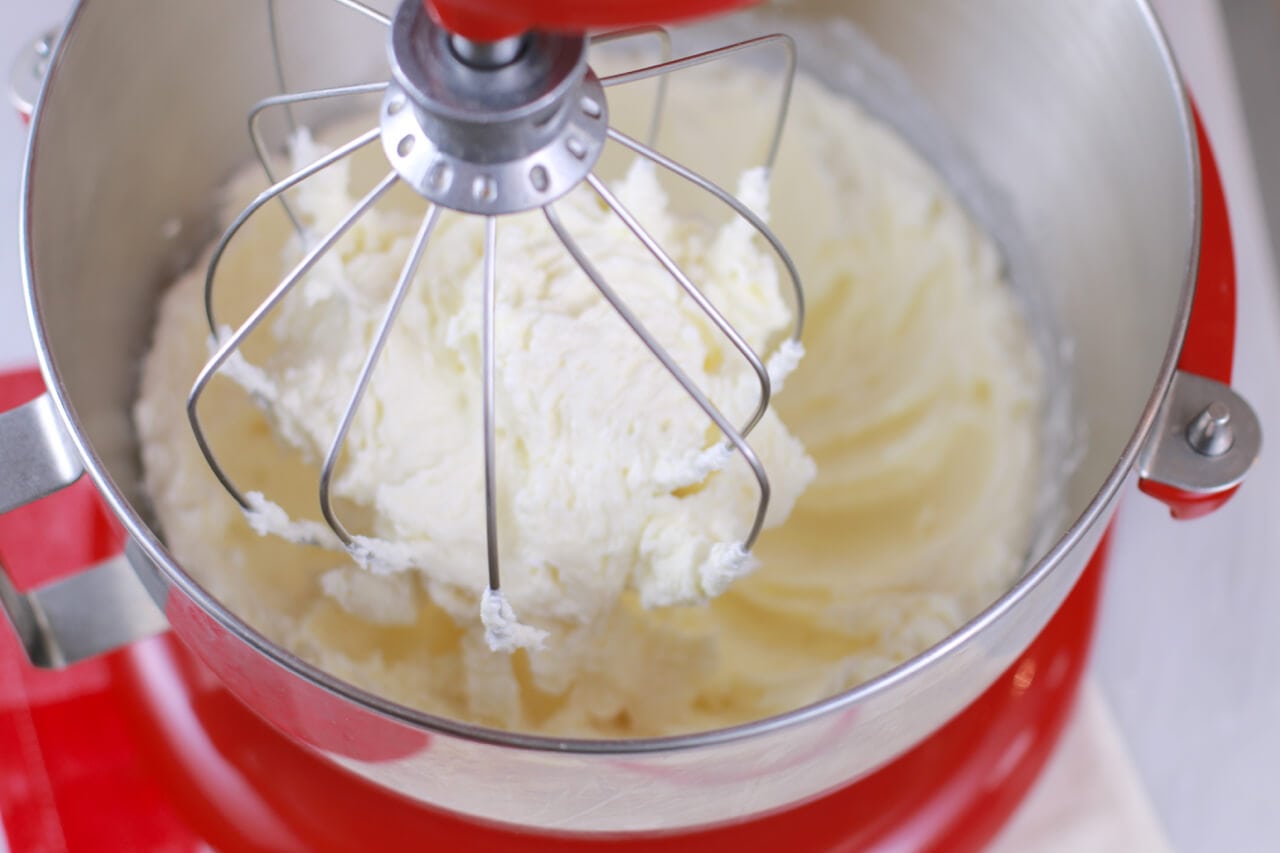
Step 5: Check for Stiff Peaks
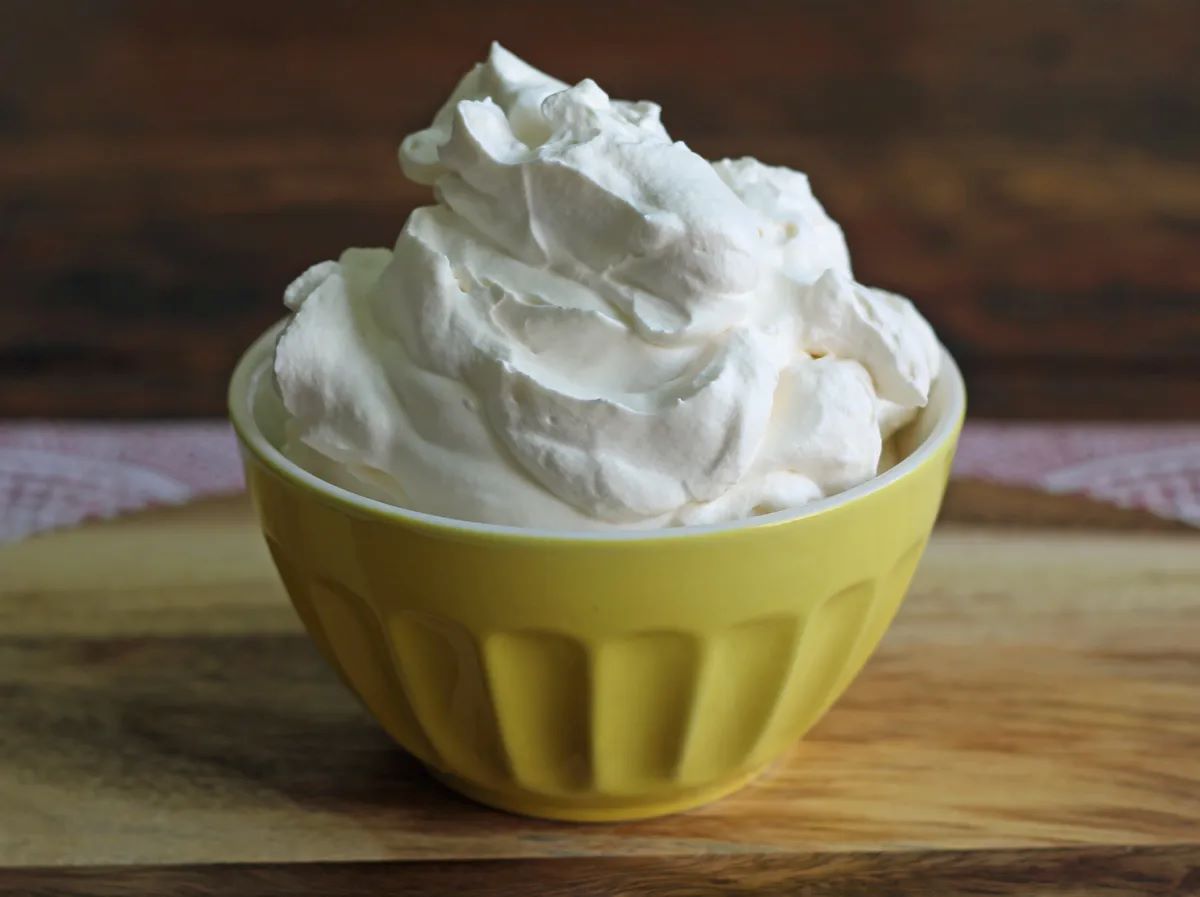
Now that we have achieved soft peaks, it’s time to check for stiff peaks. Stiff peaks are formed when the whipped cream holds its shape firmly when the whisk is lifted. This is the point at which the whipped cream is ready and has reached its maximum volume.
To check for stiff peaks, lift the whisk attachment out of the cream and turn it upside down. The whipped cream should cling to the whisk and form peaks that hold their shape without collapsing or drooping.
If the peaks are still soft and do not hold their shape, continue whipping the cream on medium-high speed for a little longer. Keep a close eye on the cream as it can quickly go from soft peaks to stiff peaks, and overwhipping can lead to a grainy texture.
However, be cautious not to overmix the cream and turn it into butter. Overwhipped cream will start to separate, and the fat will separate from the liquid, resulting in a lumpy and curdled texture.
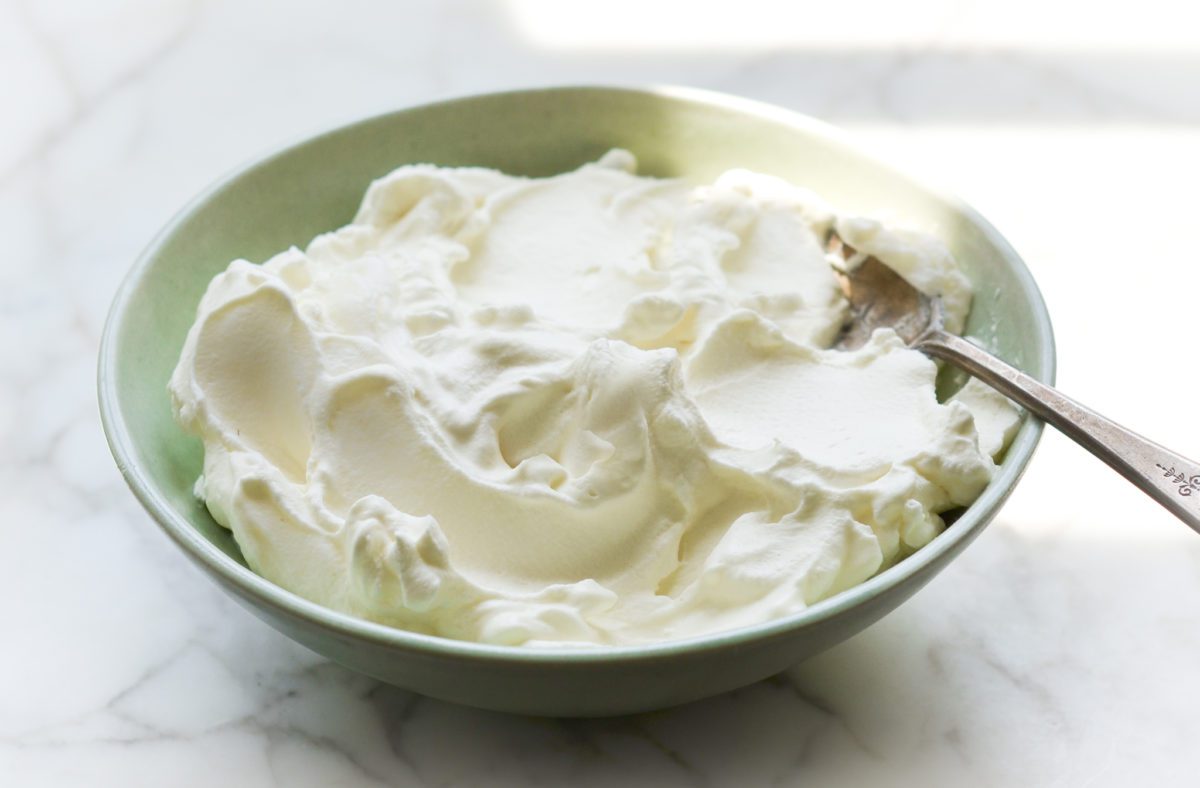
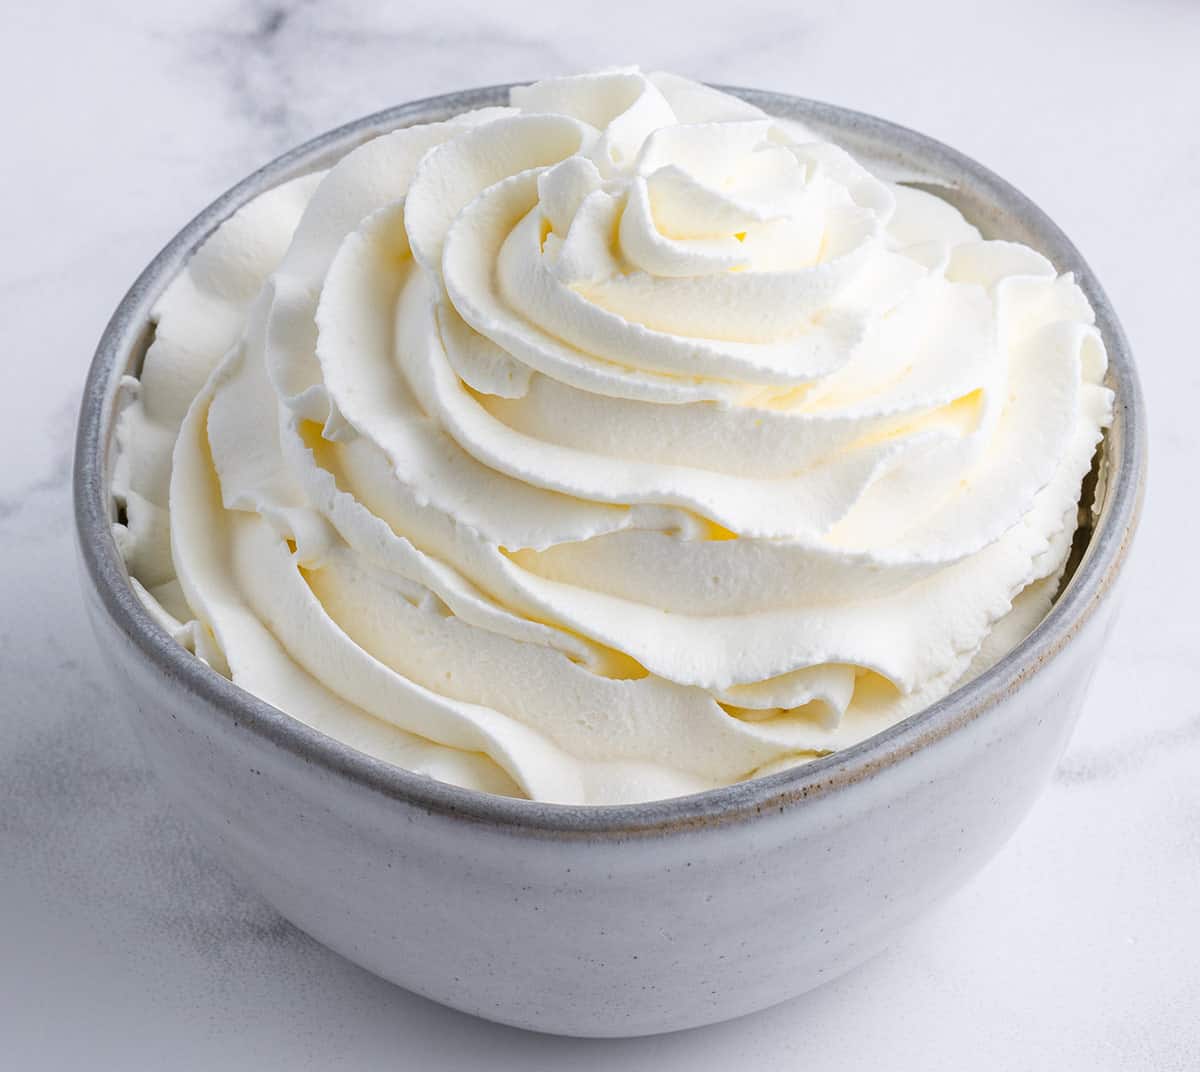
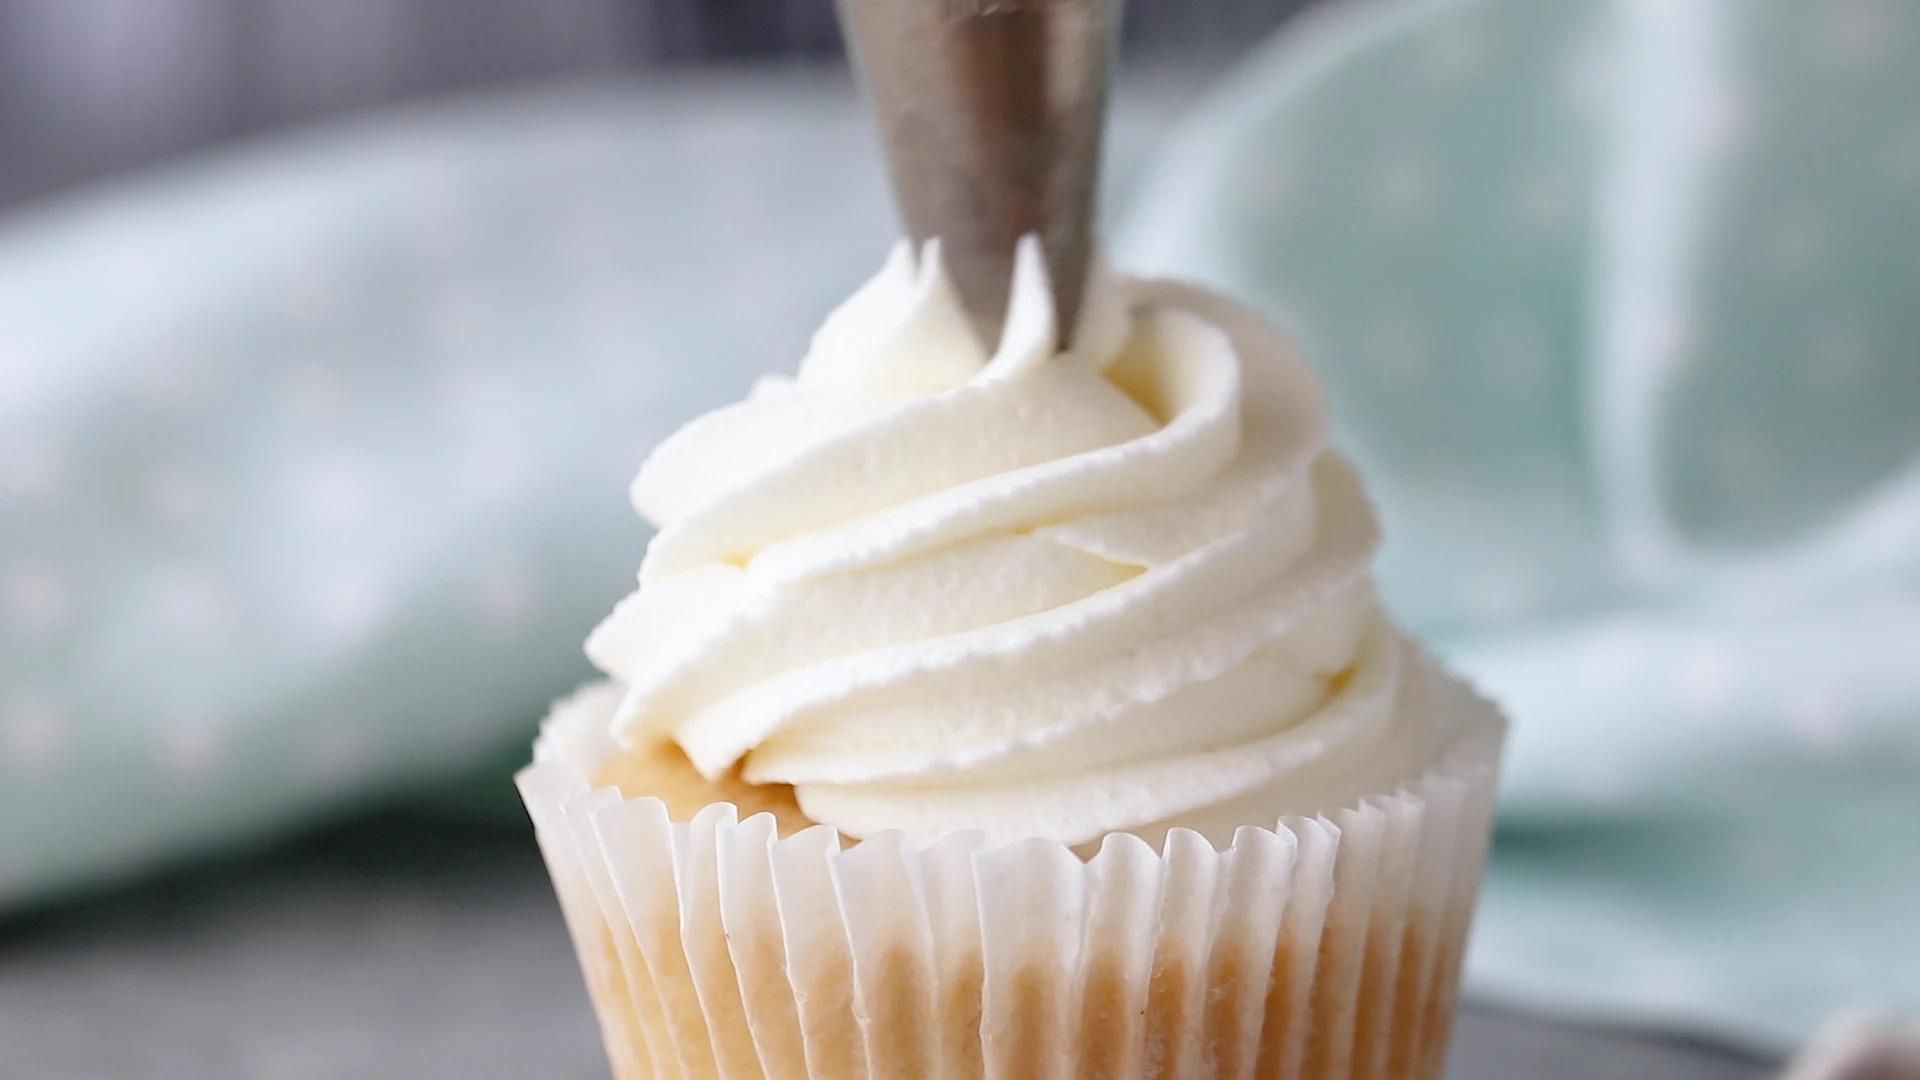
Once you have reached the stage of stiff peaks, your whipped cream is ready to be served or stored.
If you want to add any additional flavors, such as vanilla extract or other flavorings, now is the time to gently fold them into the whipped cream. Be careful not to deflate the cream too much during this process.
With the whipped cream at the perfect consistency, we can move on to the final step – storing or serving it.
Step 6: Store or Serve the Whipped Cream
Now that you have successfully whipped the cream to perfection, it’s time to decide whether you want to store it for later use or serve it immediately.
If you’re serving the whipped cream right away, scoop it out of the mixing bowl using a spoon or spatula and dollop it onto your dessert or beverage of choice. It adds a luxurious touch to cakes, pies, hot chocolate, fruit salads, and so many other delicious treats.
If you prefer to store the whipped cream for later use, transfer it into an airtight container. Ensure that the container is clean and dry to maintain the freshness and quality of the whipped cream. It’s best to store whipped cream in the refrigerator to keep it chilled and stable.
Homemade whipped cream can be refrigerated for up to 24 hours. However, please note that over time, it may start to lose its volume and become slightly watery. If you are planning to serve the whipped cream after it has been stored, give it a gentle whisk or fold it a few times to restore its fluffy consistency before using.
Remember, whipped cream is a delicate and perishable product, so it’s best to consume it within a day of making for the best taste and texture.
Now that you have learned how to make whipped cream using a stand mixer, you can enjoy the rich flavor and velvety texture of homemade whipped cream whenever you desire. Experiment with different flavor variations, such as adding cocoa powder or fruit extracts, to create unique and delightful whipped cream creations.
So go ahead, indulge in the decadence of freshly whipped cream and elevate your desserts and beverages to a whole new level of deliciousness!
Happy whipping!
Conclusion
Congratulations! You have now become a master at making homemade whipped cream using a stand mixer. By following these simple steps, you can enjoy the light and fluffy goodness of freshly whipped cream whenever you crave it.
Through the process outlined in this article, we learned the importance of chilling the mixing bowl and whisk before whipping the cream. This helps to keep the cream cold, allowing it to whip up more easily and quickly.
We also explored the technique of initially mixing on low speed to avoid splattering and ensure even whipping. Increasing the speed gradually and adding sugar in the process helps to create the perfect balance of sweetness and stability in the whipped cream.
Checking for soft peaks and then aiming for stiff peaks is the key to achieving the ideal texture in whipped cream. It’s crucial to avoid overmixing, as it can result in grainy or curdled cream.
Finally, we discussed the options of serving the whipped cream right away or storing it for later use. Keeping in mind that homemade whipped cream is best consumed within a day, proper storage and gentle re-whipping can help maintain its delicate texture and flavor.
Now, armed with the knowledge and skill to make whipped cream, you can elevate your desserts, beverages, and special occasions. Impress your family and friends with your homemade creations and enjoy the delightful creaminess that only fresh whipped cream can provide.
So what are you waiting for? Grab your stand mixer, follow these steps, and delve into the world of homemade whipped cream. Your taste buds will thank you!
Frequently Asked Questions about How To Make Whipped Cream In Stand Mixer
Was this page helpful?
At Storables.com, we guarantee accurate and reliable information. Our content, validated by Expert Board Contributors, is crafted following stringent Editorial Policies. We're committed to providing you with well-researched, expert-backed insights for all your informational needs.


0 thoughts on “How To Make Whipped Cream In Stand Mixer”