Articles
How To Make Cookies Without A Mixer
Modified: February 28, 2024
Discover easy cookie recipes that don't require a mixer. Get creative with delicious articles on making cookies by hand. Become a baking pro today!
(Many of the links in this article redirect to a specific reviewed product. Your purchase of these products through affiliate links helps to generate commission for Storables.com, at no extra cost. Learn more)
Introduction
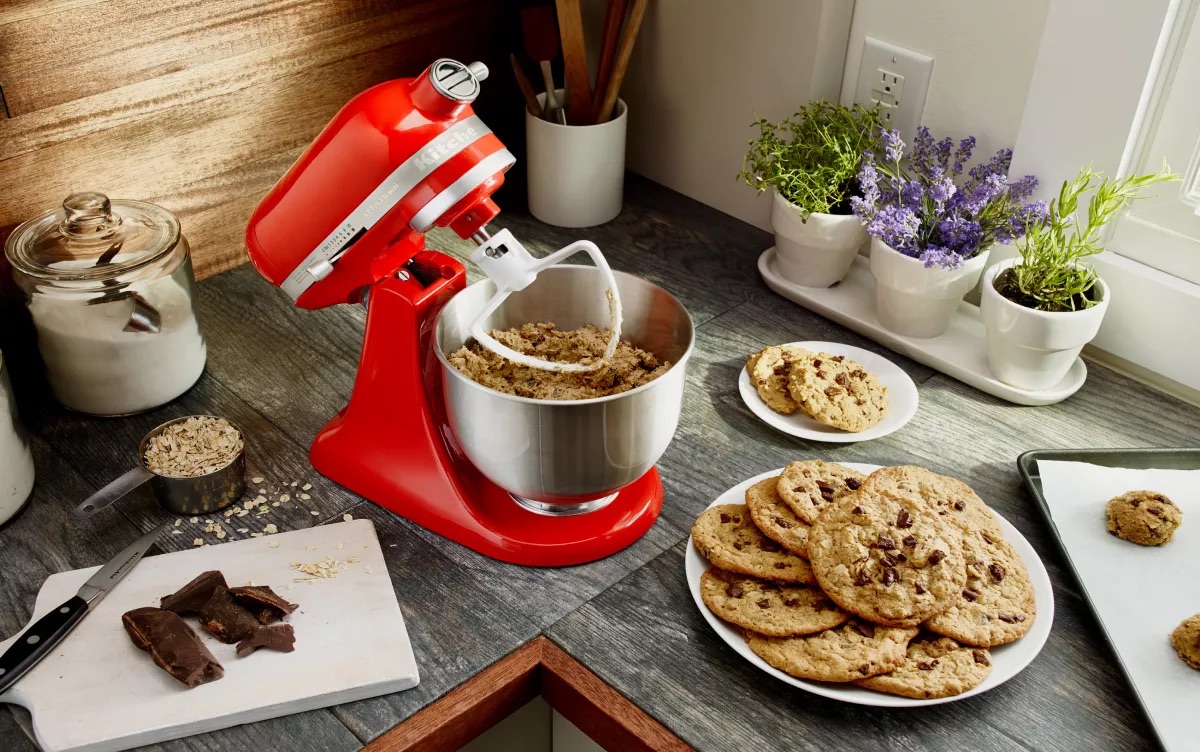
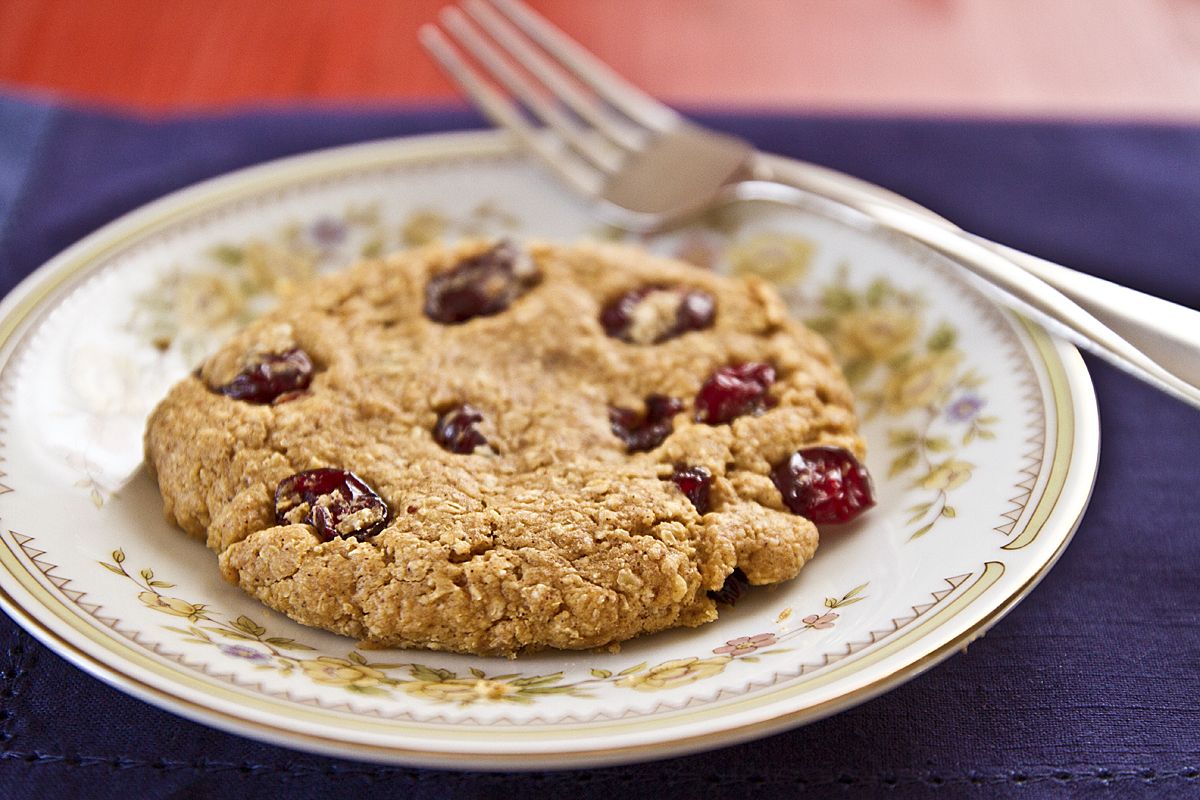
Baking cookies is a delightful activity that brings joy to both young and old. The aroma of freshly baked cookies wafting through the air is enough to bring a smile to anyone’s face. But what if you don’t have a mixer? Can you still make delicious homemade cookies? The answer is yes! In this article, we will guide you through the process of making cookies without a mixer. You don’t need fancy equipment to create delectable treats; all you need is a little bit of time and some basic kitchen tools. So grab your apron and let’s get started!
Key Takeaways:
- You don’t need a mixer to create delicious homemade cookies. With basic kitchen tools and a little effort, you can craft delightful treats that will bring joy to your taste buds and those who have the privilege of enjoying them.
- Baking cookies without a mixer is a joyous and creative experience. From preparing the dough to shaping and baking the cookies, the love and effort you put into the process will be evident in every bite.
Read more: How To Beat Cookie Dough Without A Mixer
Ingredients Required
Before we dive into the process of making cookies without a mixer, let’s gather all the ingredients we need. The good news is that you probably already have most of these items in your pantry. Here are the essential ingredients required to make cookies without a mixer:
- 2 1/4 cups all-purpose flour
- 1/2 teaspoon baking soda
- 1/2 teaspoon salt
- 1 cup unsalted butter, softened
- 1 cup granulated sugar
- 1/2 cup packed brown sugar
- 2 large eggs
- 2 teaspoons vanilla extract
- Optional: chocolate chips, nuts, or any other add-ins of your choice
Now that we have our ingredients ready, let’s move on to the step-by-step process of making cookies without a mixer.
Step 1: Preparing the Dough
The first step in making cookies without a mixer is to prepare the dough. Start by measuring out the all-purpose flour, baking soda, and salt. Sift these dry ingredients together in a bowl to ensure they are well combined and free of any lumps. This step helps to create a smooth and even texture in the cookies.
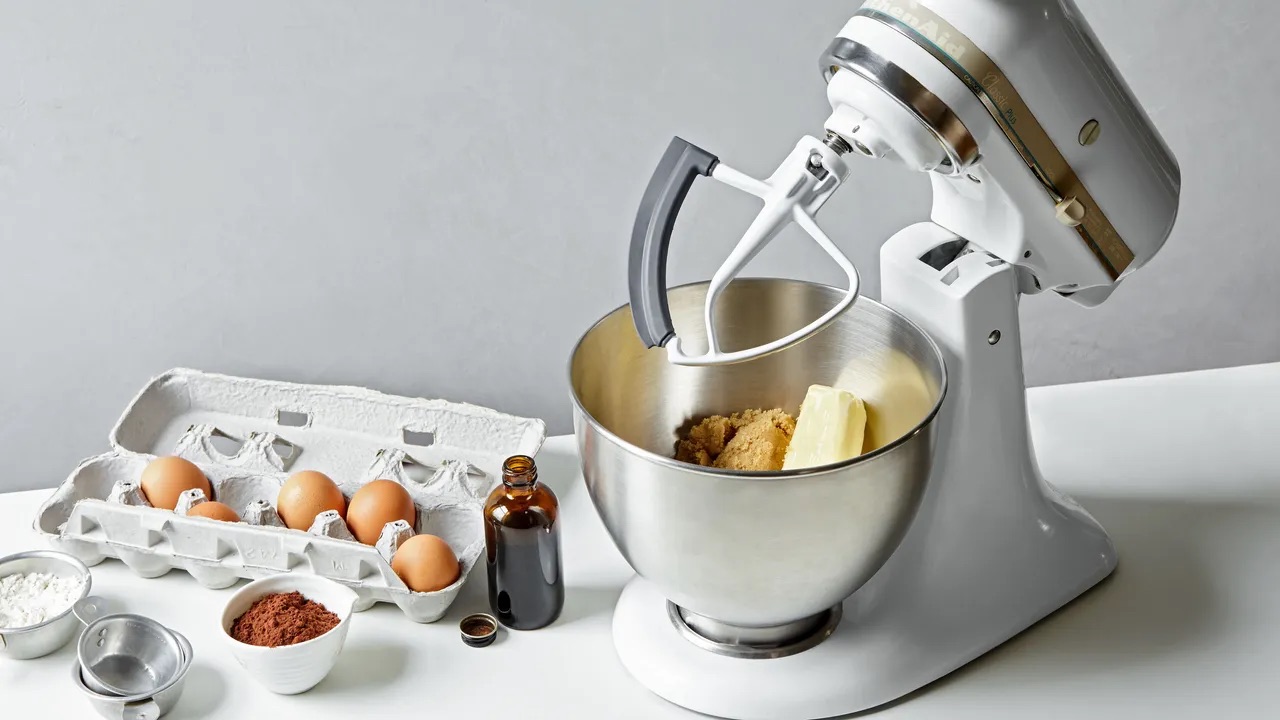
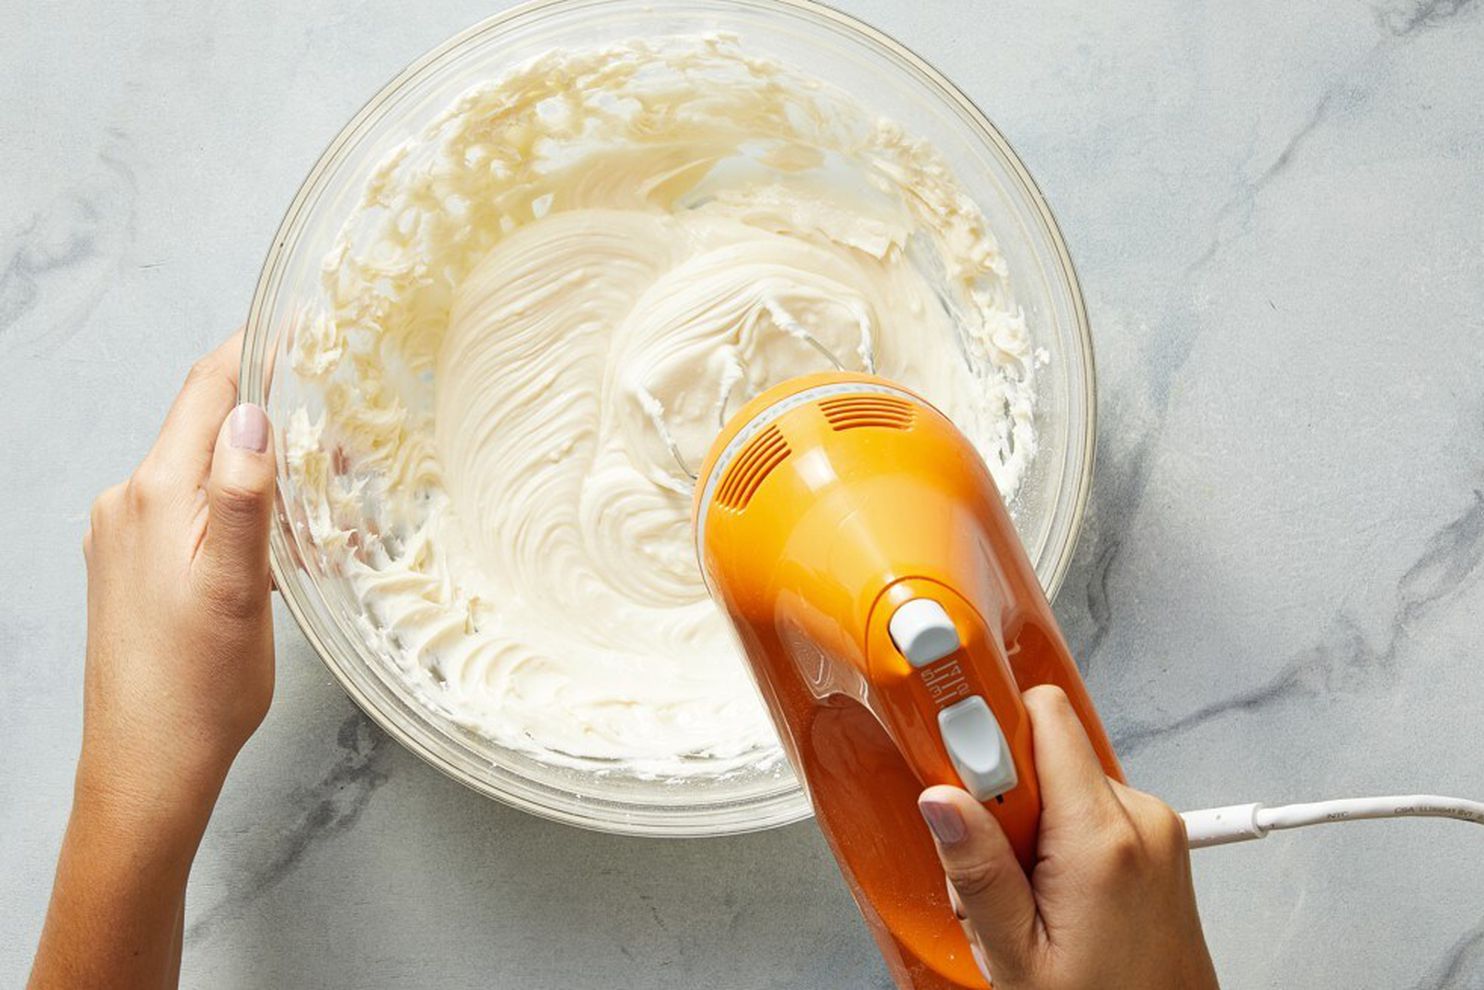
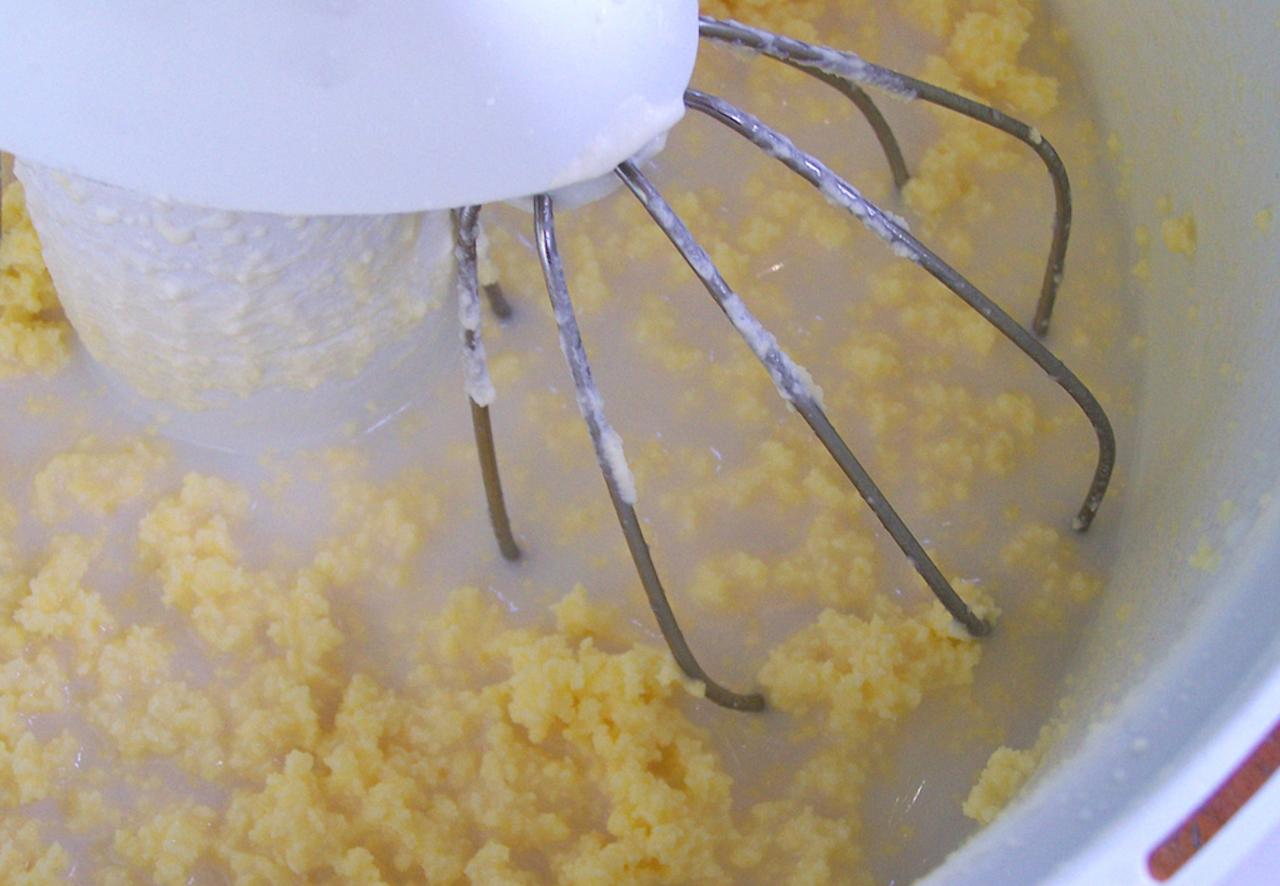
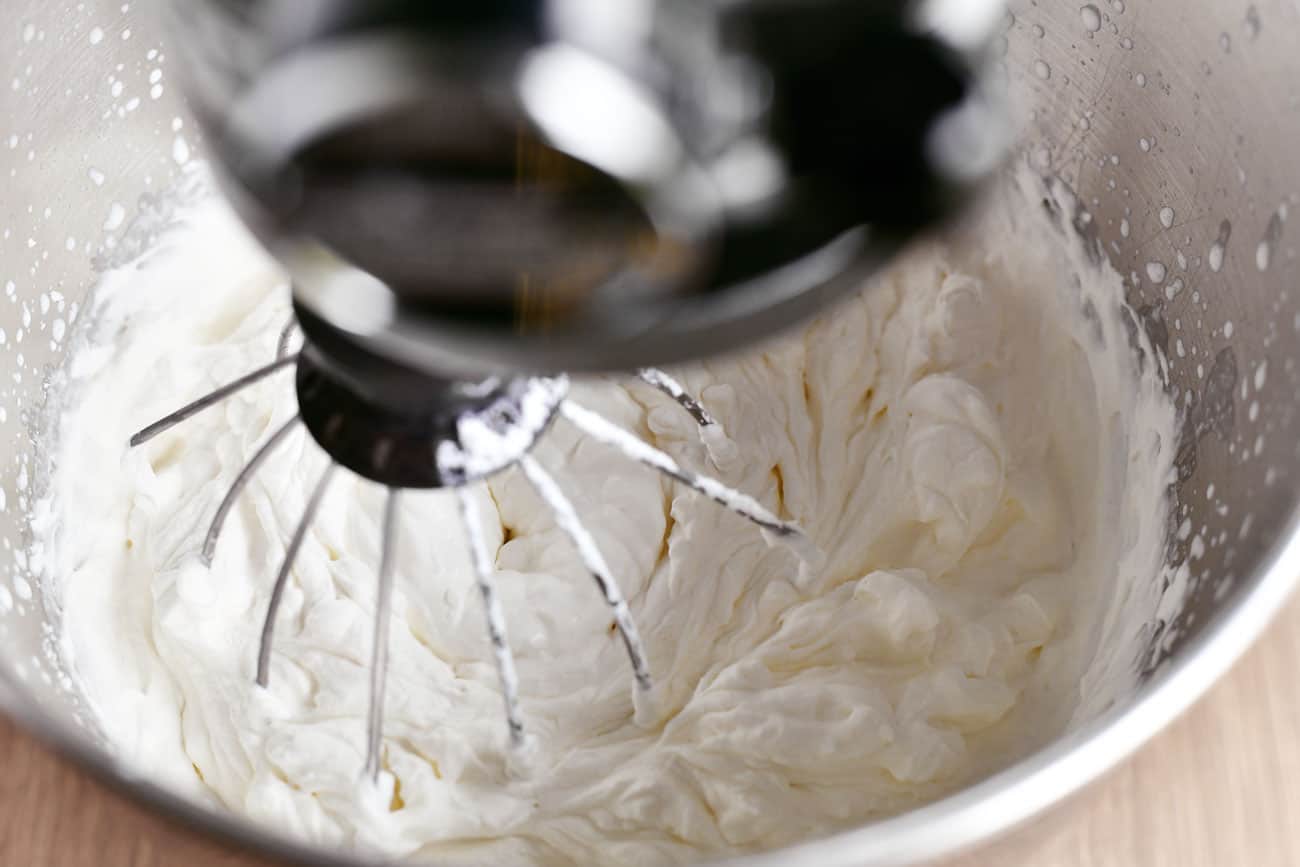
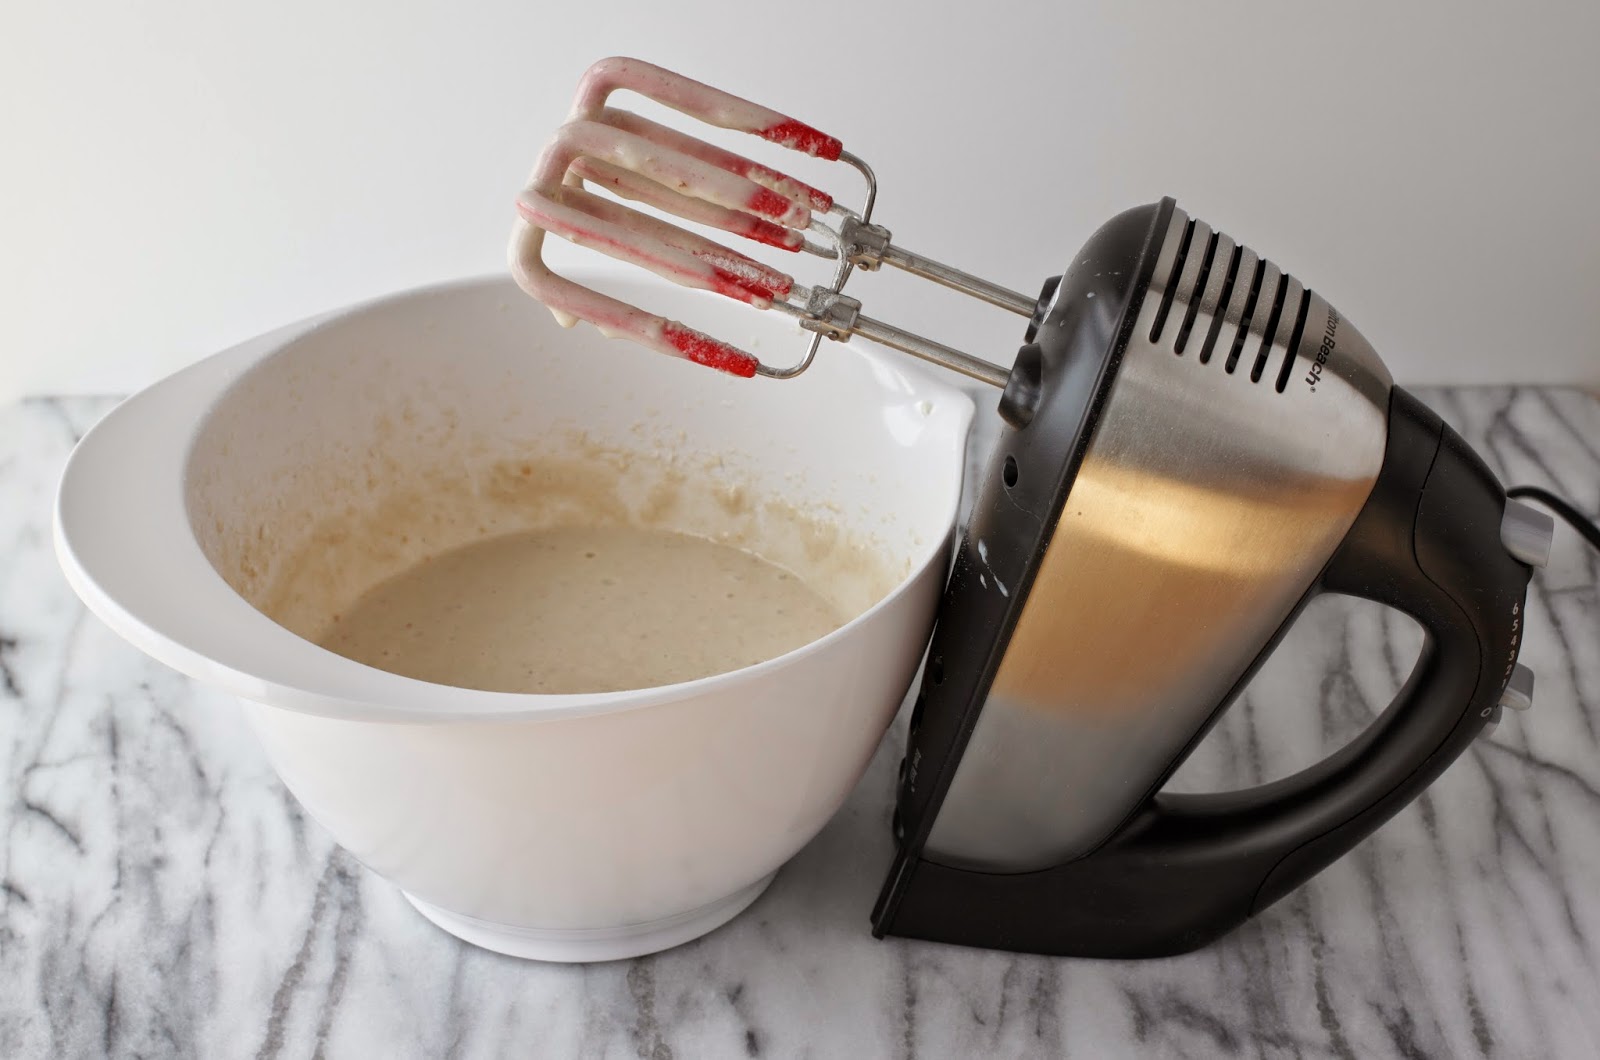
Next, in a separate large bowl, cream together the softened butter, granulated sugar, and packed brown sugar. Creaming is the process of mixing the butter and sugars together until they become light and fluffy. You can achieve this by using a wooden spoon or a spatula to vigorously mix the ingredients together. It may require a bit of effort, but the end result will be worth it.
Once the butter and sugars are creamed together, it’s time to add the eggs and vanilla extract. Crack the eggs into a small bowl to ensure that no shell fragments make their way into the dough. Then, add the eggs one at a time to the butter and sugar mixture, mixing well after each addition. Finally, add the vanilla extract and stir until everything is well incorporated.
At this stage, the dough may look a bit lumpy and uneven, but don’t worry – this is completely normal. The next step of mixing the ingredients will help to smoothen out the dough and ensure all the flavors are evenly distributed.
Step 2: Mixing the Ingredients
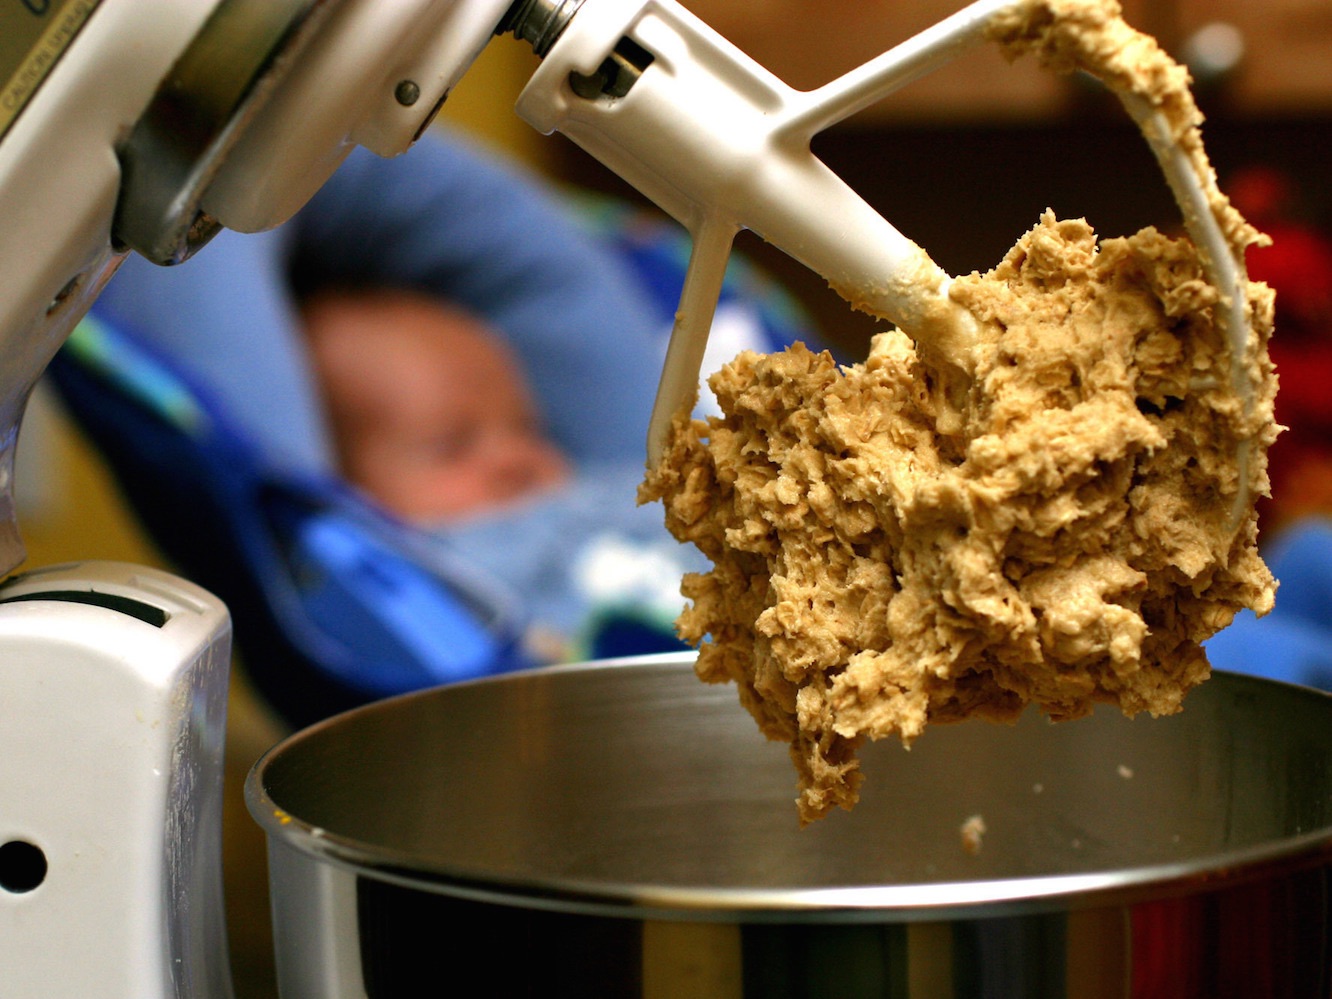
Now that the butter, sugars, eggs, and vanilla extract are combined, it’s time to mix in the dry ingredients. Slowly add the sifted flour, baking soda, and salt mixture to the bowl containing the wet ingredients. Use a wooden spoon or a spatula to gently fold the dry ingredients into the wet ingredients.
Continue mixing until the flour is fully incorporated and there are no traces of dry ingredients left. Be careful not to overmix the dough as this can result in tough cookies. Mix just until the dough comes together and all the ingredients are well blended.
During the mixing process, you can also add any additional ingredients you desire, such as chocolate chips, nuts, or dried fruits. Fold them into the dough, ensuring they are evenly distributed throughout.
If the dough seems too dry or crumbly, you can add a tablespoon of milk or water to help bring it together. Conversely, if the dough appears too sticky, you can add a small amount of flour to adjust the consistency.
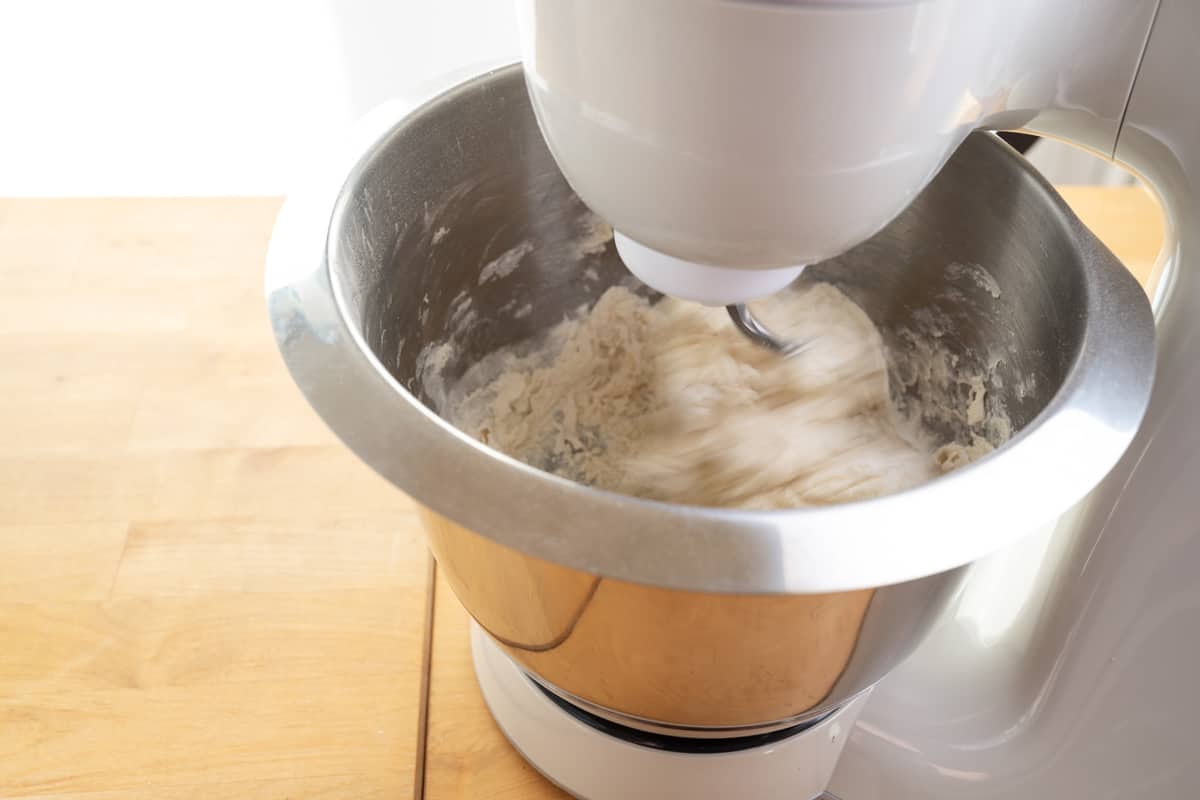
At this stage, you should have a smooth and pliable cookie dough ready for the next step. Take a moment to savor the aroma and the anticipation of the delightful cookies that will soon emerge from your oven.
When making cookies without a mixer, soften the butter to room temperature to make it easier to cream with the sugar by hand. This will help ensure a smooth and evenly mixed dough.
Step 3: Incorporating the Dough
Now that the cookie dough is mixed and ready, it’s time to incorporate it fully. Start by scraping down the sides of the bowl with a spatula to gather any bits of dough that may have stuck to the sides. This ensures that all the dough is being used and nothing goes to waste.
Next, transfer the dough onto a clean and lightly floured surface. This will make it easier to work with and prevent it from sticking. Use your hands to gently knead and shape the dough into a cohesive ball. Kneading the dough helps to evenly distribute any remaining dry ingredients and develops the gluten, resulting in a better texture.
Continue kneading the dough for a few minutes until it becomes smooth and slightly elastic. If the dough feels too sticky, you can add a sprinkle of flour to the surface or your hands to prevent it from sticking.
Once the dough is well kneaded, divide it into smaller portions if desired. This is especially handy if you want to make different flavors or shapes of cookies. Shape each portion into a disk or a log, depending on the desired shape and size of your cookies.
If you prefer to chill the dough before baking, wrap each portion tightly in plastic wrap and refrigerate for at least 30 minutes. Chilling the dough not only makes it easier to handle, but it also helps to enhance the flavors and prevent the cookies from spreading too much while baking.
Remember, the longer the dough chills, the better the flavors will meld together. If time permits, refrigerate the dough overnight for even more delicious results.
Once the dough is ready, it is time to move on to shaping and baking the cookies. Get creative and have fun with different shapes and sizes. Prepare your baking sheets and preheat your oven to the desired temperature. The tantalizing aroma of freshly baked cookies will soon fill your kitchen and bring smiles to everyone’s faces.
Read more: How To Make Frosting Without Mixer
Step 4: Shaping the Cookies
After the cookie dough has been incorporated and chilled (if desired), it’s time to shape the cookies. This step allows you to unleash your creativity and personalize your cookies according to your preferences.
Start by preheating your oven to the specified temperature mentioned in your recipe. While the oven is preheating, take out the chilled dough from the refrigerator if you opted for chilling it. Let it sit at room temperature for a few minutes to make it easier to work with.
Flour a clean surface or use parchment paper for easy clean-up. Take a portion of the cookie dough and place it on the surface. Use a rolling pin to roll out the dough to your desired thickness. For softer and chewier cookies, roll the dough to around 1/4 inch thickness. For crisper cookies, roll it slightly thinner, about 1/8 inch.
To shape the cookies, use cookie cutters in various shapes and sizes. Dip the cookie cutter in flour to prevent sticking to the dough, then press it firmly into the rolled-out dough. Gently lift the cutter and remove the excess dough around the cutout shape. Place the cutout cookie onto a parchment-lined baking sheet, leaving some space between each cookie. Repeat this process until all the dough is used.
If you don’t have cookie cutters, don’t worry! You can shape the cookies by rolling small portions of dough into balls and gently flattening them with the back of a spoon or the palm of your hand. This method creates rustic and charming cookies with a homemade touch.
Feel free to experiment with different shapes and sizes, and even mix different flavors and add-ins. Let your imagination run wild and create cookies that are uniquely yours. Sprinkle some colored sugar, chocolate chips, or chopped nuts on top of the cookies before baking for an extra touch of flavor and aesthetics.
Once you have shaped all the cookies, it’s time to bake them to golden perfection. Follow the recipe’s instructions for the recommended baking time and temperature. Keep a close eye on the cookies as they bake to avoid over-browning. The heavenly scent of freshly baked cookies will fill your kitchen, enticing everyone around.
After baking, allow the cookies to cool on the baking sheet for a few minutes. Then, transfer them to a wire rack to cool completely. Allow the cookies to cool completely before indulging in their crispy or chewy goodness.
Now that you have mastered the art of shaping the cookies, it’s time to move on to the final step – baking!
Step 5: Baking the Cookies
Now that your cookies are shaped and ready to bake, it’s time to preheat your oven to the specified temperature mentioned in your recipe. Ensure that the oven is fully heated before placing the cookies inside, as this will ensure even baking and optimal results.
Line a baking sheet with parchment paper or use a non-stick baking mat to prevent the cookies from sticking. Arrange the shaped cookies on the baking sheet, leaving enough space between each cookie for them to spread slightly during baking.
Place the baking sheet in the preheated oven and set a timer based on the recommended baking time in your recipe. It’s important to resist the temptation to open the oven door frequently, as this can cause fluctuations in temperature and affect the baking process.
As the cookies bake, keep an eye on them to ensure they don’t over-brown. Depending on the size and thickness of your cookies, they may take anywhere from 8 to 15 minutes to bake. You’ll know they’re ready when the edges start turning golden brown while the centers remain slightly soft.
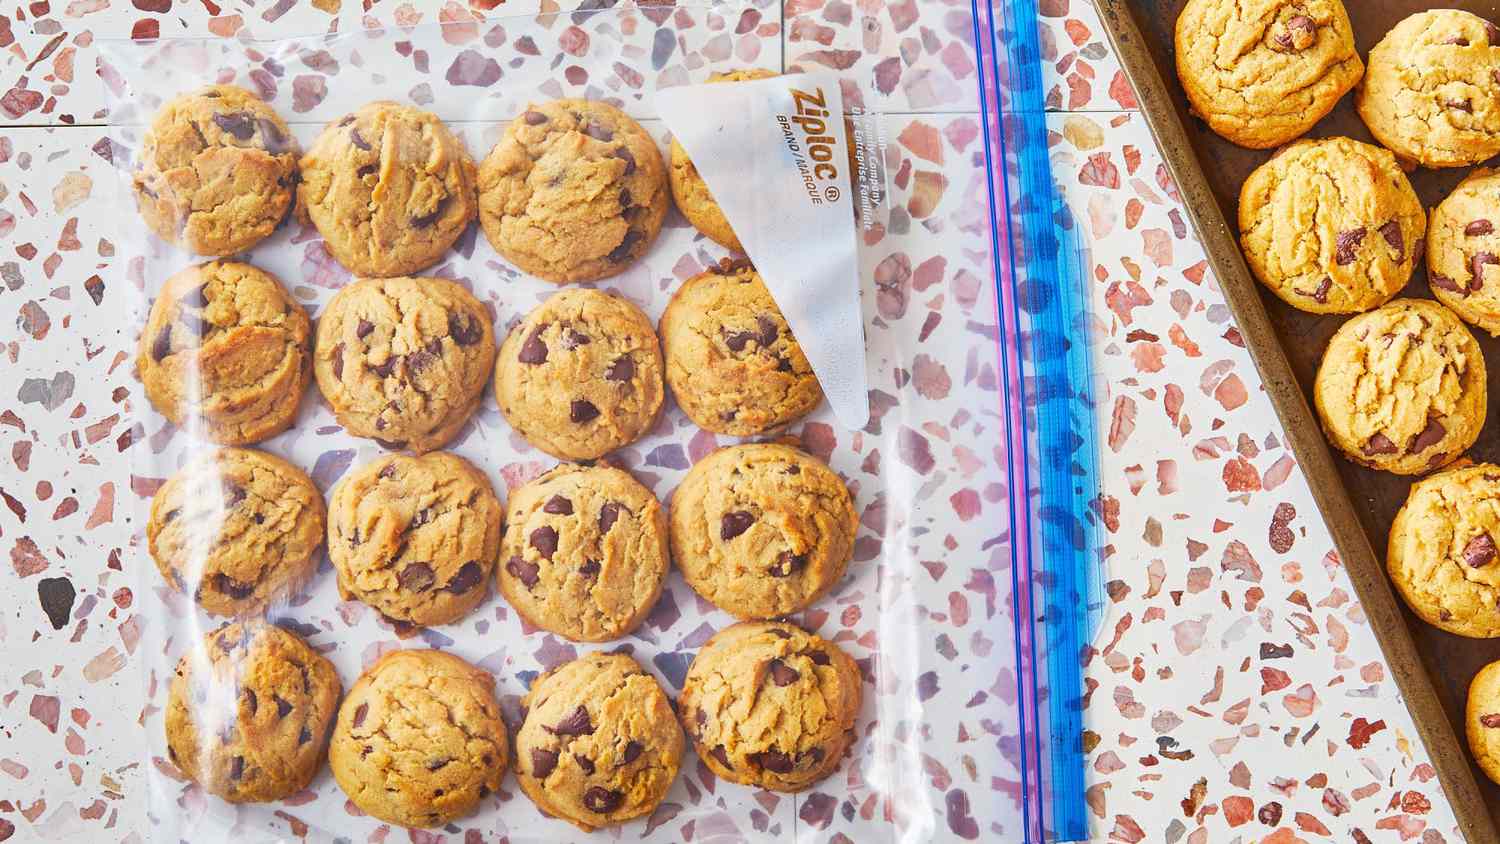
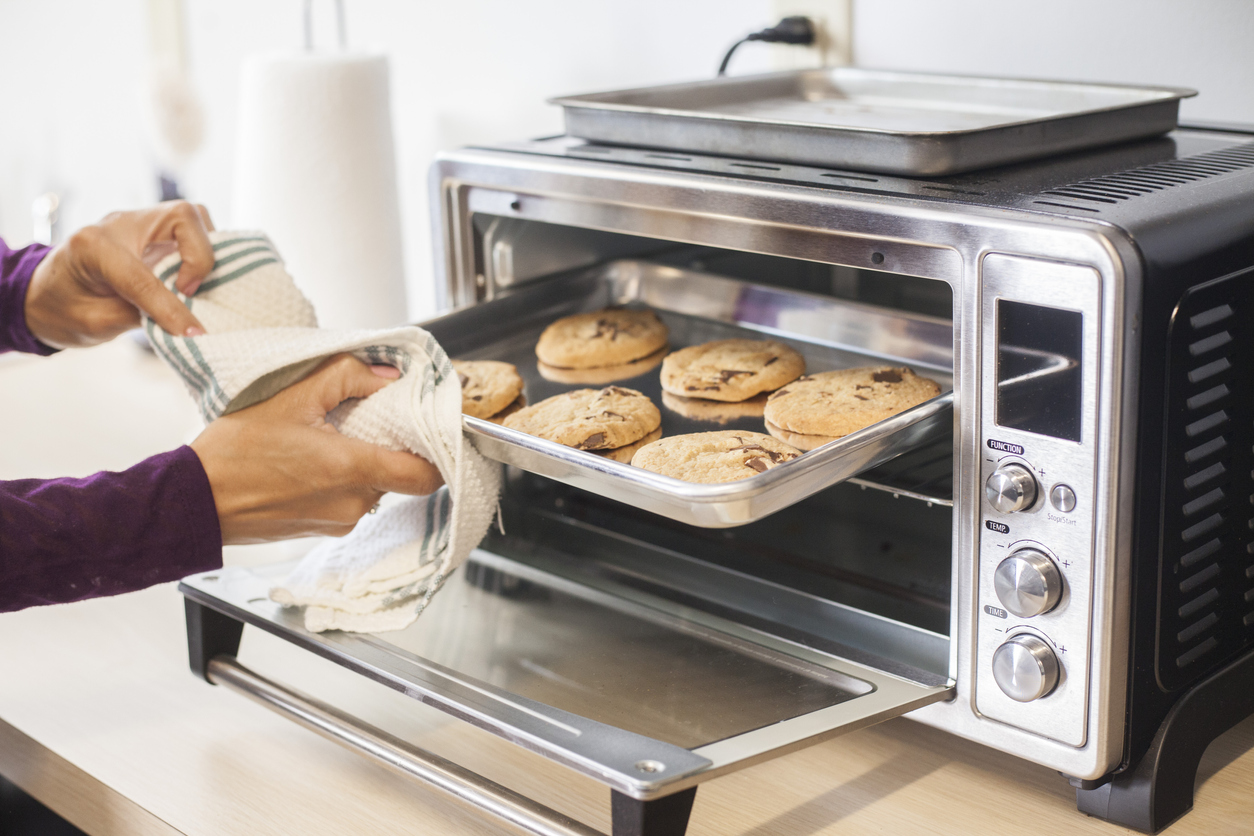
Once the cookies are done, carefully remove the baking sheet from the oven using oven mitts or kitchen towels. Let the cookies cool on the baking sheet for a few minutes to firm up before transferring them to a wire rack to cool completely. This will prevent them from breaking or becoming too soft.
Allowing the cookies to cool completely will also allow them to develop their final texture. If you can resist the temptation, let the cookies cool for at least 10-15 minutes before enjoying their heavenly taste and aroma.
Congratulations! You have successfully baked delicious homemade cookies without a mixer. The warm, freshly baked treats are now ready to be enjoyed. Pour yourself a glass of milk, grab a cookie or two, and savor the deliciousness that you have created.
Remember, baking is a joyous and creative experience. Don’t be afraid to experiment with flavors, shapes, and textures to make the cookies truly your own. Whether you’re baking for a special occasion or just to satisfy a sweet craving, the love and effort you put into making homemade cookies without a mixer will be evident in every bite.
Step 6: Cooling and Enjoying
The final and most anticipated step in the cookie-making process is cooling and, of course, enjoying your freshly baked creations. Proper cooling ensures that the cookies reach their ideal texture and flavor, so exercise patience and resist the temptation to devour them immediately.
After removing the cookies from the oven, allow them to cool on the baking sheet for about 5 minutes. This will give them a chance to firm up slightly and make it easier to transfer them without breaking. Use a spatula to carefully transfer the cookies onto a wire rack to cool completely.
As the cookies cool, they will continue to set and develop their characteristic crisp or chewy texture. It’s best to let them cool for at least 15-20 minutes, although it may be challenging to resist the enticing aroma and the urge to take a bite.
Once cooled, you can now indulge in your homemade delights. Enjoy the cookies on their own or pair them with a glass of milk, a warm cup of coffee, or a scoop of your favorite ice cream. Share them with loved ones, bring them to a party, or simply savor them as a well-deserved treat.
Remember to store any leftover cookies properly to maintain their freshness. Place them in an airtight container or a cookie jar to prevent moisture from seeping in and becoming stale. If stored correctly, your cookies can last for several days, allowing you to savor the homemade goodness over time.
Congratulations! You have successfully made delicious cookies without a mixer. With a bit of creativity, patience, and the right techniques, you have created a batch of delightful treats that will bring joy to your taste buds and those who have the privilege of enjoying them.
So go ahead, take a bite, and relish the satisfaction of your homemade cookies. Happy baking and even happier indulging!
Frequently Asked Questions about How To Make Cookies Without A Mixer
Was this page helpful?
At Storables.com, we guarantee accurate and reliable information. Our content, validated by Expert Board Contributors, is crafted following stringent Editorial Policies. We're committed to providing you with well-researched, expert-backed insights for all your informational needs.

0 thoughts on “How To Make Cookies Without A Mixer”