Articles
How To Wire A Cigarette Lighter Adapter
Modified: March 1, 2024
Learn how to wire a cigarette lighter adapter with this informative article. Find step-by-step instructions and expert tips to help you complete the task easily.
(Many of the links in this article redirect to a specific reviewed product. Your purchase of these products through affiliate links helps to generate commission for Storables.com, at no extra cost. Learn more)
Introduction
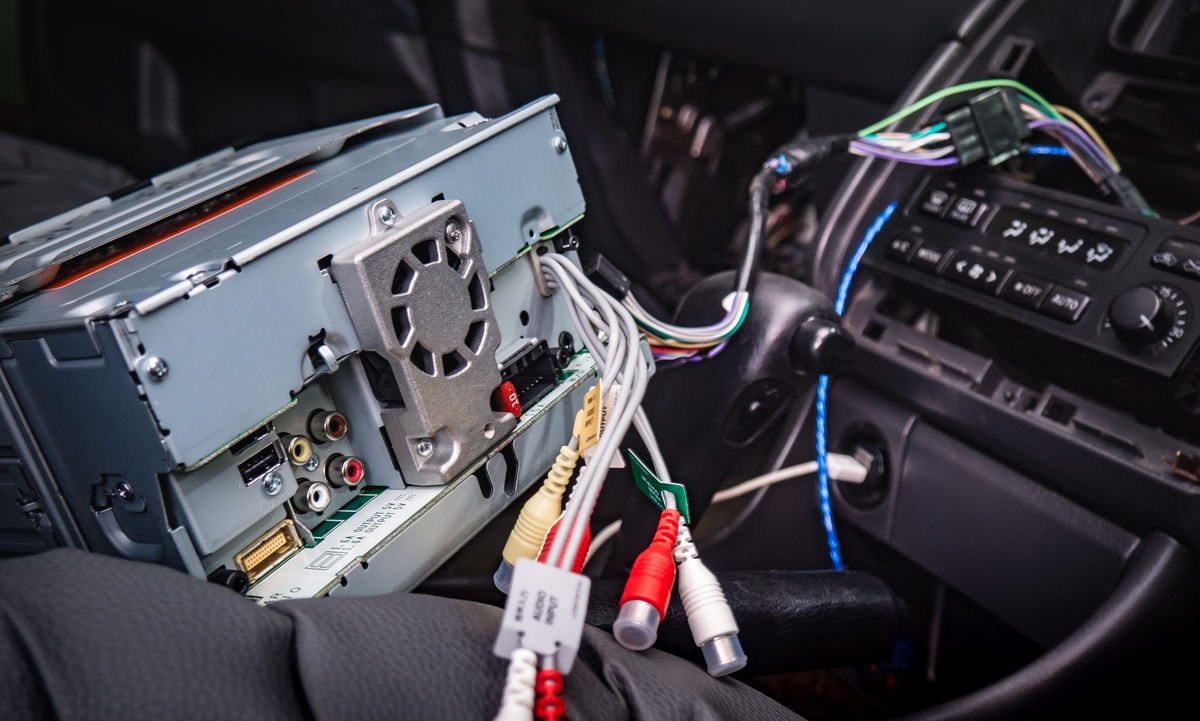
Wiring a cigarette lighter adapter can be a useful skill to have, whether you need to power a device in your car or simply want to add an extra charging port. With the right materials and a little know-how, you can easily wire a cigarette lighter adapter and have it up and running in no time.
In this article, we will guide you through the step-by-step process of how to wire a cigarette lighter adapter. Whether you’re a seasoned DIY enthusiast or a beginner, this guide will provide you with all the information you need to successfully complete the project.
Before we dive into the steps, it’s essential to emphasize the importance of safety. When working with electrical components, always exercise caution and follow proper safety protocols. If you’re unsure or uncomfortable with any step, it’s best to consult a professional before proceeding.
Now, let’s gather the necessary materials and get started!
Key Takeaways:
- Safety First!
When wiring a cigarette lighter adapter, prioritize safety by exercising caution, following proper protocols, and consulting a professional if unsure. Proper insulation and testing are crucial for a safe and successful installation. - Convenience On the Go
By following the step-by-step guide, you can wire and mount a cigarette lighter adapter to power your devices while on the go. Enjoy the convenience of an additional power source in your vehicle!
Read more: How To Fill A Butane Lighter Without Adapter
Step 1: Gather the Necessary Materials
Before you begin wiring a cigarette lighter adapter, you’ll need to gather a few essential materials. Having everything on hand will make the process much smoother and ensure that you have everything you need to complete the project. Here’s a list of the materials you’ll need:
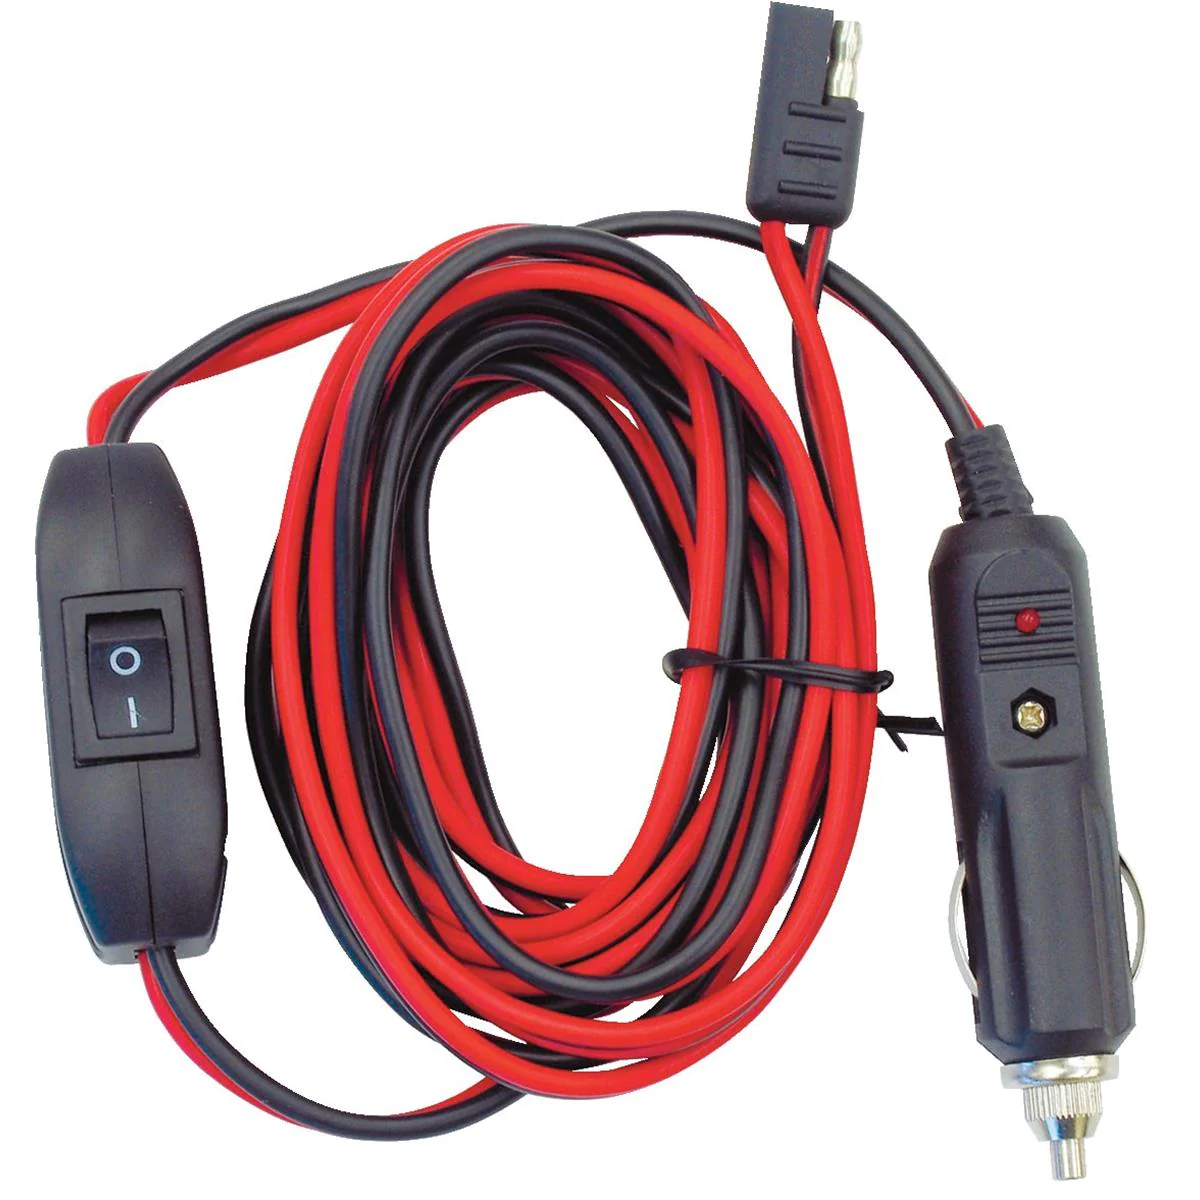
- A cigarette lighter adapter: This is the main component that you’ll be wiring. You can purchase one from an electronics store or online. Make sure to choose an adapter that matches the specifications of the device you’ll be powering.
- Wire cutters and strippers: These tools will be necessary for cutting and stripping the insulation from the wires.
- Electrical tape: Electrical tape will be used to insulate the wires and keep them secure.
- Heat shrink tubing (optional): Heat shrink tubing provides an extra layer of insulation and protection. It’s not necessary, but it can be beneficial to use.
- A soldering iron and solder (optional): If you’re comfortable soldering, you can use a soldering iron and solder to connect the wires. This will create a more secure and reliable connection.
- A multimeter: A multimeter is a handy tool that allows you to measure voltage and check the continuity of your connections. It’s not necessary, but it can be helpful for troubleshooting and ensuring proper wiring.
Once you have gathered all the necessary materials, you’re ready to move on to the next step: preparing the cigarette lighter adapter. Let’s go!
Step 2: Prepare the Cigarette Lighter Adapter
Now that you have all the necessary materials, it’s time to prepare the cigarette lighter adapter. This step involves disassembling the adapter and preparing the wires for connection.
Here’s what you need to do:
- Start by unplugging the cigarette lighter adapter from any power source. This is a crucial safety precaution to prevent any accidental shocks or injuries.
- Next, carefully remove the casing or cover of the adapter. Most adapters have a cover that can be unscrewed or snapped off. You may need to use a small screwdriver or prying tool to remove it.
- Once the casing is removed, you should see the internal components of the adapter. Take a moment to familiarize yourself with the different parts, including the positive and negative terminals and any other connections.
- If your adapter has any additional components such as fuses or voltage regulators, make sure to take note of their positions and how they are connected.
By preparing the cigarette lighter adapter, you’ll have a clear understanding of its internal structure and be ready to proceed with the wiring process. Now, let’s move on to the next step: identifying the positive and negative wires.
Step 3: Identify the Positive and Negative Wires
Identifying the positive and negative wires is a crucial step in wiring a cigarette lighter adapter. It ensures that the power flows correctly and prevents any potential damage to your devices. Here’s how you can identify the positive and negative wires:
- Begin by referring to the documentation or user manual of your cigarette lighter adapter. It should indicate which wire is positive (+) and which wire is negative (-). If you can’t find the documentation, don’t worry. There are other ways to identify the wires.
- Take a close look at the wires. In most cases, the positive wire is red, while the negative wire is black. However, this isn’t always the case, so it’s important to verify using other methods.
- If the wires have markings or labels, look for symbols such as “+,” “POS,” or a “+” sign for the positive wire. The negative wire may have symbols such as “-“, “NEG,” or a “-” sign.
- If there are no visible markings or color indications, you can use a multimeter to determine the polarity. Set the multimeter to the DC voltage range and touch the positive (red) probe to one wire and the negative (black) probe to the other wire. The wire that shows a positive voltage reading is the positive wire, while the other wire is the negative wire.
- Once you have correctly identified the positive and negative wires, make a note so that you can easily refer to them during the wiring process. Also, double-check your identification before moving on to the next step.
Now that you have identified the positive and negative wires, you’re ready to move on to the next step: attaching the wires to the adapter. Stay tuned!
Step 4: Attach the Wires to the Adapter
Now that you have identified the positive and negative wires, it’s time to attach them to the cigarette lighter adapter. This step ensures a secure and reliable connection, allowing the power to flow properly. Here’s how you can attach the wires:
- Start by cutting off a sufficient length of wire for both the positive and negative connections. It’s always better to have a bit of extra wire, so you have room to work with.
- Use your wire strippers to remove about 1/2 inch of insulation from the ends of each wire. This will expose the bare copper conductor.
- If you’re using a soldering iron and solder, pre-tin the exposed ends of the wires by applying a small amount of solder to each. This helps to create a stronger and more secure connection.
- With the wires prepared, locate the terminals on the cigarette lighter adapter. Typically, there will be two terminals labeled with a “+” or “POS” symbol and a “-” or “NEG” symbol. Alternatively, they may be color-coded. Make sure to connect the positive wire to the positive terminal and the negative wire to the negative terminal.
- Attach the wires to the terminals by either soldering or using a suitable connector. If soldering, place the stripped end of the wire on the corresponding terminal and apply heat with the soldering iron, then touch the solder to the wire until it melts and creates a solid connection. If using a connector, carefully insert the stripped end of the wire into the connector and use pliers to secure it.
- Ensure that the wires are securely attached to the terminals and that there are no loose connections or exposed conductors. A proper connection is essential for the safe and efficient operation of the cigarette lighter adapter.
With the wires successfully attached to the cigarette lighter adapter, you’re ready to move on to the next step: connecting the adapter to the power source. Stay tuned!
When wiring a cigarette lighter adapter, always use the appropriate gauge of wire to handle the current load. It’s important to use a fuse to protect the circuit and prevent potential fire hazards.
Read more: What Is A C Wire Adapter For A Thermostat
Step 5: Connect to the Power Source
Now that you have attached the wires to the cigarette lighter adapter, it’s time to connect it to a power source. This ensures that the adapter receives the necessary power to operate and provide the desired functionality. Here’s how you can connect the adapter to the power source:
- Locate a suitable power source in your vehicle. The most common options include the fuse box, an existing power outlet, or direct wiring to the battery.
- If you choose to connect to the fuse box, identify an appropriate fuse slot that has power when the ignition is on. Use a fuse tap or fuse adapter to tap into the power from the designated slot. Follow the manufacturer’s instructions for proper installation.
- If you select an existing power outlet, such as a cigarette lighter socket, unplug the device from the outlet and insert the adapter into the socket. Ensure a snug fit to avoid any loose connections.
- If you opt for direct wiring to the battery, ensure that you are familiar with the proper wiring and safety protocols. It’s recommended to consult a professional for this method, especially if you’re not experienced with automotive electrical systems.
- Before finalizing the connection, double-check that the ignition is off to avoid any electrical hazards. Once confirmed, connect the positive wire from the adapter to the positive terminal or power source you have selected. Connect the negative wire to the corresponding negative terminal or ground connection.
- Ensure that all connections are secure and properly insulated. Use electrical tape or heat shrink tubing to cover any exposed wires and prevent short circuits or electrical hazards.
Once you have connected the cigarette lighter adapter to the power source, you’re one step closer to enjoying its functionality. However, before moving on, it’s crucial to test the connection to ensure everything is working correctly. Let’s move on to the next step.
Step 6: Test the Connection
After connecting the cigarette lighter adapter to the power source, it’s essential to test the connection to ensure that everything is working properly. This step allows you to verify that the adapter is receiving power and that it can successfully power your devices. Here’s how you can test the connection:
- Ensure that the ignition is on or the power source is active. This is necessary for the adapter to receive power.
- Plug in a device such as a smartphone charger or a USB-powered device into the cigarette lighter adapter. Make sure that the device is compatible with the adapter and does not exceed its specified power limits.
- Once plugged in, observe if the device receives power and begins charging. Look for indications such as the charging symbol on your device’s screen or a LED light on the adapter, if applicable.
- If the device is not charging or receiving power, there may be an issue with the wiring or the connection. Double-check all the connections, ensuring that they are secure and properly insulated.
- If you’re still experiencing issues, use a multimeter to measure the voltage at the adapter’s terminals. The output voltage should match the specifications of the adapter. If the voltage is significantly lower or reads zero, there may be a problem with the wiring or power source.
- If the connection is successful and the device is charging, congratulations! Your wiring and connection are working correctly. If not, you may need to troubleshoot and double-check the previous steps to identify and rectify any issues.
Testing the connection is crucial as it ensures the safe and proper functioning of the cigarette lighter adapter. If everything is working as expected, it’s time to move on to the next step: insulating the wires.
Step 7: Insulate the Wires
Properly insulating the wires is an important step in wiring a cigarette lighter adapter. Insulation helps to protect the wires from damage, prevent short circuits, and ensure the safety and longevity of the adapter. Here’s how you can insulate the wires:
- Start by visually inspecting the wires and connections to ensure there are no exposed conductors or loose connections. If you notice any issues, address them before proceeding with insulating the wires.
- Use electrical tape or heat shrink tubing to cover the exposed parts of the wires. Begin by wrapping the tape tightly around the wire, starting from the base of the connection and working your way towards the insulator.
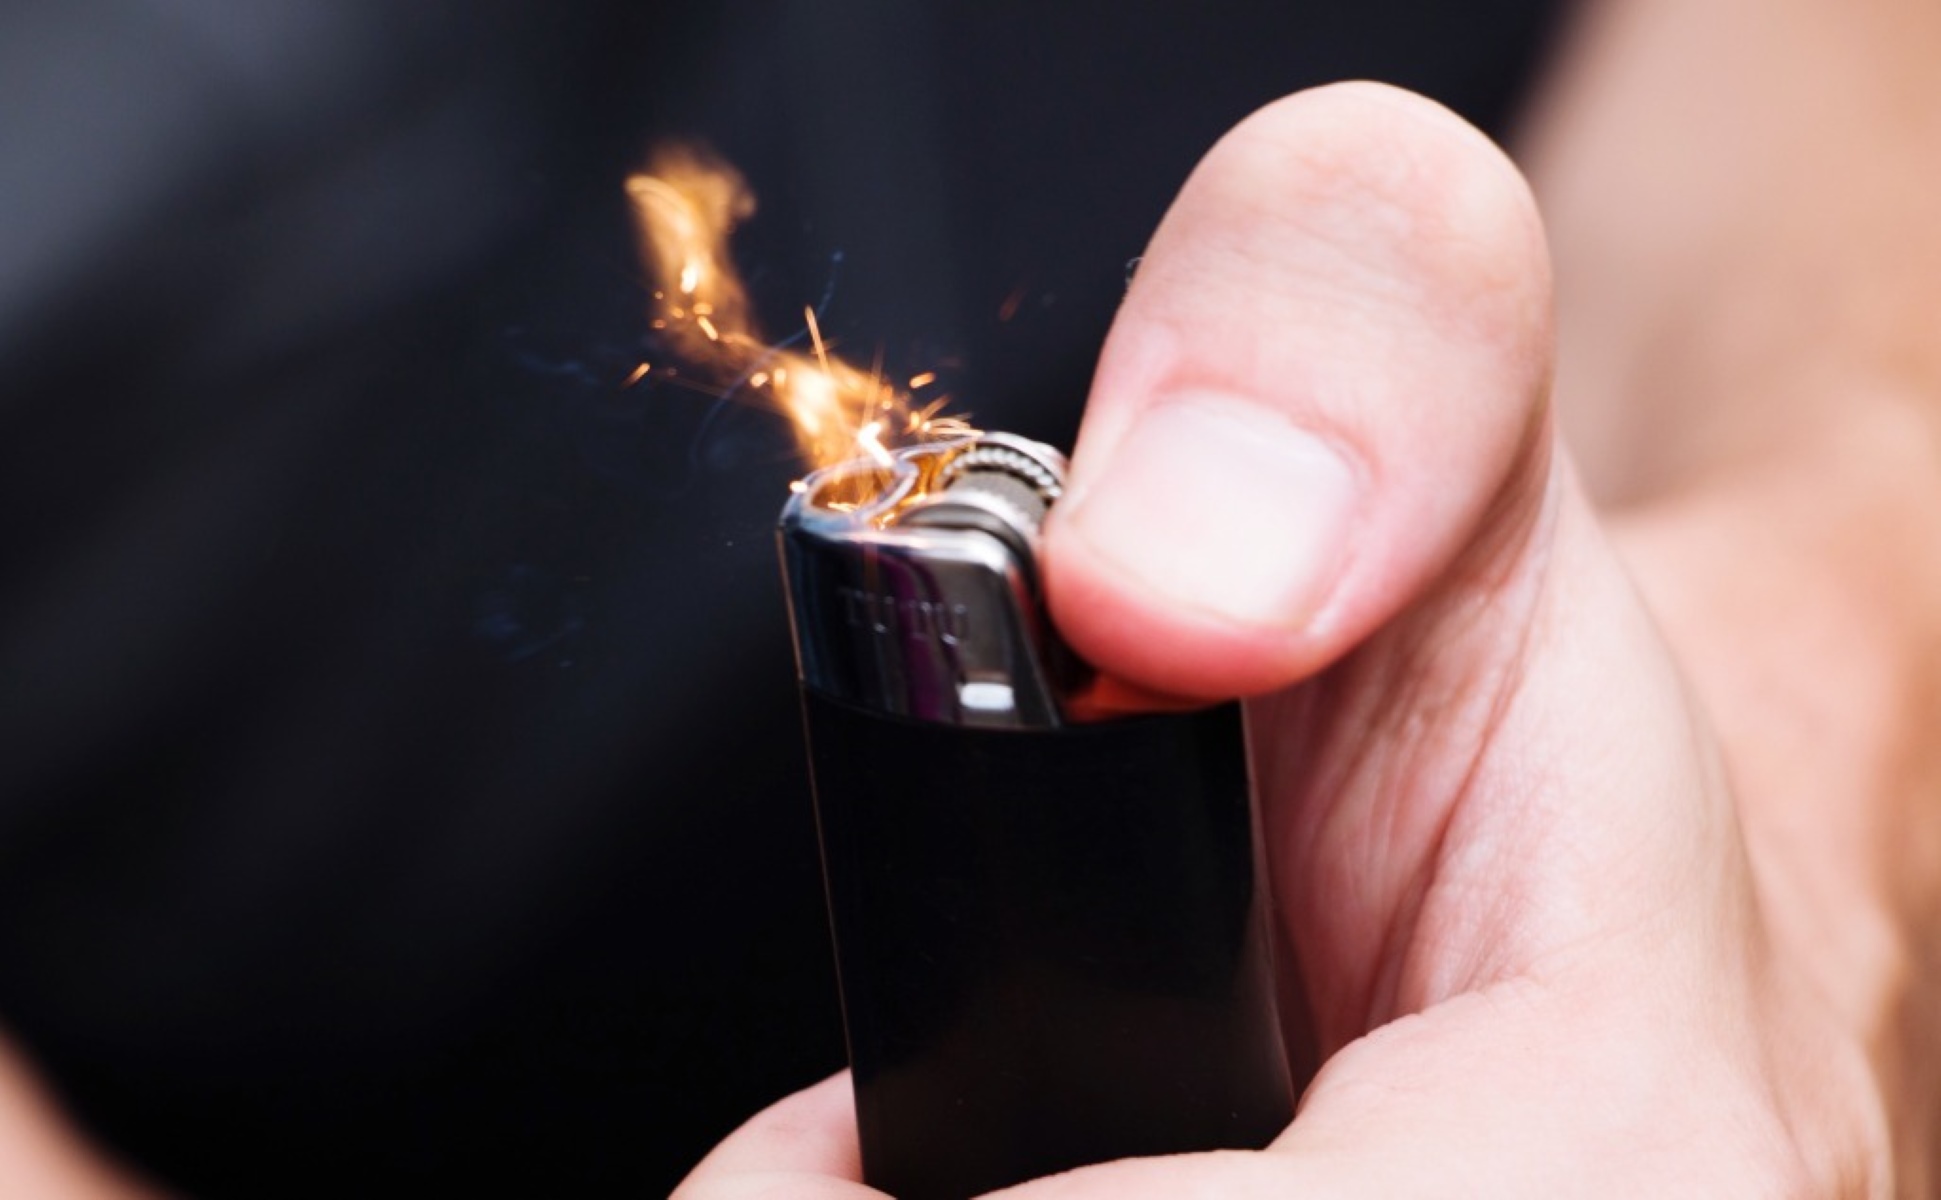
- For heat shrink tubing, slide the tubing over the connection and use a heat source, such as a heat gun or a lighter, to heat the tubing. As the tubing heats up, it will shrink tightly around the wire, providing a secure and insulated connection.
- Ensure that the entire exposed portion of the wire is covered by the insulation material. This includes the area near the connection as well as the stripped ends of the wire.
- Check for any gaps or areas where the insulation may not be secure. If needed, add additional layers of electrical tape or heat shrink tubing to reinforce the insulation.
- Perform a visual inspection after insulating the wires to ensure that they are properly covered and protected. There should be no exposed wires or uncovered sections.
Insulating the wires is crucial for maintaining the integrity of the connection and preventing any electrical hazards. It’s important to take the time to do it properly and ensure that the wires are adequately protected. Once you have insulated the wires, it’s time to move on to the last step: mounting the adapter.
Step 8: Mount the Adapter
Mounting the cigarette lighter adapter is the final step in the wiring process. Properly securing the adapter in your vehicle ensures that it remains in place and is easily accessible when needed. Here’s how you can mount the adapter:
- Select a suitable location in your vehicle to mount the adapter. It should be easily reachable and away from any obstructions that could interfere with its operation.
- Clean the selected mounting surface to ensure proper adhesion. Use a suitable cleaner to remove any dirt, dust, or grease that may hinder the adhesive properties of the mounting method.
- If your cigarette lighter adapter comes with a mounting bracket or adhesive pad, follow the manufacturer’s instructions to attach it securely to the mounting location. Ensure that it is level and firmly adhered.
- If the adapter does not come with a specific mounting method, you can use a strong adhesive or mounting tape to secure it in place. Be sure to select a reliable adhesive that is suitable for automotive applications.
- Place the adapter onto the mounting bracket or adhesive pad, applying pressure to ensure a secure bond. Follow any additional instructions provided by the manufacturer for proper mounting.
- Allow the adhesive to cure or set according to the instructions. This ensures that the adapter is firmly attached and will not easily dislodge during use.
- Perform a final inspection to ensure that the adapter is securely mounted and does not wobble or move excessively. Make any necessary adjustments as needed.
- With the adapter properly mounted, you can now enjoy the convenience of having an additional power source in your vehicle.
By following these steps and properly mounting the cigarette lighter adapter, you have successfully completed the wiring process. Congratulations!
Remember, always exercise caution when using electrical devices in your vehicle. If you ever encounter any issues or feel unsure about any aspect of the wiring process, seek professional assistance to ensure a safe and proper installation.
Now that you have successfully wired and mounted the cigarette lighter adapter, you can enjoy the convenience of powering your devices while on the go.
Thank you for following this step-by-step guide. We hope it has been helpful in your journey to wire a cigarette lighter adapter.
Read more: How To Store Lighters
Conclusion
Wiring a cigarette lighter adapter can be a practical and convenient solution for powering your devices while on the go. By following the step-by-step guide provided in this article, you have learned how to wire a cigarette lighter adapter from start to finish.
Throughout the process, we emphasized the importance of safety and recommended consulting a professional if you are unsure or uncomfortable with any step. Safety should always be a top priority when working with electrical components.
From gathering the necessary materials to mounting the adapter, each step has been carefully outlined to ensure a successful wiring process. By properly preparing the adapter, identifying the positive and negative wires, attaching the wires, connecting to the power source, testing the connection, insulating the wires, and mounting the adapter, you have completed the process with confidence.
Remember, always test the connection after wiring to ensure that everything is working correctly. If you encounter any issues or are unsure about any step, do not hesitate to seek professional assistance.
Now that you have wired a cigarette lighter adapter, you can enjoy the convenience of having an additional power source in your vehicle. Whether you need to charge your phone, power a navigation device, or connect any other compatible device, the adapter will provide a reliable solution.
Thank you for following this comprehensive guide on how to wire a cigarette lighter adapter. We hope that it has been informative and helpful in your DIY endeavor. Stay safe and enjoy your newly wired cigarette lighter adapter!
Frequently Asked Questions about How To Wire A Cigarette Lighter Adapter
Was this page helpful?
At Storables.com, we guarantee accurate and reliable information. Our content, validated by Expert Board Contributors, is crafted following stringent Editorial Policies. We're committed to providing you with well-researched, expert-backed insights for all your informational needs.


0 thoughts on “How To Wire A Cigarette Lighter Adapter”