Articles
How To Fix A Cigarette Burn In A Carpet
Modified: October 28, 2024
Learn how to fix a cigarette burn in your carpet with these simple step-by-step articles. Say goodbye to unsightly damage and keep your carpet looking flawless.
(Many of the links in this article redirect to a specific reviewed product. Your purchase of these products through affiliate links helps to generate commission for Storables.com, at no extra cost. Learn more)
Introduction
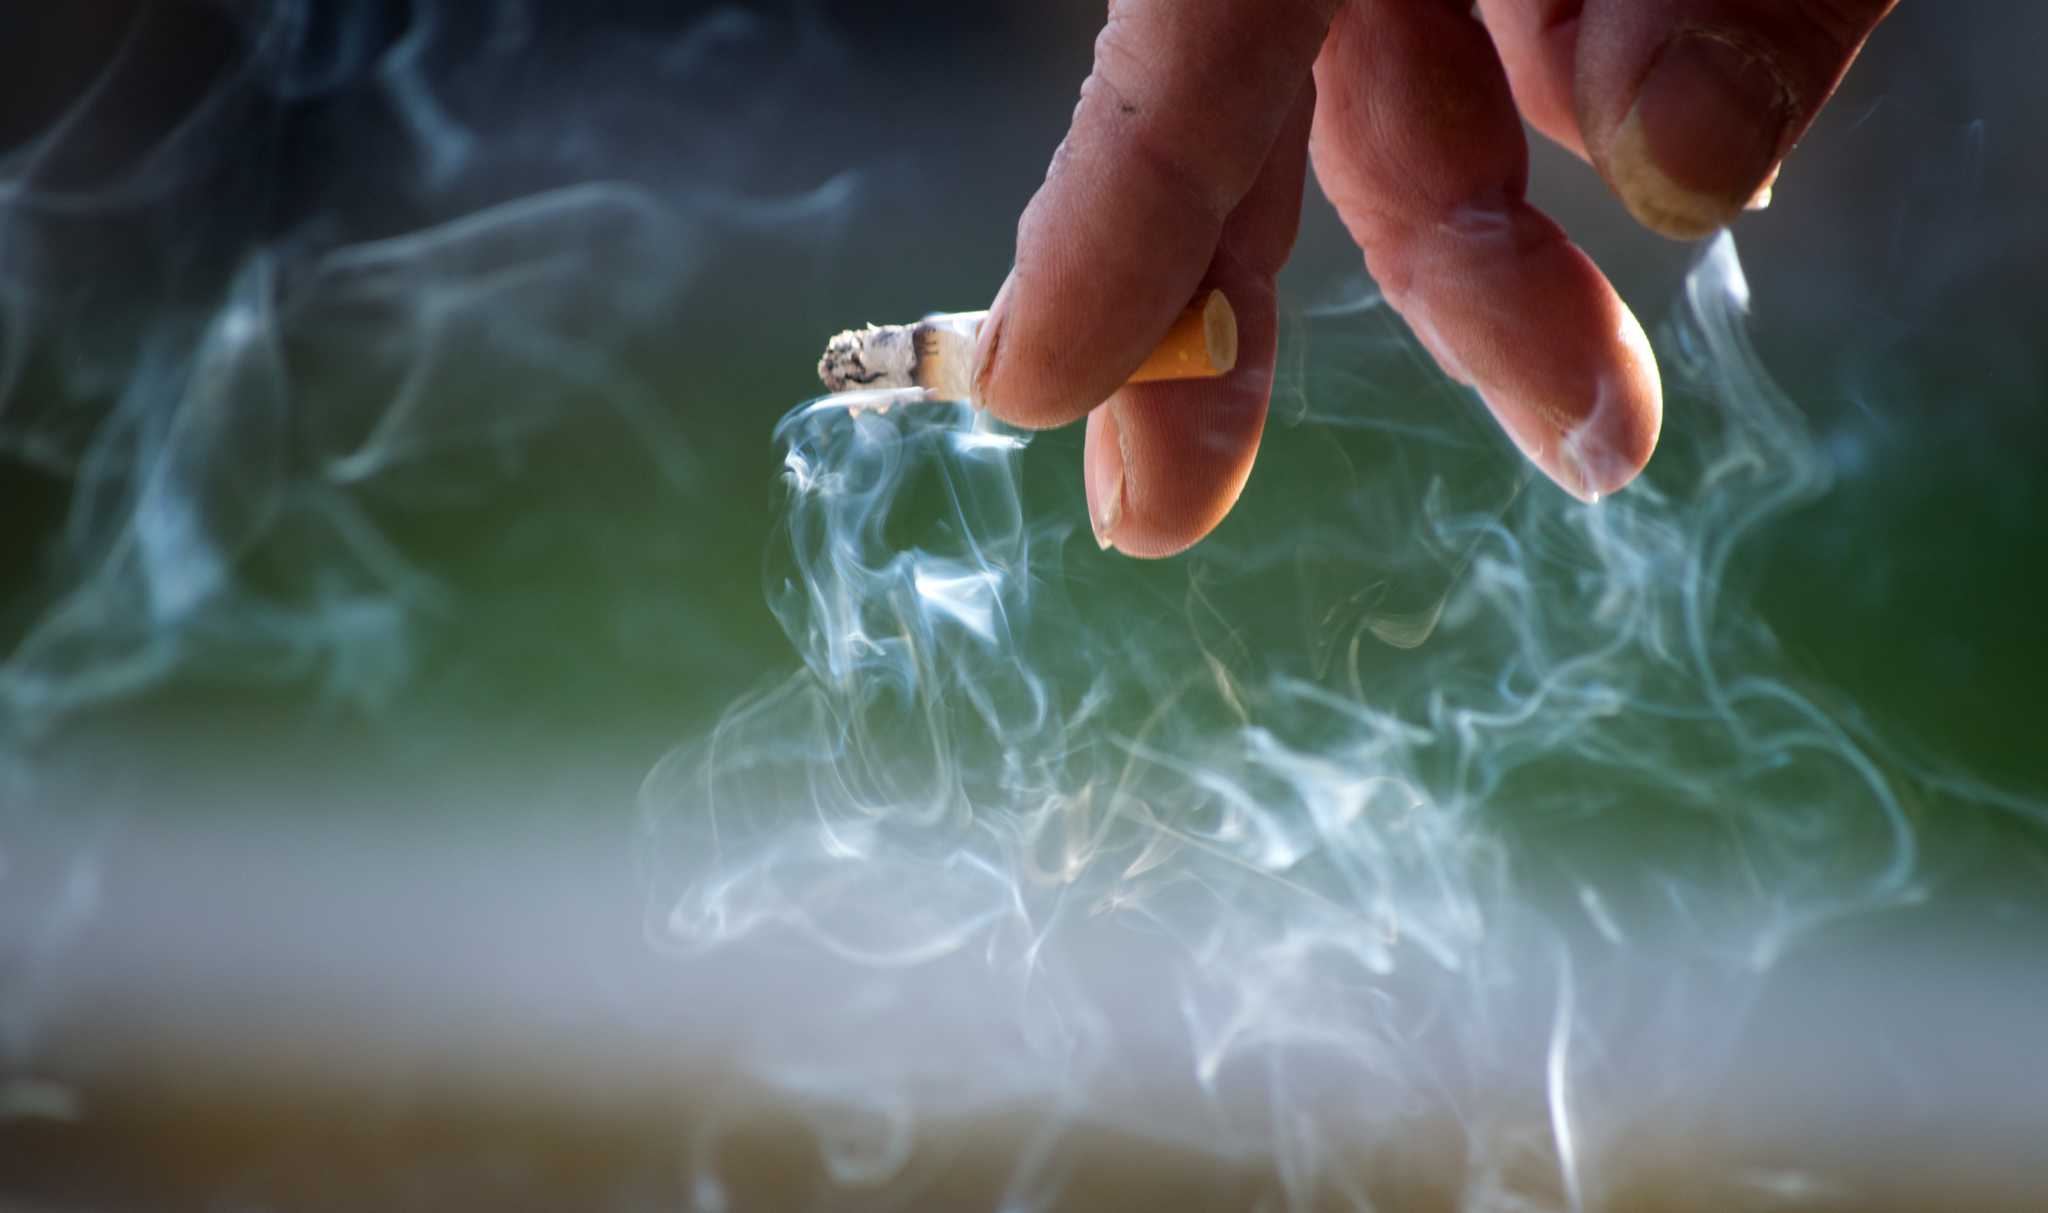
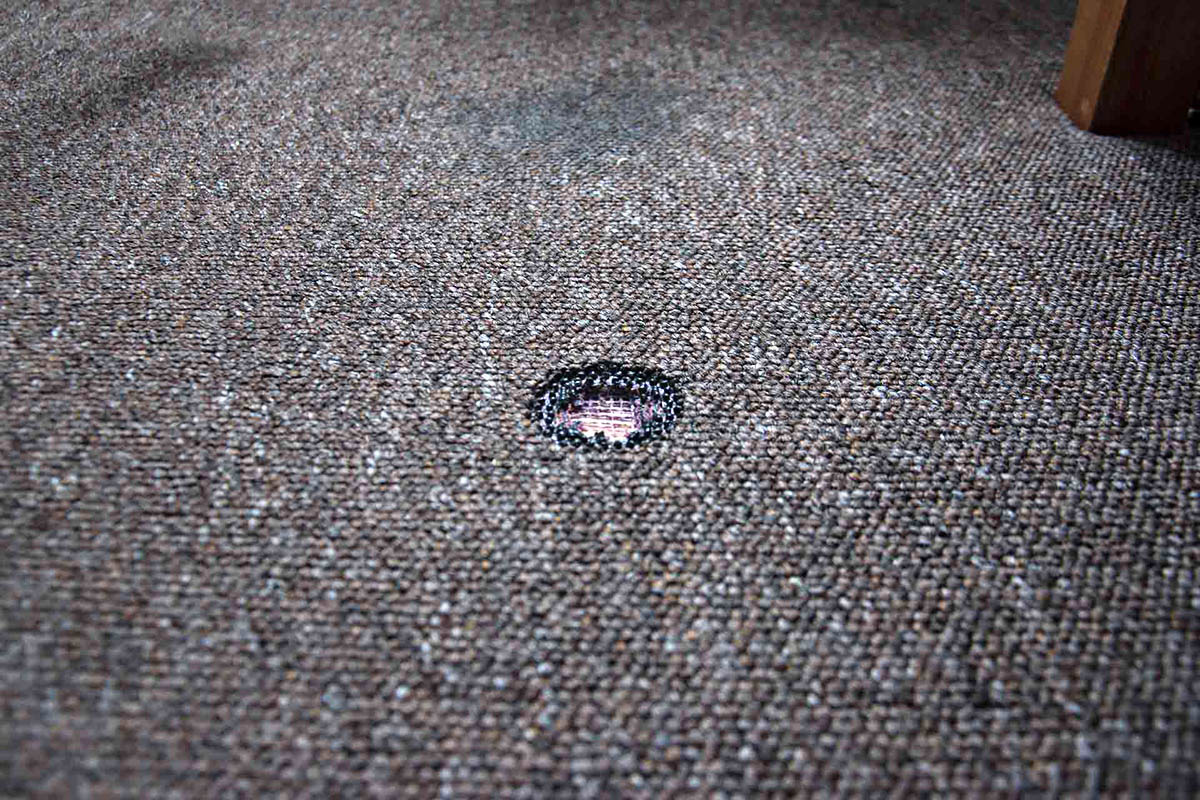
Accidents happen, and sometimes a stray cigarette can leave an unsightly burn mark on your carpet. Whether it’s a small burn or a larger one, repairing it can help restore the appearance of your carpet and prevent further damage. While it may seem like a daunting task, fixing a cigarette burn in a carpet is actually quite doable with the right materials and techniques.
In this guide, we will walk you through the step-by-step process of repairing a cigarette burn in your carpet. From preparing the area to replacing the burned fibers and blending the repaired spot, we will cover all the necessary details to help you achieve a seamless fix.
Before we begin, it’s important to note that the ability to repair a cigarette burn in a carpet depends on the severity of the damage. If the burn has penetrated deeply or caused extensive damage, it may be necessary to consult a professional to determine the best course of action. However, for smaller burns or surface-level damage, the following steps can help you achieve a satisfactory repair.
So, gather your materials and let’s get started on restoring your carpet to its former glory!
Key Takeaways:
- Don’t let a cigarette burn ruin your carpet—follow our step-by-step guide to seamlessly repair the damage and restore your carpet’s appearance with simple DIY techniques and readily available materials.
- While repairing a cigarette burn in a carpet is achievable, it’s essential to manage expectations and seek professional help for extensive damage. With the right approach, you can significantly improve your carpet’s appearance and maintain its beauty.
Read more: How To Remove Burn From A Carpet
Materials Needed
- Sharp scissors
- Replacement carpet fibers (can be purchased from a carpet store or online)
- Carpet adhesive
- Disposable gloves
- Tweezers
- White cloth or paper towels
- Iron (with adjustable heat settings)
- Steam iron (optional)
- Heat-resistant pad or cloth
- Carpet cleaner or mild detergent
- Soft brush or toothbrush
- Vacuum cleaner
Make sure to gather these materials before you begin the repair process. Having everything on hand will ensure a smooth and efficient repair.
It’s also important to note that the replacement carpet fibers should match the color and texture of your existing carpet as closely as possible. This will help to seamlessly blend the repaired area with the rest of the carpet.
Once you have all the necessary materials, you’re ready to move on to the next step!
Step 1: Preparing the Area
Before you begin the repair process, it’s crucial to properly prepare the area around the cigarette burn. This will ensure a clean and precise repair. Follow these steps to prepare the area:
- Start by thoroughly vacuuming the surrounding area to remove any loose dirt and debris. This will help you have a clear view of the damaged spot and prevent any unwanted particles from interfering with the repair process.
- If there are any furniture or objects on the carpet near the burn, carefully remove them to create an unobstructed workspace. This will make it easier to access the damaged area and ensure a more accurate repair.
- Gently blot the cigarette burn with a white cloth or paper towel to remove any residue or ash. Avoid rubbing the area, as this can push the debris further into the carpet fibers.
- If there are any stubborn stains or discoloration around the burn, you can use a carpet cleaner or a mild detergent diluted with water to gently clean the area. Dab the stain with a soft brush or toothbrush, working from the outer edges towards the center to prevent spreading the stain further.
- Allow the area to dry completely before moving on to the next step. This will ensure that the carpet fibers are ready for repair and that the adhesive will adhere properly.
By properly preparing the area, you create an optimal environment for the repair process. Now that the area is clean and dry, you can move on to the next step of cutting out the burned fibers.
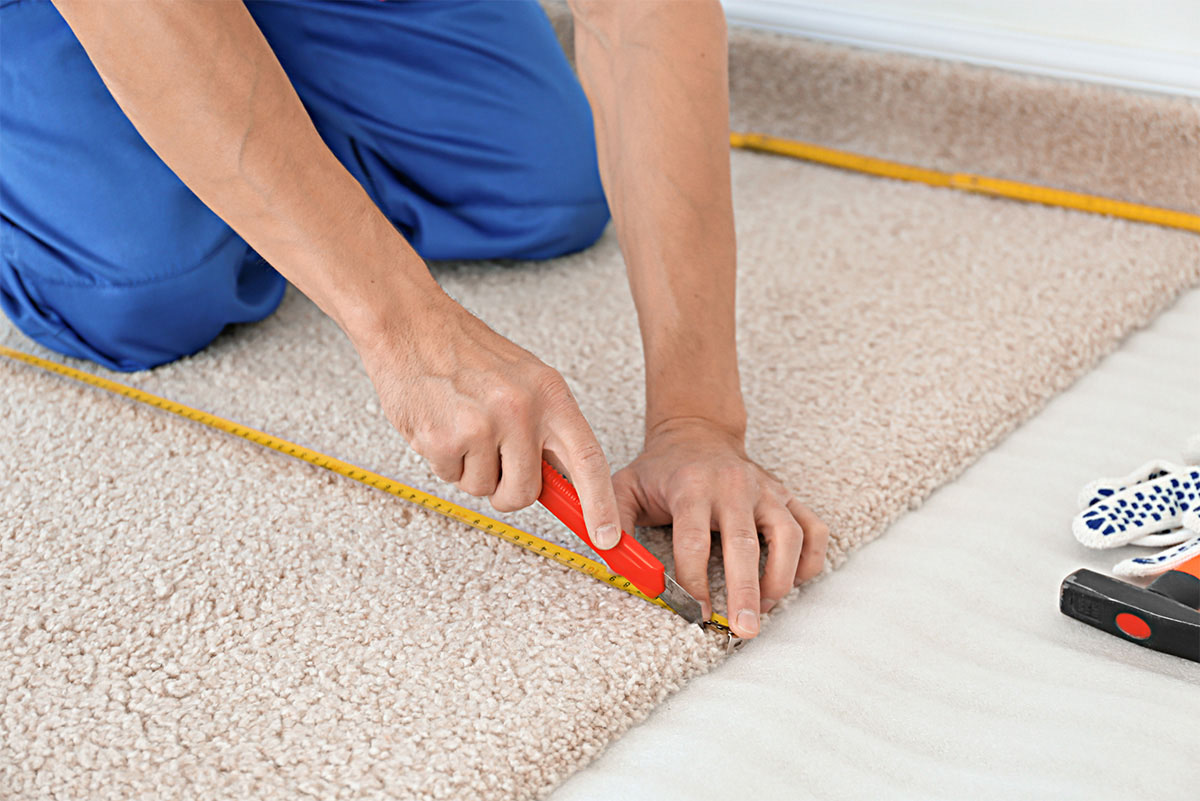
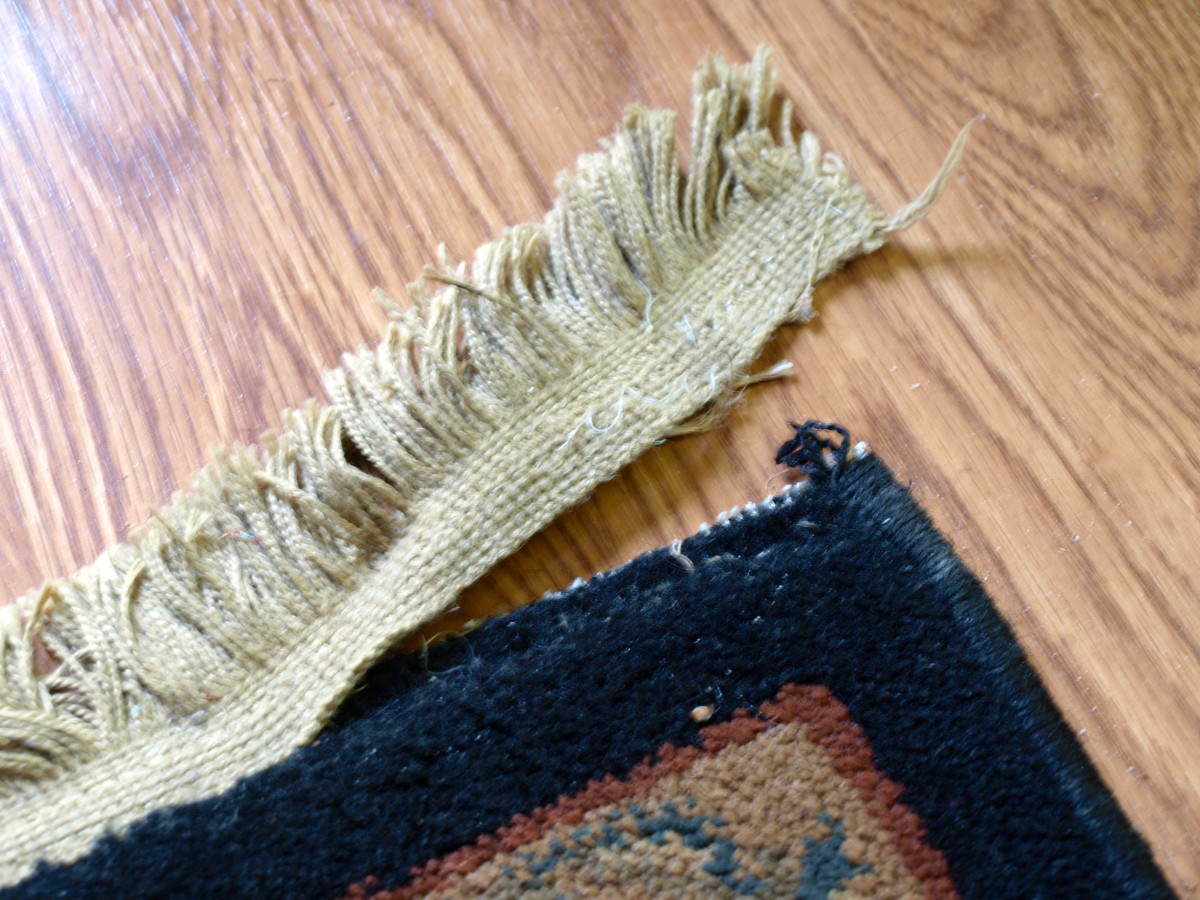
Step 2: Cutting Out the Burned Fibers
Now that you have prepared the area, it’s time to carefully cut out the burned fibers. Follow these steps to remove the damaged section:
- Put on disposable gloves to protect your hands from any sharp edges or debris.
- Take a pair of sharp scissors and carefully trim any charred or melted fibers around the burn. Be cautious not to cut through the underlying carpet pad or surrounding intact fibers.
- Using tweezers, gently pull out any loose or frayed fibers in and around the burned area. This will help create a clean and smooth surface for the repair.
- Inspect the remaining carpet fibers to ensure that all the burned and damaged fibers have been removed. If you notice any remaining charred fibers, continue cutting and tweezing until the area is free of damage.
- Dispose of the trimmed fibers and debris properly.
It’s important to take your time during this step to ensure that you remove all damaged fibers and create a clean canvas for the repair. When you’re satisfied with the removal of the burned fibers, you’re ready to move on to the next step of replacing them.
Step 3: Replacing the Burned Fibers
After removing the burned fibers, it’s time to replace them with new ones that match the color and texture of your carpet. Follow these steps to replace the burned fibers:
- Take your replacement carpet fibers and carefully align them with the surrounding intact fibers. Make sure they are the same length as the surrounding fibers to ensure a seamless blend.
- Apply a small amount of carpet adhesive to the base of the replacement fibers.
- Using tweezers, carefully press the adhesive-coated base of the replacement fibers into the empty space left by the burned fibers. Gently press down to ensure proper adhesion.
- Hold the fibers in place for a few seconds to allow the adhesive to bond.
- Repeat this process until the burned area is fully replaced with the new fibers. Take care to maintain an even and natural pattern.
It’s important to note that if you’re working with looped carpet, you may need to recreate the looped pattern by carefully pulling the replacement fibers through the surrounding loops. This will help achieve a consistent look.
If necessary, trim the replacement fibers to match the height of the surrounding fibers, ensuring a smooth and seamless finish.
Keep in mind that the replacement fibers may not initially appear identical to the surrounding carpet. However, as you proceed to the next steps of blending and finishing touches, the repaired area will become less noticeable.
With the burned fibers replaced, you are ready to apply carpet adhesive in the next step to secure the new fibers and ensure a long-lasting repair.
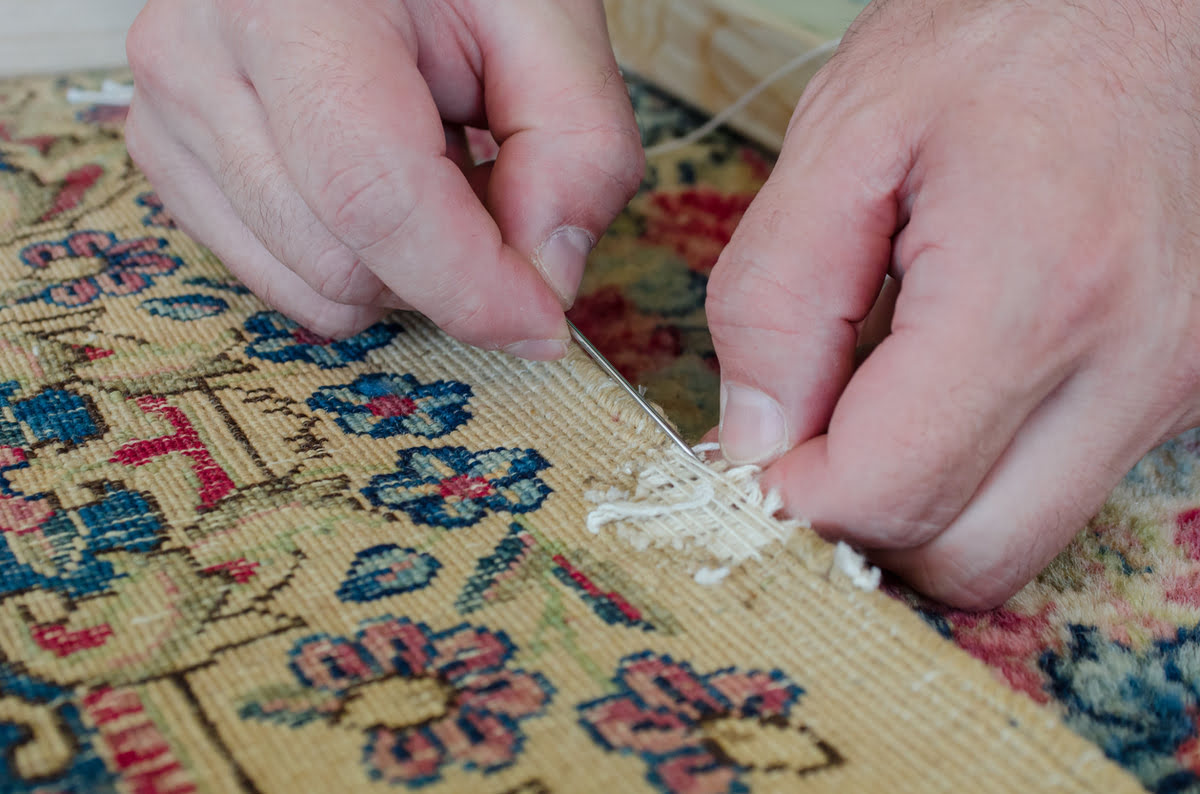
Use a pair of sharp scissors to carefully trim away the burnt fibers. Then, use a small amount of carpet adhesive to secure any loose fibers.
Read more: How To Fix Fertilizer Burn
Step 4: Applying Carpet Adhesive
Now that you have replaced the burned fibers with the new ones, it’s time to secure them in place by applying carpet adhesive. Follow these steps to apply the adhesive:
- Using a small brush or toothpick, carefully apply a thin layer of carpet adhesive to the base of the replacement fibers. Be sure to apply the adhesive only to the base of the fibers and avoid getting it on the surrounding carpet.
- Press down gently on the repaired area to ensure that the adhesive bonds well with the carpet fibers.
- Allow the adhesive to dry according to the manufacturer’s instructions. This typically takes a few hours, but it’s best to refer to the specific adhesive product for accurate drying time.
It’s important to note that some carpet adhesives require heat to activate the bonding process. If this is the case, you can use a steam iron or a regular iron with adjustable heat settings to carefully apply heat to the repaired area. Be sure to use a heat-resistant pad or cloth to protect the carpet and avoid direct contact with the iron.
By applying carpet adhesive and potentially using heat, you ensure that the replacement fibers are properly secured and will not loosen or shift over time.
With the adhesive applied, you’re ready to move on to the next step of blending the repaired area with the surrounding carpet fibers.
Step 5: Blending the Repaired Area
Now that the repaired area is securely bonded with the carpet adhesive, it’s time to blend it with the surrounding carpet fibers. Follow these steps to achieve a seamless blend:
- Use a soft brush or toothbrush to gently brush the repaired area and the surrounding carpet fibers. This will help to blend the colors and textures, making the repaired spot less noticeable.
- If needed, use a pair of scissors to carefully trim any uneven or longer fibers in the repaired area to match the surrounding carpet height.
- If you notice any visible lines or differences between the repaired area and the rest of the carpet, you can try lightly dampening the entire carpet surface with water and blotting with a clean, white cloth. This can help to even out the colors and textures.
It’s important to use gentle and controlled movements during the blending process to avoid damaging the repaired area or the surrounding carpet fibers.
Once you are satisfied with the blend and the repaired area is virtually indistinguishable from the rest of the carpet, you can proceed to the final step of adding some finishing touches.
Step 6: Finishing Touches
With the repair complete and the carpet fibers seamlessly blended, it’s time to add the finishing touches that will enhance the overall appearance. Follow these steps to give your repaired area a polished look:
- Inspect the repaired area closely to ensure that there are no loose or protruding fibers. If you notice any, carefully trim them with a pair of scissors to create a neat and uniform surface.
- Give the entire carpet a final vacuuming to remove any loose fibers or debris that may have accumulated during the repair process. This will leave your carpet looking fresh and clean.
- Consider using a carpet cleaner or a mild detergent diluted with water to clean the entire carpet, including the repaired area. This will help to even out any variations in color and texture and ensure a consistent appearance.
- If necessary, use a steam iron or a regular iron with adjustable heat settings to gently apply heat to the repaired area. This can help to further blend the fibers and create a more natural look.
- Once the carpet is dry and the repaired area is thoroughly blended, you can place any furniture or objects back into their original positions.
By following these finishing touches, you can achieve a professional-looking repair that seamlessly integrates with the rest of your carpet.
Remember, the success of the repair depends on the severity of the burn and the extent of the damage. It’s essential to have realistic expectations and understand that while this process can significantly improve the appearance of a cigarette burn in a carpet, it may not make it completely invisible.
With the finishing touches complete, stand back and admire your work. You have successfully fixed a cigarette burn in your carpet and restored its beauty.
However, if the burn is extensive or you are unsure about undertaking the repair yourself, it’s recommended to seek the assistance of a professional carpet repair service. They will have the expertise and specialized tools necessary to handle more complex repairs.
With proper care and maintenance, your repaired carpet can continue to bring comfort and style to your home for years to come.
Conclusion
Repairing a cigarette burn in a carpet may seem like a daunting task, but with the right materials and techniques, it can be an achievable DIY project. By following the step-by-step process outlined in this guide, you can restore the appearance of your carpet and prevent further damage.
From preparing the area and cutting out the burned fibers to replacing them with new ones and applying carpet adhesive, each step plays a vital role in achieving a seamless repair. The blending process and finishing touches help to further enhance the overall appearance and ensure a polished result.
It’s important to have realistic expectations when repairing a cigarette burn, as the success of the repair depends on factors such as the severity of the damage and the type of carpet. While the repaired area may not be completely invisible, the techniques outlined in this guide will significantly improve the appearance and make it less noticeable.
If you’re unsure about undertaking the repair yourself or if the burn is extensive, it’s advisable to consult a professional carpet repair service. They have the knowledge and expertise to handle complex repairs and ensure optimal results.
Remember to properly care for and maintain your carpet after the repair. Regular vacuuming, prompt stain removal, and avoiding placing hot objects directly on the carpet can help prolong its lifespan and keep it looking its best.
With the right approach and attention to detail, you can successfully fix a cigarette burn in your carpet, restoring its beauty and maintaining the overall appeal of your home.
Frequently Asked Questions about How To Fix A Cigarette Burn In A Carpet
Was this page helpful?
At Storables.com, we guarantee accurate and reliable information. Our content, validated by Expert Board Contributors, is crafted following stringent Editorial Policies. We're committed to providing you with well-researched, expert-backed insights for all your informational needs.