Articles
What Does The Gauge On A Kegerator Do
Modified: October 20, 2024
[Articles] - Discover the purpose and functionality of the gauge on a kegerator, and learn how it ensures optimal beer dispensing for a perfect pour.
(Many of the links in this article redirect to a specific reviewed product. Your purchase of these products through affiliate links helps to generate commission for Storables.com, at no extra cost. Learn more)
Introduction
Welcome to the world of kegerators! These specially designed refrigerators have gained popularity among beer enthusiasts for their ability to store, cool, and dispense draft beer. If you’re new to kegerators, you may be curious about the various components that make up this unique appliance. In particular, you may have noticed a gauge on your kegerator and wondered about its purpose and function.
In this article, we will explore the gauge on a kegerator and demystify its role in maintaining the perfect pour. We will discuss the different components of a kegerator, how the gauge works, and why it’s important to monitor it regularly. So, grab a cold one and let’s dive in!
Key Takeaways:
- The gauge on a kegerator is crucial for maintaining the perfect pour by monitoring carbonation levels and pressure, ensuring consistent and high-quality beer with each glass.
- Regularly monitoring and interpreting the gauge readings empowers beer enthusiasts to troubleshoot issues, maintain optimal beer quality, and deliver a top-notch pouring experience.
Read more: What To Do With Old Krups Kegerator
Understanding a Kegerator
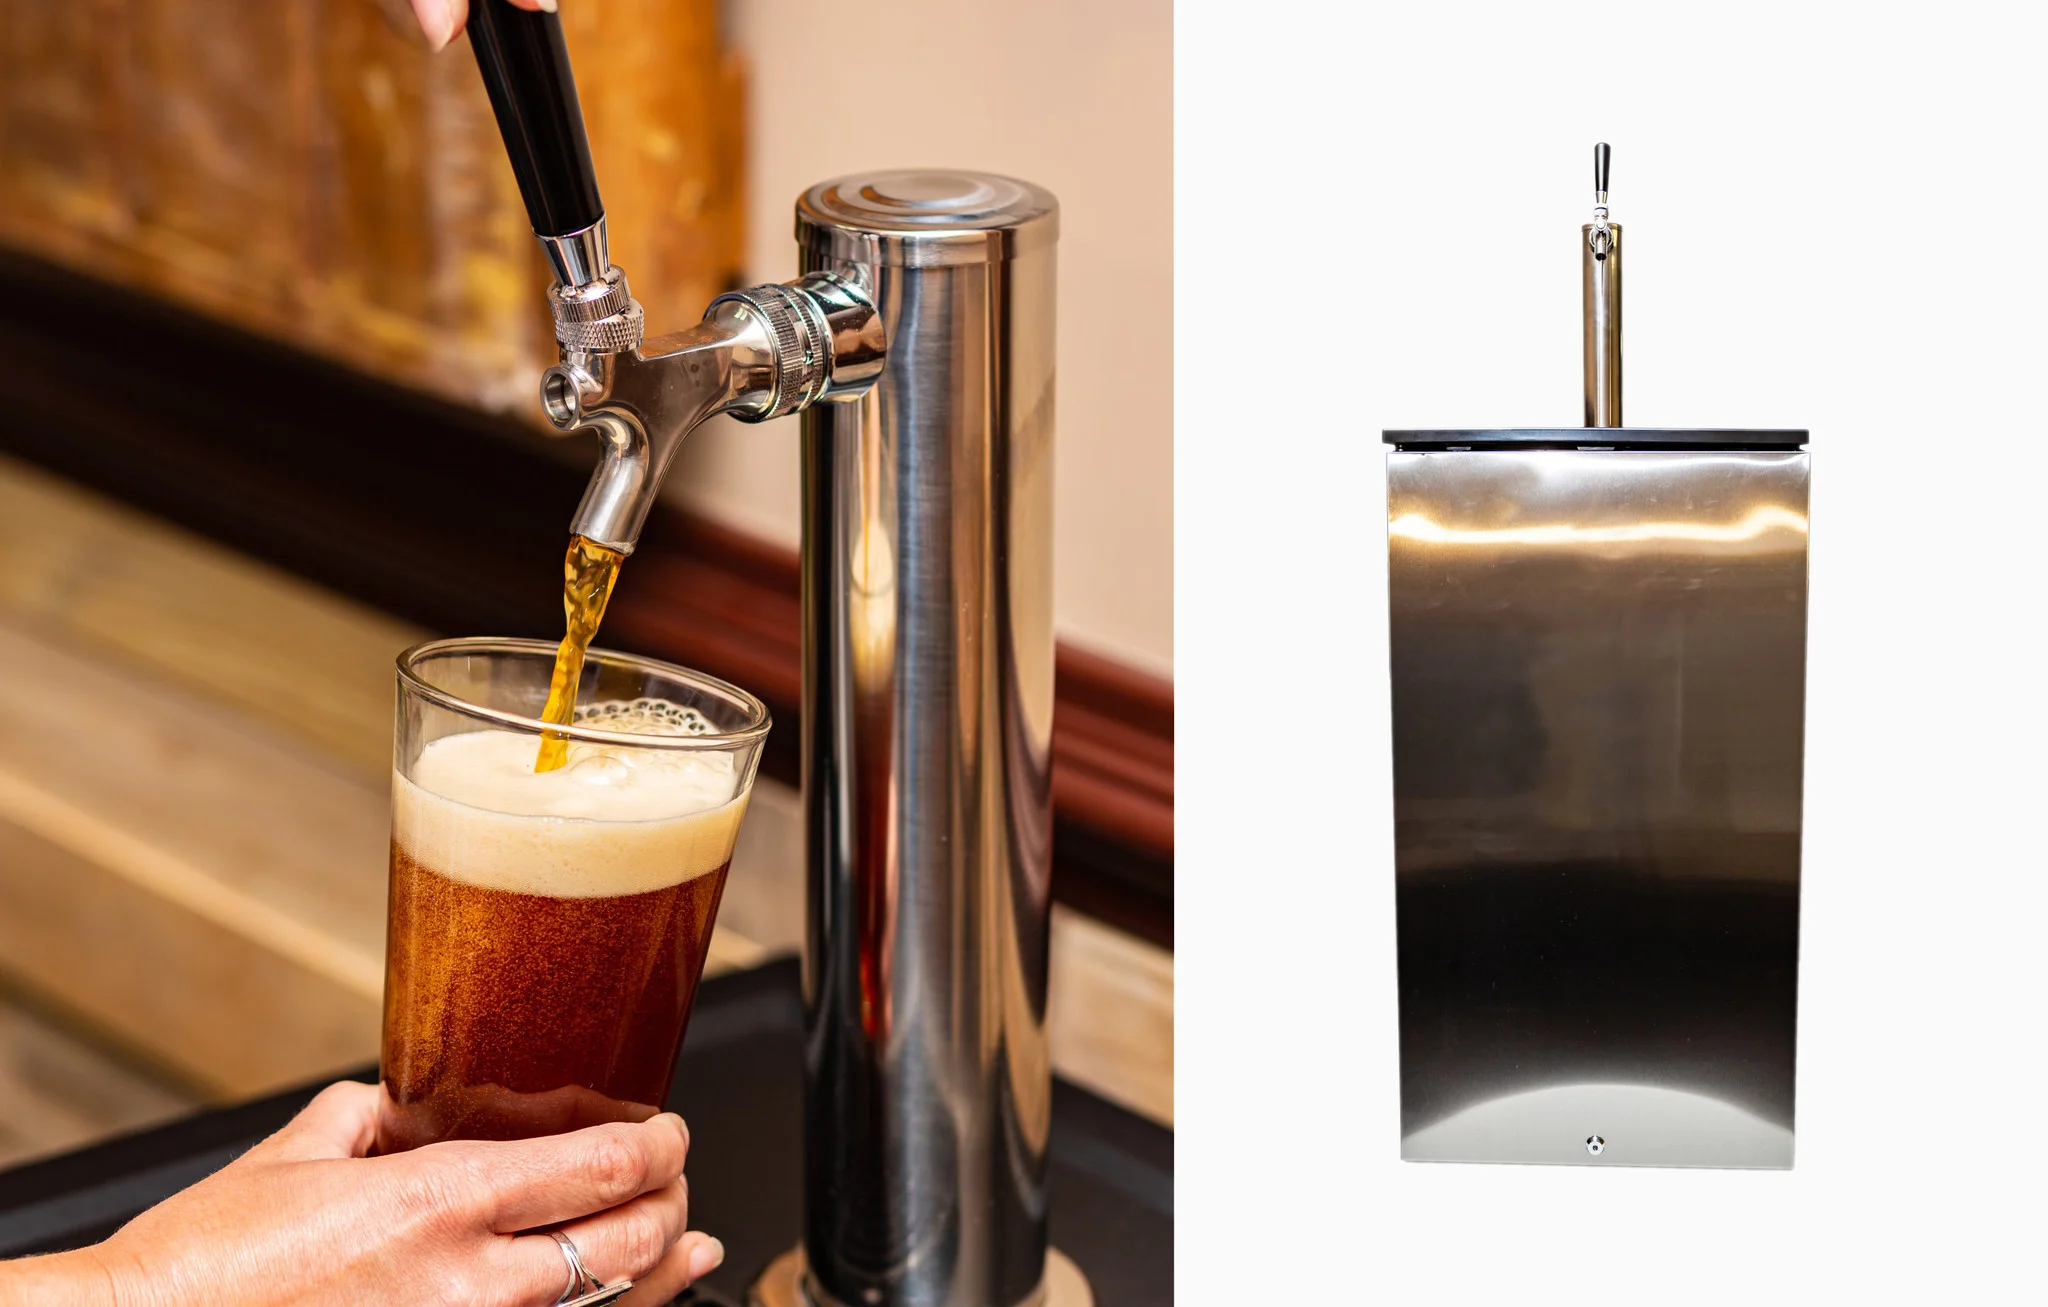
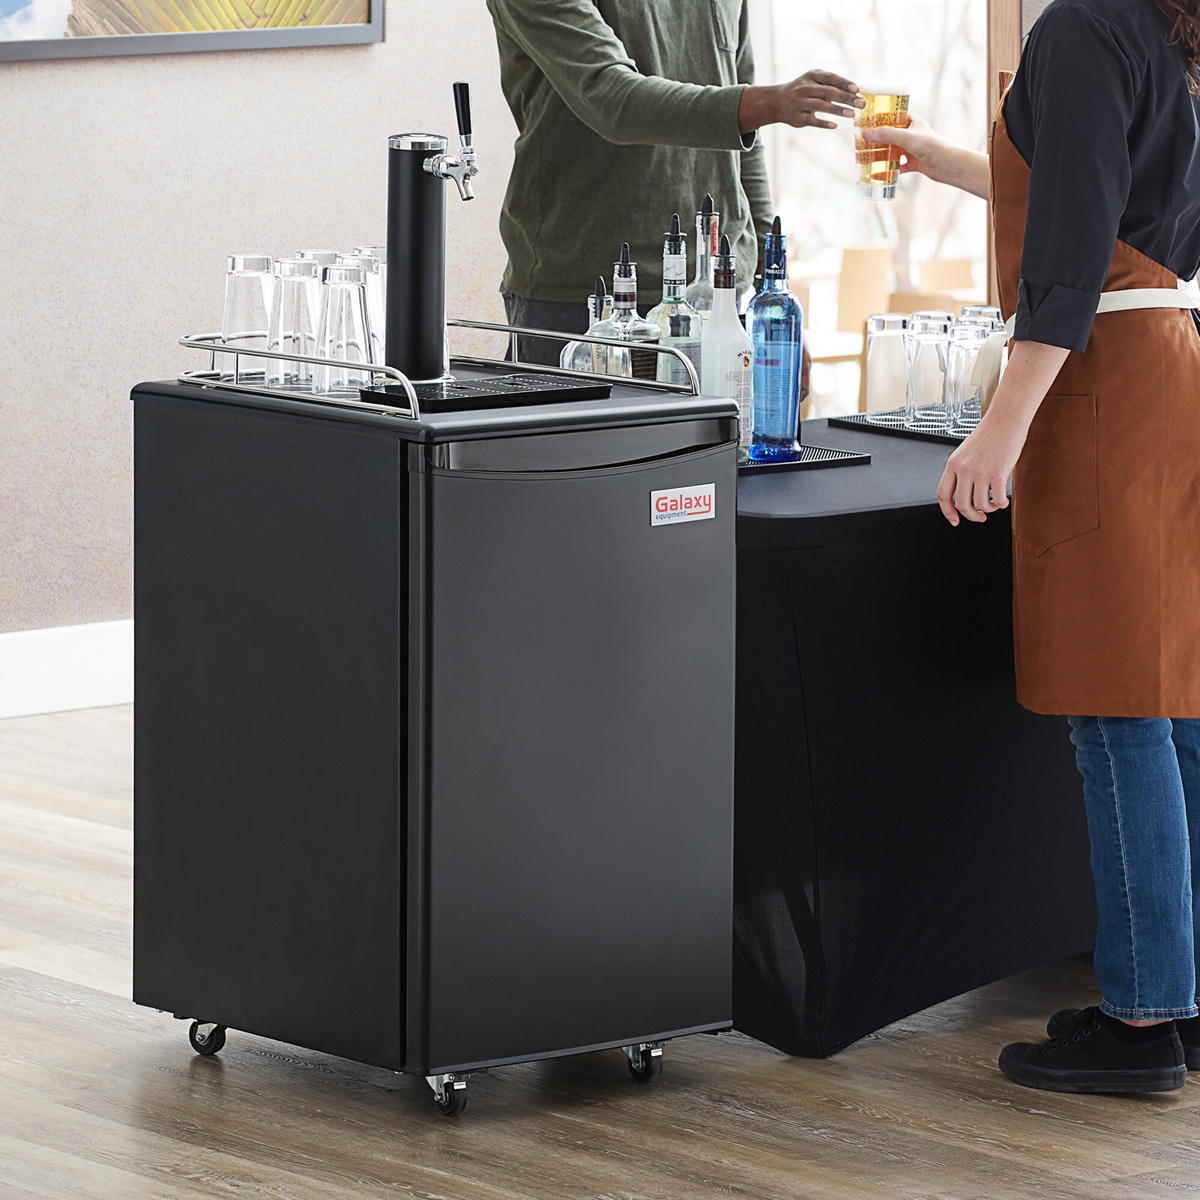
Before we delve into the intricacies of the gauge on a kegerator, let’s start by understanding what a kegerator is. Simply put, a kegerator is a refrigerator or freezer that is specifically designed to store and dispense kegs of beer.
One of the main advantages of a kegerator is the ability to serve draft beer at home or in a commercial setting. Instead of relying on bottles or cans, which can affect the taste and quality of the beer, kegerators use a keg that is pressurized and connected to a dispensing system. This ensures that the beer remains fresh and carbonated until it is poured into a glass.
Kegerators come in various sizes and configurations, ranging from small countertop models for home use to larger units for commercial establishments. They typically have a built-in cooling mechanism, such as a compressor or thermoelectric system, to chill the beer to the optimal temperature.
In addition to keeping the beer cold, kegerators also feature other components such as taps, couplers, hoses, and regulators. These components work together to deliver a smooth and consistent flow of beer from the keg to the glass.
Now that we have a basic understanding of what a kegerator is, let’s focus on one specific component: the gauge. This small but important device plays a crucial role in maintaining the ideal conditions for dispensing beer.
Components of a Kegerator
To fully understand the gauge on a kegerator, it’s important to have a grasp of the different components that make up this appliance. Let’s take a closer look at the key elements of a kegerator:
- Cooling System: The cooling system is responsible for maintaining the desired temperature inside the kegerator. It can be either a compressor-based system, similar to a traditional refrigerator, or a thermoelectric system that uses electric currents to cool the keg.
- Keg Storage Area: This is where the keg is placed inside the kegerator. It is typically a large, insulated compartment that keeps the keg cold and prevents temperature fluctuations.
- Tap Tower: The tap tower is the vertical column fitted with faucets where the beer is dispensed. It is usually located at the top of the kegerator and may have one or multiple taps, depending on the model.
- Coupler: The coupler is a critical component that connects the keg to the dispensing system. It creates a secure seal and allows the beer to flow from the keg into the tap tower.
- Hoses: Hoses are used to transport the beer from the keg to the tap. They are typically made of durable food-grade material to ensure the beer’s quality remains uncompromised.
- Regulator: The regulator is responsible for controlling the pressure of the gas (usually CO2) that is used to carbonate and dispense the beer. It ensures a consistent flow rate and carbonation level.
- Drip Tray: The drip tray is located beneath the tap tower and serves as a catch basin for any spilled beer or foam. It helps keep the area clean and prevents messes.
- Gauge: And finally, we come to the gauge. This small device is usually located on the front of the kegerator and provides valuable information about the pressure inside the system.
Now that we have a solid understanding of the components of a kegerator, let’s turn our attention to the specific role of the gauge and why it is essential for the proper functioning of the appliance.
The Purpose of a Gauge on a Kegerator
The gauge on a kegerator serves an important role in monitoring and controlling the pressure inside the system. It provides valuable information about the carbonation level of the beer and ensures that it is dispensed properly.
One of the key factors in serving a perfect glass of beer is maintaining the right carbonation. Carbonation refers to the level of dissolved CO2 in the beer, which contributes to its fizzy and refreshing mouthfeel. Too much or too little carbonation can adversely affect the taste and experience of the beer.
The gauge on a kegerator allows you to measure the pressure inside the system, which is directly related to the carbonation level of the beer. By monitoring the gauge, you can ensure that the pressure is within the optimal range for the specific type of beer you are serving.
Different beer styles require different levels of carbonation. For example, a crisp and effervescent pilsner may require higher levels of carbonation, while a smooth and creamy stout may require lower levels. The gauge helps you adjust the pressure accordingly to maintain the desired carbonation level for each beer style.
In addition to carbonation, the gauge also helps to monitor the pressure of the gas used to push the beer out of the keg. Most kegerators use CO2 to pressurize the keg and create the necessary force to dispense the beer. The gauge allows you to ensure that the pressure is sufficient to deliver a smooth and steady flow of beer without excessive foaming or splattering.
By keeping an eye on the gauge, you can make adjustments to the regulator if needed to maintain the desired pressure. This ensures that each pour is consistent and eliminates any variations in the beer’s taste or texture.
The gauge on a kegerator is essentially a communication tool between you and your keg. It gives you valuable insights into the carbonation and pressure levels, allowing you to make informed decisions to achieve that perfect pour.
Now that we understand the purpose of the gauge, let’s explore how it actually works and how to interpret the readings it provides.
How Does a Kegerator Gauge Work?
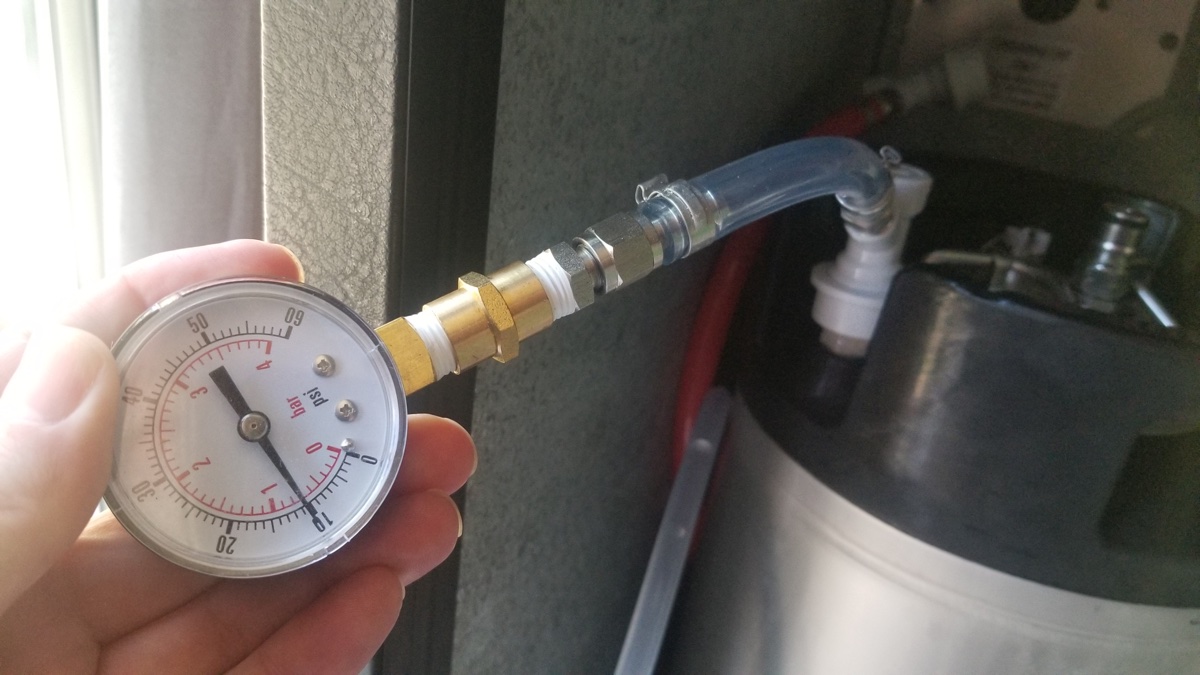
The gauge on a kegerator operates based on the principle of pressure measurement. Inside the gauge, you’ll find a diaphragm or a spring mechanism that responds to changes in pressure and translates them into a visual reading.
The diaphragm or spring in the gauge is connected to the kegerator’s pressurized system via a small tube or hose. This allows the pressure from the system to exert force on the diaphragm or spring, causing them to move and display a corresponding reading on the gauge.
Typically, kegerator gauges are designed to measure pressure in either pounds per square inch (psi) or kilopascals (kPa). The gauge may have a dial face with a needle that points to the current pressure reading or a digital display that shows the pressure numerically.
When the kegerator is pressurized and the carbonation process is in progress, the pressure inside the system increases. This increase in pressure is reflected on the gauge, allowing you to monitor the carbonation level of the beer.
As you adjust the regulator to control the pressure, the gauge readings will correspondingly change. This enables you to fine-tune the carbonation and pressure settings to match your desired pour.
It’s worth noting that the gauge reading may fluctuate slightly due to external factors such as temperature changes or variations in the gas supply. However, as long as the fluctuations are within a reasonable range, the gauge will provide an accurate representation of the pressure inside the kegerator.
Understanding how the kegerator gauge works is crucial in order to effectively monitor and maintain the ideal conditions for serving draft beer. Now that we know the basics of gauge operation, let’s move on to the next step: reading and interpreting the gauge readings.
The gauge on a kegerator measures the pressure inside the CO2 tank. It should be set to the recommended pressure for the type of beer being dispensed to ensure proper carbonation and a perfect pour.
Read more: What Is A Kegerator?
Reading and Interpreting the Gauge
Reading and interpreting the gauge on your kegerator is an essential skill for ensuring optimal beer quality and a smooth dispensing process. Let’s explore how to effectively read and interpret the gauge readings:
- Pressure Units: Start by determining the units of measurement displayed on your gauge. Whether it’s psi or kPa, understanding the unit will help you accurately interpret the readings.
- Normal Operating Range: Different beer styles require different carbonation levels and pressures. Consult the guidelines provided by the brewery or a trusted resource to determine the recommended pressure range for the specific beer style you’re serving.
- Initial Carbonation: When carbonating a new keg, set the pressure slightly higher than the target range specified for the beer style. This allows for faster carbonation. As the pressure decreases, adjust it to maintain the desired carbonation level within the recommended range.
- Steady State: Once the desired carbonation level is achieved, the gauge reading should stabilize within the recommended pressure range. This indicates that the beer is properly carbonated and ready to be served.
- Pressure Adjustments: If the gauge reading indicates a pressure outside the recommended range, make adjustments using the regulator. Slowly increase or decrease the pressure until the gauge reading falls within the target range.
- Consistency: Monitoring the gauge readings consistently is essential. Keep an eye on the gauge during dispensing to ensure that the pressure remains stable and the reading doesn’t fluctuate significantly. This helps maintain a consistent pour throughout the keg.
- Note Changes: If you notice sudden and significant changes in the gauge readings, such as a rapid drop or a sudden rise in pressure, it may indicate an issue with the kegerator system. In such cases, it’s important to investigate and troubleshoot the problem to ensure the quality of the beer.
Remember, the gauge on your kegerator is a valuable tool that enables you to monitor and maintain the optimal carbonation and pressure levels for your beer. Regularly checking and interpreting the gauge readings will help you deliver a top-notch pouring experience each time.
Now that we have covered the importance of monitoring the gauge and interpreting its readings, let’s discuss the troubleshooting steps you can take if you encounter any issues with the gauge or the kegerator system.
Importance of Monitoring the Gauge
Monitoring the gauge on your kegerator is of utmost importance to ensure the quality of the beer and the proper functioning of the system. Here are several reasons why monitoring the gauge is essential:
- Carbonation Control: The gauge allows you to monitor the pressure, which directly affects the carbonation level of the beer. By keeping a close eye on the gauge, you can ensure that the beer is carbonated to the desired level for the specific beer style you’re serving. This ensures a consistently great taste and mouthfeel.
- Avoid Over-Carbonation or Under-Carbonation: Over-carbonation or under-carbonation can significantly impact the enjoyment of the beer. If the pressure is too high, it can result in excessive foam or a fizzy mouthfeel. On the other hand, if the pressure is too low, the beer may taste flat. Monitoring the gauge helps you avoid these issues and achieve the perfect balance of carbonation.
- Safeguard Dispensing System: By monitoring the gauge, you can detect any irregularities or sudden changes in pressure, which could indicate a problem with the dispensing system. This allows you to address the issue promptly and prevent any potential damage to the system, ensuring a smooth flow of beer and extending the lifespan of your kegerator.
- Consistency Across Kegs: If you’re serving multiple kegs, monitoring the gauge ensures consistency from one keg to another. Each keg may require different pressure levels based on the type and style of beer. By adjusting the pressure for each keg and monitoring it accordingly, you can maintain a consistent pour and ensure that every glass of beer is of the same high quality.
- Optimal Beer Quality: The gauge is instrumental in maintaining the overall quality of the beer. By monitoring the pressure and making adjustments if necessary, you can ensure that every pour is smooth, properly carbonated, and visually appealing. This enhances the overall beer-drinking experience for yourself and your guests.
Regularly monitoring the gauge and understanding its readings empowers you to take control of your kegerator and ensure that your beer is served at its best. It allows you to make informed decisions and adjustments, leading to a consistently excellent pouring experience.
Now that we recognize the importance of monitoring the gauge, let’s explore some common troubleshooting steps you can take if you encounter any issues with your kegerator gauge.
Troubleshooting the Gauge
If you encounter any issues with the gauge on your kegerator, there are several troubleshooting steps you can take to identify and resolve the problem. Here are some common issues and their potential solutions:
- Gauge Reading Is Inaccurate: If you suspect that the gauge reading is incorrect, you can calibrate it by comparing it to a known accurate pressure gauge. If there is a significant discrepancy, you may need to replace the gauge to ensure accurate readings.
- Gauge Is Not Responding: If the gauge is not responding or the needle is not moving, check for any kinks or obstructions in the connecting tube or hose. Clear any blockages and ensure that the gauge is securely connected to the kegerator’s pressurized system.
- Pressure Fluctuations: If you notice rapid and frequent fluctuations in the gauge readings, this may indicate a problem with the regulator or the gas supply. Check for any leaks in the system and ensure that the regulator is properly adjusted and functioning. It may also be necessary to check the gas cylinder to ensure an adequate supply.
- Stuck or Jammed Gauge: If the gauge needle is stuck or jammed, it may be due to dirt or debris inside the gauge mechanism. Gently tap the gauge or use compressed air to remove any obstructions. If the issue persists, it may require professional servicing or replacement of the gauge.
- Leaking Gauge: If you notice any leaks around the gauge or where it connects to the kegerator, it may indicate a faulty seal or fitting. Ensure that all connections are properly tightened and sealed. If the leak continues, you may need to replace the gauge or the seals to prevent any further issues.
It’s important to keep in mind that troubleshooting the gauge is just one aspect of maintaining and troubleshooting your kegerator. In some cases, if the gauge issues persist or if you are unsure about the problem, it’s always a good idea to consult the manufacturer’s instructions or seek assistance from a professional technician.
Regular maintenance, cleaning, and proper usage of your kegerator can also help prevent issues with the gauge and other components. By following the manufacturer’s guidelines and regularly inspecting the kegerator, you can ensure optimal performance and longevity of your appliance.
Now that we’ve covered troubleshooting the gauge, let’s conclude our journey into understanding the gauge on a kegerator.
Conclusion
Understanding and monitoring the gauge on your kegerator is crucial for maintaining optimal beer quality, carbonation levels, and a smooth pouring experience. The gauge provides valuable insights into the pressure inside the system, allowing you to adjust and control the carbonation and pressure settings for different beer styles.
By regularly monitoring the gauge readings, you can ensure that your beer is properly carbonated, dispensed at the right pressure, and served at its best. This enhances the taste, mouthfeel, and overall enjoyment of the beer.
Through this article, we have explored the purpose of the gauge, its components, how it works, and how to interpret its readings. We have also discussed the importance of monitoring the gauge for maintaining consistency, avoiding over-carbonation or under-carbonation, and safeguarding the kegerator system.
Additionally, we have provided troubleshooting steps to address common issues with the gauge, such as inaccurate readings, unresponsiveness, pressure fluctuations, stuck needles, and leaks. It’s important to troubleshoot these issues promptly to ensure the proper functioning of the kegerator and the quality of the beer.
Remember, a well-maintained and properly monitored kegerator with a functioning gauge is the key to serving great-tasting draft beer at home or in a commercial setting. So, take the time to familiarize yourself with your kegerator’s gauge and make it a regular part of your beer-serving routine.
Cheers to a perfectly poured pint!
Frequently Asked Questions about What Does The Gauge On A Kegerator Do
Was this page helpful?
At Storables.com, we guarantee accurate and reliable information. Our content, validated by Expert Board Contributors, is crafted following stringent Editorial Policies. We're committed to providing you with well-researched, expert-backed insights for all your informational needs.


0 thoughts on “What Does The Gauge On A Kegerator Do”