Articles
How To Untap Kegerator
Modified: August 30, 2024
Discover the best articles on how to untap your kegerator and enjoy a refreshing pour every time. Get expert tips and step-by-step guides to maintain your keg system for optimal performance.
(Many of the links in this article redirect to a specific reviewed product. Your purchase of these products through affiliate links helps to generate commission for Storables.com, at no extra cost. Learn more)
Introduction
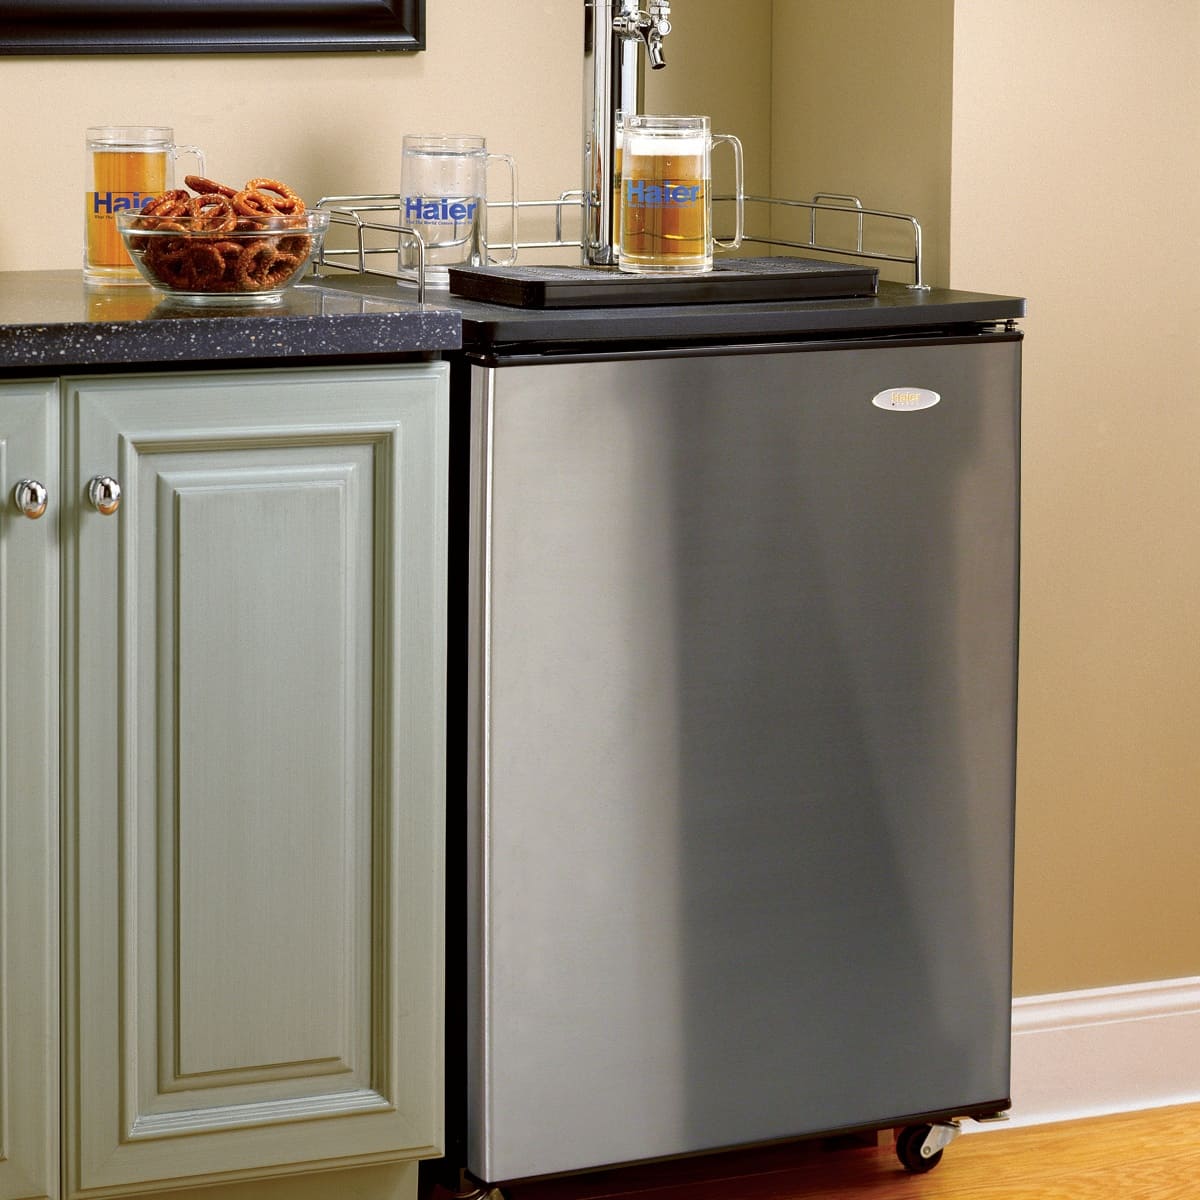
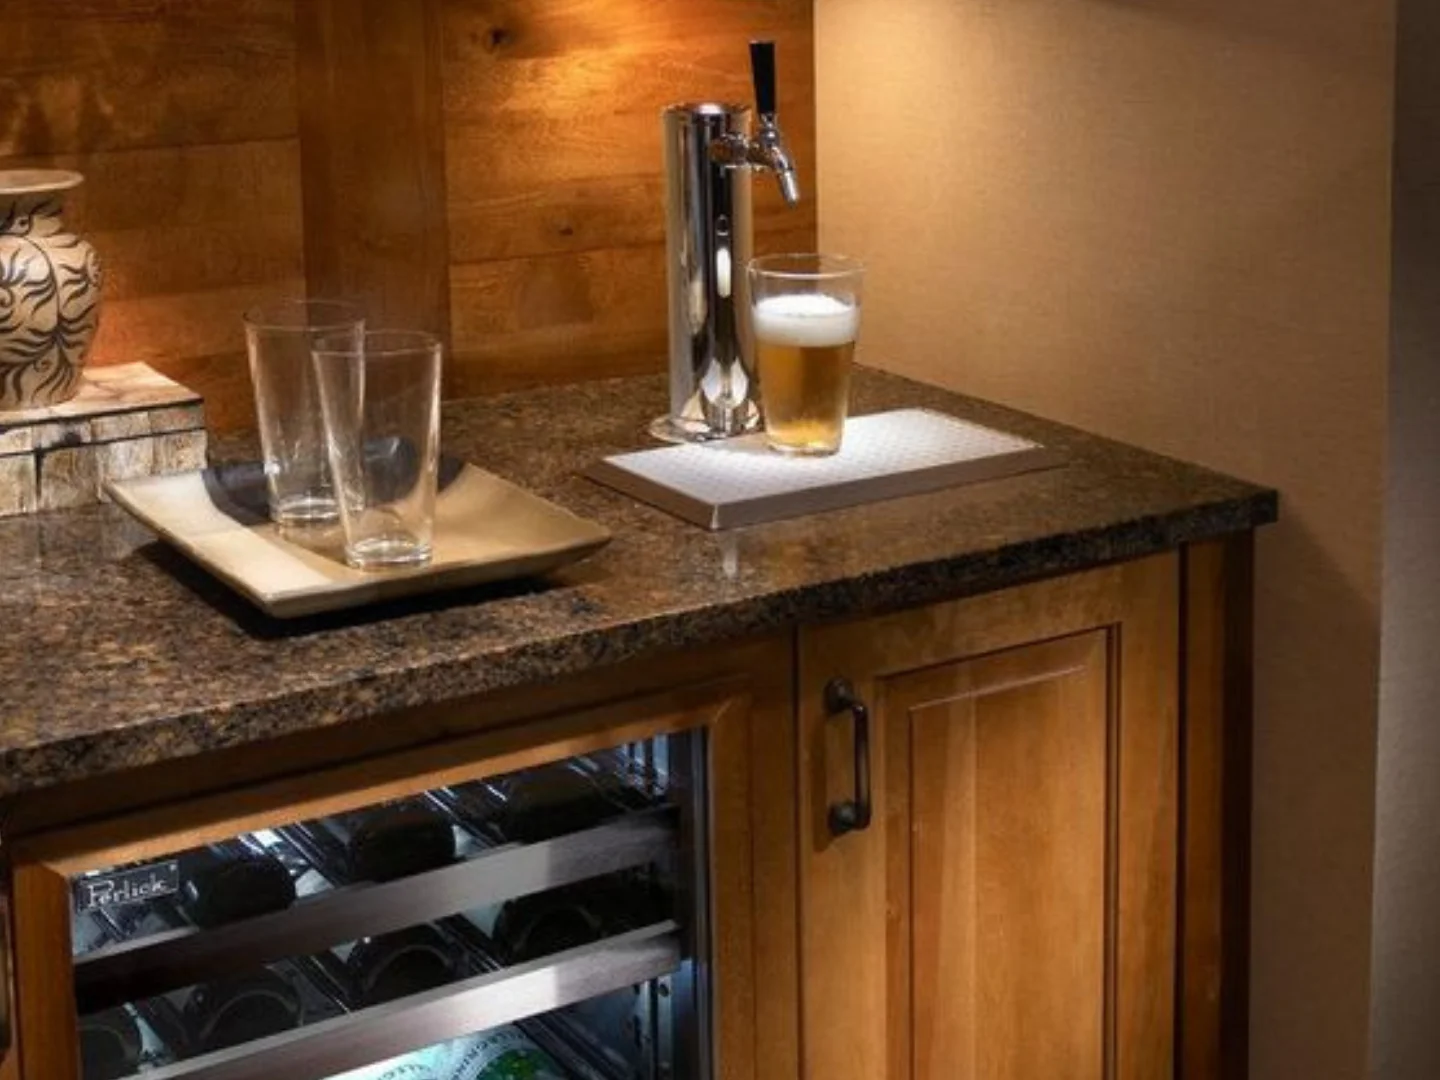
Welcome to this comprehensive guide on how to untap a kegerator. If you’re a beer enthusiast or a homebrewer, chances are you own a kegerator, which is a refrigerator or a keg dispenser designed to store and serve draft beer. While tapping a kegerator is a relatively simple and enjoyable process, there may come a time when you need to untap it for cleaning or maintenance purposes.
Untapping a kegerator allows you to remove the tap handle and disconnect the CO2 regulator, making it easier to clean the tap components and ensure the best quality of your beer. In this guide, we will take you through the step-by-step process of untapping a kegerator, ensuring that you can execute it confidently and effectively.
Before we get started, it’s important to note that each kegerator may have slight variations in its design and components. Therefore, it’s essential to consult your kegerator’s user manual for any specific instructions or precautions. With that said, let’s dive into the process of untapping your kegerator.
Key Takeaways:
- Untapping a kegerator involves a step-by-step process, from disconnecting the CO2 regulator to cleaning and reassembling the tap components. Following these steps ensures a smooth and hassle-free beer pouring experience.
- Properly untapping, cleaning, and sanitizing your kegerator not only maintains the quality of your beer but also extends the lifespan of your kegerator system. Enjoy the satisfaction of serving perfectly poured draft beer at home.
Read more: How To Work A Kegerator
Step 1: Gather the necessary tools and materials
Before you begin the untapping process, it’s crucial to gather all the required tools and materials. Having everything ready will ensure a smooth and efficient untapping experience. Here’s a list of the tools and materials you will need:
- Wrench or adjustable pliers: You’ll need these to disconnect any tight connections on the kegerator.
- Bucket or container: This will be used to collect any excess beer or liquid that may come out during the untapping process.
- Cleaning solution: It’s important to use a suitable cleaning solution to sanitize the tap components. You can find specific cleaning solutions designed for kegerators at homebrewing supply stores or online.
- Cleaning brush: A long-handled brush with soft bristles is ideal for cleaning the tap components, especially the faucet and beer lines.
- Towel or cloth: This will be used to wipe down the tap components after cleaning.
Once you have gathered all the necessary tools and materials, you’re ready to proceed with untapping your kegerator. Make sure you have ample space around the kegerator to work comfortably and safely.
Step 2: Turn off the kegerator
Before you begin the untapping process, it’s important to turn off the kegerator and disconnect the power source. This step ensures your safety and prevents any accidents or damage that may occur during the untapping process.
To turn off the kegerator, locate the power switch or unplug it from the electrical outlet. Give it a few minutes to fully power down before proceeding to the next step.
Turning off the kegerator allows you to work on the tap components without any risk of the system being pressurized or the beer suddenly flowing. This is an essential step to ensure a smooth and hassle-free untapping process.
Always double-check to ensure that the kegerator is completely powered off before proceeding to the next step. This will ensure your safety and prevent any potential mishaps.
Now that the kegerator is turned off and the power source is disconnected, we can move on to the next step of untapping the kegerator.
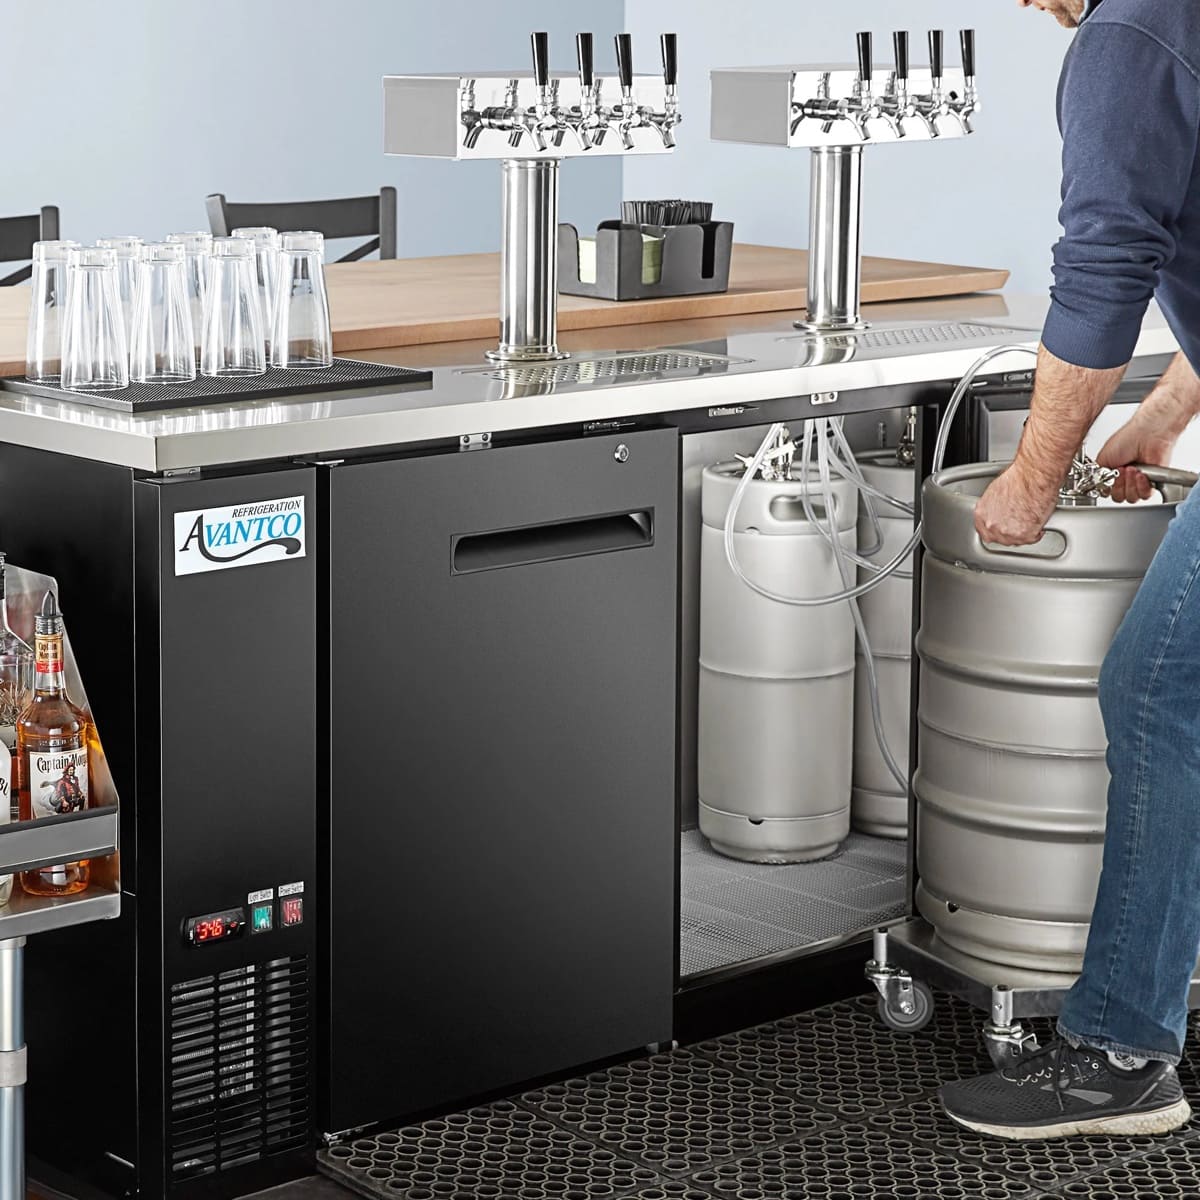
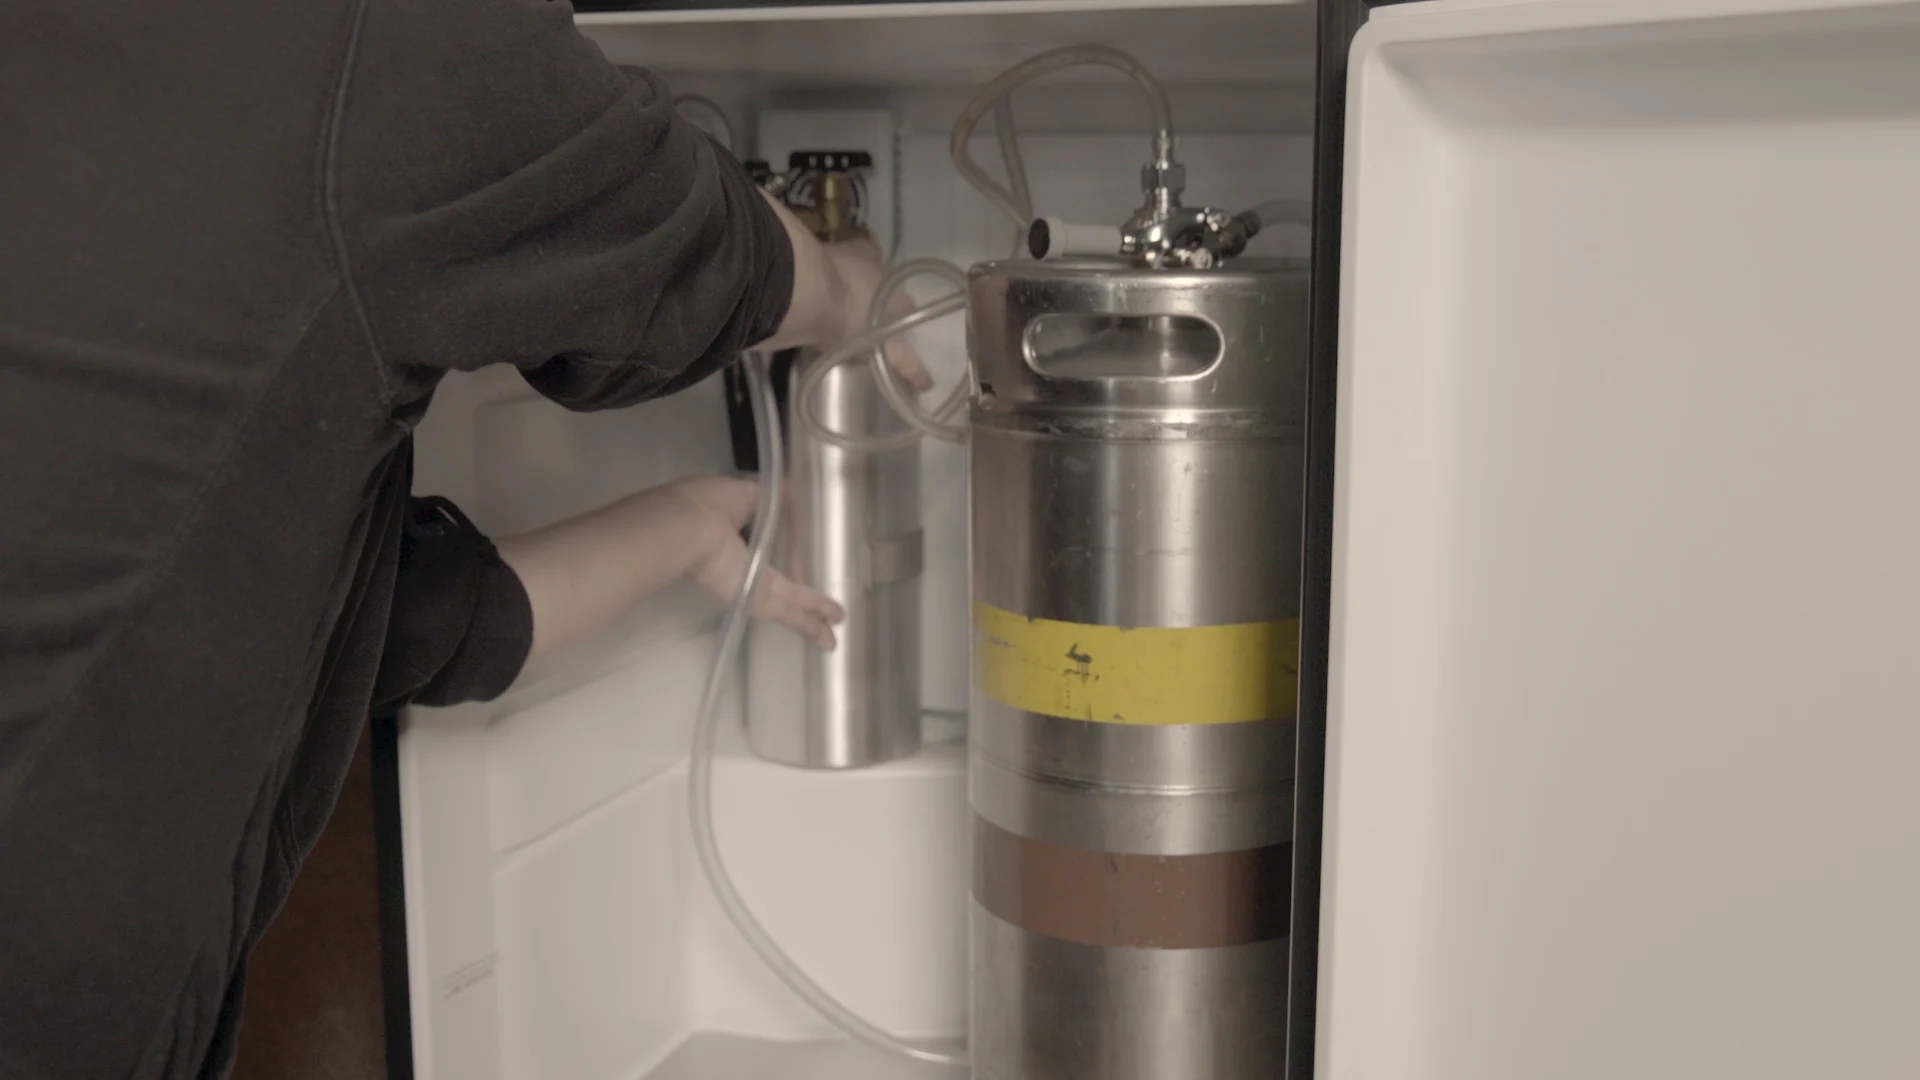
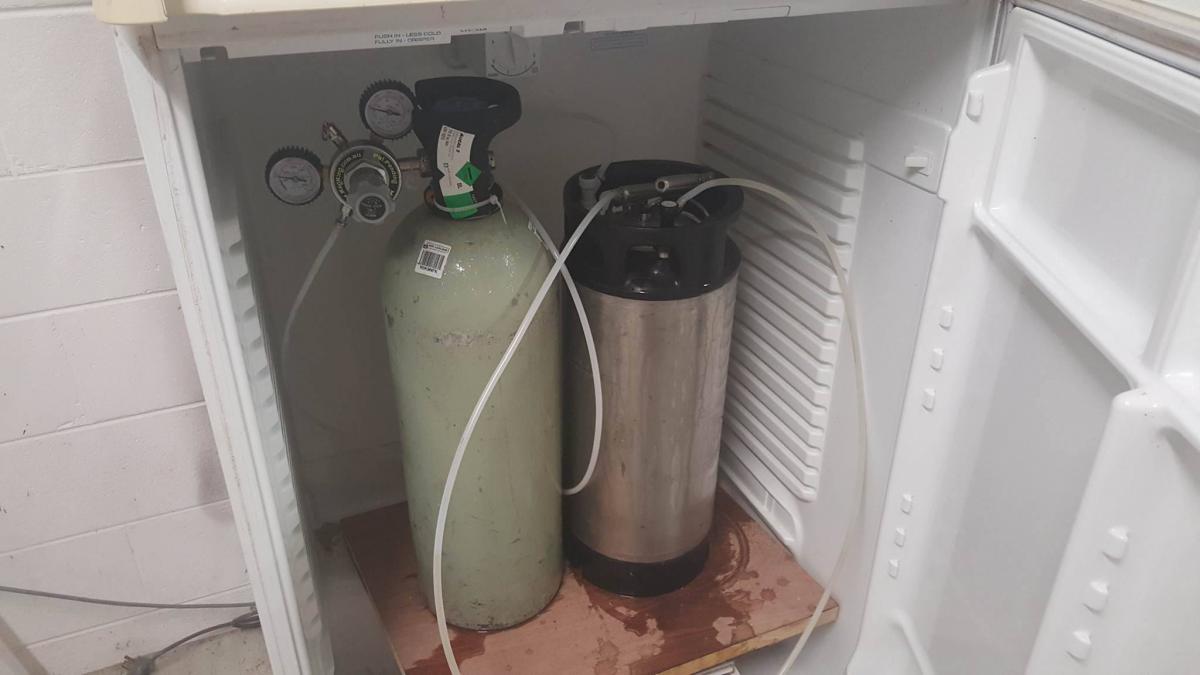
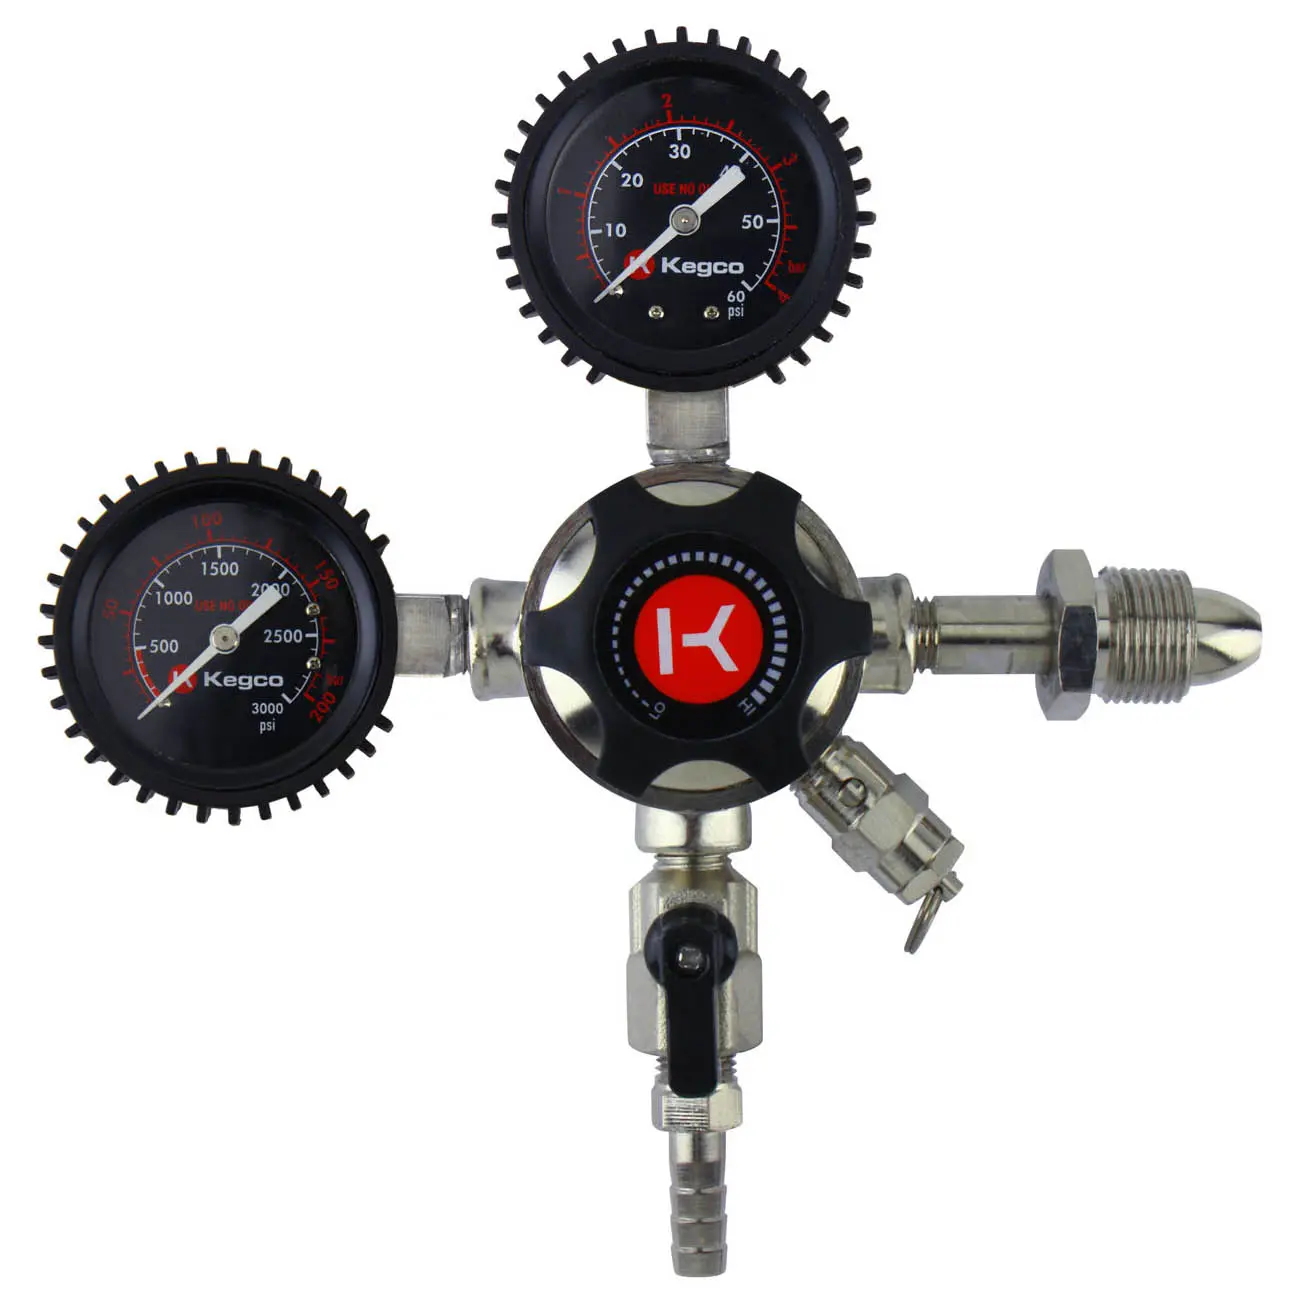
Step 3: Disconnect the CO2 regulator
The next step in the untapping process is to disconnect the CO2 regulator from the kegerator. The CO2 regulator controls the flow of carbon dioxide into the keg, which carbonates the beer and creates the necessary pressure for dispensing.
To disconnect the CO2 regulator, follow these steps:
- Locate the CO2 tank and regulator. The CO2 tank is usually located at the back or side of the kegerator, while the regulator is attached to the tank.
- Using a wrench or adjustable pliers, loosen the connection between the regulator and the CO2 tank by turning it counterclockwise.
- Once the connection is loose, carefully remove the regulator from the CO2 tank, ensuring that you don’t accidentally release any carbon dioxide.
- Set the CO2 regulator aside in a safe place, away from any potential damage or debris.
It’s important to handle the CO2 regulator with care during the disconnection process. Avoid applying excessive force or twisting motion that could damage the components. Additionally, be cautious not to accidentally release any carbon dioxide from the tank, as it can be dangerous.
By disconnecting the CO2 regulator, you’re preparing the kegerator for the untapping process. This step allows you to work on the tap components independently, ensuring a thorough cleaning and maintenance process.
With the CO2 regulator safely disconnected, you’re ready to move on to the next step of untapping the kegerator.
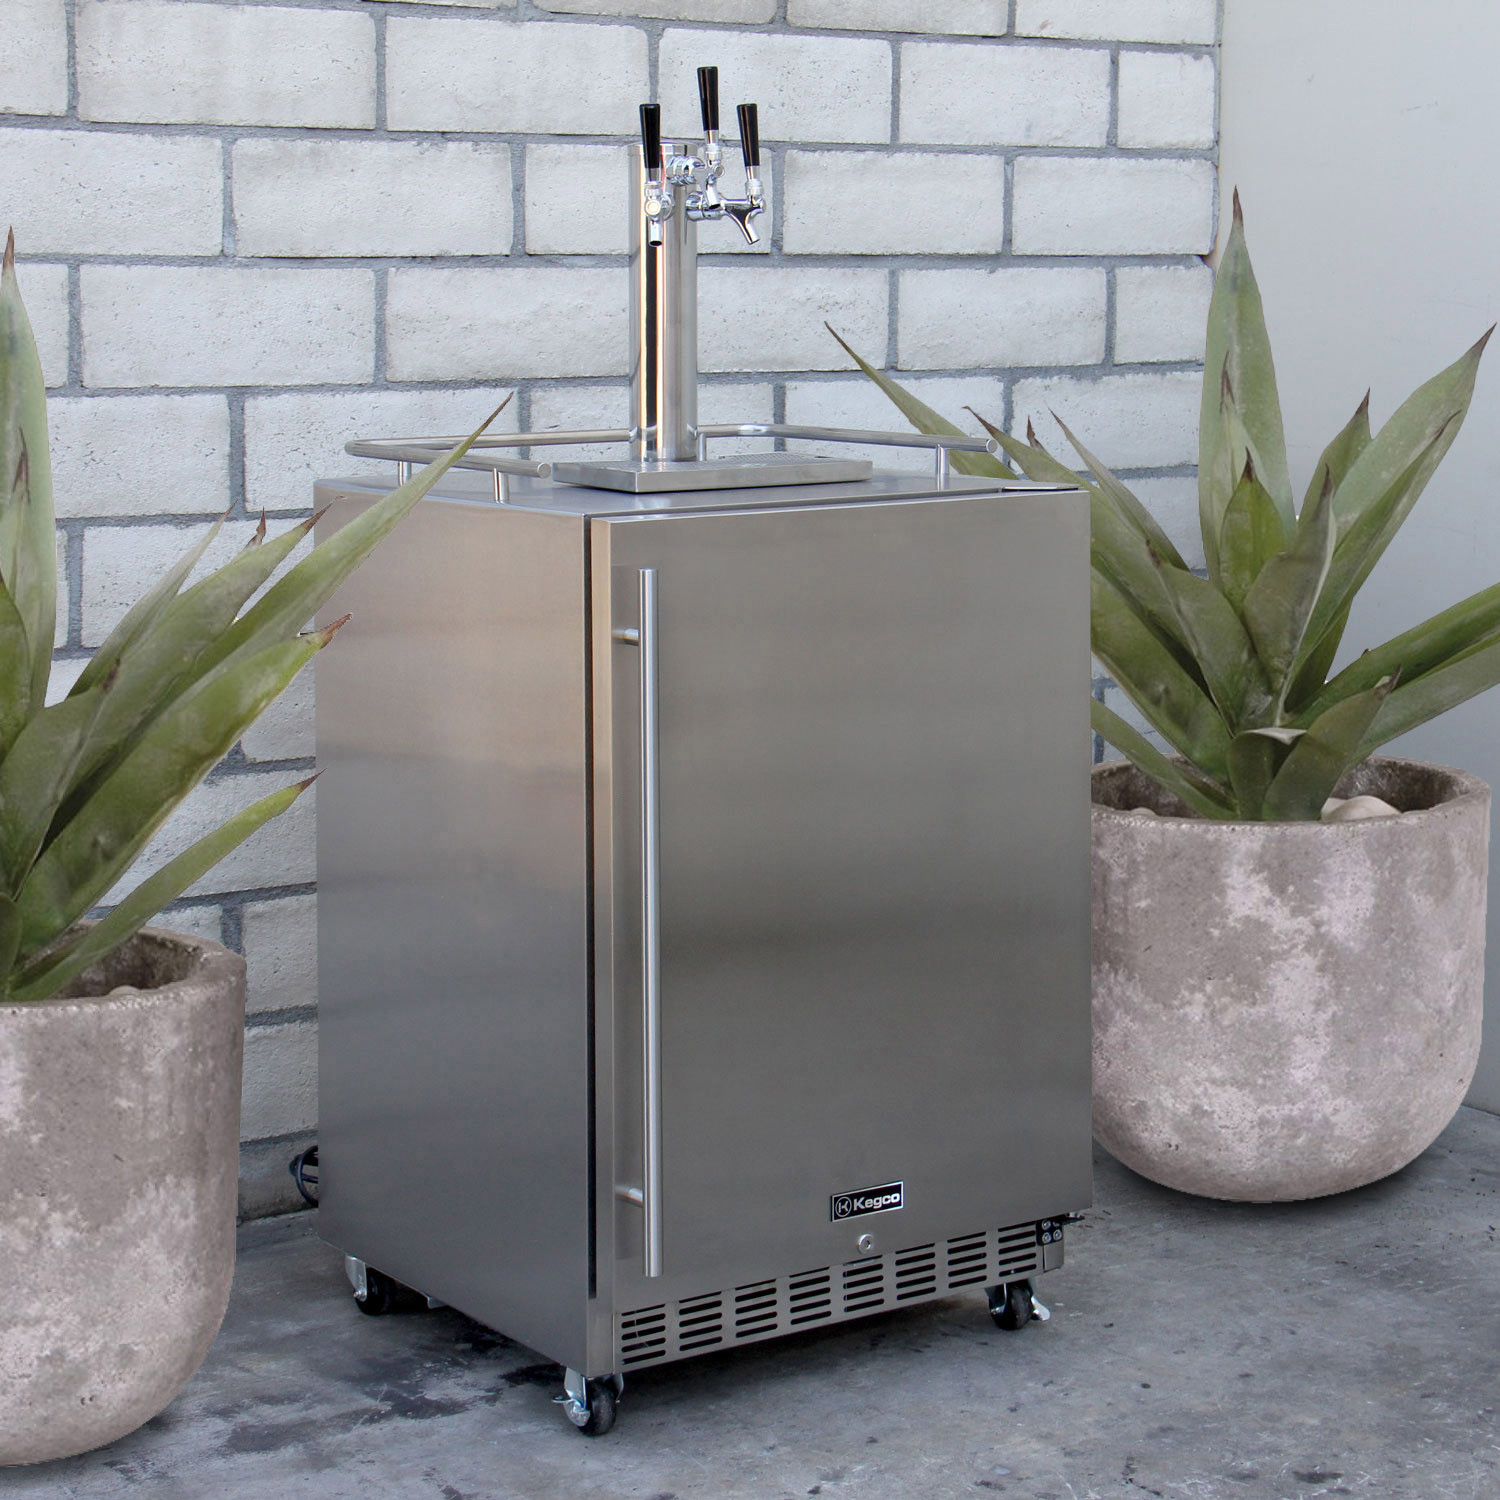
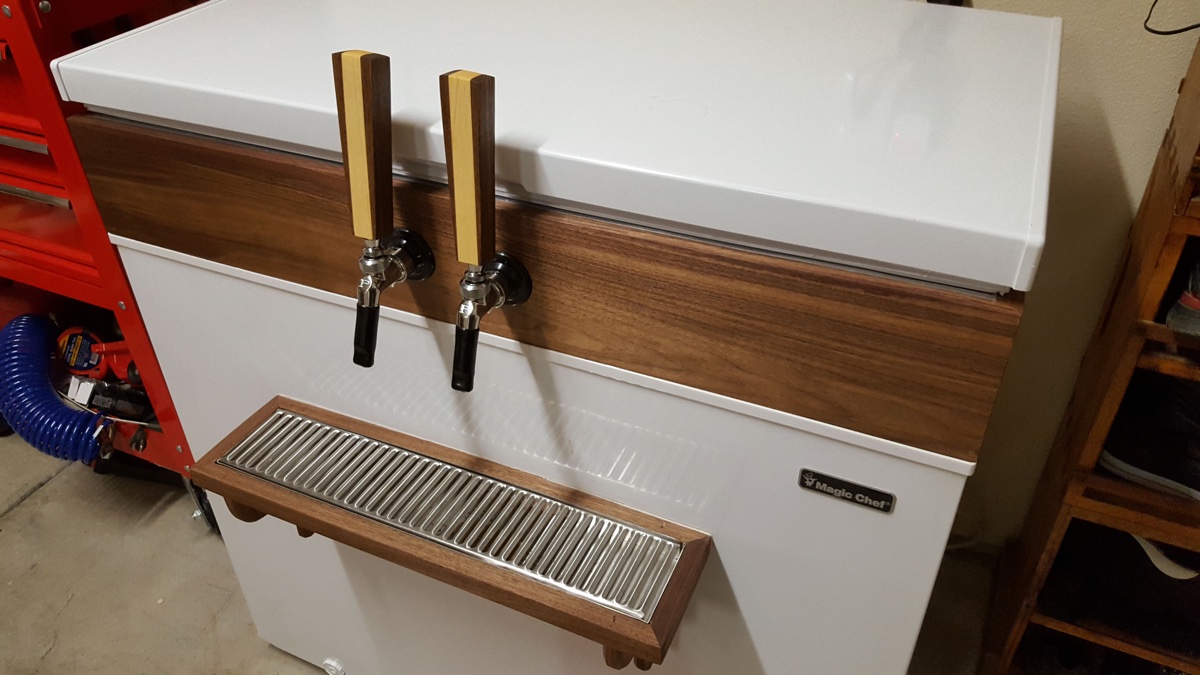
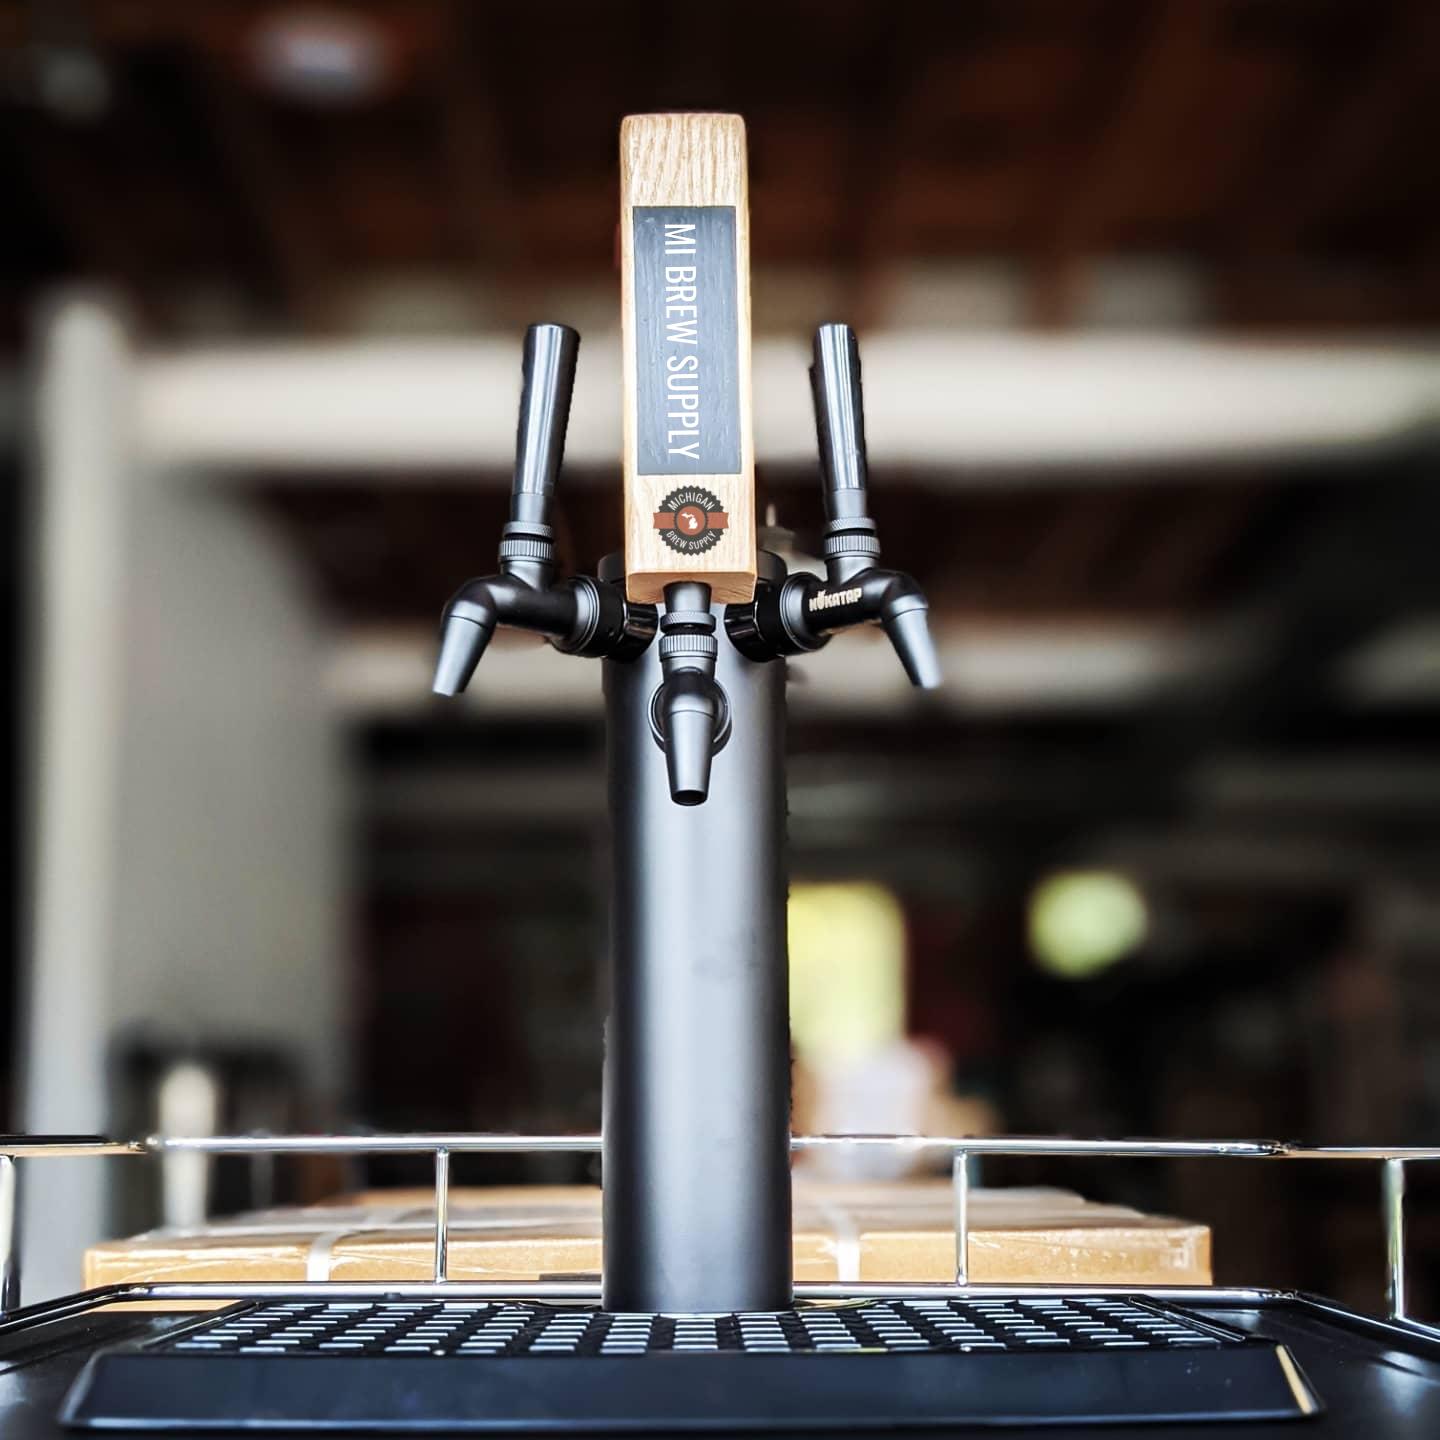
Step 4: Remove the tap handle
Now that you have disconnected the CO2 regulator, it’s time to remove the tap handle from the kegerator. The tap handle is what you typically pull or push to dispense beer from the keg. Removing it allows you to access and clean the tap components with ease.
To remove the tap handle, follow these steps:
- Locate the tap handle attached to the kegerator. It is usually secured to the faucet using a screw or a clamp mechanism.
- If there is a screw, use a screwdriver to loosen and remove it. If there is a clamp mechanism, carefully release or undo it to detach the tap handle.
- Gently pull or slide the tap handle away from the kegerator until it is completely detached.
- Set the tap handle aside in a safe place to prevent any damage or misplacement.
When removing the tap handle, be mindful of its position and any potential obstructions around it. Take care not to apply excessive force or impact that could damage the tap handle or the kegerator.
By removing the tap handle, you create an open space to access and clean the tap components thoroughly. This step allows you to remove any buildup or residue that may affect the taste or quality of your beer.
With the tap handle successfully removed, you’re now ready to move on to the next step in untapping your kegerator.
Read more: How To Setup A Kegerator
Step 5: Clean and sanitize the tap components
With the tap handle removed, it’s time to clean and sanitize the tap components of your kegerator. This step is crucial for maintaining the quality and taste of your beer by removing any buildup, bacteria, or contaminants that may have accumulated over time.
To clean and sanitize the tap components, follow these steps:
- Prepare a cleaning solution by following the instructions provided with the cleaning solution. This is typically done by diluting the cleaning solution with water in a separate container.
- Dip a cleaning brush or cloth into the cleaning solution and use it to clean the faucet, beer lines, and any other tap components. Make sure to scrub thoroughly to remove any residue, mold, or bacteria.
- Rinse the tap components with clean water to remove the cleaning solution and any loosened debris.
- Prepare a sanitizing solution by following the instructions provided with the sanitizing agent. This is usually done by diluting the sanitizing agent with water in a separate container.
- Submerge the tap components in the sanitizing solution and let them soak for the recommended duration. This will ensure that all surfaces are properly sanitized.
- After the recommended soaking time, remove the tap components from the sanitizing solution and rinse them thoroughly with clean water.
- Use a towel or cloth to dry the tap components completely before reassembling them.
When cleaning and sanitizing the tap components, it’s important to pay close attention to all surfaces, nooks, and crevices where buildup or contaminants may accumulate. Proper cleaning and sanitation will help maintain the freshness and quality of your beer.
Once the tap components are clean and dry, you’re ready to move on to the next step of reassembling them.
To untap a kegerator, first turn off the CO2 tank and release any pressure in the keg by pulling the pressure relief valve. Then, carefully remove the tap handle and disconnect the coupler from the keg.
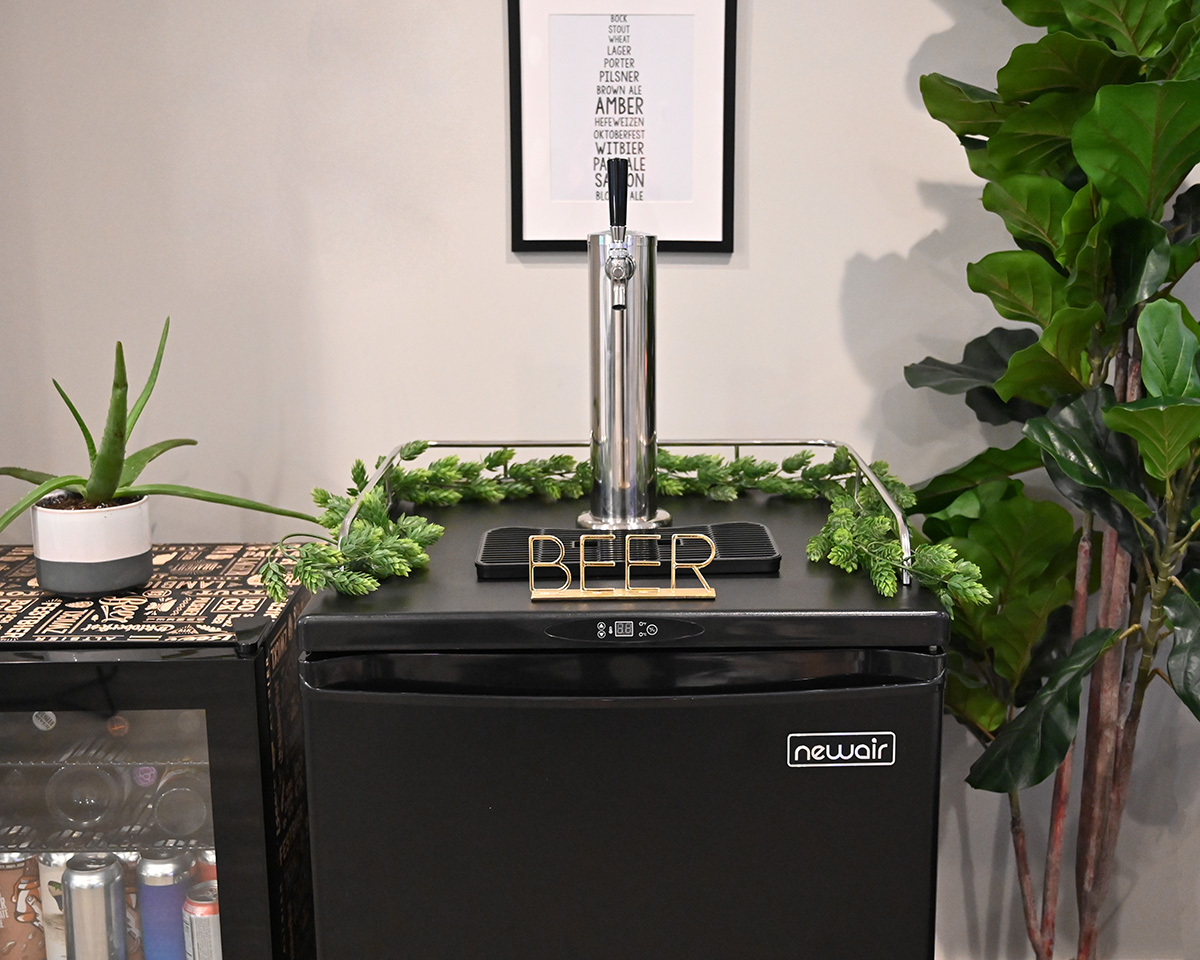
Step 6: Reassemble the tap components
After cleaning and sanitizing the tap components, it’s time to reassemble them and get your kegerator ready for use once again. Reassembling the tap components is a straightforward process that involves putting everything back together in the correct order.
To reassemble the tap components, follow these steps:
- Take the cleaned faucet and slide it back onto the tap shank until it is securely in place.
- If there are any additional components, such as a bonnet or collar, ensure they are in the correct position and securely tightened without over-tightening.
- Attach the tap handle back onto the faucet. If there was a screw or clamp mechanism, secure it back into place.
- Double-check that all connections are properly tightened and secure, ensuring there are no loose parts.
When reassembling the tap components, pay attention to the correct alignment and position of each individual piece. Taking care to assemble them correctly will prevent any leaks or issues when you turn your kegerator back on.
Once the tap components are reassembled and in place, you’re ready to move on to the next step of reconnecting the CO2 regulator.
By following this step, you ensure that the tap components are properly assembled and ready for use. This will help you achieve optimum performance and dispensing efficiency when you start pouring your favorite beer once again.
Step 7: Reconnect the CO2 regulator
Now that the tap components are reassembled, it’s time to reconnect the CO2 regulator to your kegerator. The CO2 regulator is responsible for providing the necessary carbonation and pressure for dispensing your beer.
To reconnect the CO2 regulator, follow these steps:
- Locate the CO2 tank and regulator.
- Align the regulator’s outlet with the CO2 tank’s inlet valve.
- Gently push the regulator onto the CO2 tank’s inlet valve.
- Once the regulator is lined up properly, tighten the connection by turning it clockwise. Use a wrench or adjustable pliers if necessary, but be careful not to overtighten and damage the components.
When reconnecting the CO2 regulator, it’s important to ensure a secure and proper fit. This will prevent any leaks or issues when it comes time to carbonate and dispense your beer.
Once the CO2 regulator is securely connected to the CO2 tank, you’re ready to move on to the next step of turning on the kegerator.
By reattaching the CO2 regulator, you’re restoring the necessary pressure and carbonation to your kegerator, allowing you to enjoy refreshing, well-carbonated beer once again.
Step 8: Turn on the kegerator
With the tap components reassembled and the CO2 regulator connected, it’s time to turn on the kegerator and prepare it for beer dispensing. Turning on the kegerator will restore the cooling system and maintain the ideal temperature for your beer.
To turn on the kegerator, follow these steps:
- Locate the power switch or plug the kegerator back into the electrical outlet.
- Allow the kegerator to power on and the cooling system to kick in.
- Give the kegerator a few minutes to reach the desired temperature, typically around 36 to 40 degrees Fahrenheit (2 to 4 degrees Celsius).
It’s essential to be patient and give the kegerator enough time to cool down to the appropriate temperature. This ensures that your beer will be properly chilled and ready for dispensing without any issues.
As the kegerator powers on, you may hear the hum of the cooling system or see the temperature indicator light up. These are all normal signs that your kegerator is functioning correctly.
Once the kegerator has reached the desired temperature, you’re ready to move on to the next step of testing the tap for proper flow.
By turning on the kegerator, you’re activating the cooling system and creating an optimal environment for your beer to stay fresh and cold, ready for a perfect pour.
Read more: How To Build A Kegerator
Step 9: Test the tap for proper flow
After turning on the kegerator and allowing it to cool, the final step is to test the tap for proper flow. This step ensures that your kegerator is functioning correctly and that you’re ready to enjoy a refreshing glass of draft beer.
To test the tap for proper flow, follow these steps:
- Ensure that the keg is properly connected and secured inside the kegerator.
- Hold a glass or pitcher under the tap faucet, positioning it to catch the beer.
- Gently pull the tap handle forward or push it downward, depending on the style of your tap.
- Observe the beer flowing smoothly without any spurting or excessive foaming.
- Fill the glass or pitcher to your desired level, taking note of the consistency of the pour and the head of foam on top.
If the beer flows smoothly and the pour is consistent, congratulations! Your kegerator is functioning properly, and you can now pour yourself a well-deserved glass of draft beer.
However, if you experience any issues such as excessive foaming, slow flow, or irregular pouring, there may be an issue with your kegerator that needs troubleshooting. In these cases, consult your kegerator’s user manual or reach out to the manufacturer for assistance.
By testing the tap for proper flow, you confirm that your kegerator is working as intended, providing you with the ability to pour a perfect glass of draft beer whenever you desire.
Conclusion
Untapping a kegerator may seem like a daunting task, but with the right steps and proper guidance, it can be a straightforward and rewarding process. By following the steps outlined in this guide, you can confidently untap your kegerator, clean and sanitize the tap components, and ensure the best quality of your draft beer.
Remember to gather all the necessary tools and materials before starting, and consult your kegerator’s user manual for any specific instructions or precautions. Taking the time to properly untap, clean, and sanitize your kegerator will not only maintain the taste and quality of your beer but also extend the lifespan of your kegerator system.
From turning off the kegerator to disconnecting the CO2 regulator, removing the tap handle, cleaning and sanitizing the tap components, reassembling everything, and testing the tap for proper flow, each step plays a crucial role in ensuring a smooth and enjoyable beer pouring experience.
By following this guide, you are empowered to maintain your kegerator and enjoy the pleasure of serving perfectly poured draft beer in the comfort of your own home. So go ahead, untap your kegerator, and savor that cold, refreshing pint of beer!
Frequently Asked Questions about How To Untap Kegerator
Was this page helpful?
At Storables.com, we guarantee accurate and reliable information. Our content, validated by Expert Board Contributors, is crafted following stringent Editorial Policies. We're committed to providing you with well-researched, expert-backed insights for all your informational needs.


0 thoughts on “How To Untap Kegerator”