Articles
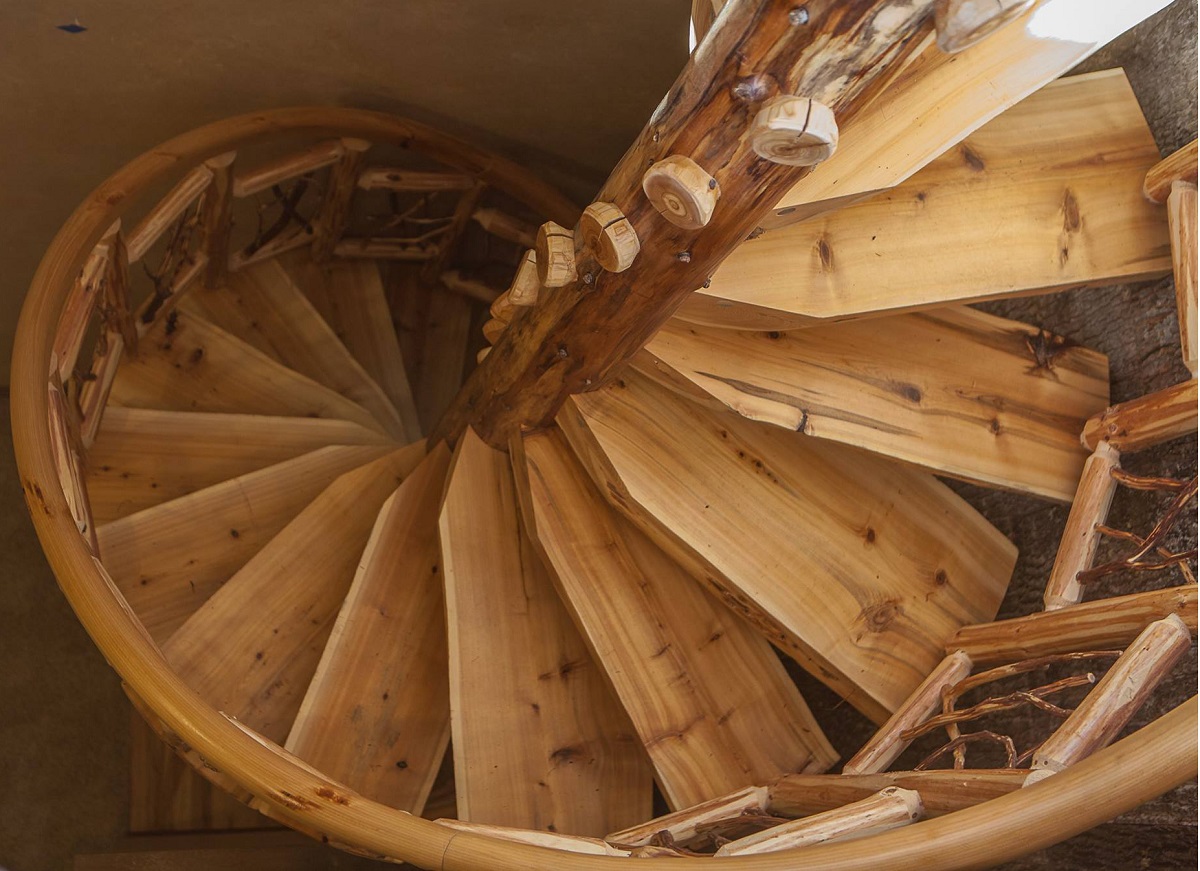
How To Build Spiral Stairs
Modified: October 22, 2024
Learn the step-by-step process of building round stairs with our informative and detailed articles. Master the art of creating unique and eye-catching stair designs easily.
(Many of the links in this article redirect to a specific reviewed product. Your purchase of these products through affiliate links helps to generate commission for Storables.com, at no extra cost. Learn more)
Introduction
Building round stairs can be a challenging yet rewarding project for those looking to add a touch of elegance and uniqueness to their home or outdoor space. Whether you want to create a stunning entrance to your patio, a grand staircase in your foyer, or a beautiful centerpiece for your garden, round stairs can be a stunning addition to any architectural design.
In this guide, we will walk you through the step-by-step process of building round stairs. From gathering materials and tools to calculating step sizes and attaching the railing, we will cover all the essential elements you need to consider for a successful construction project.
Before we dive into the details, it’s important to note that building round stairs requires intermediate to advanced woodworking skills and familiarity with construction tools. If you are a beginner, it is highly recommended to seek professional assistance or gain some experience with simpler woodworking projects before attempting to build round stairs.
Now, let’s get started with the materials and tools you’ll need for this project.
Key Takeaways:
- Building round stairs requires intermediate to advanced woodworking skills and familiarity with construction tools. Always adhere to local building codes and regulations for safety and compliance.
- Thorough testing and adjustment of the stairs are crucial to ensure their safety and functionality. Take the time to make any necessary changes for a beautiful and functional addition to your home or outdoor space.
Read more: How To Build Basement Stairs
Step 1: Gather materials and tools
Before you begin building your round stairs, it’s important to gather all the necessary materials and tools. Having everything you need in one place will make the construction process smoother and more efficient. Here’s a list of essential items you’ll need:
- Lumber: Choose a durable wood species, such as pressure-treated or cedar, for the stair stringers, treads, and railing.
- Plywood: You’ll need plywood sheets for creating the curved templates for your round stairs.
- Measuring tape: An accurate measuring tape is crucial for taking precise measurements.
- Pencil and marking tools: Use a pencil or other marking tools to make measurements and mark the wood for cutting.
- Circular saw: A circular saw will be used for cutting the wood to the desired dimensions.
- Jigsaw: A jigsaw is necessary for cutting the curved shapes of the stair stringers.
- Router: A router can be used to smooth the edges and create decorative details on the stair treads and railing.
- Drill and screws: You’ll need a drill and screws for attaching the stringers, treads, and railing together.
- Level: A level is essential for ensuring that the stairs are straight and level during installation.
- Safety gear: Don’t forget to wear protective gear like safety goggles, gloves, and a dust mask to ensure your safety throughout the construction process.
Once you have gathered all the necessary materials and tools, you’ll be ready to move on to the next step: measuring and marking the stair location.
Step 2: Measure and mark the stair location
Measuring and marking the stair location is a crucial step in building round stairs. It ensures that your stairs will fit perfectly in the desired location and align with the existing structure. Follow these steps to measure and mark the stair location:
- Decide on the location: Determine where you want to place your round stairs. Consider factors such as access, safety, and the overall design of your space.
- Measure the height: Measure the vertical distance from the ground to the upper surface where the stairs will end. This will determine the height of your stairs.
- Measure the diameter: Use a measuring tape to measure the diameter of the area where your round stairs will be placed. The diameter is the distance across the center of the circle.
- Find the center: To find the center point of your stair location, measure half of the diameter from the edges and mark the midpoint.
- Mark the starting point: Decide where you want the bottom step of your round stairs to be. Mark this point on the ground as the starting point for your measurements.
- Measure and mark the steps: Divide the height of your stairs by the number of steps you want. This will give you the height of each individual step. Measure and mark the height of each step from the starting point, ensuring that they are evenly spaced.
- Verify the measurements: Double-check all your measurements to ensure accuracy. Make adjustments if needed.
Once you’ve measured and marked the stair location, you’re ready to move on to the next step: determining the number of steps needed.
Step 3: Determine the number of steps needed
Determining the number of steps needed is an important part of building round stairs. It ensures that the staircase is safe and comfortable to use. Here’s how you can calculate the number of steps:
- Calculate the total rise: Measure the total vertical distance from the starting point to the upper surface where the stairs will end. This will be the total rise of your stairs.
- Decide on the riser height: The riser height is the vertical distance between each step. It is important to choose a comfortable and safe riser height. The commonly recommended range is between 6 to 8 inches.
- Divide the total rise by the riser height: Divide the total rise by the chosen riser height to determine the number of steps needed. Round the result to the nearest whole number to get the exact number of steps.
- Adjust for the bottom step: If there is any difference in height between the starting point and the first step, adjust the number of steps accordingly. The bottom step should have a consistent riser height with the rest of the stairs.
It’s important to note that building codes may have specific requirements for the maximum and minimum number of steps, as well as the allowable riser height. Always check and adhere to local building codes to ensure compliance and safety.
With the number of steps determined, you’re now ready to move on to the next step: calculating the size and shape of each step.
Step 4: Calculate the size and shape of each step
Calculating the size and shape of each step is essential to ensure that your round stairs are functional, comfortable, and aesthetically pleasing. Here’s how you can calculate the size and shape of each step:
- Measure the tread depth: The tread depth is the horizontal distance from the front edge of one step to the front edge of the next step. A comfortable tread depth is typically between 9 to 11 inches.
- Calculate the circumference: Measure the circumference of the stair location at the point where the steps will be placed. This will determine the total distance that the steps will cover as they wrap around the center.
- Divide the circumference by the number of steps: Divide the circumference by the number of steps determined in the previous step to get the approximate width of each step. Round the result to ensure even and balanced steps.
- Calculate the tread width: Subtract the riser height from the desired tread depth to calculate the tread width. This will give you the horizontal distance from the back of one step to the front of the next step.
- Create a template: Use a piece of plywood to create a template for the shape of each step. Trace the outline of one step using the calculated tread width and depth. Cut out the template using a jigsaw.
- Test the template: Place the template on the stair location to ensure it fits properly and matches your desired design. Make adjustments if necessary.
By calculating the size and shape of each step, you can ensure that your round stairs will have consistent dimensions and provide a comfortable walking surface. With this step complete, you’re ready to move on to the next step: cutting and shaping the stair stringers.
Read more: How To Build Cement Stairs
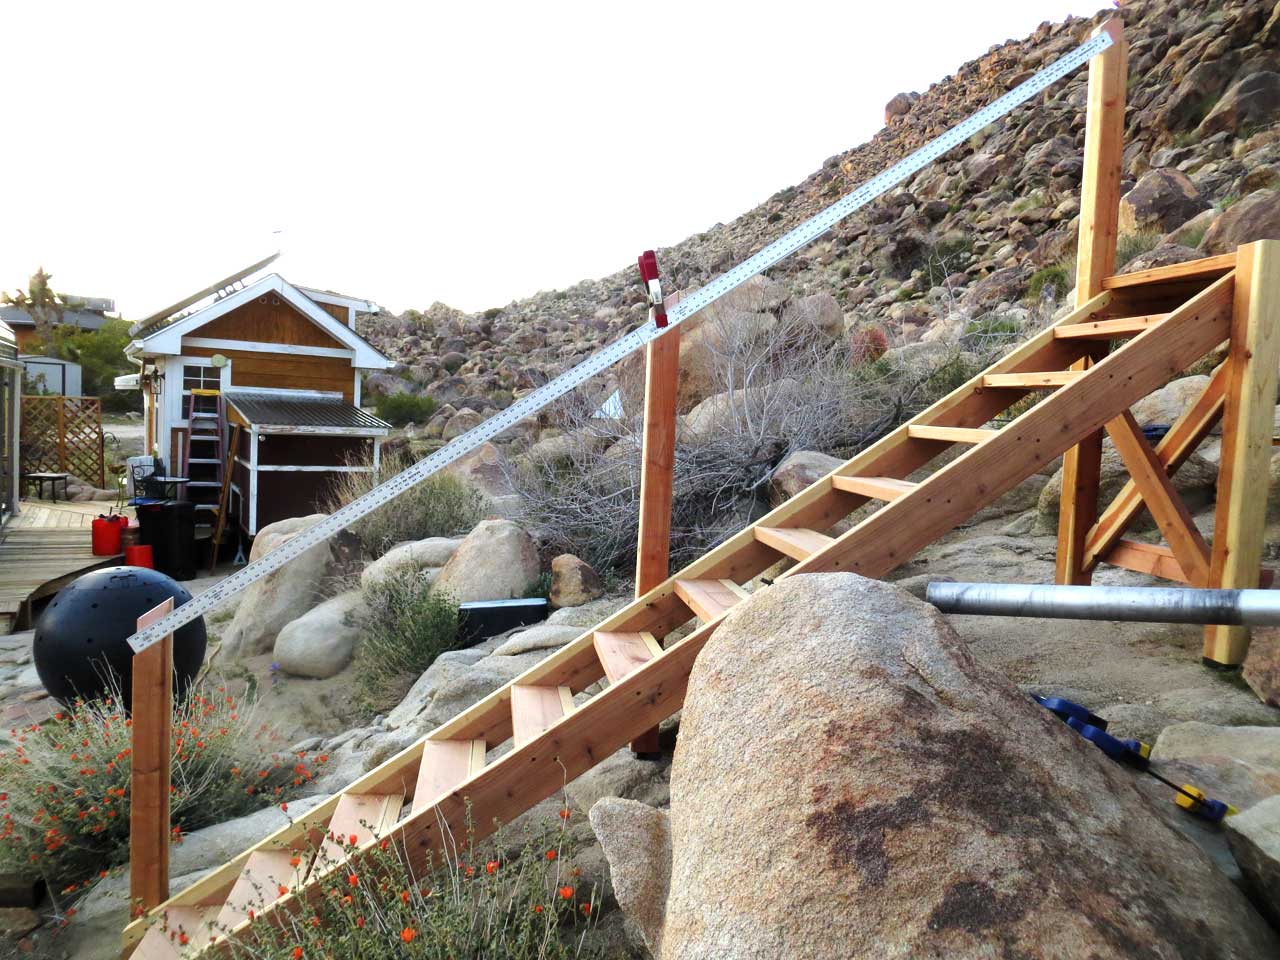
Step 5: Cut and shape the stair stringers
The stair stringers provide the main support and structure for your round stairs. Cutting and shaping the stair stringers properly is crucial for the stability and functionality of the staircase. Here’s how to cut and shape the stair stringers:
- Measure and mark the stringer boards: Measure and mark the dimensions of the stringer boards based on the template you created in the previous step. Use a pencil and measuring tape to ensure accuracy.
- Cut the stringer boards: Using a circular saw, carefully cut along the marked lines to create the individual stringers. Take your time to ensure clean and accurate cuts.
- Shape the stringers: Now comes the challenging part – shaping the stringers to match the curve of your round stairs. This can be done using a jigsaw. Carefully follow the lines of your template and gradually shape the stringers to create the desired curve.
- Smooth the edges: Use a router with a rounding bit to smooth the edges and create a uniform and aesthetically pleasing look. Pay attention to the front edge of each step, as it is the most visible part of the stringers.
- Make adjustments if needed: Double-check the fit of the stringers by aligning them with the stair location. Make any necessary adjustments to ensure they fit snugly and evenly.
Remember to take your time and work with precision when cutting and shaping the stair stringers. Accurate measurements and cuts are key to a successful installation. Once the stringers are cut and shaped, you’re ready to move on to the next step: installing the stair stringers.
When building round stairs, ensure that each step is the same height and depth for safety and consistency. Use a sturdy central support and carefully measure and cut each step to fit the curve.
Step 6: Install the stair stringers
Installing the stair stringers is a critical step in building round stairs. It is important to secure the stringers properly to ensure the stability and strength of the staircase. Follow these steps to install the stair stringers:
- Position the stringers: Place the stringers in the stair location, aligning them with the previously marked steps. Ensure that they are centered and level.
- Attach the stringers: Use a drill and screws to secure the stringers to the supporting structure. Drive the screws through the stringers and into the underlying material, such as the concrete or a supporting beam.
- Check for levelness: Use a level to verify that the stringers are both vertically plumb and horizontally level. Make any necessary adjustments to ensure proper alignment.
- Secure the bottom of the stringers: Depending on the specific installation requirements, you may need to anchor or secure the bottom of the stringers to the ground or supporting surface. This will provide additional stability and prevent any movement.
When installing the stair stringers, it is crucial to follow local building codes and regulations. These may include specific guidelines regarding the attachment methods, spacing, and structural support required for the stringers. Ensure that the installation meets all necessary safety standards.
With the stair stringers securely installed, you’re ready to move on to the next step: attaching the steps to the stringers.
Step 7: Attach the steps to the stringers
Attaching the steps to the stringers is a crucial step in completing your round stairs. This process ensures that the steps are securely connected to the stringers, providing a stable and safe staircase. Follow these steps to attach the steps:
- Prepare the steps: If necessary, cut the stair treads to match the dimensions of each step. Use a circular saw for straight cuts or a jigsaw for curved cuts.
- Align the steps: Place each step on the stringers, ensuring that they are evenly spaced and aligned with the previously marked locations. Use a level to make sure the steps are horizontal.
- Secure the steps: Use a drill and screws to attach the steps to the stringers. Drive screws through the front edge of the steps and into the stringers. This will provide a solid connection and prevent the steps from shifting or becoming loose over time.
- Check for stability: After attaching each step, test the stability by walking on the stairs. Make sure they feel secure and do not wobble or flex under your weight. If any steps feel unstable, reinforce them with additional screws or supports as needed.
Take your time during this step to ensure that each step is securely attached to the stringers. Pay close attention to the alignment and stability of the stairs, as they are crucial for the overall safety and functionality of your round staircase.
With the steps properly attached, you’re now ready to move on to the next step: securing the railing.
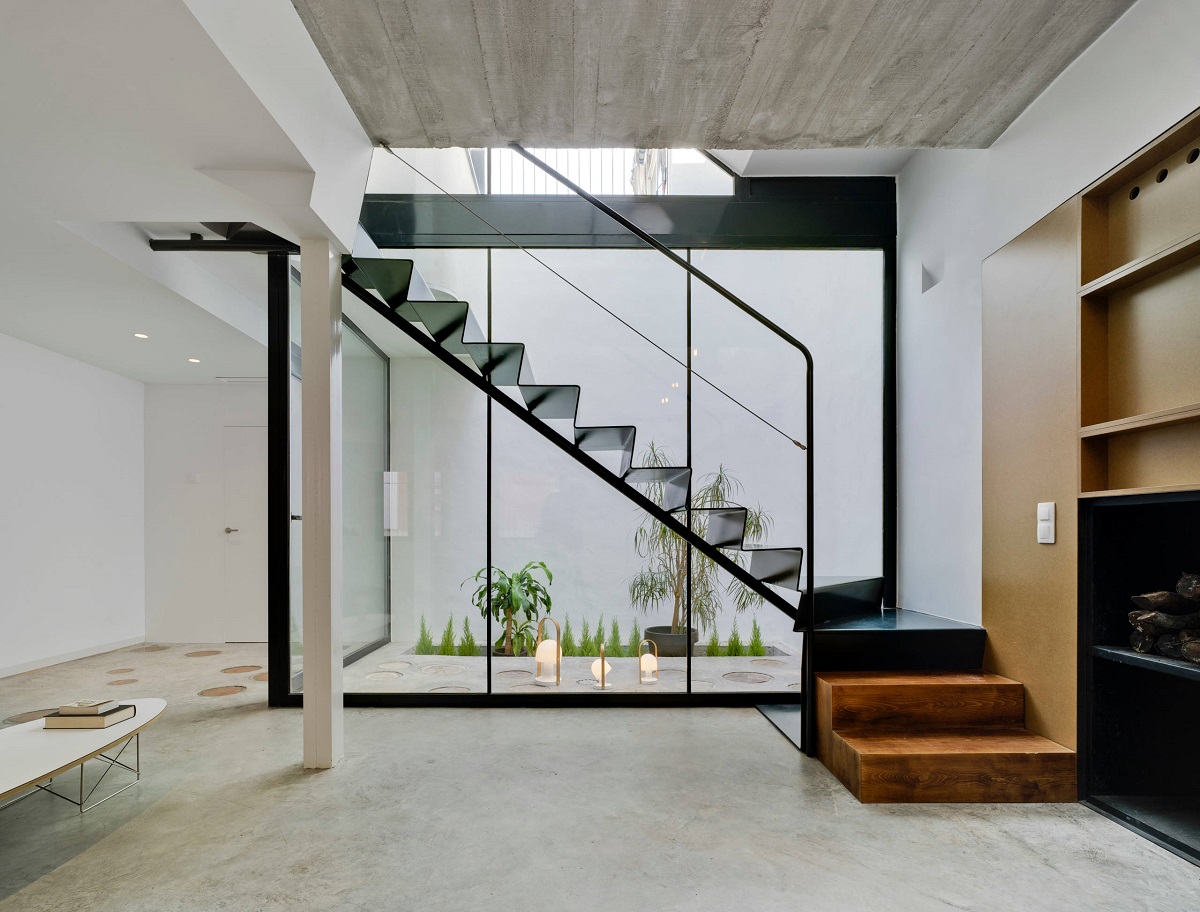
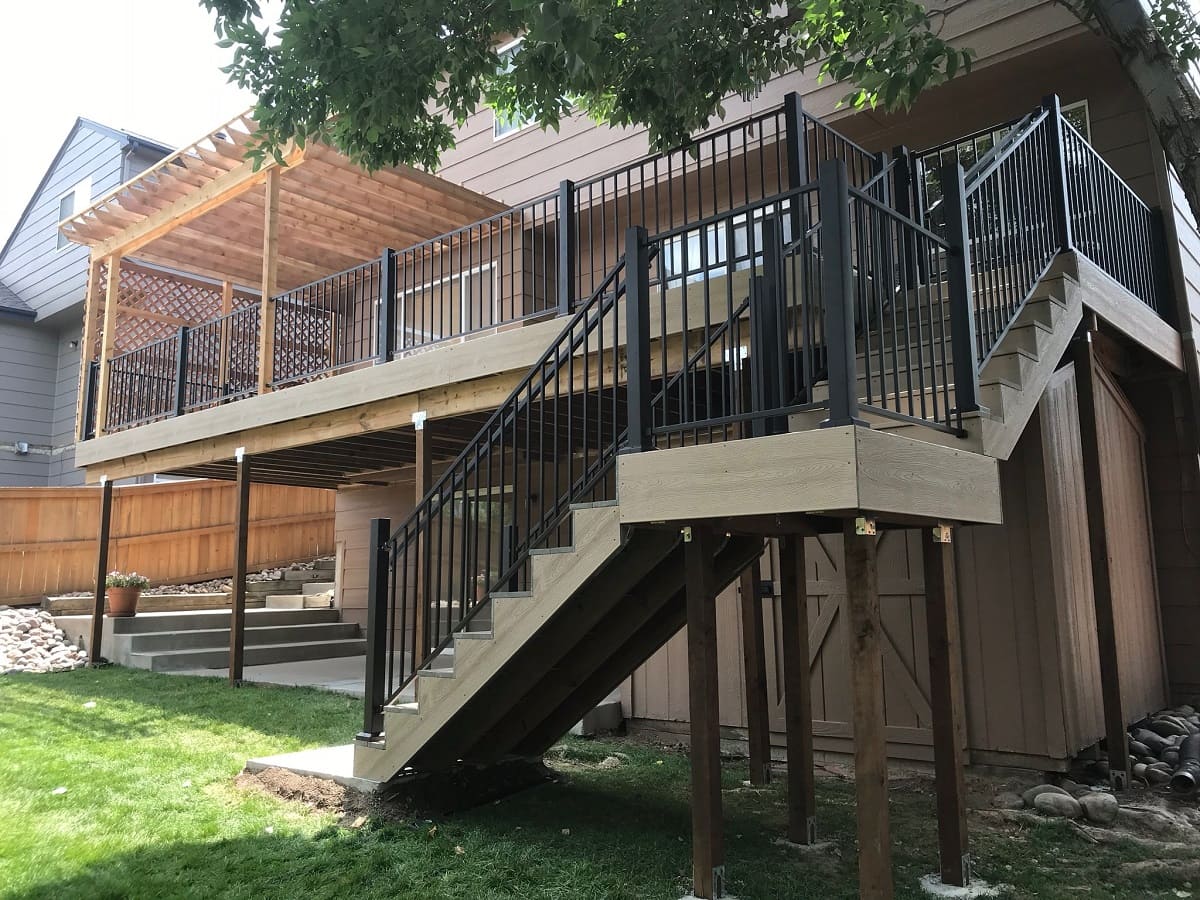
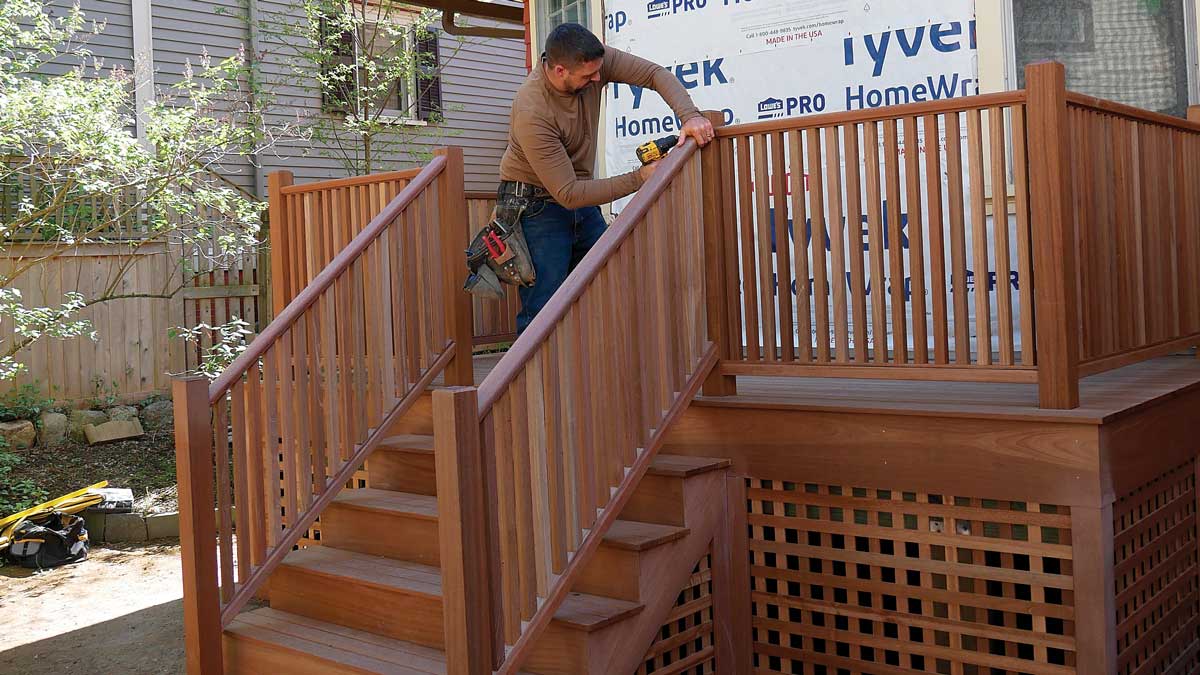
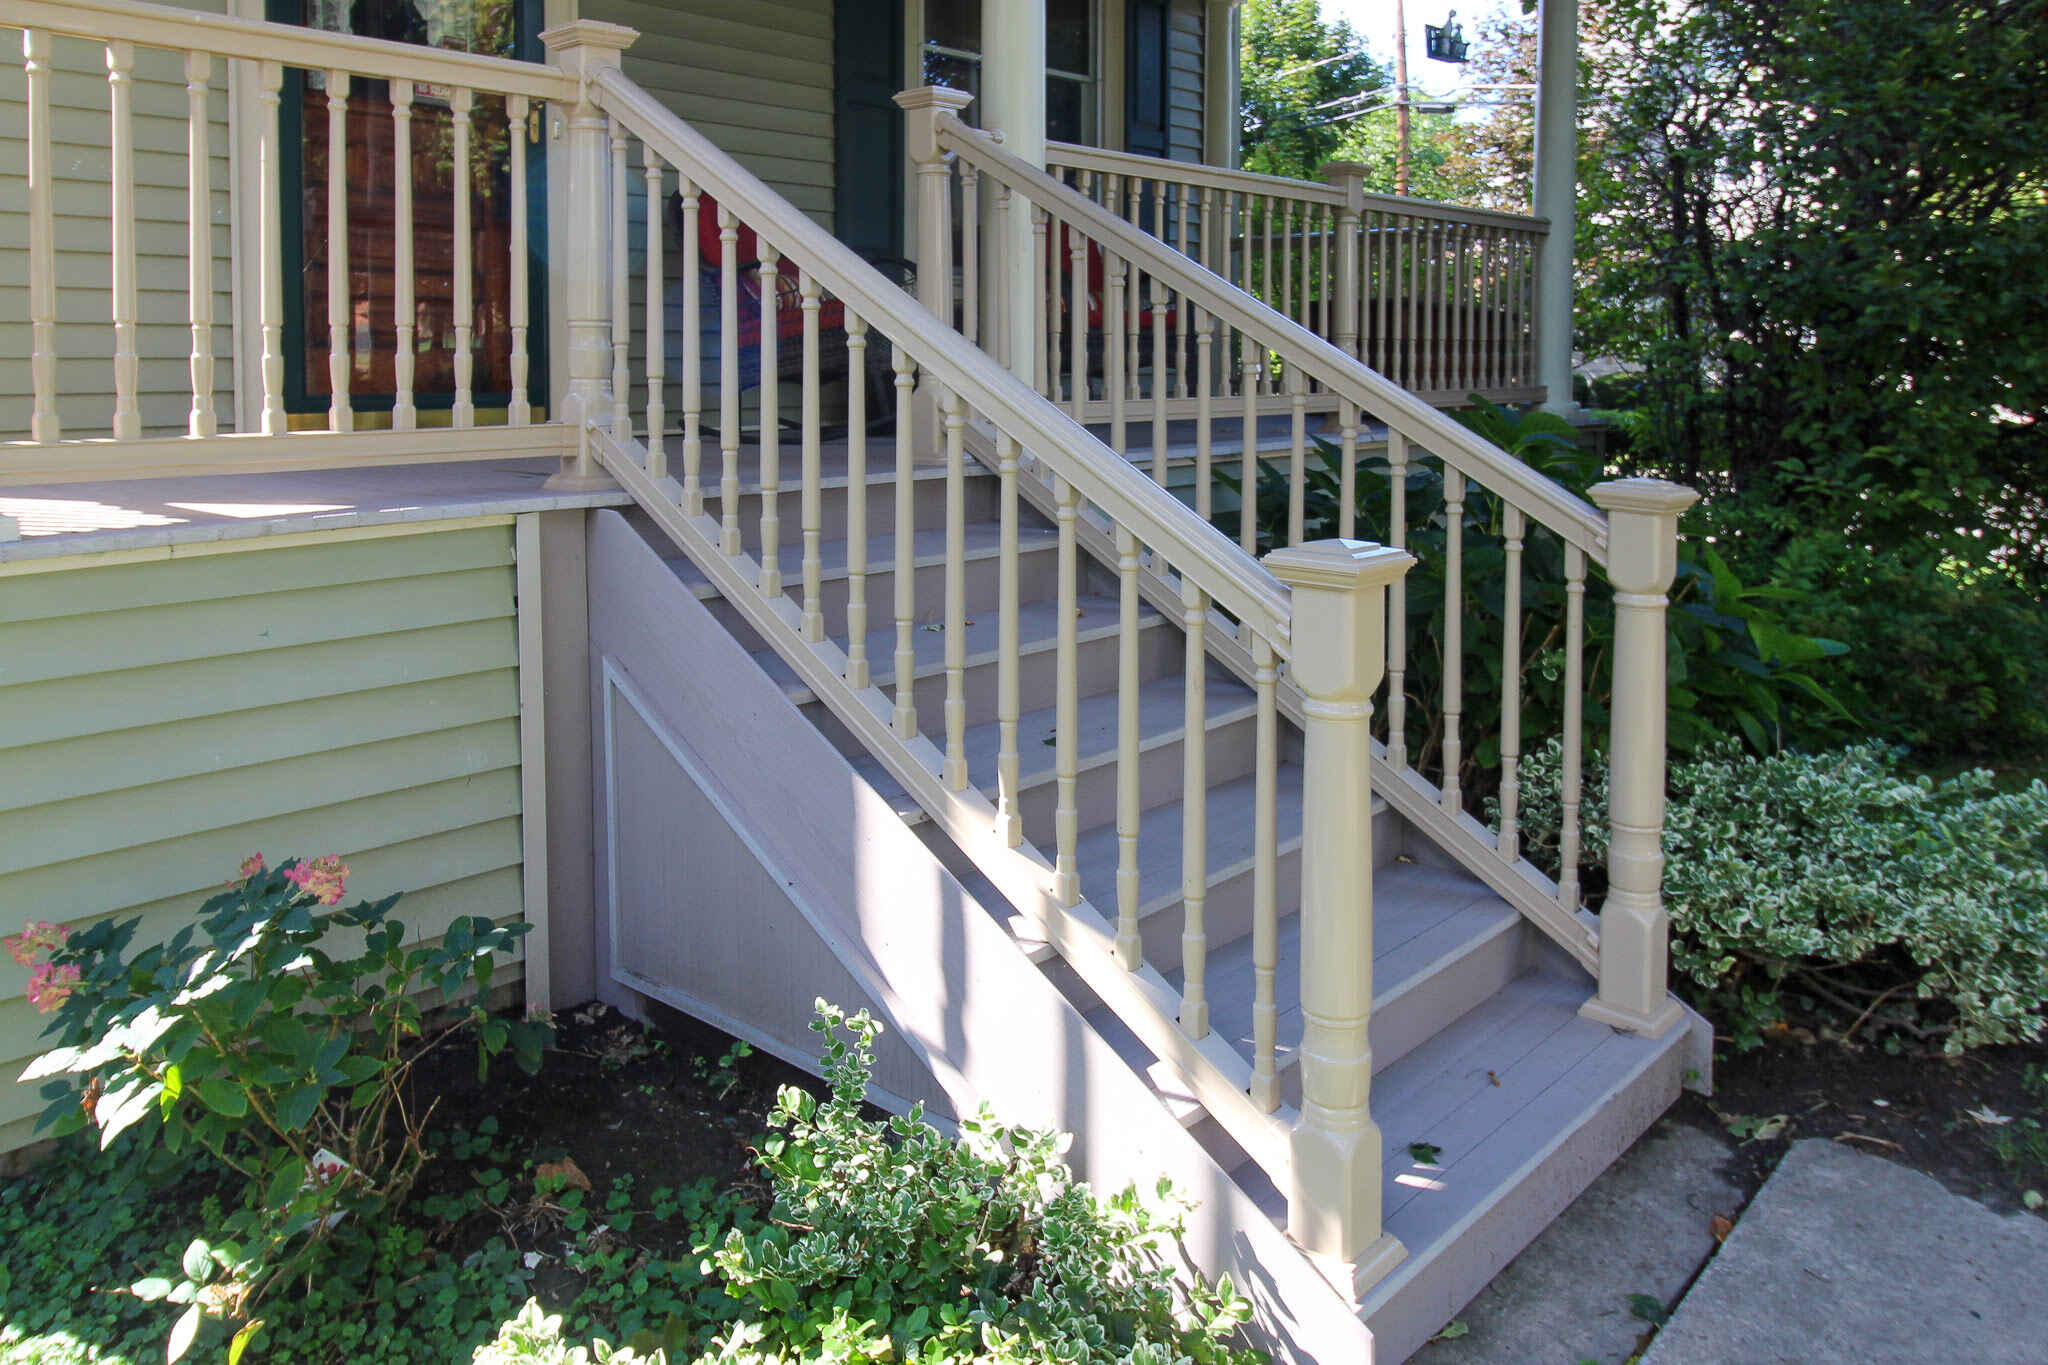
Step 8: Secure the railing
Securing the railing is the final step in completing your round stairs. The railing provides support and safety, preventing falls and providing stability while using the staircase. Here’s how to secure the railing:
- Measure and cut the railing posts: Determine the height of the railing, ensuring it meets local building codes. Cut the railing posts to the appropriate length, accounting for any slope in the stairs or desired design elements.
- Position the railing posts: Place the railing posts at the designated locations on the steps or stringers. Use a level to ensure they are plumb and upright.
- Secure the railing posts: Attach the railing posts to the steps or stringers using screws or other appropriate connectors. Make sure they are securely fastened and can withstand pressure or force.
- Install the railing: Attach the railing to the top of the railing posts. This can be done using brackets or by directly attaching the railing to the posts. Ensure the railing is level and secure.
- Additional reinforcement: If desired or required, reinforce the railing by adding braces or supports between the railing posts. This will provide additional stability and strength.
- Test the railing: Give the railing a firm shake to test its stability. Ensure it is secure and does not wobble or move. Make any necessary adjustments or reinforcements if needed.
Properly securing the railing is crucial for the overall safety and functionality of your round stairs. Remember to adhere to local building codes and regulations when installing the railing to ensure compliance and safety standards are met.
With the railing securely in place, you have completed the main construction of your round stairs. The final step is to test and adjust the stairs to ensure they meet your expectations and are safe to use.
Read more: How To Build Stairs To Attic
Step 9: Test and adjust the stairs
Testing and adjusting the stairs is a crucial final step before considering your round stairs complete. By thoroughly testing the stairs, you can identify any issues or areas that need adjustment to ensure their safety and functionality. Here’s what you should do:
- Walk up and down the stairs: Test the stairs by walking up and down them multiple times. Pay attention to how they feel underfoot, checking for any movement or instability.
- Check for loose steps or stringers: While walking on the stairs, closely inspect each step and stringer for any signs of looseness or movement. If you notice any issues, reinforce the connections with additional screws or fasteners.
- Verify evenness of steps: Use a level to ensure that each step is level and not tilted. If any steps are uneven, adjust the stringers or treads as necessary to achieve a level surface.
- Inspect the railing: Check the railing to ensure it is secure and does not have any loose or wobbly sections. Make any necessary adjustments or reinforcements to enhance its stability.
- Determine the comfort of the stairs: Pay attention to the comfort of using the stairs, ensuring that the riser height, tread depth, and handrail height are suitable for easy and safe navigation.
- Make adjustments as needed: Based on your observations during the testing phase, make any necessary adjustments or modifications to improve the overall safety and functionality of the stairs.
By thoroughly testing and adjusting your round stairs, you can ensure they meet your expectations and provide a safe and comfortable means of access. Don’t rush through this step; take the time to make any necessary changes, as it can greatly impact the overall quality of your staircase.
With your round stairs now fully tested and adjusted, you have successfully completed the construction process. Enjoy the beautiful and functional addition to your home or outdoor space!
Conclusion
Building round stairs can be a challenging but rewarding project that adds a touch of elegance and uniqueness to any space. By following the step-by-step guide outlined in this article, you have learned how to construct round stairs that are not only visually appealing but also safe and functional.
From gathering the necessary materials and tools to measuring, calculating, and shaping each step, you have gained the knowledge and skills required to successfully build round stairs. By securely attaching the stringers and steps, installing the railing, and conducting thorough testing, you have ensured the stability and safety of your staircase.
It’s important to note that building round stairs requires intermediate to advanced woodworking skills and familiarity with construction tools. If you are a beginner, seeking professional assistance or gaining experience with simpler projects is highly recommended. Additionally, always remember to adhere to local building codes and regulations to ensure the construction meets safety standards.
Now that you have completed your round stairs, take a moment to appreciate your hard work and enjoy the beautiful addition to your home or outdoor space. Whether it’s a grand entrance to your patio, an eye-catching centerpiece in your foyer, or a stunning feature in your garden, your round stairs are sure to impress and enhance the overall aesthetic of your space.
Remember to regularly inspect and maintain your round stairs to ensure their longevity and continued safety. With proper care, your round stairs will serve you well for years to come.
Thank you for choosing this guide. We hope it has been helpful and wish you success in your round stairs construction project!
Frequently Asked Questions about How To Build Spiral Stairs
Was this page helpful?
At Storables.com, we guarantee accurate and reliable information. Our content, validated by Expert Board Contributors, is crafted following stringent Editorial Policies. We're committed to providing you with well-researched, expert-backed insights for all your informational needs.


0 thoughts on “How To Build Spiral Stairs”