Home>Articles>What Is The Proper Protractor Orientation To Measure The Angle?

Articles
What Is The Proper Protractor Orientation To Measure The Angle?
Modified: February 17, 2024
Learn about the proper protractor orientation to accurately measure angles in this informative article. Gain a better understanding of this essential tool for geometry and trigonometry.
(Many of the links in this article redirect to a specific reviewed product. Your purchase of these products through affiliate links helps to generate commission for Storables.com, at no extra cost. Learn more)
Introduction
Measuring angles accurately is essential in various fields such as mathematics, engineering, construction, and even in everyday life. To ensure precise measurements, it is crucial to understand the proper orientation of a protractor when measuring angles.
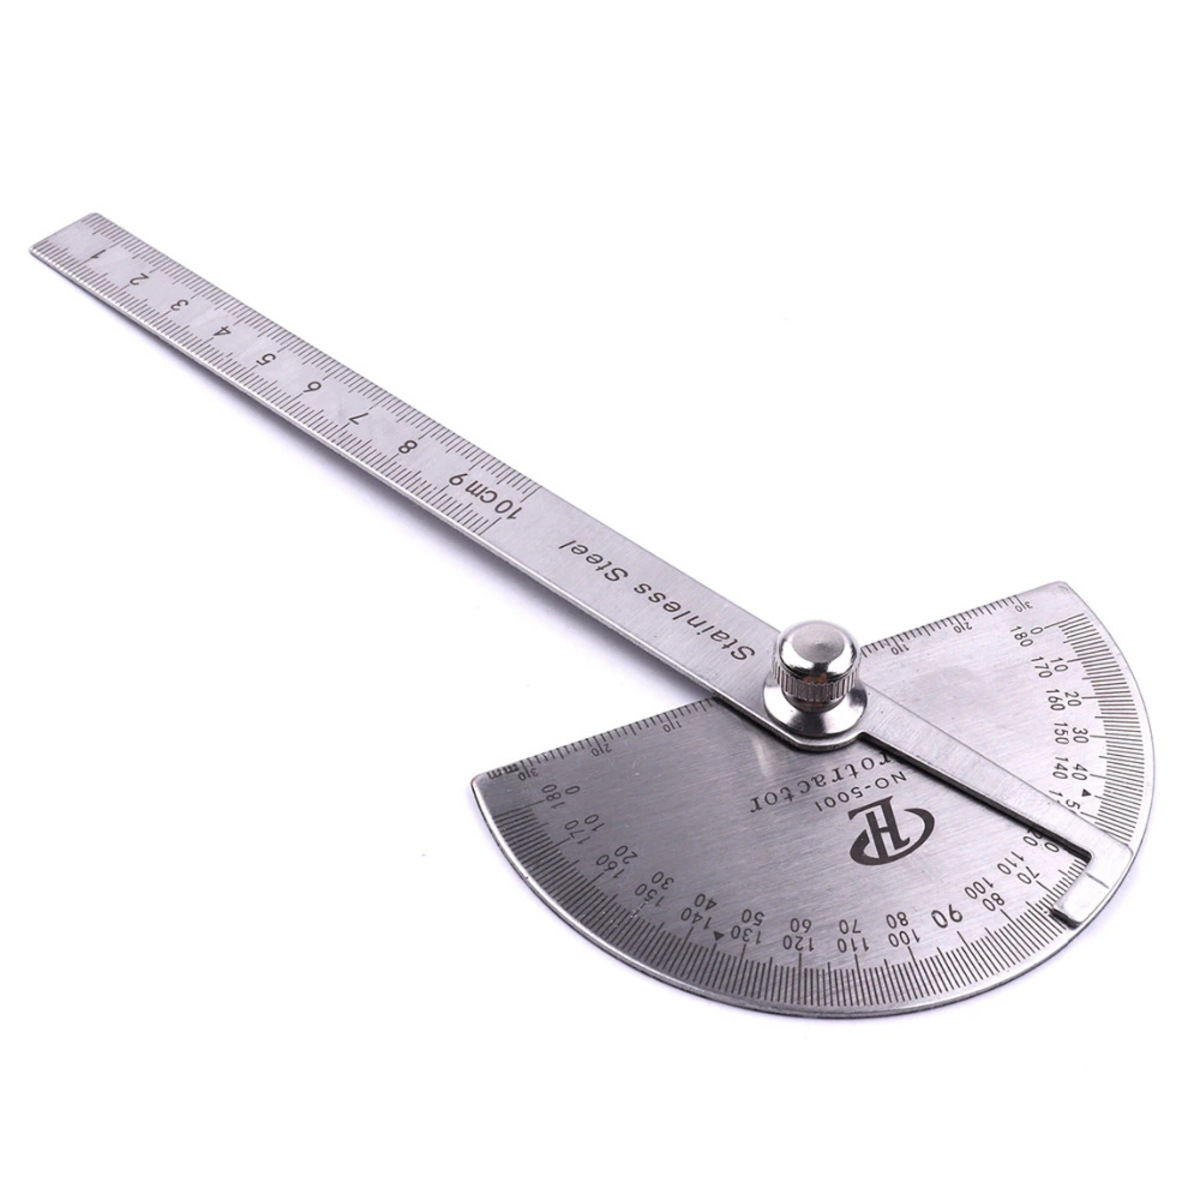
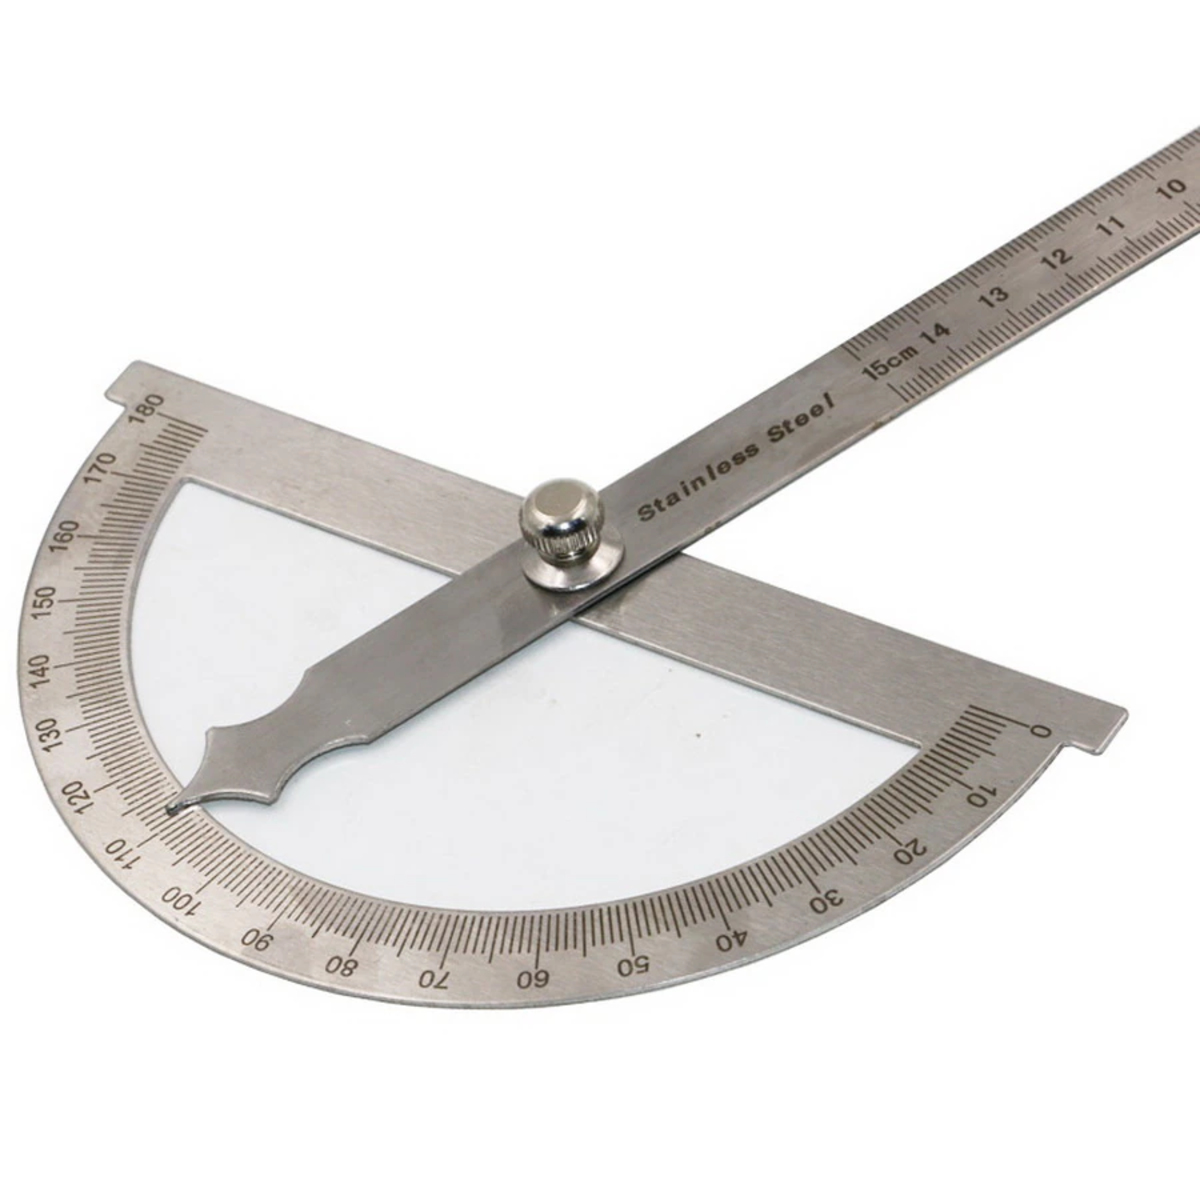
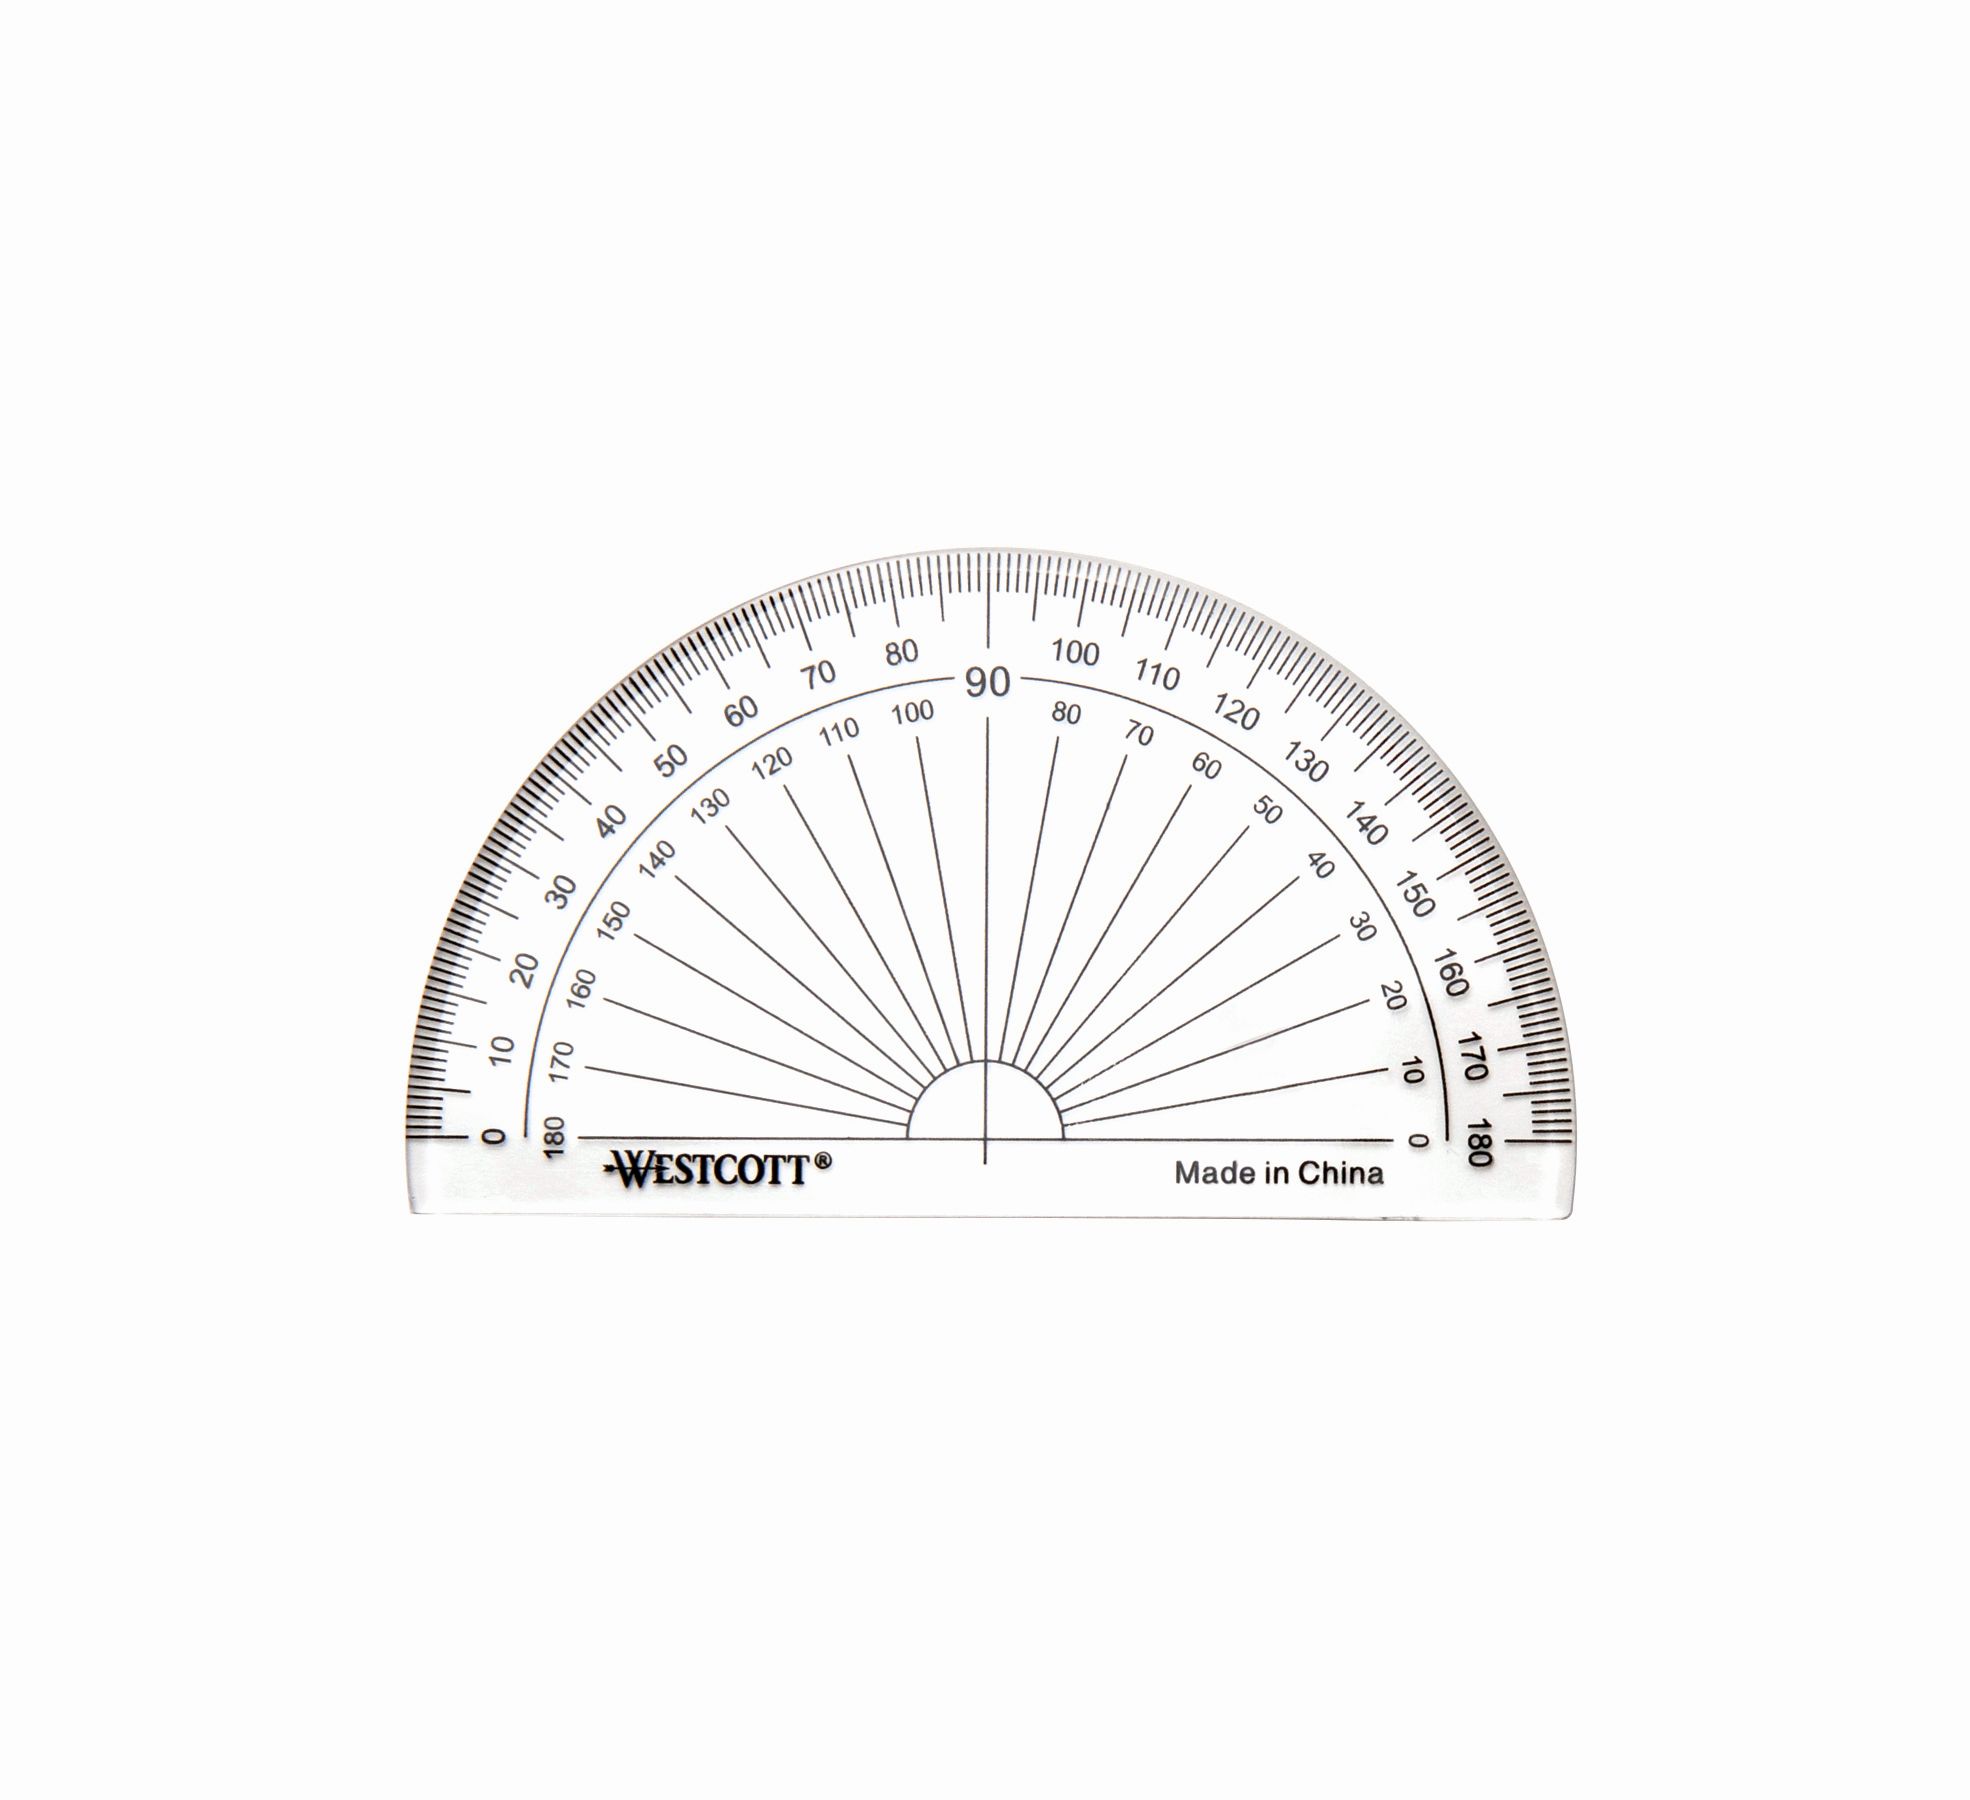
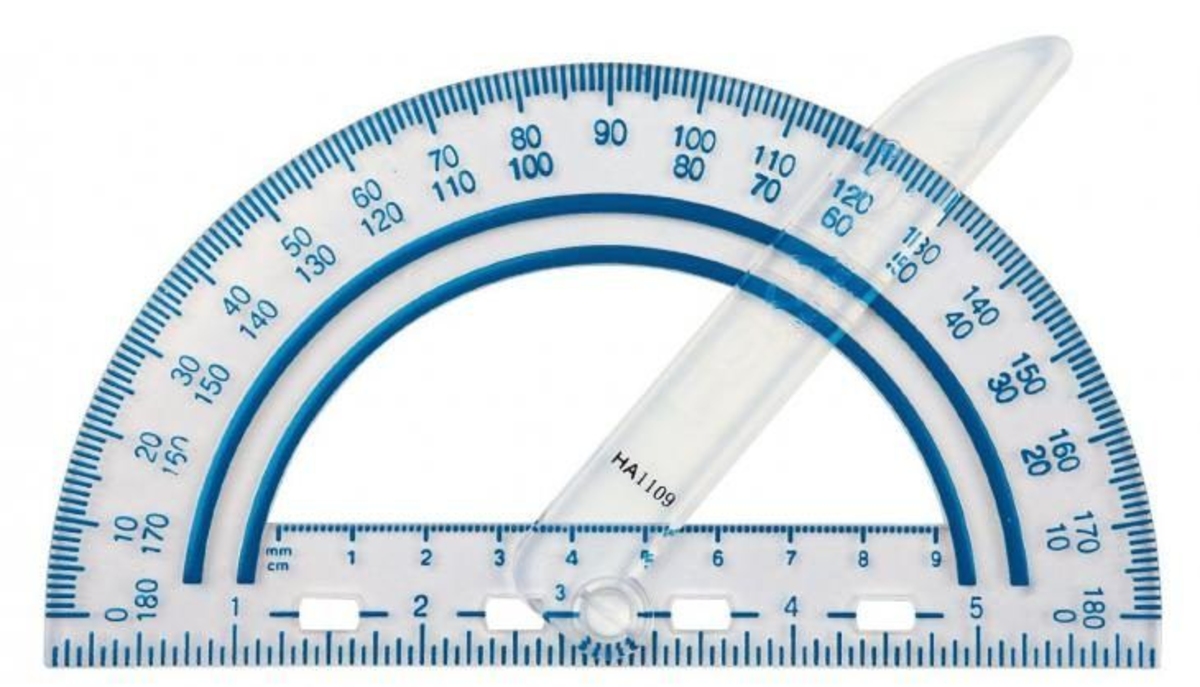
A protractor is a common tool used to measure angles. It consists of a semi-circular or circular shape with degree markings and a center point. The correct placement and alignment of the protractor play a vital role in obtaining accurate angle measurements.
In this article, we will delve into the significance of protractor orientation and provide step-by-step guidance on how to properly measure angles using a protractor. We will also discuss common mistakes to avoid and share some tips for achieving accurate results.
So, let’s dive in and explore the world of protractor orientation and angle measurement!
Key Takeaways:
- Proper protractor orientation is crucial for accurate angle measurement. Understanding the correct alignment for acute, right, and obtuse angles ensures precise results in various fields.
- To achieve accurate angle measurements, use a high-quality protractor, extend angle sides, and avoid common mistakes. Practice and attention to detail enhance proficiency in protractor orientation.
Understanding Protractor Orientation
Before we dive into measuring angles with a protractor, it is crucial to understand the concept of protractor orientation. The proper orientation refers to the correct positioning and alignment of the protractor on the angle to be measured.
A protractor typically consists of a circular or semi-circular shape, with degree markings starting from zero at the center and extending outwards. The center point, also known as the vertex, is placed on the angle’s vertex, while the zero-degree mark aligns with one of the angle’s arms.
The orientation of the protractor affects the accuracy of the angle measurement. Improper placement or misalignment can result in incorrect readings and inaccurate calculations. Therefore, it is essential to follow the correct protractor orientation guidelines to obtain precise angle measurements.
Protractor orientation can vary depending on the type of angle being measured. There are three main types of angles:
- Acute Angle: An acute angle measures less than 90 degrees.
- Right Angle: A right angle measures exactly 90 degrees.
- Obtuse Angle: An obtuse angle measures greater than 90 degrees but less than 180 degrees.
The protractor needs to be aligned differently for each type of angle to ensure accurate measurements. Let’s explore the protractor orientation for each angle type:
- Acute Angle: When measuring an acute angle, align the protractor’s center point with the vertex of the angle. Ensure that one of the protractor’s arms overlaps with one of the angle’s sides in a way that the side passes through the degree markings on the protractor.
- Right Angle: For a right angle, position the protractor with the center point coinciding with the angle’s vertex. Ensure that one of the protractor’s arms aligns with one of the angle’s sides, and the other arm aligns with the side extending away from the angle’s vertex.
- Obtuse Angle: When measuring an obtuse angle, place the protractor’s center point on the angle’s vertex. Ensure that one of the protractor’s arms aligns with one of the angle’s sides, while the other arm extends in the opposite direction, away from the angle’s vertex.
By understanding the appropriate orientation for each angle type, you can ensure accurate angle measurements and avoid potential errors.
Now that we have a good grasp of protractor orientation, let’s move on to the practical steps of measuring angles using a protractor.
Measuring Angles with the Protractor
Measuring angles with a protractor might seem daunting at first, but with the right technique, it becomes a straightforward process. By following a few simple steps, you can accurately measure angles using a protractor:
- Place the protractor: Start by ensuring that the protractor is positioned correctly on the angle you want to measure. Align the center point of the protractor with the vertex of the angle.
- Align the arms: Next, align one of the protractor arms with one of the angle’s sides. Make sure that the side passes through the degree markings on the protractor clearly.
- Read the measurement: Once the protractor is properly aligned, determine the degree measurement of the angle. Read the marking where the other protractor arm intersects with the degree scale.
- Record the measurement: Finally, note down the degree measurement of the angle for further calculations or reference.
It is important to pay attention to the scale increments on the protractor. Most commonly, protractors have degree markings in increments of 1 degree or 5 degrees. Choose the appropriate increment depending on the level of accuracy required for your measurement.
Keep in mind that some protractors have both an inner and outer scale. The inner scale measures clockwise angles, while the outer scale measures counterclockwise angles. Make sure to use the appropriate scale based on the direction of the angle being measured.
When measuring angles, it can be helpful to use a straight edge, such as a ruler or a straight edge of the protractor, to extend the sides of the angle. This ensures accurate alignment and makes it easier to read the degree measurement on the protractor.
Now that we have covered the basic steps for measuring angles with a protractor, let’s move on to a detailed guide on the proper protractor orientation for different types of angles.
Step-by-Step Guide to Proper Protractor Orientation
To ensure accurate angle measurements, it is crucial to follow the proper protractor orientation for different types of angles. Here is a step-by-step guide to help you achieve the correct protractor orientation:
- Identify the type of angle: Before proceeding, determine the type of angle you are trying to measure: acute, right, or obtuse.
- Position the protractor: Place the protractor on a flat surface, ensuring it is level and stable.
- Align the center point: Identify the vertex of the angle and place the center point of the protractor directly on this vertex.
- Align an arm: Take one of the protractor’s arms and align it with one of the angle’s sides. Ensure that the side extends through the degree markings on the protractor.
- Check for proper alignment: Verify that the protractor is aligned accurately by ensuring that both the vertex and the side pass through the corresponding degree markings.
- Read the measurement: Once the protractor is properly aligned, read the degree measurement where the other protractor arm intersects with the degree scale.
- Record the measurement: Note down the degree measurement of the angle for further calculations or reference.
Remember to consider the appropriate scale increment on the protractor based on the level of accuracy required for your measurement.
It is worth mentioning that measuring angles involving curves or irregular shapes may require additional steps to ensure the best protractor orientation. In such cases, align the protractor carefully with the curve or shape to capture the intended angle accurately.
By following this step-by-step guide, you can achieve the proper protractor orientation for precise angle measurements. Now, let’s move on to some common mistakes to avoid when using a protractor.
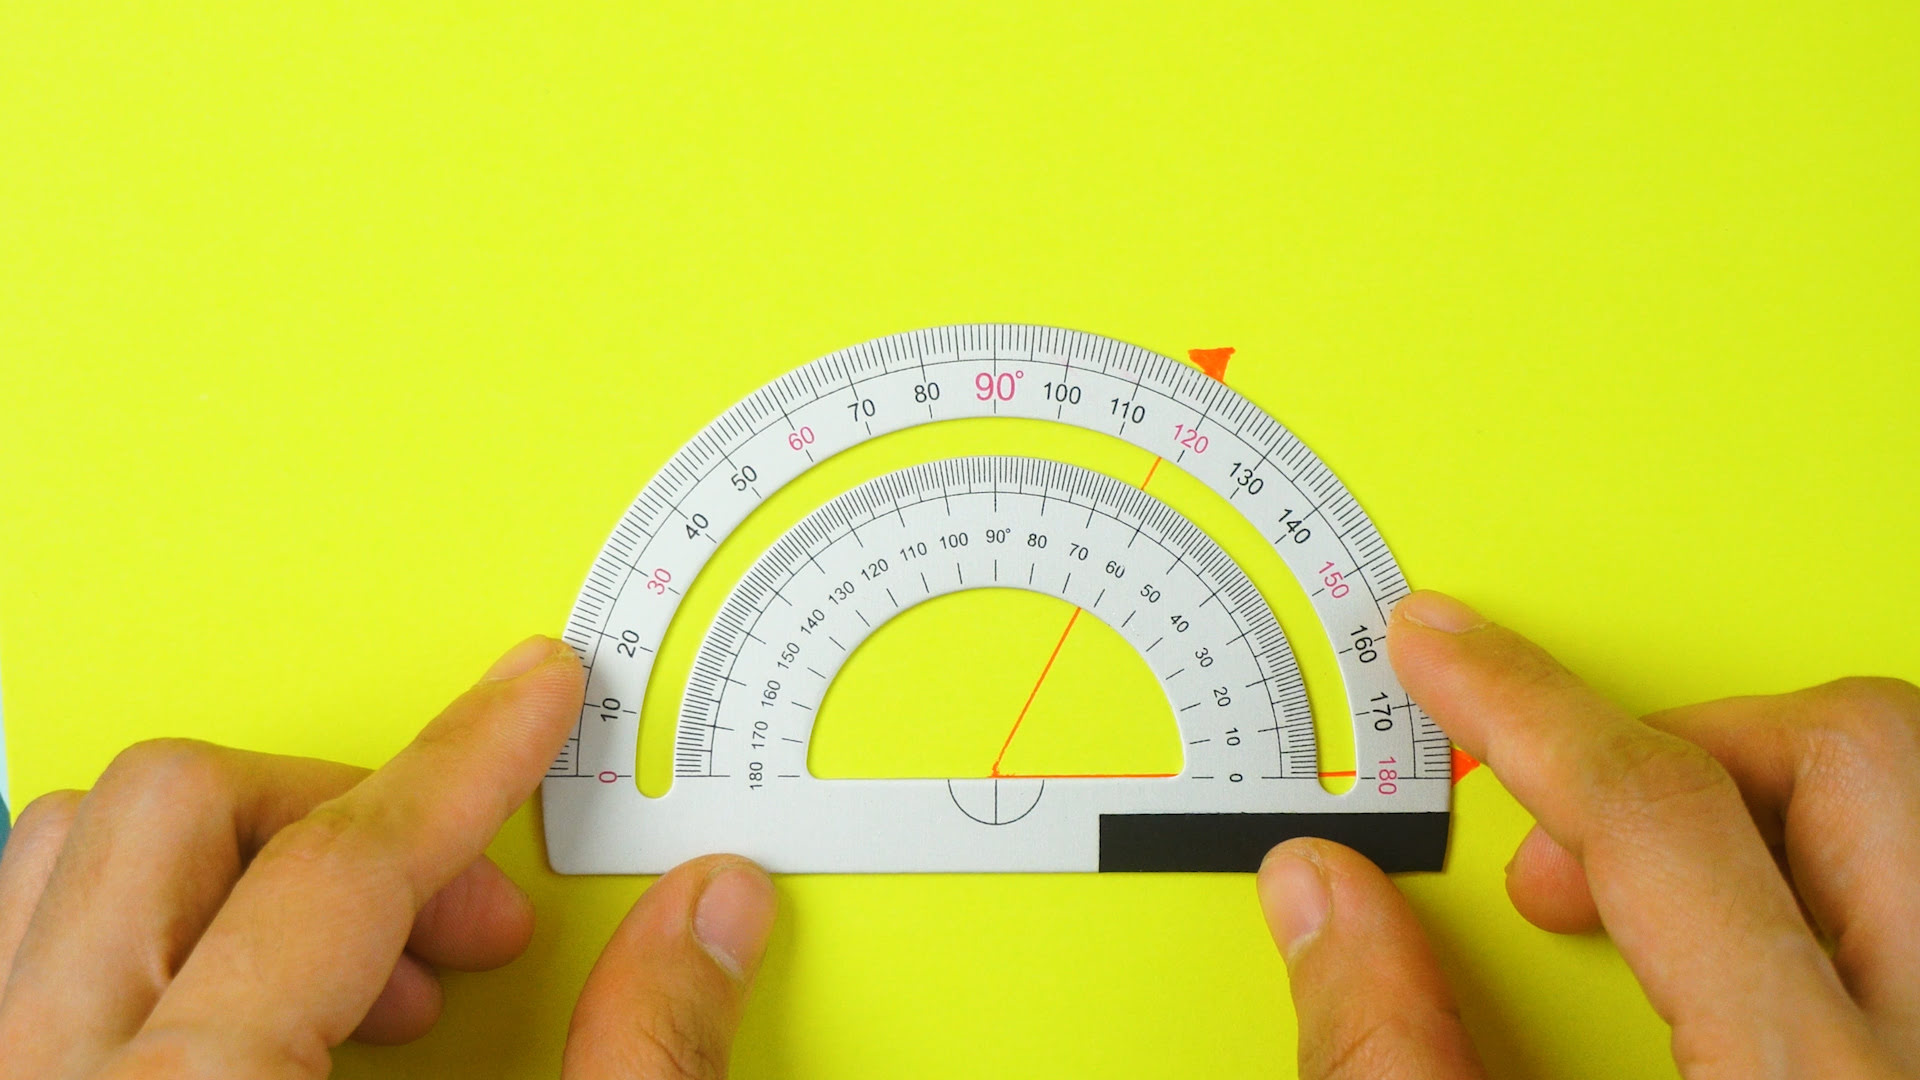
Place the protractor so that the center point lines up with the vertex of the angle. Then, align one side of the angle with the 0-degree line on the protractor for accurate measurement.
Common Mistakes to Avoid
While measuring angles with a protractor, there are a few common mistakes that can lead to inaccurate measurements. Understanding these mistakes will help you avoid them and ensure more precise results. Here are some common mistakes to watch out for:
- Incorrect protractor placement: One of the most common mistakes is not properly positioning the protractor on the angle to be measured. Make sure that the center point of the protractor aligns with the angle’s vertex, and one of the protractor arms overlaps with one of the angle’s sides.
- Misalignment of protractor arms: Another mistake is not aligning the protractor arms accurately. Ensure that the arms are straight and properly aligned with the angle’s sides. It’s important not to tilt or skew the protractor during the measurement.
- Using the wrong scale: Some protractors have multiple scales, such as an inner scale and an outer scale. Use the appropriate scale based on the direction of the angle being measured. Using the wrong scale can lead to incorrect measurements.
- Not reading the measurement accurately: Reading the measurement on the protractor incorrectly can lead to significant errors. Take your time to locate the intersection point between the protractor arm and the degree scale, and ensure that you accurately identify the degree measurement.
- Neglecting to extend the angle: When measuring angles, it’s essential to extend the angle’s sides using a straight edge, such as a ruler or a protractor’s straight edge. Neglecting to extend the sides can result in incorrect placement and alignment of the protractor.
Avoiding these common mistakes will improve the accuracy of your angle measurements and ensure reliable results. By being aware of these pitfalls, you are better equipped to achieve precise measurements with a protractor.
Now that we have covered the common mistakes to avoid, let’s explore some tips to help you achieve accurate angle measurement.
Read more: How To Use Digital Protractor
Tips for Accurate Angle Measurement
Measuring angles with precision requires attention to detail and proper technique. Here are some helpful tips to ensure accurate angle measurement:
- Use a high-quality protractor: Invest in a good quality protractor that has clear and accurate degree markings. A reliable protractor will make it easier to measure angles accurately.
- Ensure proper lighting: Adequate lighting is crucial when using a protractor. Make sure you have sufficient lighting to clearly see the degree markings and protractor arms for accurate alignment.
- Extend the angle’s sides: Extend the sides of the angle using a straight edge, such as a ruler or a straight edge of the protractor. This will assist in aligning the protractor properly and result in more accurate measurements.
- Take multiple measurements: If precision is crucial, consider taking multiple measurements of the same angle. This will help validate the accuracy and consistency of your measurements.
- Read the measurement from eye level: When reading the degree measurement, align your eye level with the protractor markings to minimize parallax errors. Viewing the protractor from an angle can lead to distorted readings.
- Practice alignment on known angles: To improve your technique, practice aligning the protractor on angles with known measurements. This will help you gain confidence and accuracy in your measurements.
- Take note of the units: Pay attention to the units required for the angle measurement, such as degrees or radians. Make sure to record and use the appropriate unit in your calculations or observations.
By following these tips, you can enhance the accuracy of your angle measurements and minimize the chances of errors. With practice and attention to detail, you will become more proficient in using a protractor for precise angle measurement.
Now that we have covered the tips for accurate angle measurement, let’s conclude our exploration of protractor orientation and angle measurement.
Conclusion
In summary, understanding the proper protractor orientation is essential for accurate angle measurement. By following the correct placement and alignment techniques, you can obtain precise measurements in various fields such as mathematics, engineering, and construction.
Throughout this article, we have explored the importance of protractor orientation, step-by-step guides for measuring angles, common mistakes to avoid, and tips for achieving accurate measurements. By being mindful of these factors, you can improve the reliability and precision of your angle measurements.
Remember to position the protractor correctly, align the arms with the angle’s sides, read the measurement accurately, and extend the angle’s sides using a straight edge. Avoid common mistakes such as improper protractor placement, misalignment, and using the wrong scale.
Additionally, practice and familiarity with your protractor are key to becoming proficient in measuring angles. Take your time, use quality tools, and consider multiple measurements for particularly precise or critical situations. The more you practice, the better you will become at achieving accurate and consistent results.
Measuring angles with precision is a valuable skill that can be applied to various disciplines and everyday life situations. By mastering protractor orientation and following the tips and techniques outlined in this article, you can confidently measure angles and ensure accuracy in your calculations, designs, and projects.
So, whether you’re a student, a professional, or an enthusiast, embrace the world of angles and protractor orientation, use your newfound knowledge, and measure with confidence!
Frequently Asked Questions about What Is The Proper Protractor Orientation To Measure The Angle?
Was this page helpful?
At Storables.com, we guarantee accurate and reliable information. Our content, validated by Expert Board Contributors, is crafted following stringent Editorial Policies. We're committed to providing you with well-researched, expert-backed insights for all your informational needs.
0 thoughts on “What Is The Proper Protractor Orientation To Measure The Angle?”