Articles
How To Use A Protractor Angle Finder
Modified: October 18, 2024
Learn how to effectively use a protractor angle finder with these informative articles. Brush up on your angle measurement skills and improve your accuracy.
(Many of the links in this article redirect to a specific reviewed product. Your purchase of these products through affiliate links helps to generate commission for Storables.com, at no extra cost. Learn more)
Introduction
Welcome to the world of DIY projects and carpentry! If you’re someone who loves building and creating, then having the right tools is essential. One such tool that can greatly aid in your projects is a protractor angle finder. Whether you’re working on woodworking, metalworking, or any other kind of project that involves angles, understanding how to use a protractor angle finder is crucial.
A protractor angle finder is a versatile tool that helps you accurately measure and transfer angles onto your workpiece. It consists of a rotating arm with angle markings and a base with a protractor scale. This tool allows you to measure angles precisely, ensuring that your cuts and joints are perfectly aligned.
In this article, we will guide you through the process of using a protractor angle finder effectively. We will explain the different parts of the tool, provide step-by-step instructions on how to use it, and share some tips and safety precautions to keep in mind.
By the end of this article, you’ll have the knowledge and confidence to utilize a protractor angle finder for your next project.
Key Takeaways:
- Mastering the use of a protractor angle finder empowers DIY enthusiasts and professionals to achieve precise angle measurements, ensuring professional-quality cuts and joints in woodworking, metalworking, and construction projects.
- By understanding the parts, following step-by-step instructions, and adhering to safety precautions, users can confidently utilize a protractor angle finder to transfer accurate angle measurements onto their workpieces, elevating the quality of their craftsmanship.
Read also: 10 Best Protractor Angle Finder for 2025
What is a Protractor Angle Finder?
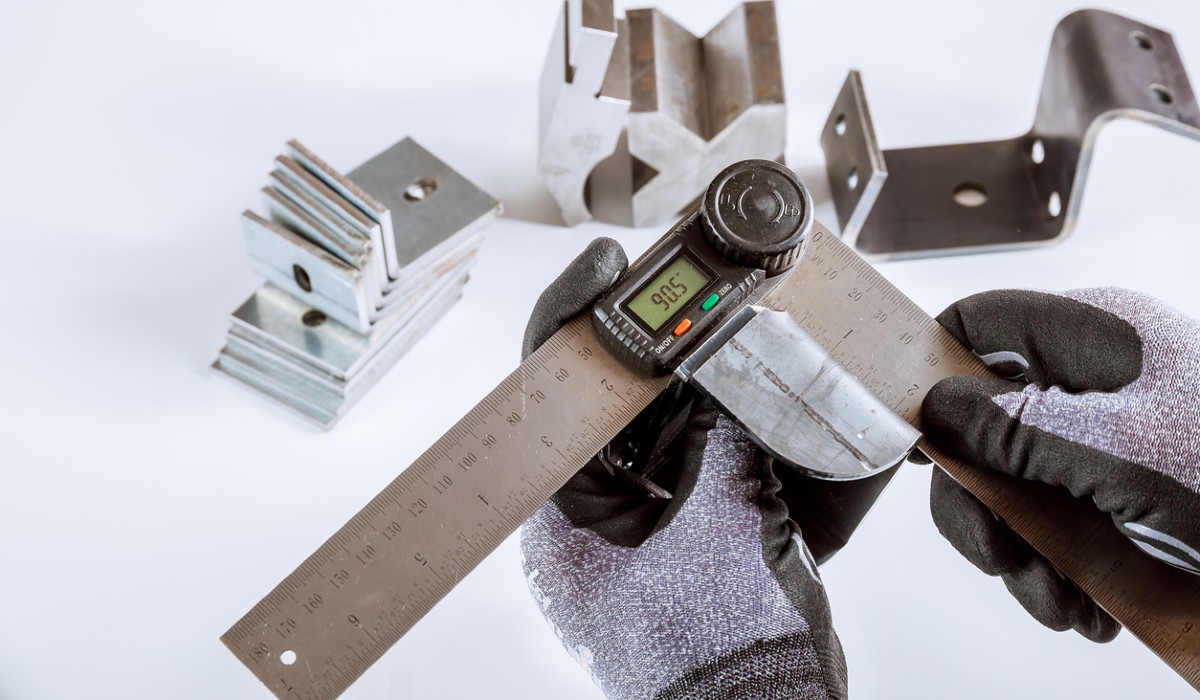
A protractor angle finder is a measuring tool used in various industries, including woodworking, metalworking, and construction. Its primary purpose is to accurately measure angles to ensure precise cuts and joints. With a protractor angle finder, you can easily determine the exact angle of a corner or the slope of a surface.
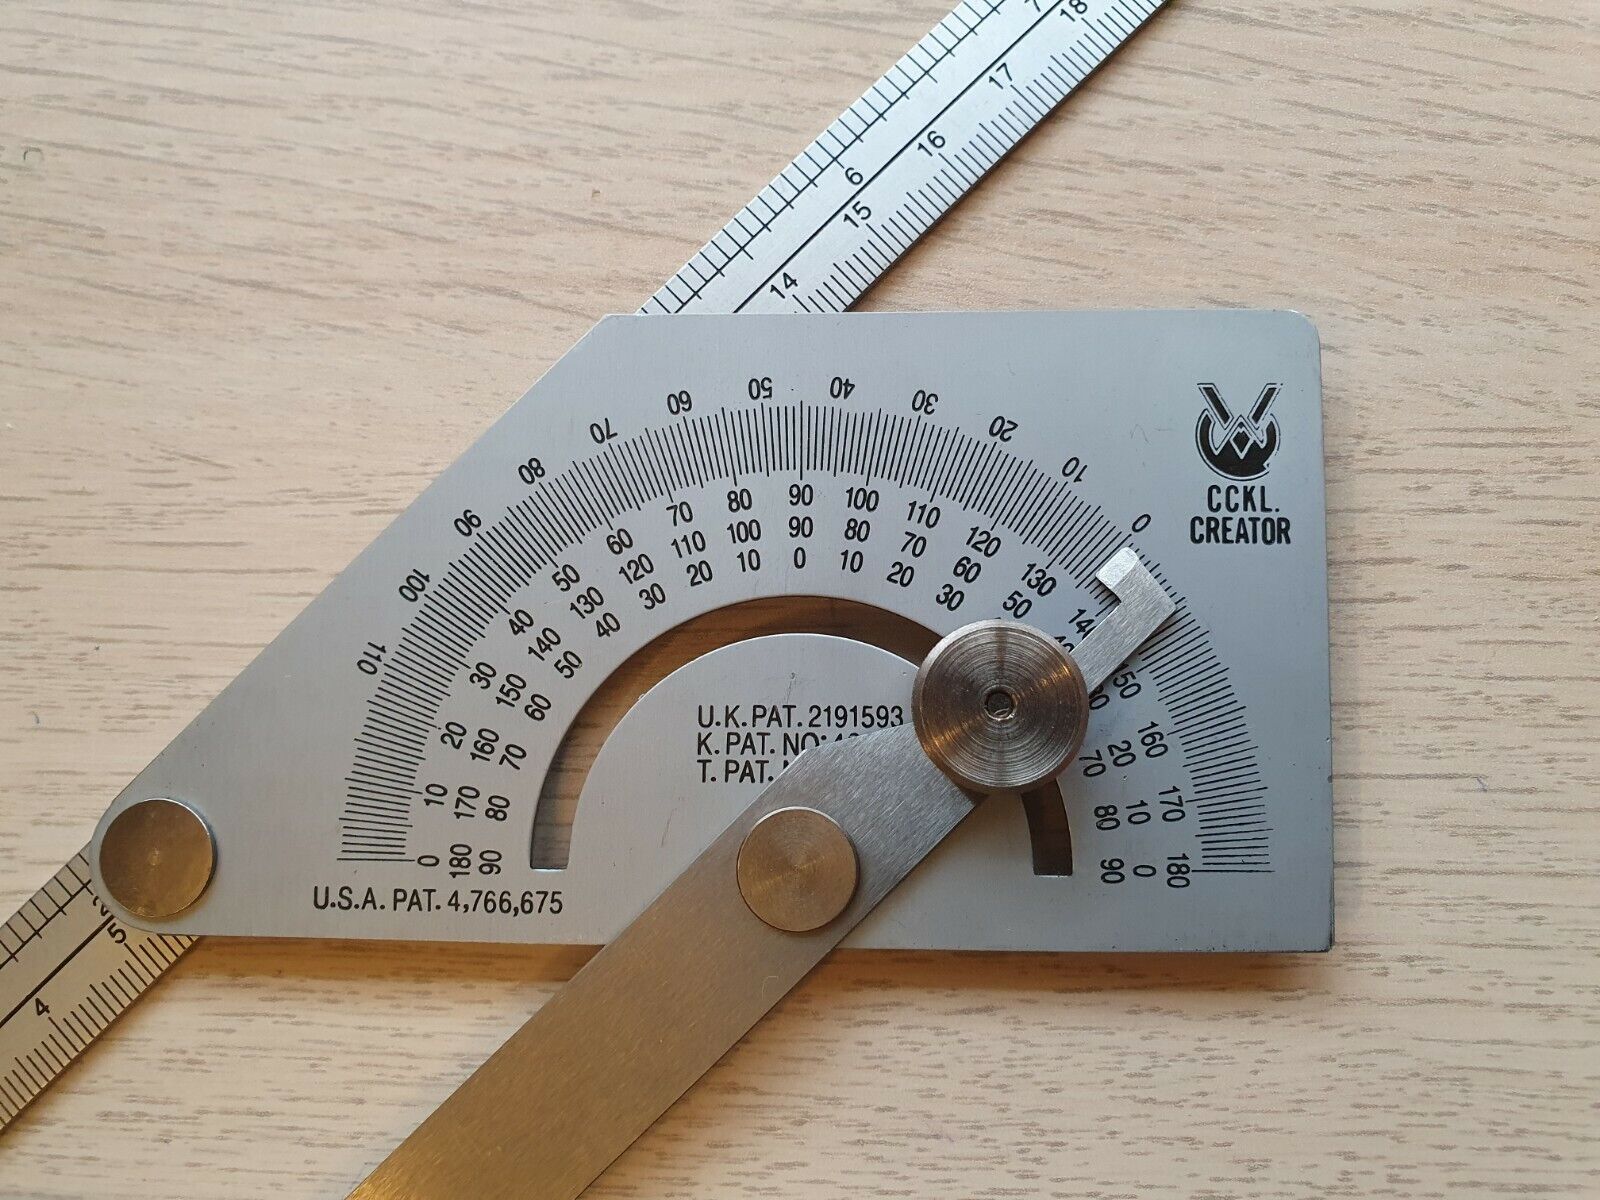
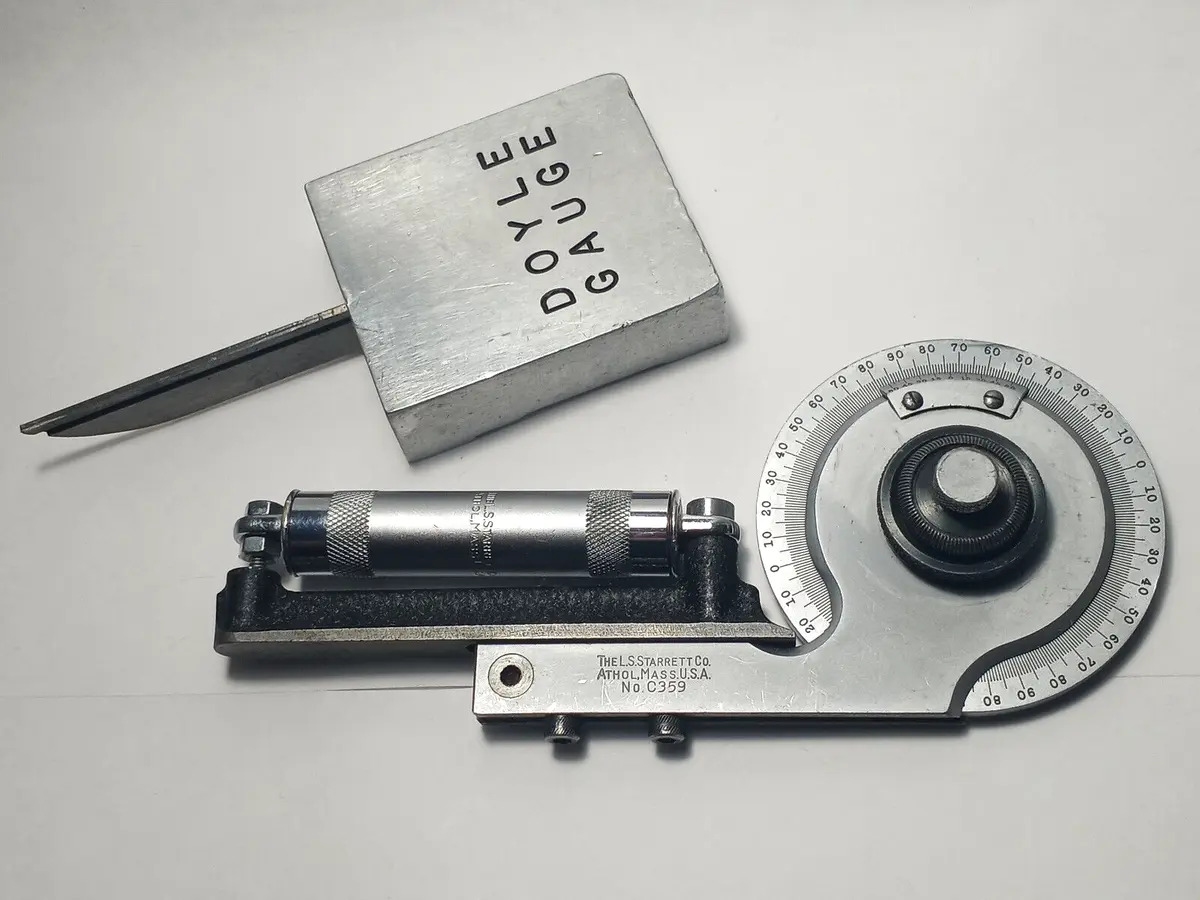
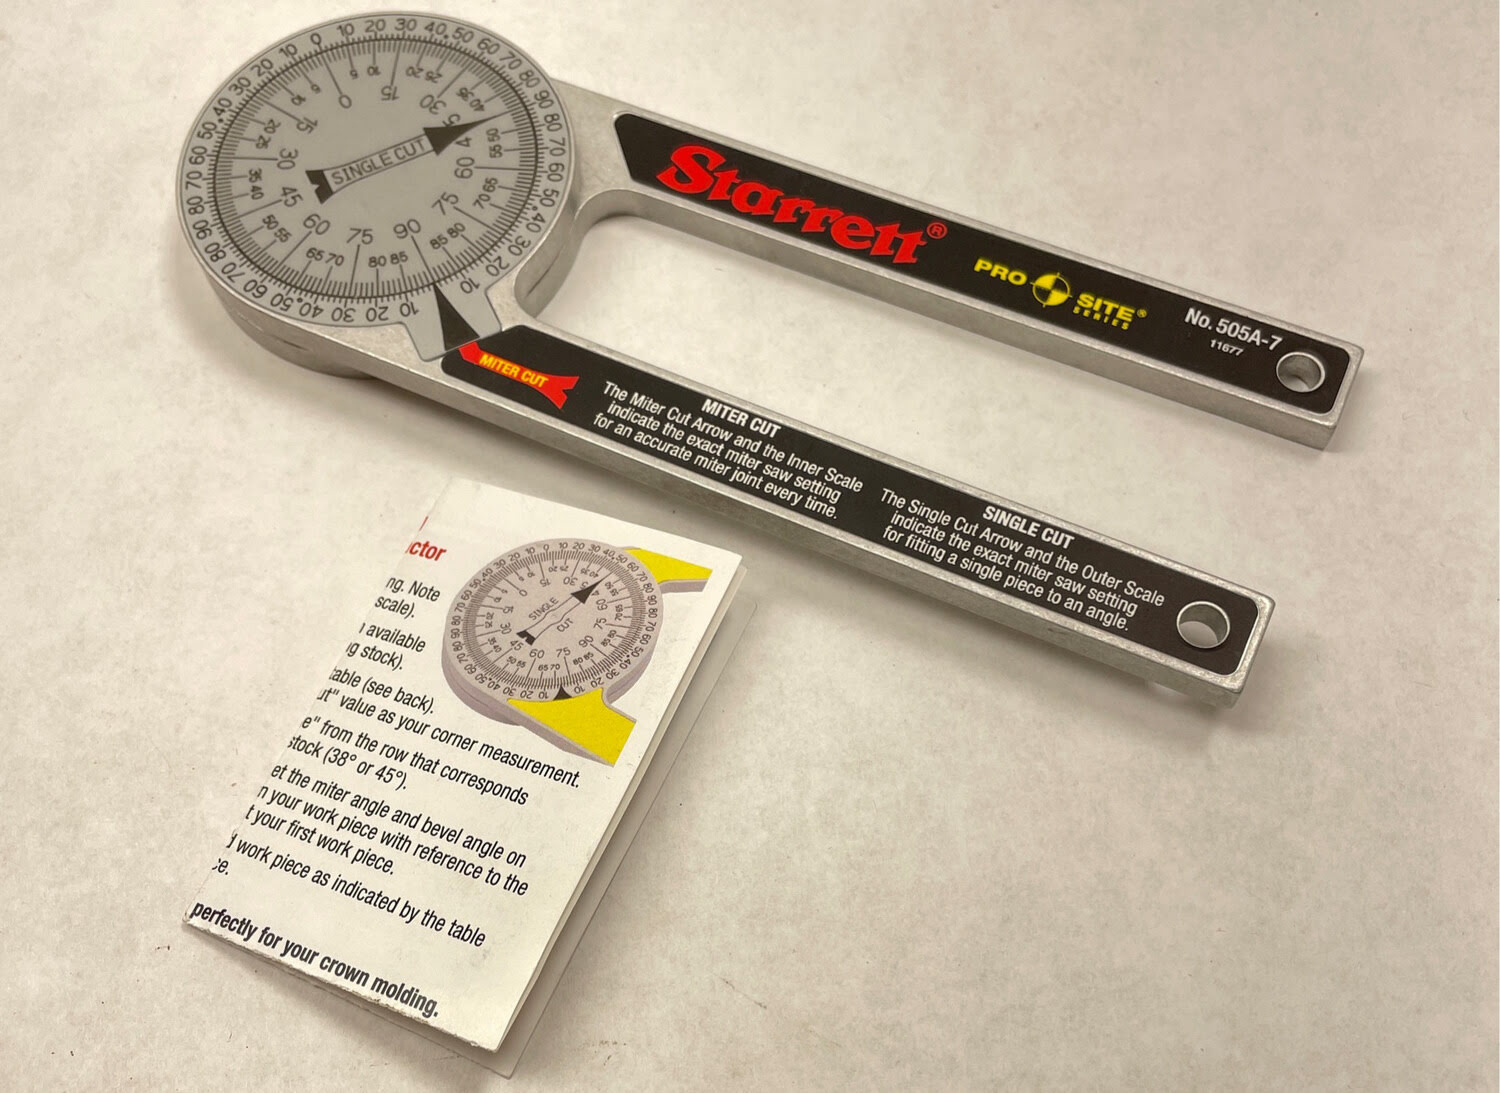
The tool typically consists of two main components: a rotating arm and a protractor base. The rotating arm is attached to the protractor base and can be adjusted to measure angles. It has angle markings that allow you to read the angle measurement accurately.
The protractor base is a flat surface with a protractor scale embedded on it. This scale usually contains markings in degrees, with 360 degrees representing a full circle. The base is designed to lay flat on the surface being measured, ensuring accurate angle readings.
Protractor angle finders come in different sizes and types. Some are handheld, while others are larger and can be clamped onto the workpiece. The choice of tool depends on the specific project requirements and personal preference.
One of the key advantages of using a protractor angle finder is its versatility. It can be used to measure both interior and exterior angles, making it suitable for a wide range of applications. Whether you’re building furniture, constructing a roof, or working on intricate metalwork, a protractor angle finder can help you achieve precise angles for a professional finish.
Another benefit of using a protractor angle finder is its ease of use. The angle measurements are clearly marked on the tool, making it simple to read and interpret. With a little practice, you’ll quickly become proficient in using this tool to measure and transfer angles onto your workpiece.
Now that you have a basic understanding of what a protractor angle finder is, let’s delve deeper into its various parts to better understand how to use it effectively.
Understanding the Parts of a Protractor Angle Finder
Before we dive into how to use a protractor angle finder, let’s familiarize ourselves with its different parts. Understanding the components of the tool will help you navigate it more easily and make accurate angle measurements.
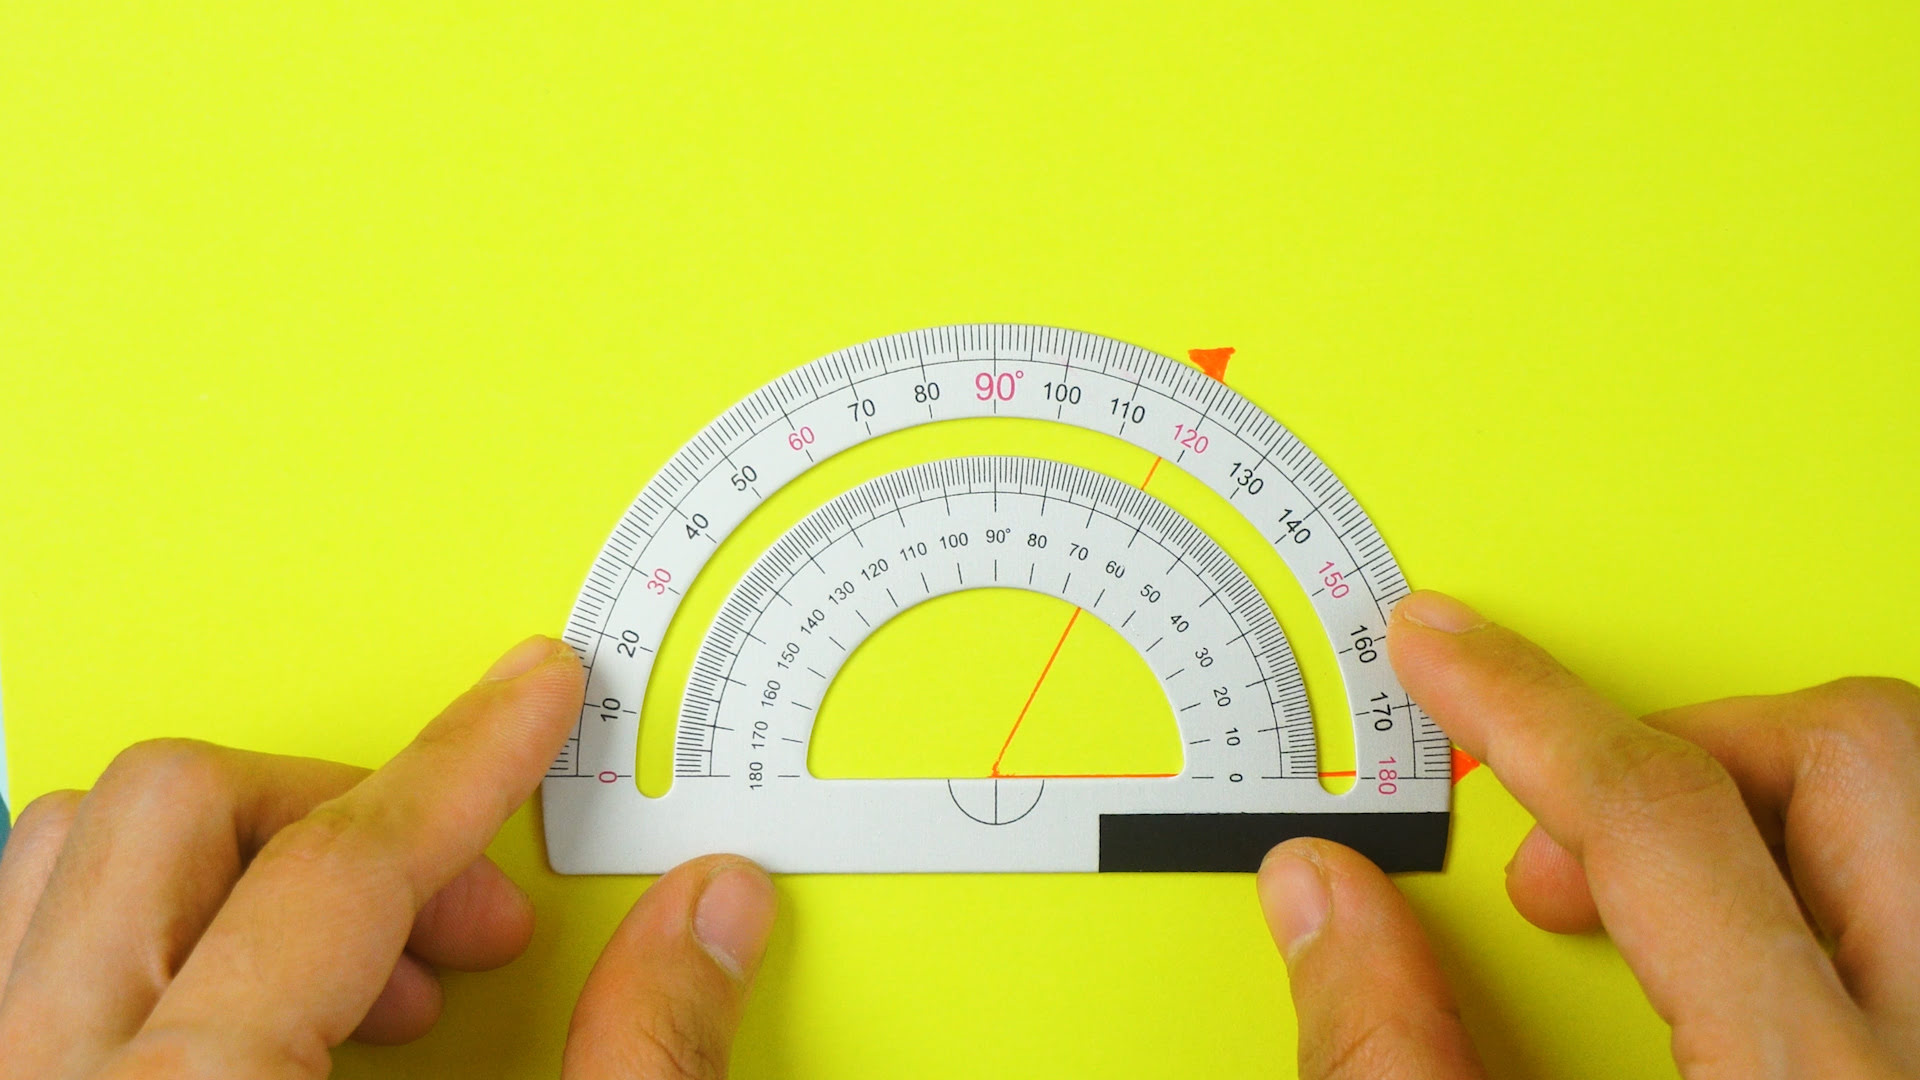
1. Rotating Arm: The rotating arm is the movable part of the protractor angle finder. It is connected to the base and can be adjusted to measure angles. The arm is typically marked with angle graduations that range from 0 to 180 degrees or even a full 360 degrees, depending on the design. To measure an angle, you can align the rotating arm with the two arms of the angle and read the measurement at the intersection of the arm and the scale.
2. Protractor Base: The protractor base is the flat surface that supports the rotating arm. It has a protractor scale engraved or printed on it. This scale consists of angle markings in degrees, typically ranging from 0 to 180 degrees or 0 to 360 degrees. The base is designed to lay flat on the surface being measured, ensuring accurate readings.
3. Locking Mechanism: Some protractor angle finders come with a locking mechanism to hold the rotating arm in place once you have set the desired angle. This feature is useful when you need to transfer the angle measurement or maintain a consistent angle while working.
4. Reference Point: The protractor angle finder may have a reference point, often marked with a zero on the rotating arm. This point represents the starting point of the angle measurement. By aligning the reference point with one arm of the angle, you can accurately measure the angle using the markings on the rotating arm.
5. Measurement Units: The protractor angle finder will typically have degree markings, but it may also have additional markings for other measurement units, such as radians or gradients. Familiarize yourself with the units of measurement on the tool to ensure you are reading and using the correct value for your project.
Now that you have a good understanding of the different parts of a protractor angle finder, let’s move on to the steps involved in using it effectively to measure and transfer angles.
Step 1: Place the Protractor Angle Finder on the Angle
Now that you are familiar with the parts of a protractor angle finder, let’s move on to the first step in using this tool effectively: placing it on the angle you want to measure.
1. Start by identifying the angle you need to measure. It can be an interior angle, formed within a shape, or an exterior angle, formed outside a shape. Visualize the angle and ensure you have a clear understanding of where the measurement needs to be taken.
2. Place the protractor angle finder on the angle, aligning the protractor base with one arm of the angle. Ensure that the base lies flat against the surface, making a firm and secure contact.
3. Check that the rotating arm of the protractor angle finder is aligned with the other arm of the angle. Move the rotating arm if necessary to ensure it passes through the vertex of the angle.
It’s important to position the protractor accurately to obtain an accurate measurement. Ensure that the protractor base is firmly against the surface and that the rotating arm aligns with the arms of the angle.
Once you have positioned the protractor angle finder correctly on the angle, you are ready to move on to the next step: reading the angle measurement.
Remember, practice makes perfect. It may take a few attempts to position the protractor angle finder accurately, especially when dealing with complex angles. Don’t get discouraged; with experience, you’ll become more proficient in placing the tool correctly.
Step 2: Read the Angle Measurement
Now that you have properly positioned the protractor angle finder on the angle, it’s time to read and determine the angle measurement. This step is crucial for accurately measuring and replicating the angle in your project.
1. Look at the rotating arm of the protractor angle finder. It should intersect with the protractor scale on the base at a specific angle marking. Take note of this marking as it represents the measurement of the angle.
2. Read the angle measurement from the scale. The scale is typically marked in degrees, ranging from 0 to 180 degrees or 0 to 360 degrees, depending on the design of the protractor angle finder. Find the value closest to the intersection of the rotating arm and the scale to determine the angle measurement.
3. Take into consideration the direction of measurement. Some angle measurements are taken in a clockwise direction, starting from the reference point on the rotating arm. Others are measured counterclockwise. Ensure you are reading the angle measurement in the correct direction to avoid any confusion.
4. Note down the angle measurement, either mentally or by writing it down, as per your preference. This measurement will be used in the next step to transfer the angle to your project.
It’s essential to read the angle measurement accurately, as even a slight miscalculation can lead to imprecise cuts or misaligned joints. Take your time in checking and double-checking the measurement before proceeding to the next step.
Now that you have successfully read the angle measurement, let’s move on to the final step: transferring the angle measurement to your project.
When using a protractor angle finder, always ensure that the center point of the protractor is aligned with the vertex of the angle. This will give you an accurate measurement of the angle.
Step 3: Transfer the Angle Measurement to Your Project
After accurately reading the angle measurement with your protractor angle finder, it’s time to transfer that measurement onto your workpiece. This step is crucial to ensure precise angles and accurate cuts or joints in your project.
1. Identify the location on your project where you need to transfer the angle measurement. It could be a line where you need to make a cut, a joint where two pieces will be connected, or any other specific area that requires the angle measurement for accuracy.
2. Take a straightedge, such as a ruler or a straight piece of wood, and align it with one arm of the angle. Ensure that the straightedge passes through the vertex of the angle, just like the rotating arm of the protractor angle finder.
3. With the straightedge in place, use a pencil or a marking tool to mark the angle measurement on your workpiece. Ensure that the marking is clear and visible, as it will serve as a guide when making your cuts or aligning your joints.
4. Double-check the placement of your straightedge and marking to ensure accuracy. Make any necessary adjustments before proceeding.
By transferring the angle measurement from your protractor angle finder to your project, you are setting yourself up for precise and accurate results. This step ensures that your cuts, joints, or any other elements of your project are aligned correctly according to the desired angle.
Remember, always be careful when making your markings and take your time to ensure accuracy. If needed, measure and transfer the angle multiple times to maintain consistency and accuracy throughout your project.
With the angle measurement transferred to your project, you are now ready to proceed with your woodworking, metalworking, or construction tasks with confidence and precision.
Tips for Using a Protractor Angle Finder
Using a protractor angle finder can greatly enhance the precision and accuracy of your projects. To make the most of this tool, here are some helpful tips to keep in mind:
1. Familiarize yourself with the markings: Take the time to understand the markings on your protractor angle finder. Read the user manual or guide that comes with the tool to ensure you interpret the measurements correctly. This will help you avoid any confusion or errors when using the tool.
2. Practice on scrap material: If you’re new to using a protractor angle finder, practice on scrap material before working on your actual project. This will allow you to familiarize yourself with the tool and gain confidence in positioning it accurately on angles.
3. Use a light touch: When placing the protractor angle finder on your workpiece, use a gentle and light touch. This will help prevent the tool from slipping or moving while you’re measuring the angle. Make sure the base of the protractor rests firmly on the surface to ensure accuracy.
4. Stay consistent with the unit of measurement: Determine the unit of measurement that you want to use, such as degrees, radians, or gradients, and stick to it throughout your project. Mixing different units can lead to confusion and inaccurate results.
5. Take multiple measurements: For critical angles or complex projects, take multiple measurements from different angles to ensure accuracy. This helps to minimize any errors or slight variations in your measurements and provides a more reliable average angle.
6. Double-check your readings: After taking an angle measurement with the protractor angle finder, double-check the reading to ensure accuracy. Mistakes can happen, so it’s always a good idea to verify your measurements before making any cuts or adjustments.
7. Calibrate your protractor angle finder: Over time, the accuracy of the tool may slightly deviate. To ensure precise measurements, periodically calibrate your protractor angle finder using a known reference angle, such as a right angle or a pre-made 45-degree angle.
8. Store it properly: When not in use, store your protractor angle finder in a safe place where it won’t get damaged. Protect it from dust, moisture, or any potential impact, as these can affect its accuracy and functionality.
By following these tips, you can make the most of your protractor angle finder and achieve precise and accurate angle measurements in your projects. With practice and attention to detail, you’ll become proficient in using this tool and elevate the quality of your craftsmanship.
Safety Precautions
While using a protractor angle finder may seem like a straightforward task, it’s essential to prioritize safety to avoid any accidents or injuries. Here are some important safety precautions to keep in mind when using a protractor angle finder:
1. Wear personal protective equipment (PPE): Always wear appropriate PPE, such as safety glasses or goggles, when working with tools. This will protect your eyes from any potential flying debris or accidental contact while using the protractor angle finder.
2. Secure your workpiece: Ensure that your workpiece is properly secured in a stable position before using the protractor angle finder. This will prevent any unexpected movement or slipping that could result in inaccurate angle measurements or potential accidents.
3. Be mindful of sharp edges: When placing the protractor angle finder on your workpiece, be cautious of any sharp edges or corners. They can cause cuts or punctures if proper care is not taken. Handle the tool with care and avoid placing your fingers too close to sharp edges.
4. Keep a clean and organized workspace: Maintain a clean and clutter-free workspace to prevent tripping hazards or accidental damage to the protractor angle finder. Clear any debris or obstructions that may hinder safe and accurate use of the tool.
5. Use caution with power tools: If you are using power tools in conjunction with the protractor angle finder, exercise caution and always follow the manufacturer’s instructions. Understand how the tool and the protractor angle finder work together to avoid any potential accidents or damage to either tool.
6. Maintain a firm grip on the protractor angle finder: Ensure that you have a secure grip on the protractor angle finder when positioning it on your workpiece. This will help maintain control and stability while accurately measuring angles.
7. Avoid overextending the tool: The protractor angle finder is designed to measure angles within its capacity. Avoid overextending or forcing the tool beyond its intended range, as this can lead to inaccurate readings or potential damage to the tool.
8. Follow manufacturer’s guidelines: Always refer to the manufacturer’s guidelines and instructions for proper usage, maintenance, and storage of the protractor angle finder. This ensures that you are using the tool in the intended manner and maintaining its performance and longevity.
By following these safety precautions, you can use a protractor angle finder safely and minimize the risk of accidents or injuries while obtaining precise angle measurements.
Conclusion
Using a protractor angle finder is a valuable skill that can greatly enhance your woodworking, metalworking, or construction projects. By understanding how to effectively use this tool, you can ensure precise and accurate angle measurements, resulting in professional-quality cuts, joints, and overall craftsmanship.
In this article, we discussed the importance of a protractor angle finder and highlighted its various parts. We walked through the step-by-step process of using the tool, including placing it on the angle, reading the angle measurement, and transferring that measurement to your project. Additionally, we shared helpful tips and safety precautions to optimize your experience with the protractor angle finder.
Remember to familiarize yourself with the tool’s markings, practice on scrap material, and maintain a consistent unit of measurement. Take your time in positioning the protractor angle finder accurately, and double-check your readings to ensure accuracy. Additionally, prioritize your safety by wearing appropriate PPE, securing your workpiece, and being cautious of sharp edges.
As you gain experience and proficiency in using a protractor angle finder, you will be able to tackle more complex projects with ease and precision. Whether you are a DIY enthusiast or a professional tradesperson, this tool will be a valuable asset in your toolbox.
So, go ahead and confidently use your protractor angle finder to measure angles, make accurate cuts, and create beautifully crafted projects. With practice and attention to detail, you will continue to improve your skills and achieve outstanding results in your woodworking or construction endeavors.
Curious about the fundamentals behind the tool you've just mastered? Dive into our article that explains what a protractor is, providing all the essentials about these critical measuring tools. Looking for the best gear to add to your toolbox? Check our recommendations for the best protractor angle finders of 2024, ensuring you have the most dependable and precise tools for your projects. Both pieces offer valuable insights and practical tips to elevate your work with accuracy and efficiency.
Frequently Asked Questions about How To Use A Protractor Angle Finder
Was this page helpful?
At Storables.com, we guarantee accurate and reliable information. Our content, validated by Expert Board Contributors, is crafted following stringent Editorial Policies. We're committed to providing you with well-researched, expert-backed insights for all your informational needs.

0 thoughts on “How To Use A Protractor Angle Finder”