Articles
How To Use Protractor To Measure Angles
Modified: August 17, 2024
Discover how to effectively measure angles using a protractor in this informative article. Expand your knowledge with step-by-step instructions and practical tips.
(Many of the links in this article redirect to a specific reviewed product. Your purchase of these products through affiliate links helps to generate commission for Storables.com, at no extra cost. Learn more)
Introduction
Angles are a fundamental concept in geometry and are used in various fields such as engineering, architecture, and physics. Measuring angles accurately is crucial for ensuring precision in these fields, and one of the essential tools for measuring angles is a protractor.
A protractor is a simple yet indispensable tool in geometry that allows you to measure and draw angles with precision. Whether you are a student learning about angles in a math class or a professional working with intricate designs, understanding how to use a protractor effectively is essential.
In this article, we will explore the basics of using a protractor to measure angles. We will cover the different types of protractors available, the steps involved in measuring angles, and provide some tips and tricks to ensure accurate measurements.
So, if you’re ready to level up your angle measuring skills and become a pro with the protractor, let’s dive in!
Key Takeaways:
- Mastering the use of a protractor to measure angles involves choosing the right protractor, aligning it accurately, and reading measurements carefully. With practice and attention to detail, you can confidently and precisely measure angles for various applications.
- To ensure accurate angle measurements, it’s crucial to avoid common mistakes such as improper alignment, parallax errors, and rushing the process. By being mindful of these pitfalls and practicing regularly, you can enhance the reliability and precision of your angle measurements.
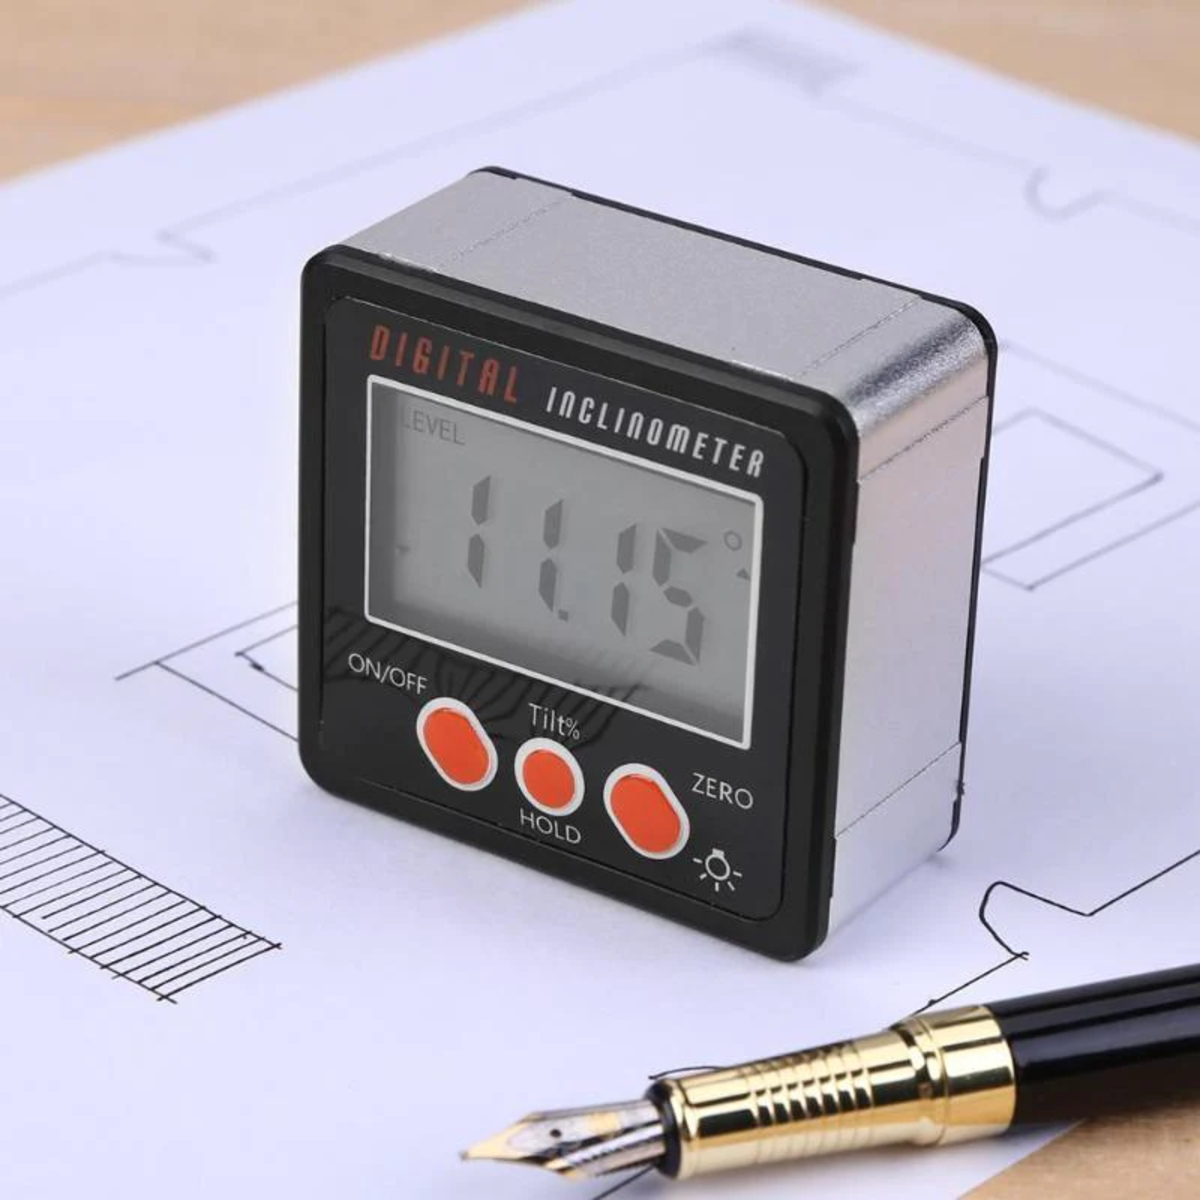
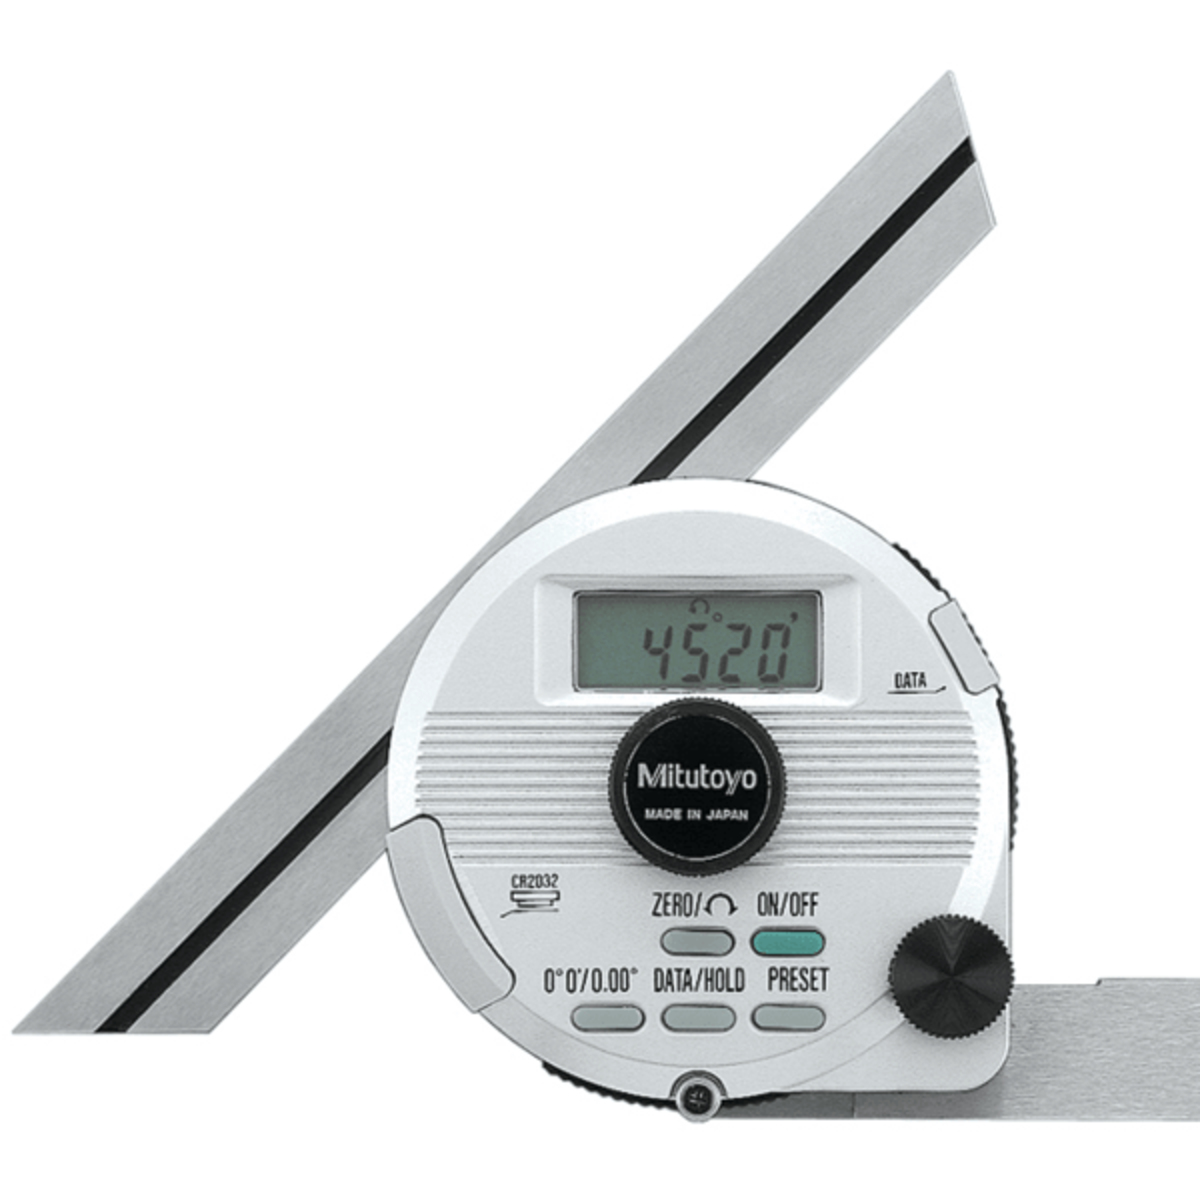
Read more: How To Use Digital Protractor
What is Protractor?
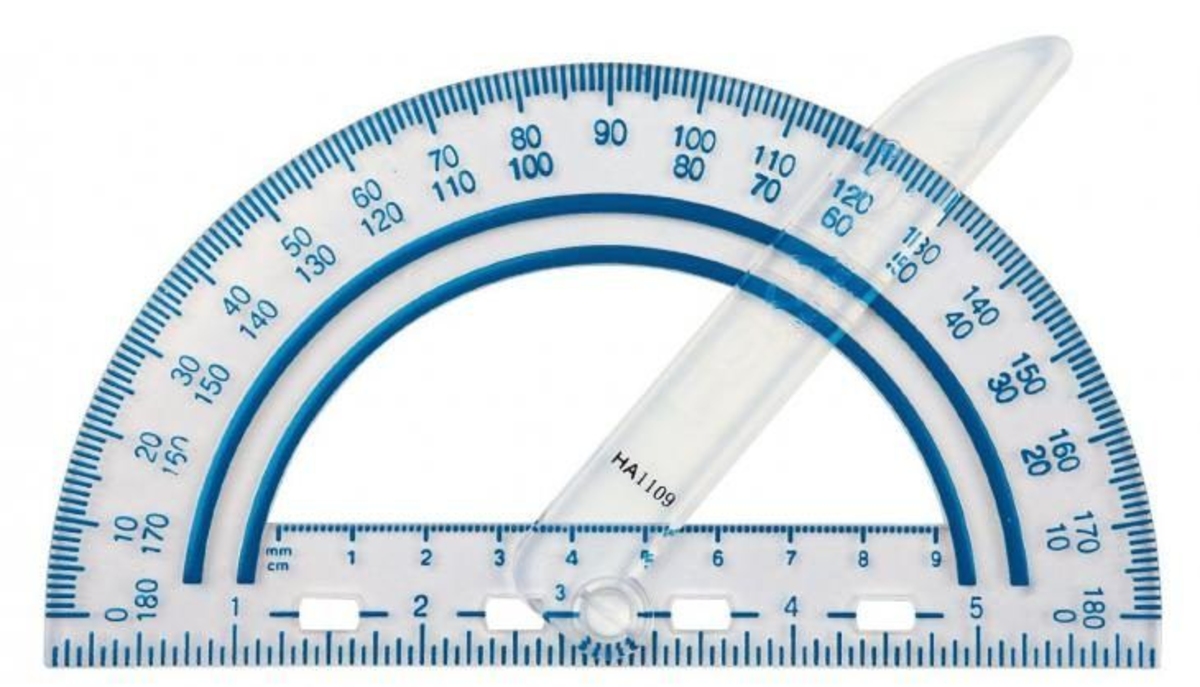
A protractor is a measuring instrument used to measure angles. It is a simple, semi-circular or circular tool, typically made of transparent or opaque plastic, with a central pivot point and a series of degree markings along its edge. The degree markings start from 0 degrees at one end and go up to 180 degrees or 360 degrees, depending on the type of protractor.
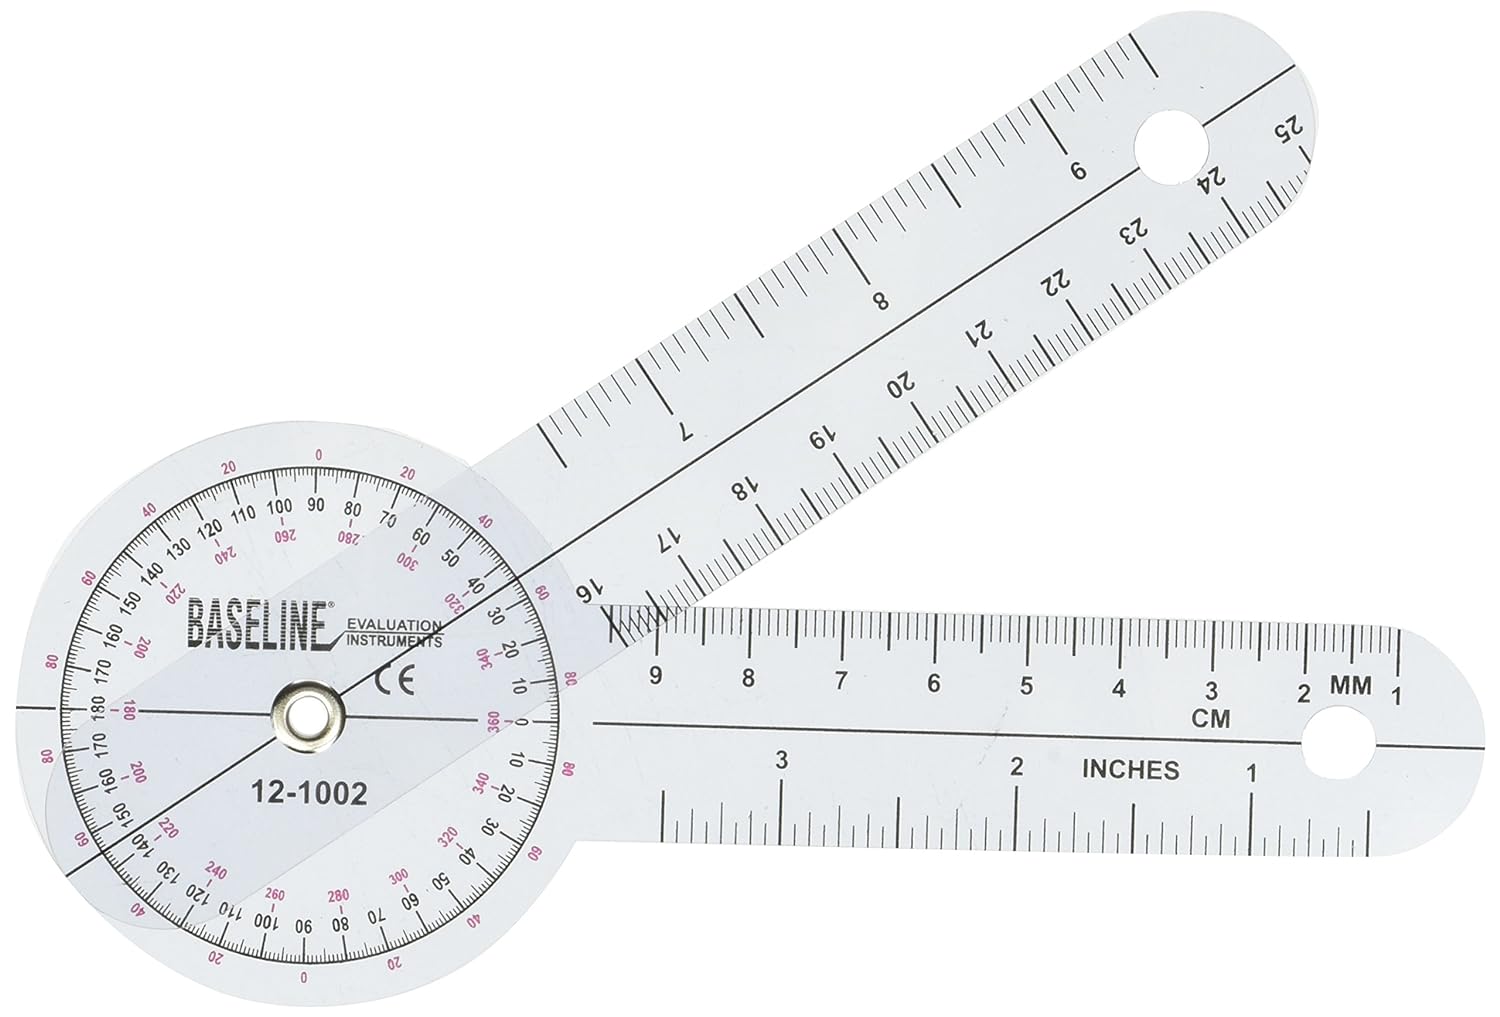
Protractors come in various types, including semi-circular protractors, full-circle protractors, and digital protractors. Semi-circular protractors are the most common and widely used. They measure angles up to 180 degrees and have a straight base that allows them to be aligned with a straight edge. Full-circle protractors, as the name suggests, can measure angles in a complete circle, from 0 degrees to 360 degrees.
Protractors also come in different sizes, with larger ones typically used for more accurate measurements and smaller ones for general purposes. Some protractors have additional features, such as rulers and built-in magnifiers, to aid in precision measurements.
Protractors are essential tools in geometry, trigonometry, drafting, and other disciplines that involve the measurement and construction of angles. They are commonly used in schools, engineering and architecture offices, and various industries where precision angle measurements are required.
These versatile tools can be used to measure the angles of existing shapes, draw and construct angles, determine the angle between two lines, and solve trigonometric problems. With their clear markings and easy-to-use design, protractors help ensure accurate and consistent angle measurements.
Now that we have a basic understanding of what a protractor is, let’s explore how to effectively use it to measure angles.
Understanding Angles
Before we dive into using a protractor to measure angles, let’s first ensure we have a solid understanding of what angles are and how they are measured.
An angle is the space between two intersecting lines or surfaces. It is typically measured in degrees, which represent a fraction of a complete turn. A complete turn consists of 360 degrees, where each degree is further divided into minutes (‘) and seconds (“).
Angles can be classified based on their measure:
- Acute angle: An angle that measures less than 90 degrees
- Right angle: An angle that measures exactly 90 degrees
- Obtuse angle: An angle that measures greater than 90 degrees but less than 180 degrees
- Straight angle: An angle that measures exactly 180 degrees
- Reflex angle: An angle that measures greater than 180 degrees but less than 360 degrees
Angles can also be classified based on their position relative to other angles:
- Adjacent angles: Two angles that share a common vertex and a common side, but do not overlap.
- Vertical angles: Opposite angles formed by the intersection of two lines.
- Complementary angles: Two angles whose measures add up to 90 degrees.
- Supplementary angles: Two angles whose measures add up to 180 degrees.
- Alternate angles: Pairs of angles formed when a straight line intersects two parallel lines. They are equal in measure.
Understanding these different types and classifications of angles is important for accurately measuring and interpreting angles in various contexts.
Now that we have a solid foundation in angle concepts, let’s move on to learning how to use a protractor to measure angles.
Getting Started with Protractor
Now that we have a basic understanding of angles, let’s explore how to use a protractor to measure them accurately. Here are the steps to get started:
- Step 1: Choosing the Appropriate Protractor
- Step 2: Aligning the Center of the Protractor
- Step 3: Placing the Protractor Over the Angle
- Step 4: Reading the Angle Measurement
- Step 5: Recording and Using the Angle Measurement
Depending on the type of angle you are measuring, choose the appropriate protractor. If you are working with angles up to 180 degrees, a semi-circular protractor is suitable. If you need to measure angles in a full circle, opt for a full-circle protractor.
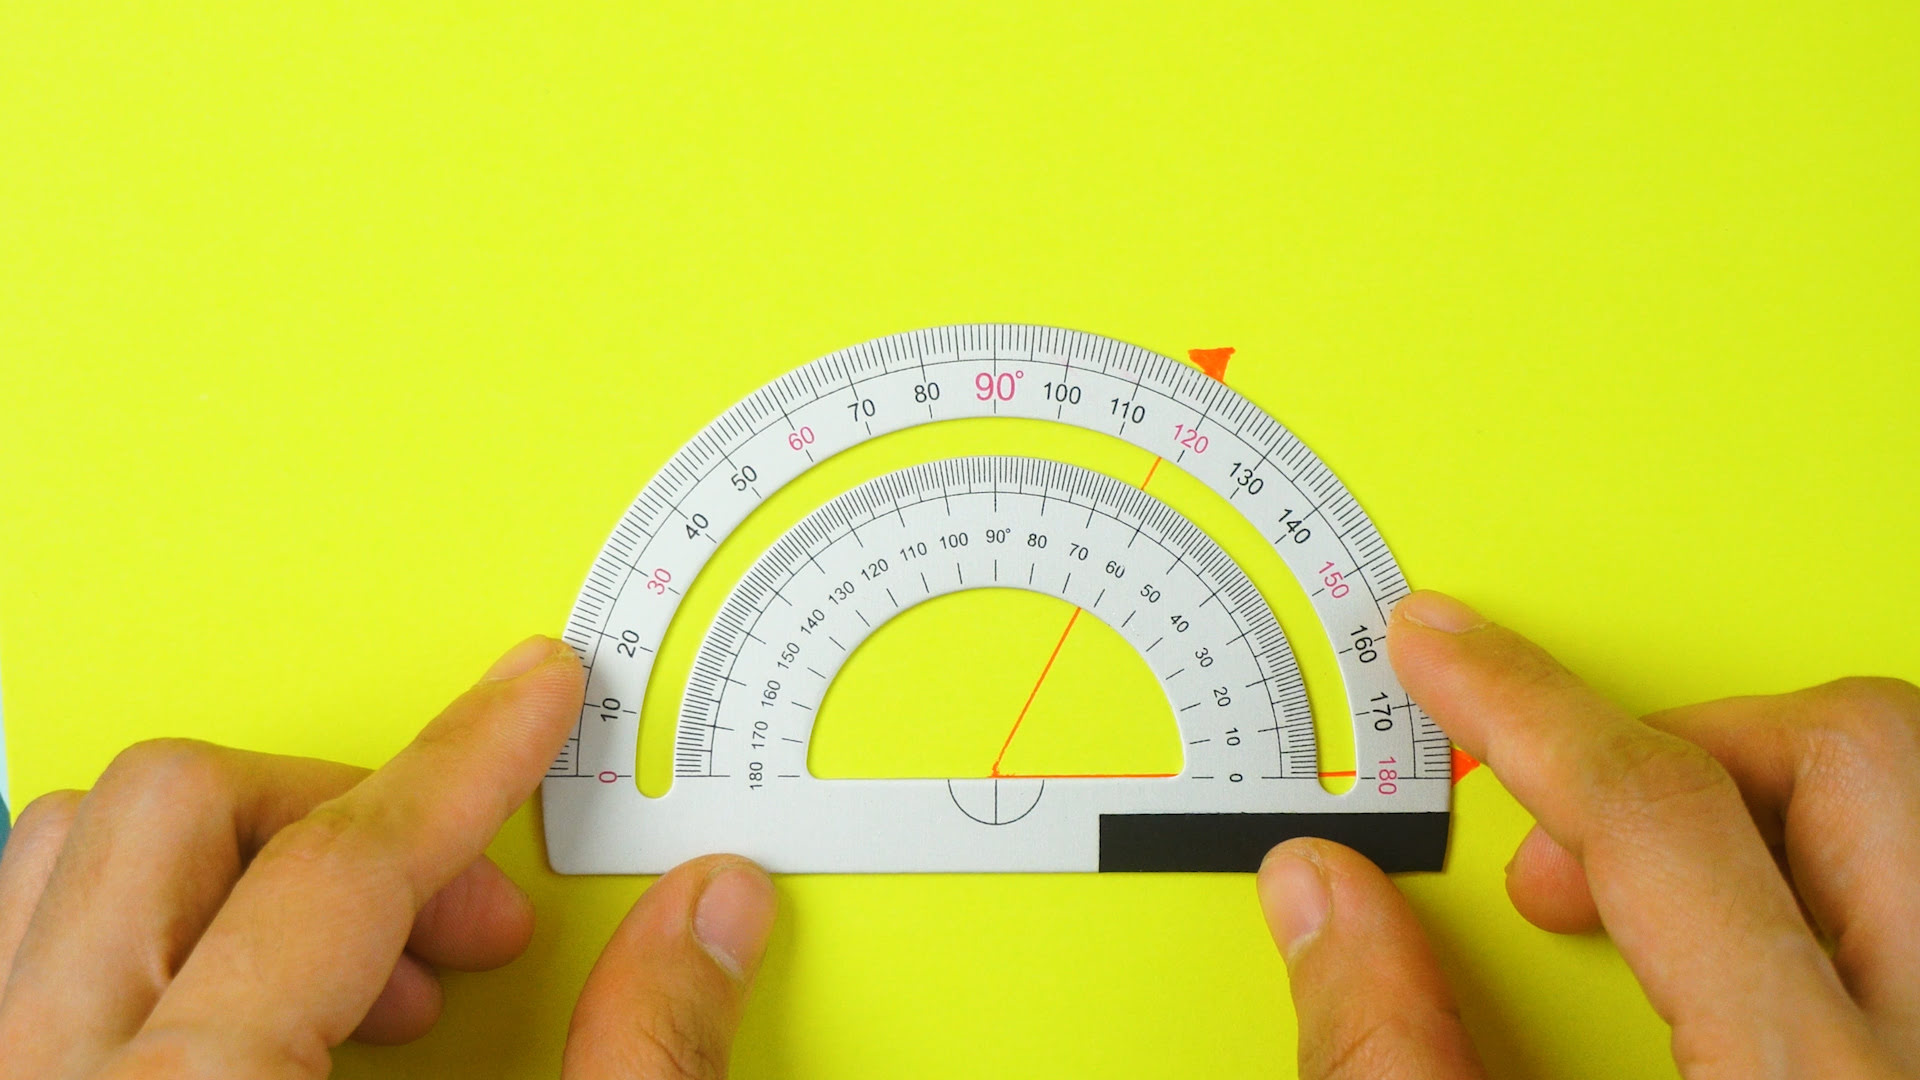
Place the protractor on the vertex of the angle so that the center of the protractor aligns with the vertex. The vertex is the point where the two lines or surfaces meet to form the angle.
Position the protractor in a way that one of the angle’s sides aligns with the baseline of the protractor. The baseline is the straight edge of the protractor that connects the two ends of the arc.
Locate the degree markings on the protractor and determine the measurement of the angle. Read the degree value where the second side of the angle intersects with the protractor’s degree markings. This will give you the measure of the angle in degrees.
Once you have obtained the angle measurement, record it for future reference or use it in your calculations and designs. Remember to include the unit of measurement, which is degrees, when recording or using the angle measurement.
Practice using the protractor on various angles to become more familiar and comfortable with the process. The more you use it, the more precise and efficient you will become at measuring angles accurately.
Now that you have the basics down, let’s explore some tips and tricks to ensure even more accurate angle measurements.
Step 1: Choosing the Appropriate Protractor
When it comes to measuring angles, one of the essential steps is selecting the right protractor for the job. The type of protractor you choose depends on the range of angles you need to measure. Here are some common types of protractors:
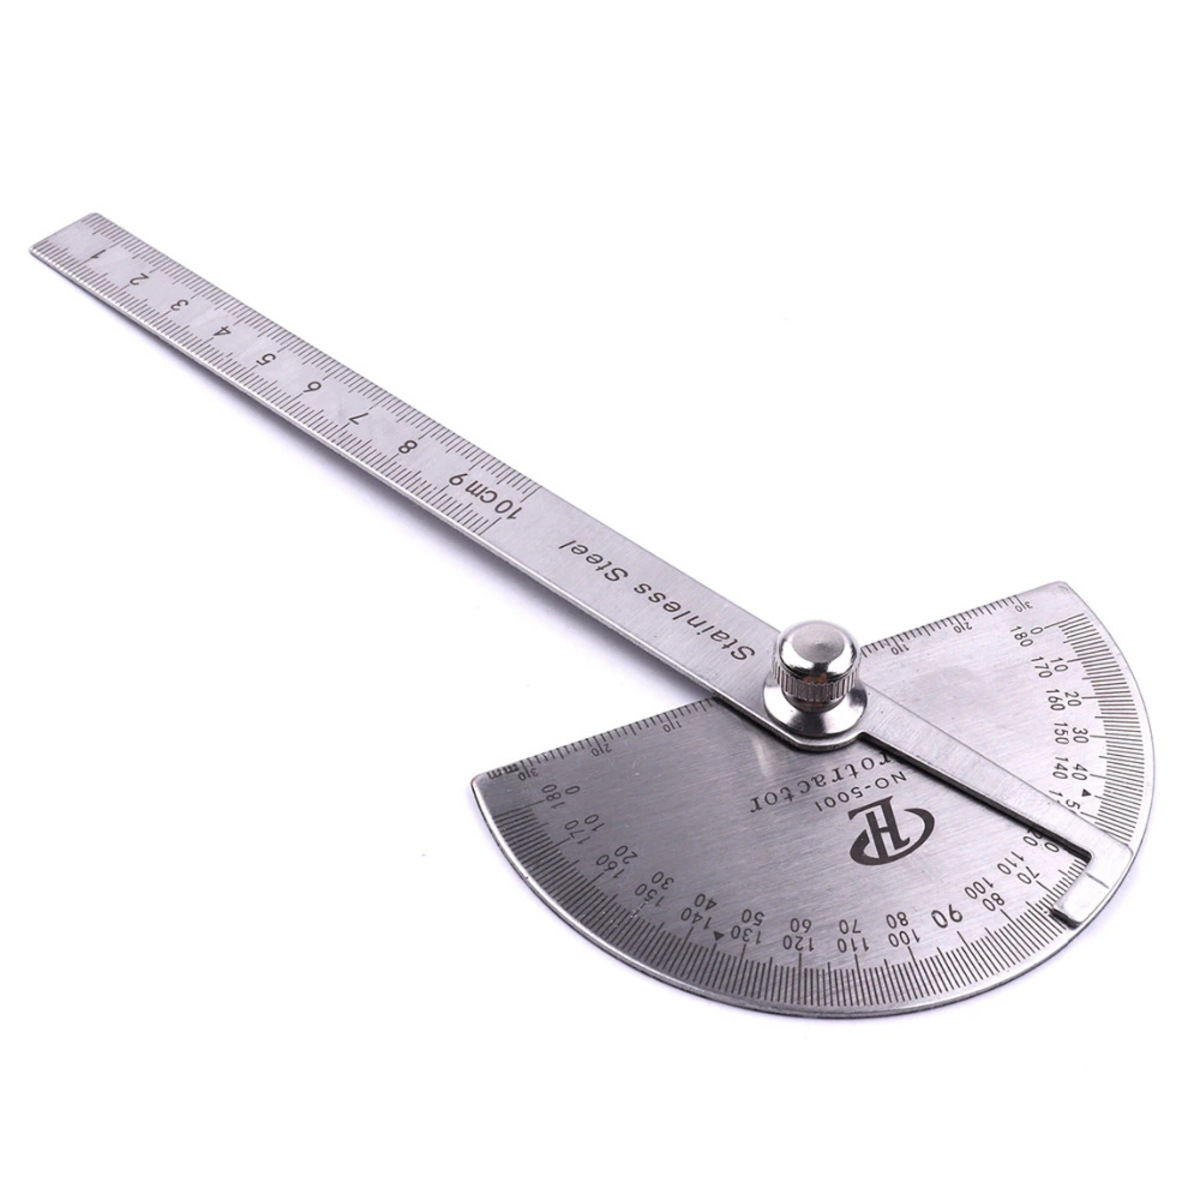
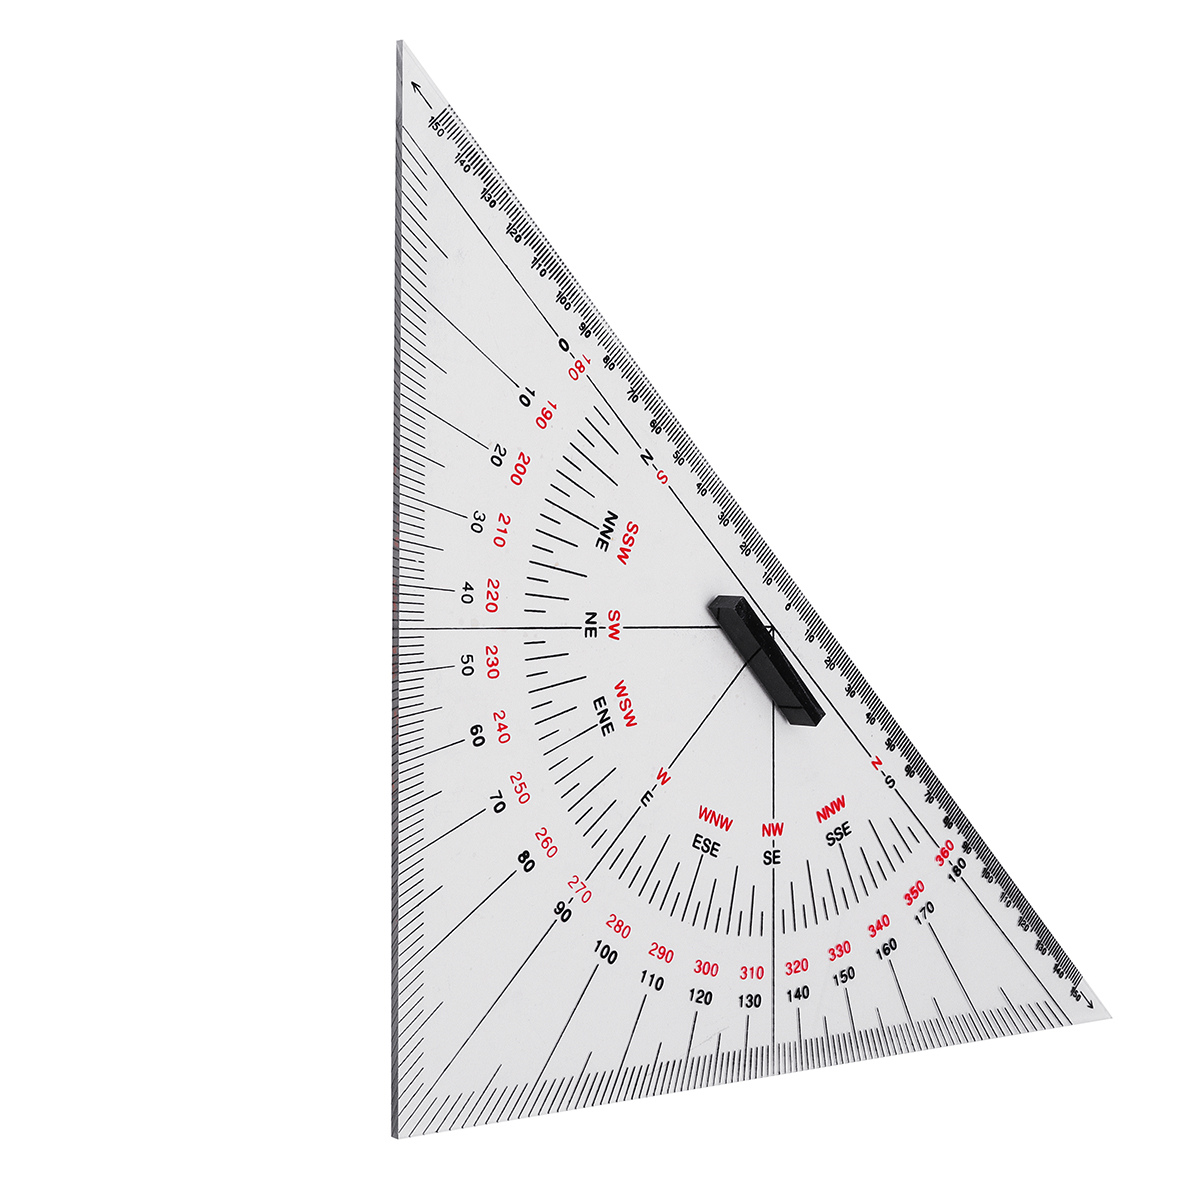
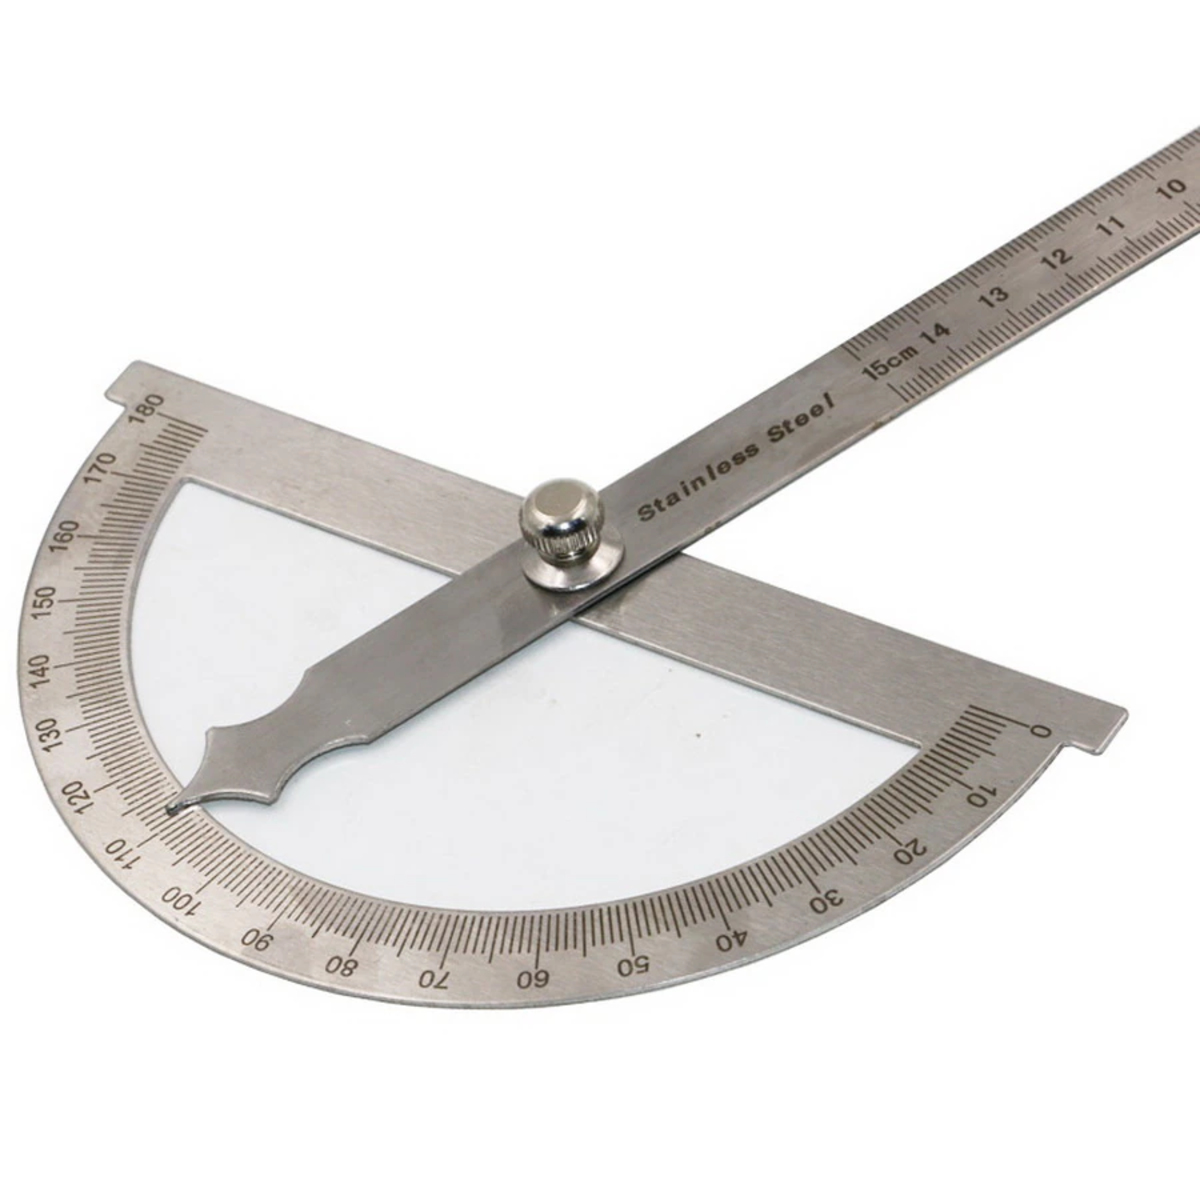
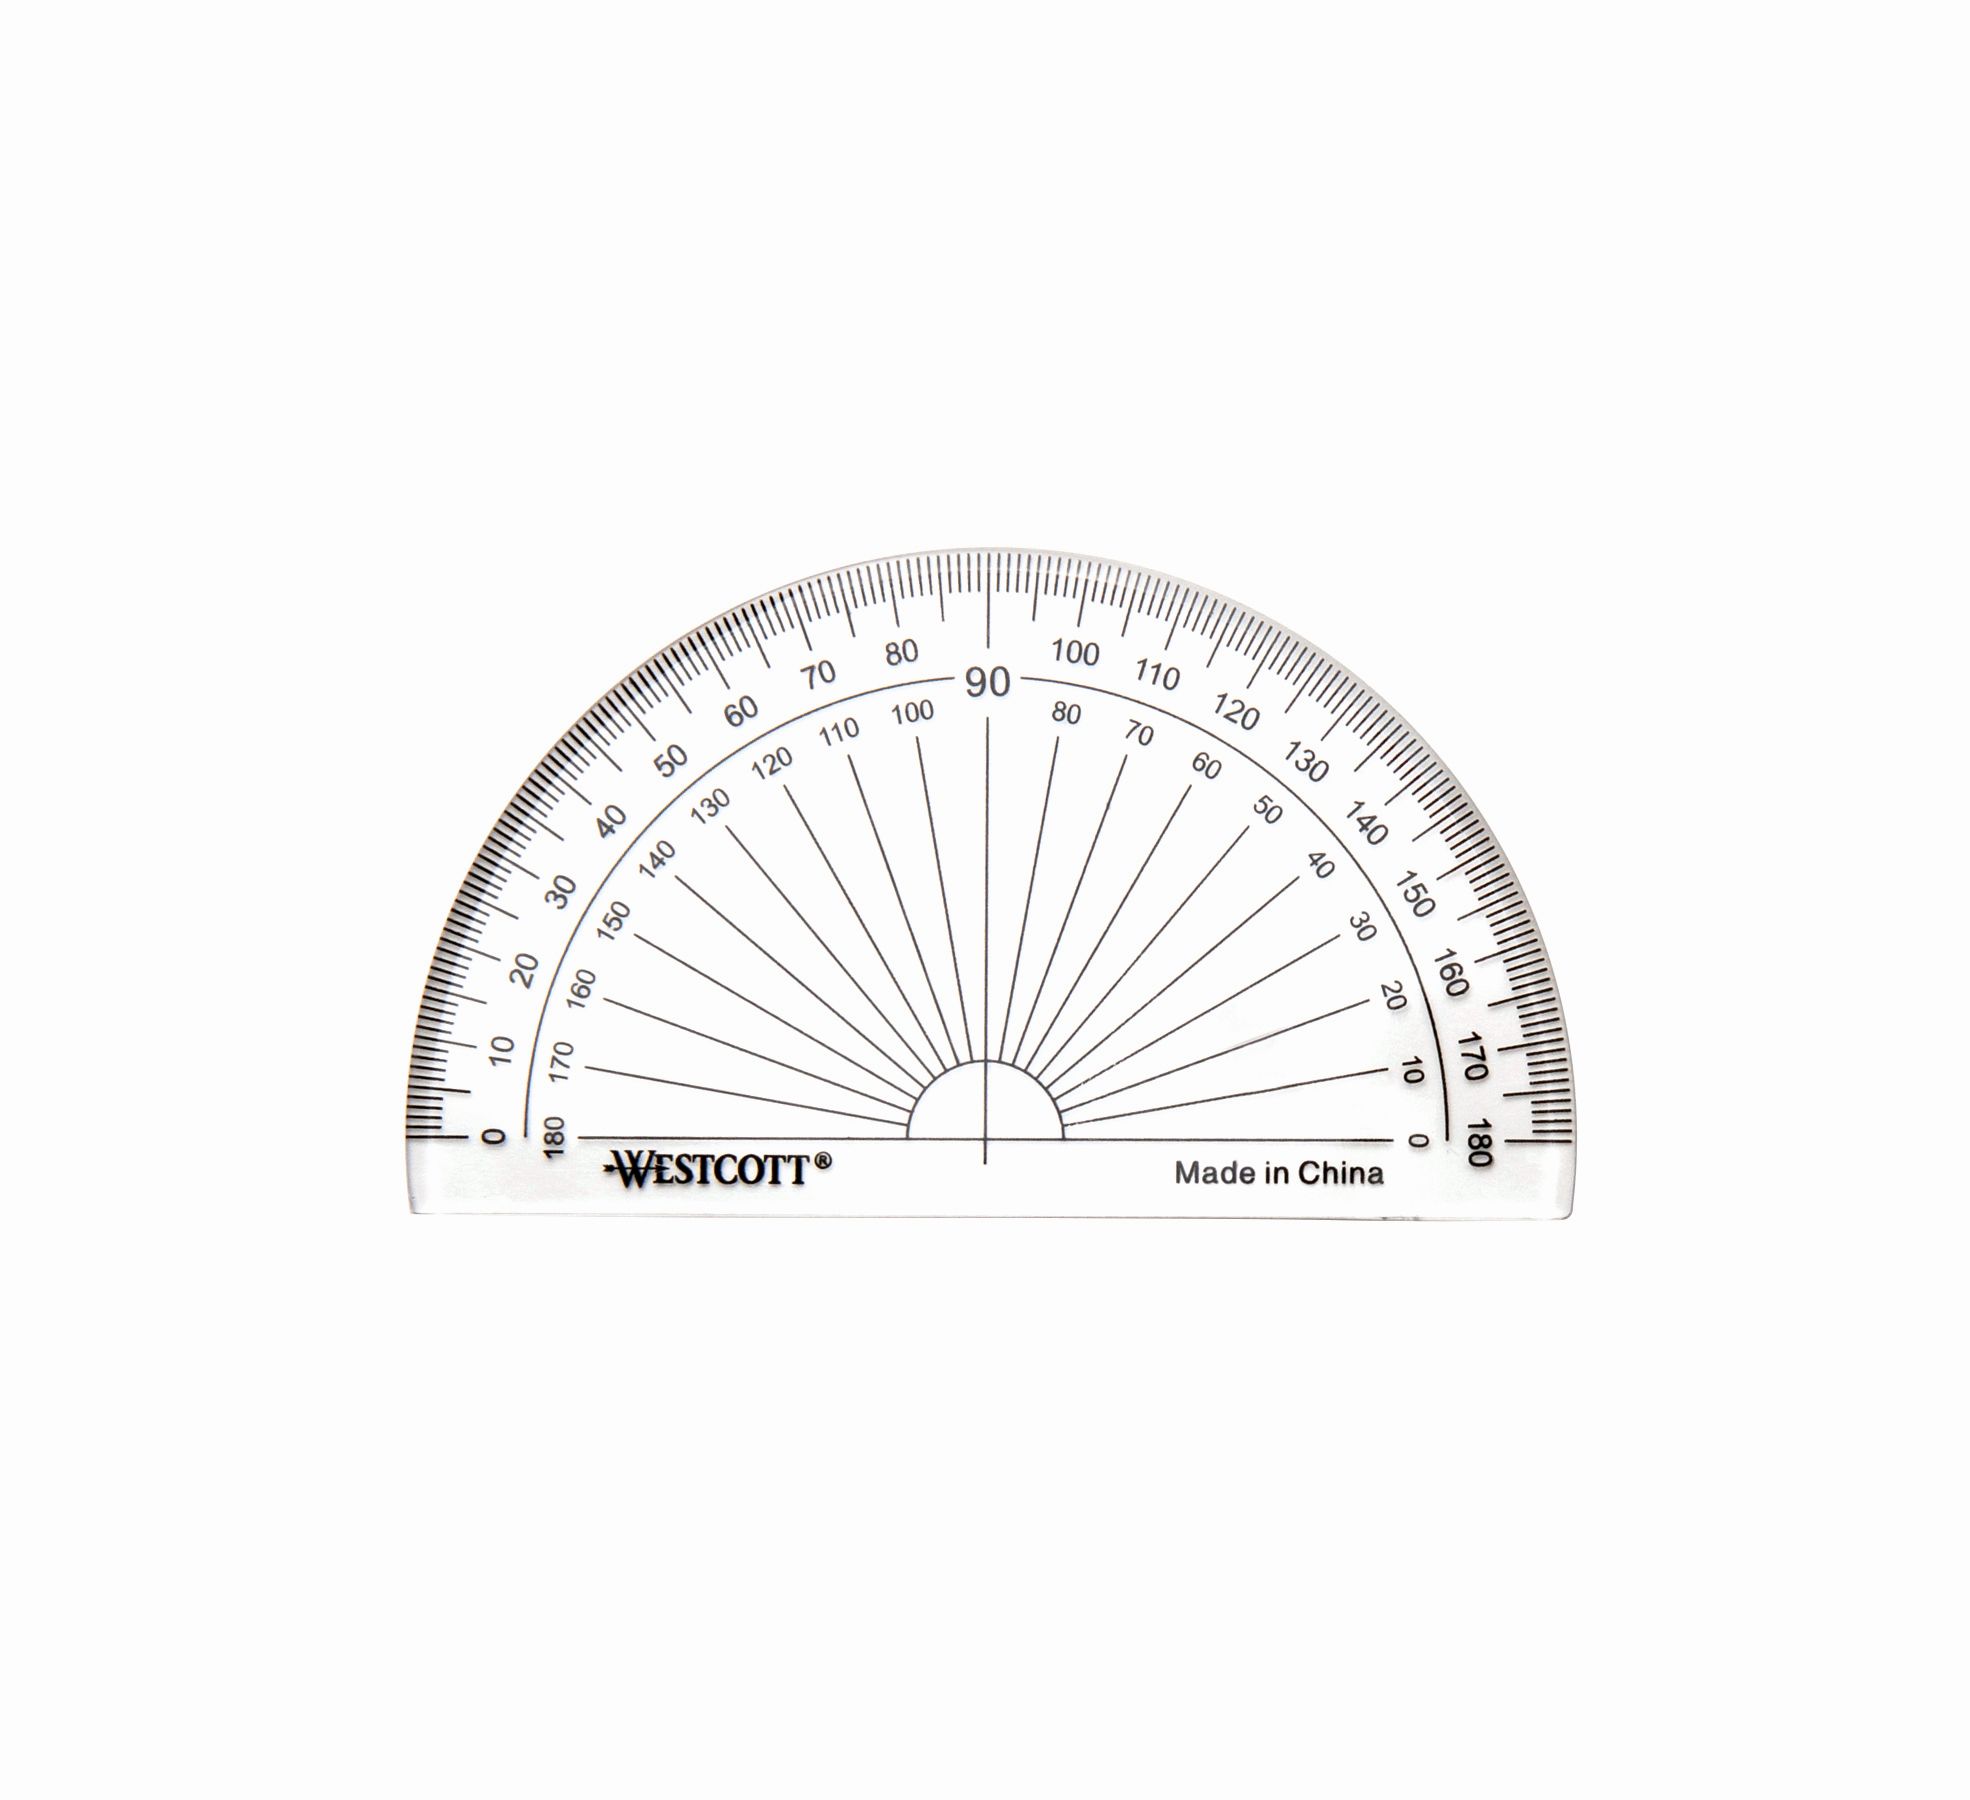
- Semi-Circular Protractor: This is the most commonly used protractor. It is shaped like a half-circle and measures angles up to 180 degrees. The straight base of the protractor allows you to align it with a straight edge, such as a ruler or a side of the shape you are measuring.
- Full-Circle Protractor: If you need to measure angles in a complete circle, from 0 to 360 degrees, a full-circle protractor is what you need. It has a complete circle with degree markings all around, allowing you to measure any angle within the circle.
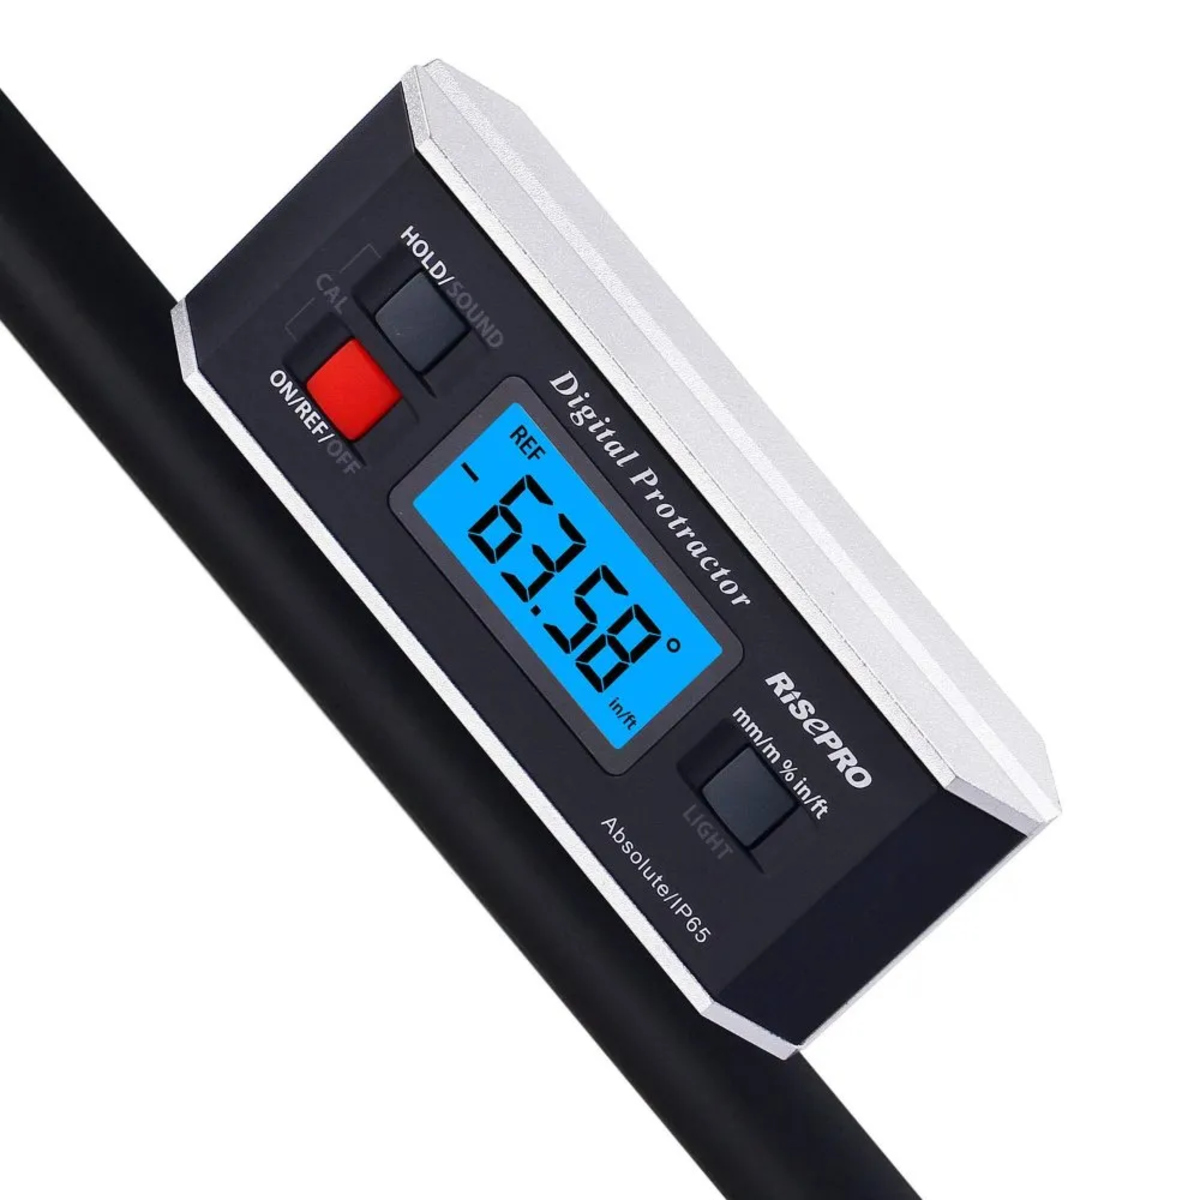
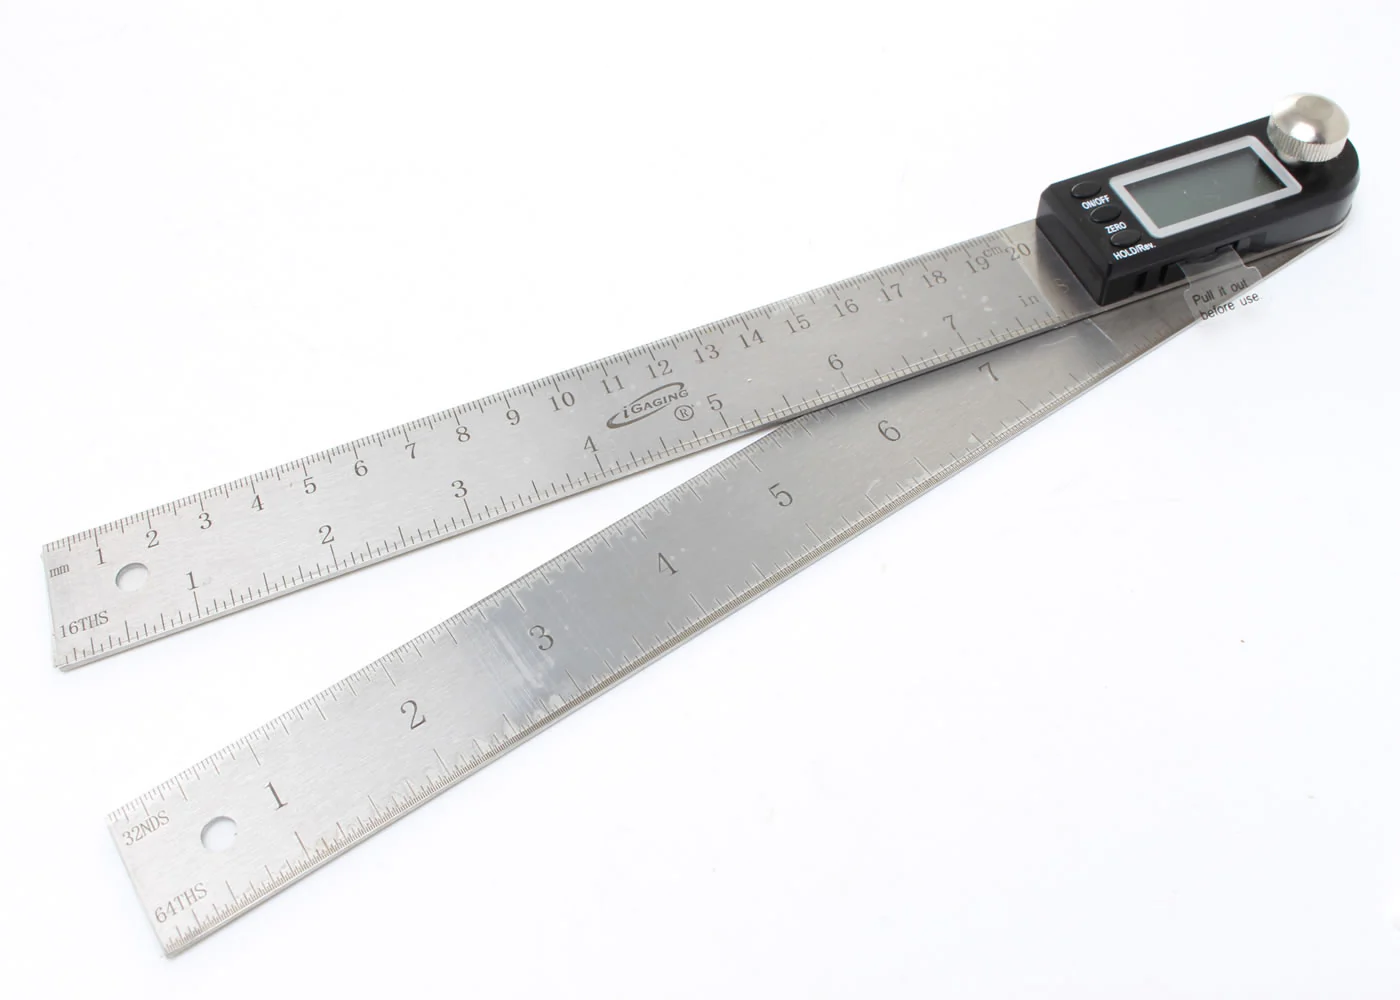
- Digital Protractor: For more advanced and precise measurements, you can use a digital protractor. These protractors have a digital display that shows the exact angle measurement. They often come with additional features like hold, zero, and lock functions to make measurements easier and more accurate.
When choosing a protractor, consider the specific requirements of your task or project. If you only need to measure angles up to 180 degrees, a semi-circular protractor will suffice. If you’re working with full circles or need high precision measurements, a full-circle protractor or digital protractor might be more suitable.
Furthermore, consider the size and readability of the protractor. Larger protractors provide more accuracy, especially for smaller angles, while smaller protractors are more portable and convenient for quick measurements on the go.
Remember to ensure that the protractor you choose has clear degree markings and is made from quality materials, as these factors can affect the accuracy and durability of your measurements.
By selecting the appropriate protractor for your specific needs, you’ll be setting yourself up for success and accurate angle measurements. With the protractor in hand, we can move on to the next step: aligning the center of the protractor.
Step 2: Aligning the Center of the Protractor
Once you have chosen the appropriate protractor for measuring angles, the next step is to align the center of the protractor with the vertex of the angle you want to measure. The vertex is the point where the two lines or surfaces forming the angle intersect.
Here’s how to align the center of the protractor:
- Place the protractor on the vertex: Position the protractor so that the center of the protractor, indicated by a point or a hole, is directly over the vertex of the angle. It’s important to align the center point accurately to ensure that your measurements are precise.
- Hold the protractor steady: Use one hand to hold the protractor in place. Make sure it’s securely positioned so that it won’t move or shift during the measurement process. This will help maintain the accuracy of your angle measurement.
By aligning the center of the protractor with the vertex of the angle, you establish a reference point for measuring the angle and ensure that your measurements start from the correct position.
It’s worth noting that this step is crucial for obtaining accurate angle measurements. Even a slight misalignment of the protractor’s center can lead to significant errors in the final measurement. So take your time and ensure that the protractor is properly aligned before proceeding to the next step.
Now that your protractor is correctly aligned, we can move on to the next step: placing the protractor over the angle.
When using a protractor to measure an angle, place the center hole of the protractor over the vertex of the angle. Then, align one side of the angle with the 0-degree line on the protractor and read the measurement where the other side crosses the protractor scale.
Step 3: Placing the Protractor Over the Angle
After aligning the center of the protractor with the vertex of the angle, the next step is to position the protractor so that one of the angle’s sides aligns with the baseline of the protractor. The baseline is the straight edge of the protractor that connects the two ends of its arc.
Here’s how to properly place the protractor over the angle:
- Align one side of the angle with the baseline: Choose one side of the angle and align it with the baseline of the protractor. Make sure the side of the angle is in contact with the protractor’s baseline.
- Keep the protractor still: Hold the protractor steady with one hand while keeping the aligned side of the angle firmly in place against the baseline of the protractor.
By aligning one side of the angle with the baseline of the protractor, you establish a reference line for measuring the angle. This alignment ensures that your angle measurement starts and ends at the correct points, enhancing the accuracy of your measurement.
It’s essential to hold the protractor steady and make sure the aligned side of the angle is firmly against the baseline. This helps maintain the position of the angle and minimizes the risk of any movement or misalignment during the measurement process.
Now that the protractor is correctly positioned over the angle, we can move on to the next step: reading the angle measurement.
Step 4: Reading the Angle Measurement
Now that you have properly placed the protractor over the angle, it’s time to read the measurement. To determine the angle’s measurement, you will need to locate the degree markings on the protractor and identify the degree value where the second side of the angle intersects with the degree markings.
Here’s how to read the angle measurement:
- Locate the degree markings: Look for the degree markings on the protractor’s curved edge. These markings typically start from 0 degrees and increase in increments of 1 or 5 degrees.
- Identify the intersecting point: Observe where the second side of the angle intersects with the degree markings on the protractor. This point will indicate the measure of the angle.
- Read the degree value: Determine the degree value that corresponds to the intersecting point. This value represents the measurement of the angle in degrees.
When reading the angle measurement, be precise in identifying the intersecting point and aligning it with the correct degree marking. Estimate between degree markings if necessary to achieve a more accurate reading.
It’s important to note that some protractors may have additional markings for minutes (‘) and seconds (“). These markings allow for more precise measurements, especially if you need to measure angles with greater accuracy. Keep in mind that not all protractors will have these minute and second markings.
By accurately reading the angle measurement, you will have the necessary information to record and use the angle for various purposes, whether it’s for solving mathematical problems, drawing blueprints, or conducting scientific experiments.
With the angle measurement successfully determined, we can move on to the final step: recording and utilizing the angle measurement.
Step 5: Recording and Using the Angle Measurement
After accurately measuring the angle using the protractor, the final step is to record and utilize the angle measurement. Recording the measurement allows you to reference it later or use it in calculations, designs, or other applications.
Here’s what you need to do:
- Record the angle measurement: Write down the angle measurement you obtained using the protractor. Include the unit of measurement, which is degrees, to ensure clarity.
- Label the angle: Provide a clear label or description of the angle you measured. This is particularly important when working with multiple angles or within a complex geometry problem.
When recording the angle measurement, it’s a good practice to include the appropriate units and any necessary context to ensure that the measurement can be understood and used correctly in any future application.
Having recorded the angle measurement, you can now use it for various purposes. Here are a few examples:
- Mathematical calculations: You can use the angle measurement in mathematical equations or trigonometric calculations to solve problems related to geometry, physics, or engineering.
- Construction and design: If you’re working on architectural plans, engineering drawings, or any design project that involves angles, you can use the measured angle as a reference for accurate construction and layout.
- Geometry and trigonometry: The angle measurement can be used to classify angles, solve angle-related problems, or prove theorems in geometry and trigonometry.
- Measurement comparisons: You can compare the angle measurement with other angles to determine their relationships, such as determining if they are supplementary, complementary, or equal angles.
By recording and utilizing the angle measurement, you can apply it to various practical and theoretical situations, enabling you to make informed decisions and achieve precise outcomes.
Congratulations! You have successfully learned how to measure angles using a protractor and utilize the measurements in various contexts. With practice, your accuracy and proficiency in measuring angles will continue to improve, contributing to your overall understanding of geometry and other disciplines that rely on angle measurements.
Now that you have become familiar with the process of measuring angles using a protractor, continue to practice and explore more complex angles and applications to further enhance your skills.
Happy angle measuring!
Read more: How To Use A Protractor Angle Finder
Tips and Tricks for Accurate Angle Measurement
Measuring angles with a protractor requires precision and attention to detail. To ensure accurate angle measurements, here are some tips and tricks to keep in mind:
- Use good lighting: Adequate lighting is essential to clearly see the degree markings on the protractor and accurately align the angle with the baseline. Natural light or a well-lit area can greatly improve visibility.
- Position yourself correctly: Stand directly in front of the protractor to avoid parallax errors. Viewing the protractor from different angles may result in inaccurate measurements.
- Be cautious with smaller angles: Smaller angles can be more challenging to measure accurately. Take your time and ensure the alignment is precise for these angles.
- Avoid parallax: When reading the measurement, ensure that your line of sight is perpendicular to the protractor’s degree markings to avoid parallax errors. This means looking directly down at the protractor instead of viewing it at an angle.
- Estimate between degree markings: If an angle falls between two degree markings, make your best estimate. You can determine fractions by dividing the space between two degree markings into equal parts.
- Double-check your alignment: Before recording the measurement, ensure that all sides of the angle are aligned correctly with the protractor to avoid any errors in reading.
- Practice with known angles: Use angles with known measurements to practice your angle measurement skills and verify your accuracy. This will help you gain confidence and improve your understanding of angles.
- Take multiple measurements: For more precise measurements, take multiple readings and compare them to ensure consistency and accuracy. This can help identify any potential errors or irregularities in your measurements.
- Clean and maintain your protractor: Keep your protractor clean from dirt or smudges that could hinder accuracy. Small deviations can affect the readings, so periodic cleaning and maintenance are important.
By implementing these tips and tricks, you can enhance the accuracy and reliability of your angle measurements. Remember, practice makes perfect, so keep practicing and refining your skills to become a pro at measuring angles with a protractor.
Now that you have a solid understanding of angle measurement and some helpful tips, you’re ready to tackle any angle measurement task with confidence and precision.
Happy measuring!
Common Mistakes to Avoid
While measuring angles with a protractor, it’s important to be aware of common mistakes that can lead to inaccurate measurements. By avoiding these mistakes, you can ensure more precise results. Here are some common mistakes to watch out for:
- Improper alignment: Failing to align the center of the protractor accurately with the vertex of the angle can result in significant measurement errors. Take the time to align the protractor correctly before measuring.
- Inaccurate placement: Placing the protractor too far from the vertex or not aligning a side of the angle with the baseline of the protractor can lead to incorrect measurements. Carefully position the protractor to ensure correct placement.
- Parallax errors: Viewing the protractor from an angle or with an incorrect line of sight can cause parallax errors. Make sure your line of sight is perpendicular to the degree markings for accurate readings.
- Incorrect reading: Misreading the degree markings or incorrectly identifying the intersecting point of the angle can result in incorrect measurements. Take your time and double-check the measurement to ensure accuracy.
- Failure to record units: Forgetting to include the unit of measurement, which is degrees, when recording the angle measurement can lead to confusion or misuse of the measurement later on. Always record the measurement with the appropriate units.
- Rushing the process: Failing to take your time and rushing through the steps can result in imprecise measurements. Be patient, focused, and attentive to detail during the measurement process.
- Using a damaged protractor: A damaged or warped protractor can produce inaccurate readings. Regularly check your protractor for any damages or distortions that may affect its functionality, and replace it if necessary.
- Not practicing enough: Lack of practice can lead to errors and inconsistencies in angle measurement. Regular practice will improve your skills and increase the accuracy of your measurements.
- Ignoring precision: Depending on the level of accuracy required for your task, ignoring precision may lead to errors. Consider the level of precision necessary and adjust your measurements accordingly.
By being mindful of these common mistakes and actively avoiding them, you can ensure more reliable and precise angle measurements. Remember, the key to accurate measurements lies in attention to detail and a careful approach to the process.
Now that you are aware of the common mistakes to avoid, you’re better equipped to measure angles with confidence and accuracy.
Happy measuring!
Conclusion
Congratulations! You have now gained a comprehensive understanding of using a protractor to measure angles accurately. By following the steps outlined in this guide and keeping the tips and tricks in mind, you can confidently measure angles with precision and avoid common mistakes that may lead to inaccuracies.
Remember, the key to obtaining accurate angle measurements lies in careful alignment, proper placement, and accurate reading of the protractor. Take your time, ensure good lighting, and practice regularly to improve your accuracy and efficiency in measuring angles.
By mastering the skill of angle measurement, you open up a world of possibilities in various fields, including mathematics, engineering, architecture, and more. The ability to accurately measure angles is a fundamental skill that will serve you well in your academic or professional pursuits.
So, whether you’re a student looking to excel in geometry class or a professional working on intricate designs, the knowledge and expertise you’ve gained will allow you to measure angles confidently and precisely.
Use your newfound skills to solve math problems, construct intricate designs, analyze geometric relationships, or simply appreciate the beauty of angles in the world around us.
Remember to practice regularly and continue to refine your skills. The more you practice, the more comfortable you will become with using a protractor and measuring angles accurately.
Now, go forth and measure angles like a pro!
Eager to dive deeper into your understanding of measuring tools? Our next read on "What Is A Protractor" provides an insightful look into this essential instrument. You'll learn about its history, different types, and surprising applications in everyday tasks. Whether you're a student, educator, or DIY enthusiast, mastering how to identify and utilize various protractors can make your projects more precise and enjoyable. Don't miss out on enhancing your skills and understanding of this fundamental tool in geometry and beyond!
Frequently Asked Questions about How To Use Protractor To Measure Angles
Was this page helpful?
At Storables.com, we guarantee accurate and reliable information. Our content, validated by Expert Board Contributors, is crafted following stringent Editorial Policies. We're committed to providing you with well-researched, expert-backed insights for all your informational needs.

0 thoughts on “How To Use Protractor To Measure Angles”