Articles
How To Use A Square Head Protractor
Modified: October 18, 2024
Learn how to use a square head protractor with this informative article. Gain valuable insights and tips for accurate measurement.
(Many of the links in this article redirect to a specific reviewed product. Your purchase of these products through affiliate links helps to generate commission for Storables.com, at no extra cost. Learn more)
Introduction
When it comes to measuring angles accurately, a square head protractor is an essential tool. Whether you’re a carpenter, engineer, or student studying geometry, understanding how to use a square head protractor can greatly improve your precision and efficiency.
In this article, we will guide you through the process of using a square head protractor step-by-step. From calibrating the protractor to measuring angles with utmost accuracy, we will cover all the important details. Additionally, we will provide you with some helpful tips and tricks to make your angle measurements even more precise.
Before we dive into the practical aspects of using a square head protractor, let’s take a moment to understand what exactly a square head protractor is and how it works.
Key Takeaways:
- Mastering the use of a square head protractor involves precise alignment, careful angle readings, and regular calibration. By following step-by-step instructions and avoiding common mistakes, you can achieve accurate angle measurements for various applications.
- Enhance your angle-measuring skills with helpful tips and tricks, such as using a pencil for short angles, avoiding parallax errors, and practicing with different angle types. Regular calibration and maintenance of the protractor are essential for reliable measurements.
Read also: 8 Best Square Protractor for 2025
Understanding the Square Head Protractor
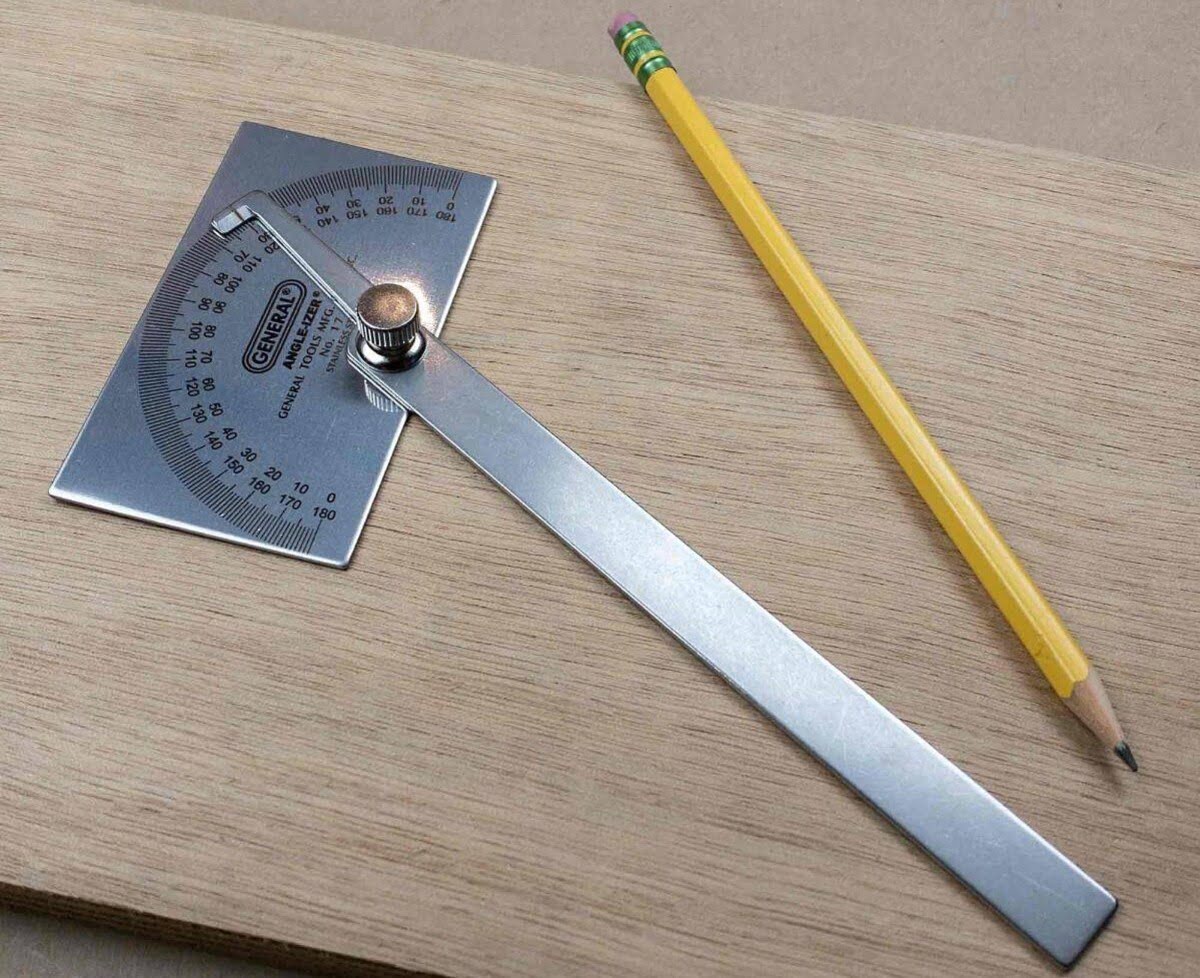
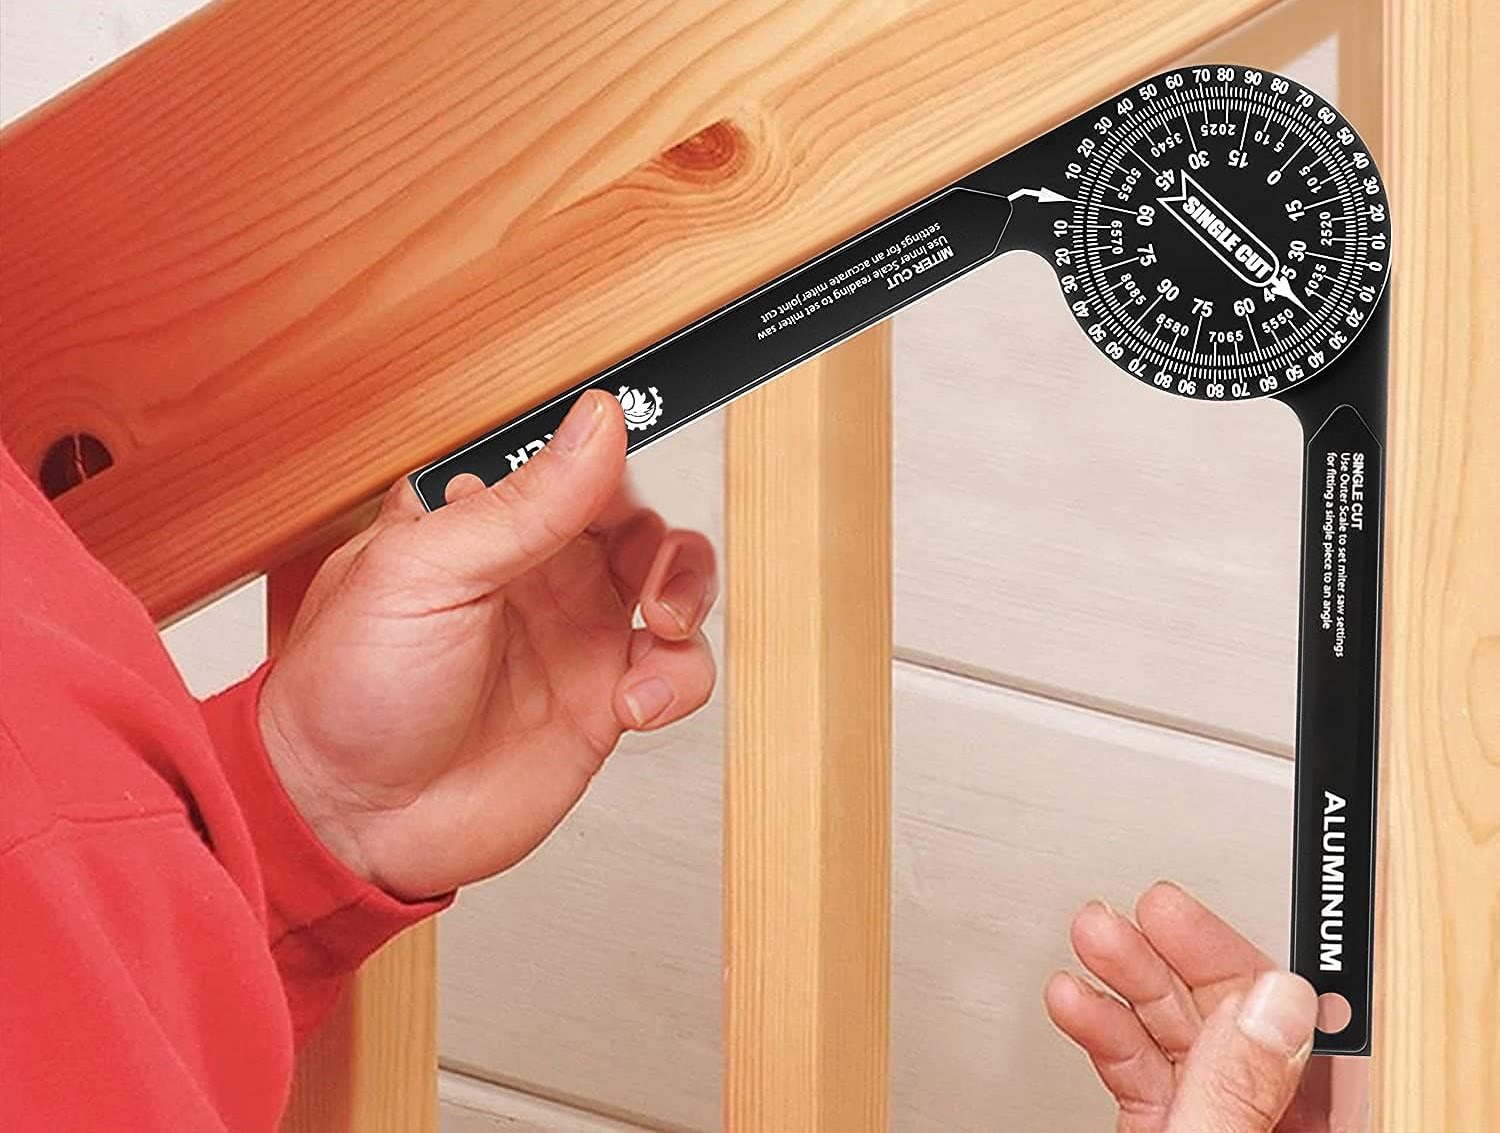
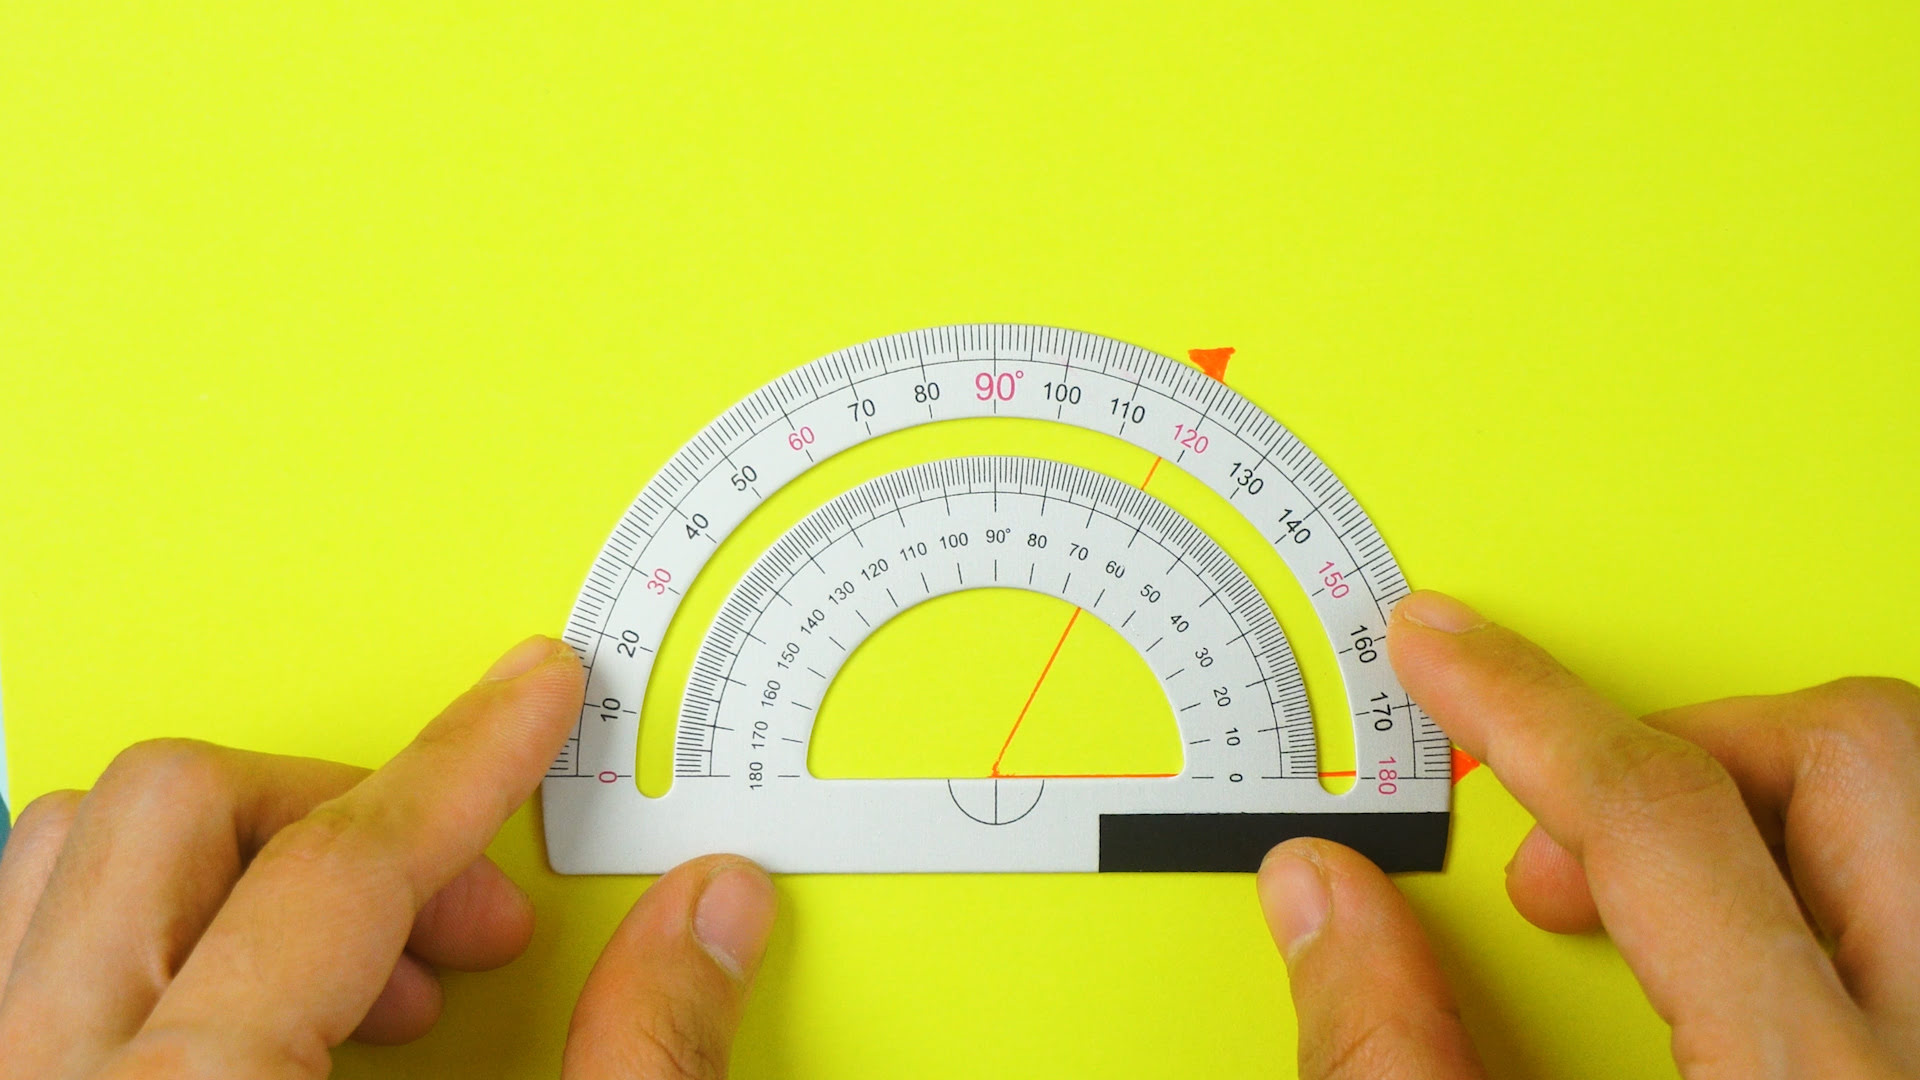
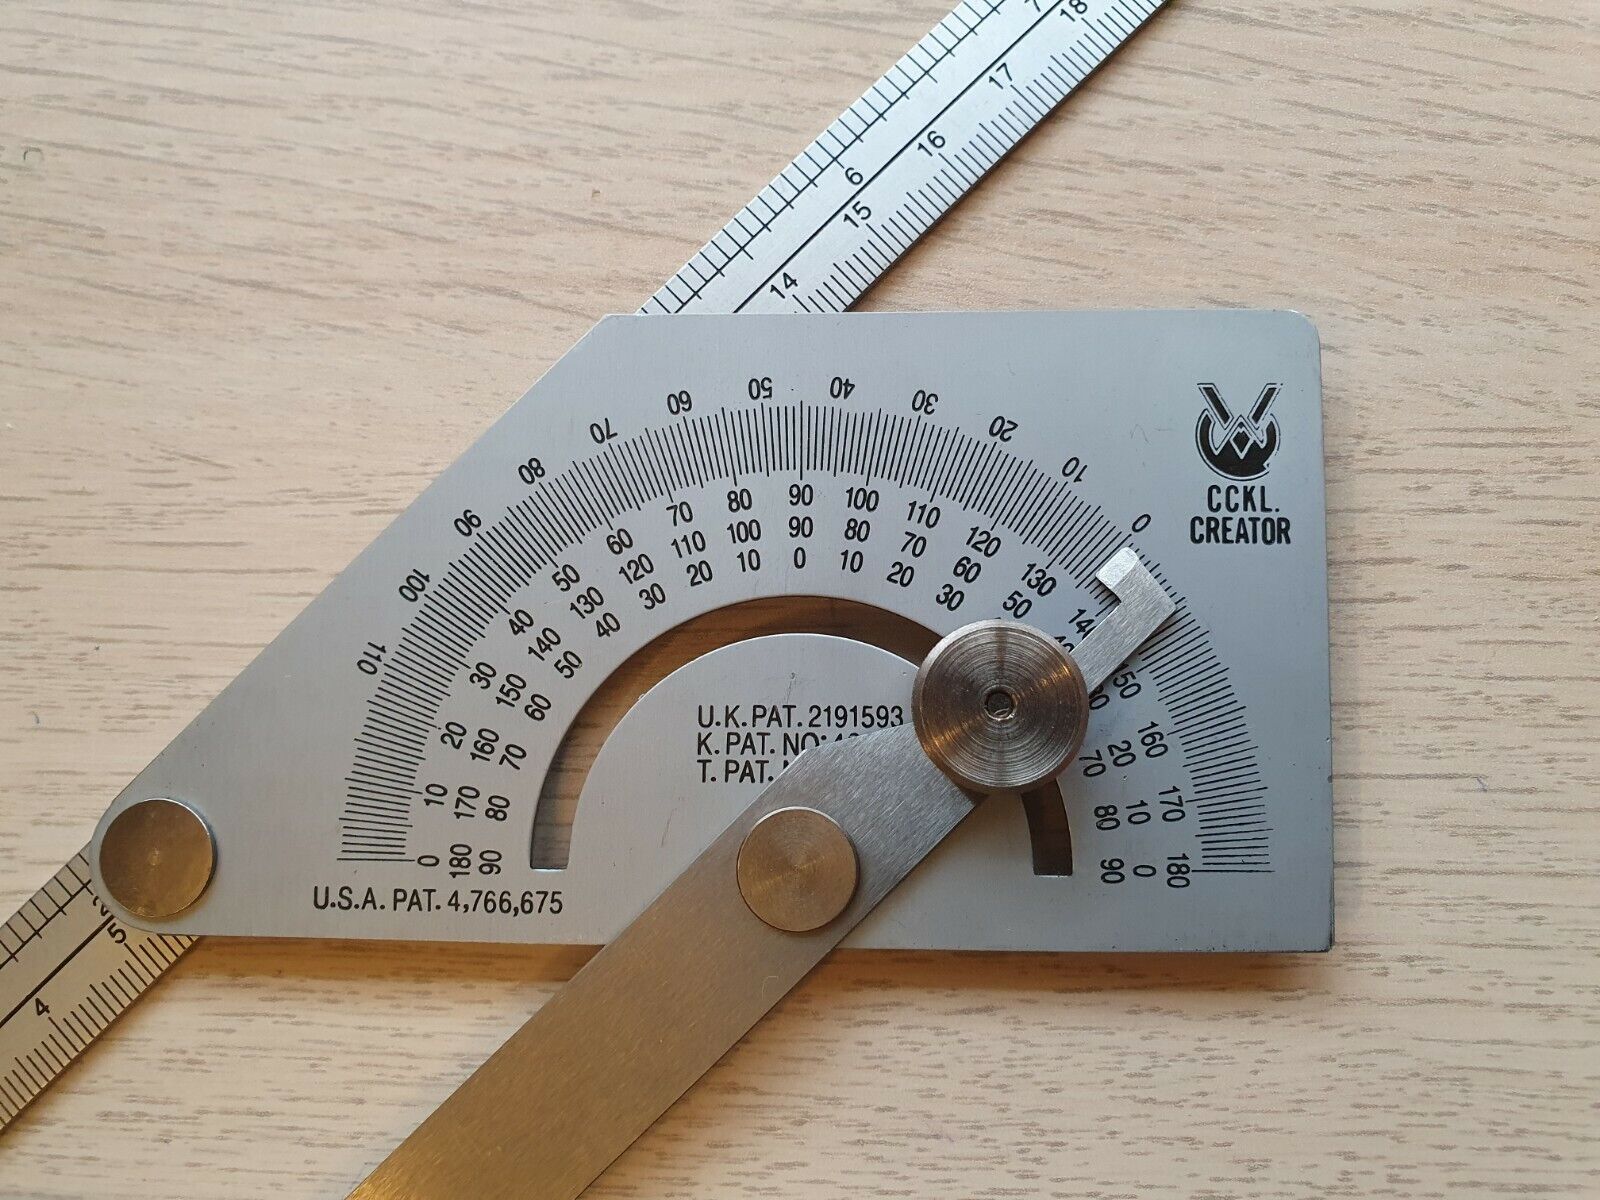
A square head protractor is a measuring instrument used to determine the size of an angle. It consists of a graduated semicircle with a rotating arm, or “head,” which allows for precise angle measurements. The head of the protractor is square-shaped, hence the name.
The protractor is typically made of transparent plastic or metal, and it features a straight baseline with angle markings ranging from 0 to 180 degrees. The angle measurements are further divided into smaller units, usually every 1 or 2 degrees, allowing for accurate readings.
The square head protractor is designed to be versatile and user-friendly. It allows for measuring both acute (less than 90 degrees) and obtuse (greater than 90 degrees) angles with ease. Its compact size and portability make it ideal for various applications, including woodworking, metalworking, drafting, and educational purposes.
The key to effectively using a square head protractor lies in its angular markings and rotating arm. The markings on the protractor represent degrees, which indicate the amount of rotation in relation to the baseline. The rotating arm of the protractor is positioned over the angle being measured, ensuring accurate alignment and precise readings.
Now that we have a basic understanding of what a square head protractor is and how it functions, let’s proceed to the practical aspects of using this useful tool.
Step-by-Step Instructions
Using a square head protractor might seem intimidating at first, but with a little practice and guidance, you’ll become a pro in no time. Let’s walk through the step-by-step instructions on how to use a square head protractor:
- Place the protractor on a flat surface: Start by laying the square head protractor on a flat and level surface, such as a table or workbench. Ensure that the baseline of the protractor is aligned with the edge of the surface.
- Align the baseline with the angle: Identify the angle you want to measure and position the baseline of the protractor along one of the sides of the angle. Ensure that the baseline is parallel to the side of the angle.
- Rotate the head to align with the other side of the angle: Rotate the head of the protractor until the straight line on the head is aligned with the other side of the angle. Make sure that the line on the head and the side of the angle are parallel.
- Read the angle measurement: Look at the graduation markings on the protractor and identify the degree value where the other side of the angle intersects. Read and note down the degree measurement.
- Consider smaller increments: If you need a more precise measurement, look for smaller increment markings on the protractor, such as every 1 or 2-degree divisions. Take note of these smaller increments to get a more accurate measurement.
- Record the measurement: Once you have identified the angle measurement, record it for future reference or any necessary calculations you may need to make.
Remember, practice makes perfect when it comes to using a square head protractor. The more you use it, the more comfortable and accurate you will become in measuring angles. Now, let’s move on to the important process of calibrating your square head protractor.
Calibrating the Square Head Protractor
Before you start using your square head protractor for accurate angle measurements, it is crucial to ensure that it is properly calibrated. Calibration is the process of aligning the baseline and the rotating arm of the protractor to ensure accurate readings.
Here are the steps to calibrate your square head protractor:
- Place the protractor on a flat surface: Start by placing the protractor on a flat and level surface, such as a table or workbench. Ensure that the baseline of the protractor is aligned parallel to the edge of the surface.
- Check alignment of the baseline and rotating arm: Look closely at the baseline and the rotating arm of the protractor. Make sure that they are perfectly parallel to each other, without any tilting or misalignment. Adjust the protractor if necessary to achieve proper alignment.
- Ensure smooth rotation: Rotate the head of the protractor slowly and observe if it moves smoothly without any resistance or snagging. If you encounter any stiffness or difficulty in rotating the arm, clean and lubricate the protractor’s hinge mechanism.
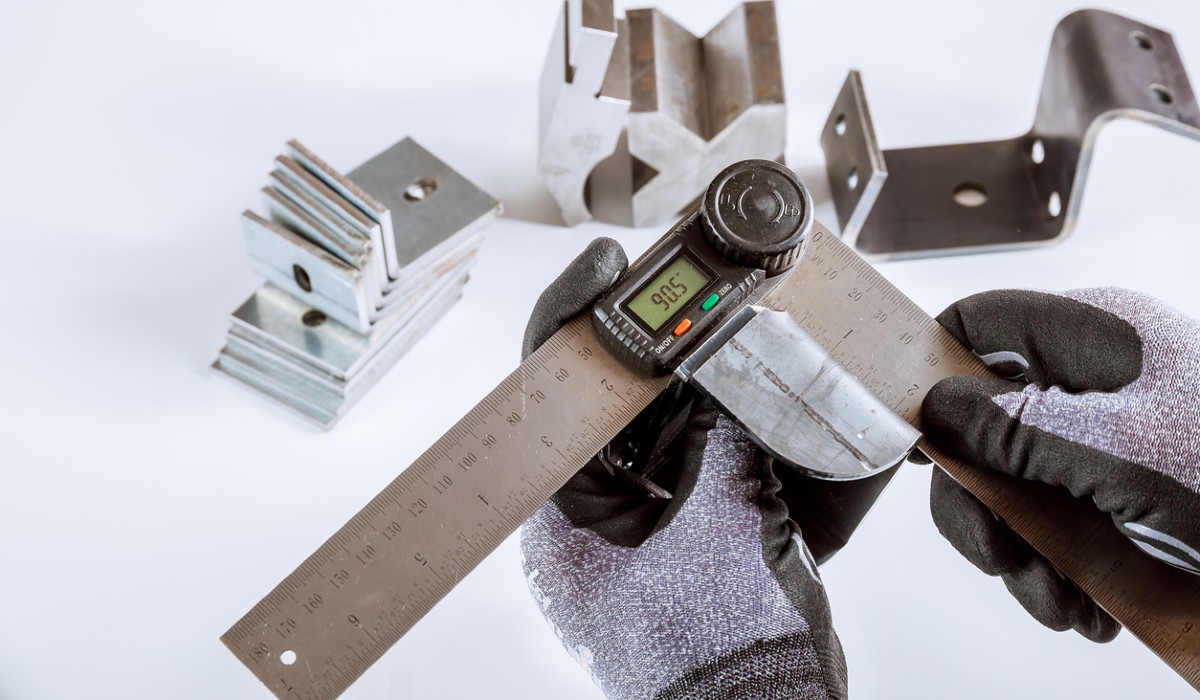
- Verify against a known angle: For added accuracy, you can verify the calibration of your protractor by comparing it to a known angle. Use a protractor with a known measurement, or a digital angle finder, to check if the measurement on your square head protractor aligns correctly.
- Make adjustments if necessary: If you find any discrepancies in the measurements, make necessary adjustments to ensure precise readings. This can include realigning the baseline and rotating arm or seeking professional assistance if the protractor is damaged or defective.
By following these steps, you can calibrate your square head protractor and ensure that it provides accurate angle measurements. Taking the time to calibrate your protractor before use will greatly enhance the reliability and precision of your measurements.
Now that your square head protractor is properly calibrated, let’s move on to the exciting part – measuring angles with this versatile tool.
When using a square head protractor, make sure to align the base of the protractor with the bottom edge of the object you are measuring. Then, read the angle measurement where the edge of the object intersects with the protractor scale.
Measuring Angles with a Square Head Protractor
Measuring angles with a square head protractor is a straightforward process, but it requires attention to detail to obtain accurate results. Let’s go through the steps to ensure precise angle measurements:
- Place the protractor on a flat surface: Start by positioning the square head protractor on a level surface, making sure that its baseline is aligned with the edge of the surface. This will provide a stable foundation for your measurements.
- Identify the angle to be measured: Identify the angle you wish to measure and locate its vertex, the point where the two sides of the angle meet. This will be the focal point for your measurement.
- Align the baseline and one side of the angle: Position the baseline of the protractor along one of the sides of the angle, ensuring that it is parallel to the side. Ensure that the vertex of the angle aligns with the center of the protractor.
- Read the angle measurement: Observe the point where the other side of the angle intersects with the graduations on the protractor. Read the degree value indicated by this intersection. Take note of any smaller increment markings for more precise measurements, if necessary.
- Record the angle measurement: Once you have determined the degree value, record it for future reference or any calculations you may need to perform.
- Check for complementary or supplementary angles: If you are measuring angles for specific geometric relationships, such as complementary (adding up to 90 degrees) or supplementary (adding up to 180 degrees) angles, consider checking if the measurements align accordingly.
Remember to be accurate and mindful of positioning the protractor correctly for each measurement. Small errors in alignment can result in significant discrepancies in your angle measurements.
Now that you know how to measure angles with a square head protractor, let’s explore some helpful tips and tricks to enhance your angle-measuring skills.
Read more: How To Use A Military Protractor
Tips and Tricks
Measuring angles accurately with a square head protractor can be made easier with the help of some tips and tricks. Here are a few suggestions to enhance your angle-measuring skills:
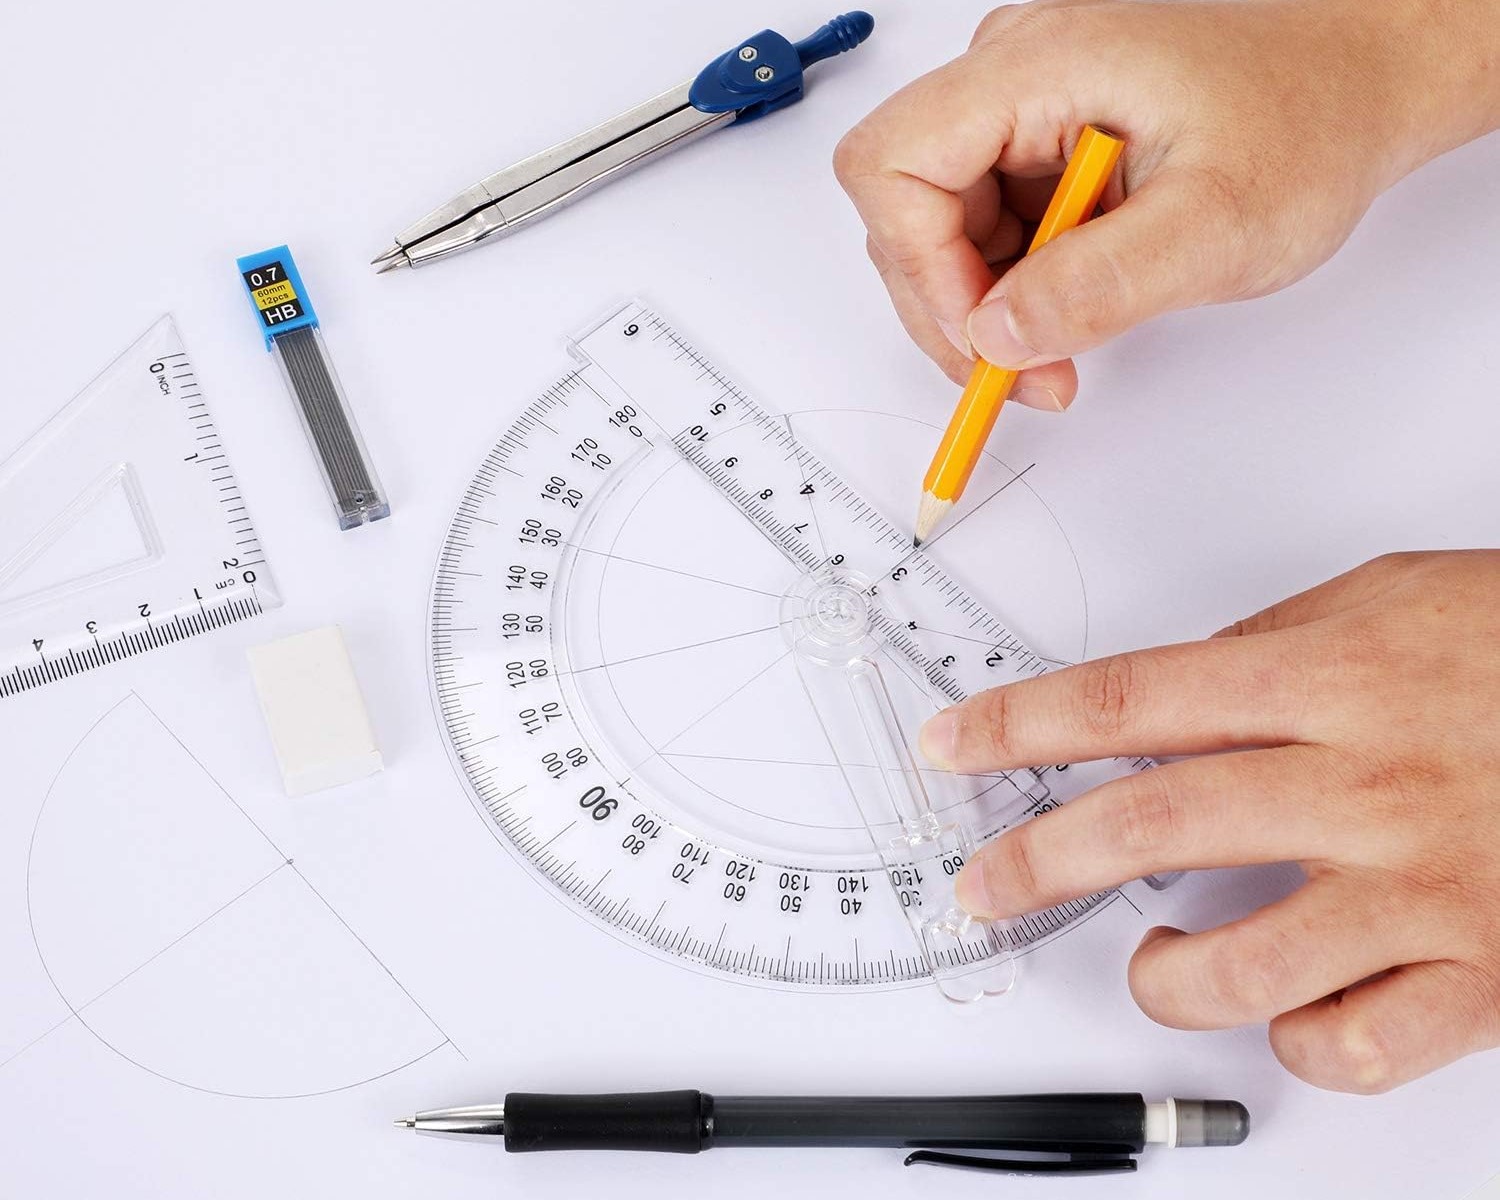
- Use a pencil or pointer: If the sides of the angle are too short to place the protractor directly on them, use a pencil or a pointer to extend the lines and align them with the baseline of the protractor.
- Avoid parallax errors: When reading the angle measurement, make sure to view it from directly above the protractor. Avoid tilting or looking from an angle, as this can introduce parallax errors and lead to incorrect readings.
- Double-check alignment: Before recording the angle measurement, double-check the alignment of the protractor with the sides of the angle. Any slight misalignment can affect the accuracy of your measurement.
- Practice estimating angles: To improve your angle estimation skills, try to estimate angles visually before measuring them. This will help you develop a better understanding of angles and improve your accuracy over time.
- Keep the protractor clean: Regularly clean your square head protractor, especially the graduations and the rotating arm, to ensure clear visibility and prevent any smudging or obscuring of the markings.
- Consider a magnifying glass: If the graduations on the protractor are smaller and difficult to read, consider using a magnifying glass to enhance visibility and accurately identify the angle measurement.
- Practice with various angles: Familiarize yourself with measuring a wide range of angles, including acute, obtuse, and right angles, to become more comfortable and proficient in using the square head protractor.
- Work in a well-lit area: Ensure that you have ample lighting when measuring angles to clearly see the graduations and avoid any inaccuracies caused by insufficient lighting.
By incorporating these tips and tricks into your angle-measuring process, you can improve your accuracy and efficiency when using a square head protractor.
Now that you have a solid understanding of how to use a square head protractor and some handy tips, let’s explore common mistakes to avoid to ensure accurate angle measurements.
Common Mistakes to Avoid
While measuring angles with a square head protractor, it’s important to be aware of common mistakes that can lead to inaccurate measurements. By avoiding these errors, you can ensure precise angle readings. Here are some common mistakes to steer clear of:
- Misalignment: One of the most common mistakes is improper alignment of the protractor with the sides of the angle. Ensure that the baseline of the protractor is parallel to the side of the angle being measured, and the vertex of the angle is precisely positioned at the center of the protractor.
- Parallax errors: Viewing the protractor from an angle or tilting it can introduce parallax errors, causing inaccurate readings. Always make sure to view the protractor from directly above to avoid this error.
- Inconsistent baseline: If the baseline of the protractor is not aligned properly with the edge of the surface or if it moves during the measurement process, it can result in incorrect angle measurements. Take care to keep the baseline stable and aligned throughout the process.
- Ignoring smaller increments: Some protractors have smaller increment markings between the degree graduations. Ignoring these smaller increments can lead to less precise measurements. Pay attention to these markings, especially when measuring acute angles that require greater accuracy.
- Improper reading: Carelessly interpreting the intersection point without considering the correct graduation line can lead to incorrect angle measurements. Always make sure to read the degree value at the precise intersection point.
- Dirty or smudged graduations: Dust, dirt, or smudges on the protractor’s graduations can obscure the readings and result in inaccurate measurements. Regularly clean the protractor to ensure clear visibility of the markings.
- Using a damaged protractor: A damaged or warped protractor can provide inaccurate angle measurements. Inspect your protractor for any visible damage and replace it if necessary to ensure reliable measurements.
- Ignoring complementary or supplementary relationships: For geometric calculations or specific angle relationships, ensure that complementary angles (adding up to 90 degrees) or supplementary angles (adding up to 180 degrees) align correctly. Be mindful of these relationships to avoid mistakes in measurements.
By being mindful of these common mistakes and actively avoiding them, you can achieve more accurate and reliable results when using a square head protractor.
Now that you’re familiar with the mistakes to avoid, let’s wrap up our discussion.
Conclusion
Using a square head protractor to measure angles can greatly contribute to the accuracy and precision of your work, whether you’re a professional in the construction industry, a student studying geometry, or an enthusiastic DIYer. By understanding the proper use of a square head protractor and following the step-by-step instructions provided in this article, you can confidently measure angles with ease.
Remember to always start by placing the protractor on a flat surface, aligning the baseline with the angle you want to measure. Rotate the head of the protractor to align with the other side of the angle and read the degree measurement at the intersection point.
Calibrating your square head protractor is crucial for accurate measurements, ensuring that the baseline and rotating arm are aligned properly. Regular cleaning and maintenance of the protractor will also help in obtaining clear readings.
While using the protractor, be mindful of common mistakes such as misalignment, parallax errors, and ignoring smaller increments. By avoiding these mistakes and incorporating helpful tips and tricks, you can improve your angle-measuring skills and achieve more precise results.
Remember, practice makes perfect, and the more you use a square head protractor, the more comfortable and proficient you will become in measuring angles accurately.
So, next time you need to measure an angle, grab your square head protractor and apply the knowledge and techniques you’ve gained from this article. Enjoy the precision and confidence that comes with using this versatile tool.
Happy measuring!
Frequently Asked Questions about How To Use A Square Head Protractor
Was this page helpful?
At Storables.com, we guarantee accurate and reliable information. Our content, validated by Expert Board Contributors, is crafted following stringent Editorial Policies. We're committed to providing you with well-researched, expert-backed insights for all your informational needs.


0 thoughts on “How To Use A Square Head Protractor”