Articles
How To Use Digital Protractor
Modified: October 27, 2024
Learn how to effectively use a digital protractor with our comprehensive articles. Master the art of measuring angles accurately and efficiently.
(Many of the links in this article redirect to a specific reviewed product. Your purchase of these products through affiliate links helps to generate commission for Storables.com, at no extra cost. Learn more)
Introduction
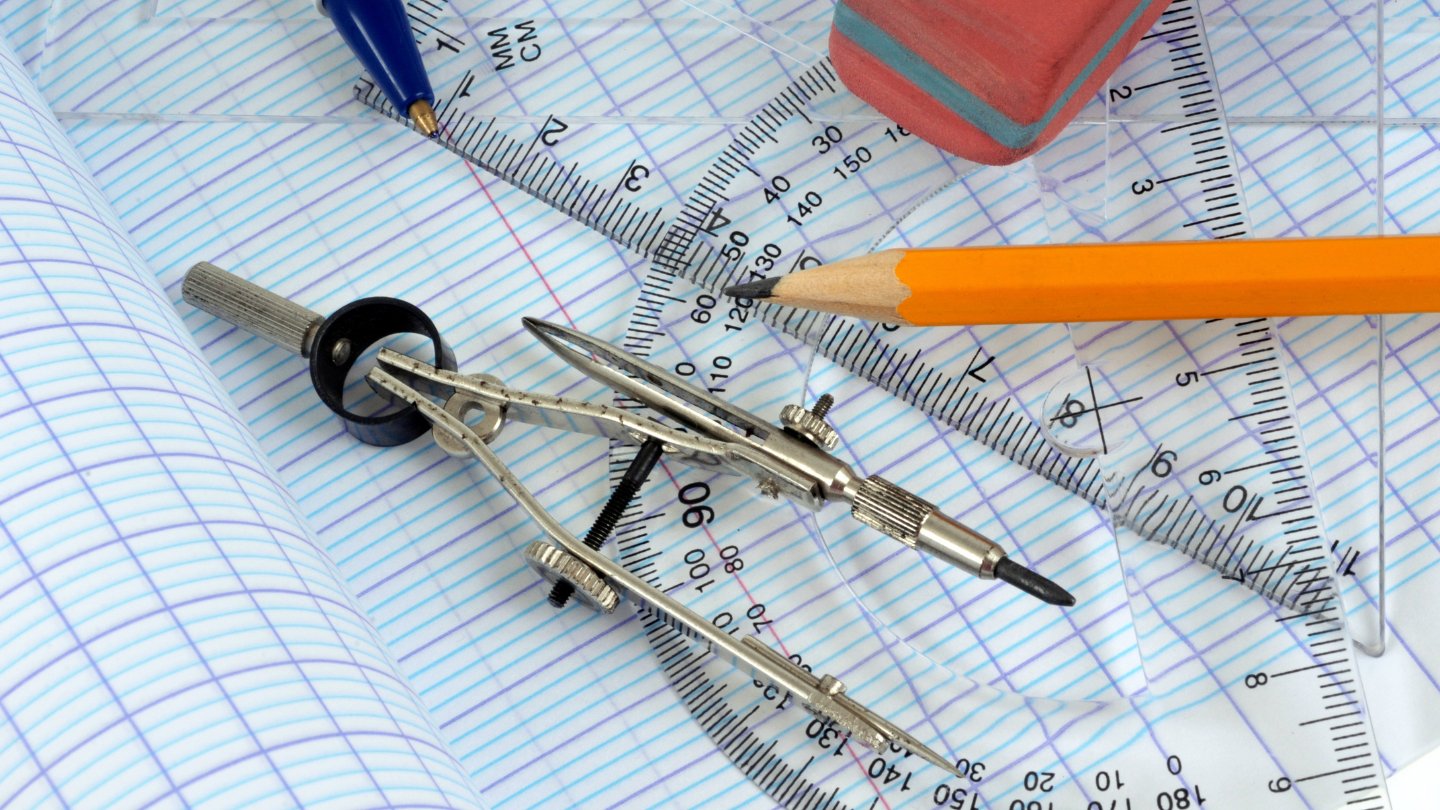
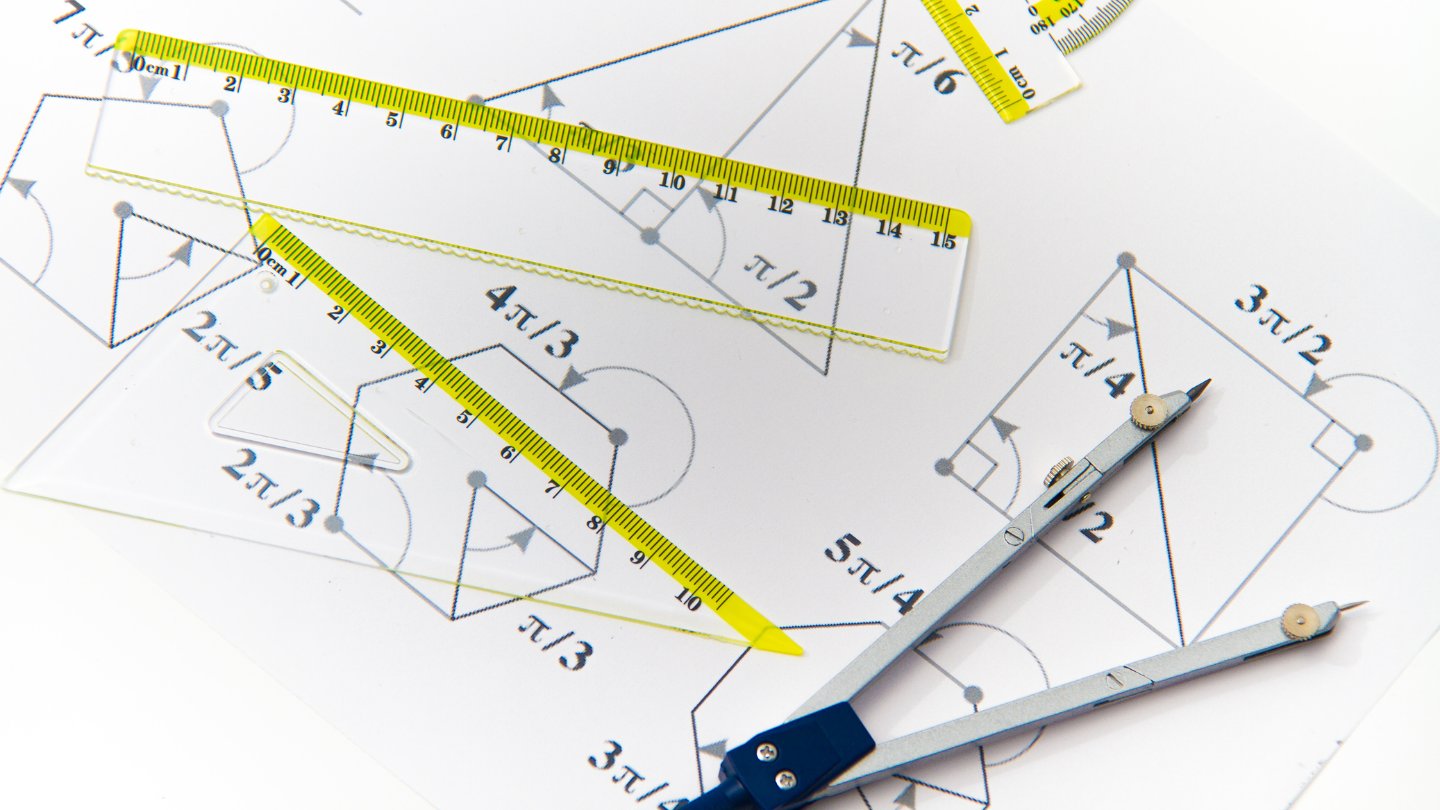
A digital protractor is a versatile tool used in various industries and professions to measure angles with accuracy and precision. Whether you’re a carpenter, machinist, engineer, or DIY enthusiast, having a digital protractor in your toolbox can greatly simplify and streamline your work. In this article, we will explore the ins and outs of using a digital protractor effectively.
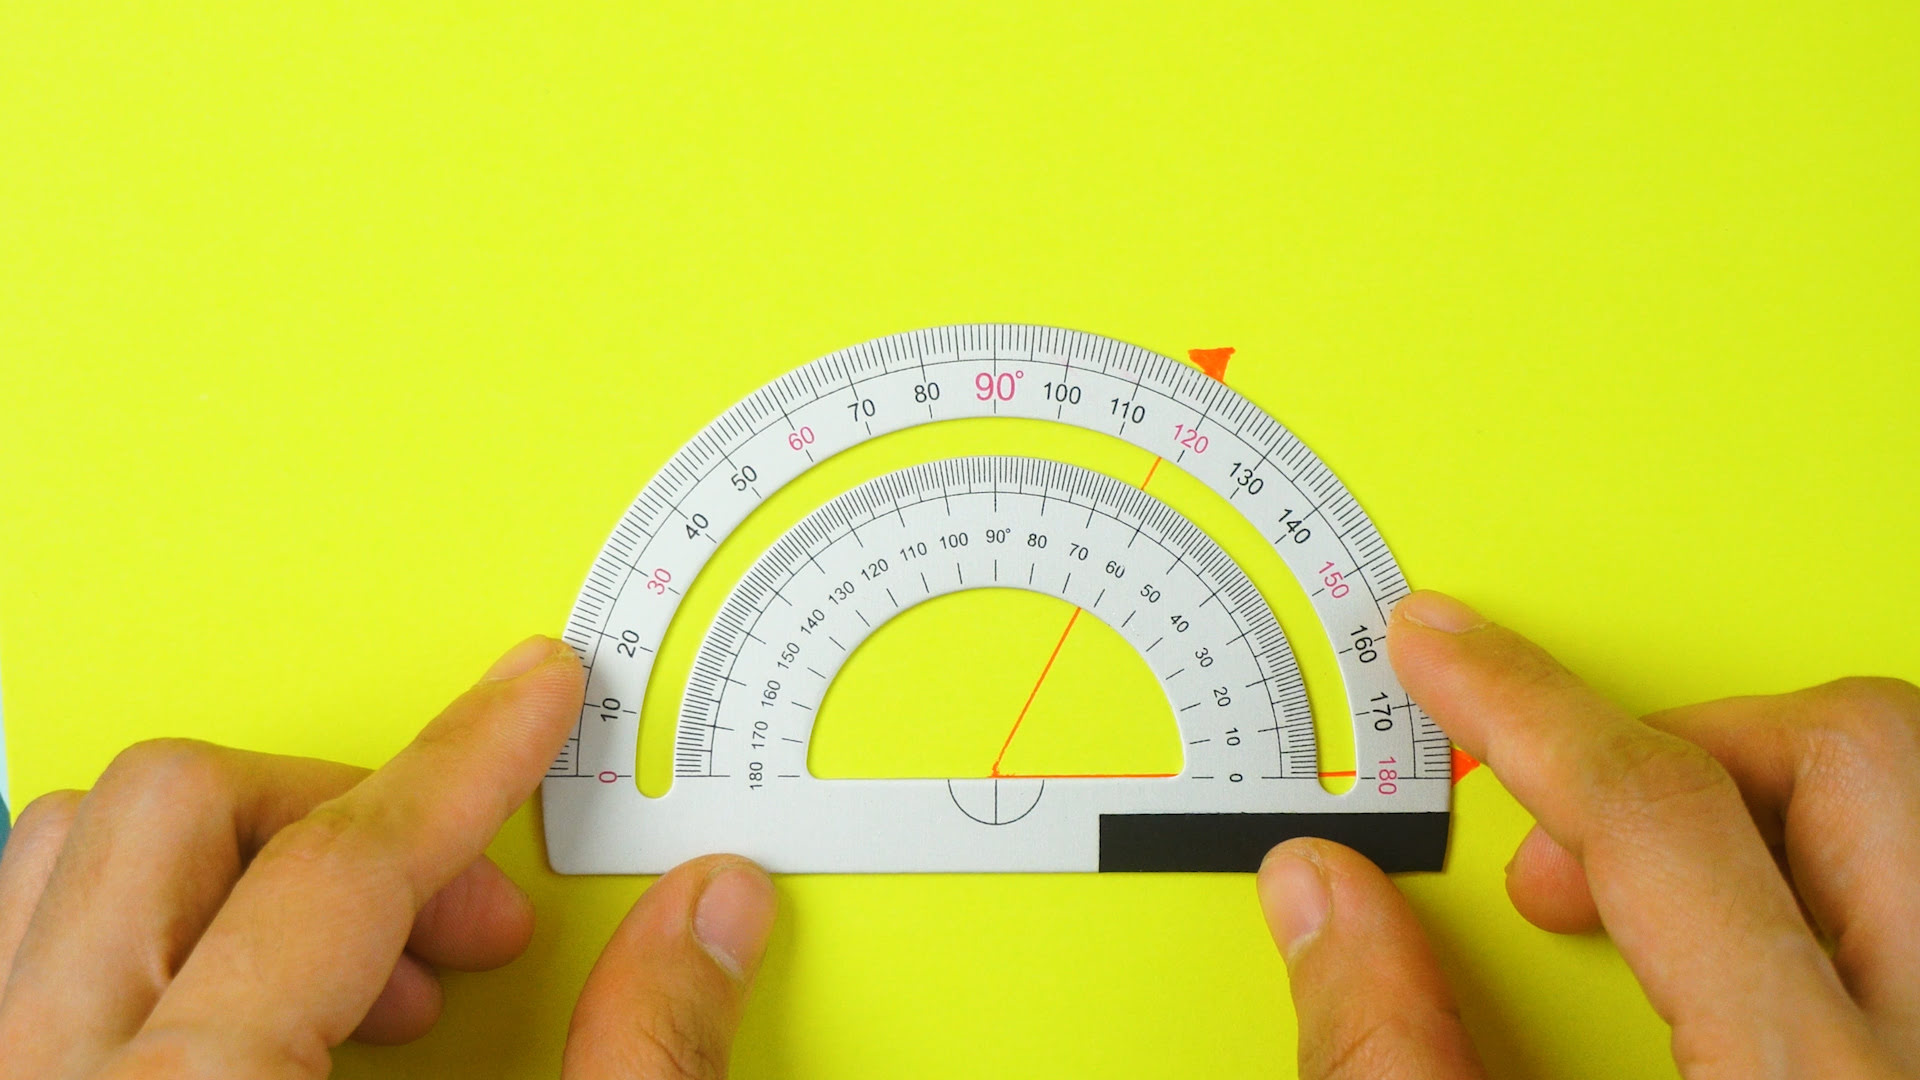
Gone are the days of relying on traditional protractors and guesstimating angles. Digital protractors provide a more efficient and accurate way of measuring angles, eliminating the need for manual calculations and guesswork. With the ability to display measurements digitally, these protractors offer enhanced readability and usability.
One of the key advantages of using a digital protractor is its ability to measure angles in various units of measurement, such as degrees, radians, and gradients. This flexibility allows you to work with different measurement systems based on your specific needs and preferences. Furthermore, digital protractors often come with additional features like data storage and recording capabilities, making it easier to track and analyze measurements later on.
In this article, we will take a closer look at the different components of a digital protractor and how to use them effectively. We will also explore the various functions and settings available, such as zeroing the protractor, switching between measurement units, and locking the readings. Additionally, we will address common troubleshooting issues that you may encounter when using a digital protractor.
By the end of this article, you will have a comprehensive understanding of how to use a digital protractor and unleash its full potential in your professional or personal projects. Let’s dive in and discover the world of digital protractors!
Key Takeaways:
- Embrace the convenience and accuracy of digital protractors to streamline angle measurements in various industries and DIY projects, enhancing work efficiency and precision.
- Master the use of digital protractors by understanding their components, functions, and troubleshooting techniques, ensuring reliable and accurate angle measurements for professional and personal applications.
Read more: How To Use A Military Protractor
Overview of a Digital Protractor
A digital protractor is a measuring tool designed to accurately determine angles in both professional and DIY applications. It consists of several components that work together to provide precise angle measurements. Understanding these components is essential to effectively use a digital protractor.
At its core, a digital protractor features a digital display that shows the angle measurement in real-time. This display is typically an LCD or LED screen, which provides clear and easy-to-read readings. The screen may also show additional information, such as the selected measurement unit or battery status.
Another critical component of a digital protractor is the measuring arm. This arm is responsible for measuring the angle between two points or surfaces. It is usually equipped with a hinge or pivot point, allowing it to rotate and adjust to different positions. The measuring arm may have a locking mechanism to hold the angle in place once it has been measured.
To ensure accurate measurements, digital protractors often utilize electronic sensors, such as magnetoresistive or capacitive sensors. These sensors detect the angle and send the information to the digital display, where it is then shown as a numeric value. The sensors eliminate the need for manual calculations and provide precise readings.
In addition to the standard measurement capabilities, many digital protractors also offer advanced features. These features may include the ability to measure inclines and slopes, calculate complementary or supplementary angles, and even perform trigonometric calculations. Some digital protractors have built-in memory or data logging capabilities, allowing you to store and retrieve angle measurements for later reference.
It’s important to note that digital protractors come in various sizes and designs, catering to different applications and user preferences. Some models are handheld and compact, while others are larger and designed for more industrial use. The choice of a digital protractor depends on the specific tasks you will be performing and your preferred ergonomics.
Overall, a digital protractor provides a convenient and accurate way to measure angles in a wide range of applications. From woodworking and metalworking to construction and engineering, a digital protractor is an invaluable tool that saves time and improves accuracy. Now that we’ve covered the overview of a digital protractor, let’s delve into its different components and learn how to use them effectively.
Components of a Digital Protractor
A digital protractor is comprised of several key components that work together to facilitate accurate angle measurement. Understanding these components is crucial for effectively using a digital protractor and getting precise readings. Let’s explore the various components of a digital protractor:
- Measuring Arm: The measuring arm is a pivotal component of a digital protractor. It is responsible for physically measuring the angle between two points or surfaces. The measuring arm can be adjusted and locked into position to ensure stability during measurements.
- Digital Display: The digital display is the interface that shows the angle measurement in real-time. It typically utilizes an LCD or LED screen to provide clear and easy-to-read readings. The digital display may also show additional information, such as the selected measurement unit or battery status.
- Measurement Units: A digital protractor allows you to measure angles in different units, such as degrees (°), radians (rad), and gradients (%). The selected unit can be changed on the protractor’s settings, depending on your preference or specific requirements.
- Zero Setting: The zero setting function allows you to set a reference point for angle measurements. By zeroing the protractor at a specific position, you can measure angles relative to that reference point. This is particularly useful when measuring incremental angles or when comparing angles to a specific baseline.
- Locking Mechanism: Many digital protractors include a locking mechanism to secure the measuring arm in place once an angle has been measured. This prevents accidental movement and ensures the accuracy of measurements, especially when working in challenging or unstable conditions.
- Battery Compartment: A digital protractor is powered by batteries, typically coin cell batteries or AAA batteries. The battery compartment is located on the back or bottom of the protractor and is easily accessible for battery replacement. It is important to keep spare batteries on hand to avoid interruptions in your work.
- Additional Features: Depending on the model and brand, digital protractors may come with additional features to enhance functionality. These features can include data storage that allows you to record and retrieve angle measurements, a hold function that freezes the displayed measurement, and backlighting for improved visibility in low-light conditions.
Understanding the components of a digital protractor is essential for using it effectively. Familiarize yourself with these components and their functions to maximize the capabilities of your digital protractor and ensure accurate angle measurements in your projects.
Powering On and Off
Powering on and off a digital protractor is a simple process that allows you to control the device’s operation and conserve battery life. Here is a step-by-step guide on how to power on and off a digital protractor:
- Powering On: To turn on your digital protractor, locate the power button or switch. It is typically located on the front or side of the device. Press or slide the power button/switch to the “On” position. Some digital protractors may have a separate “Mode” button that you need to press first before powering on.
- Calibrating: Once the digital protractor is powered on, it may display a calibration prompt or zero reading. This indicates that the device is ready for use but requires calibration. To calibrate the protractor, follow the manufacturer’s instructions provided in the user manual. The calibration process typically involves placing the protractor on a flat surface and setting it to zero.
- Powering Off: When you have finished using the digital protractor, it’s important to power it off to conserve battery life. To power off the protractor, locate the power button or switch again and press or slide it to the “Off” position. Some devices may have an automatic power-off feature that turns off the protractor after a period of inactivity, helping to save battery power.
- Battery Replacement: If your digital protractor runs on replaceable batteries, it’s essential to keep an eye on the battery level. When the battery is low, the protractor may not function properly or display inaccurate readings. To replace the batteries, open the battery compartment located on the back or bottom of the device. Remove the old batteries and insert new ones according to the correct polarity (+/-) indicated on the compartment. Close the compartment securely.
It’s worth noting that some digital protractors may have additional functions or settings related to power management. These functions can include automatic shut-off after a specific period of inactivity, battery level indicators on the display, or even rechargeable batteries with USB charging capabilities. Check the user manual of your specific digital protractor model for any power-related features or instructions.
By following these steps, you can easily power on and off your digital protractor. Remember to calibrate the device when prompted and replace the batteries as needed to ensure accurate angle measurements and the efficient operation of your digital protractor.
Setting Zero and Calibration
Setting zero and calibrating a digital protractor is a crucial step to ensure accurate angle measurements. It establishes a reference point from which all subsequent angle measurements will be made. Here’s a step-by-step guide on how to set zero and calibrate a digital protractor:
- Power on the protractor: Turn on the digital protractor by pressing or sliding the power button/switch. Some models may require selecting the appropriate mode before proceeding to calibration.
- Place the protractor on a flat surface: Find a flat and stable surface to place the base of the protractor. It’s important to make sure that the protractor is level and not tilted to achieve accurate calibration.
- Set the zero angle: Look for the zero/zero reset button or function on the protractor. Press this button to set the protractor to zero degrees or its starting position. Some digital protractors may have a different procedure for setting zero, so consult the user manual for specific instructions.
- Verify the zero reading: After setting the zero angle, the digital display should read zero or display the zero symbol. This indicates that the protractor is calibrated and ready for angle measurements.
- Check for accuracy: To ensure the accuracy of the protractor, you can perform a quick check by placing it on a known flat surface that is at a known degree angle, such as a square corner or known 90-degree angle. Compare the protractor’s reading with the known angle to verify its accuracy. If the readings are off, you may need to recalibrate the protractor or consult the user manual for troubleshooting tips.
- Recalibration: If you find that the digital protractor is not giving accurate readings or if you are using it in different working environments, it is recommended to recalibrate the protractor periodically. Refer to the user manual for instructions on recalibration, as specific protractor models may have different procedures.
It’s important to note that proper calibration is essential for accurate angle measurements. Failing to calibrate the digital protractor can result in incorrect readings and inaccurate measurements, which can lead to errors in your projects or work. Therefore, it is recommended to calibrate the protractor at the beginning of each use or whenever you suspect the readings may be inaccurate.
By following these steps to set zero and calibrate your digital protractor, you can ensure accurate angle measurements and improve the overall reliability of your measurements. Remember to consult the user manual for specific instructions related to your digital protractor model, as calibration procedures may vary.
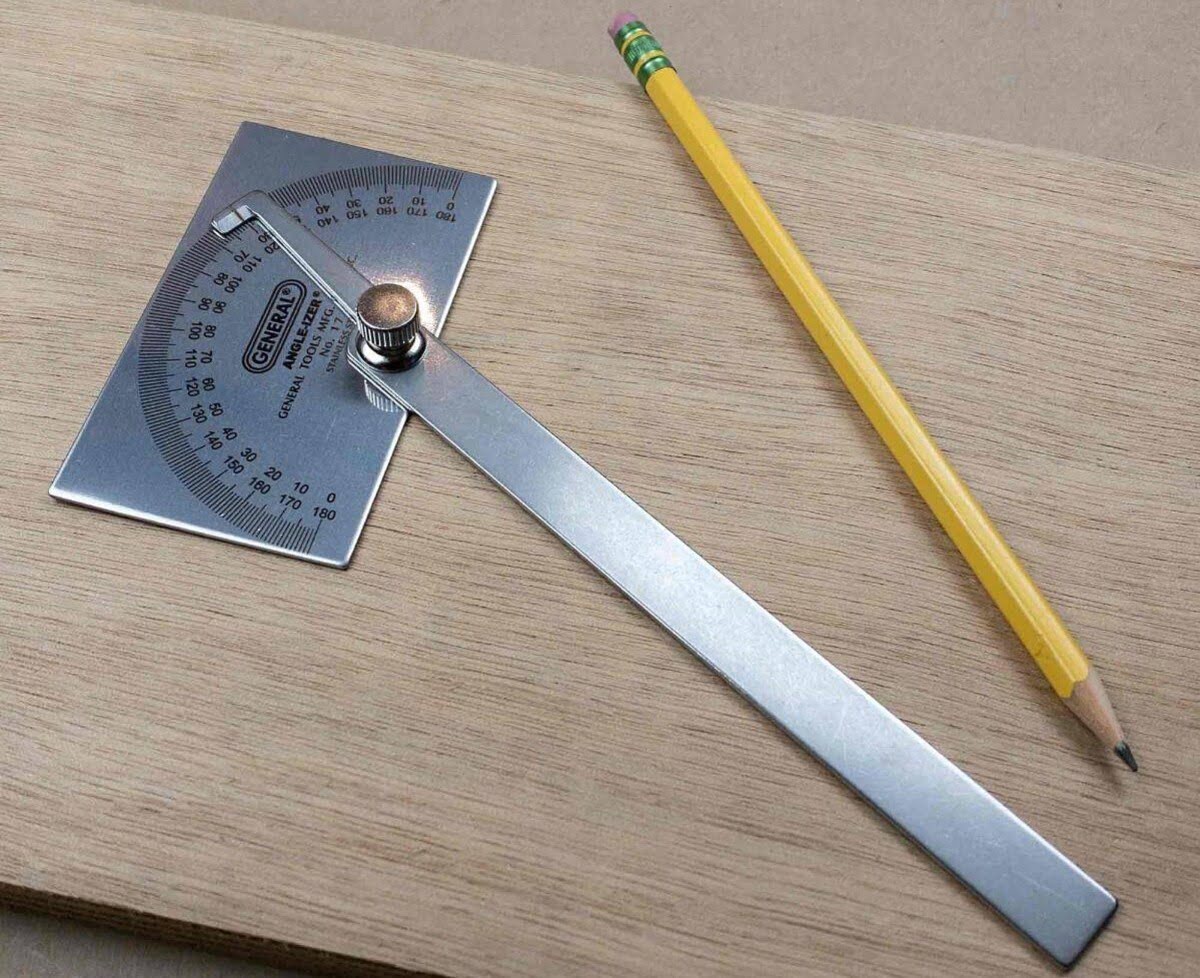
Read more: How To Use Bevel Protractor
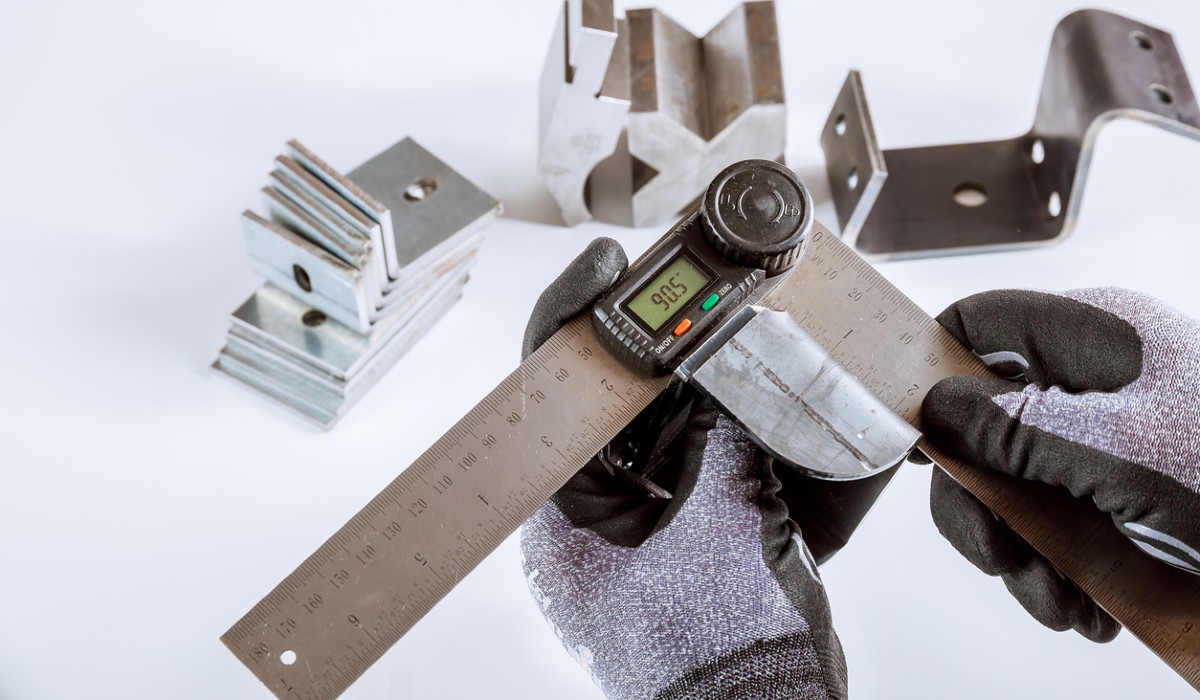
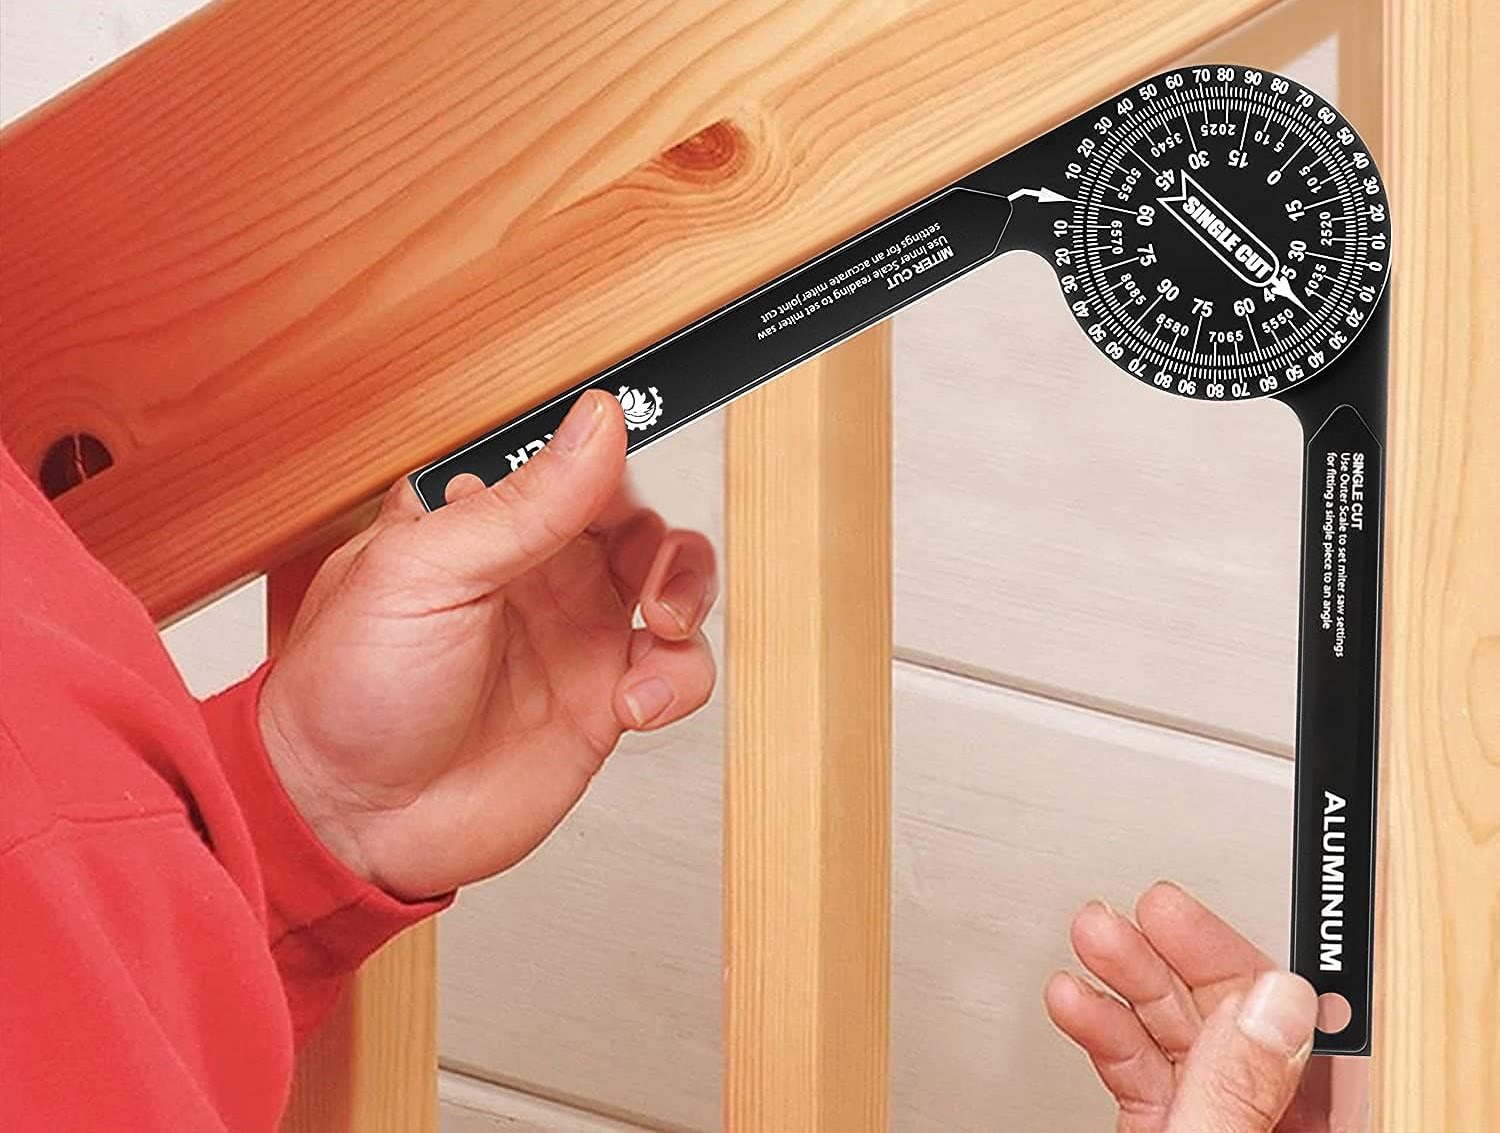
Measuring Angles
Measuring angles accurately is the primary function of a digital protractor. With its precise measurement capabilities, a digital protractor provides a reliable method for determining angles in various applications. Follow these steps to measure angles effectively using a digital protractor:
- Power on the protractor: Turn on the digital protractor by pressing or sliding the power button/switch. Ensure that the protractor is calibrated and set to zero as described in the previous section.
- Align the protractor: Place the base of the digital protractor against one of the surfaces or edges that form the angle you want to measure. Ensure that the measuring arm of the protractor is aligned with the other surface or edge forming the angle.
- Read the angle measurement: Look at the digital display on the protractor to obtain the angle measurement. The display will provide the angle reading in degrees, radians, or gradients, depending on the selected unit of measurement. Read and note the displayed measurement.
- Lock the measurement (if available): Some digital protractors have a locking mechanism that allows you to secure the measured angle. If your protractor has this feature, activate the lock once you have obtained the desired measurement to prevent any accidental movement of the measuring arm.
- Record the measurement (if necessary): Depending on your project or application, you may need to record the angle measurement for future reference. Digital protractors with data storage capabilities allow you to store and retrieve angle measurements, making it easier to track and analyze your measurements over time.
- Switching between measurement units (optional): If you need to measure angles in a different unit, such as switching from degrees to radians or gradients, consult the user manual for your specific protractor model to understand how to change the unit of measurement. Typically, there is a button or setting on the protractor to switch between measurement units.
Keep in mind that stability and accuracy are important when measuring angles. Hold the protractor steady and ensure that it maintains contact with the surfaces or edges forming the angle throughout the measurement process. Any movement or gaps between the protractor and the surfaces may result in inaccurate measurements.
Additionally, take note of any limitations or specifications provided by the manufacturer regarding the maximum angle range that the digital protractor can measure. Exceeding this range may lead to incorrect readings. If you need to measure angles outside the specified range, consider using alternative measuring methods or tools.
By following these steps, you can confidently measure angles using a digital protractor, ensuring accurate and precise results. Take advantage of the features and functions of your specific digital protractor model to streamline your measurements and improve your overall productivity.
When using a digital protractor, make sure to zero the device on a flat surface before taking any measurements. This will ensure accurate readings for angles.
Recording and Storing Measurements
Recording and storing measurements is a valuable feature offered by many digital protractors. It allows you to keep track of your angle measurements and conveniently access them for future reference or analysis. Here’s how you can effectively record and store measurements using a digital protractor:
- Power on the protractor: Turn on the digital protractor by pressing or sliding the power button/switch. Make sure the protractor is calibrated and set to zero as explained previously.
- Measure the angle: Align the protractor’s base with the surfaces or edges that form the angle you want to measure. Read the angle measurement from the digital display on the protractor.
- Record the measurement: To record the measurement, refer to the user manual for your specific protractor model. Some digital protractors may have a designated button or function that allows you to save the current measurement to the memory or a specific slot. Follow the instructions provided to record the angle measurement.
- Store and label the measurement: If your digital protractor has multiple memory slots or allows you to assign labels or tags to measurements, take advantage of these options. By storing measurements in specific slots or organizing them with labels, you can easily locate and retrieve the desired angle measurement at a later time.
- Retrieve and access measurements: To access your recorded measurements, refer to the user manual for instructions on retrieving stored measurements. Some digital protractors have a dedicated button or menu that allows you to navigate through the stored measurements and display them on the digital screen.
- Export or transfer measurements (if available): Depending on your project or workflow, you may need to export or transfer the recorded measurements to other devices or software. Some digital protractors offer this capability through USB connectivity, Bluetooth, or compatible software. Consult the user manual to understand the available options and procedures for exporting or transferring measurements.
Recording and storing measurements using a digital protractor not only saves you time and effort in manually documenting your angle measurements but also allows you to maintain a detailed record of your work. This can be particularly beneficial for projects that require multiple angle measurements or involve extensive data analysis.
Remember to consult the user manual of your specific digital protractor model for any additional guidelines or specific procedures related to recording and storing measurements. Leveraging the recording and storage capabilities of your digital protractor will help you streamline your workflow, improve data organization, and enhance the overall efficiency of your angle measurement tasks.
Switching between Degree, Radian, and Gradient Modes
One of the notable features of a digital protractor is its ability to measure angles in different units of measurement. Depending on your specific needs or the requirements of your project, you can easily switch between degree, radian, and gradient modes. Here’s how you can switch between these measurement units using a digital protractor:
- Power on the protractor: Start by turning on the digital protractor by pressing or sliding the power button/switch. Ensure that the protractor is calibrated and set to zero, as explained earlier.
- Locate the mode selection: Look for the mode selection button or function on the protractor. This button is typically labeled with symbols representing degrees (°), radians (rad), and gradients (%).
- Select the desired mode: Press the mode selection button to cycle through the available measurement unit options. Each press will switch the display from one unit to the next in a loop. Once you reach the desired mode, stop pressing the button.
- Read the angle measurement: After selecting the desired mode, measure the angle as usual by aligning the protractor and reading the angle measurement from the digital display. The protractor will now display the angle measurement in the selected unit (degree, radian, or gradient).
- Make adjustments if necessary: Some digital protractors allow you to make slight adjustments to the default conversion values between units. If you need to customize the conversion factors or fine-tune the measurement accuracy, consult the user manual for your specific protractor model to understand the available adjustment options.
Switching between degree, radian, and gradient modes gives you the flexibility to work with different measurement systems depending on your preferences or the requirements of your project. Here’s a brief overview of each measurement unit:
- Degree (°): Degrees are the most commonly used unit for measuring angles. They divide a circle into 360 equal parts, with each part representing one degree. Degrees are typically expressed as whole numbers or decimal fractions.
- Radian (rad): Radians are used in many mathematical and scientific applications. They divide a circle into 2π (approximately 6.28) equal parts. Radians are expressed as a multiple of π or as decimal fractions.
- Gradient (%): Gradients are commonly used in civil engineering and surveying. They divide a right angle into 100 equal parts. Gradients are expressed as a percentage.
By switching between degree, radian, and gradient modes, you can conveniently work with different measurement units based on your specific needs. This flexibility allows you to easily communicate and collaborate with others who may use different units or work in different fields.
Always consult the user manual of your specific digital protractor model for any additional instructions or nuances related to switching between measurement units. By utilizing the versatile measurement modes of your digital protractor, you can accelerate your work and seamlessly adapt to different measurement systems.
Locking and Unlocking the Protractor
Locking and unlocking the protractor is an important function of a digital protractor that ensures the stability and accuracy of angle measurements. By securely locking the protractor, you can prevent any accidental movement of the measuring arm, especially when working in challenging or unstable conditions. Here’s how you can lock and unlock a digital protractor:
- Power on the protractor: Start by turning on the digital protractor by pressing or sliding the power button/switch. Ensure that the protractor is calibrated and set to zero as described earlier.
- Align the protractor: Place the base of the protractor against one of the surfaces or edges that form the angle you want to measure. Adjust the measuring arm to align with the other surface or edge to ensure proper measurement alignment.
- Measure the angle: Read the angle measurement from the digital display on the protractor. If you are satisfied with the measurement and want to lock it in place, proceed to the next step.
- Locate the lock button or mechanism: Look for the lock button or locking mechanism on the protractor. Depending on the model, it may be a dedicated button, a switch, or a locking lever. Refer to the user manual for your specific protractor model to identify the exact location of the lock feature.
- Activate the lock: Press the lock button, slide the switch, or engage the locking lever to secure the measuring arm in position. Once locked, the protractor will prevent any accidental movement and maintain the measured angle until the lock is released.
- Unlock the protractor: To unlock the measuring arm and resume normal operation, locate the unlock button, switch, or lever. Press, slide, or disengage the unlock feature to release the lock and allow the measuring arm to move freely.
Locking the protractor is particularly useful when you need to ensure the stability and accuracy of angle measurements in various situations. It helps to avoid any unintentional movements that could result in inaccurate readings or compromise the precision of your work.
While locking the protractor provides stability, it’s important to remember to unlock it when you are finished with a particular measurement. Leaving the protractor locked can make it difficult to maneuver for future measurements or adjustments.
Always refer to the user manual of your specific digital protractor model for any specific instructions or recommendations related to locking and unlocking the device. By utilizing the locking feature effectively, you can enhance the precision of your angle measurements and achieve more reliable results in your projects.
Read more: How To Use Starrett Miter Protractor
Troubleshooting Common Issues
While digital protractors are reliable tools, there may be times when you encounter some issues or challenges. Understanding common troubleshooting techniques can help you overcome these obstacles and ensure optimal performance. Here are some common issues you may encounter with a digital protractor and how to troubleshoot them:
- Inaccurate Readings: If you notice inconsistent or inaccurate angle measurements, double-check the calibration of the protractor. Make sure it is properly set to zero and on a level surface. If the issue persists, try replacing the batteries with fresh ones, as low battery power could affect the protractor’s performance.
- Display Issues: If the digital display appears dim, faded, or unreadable, check the battery level. If the batteries are low, replace them. Additionally, ensure that the display is clean and free from any smudges or debris that may affect visibility. If the problem persists, consult the user manual for specific troubleshooting steps or contact the manufacturer for assistance.
- Locking Mechanism Problems: If the locking mechanism fails to hold the measuring arm in place, ensure that it is engaged correctly. Check for any obstructions or debris that could be interfering with the locking mechanism’s operation. If the issue continues, consult the user manual or contact the manufacturer for guidance on adjusting or repairing the locking mechanism.
- Unit Conversion Errors: If you experience difficulties switching between degree, radian, and gradient modes, refer to the user manual for the correct procedure. Ensure that you are pressing the mode selection button correctly and that the protractor is responding to the mode changes. If the issue persists, consider resetting the protractor or reaching out to the manufacturer for further assistance.
- Device Malfunction: In the event of a complete device malfunction, such as the protractor not powering on or displaying any readings, check the battery contacts for corrosion or damage. Clean the contacts if needed and ensure that the batteries are inserted correctly. If the problem persists, contact the manufacturer for warranty or repair options.
Remember to consult the user manual provided with your digital protractor for specific troubleshooting tips and recommended solutions. The manufacturer’s guidelines are the best resource for addressing issues related to your specific model.
If you encounter a problem that cannot be resolved through troubleshooting or if you have any concerns about the functionality or reliability of your digital protractor, it’s always a good idea to reach out to the manufacturer’s customer support for further assistance. They will be able to provide expert guidance and solutions tailored to your specific situation.
By following these troubleshooting tips and seeking support when needed, you can overcome common issues and ensure the smooth operation of your digital protractor for accurate and precise angle measurements.
Conclusion
A digital protractor is a versatile tool that simplifies and enhances the measurement of angles in various applications. By utilizing its advanced features and functions, you can save time, improve accuracy, and streamline your work processes. In this article, we have explored the key aspects of using a digital protractor effectively.
We began by introducing the concept of a digital protractor and its advantages over traditional protractors. With its digital display, multiple measurement units, and additional features like data storage, a digital protractor offers enhanced readability, flexibility, and convenience.
We then discussed the components of a digital protractor, including the measuring arm, digital display, measurement units, zero setting, locking mechanism, and more. Understanding these components is crucial for utilizing the protractor to its full potential and obtaining accurate angle measurements.
Next, we covered important procedures such as powering on and off the protractor, setting zero and calibration, measuring angles, recording and storing measurements, and switching between degree, radian, and gradient modes. These steps ensure precise measurements, data organization, and adaptability to different measurement systems.
Lastly, we addressed common troubleshooting issues that may arise when using a digital protractor, such as inaccurate readings, display problems, locking mechanism difficulties, unit conversion errors, and device malfunctions. By troubleshooting these issues effectively, you can maintain the proper functioning of your digital protractor and overcome any challenges that may arise.
In conclusion, a digital protractor is a valuable tool that offers exceptional accuracy and convenience for measuring angles. By following the guidelines and using the features of your specific digital protractor model, you can improve your work efficiency, achieve reliable results, and enhance your overall productivity.
Remember to refer to the user manual provided with your digital protractor for detailed instructions and specifications relating to your specific model. If you ever encounter difficulties or need further assistance, don’t hesitate to reach out to the manufacturer’s customer support for expert guidance and support.
Embrace the power of a digital protractor in your projects, whether you are a carpenter, machinist, engineer, or DIY enthusiast. With its accuracy, versatility, and user-friendly features, a digital protractor will become an invaluable tool in your toolbox, making angle measurement a breeze and enhancing the quality of your work.
Frequently Asked Questions about How To Use Digital Protractor
Was this page helpful?
At Storables.com, we guarantee accurate and reliable information. Our content, validated by Expert Board Contributors, is crafted following stringent Editorial Policies. We're committed to providing you with well-researched, expert-backed insights for all your informational needs.


0 thoughts on “How To Use Digital Protractor”