Articles
What To Do When Ceiling Collapses
Modified: December 7, 2023
Discover effective strategies and helpful tips in our articles on what to do when ceiling collapses. Stay informed and take action to ensure your safety and minimize damage.
(Many of the links in this article redirect to a specific reviewed product. Your purchase of these products through affiliate links helps to generate commission for Storables.com, at no extra cost. Learn more)
Introduction
A ceiling collapse can be a terrifying experience for homeowners. Whether a result of structural damage, water leakage, or other factors, it poses a serious risk to both property and personal safety. Understanding what to do in such a situation is crucial for minimizing damage and ensuring the well-being of everyone involved.
In this article, we will discuss the causes of ceiling collapses, the signs to look out for, and the immediate actions to take when faced with this emergency. We will also provide guidance on ensuring safety, documenting the damage, contacting professionals and insurance companies, and the steps involved in repair and restoration.
While each situation may vary, the information presented here will serve as a general guide for homeowners dealing with a ceiling collapse. Let’s dive in and discover how to effectively navigate this daunting experience.
Key Takeaways:
- Promptly evacuate and prioritize safety in the event of a ceiling collapse. Contact emergency services, document the damage, and engage professionals for repair and restoration to ensure the well-being of everyone involved.
- Implement preventive measures such as regular inspections, addressing water leaks, and reducing excess weight on ceilings to minimize the risk of future collapses. Prioritize safety and proactive maintenance for long-term protection.
Read more: What Does A Black Ceiling Do For A Room
Causes of Ceiling Collapse
A ceiling collapse can occur due to various reasons, and understanding these causes can help homeowners take preventive measures to avoid such incidents. Here are some common causes of ceiling collapses:
- Structural damage: Over time, buildings can experience wear and tear, compromising the integrity of the ceiling structure. Poor construction, improper installation, or inadequate maintenance can lead to weakened ceilings that are prone to collapse.
- Water leakage: Water leaks can cause significant damage to ceilings, weakening the materials and causing them to sag or crumble. If left untreated, water can seep into the ceiling structure, making it susceptible to collapse.
- Excessive weight: Ceilings are designed to support a certain amount of weight. Adding excessive weight, such as heavy furniture or equipment, can strain the structure and potentially lead to a collapse.
- Natural disasters: Severe storms, earthquakes, or other natural disasters can cause extensive damage to buildings, including ceilings. The force and impact from these events can weaken the structure, making it more vulnerable to collapse.
- Pest infestation: Certain pests, such as termites or rodents, can damage the wooden framework of ceilings, compromising their strength. If left unchecked, this damage can eventually lead to a collapse.
It’s important to note that multiple factors combined can contribute to a ceiling collapse. Regular inspections and maintenance can help identify potential issues and address them before they escalate.
Signs of a Potential Ceiling Collapse
Recognizing the warning signs of a potential ceiling collapse is crucial for taking quick action and ensuring everyone’s safety. Here are some common signs to watch out for:
- Cracks: Noticeable cracks in the ceiling, especially ones that are increasing in size or spreading across a significant area, may indicate structural issues. These cracks can be vertical, horizontal, or even zigzag patterns.
- Sagging or dipping: If you observe any sagging or dipping in the ceiling, it could be a sign of structural damage. It’s essential to address this issue promptly to prevent a potential collapse.
- Water stains: Discoloration or water stains on the ceiling are clear indications of water damage. If water is seeping into the ceiling, it can weaken the materials and increase the risk of collapse.
- Unusual sounds: Pay attention to any persistent creaking, popping, or cracking sounds coming from the ceiling. These noises may indicate structural instability and should not be ignored.
- Visible signs of deterioration: Look for signs of deterioration, such as peeling paint, crumbling plaster, or exposed wires. These can be signs of long-term damage and potential ceiling failure.
- Doors and windows sticking: If doors and windows suddenly become difficult to open or close, it may be due to a shifting or sagging ceiling. This can be a strong indication of structural problems.
It’s important to remember that these signs might vary depending on the type of ceiling and the underlying cause of the potential collapse. If you notice any of these signs or suspect a ceiling collapse, it’s crucial to take immediate action and ensure safety for everyone in the vicinity.
Immediate Actions to Take When a Ceiling Collapses
A ceiling collapse is an emergency situation that requires immediate action to ensure the safety of everyone involved. Here are the steps to take when faced with such an incident:
- Ensure personal safety: The first and foremost priority is to ensure your own safety and the safety of others present. If the ceiling collapse occurs while you are in the room, quickly move away from the affected area to a safe location. Watch out for falling debris and be mindful of any electrical hazards.
- Evacuate the area: If the ceiling collapse has caused significant damage or if there are concerns about the stability of the structure, it is crucial to evacuate the area immediately. Clear out everyone from the affected room and adjacent spaces to minimize the risk of further harm.
- Contact emergency services: Once you are safely away from the collapsed ceiling, contact the appropriate emergency services, such as the fire department or local authorities. Inform them about the situation and provide any necessary details for them to respond swiftly.
- Turn off utilities: If there are any visible signs of water leaks or electrical damage, it’s important to shut off the utilities to prevent further risks. Locate the main water valve and electricity panel and turn off the supply if it is safe to do so.
- Secure the area: While waiting for the arrival of professionals, secure the affected area by cordoning it off with caution tape or barriers, if possible. This will help prevent accidental entry and further injuries.
- Document the damage: Take photos or videos of the collapsed ceiling and the surrounding area. This documentation will be valuable when filing insurance claims and working with professionals for repairs and restoration.
Remember, it is important not to re-enter the affected area until professionals have assessed the situation and deemed it safe. Follow their instructions and cooperate fully throughout the entire process.
By taking immediate actions and prioritizing safety, you can mitigate further damage and ensure the well-being of everyone involved in the incident.
Ensuring Safety and Evacuation
When a ceiling collapse occurs, ensuring the safety of yourself and others is of utmost importance. Here are some essential steps to take to ensure safety and facilitate effective evacuation:
- Assess the situation: Quickly assess the extent of the ceiling collapse and determine if there are any immediate dangers, such as hanging debris or exposed electrical wires. Stay alert and be cautious of potential hazards.
- Alert others: If there are other people in the vicinity, notify them of the ceiling collapse and urge them to evacuate immediately. Use a clear and authoritative voice to ensure everyone understands the seriousness of the situation.
- Identify safe exits: Identify the nearest safe exits from the room or area affected by the collapse. Have a predetermined evacuation plan in place, if possible, to ensure a swift and organized evacuation.
- Leave belongings behind: In such emergencies, it is crucial to prioritize personal safety over material possessions. Advise everyone to leave personal belongings behind and focus on getting to a safe location as quickly as possible.
- Stay low: If there is smoke, dust, or any airborne particles, it’s important to stay low to the ground while evacuating. This minimizes exposure to potential respiratory irritants and improves visibility.
- Assist the vulnerable: Pay attention to individuals who may require assistance, such as young children, elderly individuals, or those with mobility limitations. Offer support and help them safely evacuate the area.
- Account for everyone: Once safely outside, take a headcount to ensure that everyone who was present at the time of the ceiling collapse is accounted for. If someone is missing, inform emergency personnel immediately.
- Stay clear of the affected area: Once evacuated, maintain a safe distance from the collapsed ceiling and avoid going back inside until it has been deemed safe by professionals.
Remember, during a ceiling collapse emergency, panic should be minimized to ensure a safe evacuation. Remaining calm, following the designated evacuation routes, and listening to instructions from emergency personnel will help ensure the safety of everyone involved.
Read more: What To Do After Scraping A Popcorn Ceiling
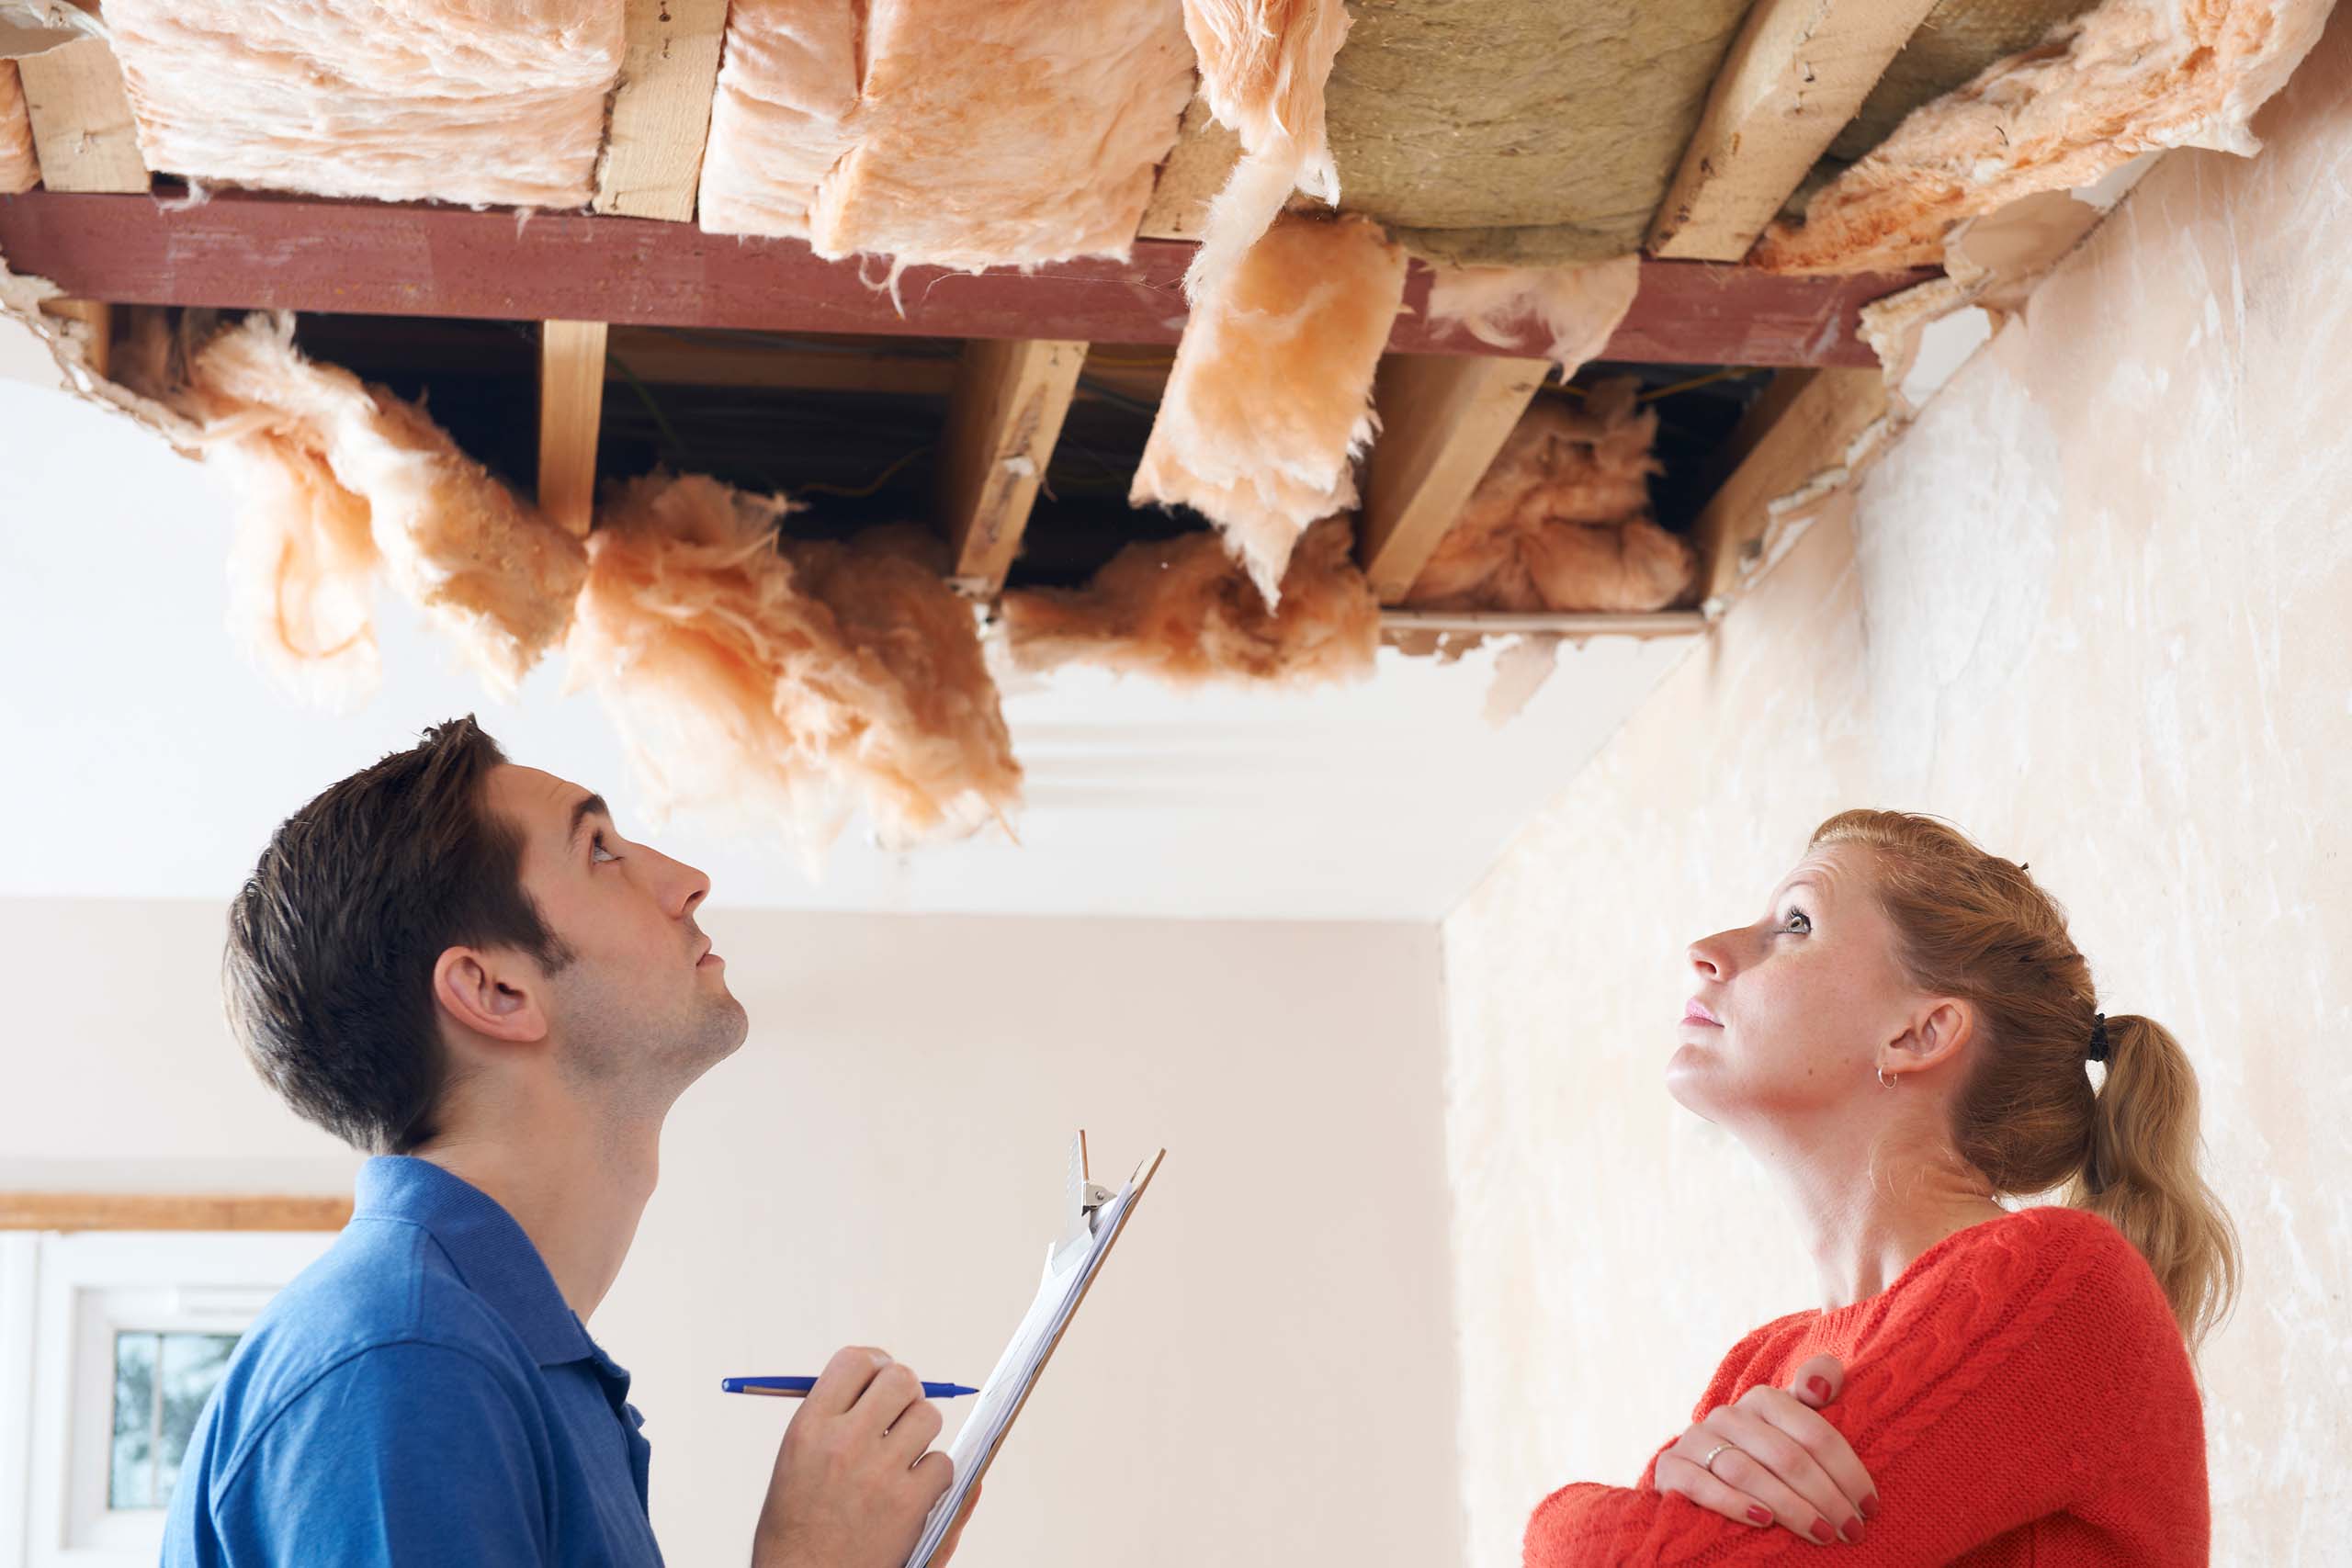
Assessing and Documenting the Damage
After ensuring the safety of everyone involved and evacuating the area, it is important to assess and document the damage caused by the ceiling collapse. This documentation will be crucial for insurance claims and the restoration process. Here are the steps to follow:
- Wait for professionals: Before entering the affected area, it is important to wait for professionals such as structural engineers or building inspectors to assess the safety of the space. They will determine if it is safe to enter and proceed with the assessment.
- Wear protective gear: When entering the area, ensure that you are wearing appropriate safety gear such as gloves, masks, and goggles to protect yourself from potential hazards like debris, dust, or mold that may be present.
- Take photographs or videos: Document the damage by taking clear photographs or videos of the collapsed ceiling and the surrounding area. Capture different angles and distances to provide a comprehensive view of the extent of the damage.
- Note visible damages: Make a detailed list of the visible damages caused by the ceiling collapse. This can include structural deformities, water leaks, electrical damage, or any other issues that occurred as a result of the collapse.
- Record additional observations: Note any additional observations or details that could be important for insurance purposes or for the restoration process. This could include the presence of mold, signs of previous damage, or any specific concerns you have noticed.
- Measurements and dimensions: If possible, measure the dimensions of the affected area and record these measurements. This will assist professionals in calculating the necessary materials and estimating the costs of repairs.
- Consult with professionals: Once you have documented the damage, consult with professionals such as restoration specialists or contractors. They can provide expert advice on the necessary steps to restore the affected area.
Remember, documenting the damage accurately and thoroughly is crucial for insurance claims and for ensuring that the restoration process is carried out effectively. It is always best to consult with professionals who have the expertise to assess the damage and provide guidance on the appropriate next steps.
If the ceiling collapses, immediately move to a safe location and call emergency services. Avoid entering the affected area until it has been inspected and deemed safe by a professional.
Contacting Professionals and Insurance
After assessing the damage caused by the ceiling collapse and documenting it, the next step is to contact the necessary professionals and your insurance company. Acting swiftly and efficiently is crucial to ensure a smooth restoration process. Here are the steps to follow:
- Find a reliable restoration company: Look for a reputable restoration company that specializes in ceiling repairs and restoration. Seek referrals from friends, family, or trusted sources, and ensure that the company is licensed and insured.
- Request multiple quotes: Contact several restoration companies to request quotes and assessments of the damage. This will help you compare services, costs, and timelines, allowing you to make an informed decision.
- Notify your insurance company: Contact your insurance company as soon as possible to report the ceiling collapse and initiate the claims process. Provide them with all the necessary details, including photographs, videos, and documentation of the damage.
- Provide accurate information: Be thorough and provide accurate information to your insurance company. Ensure that you describe the cause of the ceiling collapse, the extent of the damage, and any additional relevant details they may require.
- Follow their instructions: Listen to the instructions provided by your insurance company regarding the claims process and any necessary steps you need to take. This includes providing any requested documentation or information promptly.
- Coordinate with professionals: Share the contact details and information regarding the restoration company you have chosen with your insurance provider. They may require this information for communication, coordination, and direct billing purposes.
- Keep records: Maintain a record of all communication with your insurance company and the restoration company. Keep track of any paperwork, emails, or phone conversations related to the claim and restoration process.
By promptly contacting professionals and your insurance company, you can ensure that the restoration process begins as soon as possible. Effective communication and coordination will help minimize delays and streamline the overall process.
Remember, each insurance policy may have different coverage limits, deductibles, and specific requirements. Be sure to review your policy thoroughly and consult with your insurance company to fully understand the claims process and any potential limitations or exclusions.
Temporary Measures and Cleanup
After a ceiling collapse, it’s important to take immediate temporary measures to prevent further damage and begin the cleanup process. Here are some steps to follow:
- Ensure safety: Before proceeding with any temporary measures, ensure that the affected area is safe to access. Use caution when navigating the space and be mindful of potential hazards, such as hanging debris or unstable structures.
- Secure the area: If there are any hazardous materials, exposed wires, or unstable structures, cordon off the area with caution tape or barriers to prevent accidental entry. This will help protect anyone in the vicinity and avoid further injuries.
- Remove debris cautiously: Carefully remove any loose debris or materials that can be safely handled. Use gloves, masks, and protective eyewear during the cleanup process to minimize exposure to dust and potential contaminants.
- Control water damage: If the ceiling collapse involved water leakage, address the issue promptly to prevent further damage. Place buckets or containers to collect dripping water and use absorbent materials or towels to absorb any excess moisture.
- Properly dispose of damaged materials: Dispose of damaged materials, such as insulation or ceiling panels, according to local regulations. Consult with local waste management authorities to ensure proper disposal methods for specific materials.
- Thoroughly clean the area: Once debris has been cleared, thoroughly clean the area to remove dust, dirt, and any remaining contaminants. Use appropriate cleaning solutions and equipment to ensure a clean and safe environment.
- Address minor repairs: If there are any minor repairs that can be safely addressed, such as patching small holes or covering exposed wires, do so temporarily to prevent further damage or potential safety hazards.
- Consider temporary living arrangements: If the damage is extensive and renders the space uninhabitable, consider making temporary living arrangements. Contact your insurance company to inquire about coverage for additional living expenses during the restoration period.
It’s important to note that these temporary measures are meant to mitigate further damage and ensure safety until professional restoration can begin. Consult with a reputable restoration company to determine the appropriate steps to take based on the extent of the damage.
By promptly addressing temporary measures and initiating the cleanup process, you can help minimize the impact of the ceiling collapse and create a safer environment for the restoration work to take place.
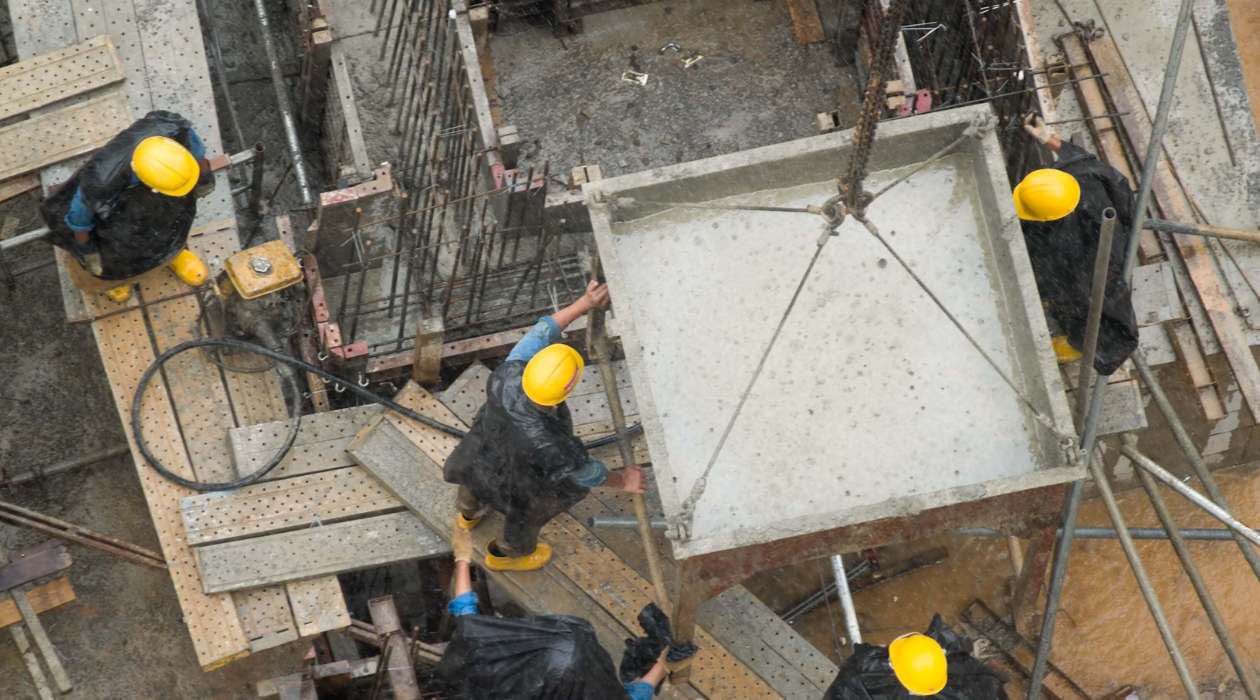
Repair and Restoration Process
Once the immediate safety concerns have been addressed and temporary measures have been taken, it’s time to move forward with the repair and restoration process after a ceiling collapse. Here are the general steps involved:
- Hire a professional restoration company: Engage a reputable restoration company specialized in ceiling repairs and restoration. They will have the expertise and experience to effectively restore the damaged area.
- Structural assessment: The restoration company will conduct a comprehensive assessment of the structural integrity of the ceiling and surrounding areas. This step is crucial in determining the scope of repairs needed.
- Develop a restoration plan: Based on the assessment, the restoration company will develop a detailed plan outlining the necessary repairs, timeline, and estimated costs. They will also provide guidance on any additional measures required to strengthen the ceiling structure.
- Obtain necessary permits: Depending on the extent of the repairs, you may need to obtain permits from local authorities. Your restoration company can assist you in acquiring the necessary permits and ensure compliance with building codes.
- Repair structural damage: The restoration team will begin by repairing the structural damage, which may involve replacing damaged beams, reinforcing the ceiling structure, or addressing issues that caused the collapse.
- Address water damage: If water damage was a factor in the ceiling collapse, the restoration company will thoroughly dry the area and address any underlying issues causing the water intrusion. This may include repairing leaks, waterproofing, or improving drainage systems.
- Replace damaged materials: The restoration team will remove and replace any damaged ceiling materials, such as drywall, plaster, or tiles. They will ensure a seamless integration with the existing ceiling and restore its visual appeal.
- Inspect and test: After the repairs are complete, the restoration company will conduct a thorough inspection to ensure that the restored ceiling meets quality standards. They may also perform tests to verify its structural integrity and address any potential issues.
- Cleanup and finishing touches: The restoration process concludes with a thorough cleanup of the affected area. Any debris or leftover materials will be removed, and the space will be left clean and ready for use. Finishing touches, such as paint touch-ups or cosmetic repairs, may also be done.
Throughout the repair and restoration process, maintain open communication with the restoration company. They will keep you informed of the progress, address any concerns you may have, and ensure that the work is being carried out efficiently and effectively.
Remember, the duration of the repair and restoration process will depend on the extent of the damage and the complexity of the repairs required. Working with professionals will help ensure that the repairs are done properly and the ceiling is restored to its pre-collapse condition.
Read more: What To Do When Roof Is Leaking
Preventive Measures for Future Ceiling Collapses
Preventing future ceiling collapses is crucial for the safety and well-being of occupants, as well as for the preservation of the property. Here are some preventive measures to consider:
- Regular inspections: Schedule regular inspections of your property, including the ceilings, by a qualified professional. They can assess the structural integrity, identify potential issues, and recommend necessary repairs or maintenance.
- Maintain proper drainage: Ensure that your property has appropriate drainage systems in place to divert water away from the roof and ceilings. Clear gutters and downspouts regularly to prevent water accumulation and potential water damage.
- Address leaks promptly: Water leaks can quickly lead to ceiling damage and weaken the structure. If you notice signs of water intrusion, such as stains or damp spots, address the issue promptly by identifying and repairing the source of the leak.
- Reduce excess weight: Avoid placing excessive weight on ceilings, especially in areas where the structure may already be compromised. Be mindful of heavy items hanging from the ceiling and consider redistributing the weight or reinforcing the support if needed.
- Perform regular maintenance: Stay proactive with regular maintenance of the ceilings and surrounding areas. This can include inspecting for cracks or sagging, repairing small damages promptly, and maintaining a dry and moisture-free environment.
- Address pest infestations: Termites and rodents can cause structural damage to ceilings. Implement proper pest control measures to prevent infestations and promptly address any signs of pest activity within the property.
- Follow building codes: When constructing or renovating your property, ensure that you comply with building codes and regulations. These codes are designed to enforce safety standards and ensure the structural integrity of the building.
- Use reputable contractors: When hiring contractors for construction or repair work, choose reputable professionals who have experience and expertise in their field. This will help ensure that the work is done correctly and in compliance with industry standards.
- Stay aware of warning signs: Educate yourself about the warning signs of potential ceiling collapse, such as cracks, sagging, or water stains. Regularly inspect your ceilings and address any concerning signs immediately.
- Review insurance coverage: Regularly review your insurance policy to ensure adequate coverage for potential ceiling collapses. Understand the terms, coverage limits, and exclusions in your policy to avoid any surprises in the event of an incident.
By implementing these preventive measures, you can significantly reduce the risk of future ceiling collapses. Regular maintenance, prompt repairs, and professional assessments will help ensure the longevity and safety of your ceilings and the overall structural integrity of your property.
Remember, investing in preventive measures and proactive maintenance is a small price to pay compared to the potential consequences of a ceiling collapse. Prioritize the safety and well-being of your property and its occupants by taking the necessary precautions.
Conclusion
Experiencing a ceiling collapse can be a distressing and potentially dangerous situation for homeowners. However, by understanding the causes, signs, and necessary actions to take, you can effectively navigate this emergency and minimize further damage. Prioritizing safety, prompt evacuation, and contacting professionals are essential steps to ensure the well-being of everyone involved.
The assessment and documentation of the damage, along with timely communication with insurance companies and restoration professionals, are crucial for initiating the repair and restoration process. Temporary measures and thorough clean-up are necessary to prevent further damage and create a safe environment for the restoration work to begin.
Preventing future ceiling collapses is equally important. Regular inspections, addressing water leaks promptly, reducing excess weight on ceilings, and following building codes are preventive measures that can help maintain the integrity of your ceilings. By taking proactive steps and staying aware of warning signs, you can minimize the risk of future incidents.
When it comes to repairs and restoration, hiring reputable professionals and obtaining multiple quotes will ensure quality workmanship and a smoother process. Compliance with building codes, regular maintenance, and reviewing insurance coverage are vital aspects to consider for long-term safety and protection.
While each ceiling collapse situation may vary, this comprehensive guide provides a foundation to navigate through this challenging experience. Remember, your safety and the safety of those around you should always be the top priority. By staying informed and taking timely action, you can effectively manage a ceiling collapse and protect your property and loved ones.
Frequently Asked Questions about What To Do When Ceiling Collapses
Was this page helpful?
At Storables.com, we guarantee accurate and reliable information. Our content, validated by Expert Board Contributors, is crafted following stringent Editorial Policies. We're committed to providing you with well-researched, expert-backed insights for all your informational needs.


0 thoughts on “What To Do When Ceiling Collapses”