
Articles
How To Do A Textured Ceiling
Modified: April 23, 2024
Learn how to create a textured ceiling with our informative articles. Get step-by-step instructions and tips to achieve a stunning ceiling design.
(Many of the links in this article redirect to a specific reviewed product. Your purchase of these products through affiliate links helps to generate commission for Storables.com, at no extra cost. Learn more)
Introduction
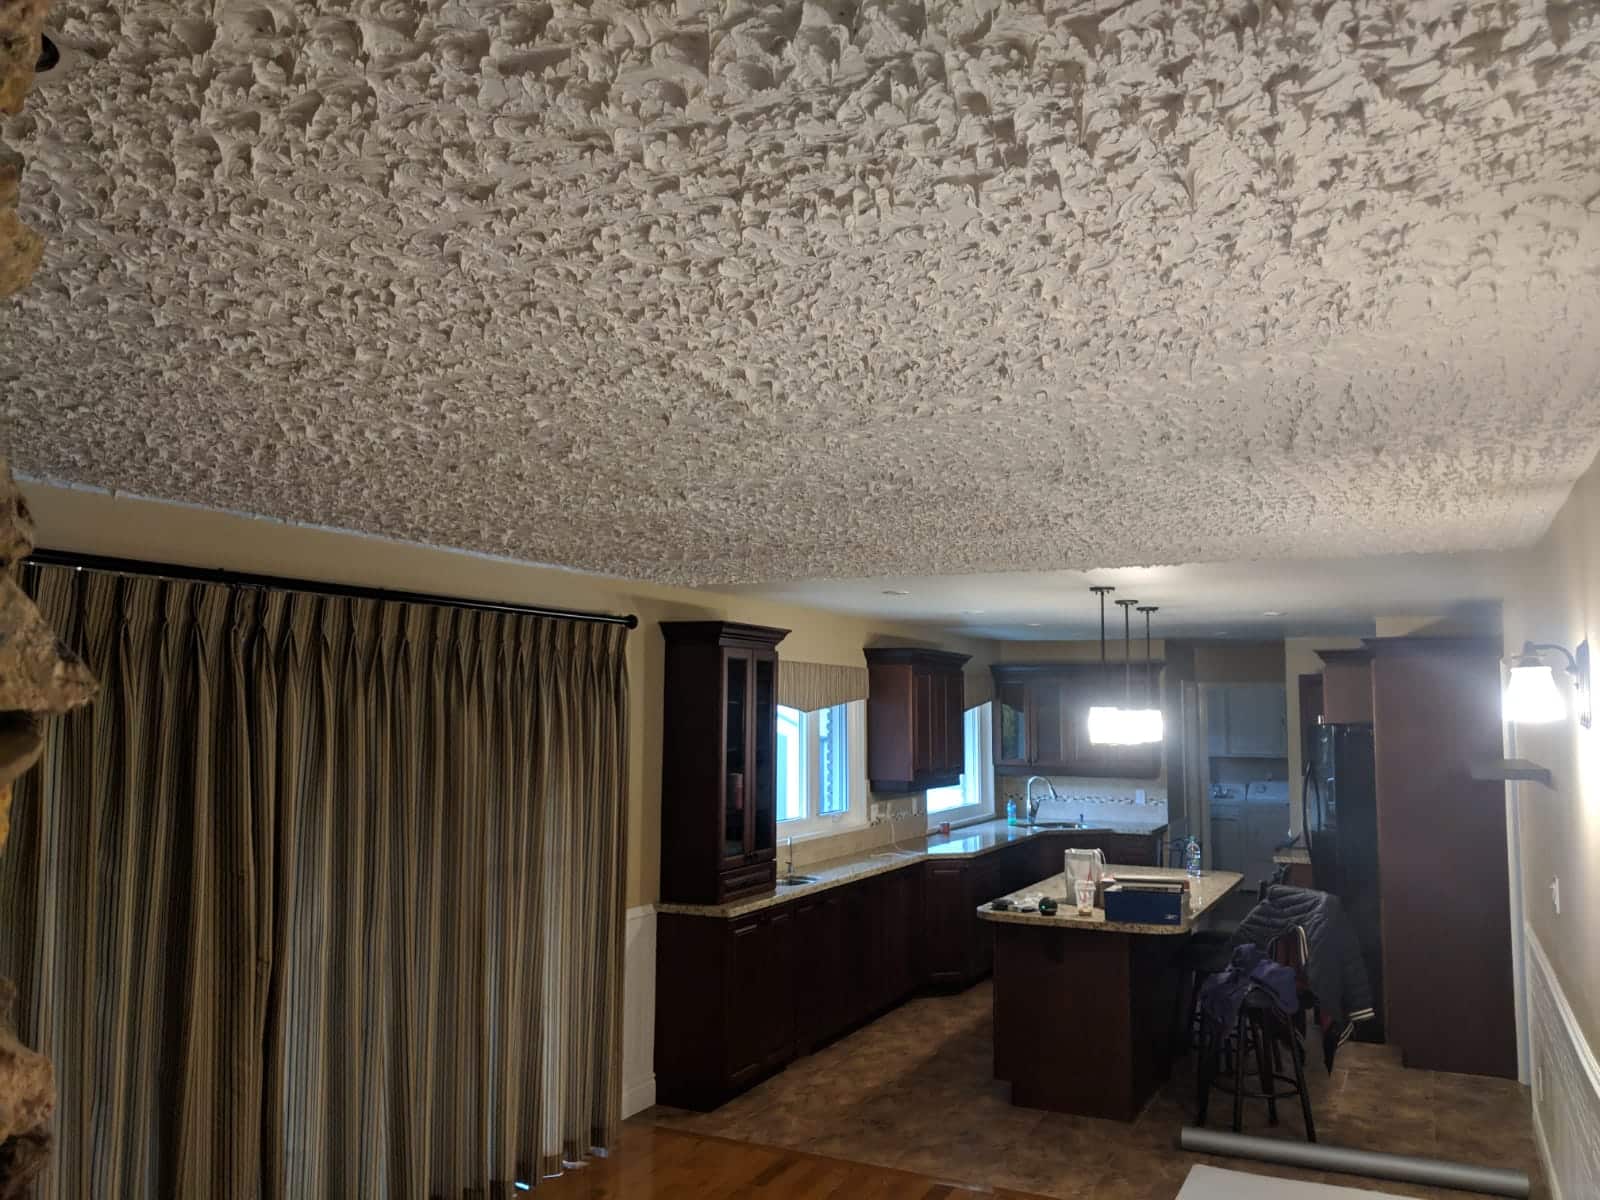
Adding texture to your ceiling can instantly transform the look and feel of a room. Textured ceilings not only add visual interest but can also help hide imperfections, cracks, and uneven surfaces. Whether you’re looking to enhance the character of your home or cover up some flaws, creating a textured ceiling is a manageable DIY project that can yield impressive results.
In this article, we will guide you through the process of creating a textured ceiling. We will cover the materials you’ll need, the steps involved, and some handy tips to ensure a successful outcome. So let’s get started!
Key Takeaways:
- Transform the look and feel of any room by adding a textured ceiling. Not only does it enhance visual interest, but it also cleverly hides imperfections and uneven surfaces, making it a manageable DIY project with impressive results.
- Achieve a professionally textured ceiling by following the step-by-step guide and using the necessary materials. Experiment with different textures and patterns to find the perfect complement to your personal style and room decor.
Read more: How Do I Texture A Ceiling
Materials Needed
Before you begin creating a textured ceiling, it’s important to gather all the necessary materials. Here’s a list of items you’ll need:
- Drop cloths or plastic sheeting to protect your floors and furniture
- Painter’s tape to secure the drop cloths or plastic sheeting in place
- Ladder or scaffolding to reach the ceiling
- Safety goggles and a dust mask to protect your eyes and respiratory system
- Joint compound or texture compound, which will be used to create the texture
- A mixing container and mixing paddle to prepare the texture compound
- A trowel or putty knife for applying the texture compound to the ceiling
- A texture roller or texture brush for creating the desired texture pattern
- Paint primer, if you plan to paint the textured ceiling
- Paint, if you want to add color to your textured ceiling
- Paint roller and tray for painting the textured ceiling
Make sure you have all these materials on hand before you start, as it will save you time and ensure a smoother process.
Step 1: Preparing the Ceiling
Before you can begin applying texture to your ceiling, it’s important to properly prepare the surface. Here’s what you need to do:
- Clean the ceiling: Use a broom or vacuum cleaner to remove any dust or debris from the ceiling. This will ensure that the texture adheres properly.
- Repair any imperfections: Inspect the ceiling for any cracks, holes, or other imperfections. Use a spackling compound to fill in any gaps, and sand the area smooth once it’s dry. This will create a smooth surface for the texture to adhere to.
- Protect the surrounding area: Cover your floors and furniture with drop cloths or plastic sheeting to protect them from any drips or splatters. Secure the coverings in place using painter’s tape.
- Prime the ceiling (optional): If you plan to paint the textured ceiling, apply a coat of primer to ensure better adhesion and a more even finish. Follow the instructions on the primer can for application and drying times.
By taking the time to properly prepare the ceiling, you’ll ensure a smoother and more professional-looking textured finish.
Step 2: Applying the Texture
Now that you have prepared your ceiling, it’s time to apply the texture. Follow these steps to achieve a textured surface:
- Mix the texture compound: Follow the instructions on the packaging to prepare the texture compound. Use a mixing container and a mixing paddle to ensure a smooth consistency.
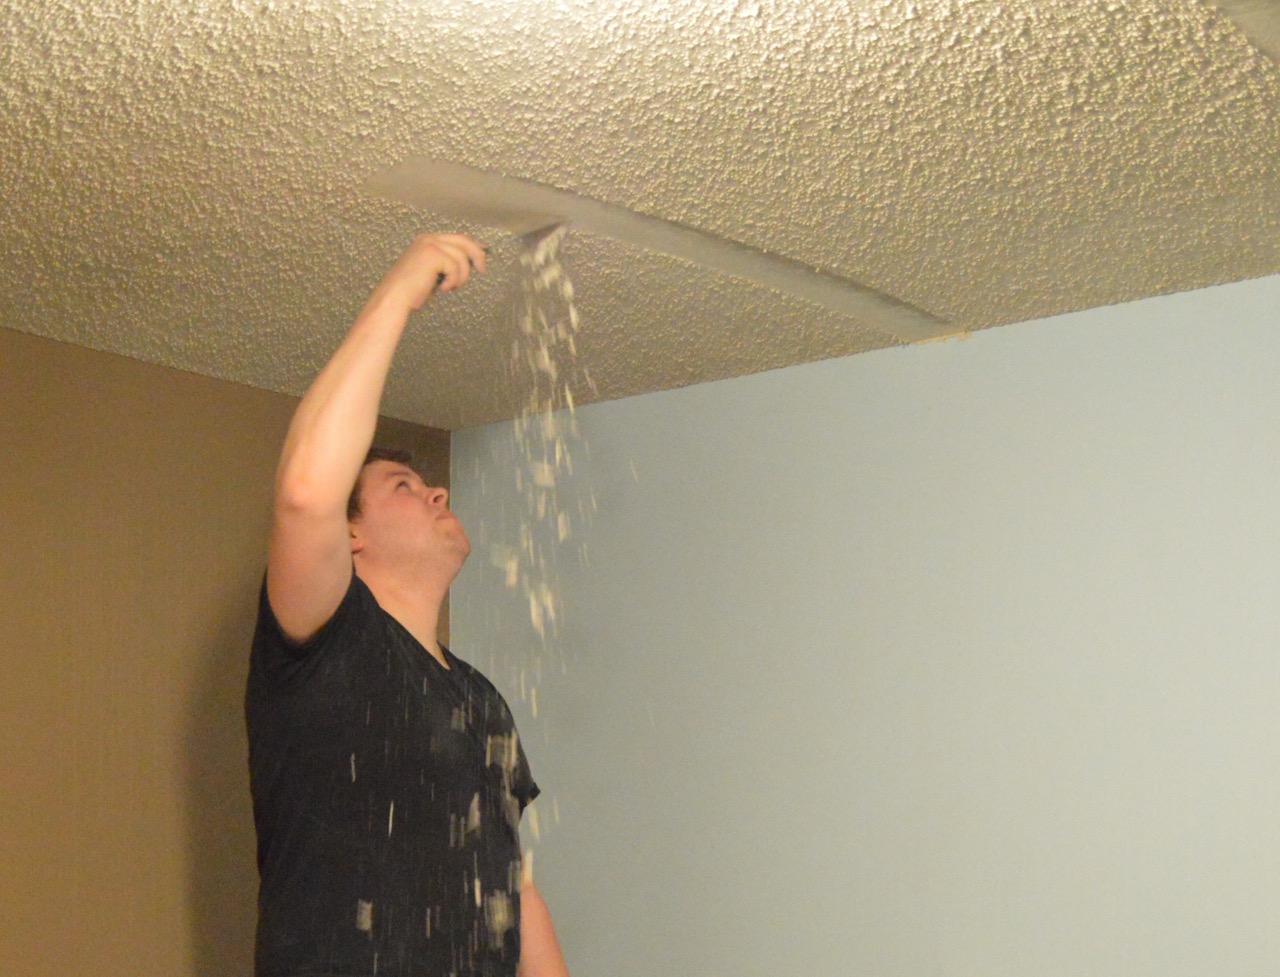
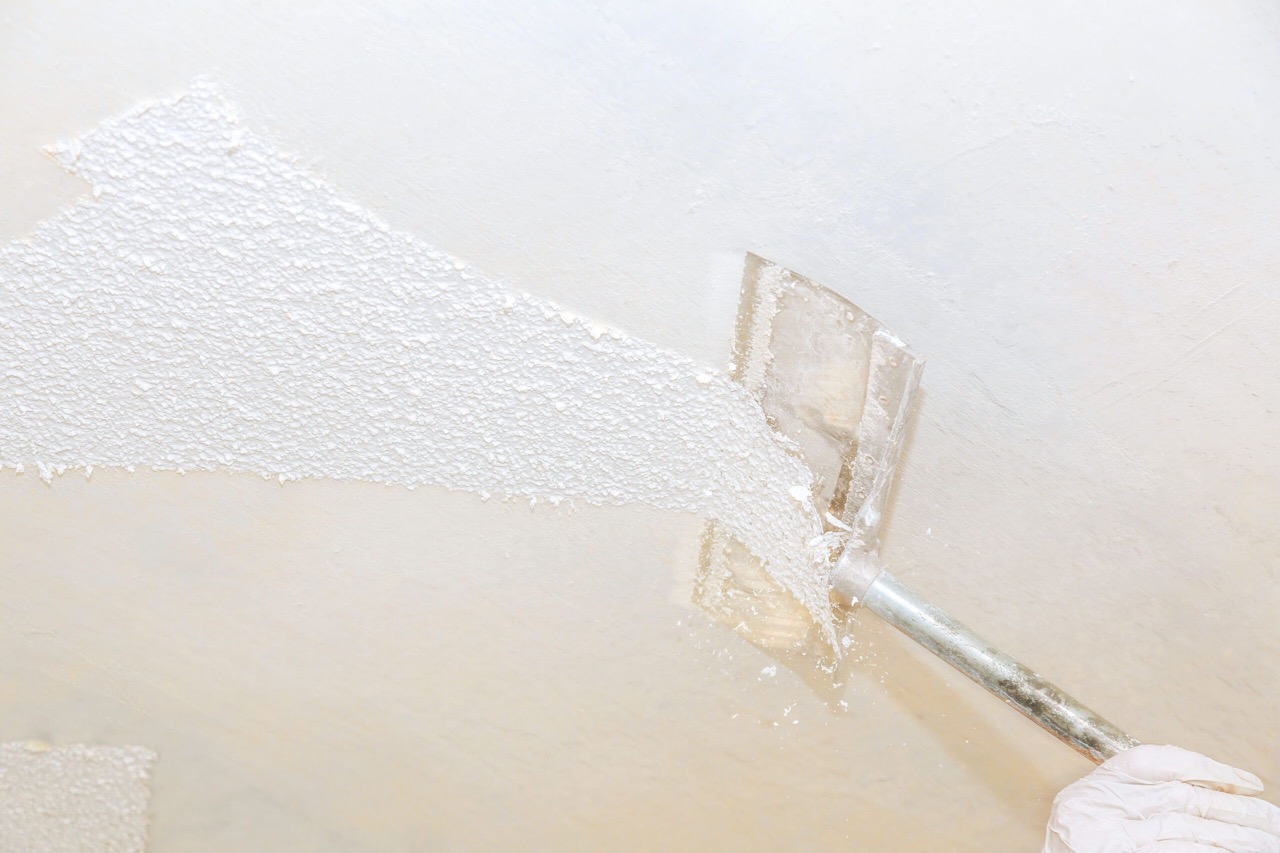
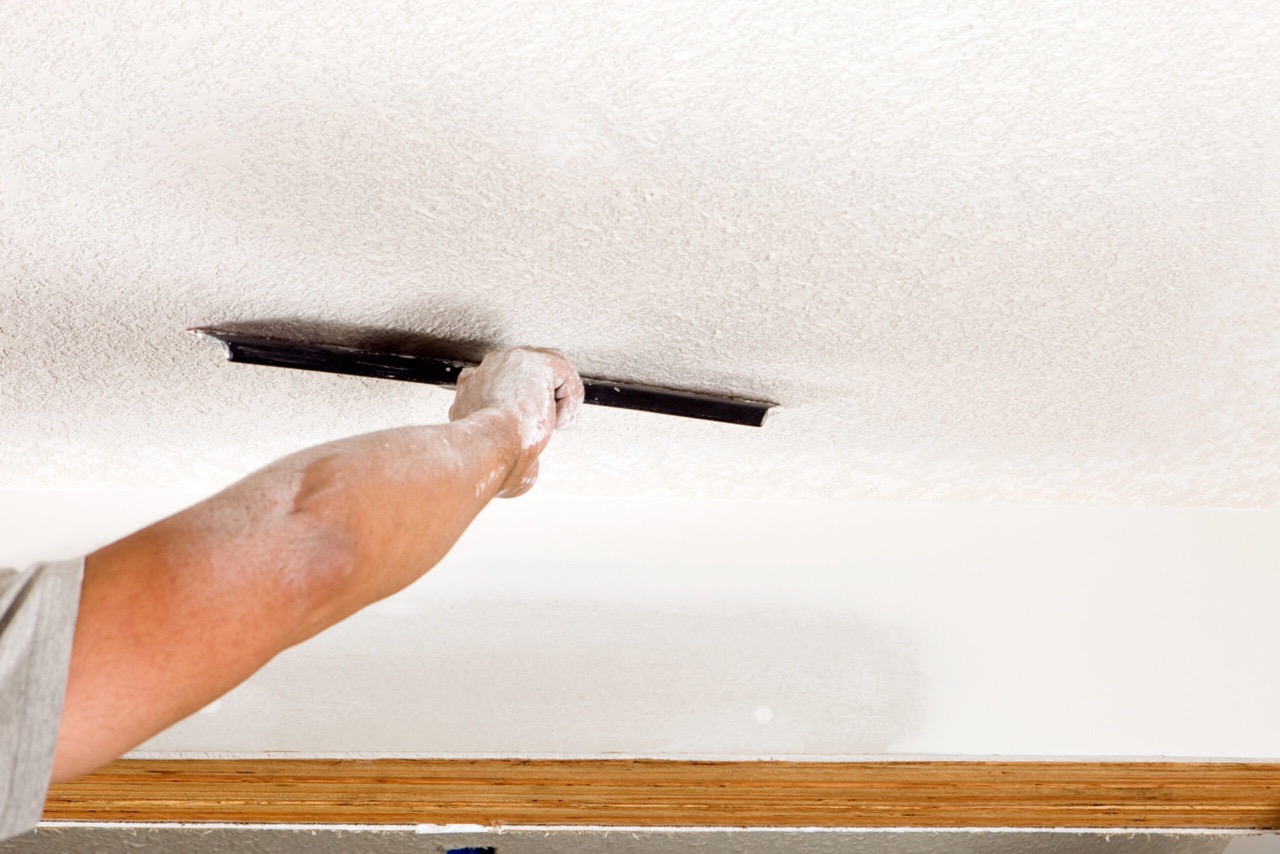
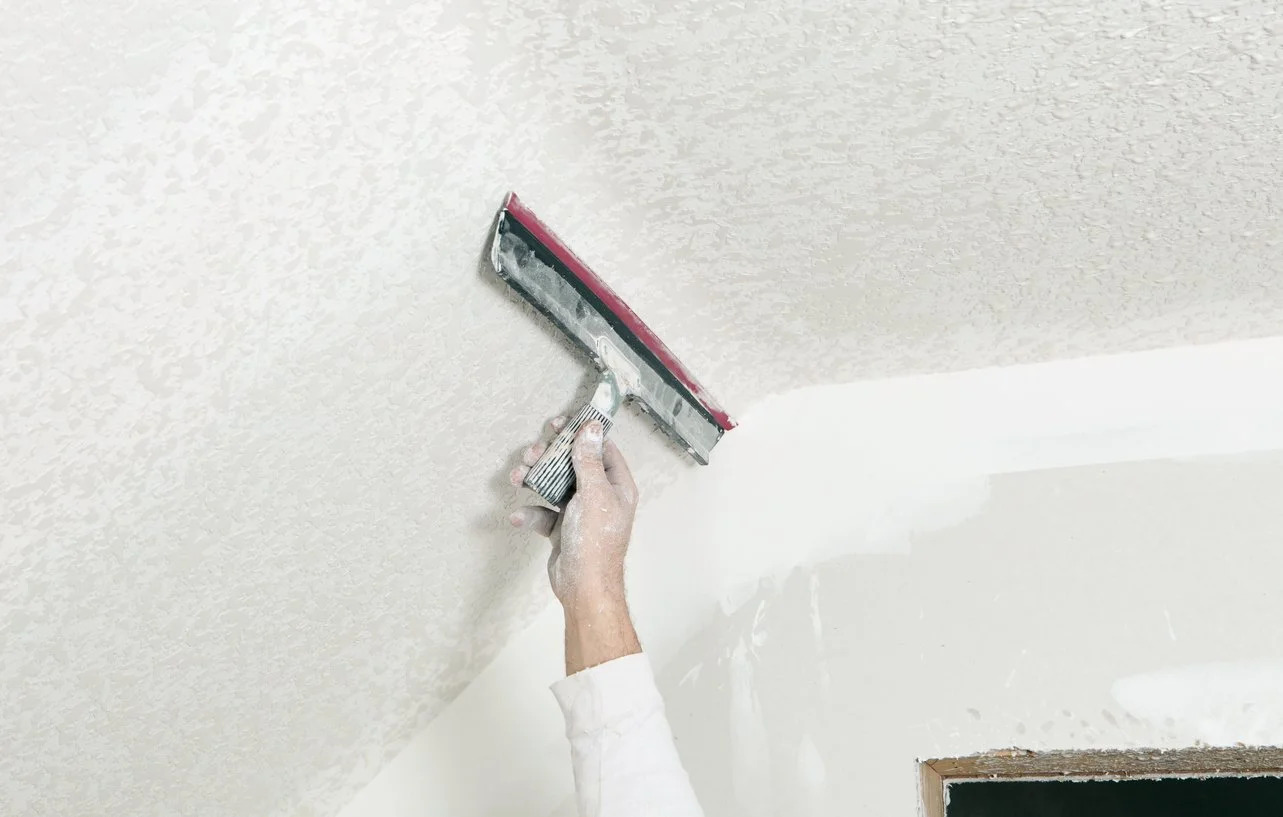
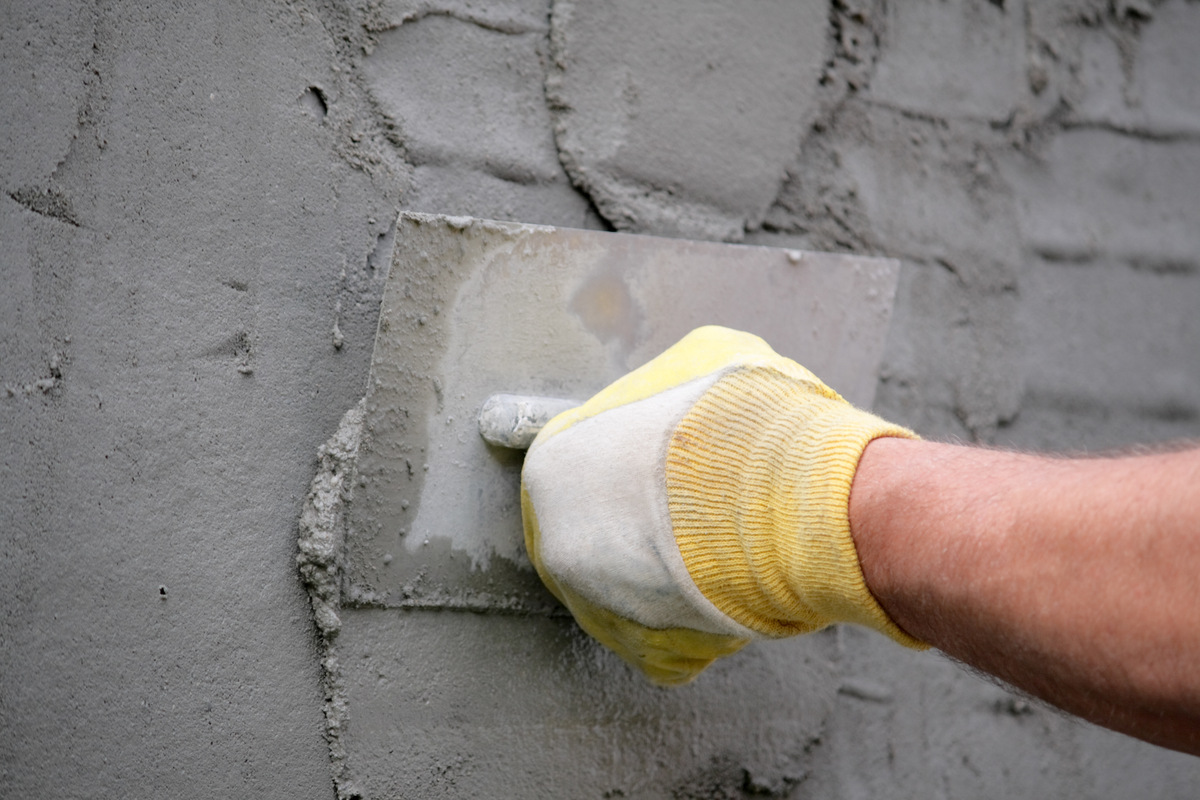
- Start in a corner: Begin applying the texture compound in a corner of the room. Use a trowel or putty knife to scoop up some of the compound and spread it evenly on the ceiling surface.
- Work in small sections: It’s best to work in small sections at a time to ensure that the texture compound doesn’t dry before you can create the desired texture pattern.
- Apply the compound in thin coats: Instead of applying a thick layer all at once, it’s better to apply thin coats of the texture compound. This will make it easier to control and manipulate the texture.
- Overlap the coats: As you move along the ceiling, overlap each coat of texture compound slightly with the previous one. This will create a seamless and consistent texture pattern.
- Use a random pattern: When applying the texture compound, use a random pattern to create a more natural and visually interesting texture. Avoid any repetitive or uniform patterns.
- Continue until the entire ceiling is covered: Repeat the process of applying the texture compound in thin coats and creating the desired texture pattern until the entire ceiling is covered.
Take breaks as needed and pace yourself to ensure a consistent and well-textured finish throughout the entire ceiling. Allow the texture compound to dry completely according to the manufacturer’s instructions before proceeding to the next step.
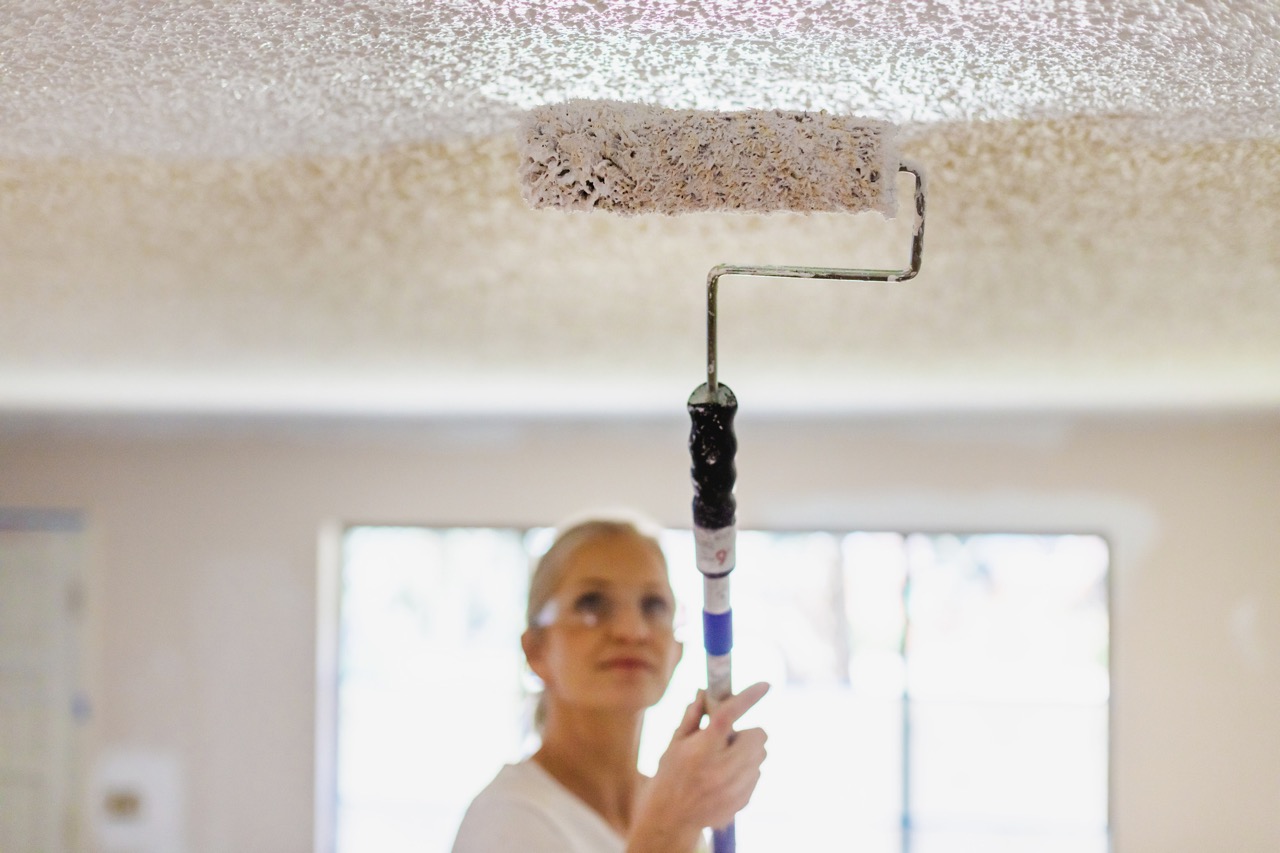
When applying texture to a ceiling, use a thick-nap roller to create a consistent and even texture. Work in small sections and blend the texture as you go for a seamless finish.
Step 3: Creating the Texture Pattern
Now that the texture compound has dried, it’s time to create the texture pattern on your ceiling. Follow these steps to achieve the desired effect:
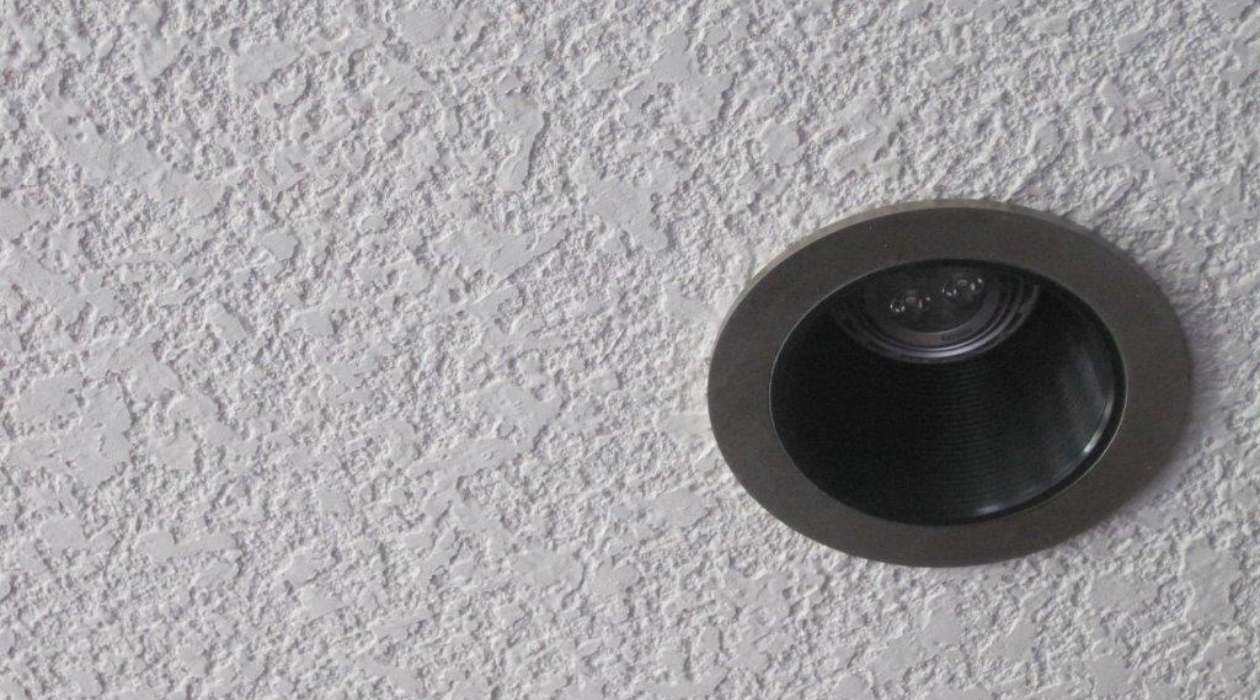
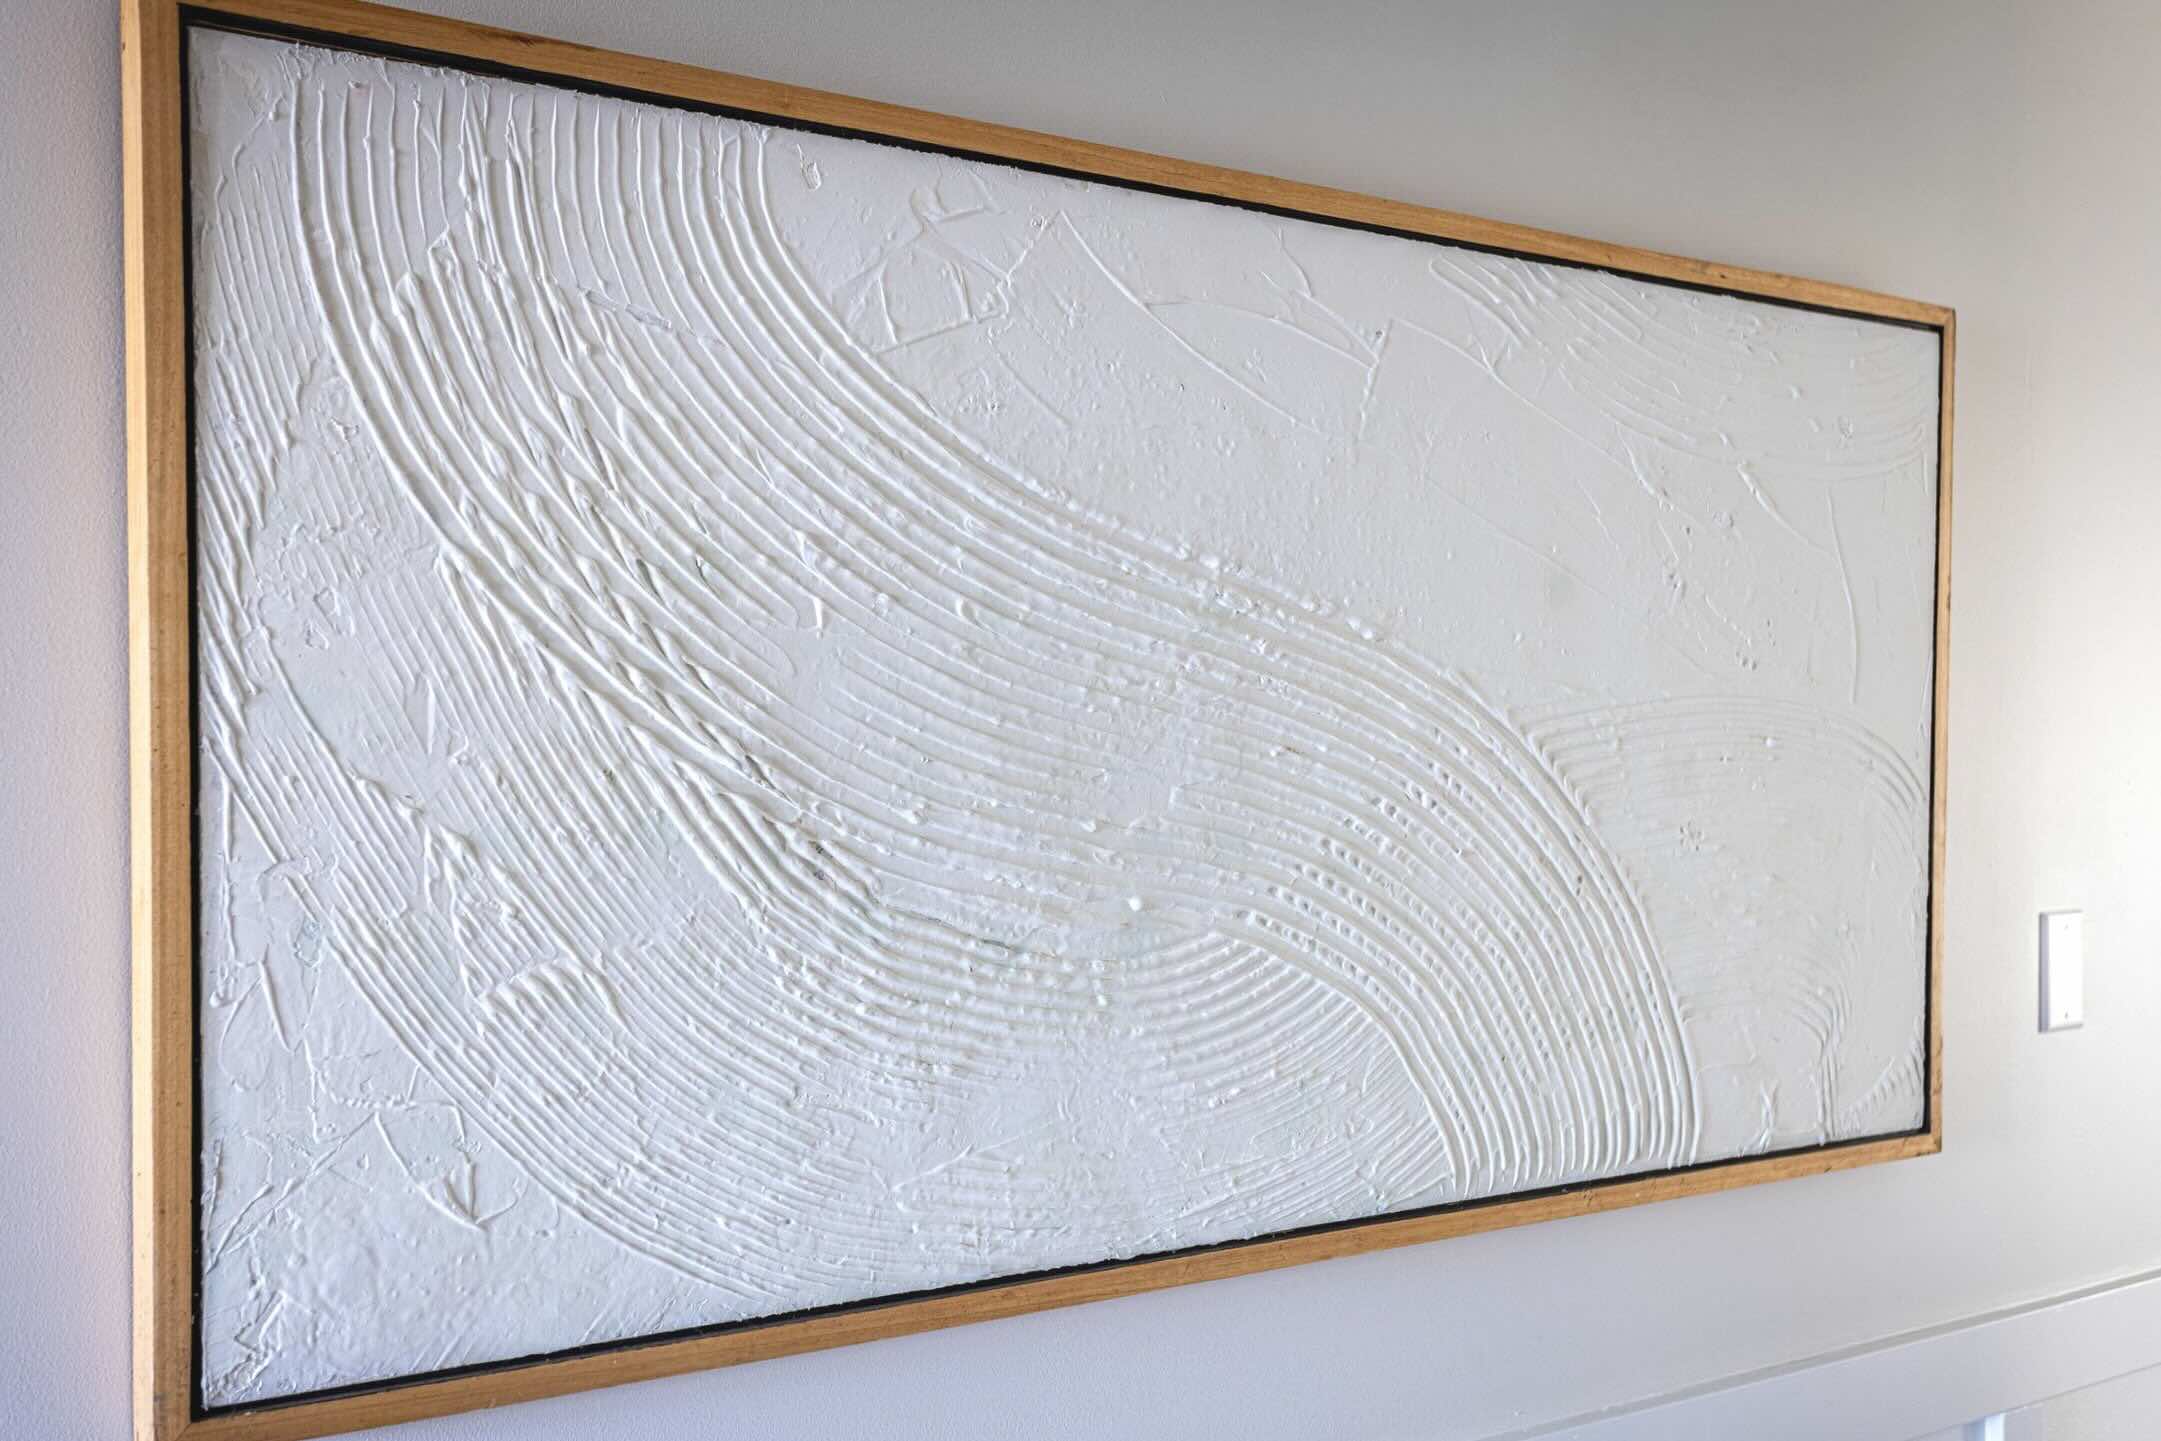
- Select your texture tool: Depending on the type of texture you want, you can use a texture roller or a texture brush. A texture roller will create a more uniform pattern, while a texture brush will create a more irregular and textured look.
- Load the texture tool: If you’re using a texture roller, pour some of the texture compound into a paint tray and dip the roller into it. If you’re using a texture brush, dip the brush into the texture compound.
- Test the pattern: Before applying the texture to the entire ceiling, it’s a good idea to test it on a small area or a scrap piece of cardboard to ensure you’re happy with the pattern and consistency.
- Apply the texture: Begin applying the texture to the ceiling, starting in the same corner where you began applying the texture compound. Roll or brush the texture tool over the surface, applying even pressure for consistent results.
- Work in small sections: Similar to applying the texture compound, it’s best to work in small sections at a time to ensure the texture doesn’t dry before you can create the desired pattern.
- Vary the pressure and technique: To create a more natural and varied texture, vary the pressure and technique as you apply the texture. This will prevent a uniform and repetitive look.
- Blend the sections: As you move along the ceiling, make sure to blend the sections together by overlapping the texture strokes slightly. This will create a seamless and cohesive texture pattern.
Continue applying the texture and creating the pattern until the entire ceiling is covered. Take breaks as needed and step back occasionally to evaluate the progress and make any necessary adjustments.
Read more: How To Texture A Ceiling
Step 4: Finishing Touches
With the texture pattern in place, it’s time to add the finishing touches to your textured ceiling. Here are some final steps to complete the project:
- Allow the texture to dry completely: Give the textured ceiling ample time to dry. This typically takes 24 to 48 hours, depending on the humidity and temperature in the room.
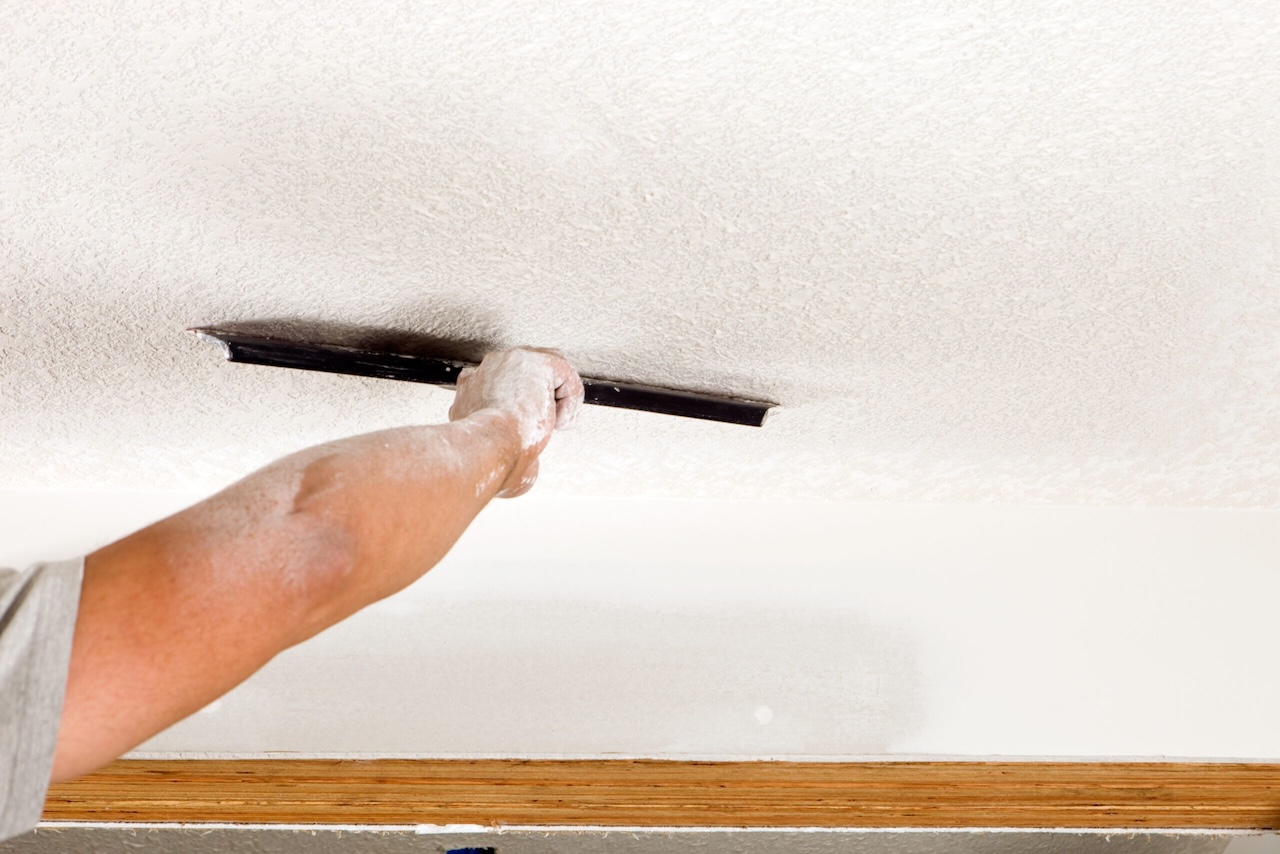
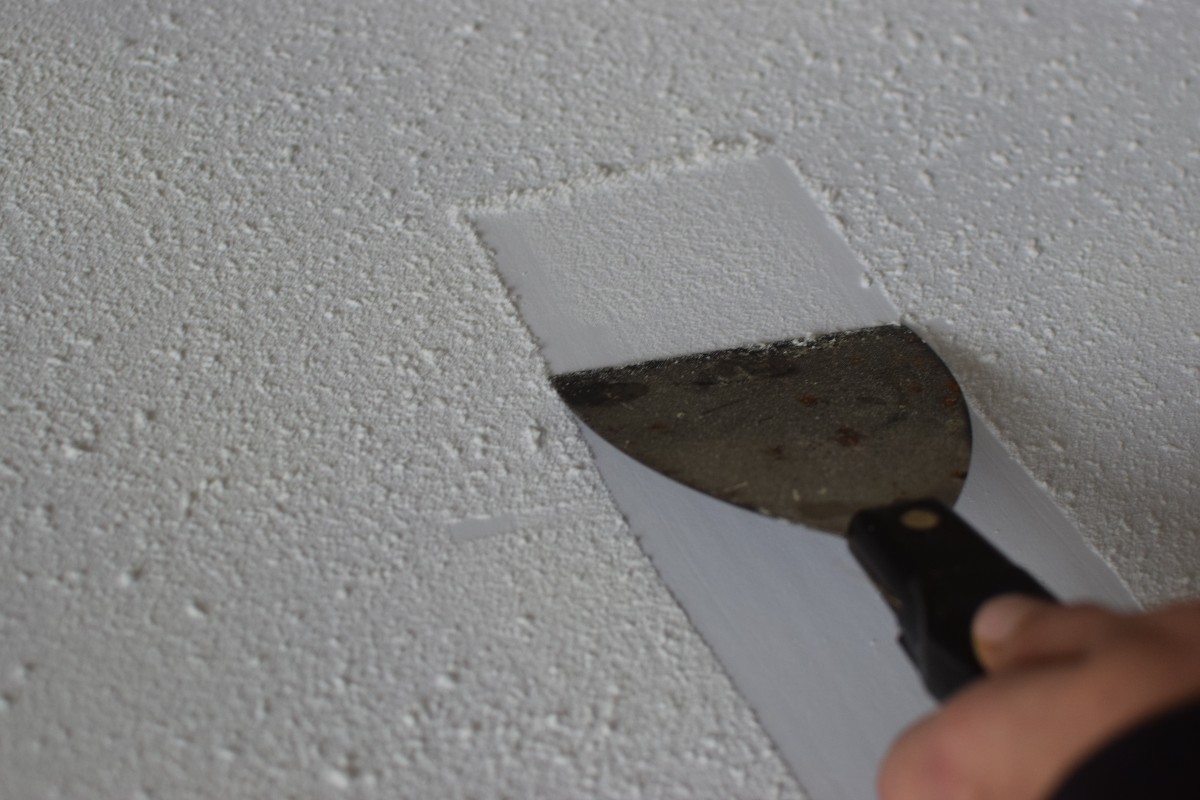
- Inspect for any touch-ups: Once the texture is fully dry, inspect the ceiling for any areas that may require touch-ups. Use a putty knife or sandpaper to smooth out any rough spots or imperfections.
- Prime the textured ceiling (optional): If you haven’t already applied a primer, you may choose to do so at this stage. Priming will provide a better base for paint and enhance the durability of the textured surface.
- Paint the textured ceiling (optional): If you want to add color to your textured ceiling, now is the time to paint. Use a roller or brush to apply paint evenly, ensuring complete coverage. Let the paint dry according to the manufacturer’s instructions.
- Clean up the area: Remove the drop cloths or plastic sheeting carefully, making sure not to disturb the freshly textured ceiling. Clean up any spilled or excess texture compound and dispose of it properly.
- Enjoy your newly textured ceiling: Step back and admire your handiwork! Your newly textured ceiling will add visual interest and personality to the room, while also camouflaging any flaws or imperfections.
Remember to clean your tools promptly after use to prolong their lifespan. With proper care, your textured ceiling will continue to enhance the aesthetic appeal of your space for years to come.
Conclusion
Creating a textured ceiling is a rewarding and relatively simple DIY project that can completely transform the look and feel of any room. By following the steps outlined in this guide and using the necessary materials, you can achieve a professionally textured ceiling that adds character and charm to your space.
Remember to take your time during each step of the process, from preparing the ceiling to applying the texture and creating the desired pattern. Pay attention to detail and make adjustments as needed to ensure a seamless and visually appealing result.
A textured ceiling not only adds aesthetic value but also serves as a clever way to hide imperfections and uneven surfaces. Whether you’re looking to disguise cracks or simply want to enhance the overall ambiance of a room, a textured ceiling can make a significant difference.
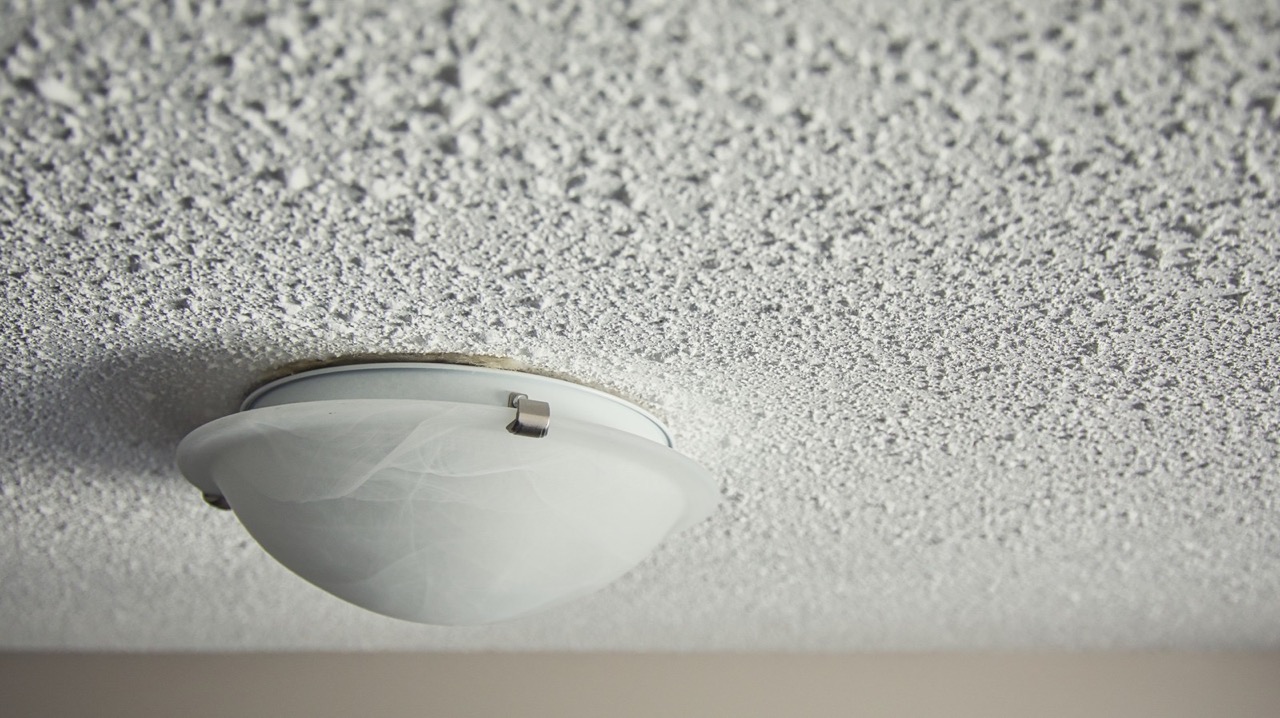
With the right tools and techniques, you can achieve a variety of texture patterns, from subtle and uniform finishes to bold and intricate designs. Experiment with different textures and patterns to find the one that best complements your personal style and the room’s decor.
Remember to wear appropriate safety gear, protect the surrounding area, and allow ample drying time for each stage of the process. And if you decide to paint your textured ceiling, choose a color that complements the overall aesthetic of the room.
So go ahead and add texture to your ceiling to elevate your space and create a visually interesting focal point. With a little time and effort, you’ll enjoy the benefits of a well-textured ceiling for years to come.
Frequently Asked Questions about How To Do A Textured Ceiling
Was this page helpful?
At Storables.com, we guarantee accurate and reliable information. Our content, validated by Expert Board Contributors, is crafted following stringent Editorial Policies. We're committed to providing you with well-researched, expert-backed insights for all your informational needs.



0 thoughts on “How To Do A Textured Ceiling”