Articles
What To Do When Ceiling Is Leaking
Modified: December 7, 2023
Learn helpful articles on what to do when your ceiling is leaking. Find step-by-step instructions and expert tips to fix the problem and prevent further damage.
(Many of the links in this article redirect to a specific reviewed product. Your purchase of these products through affiliate links helps to generate commission for Storables.com, at no extra cost. Learn more)
Introduction
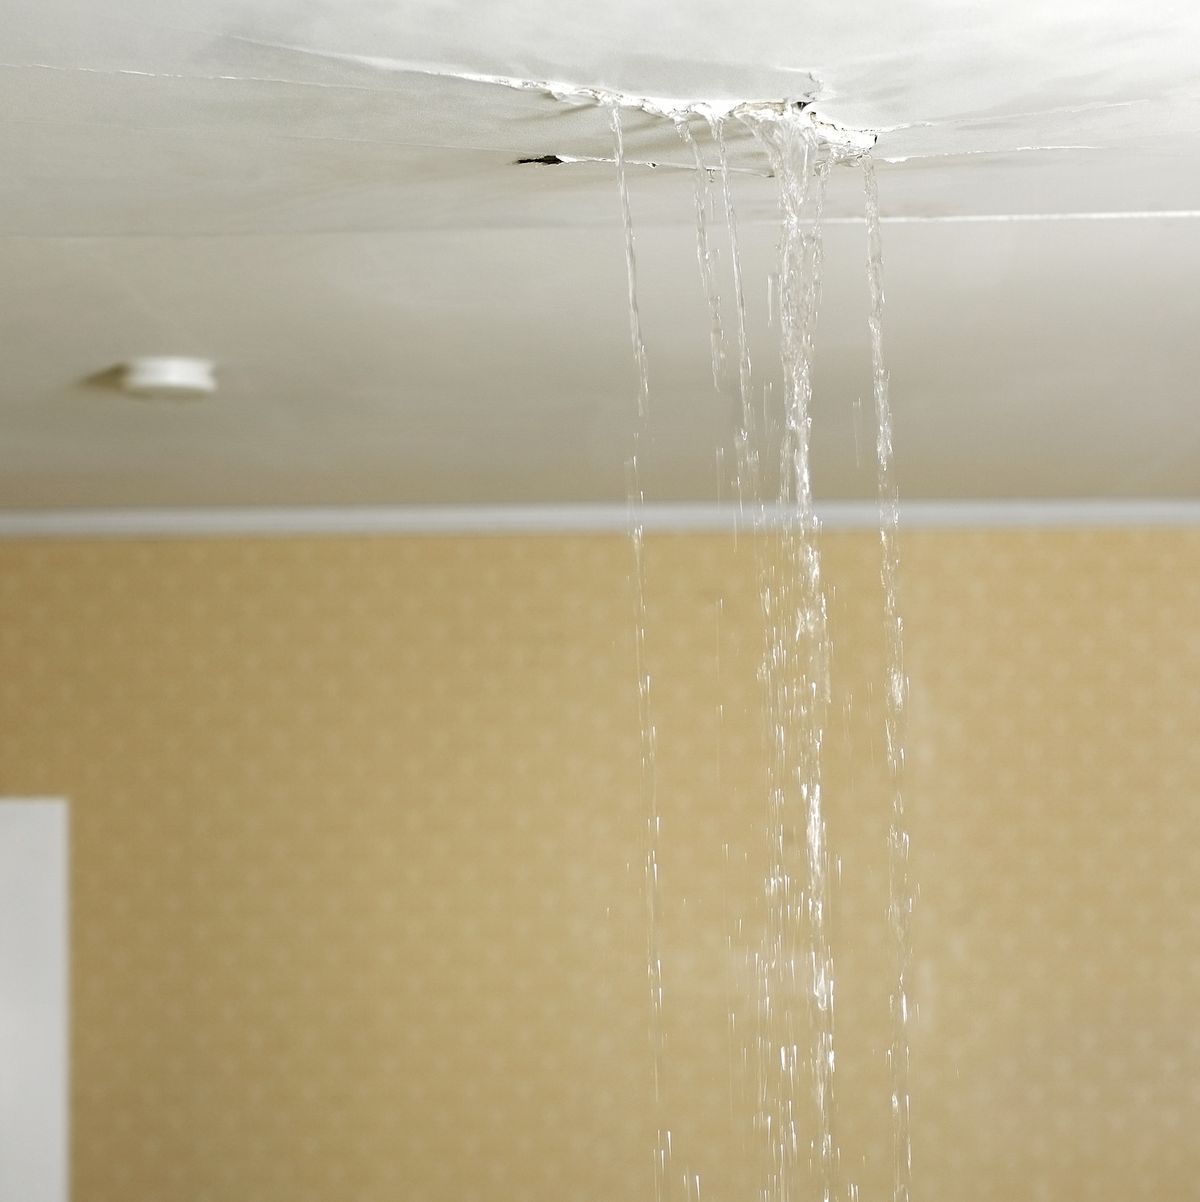
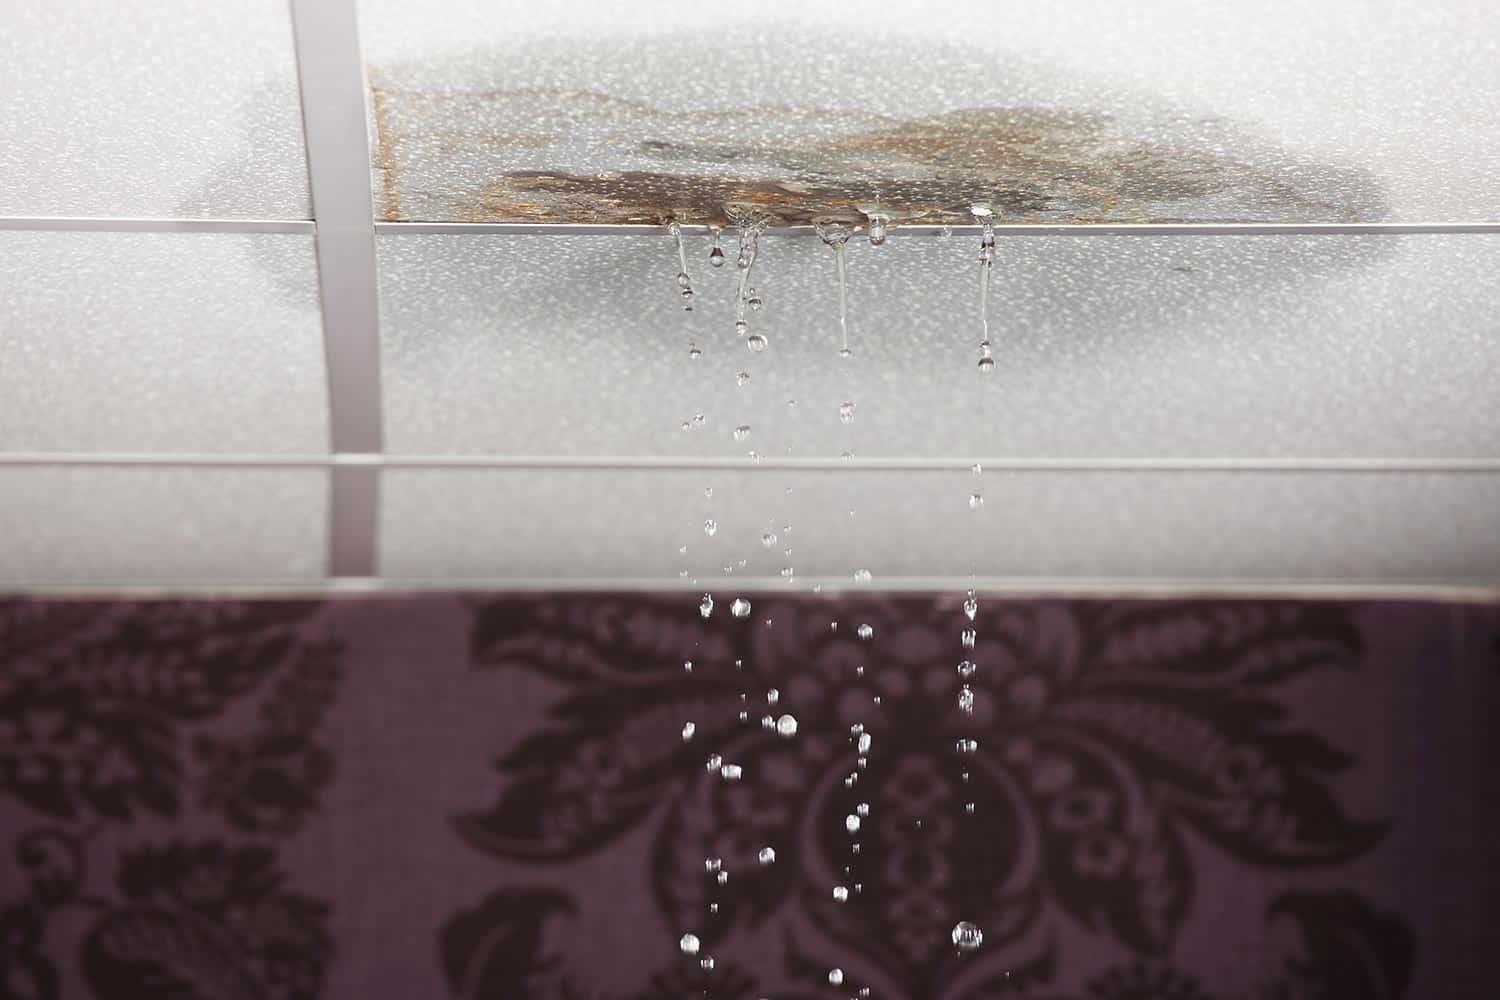
Discovering a leaking ceiling is never a pleasant experience. Whether it’s a slow drip or a steady stream of water, a ceiling leak can cause a great deal of stress and potential damage to your home. However, it’s important not to panic and take immediate action to mitigate the issue.
In this article, we will guide you through the steps to take when you encounter a leaking ceiling. From identifying the source of the leak to implementing temporary fixes and calling a professional, we will provide you with the knowledge and tools to handle this situation effectively.
Remember, prevention is key. So, we will also discuss how you can repair the ceiling and take measures to prevent future leaks.
Let’s dive in and learn what to do when your ceiling is leaking.
Key Takeaways:
- Identifying the source of a ceiling leak is crucial. Use visual inspection, water testing, and professional consultation to pinpoint the origin and prevent further damage.
- Prioritize safety, implement temporary fixes, and call a professional when dealing with a leaking ceiling. Repair and prevent future leaks to maintain a secure and dry home.
Read more: What To Do When Roof Is Leaking
Identifying the Source of the Leak
The first and most crucial step in addressing a ceiling leak is to identify the source of the problem. This will ensure that you apply the correct fix and prevent further damage to your ceiling.
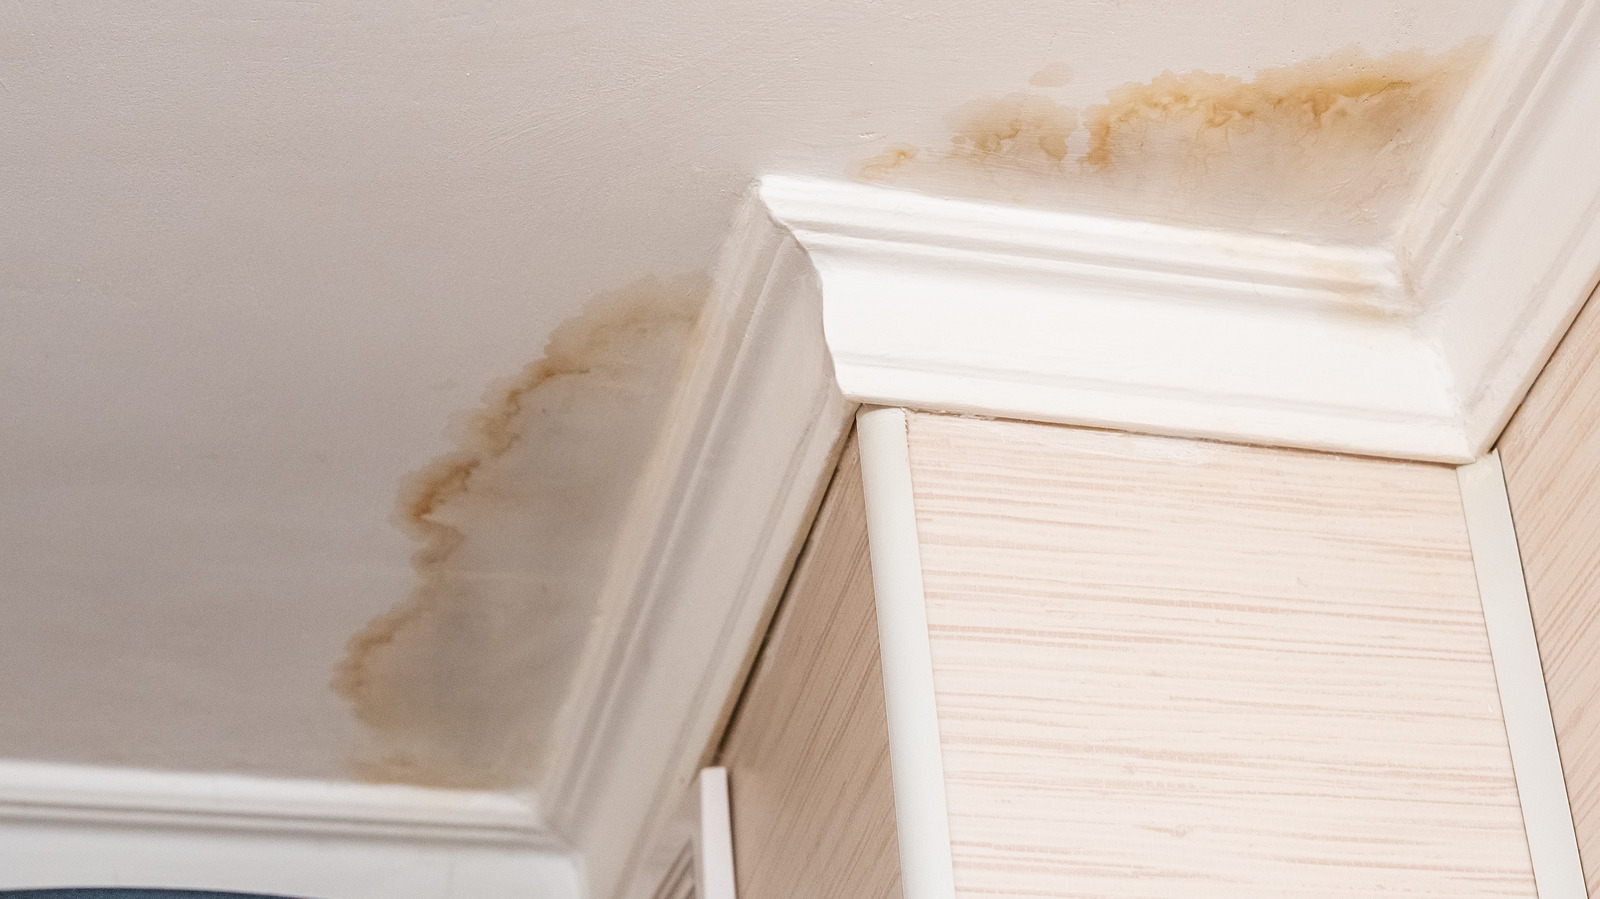
Start by visually inspecting the area where the water is dripping or accumulating. Look for any signs of water stains, discoloration, or dampness on the ceiling surface. Follow the trail of water to its origin, as it might not always be directly above the visible leak.
Common sources of ceiling leaks include:
- Roofing issues: Check for damaged or missing shingles, holes, or cracks in the roof.
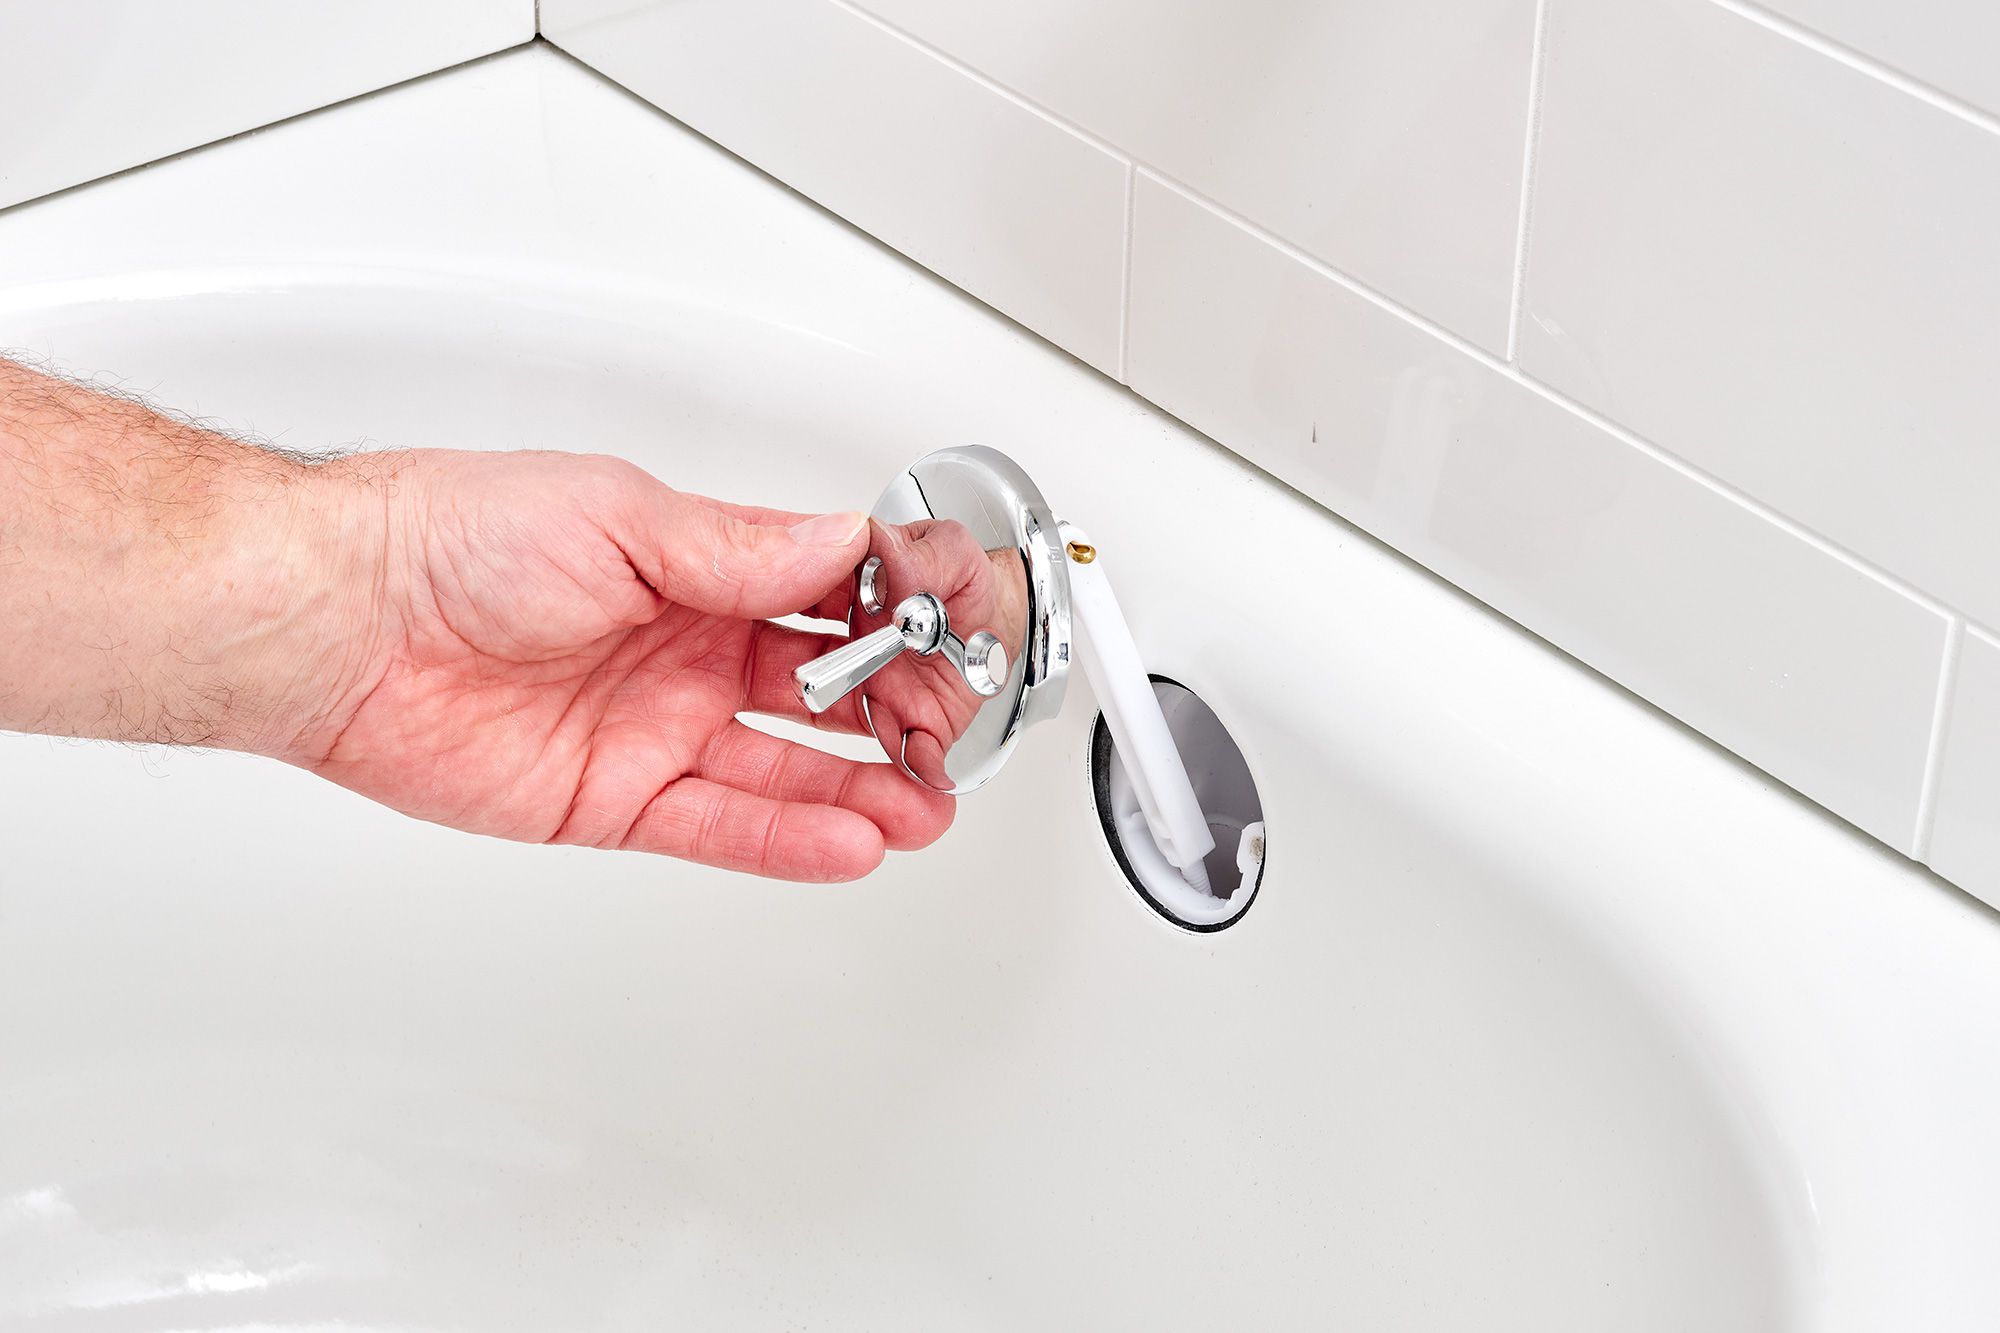
- Plumbing problems: Assess the plumbing systems above the leak, such as any pipes, drains, or fixtures.
- Condensation: Determine if the leak might be caused by condensation build-up, especially in areas like bathrooms or kitchens with inadequate ventilation.
If you’re unable to pinpoint the source of the leak visually, you may need to use additional methods. Here are a few techniques to help you identify the origin:
- Water testing: Use a hose or bucket to simulate rainfall and observe where the water enters your home.
- Infrared thermography: This technology can detect temperature differences behind walls and ceilings, indicating the presence of a leak.
- Consultation with professionals: If you’re unsure or unable to locate the source of the leak, it’s wise to consult a qualified plumber or roofing contractor for assistance.
Remember, safety should be a top priority during the identification process. Use caution when climbing ladders or accessing high areas of your home. If necessary, seek professional help to ensure your safety and accuracy in locating the leak.
Once you have successfully identified the source of the ceiling leak, you can move on to the next steps to resolve the issue.
Safety Precautions
Dealing with a leaking ceiling requires caution and attention to safety to protect yourself and your property. Here are some essential safety precautions to take when addressing a ceiling leak:
- Turn off the electricity: Water and electricity do not mix. Before attempting any repairs, make sure to turn off the electricity in the affected area to avoid the risk of electrocution.
- Wear protective gear: When inspecting the leak or performing temporary fixes, it’s advisable to wear protective gear such as gloves, goggles, and a mask. This will shield you from any potential waterborne contaminants or harmful substances.
- Maintain stability: Be careful when climbing ladders or accessing elevated areas. Ensure that the ladder or platform is stable and secure before stepping on it.
- Use proper tools: Make sure you have the right tools for the job, such as buckets, tarps, and mops, to handle the water and minimize further damage.
- Be cautious of structural integrity: If the leak is extensive or the ceiling shows signs of sagging or weakening, it may be unsafe to enter the area. In such cases, it’s important to evacuate and call a professional for assistance.
- Keep children and pets away: To avoid any accidents, keep children and pets away from the affected area until the issue has been resolved.
- Seek professional help if needed: If you’re uncertain about the severity of the leak or your ability to address it safely, it’s best to contact a professional contractor or plumber. They will have the necessary expertise and equipment to handle the situation safely and effectively.
Remember, your safety should always be the top priority. Don’t hesitate to seek assistance when needed.
Now that we’ve covered the safety precautions, let’s explore some temporary fixes you can implement to minimize damage while waiting for professional help or proceeding with repairs.
Temporary Fixes
When faced with a leaking ceiling, it’s important to take immediate action to minimize further damage while waiting for professional help or preparing for repairs. Here are some temporary fixes you can implement:
- Contain the water: Place buckets, pots, or any large containers under the leak to catch the dripping water. This will prevent it from spreading and causing additional damage.
- Create a drain: If the leak is steady, you can create a temporary drain using a small hole in the ceiling. Insert a screwdriver or a similar tool to create a hole. Place a bucket or a funnel beneath it to redirect the water flow.
- Use a tarp or plastic sheet: If the leaking area is large, cover the affected section of the ceiling with a tarp or a plastic sheet. This will help prevent water from spreading to other areas while protecting your belongings.
- Apply a temporary patch: If you can access the attic, place a bucket or a piece of plywood on top of the insulation to catch the water. This will divert the flow away from the ceiling and reduce the risk of further damage.
- Turn off the water: If the leak is caused by a plumbing issue, locate the shut-off valve for the affected area and turn off the water supply. This will stop the flow of water and prevent further leaking until a professional can address the problem.
- Use towels or rags: In case of small leaks or drips, place absorbent materials like towels or rags around the affected area to soak up the water and prevent it from spreading.
Remember, these temporary fixes are designed to provide immediate relief and prevent further damage. They are not long-term solutions, so it’s important to address the underlying issue as soon as possible.
Next, we will discuss when it’s appropriate to call a professional to assist with fixing the source of the leak and repairing the ceiling.
Locate the source of the leak and place a bucket underneath to catch the water. Then, contact a professional to repair the ceiling and address the underlying issue.
Calling a Professional
While temporary fixes can help manage a leaking ceiling in the short term, it’s crucial to call a professional to address the root cause of the problem and ensure a proper and lasting solution. Here are some situations when it’s appropriate to seek the assistance of a professional:
- Extensive damage: If the leak has caused significant damage to your ceiling or surrounding structures, it’s best to call a professional contractor or restoration specialist. They have the expertise and experience to assess the extent of the damage and provide the necessary repairs or restoration services.
- Roofing issues: If the source of the leak is determined to be a roofing problem, such as damaged or missing shingles, it’s advisable to contact a roofing professional. They can inspect and repair your roof to prevent future leaks and ensure its long-term integrity.
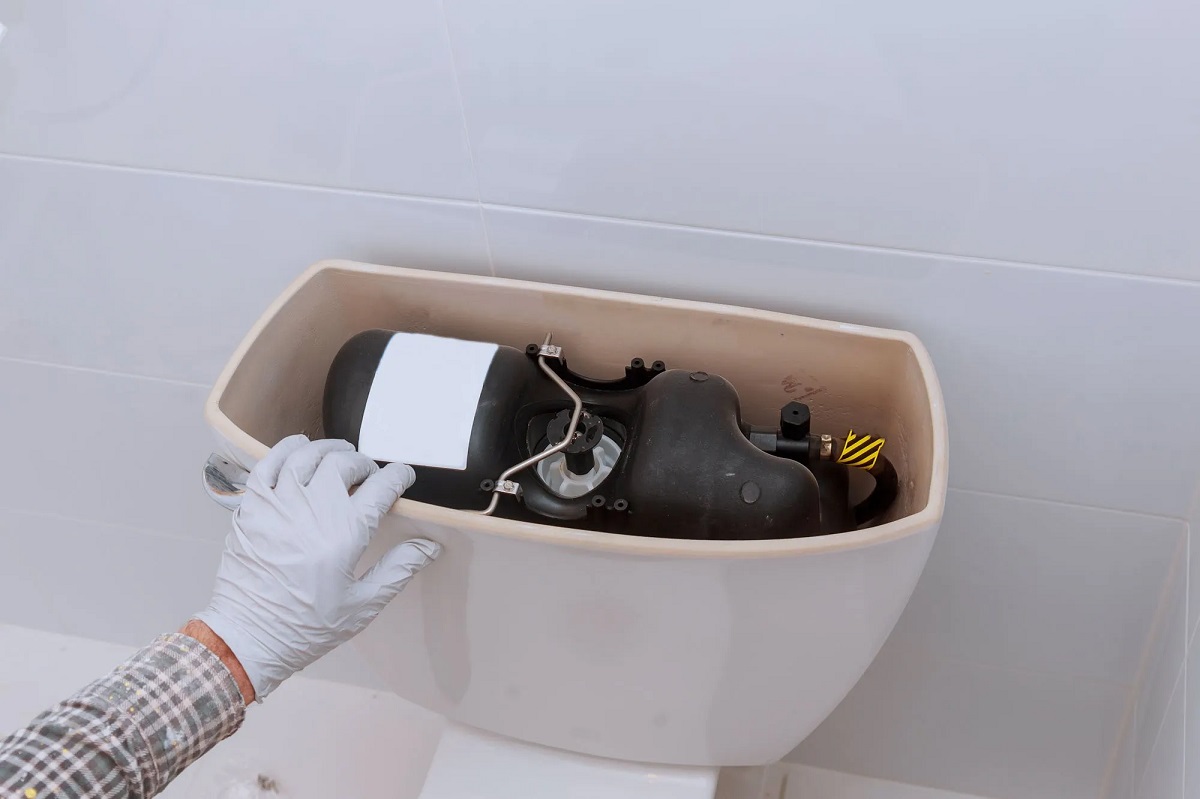
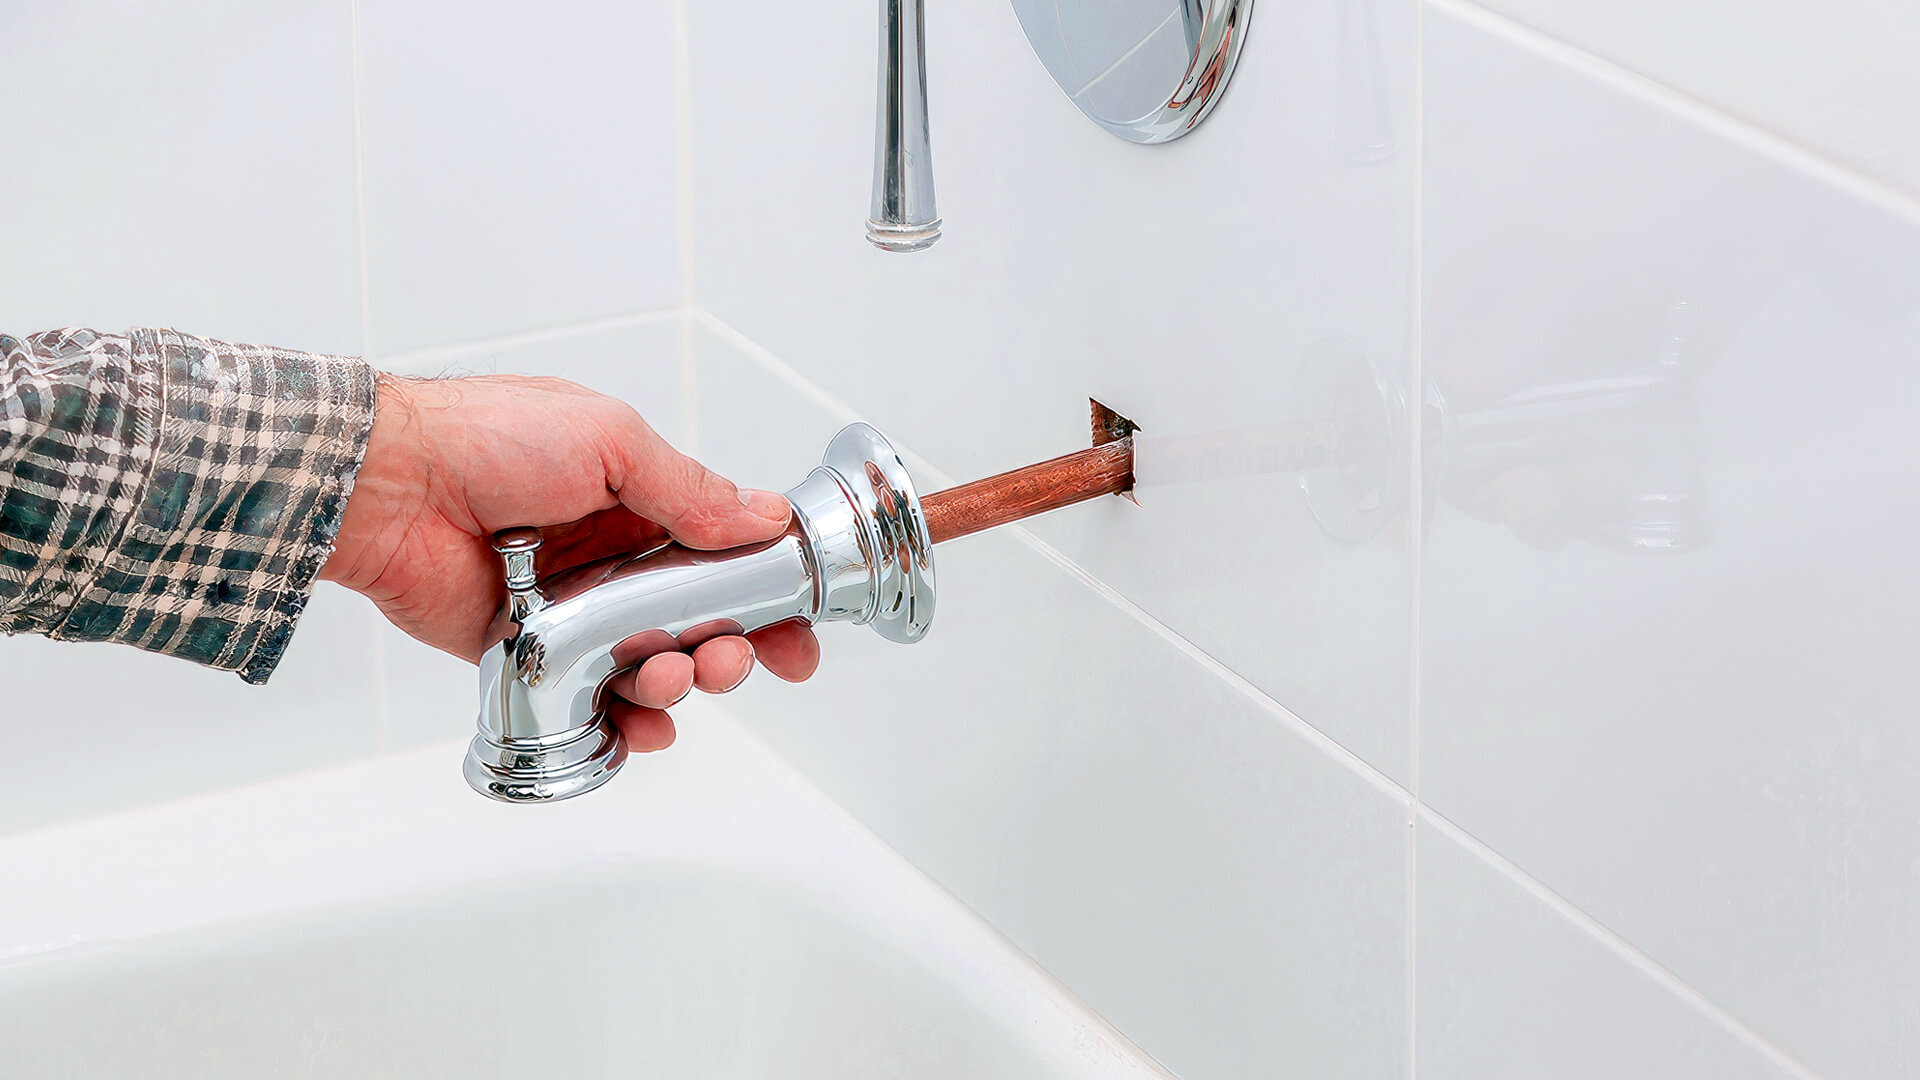
- Plumbing complications: If the leak is caused by plumbing issues, a licensed plumber should be called to assess and repair the problem. They have the knowledge and specialized equipment to diagnose and fix plumbing leaks efficiently.
- Safety concerns: If the leaking ceiling poses a safety hazard, such as sagging or weakened structures, it’s essential to evacuate the area and contact a professional immediately. They will have the necessary expertise to handle the situation safely and effectively.
- Lack of expertise: If you’re unsure about the source of the leak or lack the necessary knowledge and skills to fix it, it’s always best to consult a professional. They can accurately diagnose the issue and provide the appropriate repairs, saving you time, effort, and potential further damage.
Remember to research and choose a reputable professional with good reviews and credentials. Obtain multiple quotes if necessary and ask for references to ensure the quality of their work.
Now that you understand when to call a professional, let’s explore the next steps in repairing your ceiling.
Read more: Who To Call When Ceiling Is Leaking
Repairing the Ceiling
Once the source of the ceiling leak has been addressed and the area is dry, it’s time to repair the damage to restore the integrity and appearance of your ceiling. Here are the steps to follow when repairing a leaking ceiling:
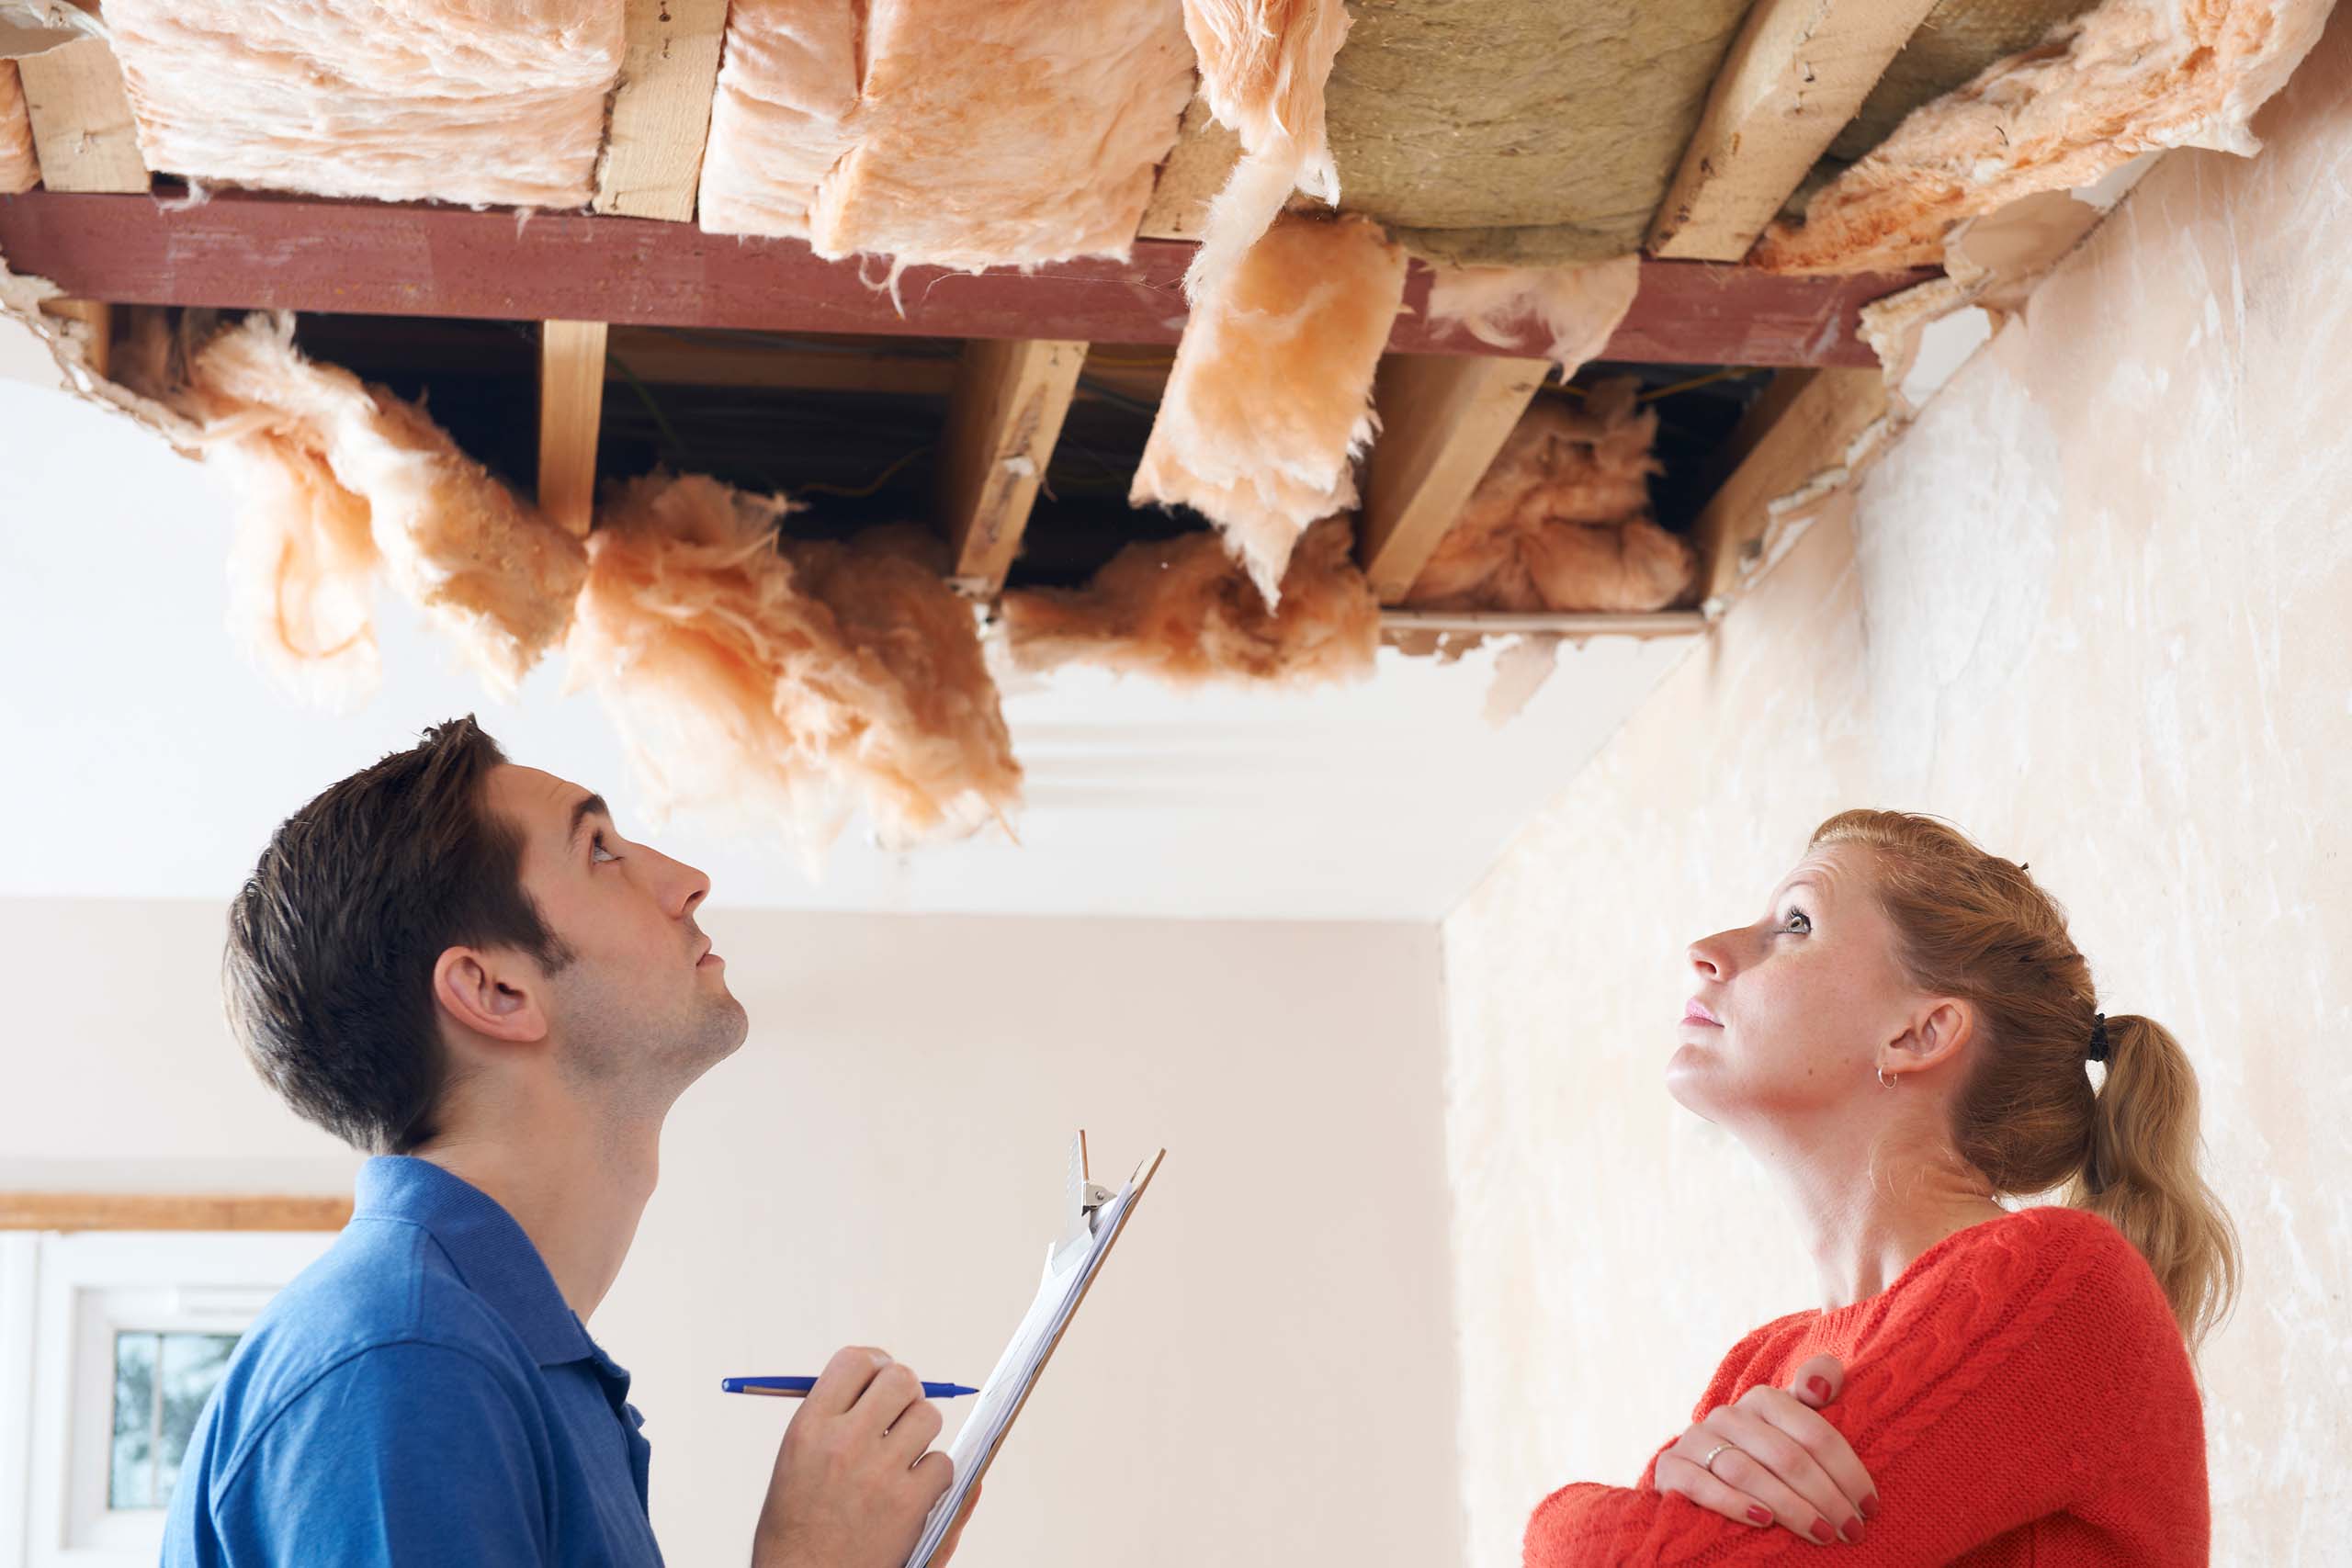
- Assess the damage: Carefully inspect the affected area to determine the extent of the damage. Look for any signs of water stains, peeling paint, or sagging drywall. This will help you determine the scope of the repair and the materials needed.
- Remove damaged materials: If the leak has caused significant damage to the ceiling, you may need to remove waterlogged or crumbling materials. Use a utility knife or a drywall saw to cut out the damaged portions of the ceiling, ensuring that the surrounding area is stable and intact.
- Dry and sanitize the area: Before proceeding with repairs, make sure the area is completely dry to prevent the growth of mold or mildew. Use fans or dehumidifiers to aid in the drying process. Additionally, sanitize the area with a mold-killing solution to ensure a clean and healthy environment.
- Replace or repair the ceiling: Depending on the extent of the damage, you may need to replace the entire section of the ceiling or patch it up. If you’re comfortable with DIY repairs, carefully follow the instructions for patching drywall or replacing ceiling tiles. However, if the damage is extensive or you lack the necessary skills, it’s best to hire a professional contractor for the job.
- Prime and paint: Once the repairs are complete and the new materials have been installed, apply a layer of primer to ensure good adhesion and then paint the ceiling to match the surrounding area. This will help restore the visual appeal of your ceiling and provide a finished look.
- Inspect for any remaining leaks: After the ceiling has been repaired, carefully monitor the area for any signs of recurring leaks. If you notice any water stains or dampness, it’s essential to address the issue promptly and seek professional help if necessary.
Remember, the process of repairing a ceiling can vary depending on the type of damage and materials used. If you’re unsure or uncomfortable with the repair process, it’s always best to consult a professional contractor or handyman.
Finally, let’s discuss some preventive measures you can take to avoid future ceiling leaks.
Preventing Future Leaks
After dealing with a leaking ceiling, it’s important to take proactive steps to prevent future leaks and protect your home. Here are some preventive measures you can implement:
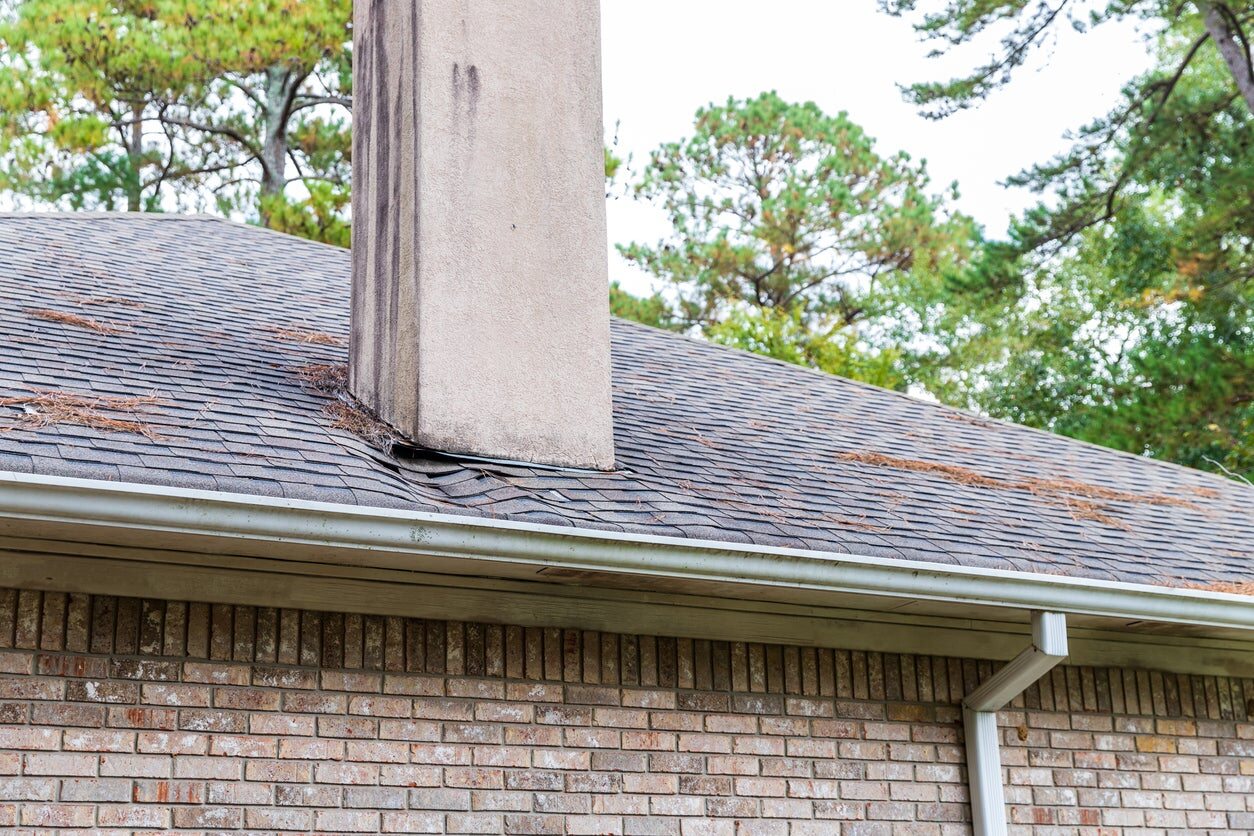
- Maintain your roof: Regularly inspect your roof for any signs of damage, such as cracked or missing shingles. Repair any issues promptly and consider scheduling periodic professional roof inspections to ensure its integrity.
- Clean and maintain gutters: Clogged gutters can cause water to overflow and seep into your home. Clean your gutters regularly and ensure they are free from debris. Consider installing gutter guards to prevent clogging.
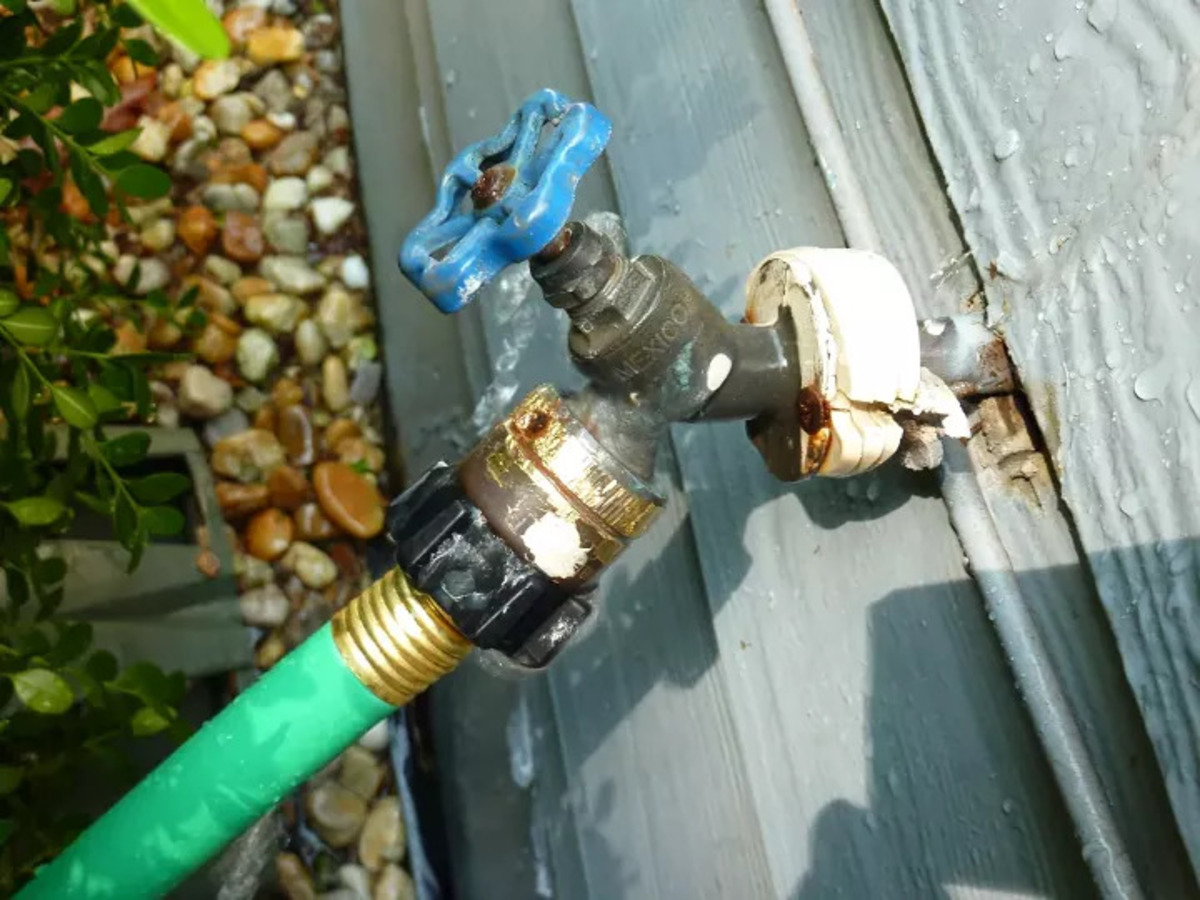
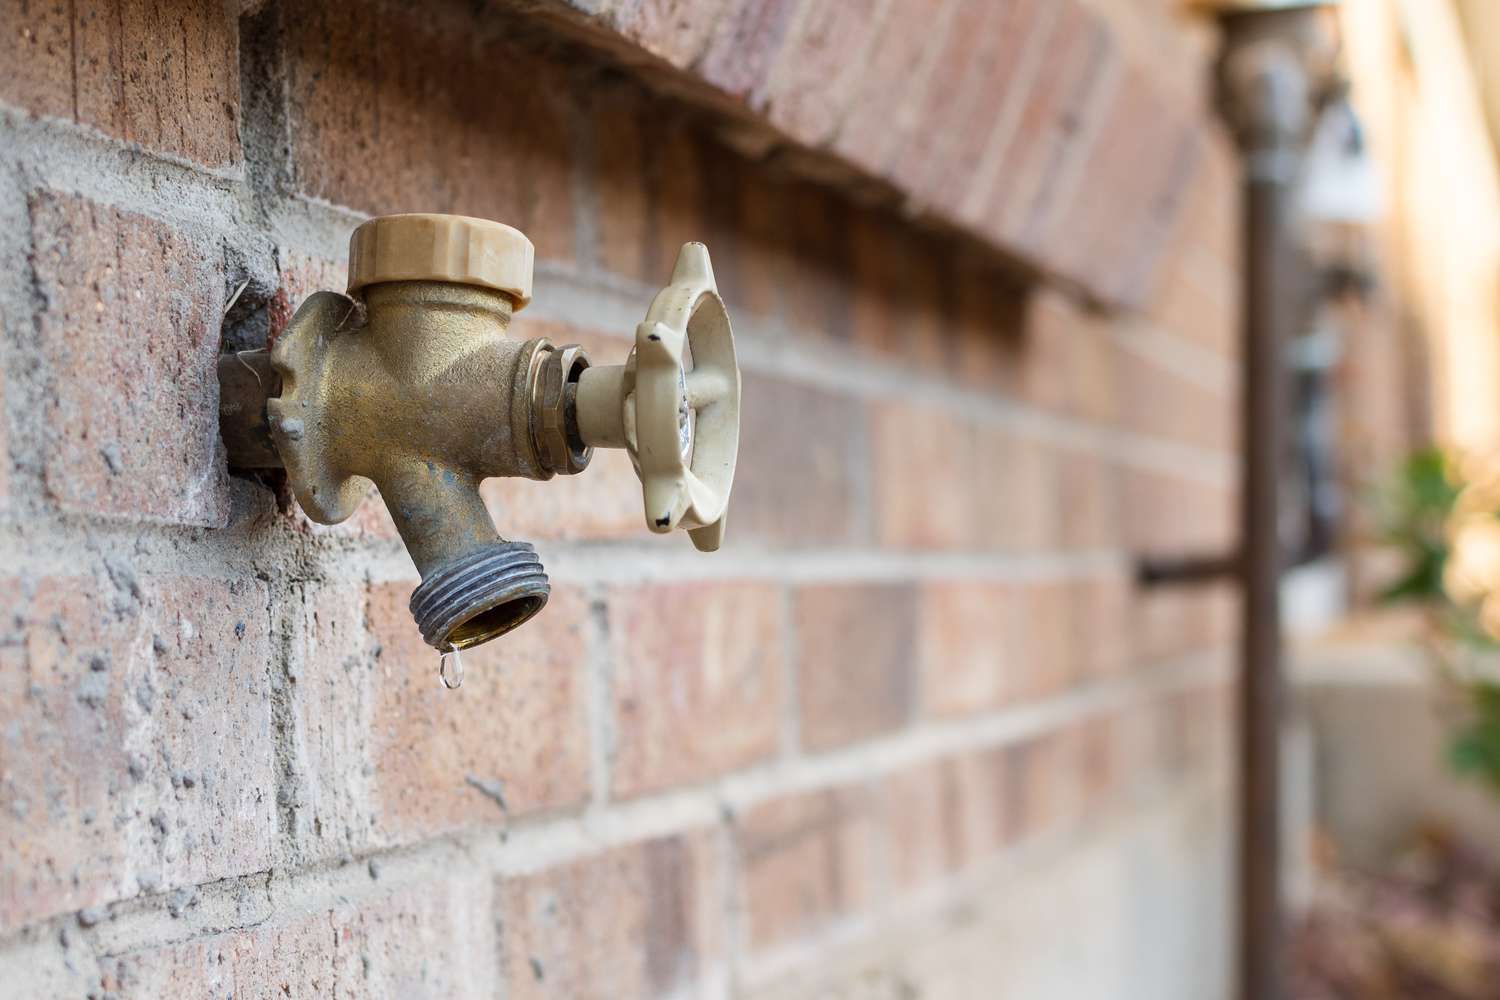
- Check for plumbing leaks: Routinely inspect your plumbing system for any leaks or drips. Repair any damaged pipes, faucets, or fixtures immediately to prevent water damage to your ceilings and walls.
- Improve ventilation: In areas prone to condensation, such as bathrooms and kitchens, ensure proper ventilation to reduce moisture buildup. Use exhaust fans, open windows, or install dehumidifiers to regulate humidity levels.
- Insulate pipes: Insulate exposed pipes to protect them from freezing during colder months. Frozen pipes can burst and cause significant water damage to ceilings and other parts of your home.
- Address attic leaks: Leaks in your attic can seep into your ceiling. Regularly inspect your attic for any signs of leaks, such as water stains or dampness, and repair them promptly.
- Monitor and maintain sprinkler systems: Ensure that sprinkler heads are directed away from your home’s exterior walls and windows to prevent water from seeping in. Regularly inspect and maintain your sprinkler system to prevent any leaks or malfunctions.
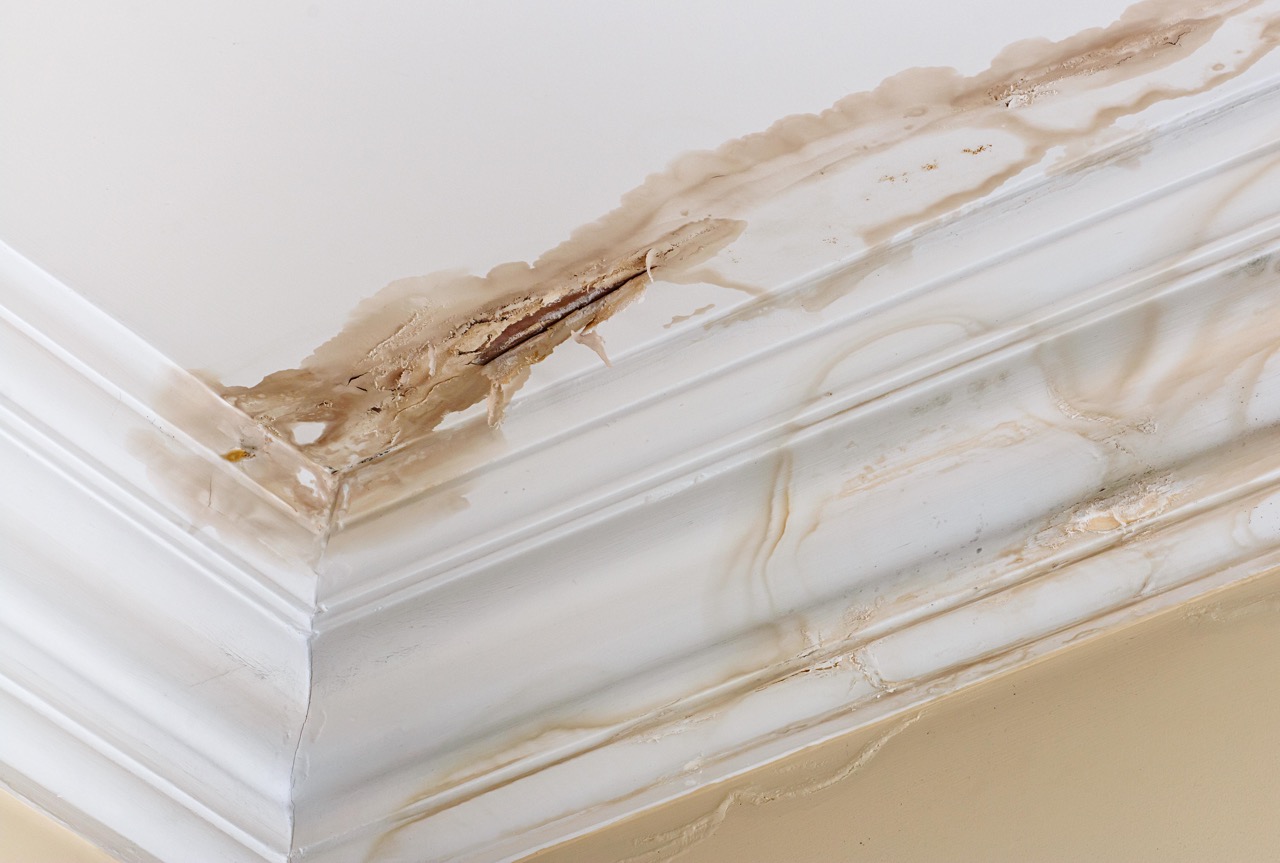
- Keep an eye on ceiling stains: Regularly inspect your ceilings for any signs of water stains, discoloration, or dampness. If you notice any changes, investigate and address the issue promptly to prevent further damage.
- Consider waterproof coatings: In areas prone to moisture, such as bathrooms and basements, consider applying waterproof coatings to the walls and ceilings to provide an extra layer of protection against leaks.
- Stay proactive: Regularly maintain your home, fix any minor issues promptly, and keep an eye out for potential signs of leaks. Prevention and early detection are key to avoiding major problems in the future.
By implementing these preventive measures, you can significantly reduce the risk of future ceiling leaks and ensure the long-term health and durability of your home.
Now you have a comprehensive understanding of what to do when your ceiling is leaking. Remember to stay calm, take immediate action, and if needed, seek professional help to address the issue effectively.
For any significant or complex leaks, it’s always best to consult a professional contractor or plumber to ensure the problem is fixed properly. With proper care and preventive measures, you can maintain a dry and secure home for years to come.
Stay proactive, and may your ceilings remain leak-free!
Conclusion
Dealing with a leaking ceiling can be a stressful experience, but by following the right steps, you can effectively address the issue and prevent further damage. From identifying the source of the leak to implementing temporary fixes and calling in professionals, you now have the knowledge to handle a leaking ceiling with confidence.
Remember to prioritize safety throughout the process. Wear protective gear, turn off electricity, and be cautious of structural integrity. If the situation requires it, don’t hesitate to seek professional assistance to ensure the job is done correctly and safely.
Temporary fixes can help minimize damage while awaiting professional help or repairs. Use buckets, create drains, and cover affected areas with tarps or plastic sheets to prevent further water spread. However, these temporary fixes are not long-term solutions, and it’s essential to address the underlying issue promptly.
When it comes to repairing the ceiling, assess the damage, remove damaged materials, dry and sanitize the area, and then proceed with necessary repairs or replacements. Prime and paint the repaired section to restore its appearance. Alternatively, call a professional contractor if you’re uncomfortable with DIY repairs or if the damage is extensive.
Preventing future leaks is crucial to maintaining a leak-free home. Regularly maintain your roof, clean gutters, check for plumbing leaks, improve ventilation, and insulate pipes. Regular inspections and prompt repairs are key to avoiding major issues down the line.
By taking proactive measures and staying vigilant, you can minimize the risk of future leaks and preserve the integrity of your home. Remember, prevention is the best solution to avoid the headaches and expenses associated with a leaking ceiling.
Stay calm, act swiftly, and prioritize safety. With the knowledge gained from this article, you are now equipped to handle a leaking ceiling effectively and ensure the long-term health and durability of your home. Here’s to dry ceilings and a leak-free future!
Frequently Asked Questions about What To Do When Ceiling Is Leaking
Was this page helpful?
At Storables.com, we guarantee accurate and reliable information. Our content, validated by Expert Board Contributors, is crafted following stringent Editorial Policies. We're committed to providing you with well-researched, expert-backed insights for all your informational needs.


0 thoughts on “What To Do When Ceiling Is Leaking”