Articles
What To Put In Top Of Tool Chest
Modified: September 1, 2024
Discover the essential articles to include in the top of your tool chest. Find out what tools and accessories will help you stay organized and efficient.
(Many of the links in this article redirect to a specific reviewed product. Your purchase of these products through affiliate links helps to generate commission for Storables.com, at no extra cost. Learn more)
Introduction
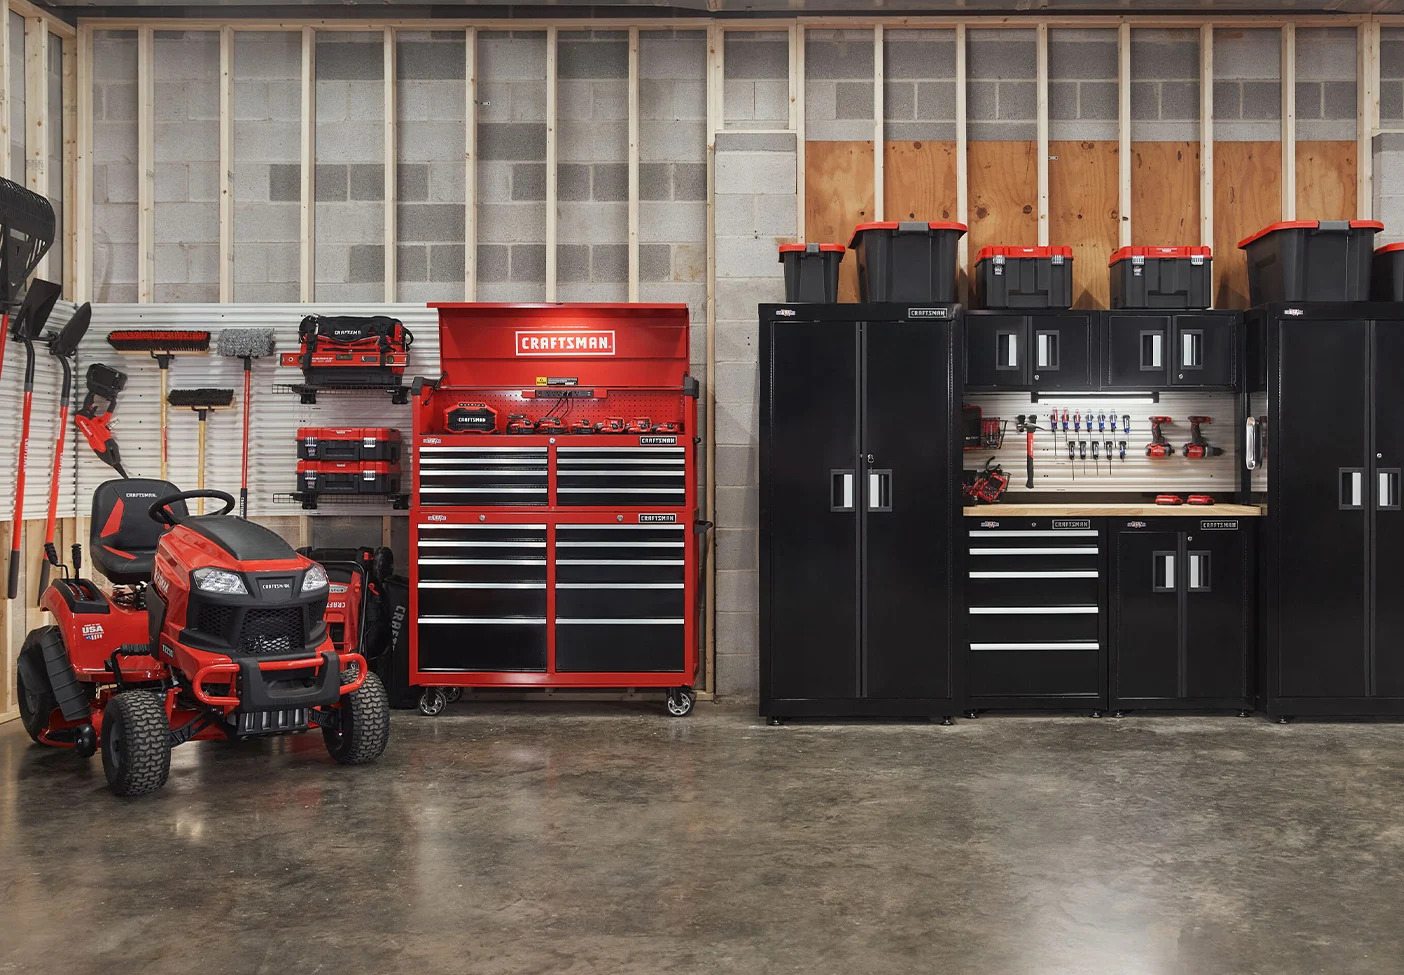
A tool chest is an essential storage solution for any handyman, mechanic, or DIY enthusiast. It provides a convenient and organized space to store and access tools, equipment, and supplies. While the drawers and compartments of a tool chest are essential for keeping everything in order, the top of the chest can also serve a crucial purpose. The top of a tool chest can be used to hold frequently used tools, provide a work surface, or even act as additional storage space.
Choosing what to put on top of your tool chest requires some careful consideration. You want to ensure that the items you place there are easily accessible, organized, and essential for your projects. Additionally, safety should always be a priority, so incorporating safety equipment and personal protective gear is crucial.
In this article, we will explore some key considerations when deciding what to put on top of your tool chest. We will also discuss essential tools and items, accessibility and organization tips, the importance of safety equipment and personal protective gear, as well as specialty tools and frequently used items. Lastly, we will provide some insider tips for maximizing the space on top of your tool chest.
Key Takeaways:
- Carefully selecting and organizing essential tools, safety equipment, and personal protective gear on top of your tool chest creates a functional and efficient workspace, enhancing workflow and productivity.
- Maximizing space on top of your tool chest through vertical storage, modular accessories, and efficient organization optimizes the workspace, making projects more enjoyable and saving time.
Read more: How To Put Wheels On A Craftsman Tool Chest
Considerations for the Top of a Tool Chest
When deciding what to put on top of your tool chest, there are several factors to consider. The top of your tool chest should serve a practical purpose and enhance your workflow. Here are a few key considerations:
- Functionality: The items you place on top of your tool chest should serve a functional purpose. Consider what tools or equipment you frequently use and need to have readily accessible. For example, if you often work with a cordless drill, having a charging station on top of your tool chest can be a convenient solution.
- Weight: It’s important to keep in mind the weight limitations of the top of your tool chest. While it can provide additional storage space, placing heavy items on top can potentially damage the chest or make it difficult to open and close the drawers. Prioritize lightweight tools and equipment on the top surface.
- Modularity: If you have a tool chest with a modular design, consider utilizing accessories such as a pegboard or magnetic strip that can be attached to the top. These accessories can provide extra storage for frequently used tools, keeping them within arm’s reach.
- Ease of access: The items placed on top of your tool chest should be easily accessible. Think about the flow of your work and position the most frequently used tools within easy reach. This will help save time and improve efficiency during your projects.
- Organization: Keep your top surface organized to avoid clutter and maximize your workspace. Utilize tool trays, dividers, or containers to group similar tools together and prevent them from rolling off the chest. Additionally, labeling the storage compartments can help you quickly locate specific items.
- Flexibility: Consider the potential need for flexibility when choosing what to put on top of your tool chest. Depending on the project or task at hand, you may need to rearrange the items or temporarily repurpose the top surface to accommodate different tools or equipment.
By considering these factors or discussing with others in the same field, you can make informed decisions about what to put on top of your tool chest. This will help you create a functional and efficient workspace that meets your specific needs.
Essential Tools and Items
When it comes to the top of your tool chest, it’s important to have a selection of essential tools and items that you use most frequently. These tools should be easily accessible, making your work more efficient. Here are some essential tools and items to consider placing on top of your tool chest:
- Screwdrivers: Having a set of screwdrivers with various sizes and types can be incredibly useful for a wide range of tasks. Keep them organized in a tool tray or magnetic holder.
- Pliers: Pliers are versatile tools that can be used for gripping, twisting, and cutting wire. Consider having a set of different types, such as needle-nose pliers, side-cutting pliers, and adjustable wrench pliers.
- Measuring Tape: A measuring tape is a must-have tool for accurate measurements during carpentry, repairs, or any project that requires precise dimensions. Keep a retractable measuring tape handy on top of your tool chest.
- Utility Knife: A utility knife is essential for cutting various materials, such as cardboard, carpet, or packaging. Make sure to have extra blades stored safely on top of your chest.
- Hammer: A solid hammer is indispensable for tasks such as driving nails, removing nails, or light demolition work. Choose a hammer with a comfortable grip and keep it easily accessible.
- Flashlight: A reliable flashlight is an essential item, especially when working in dimly lit areas or during power outages. Consider having a small, handheld LED flashlight on top of your tool chest.
- Safety Glasses: Safety glasses protect your eyes from flying debris, dust, and other hazards while working. Have a pair of safety glasses readily available on top of your tool chest to prioritize eye protection.
- Gloves: Work gloves provide hand protection and improve grip when handling tools or materials. Keep a pair of durable work gloves nearby to ensure hand safety during your projects.
- Small Parts Organizers: These organizers are perfect for storing and organizing small screws, nuts, bolts, and other hardware. Choose organizers with multiple compartments and keep them on top of your tool chest for easy access to small parts.
- Notebook and Pen: Always have a notebook and pen handy for taking notes, making measurements, and jotting down ideas while working on your projects. Keep them within reach to record important information.
By including these essential tools and items on top of your tool chest, you can ensure that you have the necessary equipment readily available for most of your everyday tasks. This will save you time and make your work more efficient.
Accessibility and Organization
Ensuring that your tools and items are easily accessible and well-organized on top of your tool chest is crucial for a smooth workflow. Here are some tips to improve accessibility and organization:
- Tool Trays or Magnetic Strips: Invest in tool trays or magnetic strips that can be attached to the top of your tool chest. These organizers provide a designated space for frequently used hand tools such as screwdrivers, pliers, and wrenches. Having them within easy reach eliminates the need to rummage through drawers.
- Dividers and Containers: Utilize dividers or containers to keep similar tools or items grouped together. This prevents them from rolling off the surface or getting mixed up. Label the compartments to quickly locate specific tools or parts.
- Shadow Foam or Foam Inserts: Consider using shadow foam or foam inserts to create custom tool cutouts on top of your tool chest. This not only keeps tools secure but also provides a visual indicator if any tools are missing or misplaced.
- Holders or Hooks: Install holders or hooks on the sides of your tool chest to hang larger tools or equipment. This helps to free up valuable workspace on top and keeps them easily accessible.
- Clear Storage Containers: Transparent storage containers are ideal for organizing smaller items like screws, nuts, and washers. They allow you to quickly identify the contents without opening each container, saving time and effort.
- Color-Coded System: Implement a color-coded system to categorize your tools and items. Assign a specific color to different tool categories or project types. This visual cue helps to locate tools swiftly and promotes organization.
- Arrange by Frequency of Use: Place the most frequently used tools and items within easy reach. Consider the tasks you perform most often and position the corresponding tools close to your workstation, reducing unnecessary movement.
- Regular Maintenance: Regularly clean and organize the top of your tool chest to prevent clutter buildup. Take a few minutes each week to ensure everything is in its designated place and remove any unnecessary items.
- Tool Chest Cover: If your tool chest is not in constant use, consider investing in a tool chest cover. This helps to protect the top surface from dust, debris, and potential damage, keeping your tools clean and ready for use.
By implementing these accessibility and organization strategies, you will save time searching for tools, keep your workspace tidy, and ultimately enhance your productivity. Take the time to set up your tool chest in a way that suits your workflow and personal preferences.
Safety Equipment
When working with tools and equipment, safety should always be a top priority. Placing safety equipment on top of your tool chest ensures that they are easily accessible and serves as a reminder to prioritize your well-being. Here are some essential safety equipment items to consider:
- Safety Glasses: Protect your eyes from flying debris, dust, and other hazards by having a pair of safety glasses readily available. Choose a durable and comfortable pair that provides adequate coverage.
- Hearing Protection: Long exposure to loud noises can damage your hearing. Keep a pair of earplugs or earmuffs on top of your tool chest to protect your hearing during noisy tasks such as operating power tools.
- Dust Mask or Respirator: When working with materials that produce dust, fumes, or other airborne particles, it’s important to wear a dust mask or respirator to protect your respiratory system. Ensure that you have a properly fitting mask that can filter out the specific particles you are dealing with.
- Gloves: Work gloves provide hand protection from sharp edges, hot objects, chemicals, and other hazardous materials. Have a pair of sturdy work gloves accessible on top of your tool chest to protect your hands during various tasks.
- First Aid Kit: Accidents can happen, so it’s essential to have a fully stocked first aid kit nearby. Include items such as bandages, antiseptic wipes, adhesive tape, and pain relievers. Regularly check the kit to ensure it is up to date and replenish any used supplies.
- Fire Extinguisher: Every workspace should have a fire extinguisher, including the top of your tool chest. Make sure it is easily accessible and in good working condition. Familiarize yourself with the proper operation of the extinguisher and ensure it is appropriate for the types of fires likely to occur in your work area.
- Emergency Contact Information: Keep a list of emergency contact numbers readily available on top of your tool chest. Include numbers for local emergency services, your workplace, and any relevant medical or safety contacts.
By having these safety equipment items easily accessible on top of your tool chest, you are creating a safer working environment and demonstrating a commitment to your well-being. Make it a habit to wear the necessary safety gear and familiarize yourself with proper safety procedures related to your work and the tools you use.
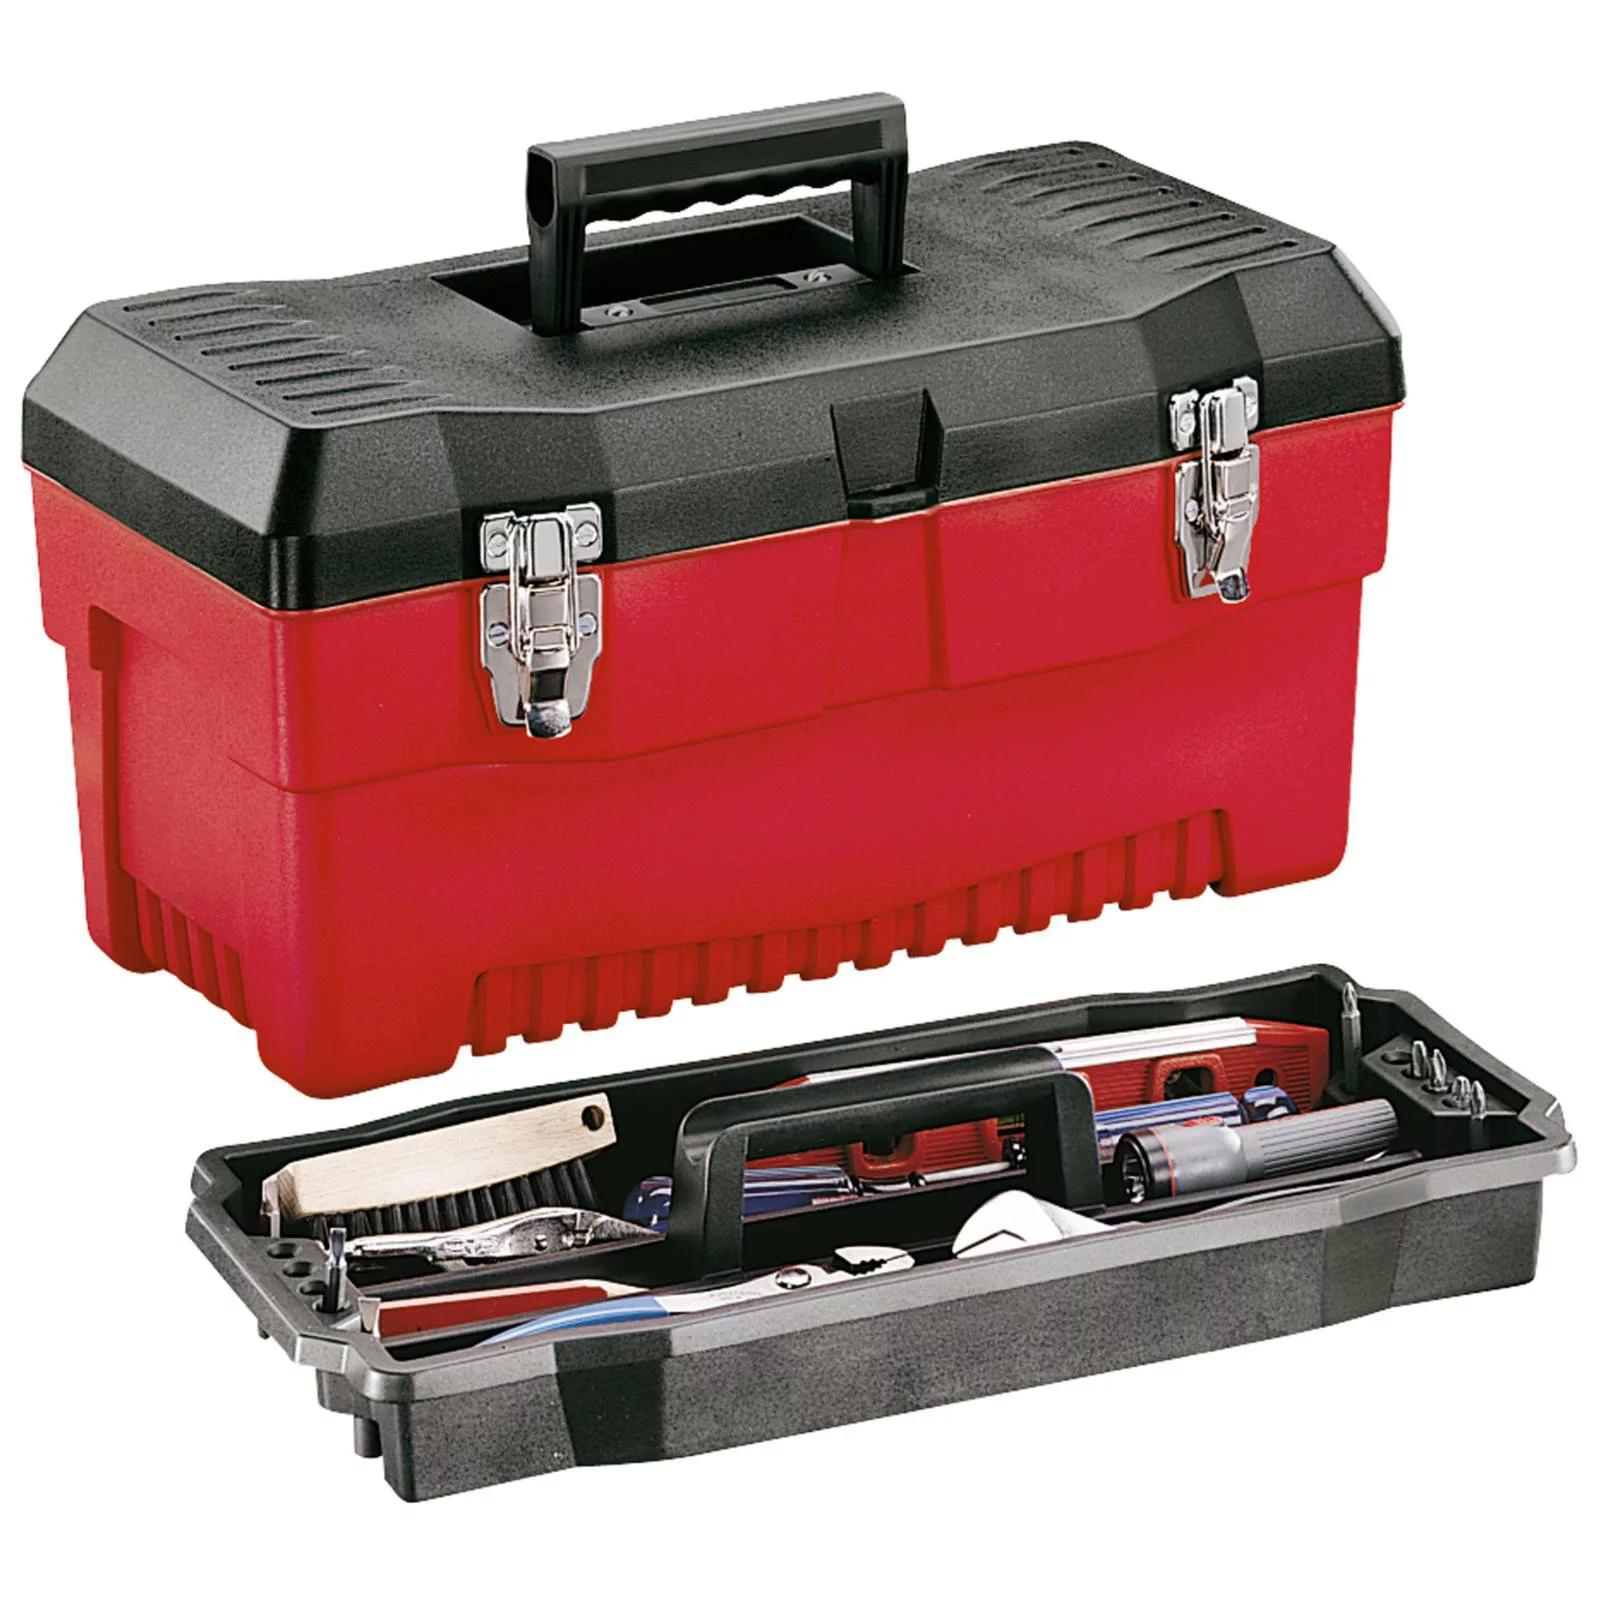
Consider placing frequently used tools and items in the top of your tool chest for easy access. This can include screwdrivers, pliers, tape measures, and other commonly used tools. Keep the top organized to maximize efficiency.
Read also: 14 Amazing Top Tool Chest for 2025
Personal Protective Gear
Personal protective gear is essential for ensuring your safety and reducing the risk of injuries while working with tools and equipment. Having this gear easily accessible on top of your tool chest serves as a reminder to prioritize your protection. Here are some important personal protective gear items to consider:
- Hard Hat: If you work in construction, renovation, or any field where there is a risk of falling objects, wear a hard hat to protect your head from potential injury. Keep a hard hat on top of your tool chest for easy access.
- Steel-Toed Boots: Steel-toed boots provide extra protection for your feet from heavy objects or accidental impacts. Ensure that you have a pair of properly fitting steel-toed boots accessible near your work area.
- Work Gloves: Different tasks may require specific types of gloves. For example, cut-resistant gloves can protect against sharp tools, while heat-resistant gloves are essential when working with hot surfaces. Have a selection of appropriate work gloves available on top of your tool chest.
- Protective Clothing: Depending on your line of work, you may need specialized protective clothing, such as flame-resistant coveralls, high-visibility vests, or chemical-resistant suits. Keep these items easily accessible so you can quickly don them when necessary.
- Ear Protection: Noise-induced hearing loss is a common occupational hazard. If you work in a loud environment, use earplugs or earmuffs to protect your ears from excessive noise. Keep a pair of ear protection gear on top of your tool chest for easy access.
- Respiratory Protection: Certain tasks, such as painting, welding, or working with chemicals, may require respiratory protection. Disposable masks or respirators can protect you from inhaling harmful substances. Ensure that you have the appropriate respiratory protection gear readily available.
- Knee Pads: If your work involves kneeling or working on hard surfaces, consider using knee pads to protect your knees from strain and injury. Keep a pair of knee pads within reach on top of your tool chest.
- Safety Harness: For tasks that require working at heights, having a safety harness readily accessible is essential. Keep the harness stored properly on top of your tool chest and ensure it is in good condition.
- Face Shield or Safety Goggles: When working with tools that create debris or sparks, wearing a face shield or safety goggles is crucial for protecting your eyes and face. Keep a clear visor or goggles on top of your tool chest to prevent eye injury.
Personal protective gear is a vital aspect of workplace safety. By having these items easily accessible on top of your tool chest, you are promoting a culture of safety and ensuring that you are prepared to protect yourself during any work-related tasks.
Specialty Tools
Specialty tools are specific tools designed for specialized tasks or projects. While they may not be used as frequently as general hand tools, having them available on top of your tool chest can save you time and effort when you need them. Here are some commonly used specialty tools to consider:
- Torque Wrench: A torque wrench is indispensable for tasks that require precise torque specifications, such as automotive work or equipment assembly. Keep a torque wrench accessible on top of your tool chest for accurate tightening of bolts and nuts.
- Cordless Power Tools: Cordless power tools like drills, impact drivers, and saws offer mobility and convenience. Keep your most commonly used cordless power tools charged and ready to go on top of your tool chest. Make sure the chargers are easily accessible as well.
- Pipe Wrench: If you work with plumbing or pipe-related projects, a pipe wrench is essential for gripping and turning pipes or fittings. Have a pipe wrench accessible on top of your tool chest for convenient access when needed.
- Crimping Tool: A crimping tool is used to join or terminate electrical wires. It is commonly used in electrical work or automotive wiring. Keep a quality crimping tool within reach on top of your tool chest to ensure secure and reliable electrical connections.
- Tiling Tools: If you frequently work with tiles, consider having specialty tiling tools on top of your tool chest. These may include a tile cutter, tile nippers, grout float, and tile spacers. Having them readily available will streamline your tiling projects.
- Precision Measuring Tools: For tasks that require high precision, such as woodworking or metalworking, precision measuring tools are essential. Keep tools like calipers, micrometers, and digital angle finders accessible for accurate measurements.
- Wire Strippers and Crimpers: A wire stripper is used to remove the insulation from electrical wires, while a wire crimper is used to create secure connections. Keep these tools readily available on top of your tool chest for electrical wiring projects.
- Air Tools: If you have an air compressor setup, consider keeping frequently used air tools on top of your tool chest. This may include pneumatic nail guns, air ratchets, or impact wrenches. Ensure that the necessary air hoses and fittings are easily accessible as well.
- Masonry Tools: For projects involving bricks, concrete, or stone, specialty masonry tools are crucial. This may include a brick hammer, chisels, trowels, or a wire brush. Store these tools on top of your tool chest for easy access during masonry work.
- Diagnostic Tools: If you work with automotive repairs or machine maintenance, specialty diagnostic tools such as a code reader or multimeter are essential. Keep these tools accessible on top of your tool chest for quick troubleshooting.
Including specialty tools on top of your tool chest ensures that you have the necessary tools readily available for specific tasks or projects. By having them easily accessible, you can save time and effort when working on specialized projects.
Frequently Used Items
Alongside tools, there are several frequently used items that are essential for efficient workflow and convenience. These items may not necessarily be tools, but they play a crucial role in various projects. Here are some frequently used items to consider placing on top of your tool chest:
- Work Gloves: Keep a few pairs of work gloves on top of your tool chest for quick access. These gloves provide hand protection and overall comfort during various tasks.
- Tape Measure: A tape measure is an indispensable item in any project that involves measuring and layout work. Keep a reliable and sturdy tape measure readily available on top of your tool chest.
- Marker or Pen: Keep a few markers or pens handy at the top of your tool chest for marking measurements, labeling tools, or jotting down notes. Make sure to choose ones that are easily visible on different surfaces.
- Flashlight: Having a small flashlight on top of your tool chest is essential for working in poorly lit areas or during power outages. Choose a lightweight and compact flashlight that provides ample lighting.
- Utility Knife: A utility knife is handy for cutting materials, opening packages, or trimming materials. Keep a utility knife with spare blades easily accessible on your tool chest.
- Extension Cord: An extension cord is indispensable when working in areas with limited power outlets. Keep a high-quality extension cord coiled neatly on top of your tool chest for quick and easy access.
- Safety Glasses: Safety glasses should be easily accessible at the top of your tool chest for protecting your eyes while working. Ensure they are in good condition, comfortable to wear, and provide adequate eye protection.
- Absorbent Towels or Wipes: Keep a supply of absorbent towels or wipes on top of your tool chest for cleaning up spills, wiping down tools, or general surface cleaning. These come in handy for maintaining cleanliness and preventing slips.
- Adhesive Tape: Include a roll of adhesive tape, such as duct tape or electrical tape, for quick fixes, isolating electrical connections, or securing objects. Store it within easy reach on top of your tool chest.
- Container for Small Parts: A small container or tray for holding small parts such as screws, nails, or washers helps prevent them from getting lost or misplaced. Place this container on top of your tool chest for easy access during projects.
By keeping frequently used items at the top of your tool chest, you can save time and effort by having them readily available. It improves your workflow and ensures that you can tackle tasks efficiently.
Tips for Maximizing Space
Maximizing the space on top of your tool chest is essential for creating an efficient and organized workspace. When every inch counts, here are some tips to help you make the most out of the available space:
- Vertical Storage: Utilize vertical space by using holders, hooks, or pegboards to hang frequently used tools. This frees up valuable surface area and keeps tools easily accessible.
- Magnetic Tool Strips: Attach magnetic tool strips to the sides or back of your tool chest for storing metal tools. This is a space-efficient solution that keeps tools securely in place.
- Modular Accessories: Invest in modular accessories, such as small parts organizers, dividers, or tool trays, that can be attached to the top of your tool chest. These can help categorize and store small items while maximizing the available space.
- Utilize Underneath Space: Consider using the space underneath your tool chest for storage as well. Utilize rolling tool carts, stackable bins, or shelves to store larger or less frequently used items.
- Stackable Storage Containers: Use stackable storage containers to maximize vertical space. These containers are compact and let you efficiently store small items or tools.
- Cable Management: Keep your cords and cables organized by using cable clips or Velcro straps. This prevents them from tangling and taking up valuable space on top of your tool chest.
- Labeling: Label storage compartments or drawers to easily identify the contents. This helps maintain organization and enables quick retrieval of tools or items as needed.
- Frequently Used Tools within Reach: Place the tools you use most often within easy reach on top of your tool chest. This minimizes the need to dig through drawers, saving time and improving efficiency.
- Multi-Purpose Work Surface: Choose a tool chest with a sturdy and flat top surface that can double as a workbench or assembly area. This allows you to maximize the available workspace and eliminates the need for an additional surface.
- Regular Cleanup: Make it a habit to regularly clean and declutter the top surface of your tool chest. Remove any unnecessary items or debris to keep the workspace neat and functional.
By implementing these space-saving tips, you can optimize the top of your tool chest to create an efficient and organized workspace. This will enhance your productivity and make your projects more enjoyable.
Read more: What Is A Crossover Tool Box
Conclusion
The top of your tool chest may sometimes be overlooked, but it is a valuable space that can greatly enhance your workflow and productivity. By carefully considering what to place on top of your tool chest, you can create a workspace that is both functional and organized.
Considerations such as functionality, weight, modularity, ease of access, and organization are crucial when deciding what to put on top of your tool chest. Including essential tools and items, safety equipment, personal protective gear, specialty tools, and frequently used items ensures that everything you need is easily accessible.
Accessibility and organization play a vital role in creating an efficient workspace. Utilize tool trays, dividers, magnetic strips, and other storage solutions to keep your tools neatly organized and within reach. Implementing a color-coded system, arranging tools by frequency of use, and regular maintenance will further enhance organization on top of your tool chest.
Don’t forget to prioritize safety by including safety equipment and personal protective gear on top of your tool chest. Protecting yourself from potential hazards is essential for a safe working environment.
Maximizing space on top of your tool chest is also crucial. Use vertical storage, modular accessories, and stackable containers to make the most out of the available space. Labeling, cable management, and keeping frequently used tools within reach will further optimize the workspace.
In conclusion, by carefully selecting what to put on top of your tool chest, organizing the items, and maximizing the available space, you can create a functional and efficient workspace that helps you complete your projects with ease. With a well-equipped and well-organized top of your tool chest, you will be ready to tackle any task that comes your way.
Frequently Asked Questions about What To Put In Top Of Tool Chest
Was this page helpful?
At Storables.com, we guarantee accurate and reliable information. Our content, validated by Expert Board Contributors, is crafted following stringent Editorial Policies. We're committed to providing you with well-researched, expert-backed insights for all your informational needs.


0 thoughts on “What To Put In Top Of Tool Chest”