Articles
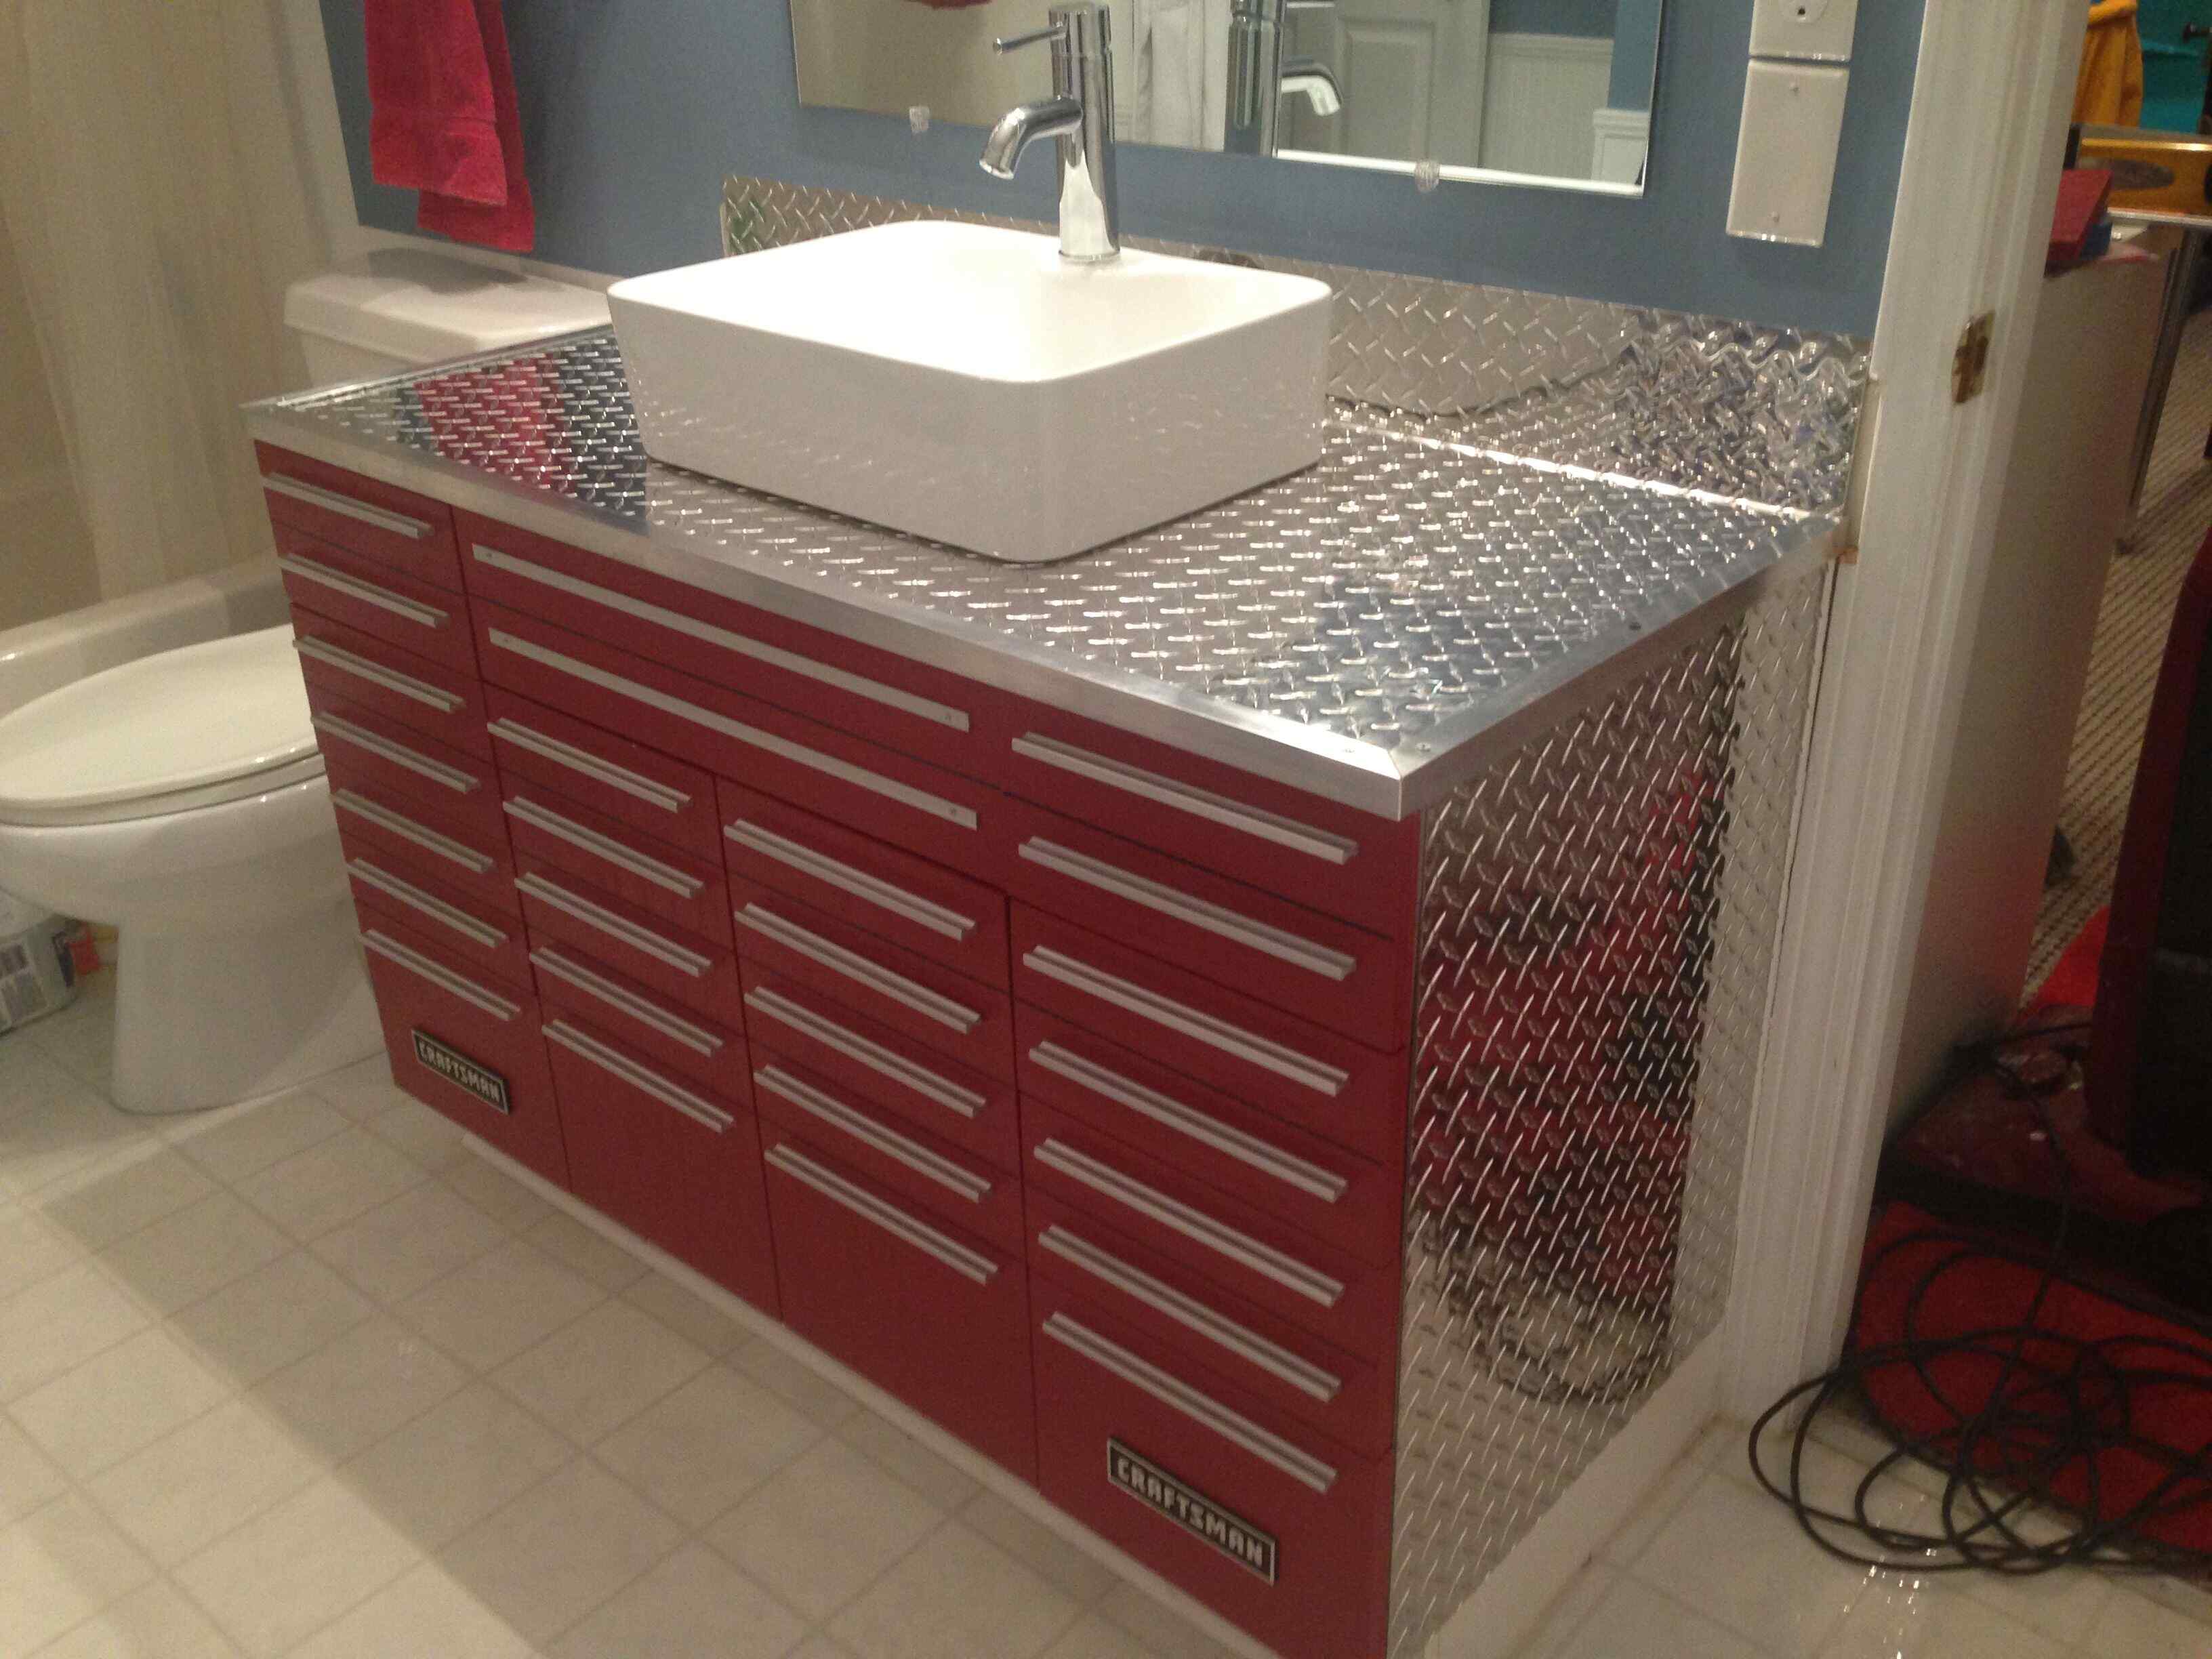
How To Make A Sink Vanity From A Tool Chest
Modified: August 28, 2024
Learn how to transform a sturdy tool chest into a stylish sink vanity with this comprehensive guide. Discover expert tips and step-by-step instructions.
(Many of the links in this article redirect to a specific reviewed product. Your purchase of these products through affiliate links helps to generate commission for Storables.com, at no extra cost. Learn more)
Introduction
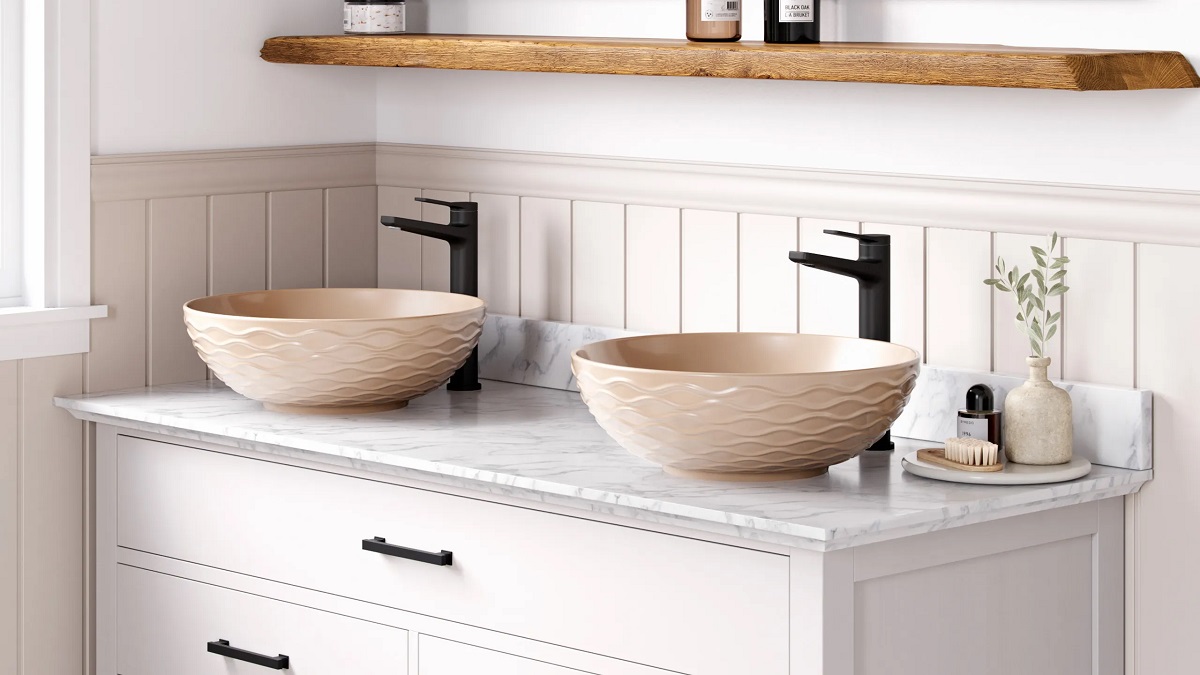
Having a sink vanity in your bathroom is not only functional but can also add a touch of style and uniqueness to the space. While there are many pre-made sink vanities available in the market, creating your own can be a rewarding and cost-effective alternative. In this article, we will guide you through the process of making a sink vanity from a tool chest.
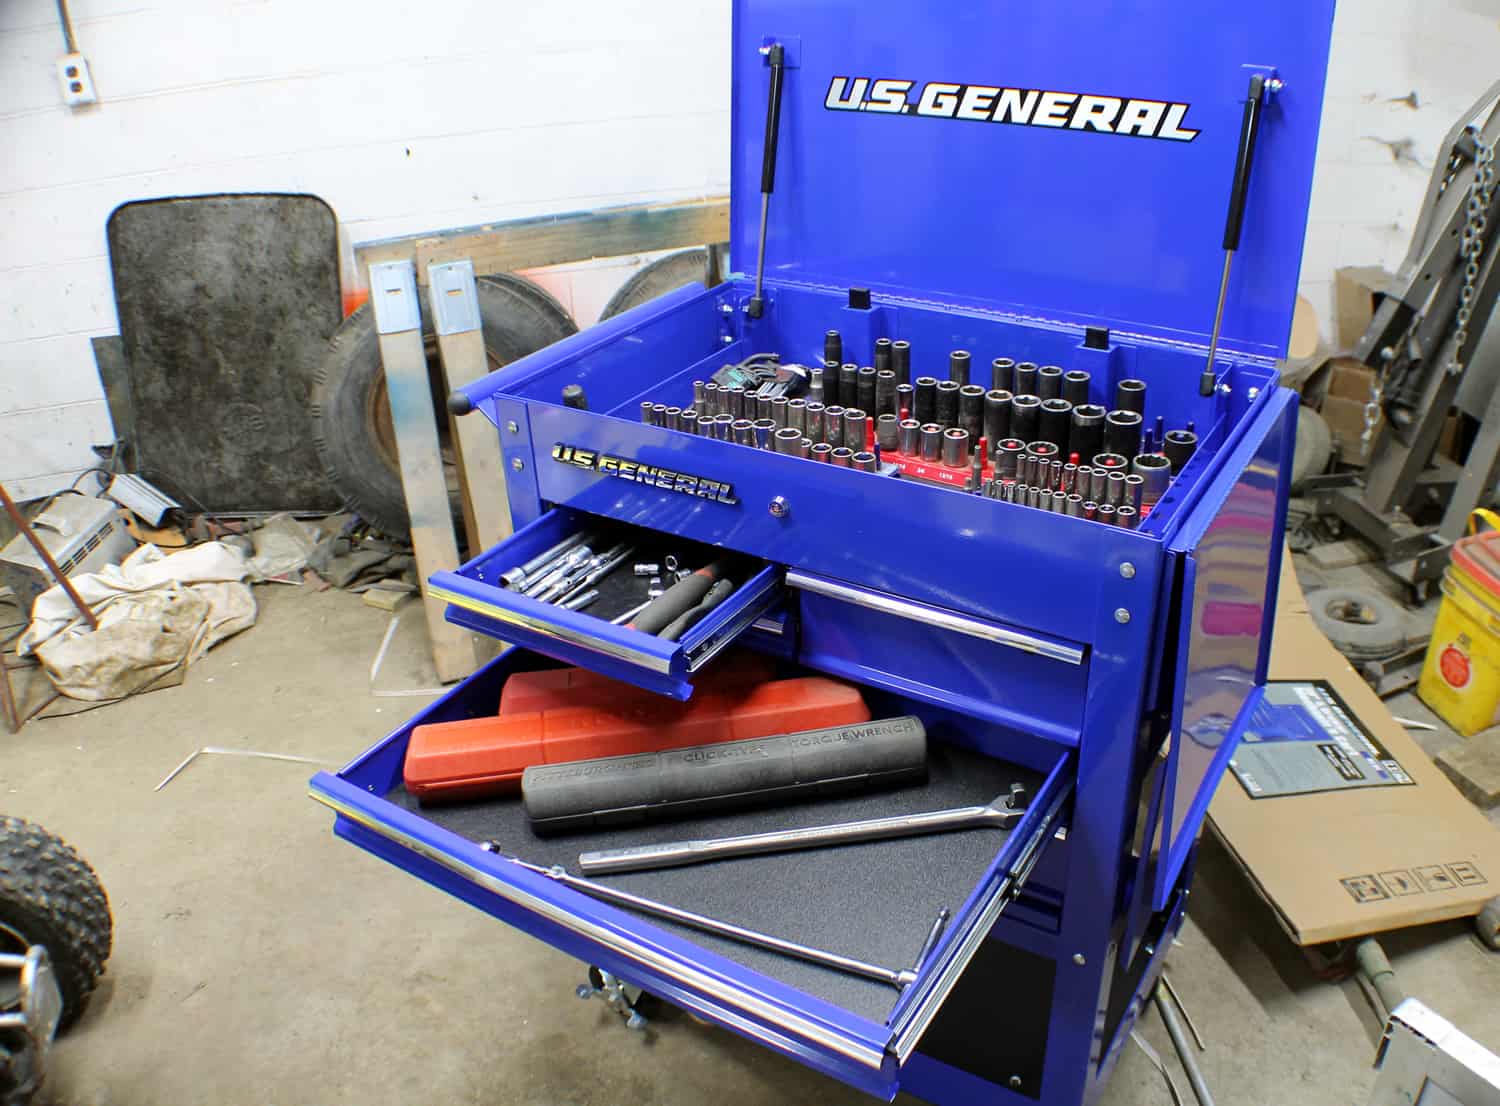
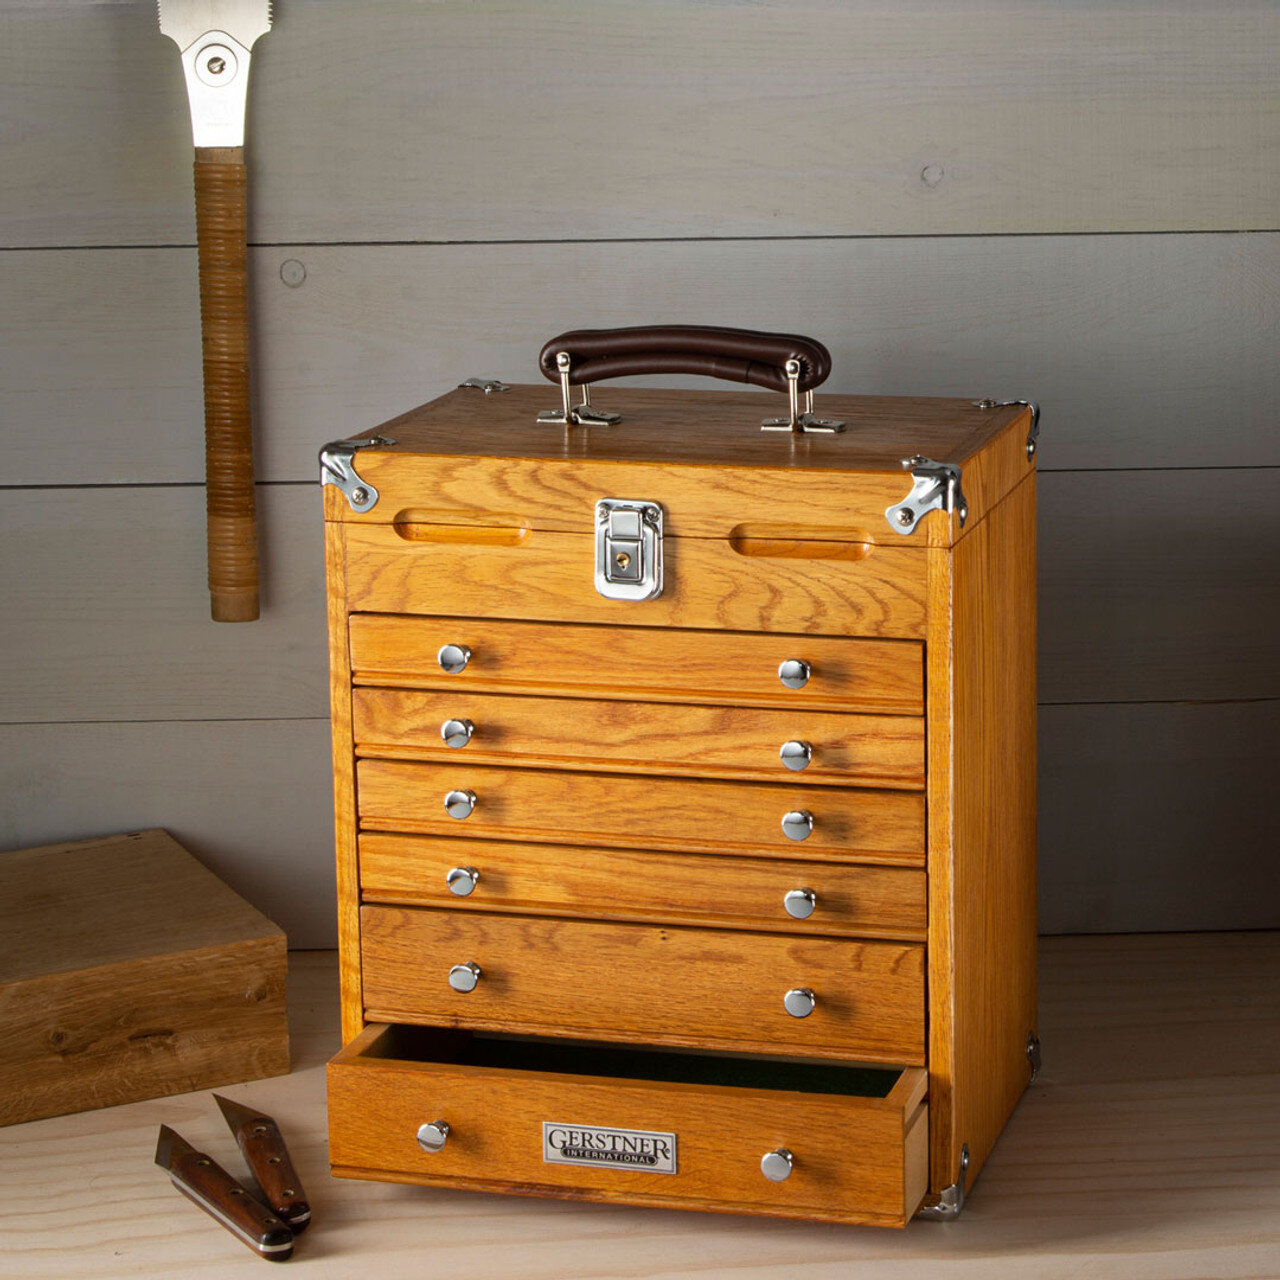
A tool chest, with its sturdy construction and spacious interior, provides the perfect foundation for a sink vanity. It offers ample storage space for bathroom essentials and can be customized to fit your preferred style and design. By repurposing a tool chest, you can give new life to an old item and create a one-of-a-kind piece for your bathroom.
In this step-by-step guide, we will outline the tools and materials you will need, as well as provide detailed instructions on how to transform a tool chest into a sink vanity. Whether you are a seasoned DIY enthusiast or a beginner looking to take on a new project, this article will give you the guidance and inspiration you need to create a unique and functional sink vanity for your bathroom.
Before we dive into the process, let’s take a look at the tools and materials you will need for this project.
Key Takeaways:
- Transform an old tool chest into a personalized sink vanity, adding character and functionality to your bathroom while saving money and gaining the satisfaction of a DIY project.
- By repurposing a tool chest, you can create a one-of-a-kind sink vanity, customizing every step from preparation to finishing touches to suit your style and needs.
Tools and Materials Needed
Before you begin creating a sink vanity from a tool chest, it’s important to gather all the necessary tools and materials. Here is a list of what you will need:
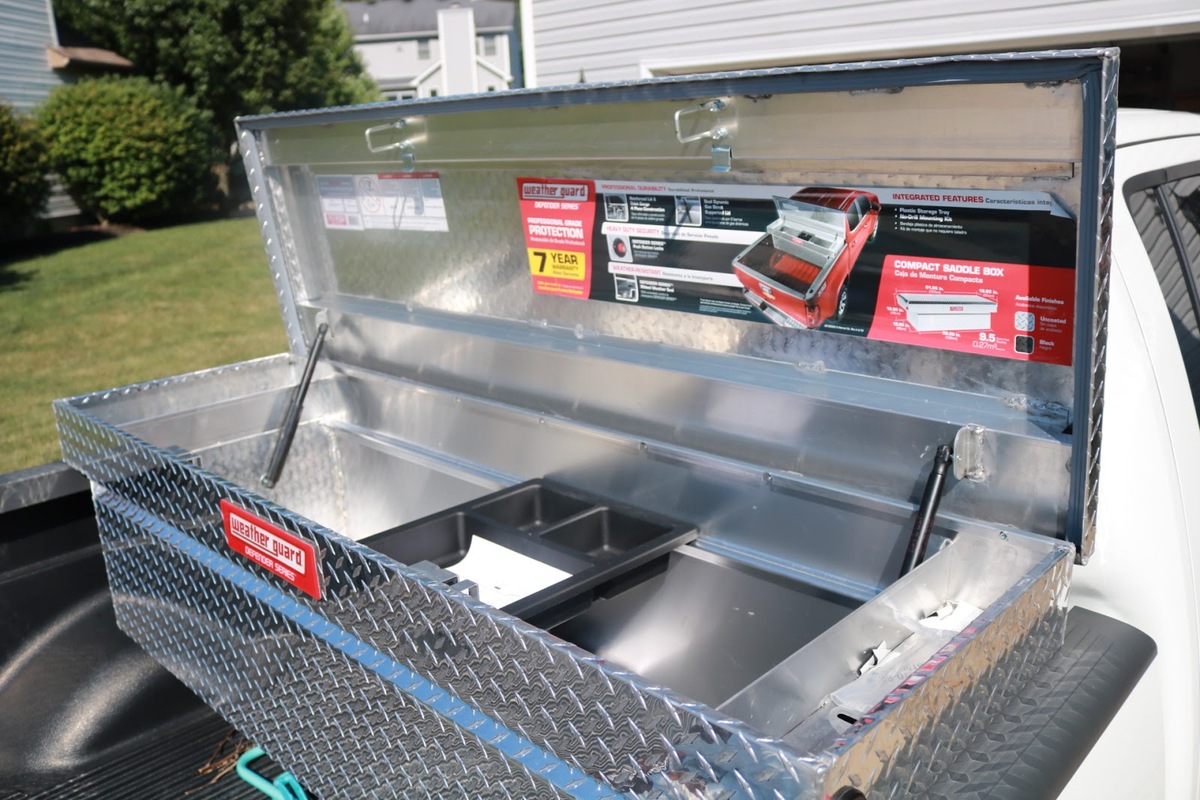
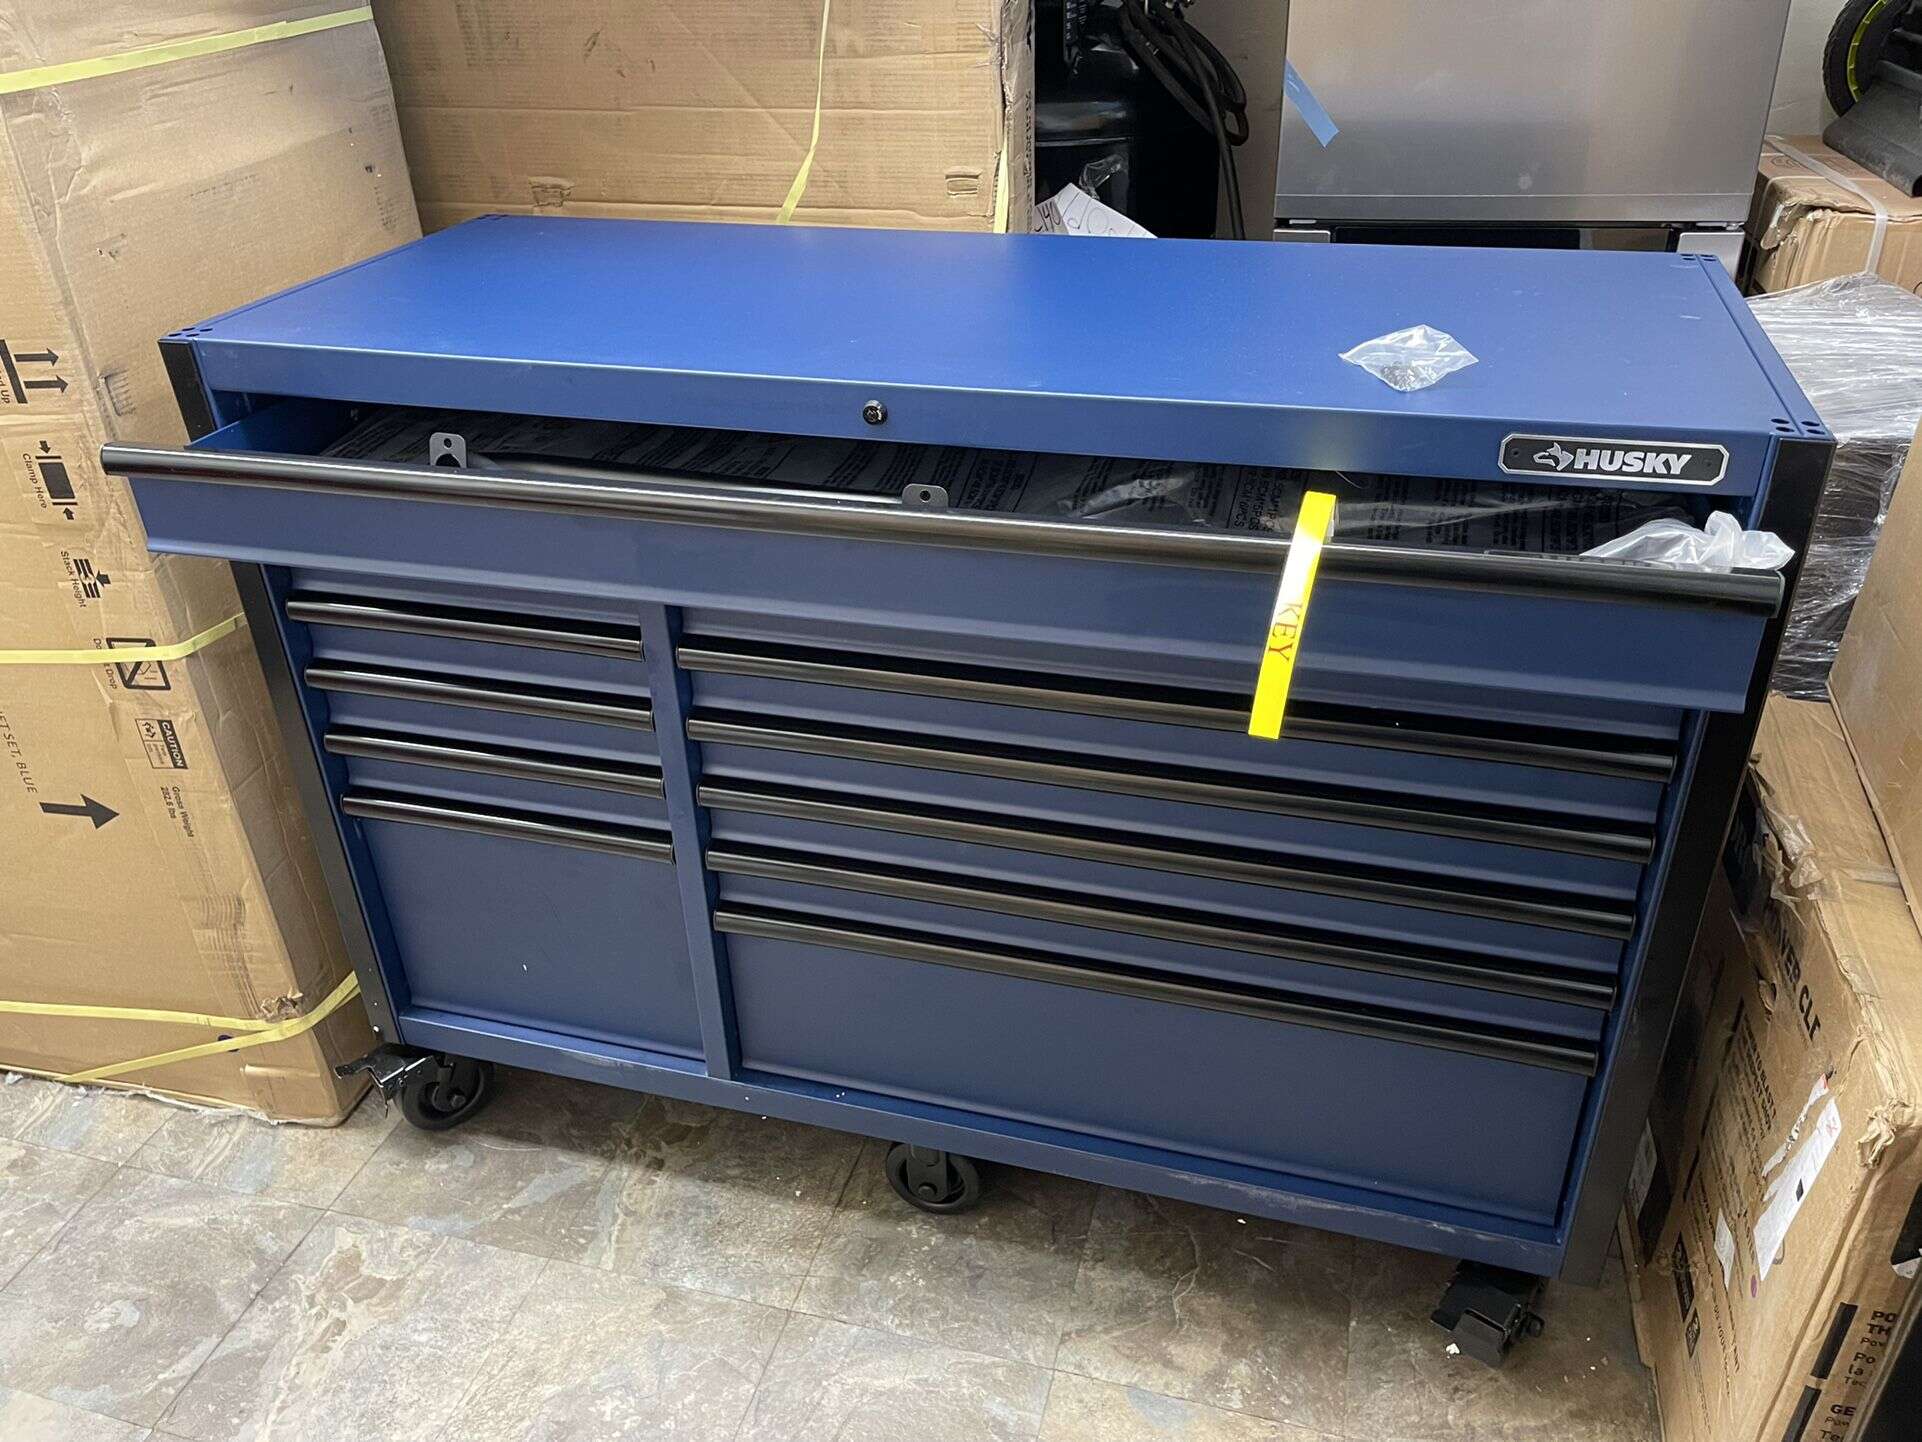
- A tool chest: Look for one that is sturdy and has enough space for a sink and plumbing.
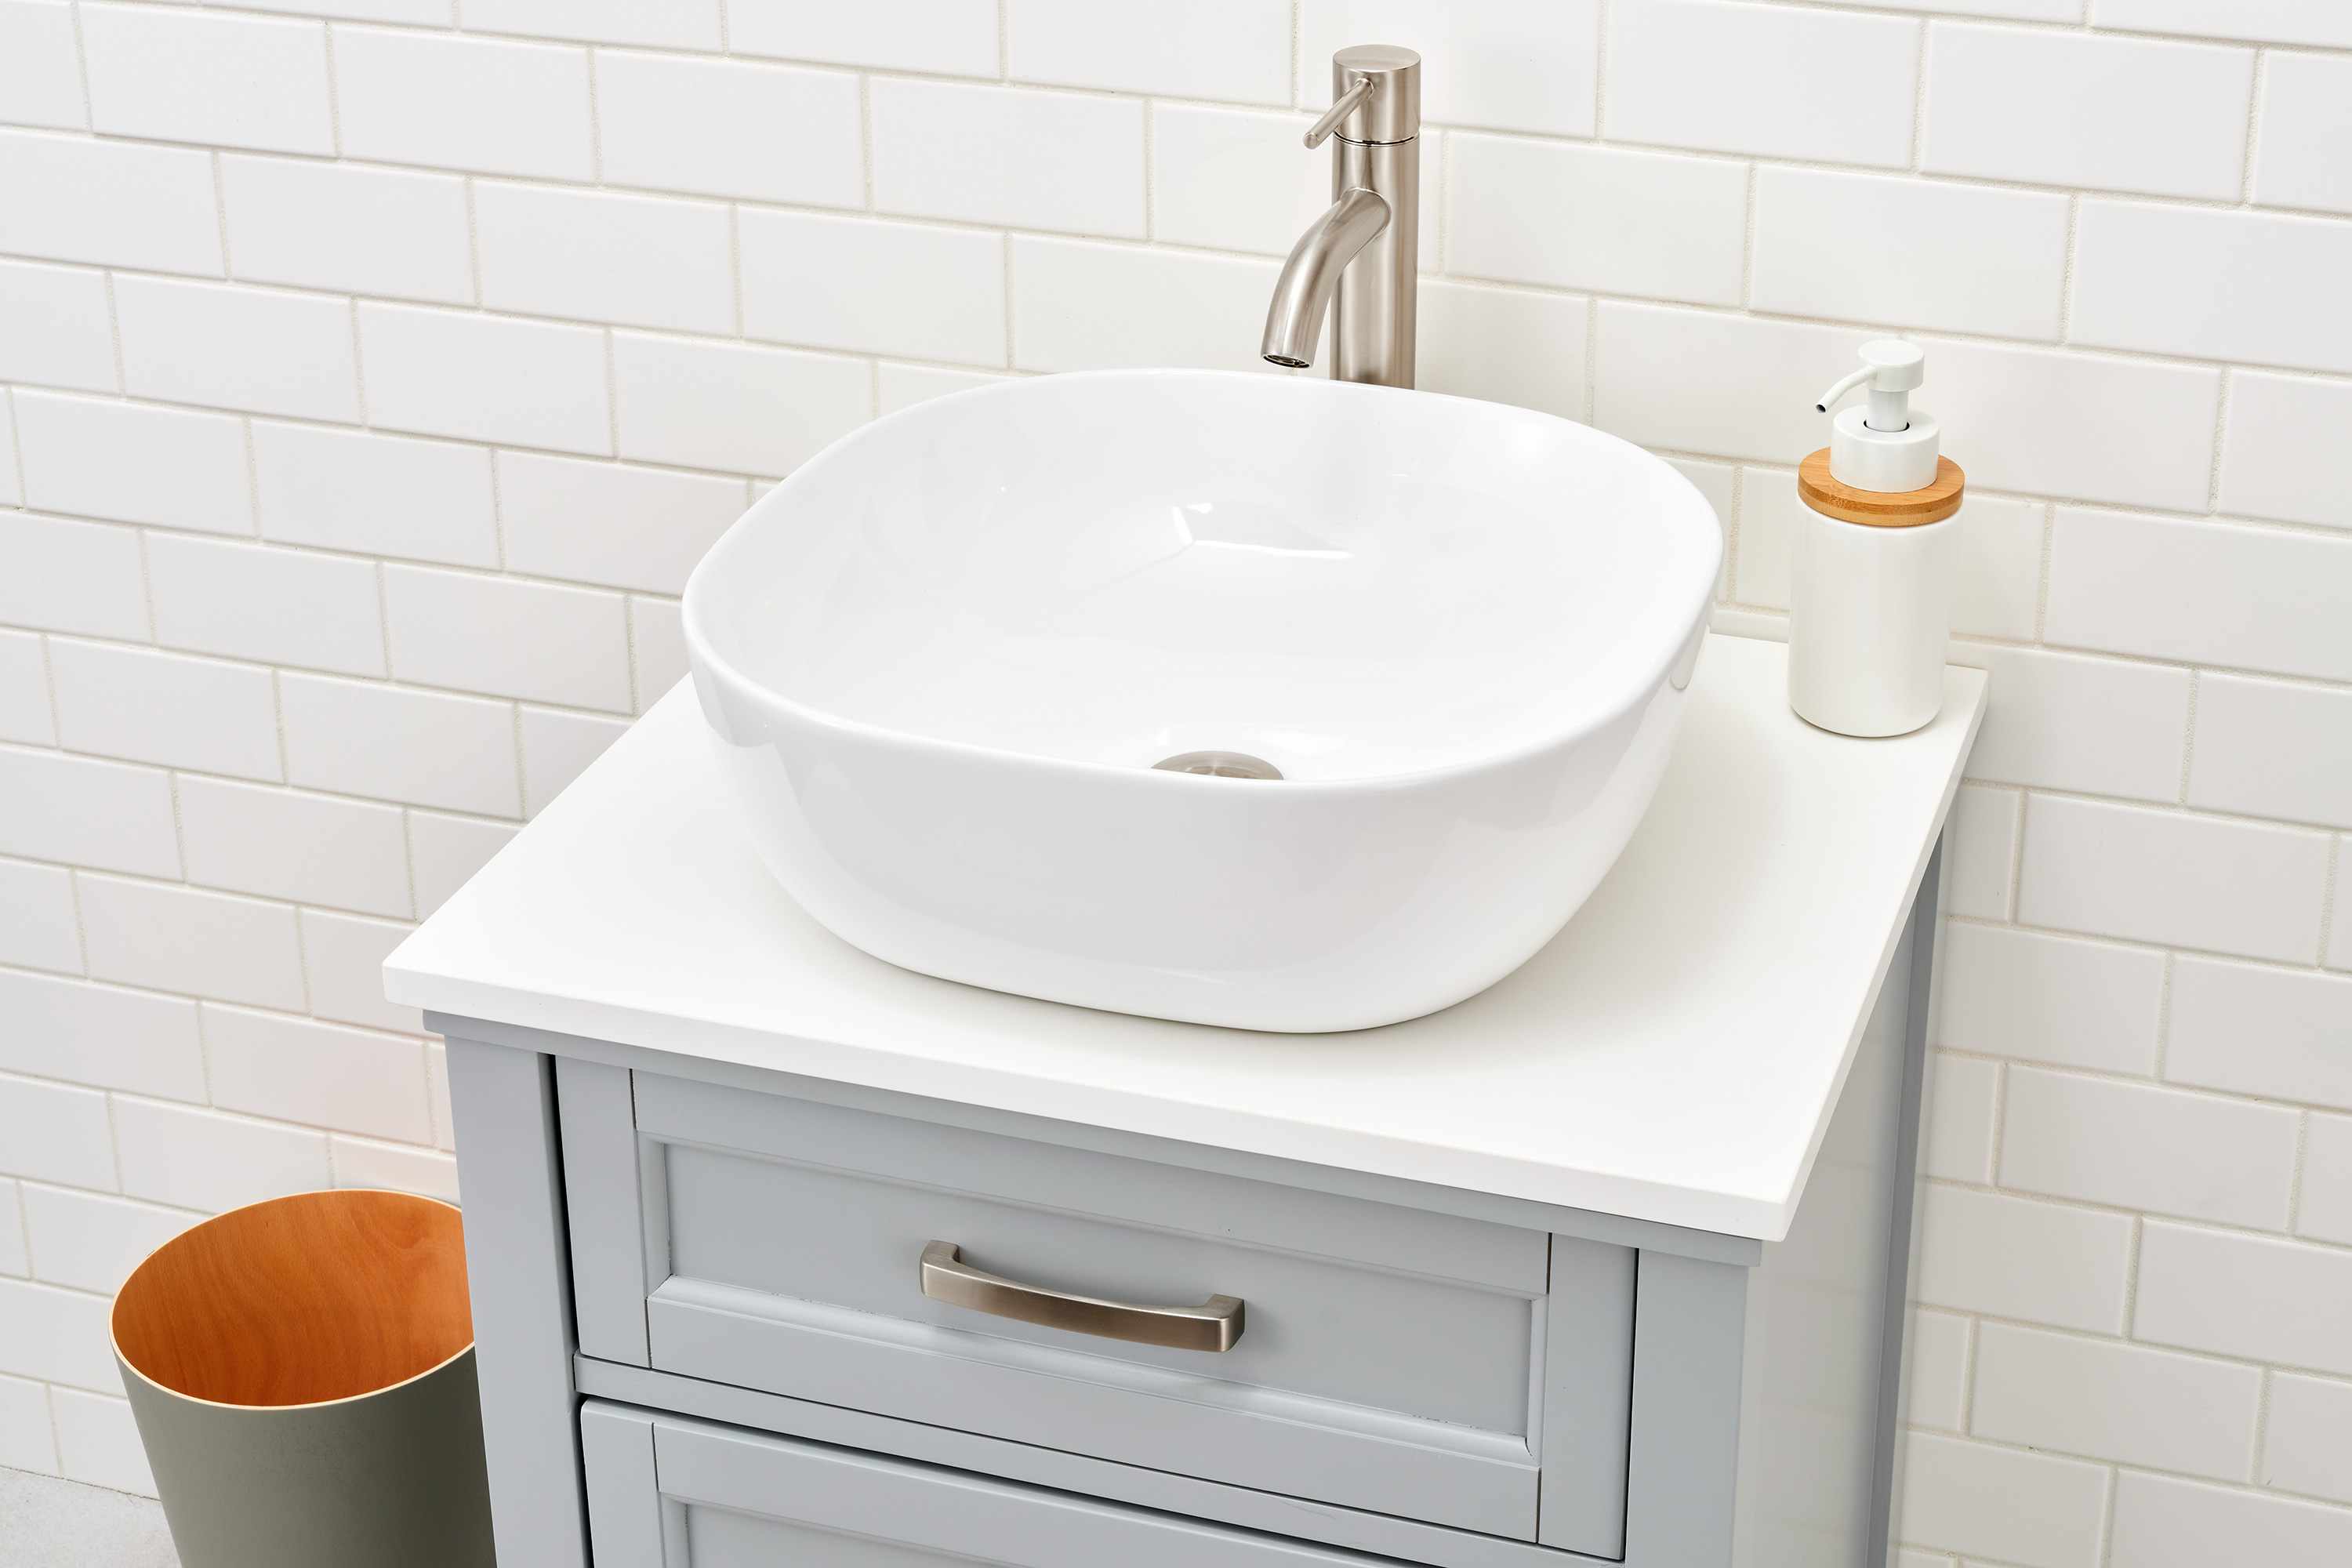
- A sink: Choose a sink that fits well within the dimensions of the tool chest and complements your bathroom’s style.
- A faucet: Select a faucet that matches the style of your sink and provides the functionality you desire.
- Plumbing materials: This includes pipes, connectors, and other plumbing fittings necessary to connect the sink to the water supply and drain.
- A jigsaw: You will need a jigsaw to cut holes in the tool chest for the sink and plumbing.
- A drill: A drill will be used to secure the sink and install any additional features, such as shelves.
- Screws and bolts: These will be used to secure the sink, as well as any other components of the vanity.
- Measuring tape: Accurate measurements are crucial to ensure that the sink fits properly and the plumbing is aligned correctly.
- Safety equipment: Don’t forget to wear safety goggles and gloves when using power tools.
- Sandpaper: Sandpaper will come in handy for smoothing any rough edges or surfaces.
- Paint or stain: If you wish to change the appearance of the tool chest, you can use paint or stain to give it a fresh look.
It’s important to have all the necessary tools and materials on hand before you begin the project. This will ensure a smoother and more efficient process as you transform the tool chest into a sink vanity. Once you have gathered everything you need, you are ready to start creating your customized sink vanity.
Step 1: Preparing the Tool Chest
The first step in creating a sink vanity from a tool chest is to prepare the tool chest for the transformation. Here’s how you can do it:
- Clean the tool chest: Start by removing any dirt, grease, or grime from the tool chest. Use a mild detergent or cleaner and a soft cloth to wipe down the surfaces. This will ensure that the chest is clean and ready for the next steps.
- Inspect the chest: Take a close look at the tool chest and check for any damages or structural issues. Look for any dents, scratches, or rust that may need to be addressed before proceeding with the project. If necessary, sand down rough edges or apply a rust-resistant treatment to preserve the integrity of the tool chest.
- Remove any hardware: If your tool chest has any handles, latches, or other hardware that may interfere with the sink installation, consider removing them. This will ensure a smooth and seamless transition from tool chest to sink vanity.
- Consider painting or staining: If you want to change the look of the tool chest, now is the time to do it. You can paint it a new color or apply a stain to enhance the natural beauty of the wood. Be sure to let the paint or stain dry completely before proceeding to the next steps.
- Measure the dimensions: Measure the dimensions of the tool chest, including the width, depth, and height. This will help you determine the appropriate size and placement of the sink within the chest. Take precise measurements to ensure a snug fit for the sink.
By properly preparing the tool chest, you are setting the foundation for a successful sink vanity project. Cleaning, inspecting, and taking accurate measurements will help ensure that the tool chest is in good condition and ready for the next steps. Once you have completed this step, you can move on to removing the drawers and dividers from the chest.
Step 2: Removing the Drawers and Dividers
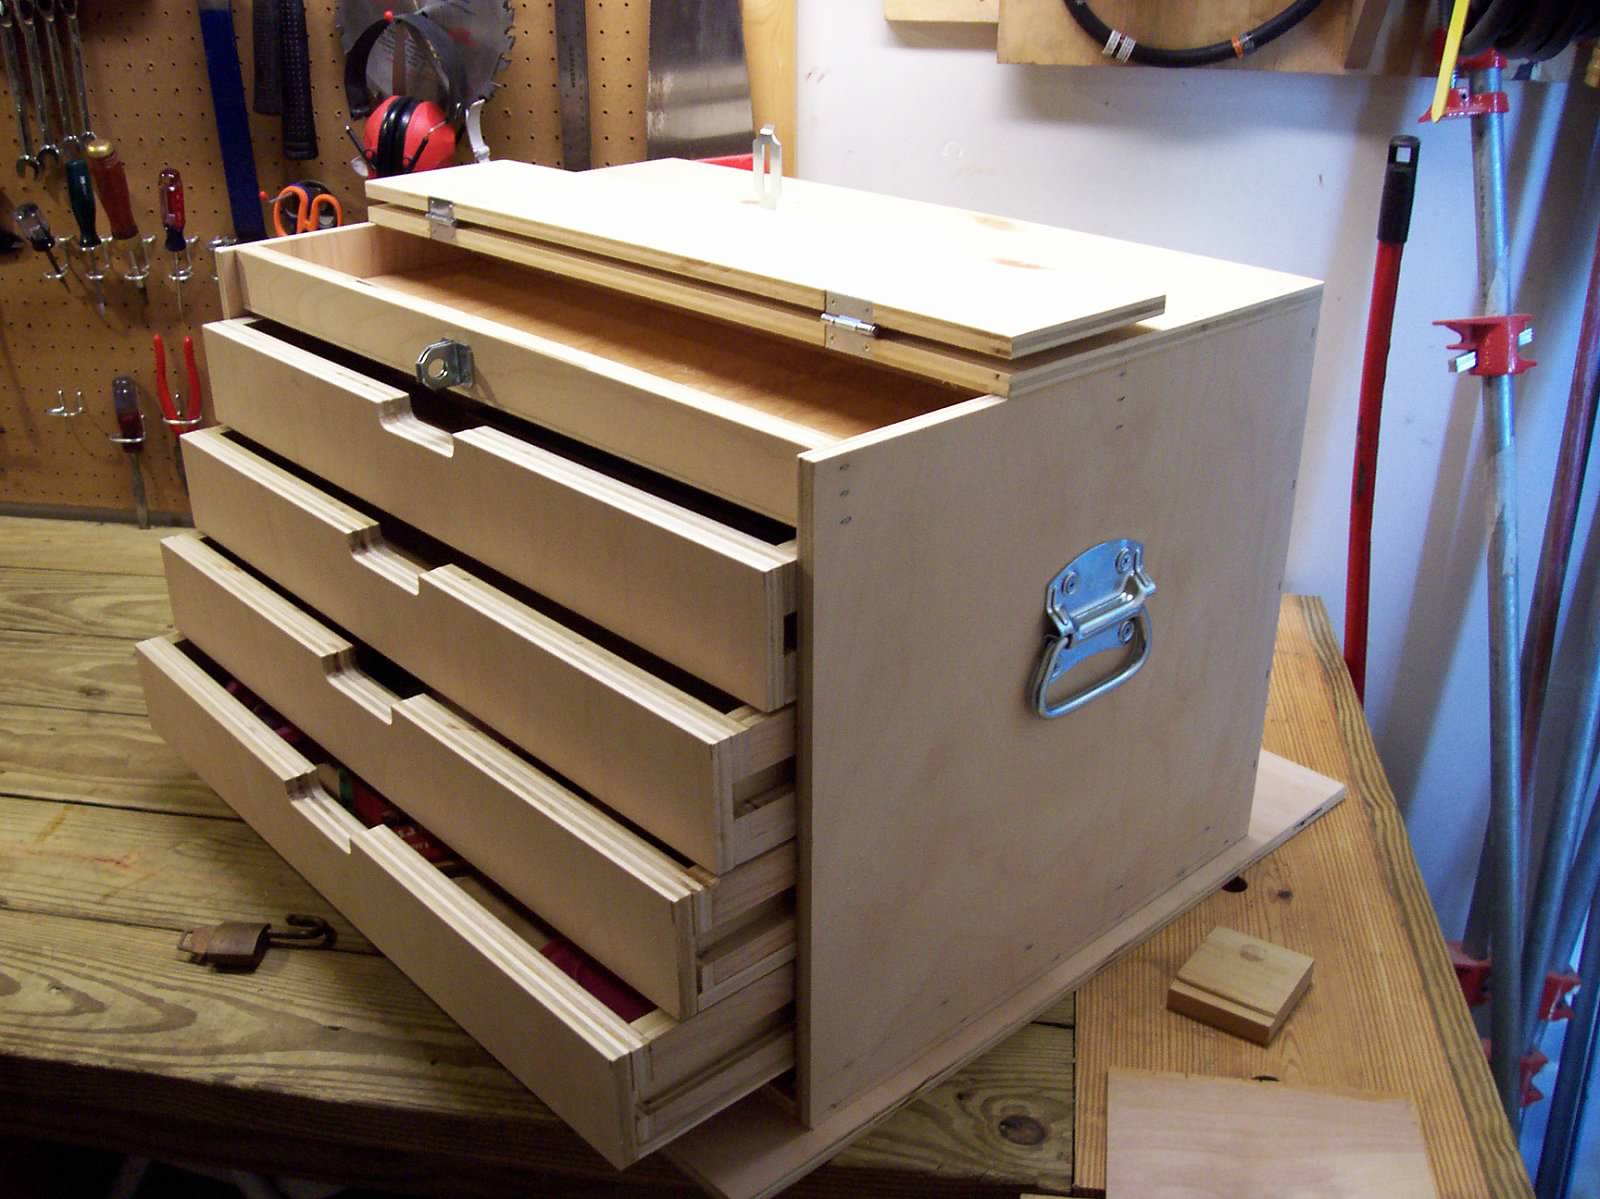
Now that you have prepared the tool chest, it’s time to remove the drawers and dividers to make room for the sink. Here’s how you can do it:
- Empty the tool chest: Before removing the drawers and dividers, make sure the tool chest is empty. Take out any tools or items stored inside and set them aside in a safe place.
- Remove the drawers: Carefully pull out each drawer from the tool chest. Depending on the construction of the chest, you may need to unscrew or detach any stops or fasteners that hold the drawers in place. Set the drawers aside for now.
- Take out the dividers: If your tool chest has dividers separating the drawers, remove them as well. Use a screwdriver or other appropriate tool to unscrew or detach the dividers from the chest. Be gentle to avoid causing any damage.
- Check for any obstacles: Once the drawers and dividers are out, inspect the internal structure of the tool chest. Look for any screws, nails, or other obstacles that may get in the way of installing the sink. Remove any obstructions carefully to create a clear and open space.
- Save the drawers and dividers: If you wish to repurpose the drawers and dividers, set them aside in a safe place. You can use them for organizing other areas of your home or repurpose them for other DIY projects.
By removing the drawers and dividers, you are creating a blank canvas within the tool chest to accommodate the sink and plumbing. This step may require some careful maneuvering and a bit of patience, especially if the drawers or dividers are secured tightly. Once you have successfully removed them, you are ready to move on to the next step: cutting holes for plumbing.
Step 3: Cutting Holes for Plumbing
With the drawers and dividers removed, it’s time to cut holes in the tool chest to accommodate the plumbing for the sink. Here’s a guide to help you through this step:
- Locate the plumbing requirements: Refer to the specifications of your chosen sink to determine the location and dimensions of the plumbing connections. This will vary depending on the type of sink and faucet you have selected.
- Measure and mark the hole positions: Use a measuring tape to mark the positions where you need to cut holes in the back or bottom of the tool chest. Ensure that the dimensions and placement align with the plumbing requirements for your sink.
- Choose the appropriate cutting tool: Depending on the material of your tool chest, you may need a jigsaw or a hole saw attachment for a drill to cut the holes. Select the right tool for the job. Remember to wear safety goggles and gloves when using power tools.
- Cut the holes: Carefully cut along the marked lines to create the holes for the plumbing connections. Take your time and follow the manufacturer’s instructions for the cutting tool. Make sure the holes are the right size and shape to allow for proper installation of the plumbing components.
- Smooth the edges: After cutting the holes, use sandpaper to smooth any rough or sharp edges. This will prevent any potential injuries and create a clean, finished look for the holes.
- Test the fit: Before proceeding, place the sink and plumbing components into the tool chest to test the fit. Ensure that the holes align properly with the connections and that there is enough clearance for the pipes and fittings.
By carefully cutting holes for the plumbing, you are creating the necessary openings to connect the sink and faucet to the water supply and drain. Take your time with this step to ensure that the holes are cut accurately and are the correct size for the plumbing components. Once you are satisfied with the fit, you can move on to securing the sink in the tool chest.
When repurposing a tool chest into a sink vanity, make sure to properly seal the wood and use a waterproof sealant to protect it from water damage.
Step 4: Securing the Sink
Now that you have cut the necessary holes for the plumbing, it’s time to secure the sink in the tool chest. Here’s what you need to do:
- Position the sink: Carefully place the sink into the designated area in the tool chest. Make sure it is aligned properly with the plumbing holes and sits flush on the surface.
- Mark the mounting positions: Once the sink is in position, use a pencil or marker to mark the mounting holes on the tool chest. These holes will be used to secure the sink in place.
- Remove the sink: Gently lift the sink out of the tool chest and set it aside in a safe location. This will allow you to easily access the marked mounting positions on the chest.
- Drill pilot holes: Using a drill with a drill bit slightly smaller than the diameter of the mounting screws, drill pilot holes at the marked positions on the tool chest. These pilot holes will help prevent the wood from splitting when you secure the sink.
- Secure the sink: Place the sink back into position on the tool chest and align it with the pilot holes. Use screws or mounting brackets provided with your sink to secure it firmly to the chest. Be careful not to overtighten and damage the sink or the tool chest.
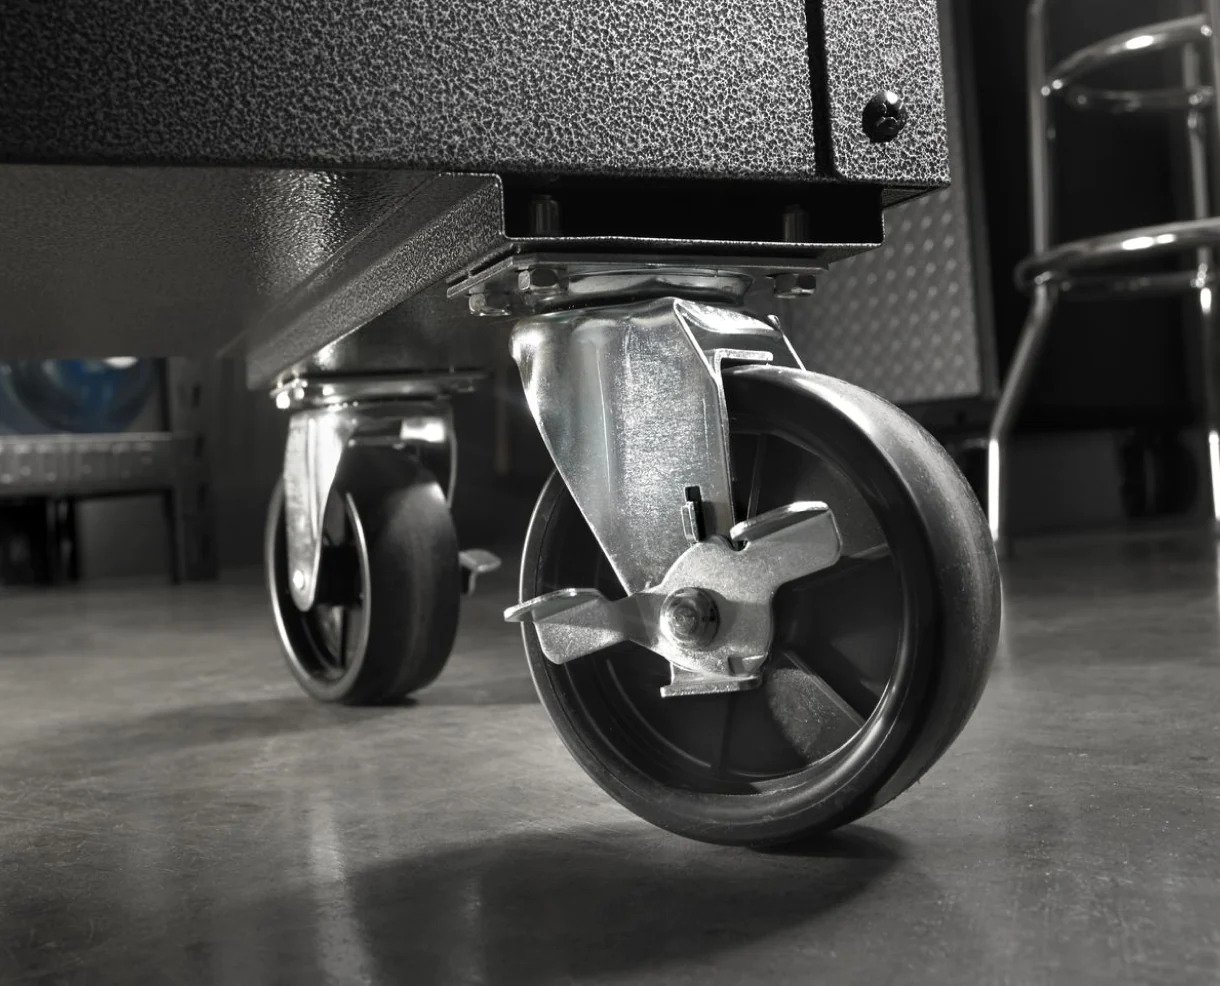
- Check for stability: After securing the sink, give it a gentle shake to ensure it is stable and securely attached to the tool chest. Make any necessary adjustments or tighten the screws if needed.
By securing the sink in the tool chest, you are ensuring that it remains stable and secure, even with regular use. Properly aligning the sink and using the appropriate mounting hardware will help prevent any shifting or movement over time. Once the sink is securely in place, you can move on to the next step: installing the plumbing.
Step 5: Installing the Plumbing
With the sink securely in place, it’s time to install the plumbing to connect it to the water supply and drain. Follow these steps to complete the plumbing installation:
- Assemble the plumbing components: Gather all the necessary plumbing materials, including pipes, connectors, and fittings. Follow the manufacturer’s instructions to assemble the components and ensure a proper fit.
- Connect the water supply: Attach one end of the water supply lines to the faucet and the other end to the appropriate shut-off valves. Use adjustable wrenches to tighten the connections, ensuring there are no leaks.
- Connect the drain: Install the P-trap and other necessary fittings to connect the sink drain to the main drain pipe. Make sure the connections are secure and tight, using pipe wrenches or adjustable pliers if necessary.
- Check for leaks: Before moving forward, turn on the water supply and check for any leaks in the connections. Inspect both the hot and cold water lines and the drain pipe to ensure everything is properly sealed.
- Ensure proper alignment: Check that all the plumbing components are aligned correctly with the holes in the back or bottom of the tool chest. Make any necessary adjustments to ensure a smooth flow of water and proper drainage.
- Test the functionality: Once the plumbing is installed, turn on the water supply and test the functionality of the sink. Run the water and check for any leaks or irregularities. Also, ensure the sink drains properly without any backups.
By installing the plumbing correctly, you are ensuring that your sink vanity functions as intended. Take your time during this step to make sure all the connections are secure and there are no signs of leaks. Once you have verified the functionality of the plumbing, you can move on to the next step: adding shelves or storage to the tool chest.
Step 6: Adding Shelves or Storage
With the sink and plumbing installed, it’s time to add shelves or additional storage to the tool chest. This step will help maximize the functionality and organization of your sink vanity. Here’s what you need to do:
- Assess the available space: Take a look at the remaining space within the tool chest and determine how you can utilize it for storage. Consider the height, width, and depth of the chest, as well as any limitations posed by the plumbing.
- Choose the type of storage: Decide whether you want to add shelves, drawers, or other storage solutions to the tool chest. Consider your specific needs and preferences for organizing bathroom essentials such as towels, toiletries, and cleaning supplies.
- Measure and mark the placement: Use a measuring tape and pencil to mark the desired placement of the shelves or storage compartments within the tool chest. Make sure the measurements are accurate to ensure a proper fit.
- Build or purchase the storage units: Depending on your DIY skills and preferences, you can either build custom shelves or purchase pre-made storage units that fit the dimensions of your tool chest. Follow the appropriate instructions for assembly, if necessary.
- Install the shelves or storage units: Place the shelves or storage units into the marked positions within the tool chest. Ensure they are level and securely fastened. Use screws, brackets, or other appropriate methods to secure the units in place.
- Organize your items: Once the shelves or storage units are installed, take the time to organize your bathroom essentials. Use bins, baskets, or dividers to optimize the space and keep everything neatly arranged.
By adding shelves or additional storage to the tool chest, you are making the most of the available space and increasing the functionality of your sink vanity. Customize the storage solutions to suit your specific needs and design preferences. With this step complete, you are almost finished with your DIY sink vanity project. All that’s left to do is add the finishing touches.
Step 7: Finishing Touches
With the sink vanity near completion, it’s time to add the finishing touches to enhance its appearance and functionality. These final steps will help refine the overall look of your DIY project. Here’s what you need to do:
- Clean and polish: Give the entire sink vanity a thorough cleaning using appropriate cleaners for the sink material and the tool chest. Wipe down all surfaces and fixtures to remove any dust or debris.
- Apply a sealant: If your sink or tool chest requires it, apply a sealant or waterproofing agent to protect the surfaces from moisture damage. Follow the manufacturer’s instructions for the specific product you are using.
- Add decorative elements: Consider adding decorative elements to the sink vanity, such as knobs, handles, or a backsplash. Choose accessories that complement the style and design of your bathroom. These small details can make a big difference in the overall aesthetic appeal of the vanity.
- Accessorize: Personalize the sink vanity by adding accessories such as soap dispensers, toothbrush holders, or decorative items. These accessories not only add functionality but can also help to tie the entire bathroom together.
- Consider lighting: Evaluate the lighting situation around the sink vanity. Ensure that there is adequate lighting for tasks such as shaving or applying makeup. You may want to add wall sconces, vanity lights, or a mirror with built-in lighting to brighten up the space.
- Make it your own: Finally, add your personal touch to the sink vanity. Consider incorporating elements that reflect your style and personality, such as photos, artwork, or scented candles. This will make the space truly feel like your own.
By adding these finishing touches, you are putting the final polish on your sink vanity project. Take your time with this step to ensure that everything is well-cleaned, properly protected, and visually appealing. Once complete, step back and admire your handiwork – you have successfully transformed a tool chest into a unique and functional sink vanity for your bathroom.
With the finishing touches in place, your sink vanity is ready to be enjoyed. It’s time to start using and enjoying your custom creation.
Conclusion
Congratulations! You have successfully learned how to transform a tool chest into a stylish and functional sink vanity for your bathroom. By repurposing an old tool chest, you have created a unique piece that adds character and personality to your living space. Not only did you save money by DIYing your sink vanity, but you also gained the satisfaction of creating something with your own hands.
Throughout this step-by-step guide, you learned how to prepare the tool chest, remove the drawers and dividers, cut holes for plumbing, secure the sink, install the plumbing, add shelves or storage, and add the finishing touches. Each step allowed you to customize your sink vanity according to your needs and preferences.
Remember to always prioritize safety when working on DIY projects. Wear protective gear, use tools correctly, and follow instructions carefully to avoid accidents. If you’re unsure about any aspect of the project, don’t hesitate to seek guidance or assistance from a professional.
Your new sink vanity not only provides functionality but also serves as a focal point in your bathroom. The combination of creativity and practicality makes it a standout feature. Enjoy the convenience of having a dedicated space for your daily routine, along with the pride of knowing you created something special.
Don’t forget to take a moment to appreciate your hard work and share your DIY success with others. Whether it’s a small bathroom renovation or a larger home improvement project, you have gained valuable skills and knowledge that can be applied to future endeavors.
Now, step back and revel in the satisfaction of a job well done. Enjoy your new sink vanity and the unique touch it brings to your bathroom!
Frequently Asked Questions about How To Make A Sink Vanity From A Tool Chest
Was this page helpful?
At Storables.com, we guarantee accurate and reliable information. Our content, validated by Expert Board Contributors, is crafted following stringent Editorial Policies. We're committed to providing you with well-researched, expert-backed insights for all your informational needs.


0 thoughts on “How To Make A Sink Vanity From A Tool Chest”