Articles
How To Install Weather Guard Tool Box
Modified: August 23, 2024
Learn how to install the Weather Guard tool box using our step-by-step guide. Read informative articles and expert tips to ensure a hassle-free installation.
(Many of the links in this article redirect to a specific reviewed product. Your purchase of these products through affiliate links helps to generate commission for Storables.com, at no extra cost. Learn more)
Introduction
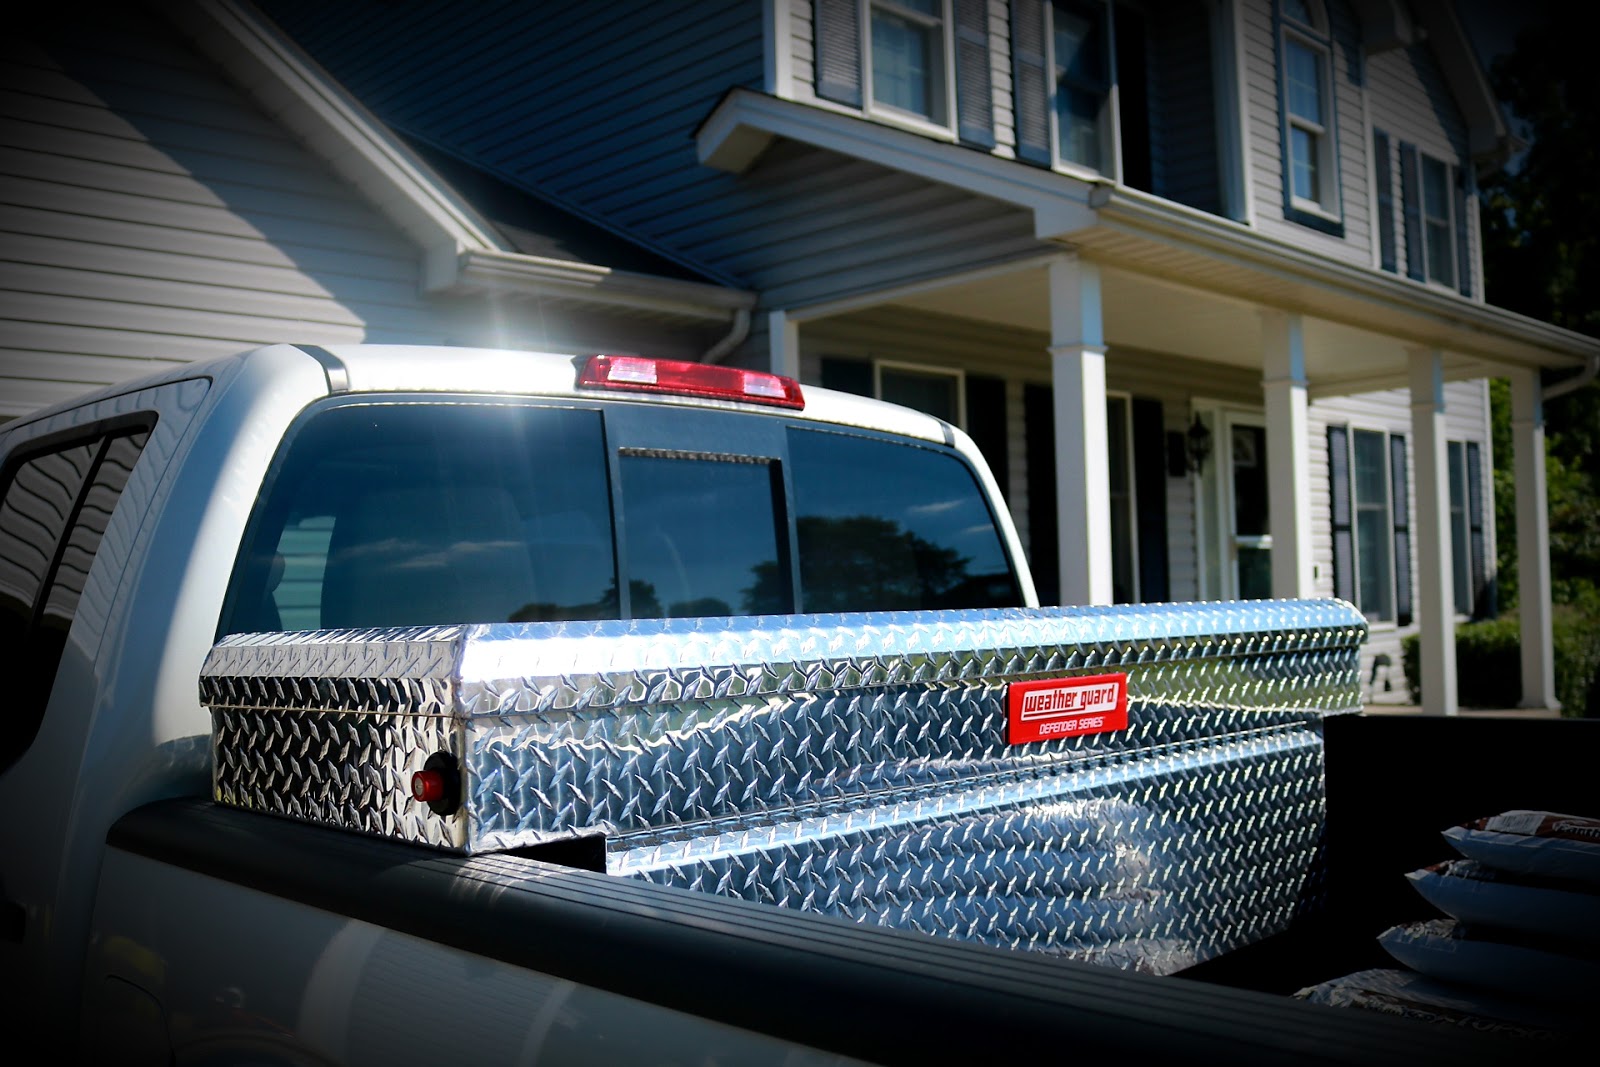
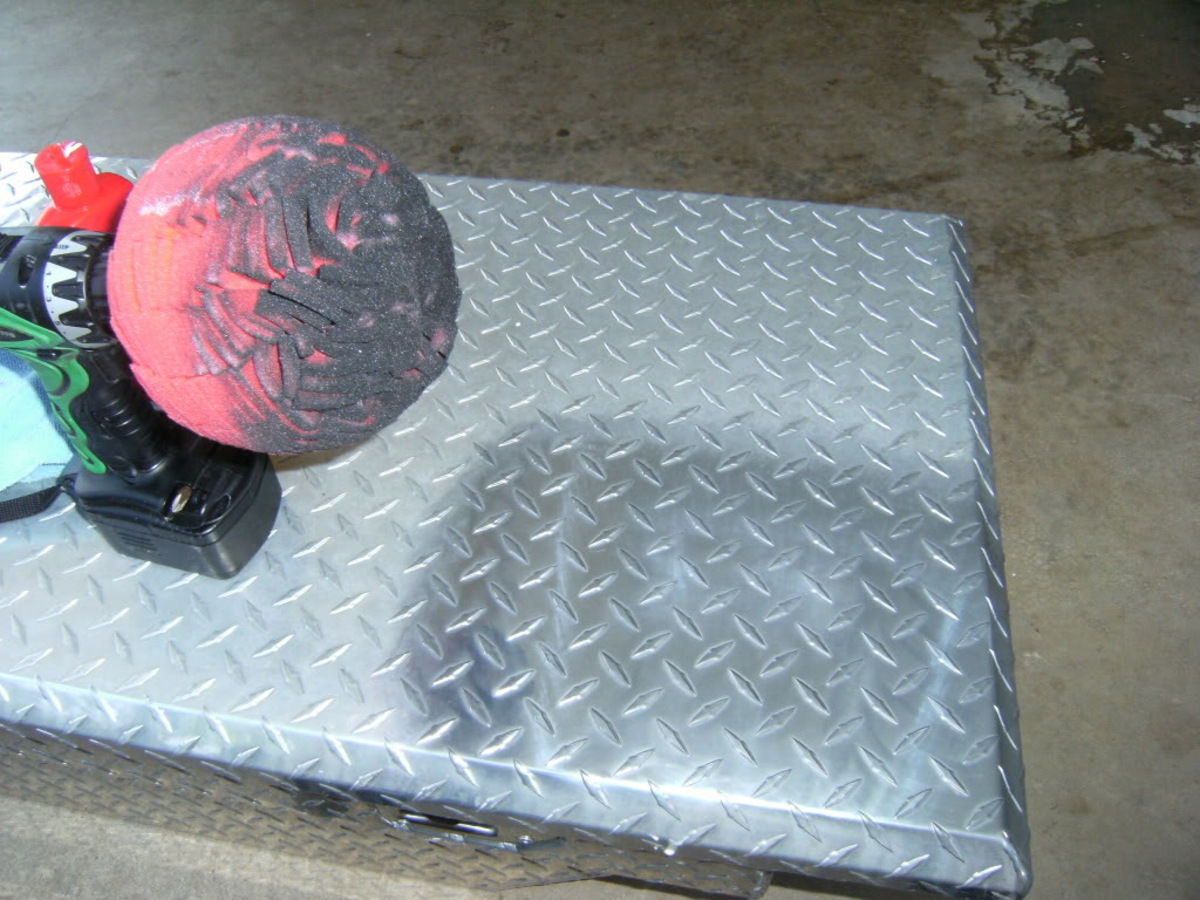
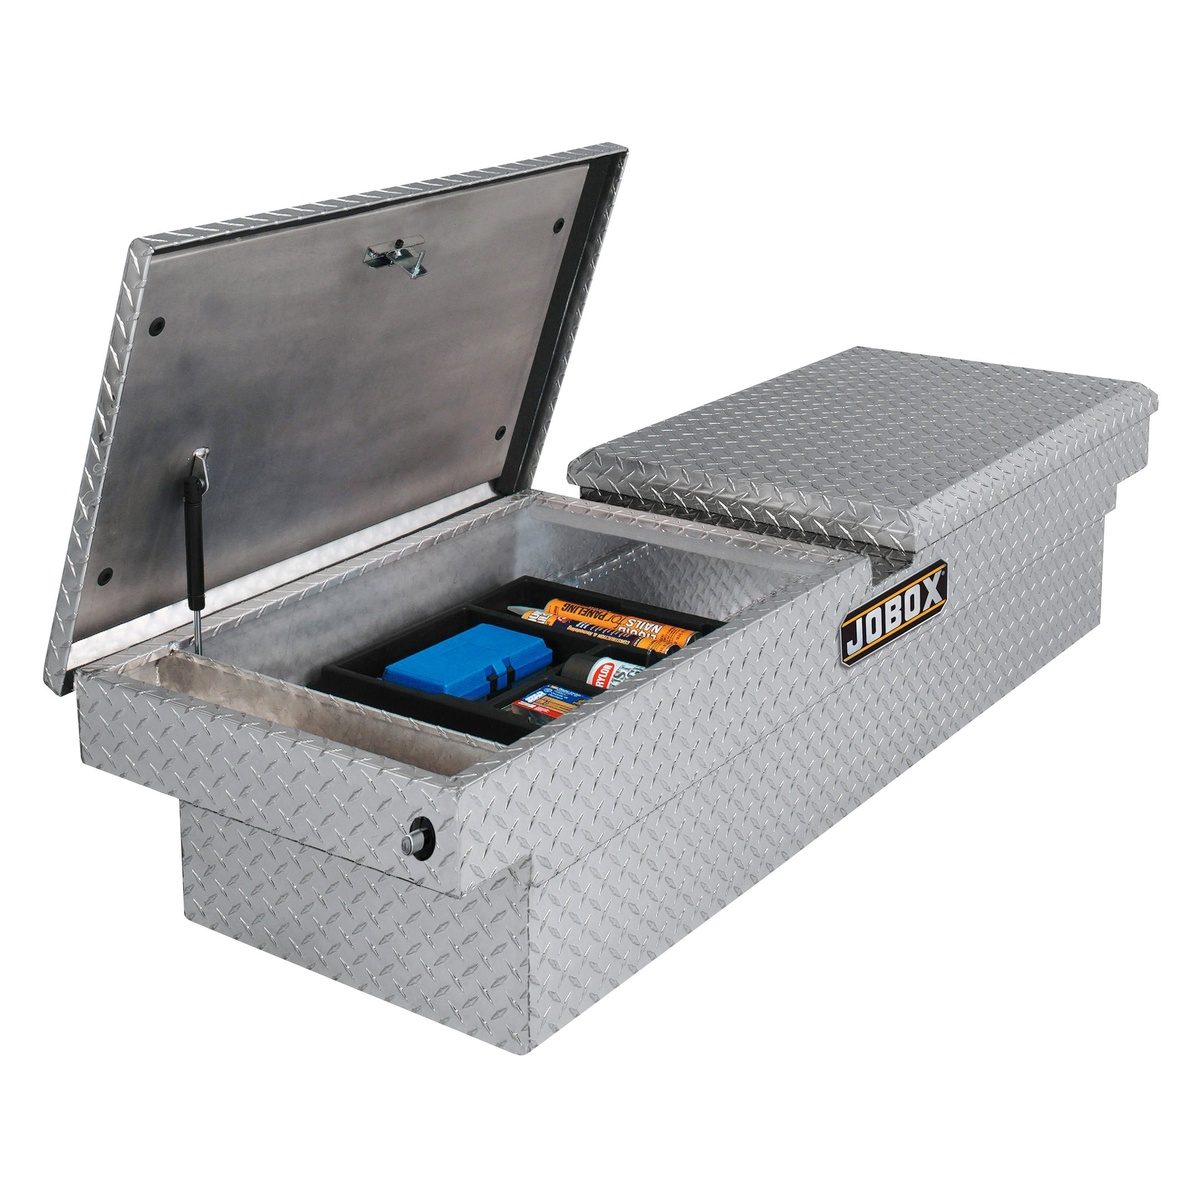
Installing a Weather Guard tool box in your truck bed is a great way to organize and secure your tools and equipment. Weather Guard tool boxes are known for their durability and weather resistance, making them an excellent choice for both professional tradespeople and DIY enthusiasts.
In this guide, we will walk you through the step-by-step process of installing a Weather Guard tool box in your truck bed. Whether you’re a seasoned handyman or a beginner looking to take on a new project, this article will provide you with all the information you need to get the job done right.
Before we dive into the installation process, let’s take a look at the tools and materials you’ll need to have on hand:
- Weather Guard tool box
- Mounting brackets and hardware
- Tape measure
- Wrench or socket set
- Screwdriver
- Drill
- Drill bits
- Silicone sealant
- Level
Once you have gathered all the necessary tools and materials, you’ll be ready to start the installation process. So, let’s get started on transforming your truck bed into a well-organized and secure storage space for your tools and equipment.
Key Takeaways:
- Transform your truck bed into a well-organized and secure storage space for your tools and equipment by following the step-by-step guide to installing a Weather Guard tool box. Ensure stability, cleanliness, and proper alignment for a reliable installation.
- Enjoy the convenience and efficiency of a Weather Guard tool box, designed to protect your tools and equipment from the elements. With the right tools and materials, proper preparation, and secure attachment, you can enhance the organization and accessibility of your truck bed storage.
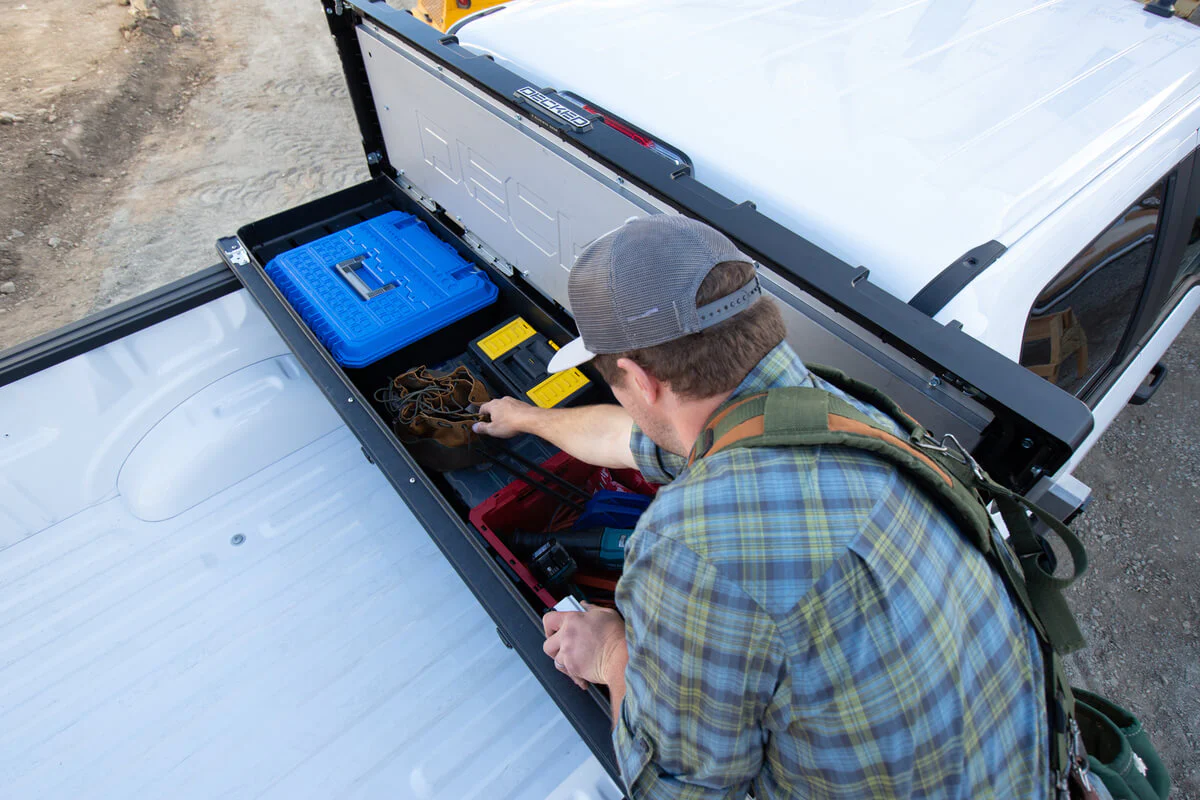
Read more: How To Install A Decked Tool Box
Tools and Materials Needed
Before you begin installing your Weather Guard tool box, make sure you have the following tools and materials ready:
Tools:
- Tape measure: You’ll need a tape measure to accurately measure the dimensions of your truck bed and ensure a proper fit for the tool box.
- Wrench or socket set: Depending on your specific mounting hardware, you’ll need a wrench or socket set to tighten the bolts and secure the tool box.
- Screwdriver: A screwdriver will be needed to remove any existing hardware or accessories from your truck bed.
- Drill: If your truck bed does not already have holes for the mounting brackets, you’ll need a drill to create them.
- Drill bits: Make sure you have the appropriate drill bits for the size of the mounting hardware.
- Silicone sealant: To ensure a watertight seal between the tool box and the truck bed, you may need silicone sealant.
- Level: A level will come in handy to ensure that the tool box is properly aligned and sitting level in your truck bed.
Materials:
- Weather Guard tool box: Choose the size and style of the Weather Guard tool box that best fits your needs and the dimensions of your truck bed.
- Mounting brackets and hardware: Depending on the specific model of the Weather Guard tool box, you may need to purchase separate mounting brackets and hardware.
Having all the necessary tools and materials ahead of time will ensure a smooth installation process and minimize any potential delays. Now that you are well-prepared, let’s move on to the step-by-step guide for installing your Weather Guard tool box.
Step 1: Measure and Prepare
The first step in installing a Weather Guard tool box is to measure your truck bed and prepare it for the installation. Follow these steps:
- Measurements: Use a tape measure to measure the length, width, and height of your truck bed. These measurements will help you determine the appropriate size of the Weather Guard tool box.
- Clean the truck bed: Remove any debris or dirt from the truck bed using a broom or vacuum. It’s important to start with a clean surface to ensure a secure and stable installation.
- Remove any existing hardware: If there are any existing accessories or hardware in your truck bed, such as tie-down straps or bed liners, remove them using a screwdriver or the appropriate tools.
Once you have measured your truck bed and cleared it of any obstructions, you will have a clean and blank canvas to work with. Now, you can proceed to the next step of purchasing the Weather Guard tool box.
Step 2: Purchase the Weather Guard Tool Box
Now that you have measured and prepared your truck bed, it’s time to purchase the Weather Guard tool box that will best suit your needs. Follow these guidelines to make an informed purchase:
- Determine the size: Refer to the measurements you took in Step 1 to determine the appropriate size of the tool box. Consider the length, width, and height of your truck bed to choose a tool box that fits snugly without obstructing your view or impeding access to the truck bed.
- Consider your storage needs: Think about the type of tools and equipment you plan to store in the tool box. Consider the number of compartments, drawers, or shelves you might need to organize your items effectively. Weather Guard offers a range of tool box styles and configurations to suit various storage requirements.
- Check for compatibility: Ensure that the tool box you choose is compatible with your specific truck make and model. Weather Guard provides compatibility information on their website or product packaging, so make sure to double-check before making a purchase.
- Read reviews and ratings: It’s always helpful to read customer reviews and ratings to get an idea of the quality and performance of a tool box. Look for feedback on durability, weather resistance, and overall satisfaction to make an informed decision.
- Compare prices: Take the time to compare prices from different retailers or online stores to find the best deal. Consider any additional accessories or mounting hardware that may be included in the purchase.
By following these guidelines, you can ensure that you select the right Weather Guard tool box for your truck bed. Once you have made your purchase, you can proceed to the next step of removing the old toolbox (if applicable) to make way for the new Weather Guard tool box.
Step 3: Remove the Old Toolbox (if applicable)
If you already have a toolbox installed in your truck bed, you’ll need to remove it before installing the new Weather Guard tool box. Follow these steps to remove the old toolbox:
- Empty the toolbox: Before removing the old toolbox, make sure it is entirely empty. Remove all tools, equipment, and any other items stored inside.
- Remove any attachments or accessories: If there are any attachments or accessories, such as locks or brackets, connected to the old toolbox, carefully remove them using the appropriate tools.
- Disconnect any mounting hardware: Most toolboxes are secured to the truck bed using mounting brackets or bolts. Use a wrench or socket set to loosen and remove the mounting hardware. Keep track of the hardware as you will need it for the installation of the new Weather Guard tool box.
- Lift and remove the old toolbox: With the mounting hardware removed, carefully lift the old toolbox out of the truck bed. Enlist the help of a friend if needed to ensure a safe and smooth removal.
- Inspect the truck bed: After removing the old toolbox, take a moment to inspect the truck bed for any damage or residue left behind. Use a soft cloth or brush to clean up any debris or adhesive on the bed.
Removing the old toolbox will provide you with a clean canvas for installing the new Weather Guard tool box. Once you have removed the old toolbox and ensured the truck bed is in good condition, you can move on to the next step of installing the mounting brackets.
Step 4: Install Mounting Brackets
With the old toolbox removed (if applicable) and a clean truck bed, it’s time to install the mounting brackets for your new Weather Guard tool box. Follow these steps to securely install the brackets:
- Refer to the Weather Guard tool box instructions: Each Weather Guard tool box may have specific instructions for installing the mounting brackets. Refer to the user manual or instructions provided by Weather Guard for guidance.
- Position the brackets: Determine the correct placement of the mounting brackets based on the size and design of your Weather Guard tool box. Make sure the brackets are lined up evenly and level with the sides and front of the truck bed.
- Mark the hole locations: Use a pencil or marker to mark the hole locations for the mounting brackets on the truck bed. Make sure the markings are clear and easily visible.
- Drill pilot holes: Use a drill with the appropriate drill bit to create pilot holes at the marked locations. Make sure to drill straight and at the proper depth to accommodate the mounting hardware.
- Secure the brackets: Place the mounting brackets onto the pilot holes and align them properly. Use the provided bolts and nuts to secure the brackets tightly to the truck bed. Use a wrench or socket set to tighten the bolts securely.
- Check for stability: Once the brackets are installed, give them a gentle shake to ensure they are secure and stable. Make any necessary adjustments or tighten the bolts if needed.
By following these steps, you will successfully install the mounting brackets for your Weather Guard tool box. With the brackets securely in place, you’re ready to move on to the next step of preparing the truck bed for the tool box installation.
Step 5: Prepare the Truck Bed
Now that you have installed the mounting brackets for your Weather Guard tool box, it’s time to prepare the truck bed to ensure a proper and secure installation. Follow these steps to prepare the truck bed:
- Clean the truck bed: Use a broom, vacuum, or a damp cloth to clean the truck bed of any dirt, debris, or residue. This will provide a clean surface for the tool box to sit on.
- Apply silicone sealant (if necessary): If there are any gaps or uneven surfaces on the truck bed, it is advisable to apply silicone sealant. This will create a watertight seal between the tool box and the truck bed, preventing water from seeping in.
- Check for levelness: Use a level to ensure that the truck bed is level. Place the level in different areas of the truck bed to check for any slopes or unevenness. If needed, make adjustments by adding shims or leveling the bed.
- Inspect the mounting brackets: Double-check the mounting brackets to ensure they are securely attached to the truck bed. Tighten any loose bolts or make adjustments as necessary.
Preparing the truck bed is an important step to ensure a stable and secure installation of your Weather Guard tool box. By taking the time to clean the truck bed, apply silicone sealant if needed, check for levelness, and inspect the mounting brackets, you’ll be ready to attach the tool box to the brackets in the next step.
When installing a Weather Guard tool box, make sure to use the provided mounting hardware and follow the manufacturer’s instructions carefully to ensure a secure and proper installation.
Step 6: Attach the Weather Guard Tool Box to Mounting Brackets
Now that the truck bed is prepared, it’s time to attach the Weather Guard tool box to the mounting brackets. Follow these steps to securely attach the tool box:
- Position the tool box: Lift the Weather Guard tool box and position it onto the mounting brackets. Make sure the tool box is centered and aligned properly with the truck bed.
- Line up the mounting holes: Align the mounting holes on the bottom of the tool box with the corresponding holes on the mounting brackets.
- Insert the bolts: Insert the bolts through the holes, from the inside of the mounting brackets to the outside of the tool box.
- Add washers and nuts: Place the washers onto the bolts, followed by the nuts. Make sure they are securely tightened using a wrench or socket set.
During this step, it may be helpful to have a friend assist you in holding the tool box in position while you insert the bolts and secure it. This will ensure a stable and accurate installation.
Once the tool box is securely attached to the mounting brackets, give it a gentle shake to ensure it is stable and doesn’t move excessively. If the tool box feels loose or unstable, double-check the bolts and tighten them if necessary.
Now that the Weather Guard tool box is securely attached to the mounting brackets, you’re ready to move on to the next step of securing the toolbox in place.
Step 7: Secure the Toolbox
Securing the Weather Guard tool box in place is crucial to ensure it stays firmly attached to the truck bed and doesn’t shift during transportation. Follow these steps to secure the toolbox:
- Use additional mounting hardware (if applicable): Depending on the specific model of your Weather Guard tool box, there may be additional mounting holes or hardware provided. If so, follow the manufacturer’s instructions to secure the toolbox using these additional fasteners.
- Tighten all bolts and nuts: Double-check all the bolts and nuts that were used to attach the tool box to the mounting brackets. Make sure they are securely tightened using a wrench or socket set.
- Check for stability: Give the tool box a firm shake and push to test its stability. It should feel secure and not move excessively. If any movement is detected, double-check all the fasteners and tighten them further if needed.
- Inspect the toolbox from all angles: Step back and visually inspect the tool box from all angles. Ensure that it is centered, level, and properly aligned with the truck bed. Make any necessary adjustments if it appears off-balance or misaligned.
Securing the Weather Guard tool box is essential for the safety of your tools and equipment, as well as the integrity of the installation. Taking the time to double-check the fasteners and stability of the toolbox will provide peace of mind when driving with your tools in the truck bed.
Once you have confirmed that the tool box is securely in place, you can proceed to the final step of testing and making any necessary adjustments.
Step 8: Test and Final Adjustments
After completing the installation and securing of your Weather Guard tool box, it’s important to test its functionality and make any final adjustments as needed. Follow these steps to ensure everything is working correctly:
- Load and unload the toolbox: Place some tools or equipment into the tool box and test the process of loading and unloading items. Ensure that the tool box is easily accessible and that there are no obstructions or issues with the opening and closing mechanism.
- Check for water and weather resistance: If your Weather Guard tool box is advertised as weather-resistant, it’s a good idea to test it by exposing it to water or simulating rain. Check for any signs of water leakage or moisture inside the tool box. If any leaks are detected, apply additional sealant or contact the manufacturer for further assistance.
- Inspect for any loose components: Carefully inspect the tool box for any loose components, such as handles, hinges, or latches. Make sure all parts are securely in place and functioning properly. Tighten any loose screws or bolts if necessary.
- Make final adjustments: If you notice any misalignments or levelness issues with the tool box, make final adjustments to ensure it sits properly in the truck bed. Use a level and adjust the mounting brackets if needed. Double-check all bolts and nuts to ensure they are tight.
By conducting these tests and making any necessary final adjustments, you can ensure that your Weather Guard tool box is in optimal condition and ready for use. Taking the time to fine-tune its functionality will help you make the most of your investment.
With the completion of these steps, you have successfully installed your Weather Guard tool box in your truck bed. Congratulations on enhancing the organization and security of your tools and equipment!
Conclusion
Installing a Weather Guard tool box in your truck bed is a practical and efficient way to organize and protect your tools and equipment. By following the step-by-step guide provided in this article, you can successfully install a Weather Guard tool box and enjoy the benefits it offers.
We started by discussing the tools and materials you will need for the installation process. Proper preparation and having the necessary tools on hand are key to a smooth installation.
We then walked through each step of the installation process, from measuring and preparing the truck bed to attaching the Weather Guard tool box to the mounting brackets. Along the way, we emphasized the importance of cleanliness, levelness, and secure attachment to ensure a stable and reliable installation.
Once the toolbox was attached, we highlighted the significance of securing the toolbox properly and testing its functionality. By completing these final steps, you can ensure that your tools and equipment will be well-protected and easily accessible when you need them.
Remember to regularly inspect and maintain your Weather Guard tool box to keep it in optimal condition. Clean it as needed, check for any loose or damaged components, and address any issues promptly to extend its lifespan.
Installing a Weather Guard tool box in your truck bed not only enhances the organization and accessibility of your tools, but it also provides peace of mind knowing that your equipment is secure and protected from the elements.
With the comprehensive information provided in this article, you are now equipped with the knowledge and guidance to confidently install your Weather Guard tool box and make the most of your truck bed storage. Enjoy the convenience and efficiency that a Weather Guard tool box brings to your work or recreational activities!
Frequently Asked Questions about How To Install Weather Guard Tool Box
Was this page helpful?
At Storables.com, we guarantee accurate and reliable information. Our content, validated by Expert Board Contributors, is crafted following stringent Editorial Policies. We're committed to providing you with well-researched, expert-backed insights for all your informational needs.


0 thoughts on “How To Install Weather Guard Tool Box”