Home>Articles>How To Remove Drawers From The Remline Pro Series Tool Chest
Articles
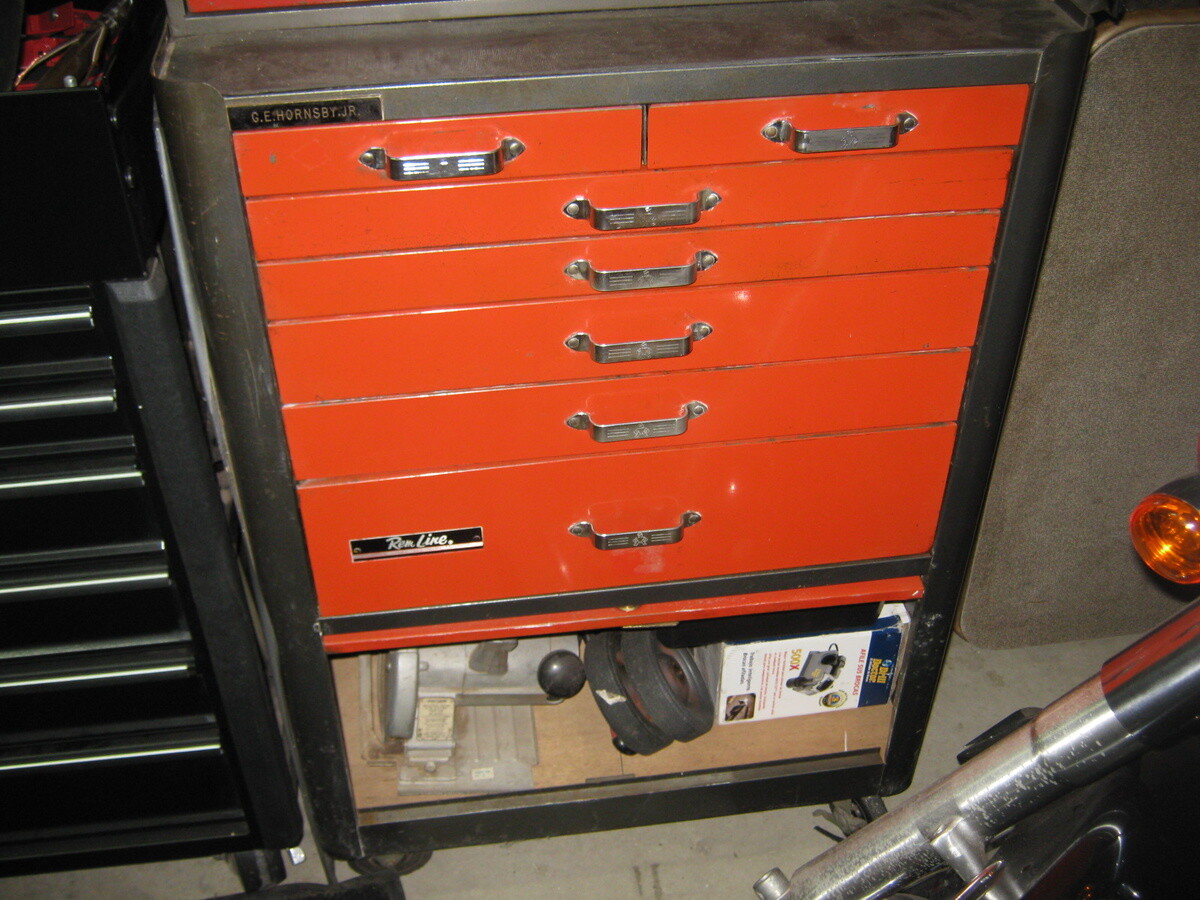
How To Remove Drawers From The Remline Pro Series Tool Chest
Modified: February 22, 2024
Discover how to remove drawers from your Remline Pro Series tool chest with these helpful articles.
(Many of the links in this article redirect to a specific reviewed product. Your purchase of these products through affiliate links helps to generate commission for Storables.com, at no extra cost. Learn more)
Introduction
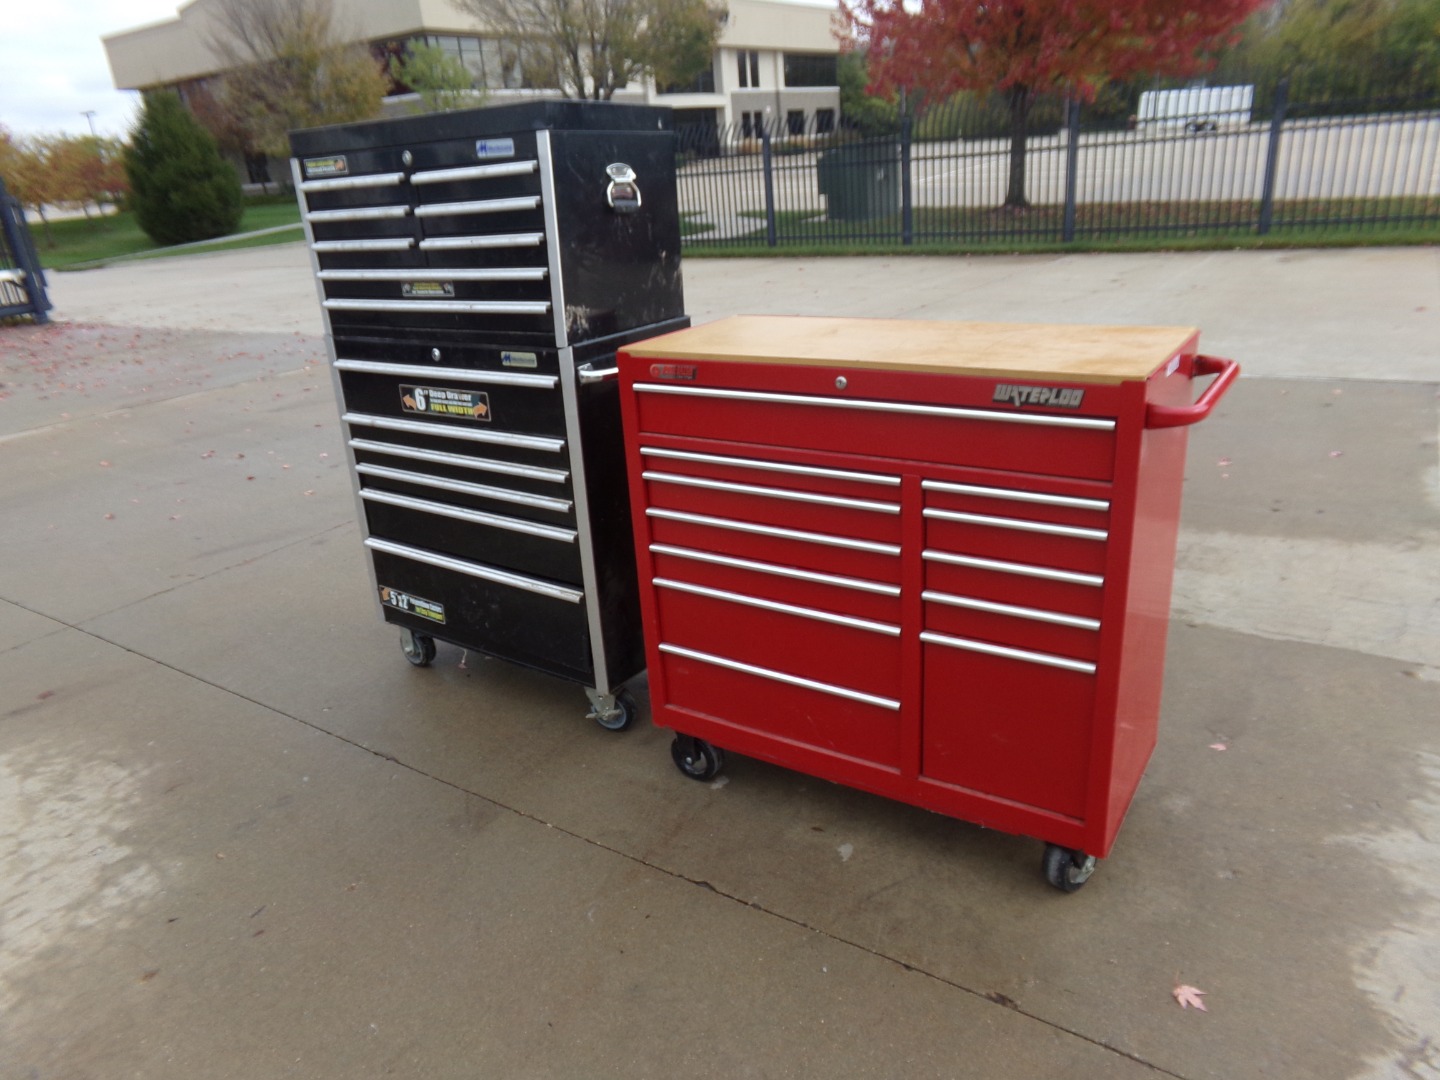
Welcome to this comprehensive guide on how to remove drawers from your Remline Pro Series Tool Chest. The Remline Pro Series Tool Chest is a popular choice for professionals and enthusiasts alike due to its durability and functionality. Whether you need to clean, repair, or rearrange the drawers, removing them from your tool chest is a straightforward process that anyone can do.
In this article, we will walk you through the step-by-step process of removing the drawers from your Remline Pro Series Tool Chest. We will also provide some additional tips on how to reinstall the drawers if you wish to do so. Whether you are a seasoned DIY-er or a beginner, this guide will help you successfully remove and handle the drawers with ease.
Before we dive into the steps, it is essential to emphasize the importance of safety during this process. Be sure to wear protective gloves to prevent any injuries. Additionally, always work on a stable surface to avoid any accidents or damage to your tool chest.
Now, let’s get started with step one: emptying the tool chest.
Key Takeaways:
- Keep your Remline Pro Series Tool Chest organized and functional by following these simple steps to remove and reinstall drawers. Prioritize safety, understand the release mechanism, and handle drawers with care for a seamless process.
- Whether cleaning, repairing, or reconfiguring, the process of removing and reinstalling drawers from your Remline Pro Series Tool Chest is straightforward. Empty the chest, locate the release mechanism, and handle drawers with caution for a well-organized workspace.
Step 1: Empty the Tool Chest
Before you begin removing the drawers from your Remline Pro Series Tool Chest, it is crucial to empty the tool chest of all its contents. This will not only make the process easier but also prevent any damage to your tools or the drawers themselves.
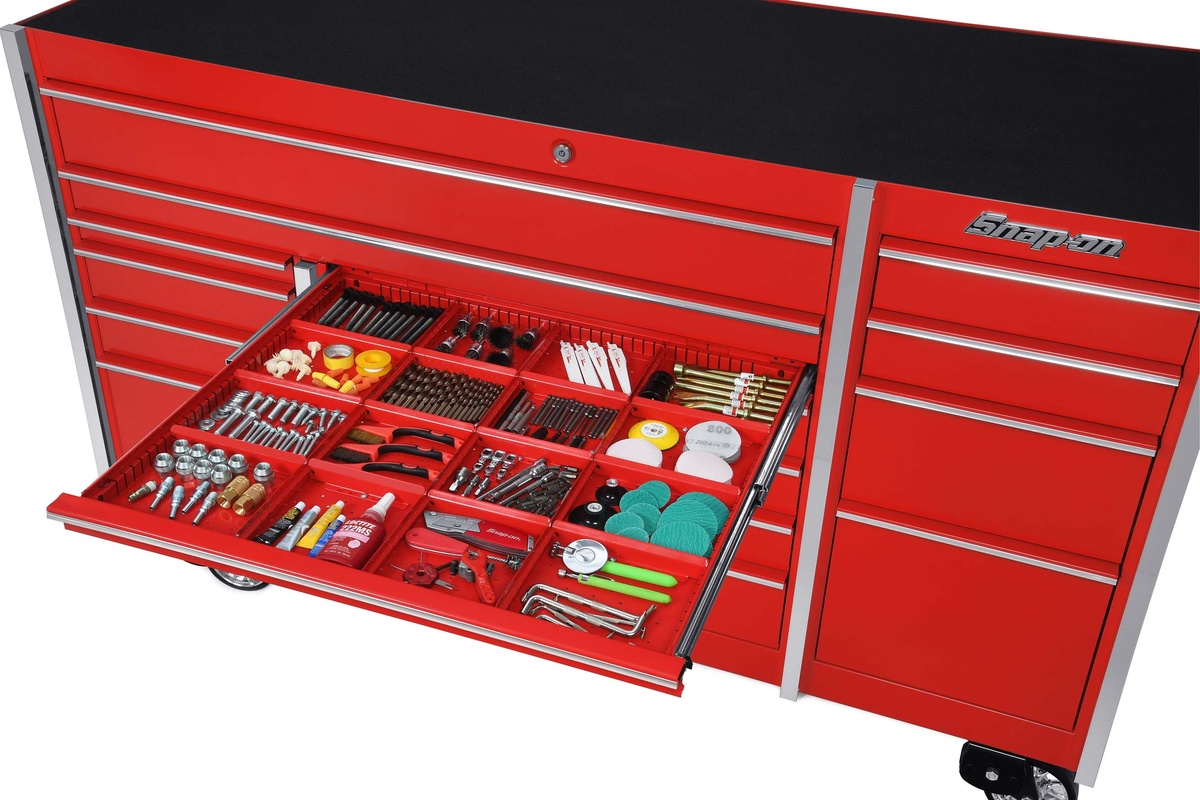
Start by opening each drawer and removing all the items stored inside. Take your time and organize the tools and accessories so that you can easily put them back in their respective drawers later. You can use a clean work surface or a separate container to temporarily store the items.
As you empty each drawer, take note of any loose or misplaced tools. This is an excellent opportunity to declutter and reorganize your tool collection. Consider grouping similar items together or using dividers to keep your drawers tidy and efficient.
Once you have emptied all the drawers, take a quick moment to clean the interior of the tool chest. Use a soft cloth or a vacuum cleaner to remove any dust, debris, or loose particles. This will prevent any dirt from transferring back onto your tools when you reinstall the drawers.
With the tool chest emptied and cleaned, you are ready to move on to the next step: locating the drawer release mechanism.
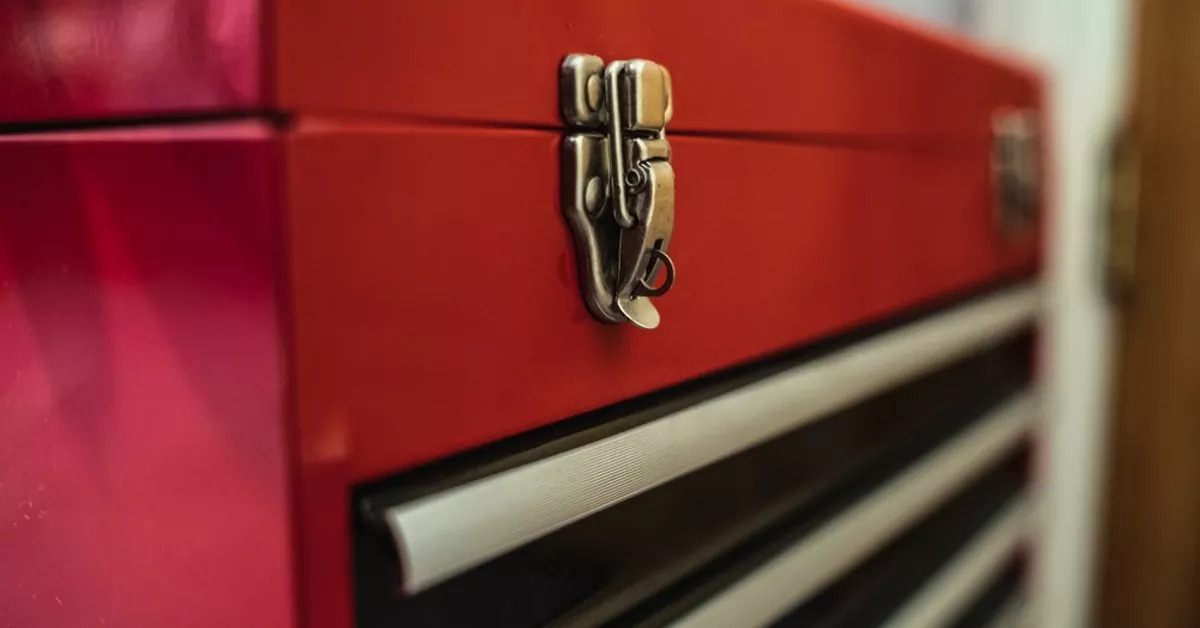
Step 2: Locate the Drawer Release Mechanism
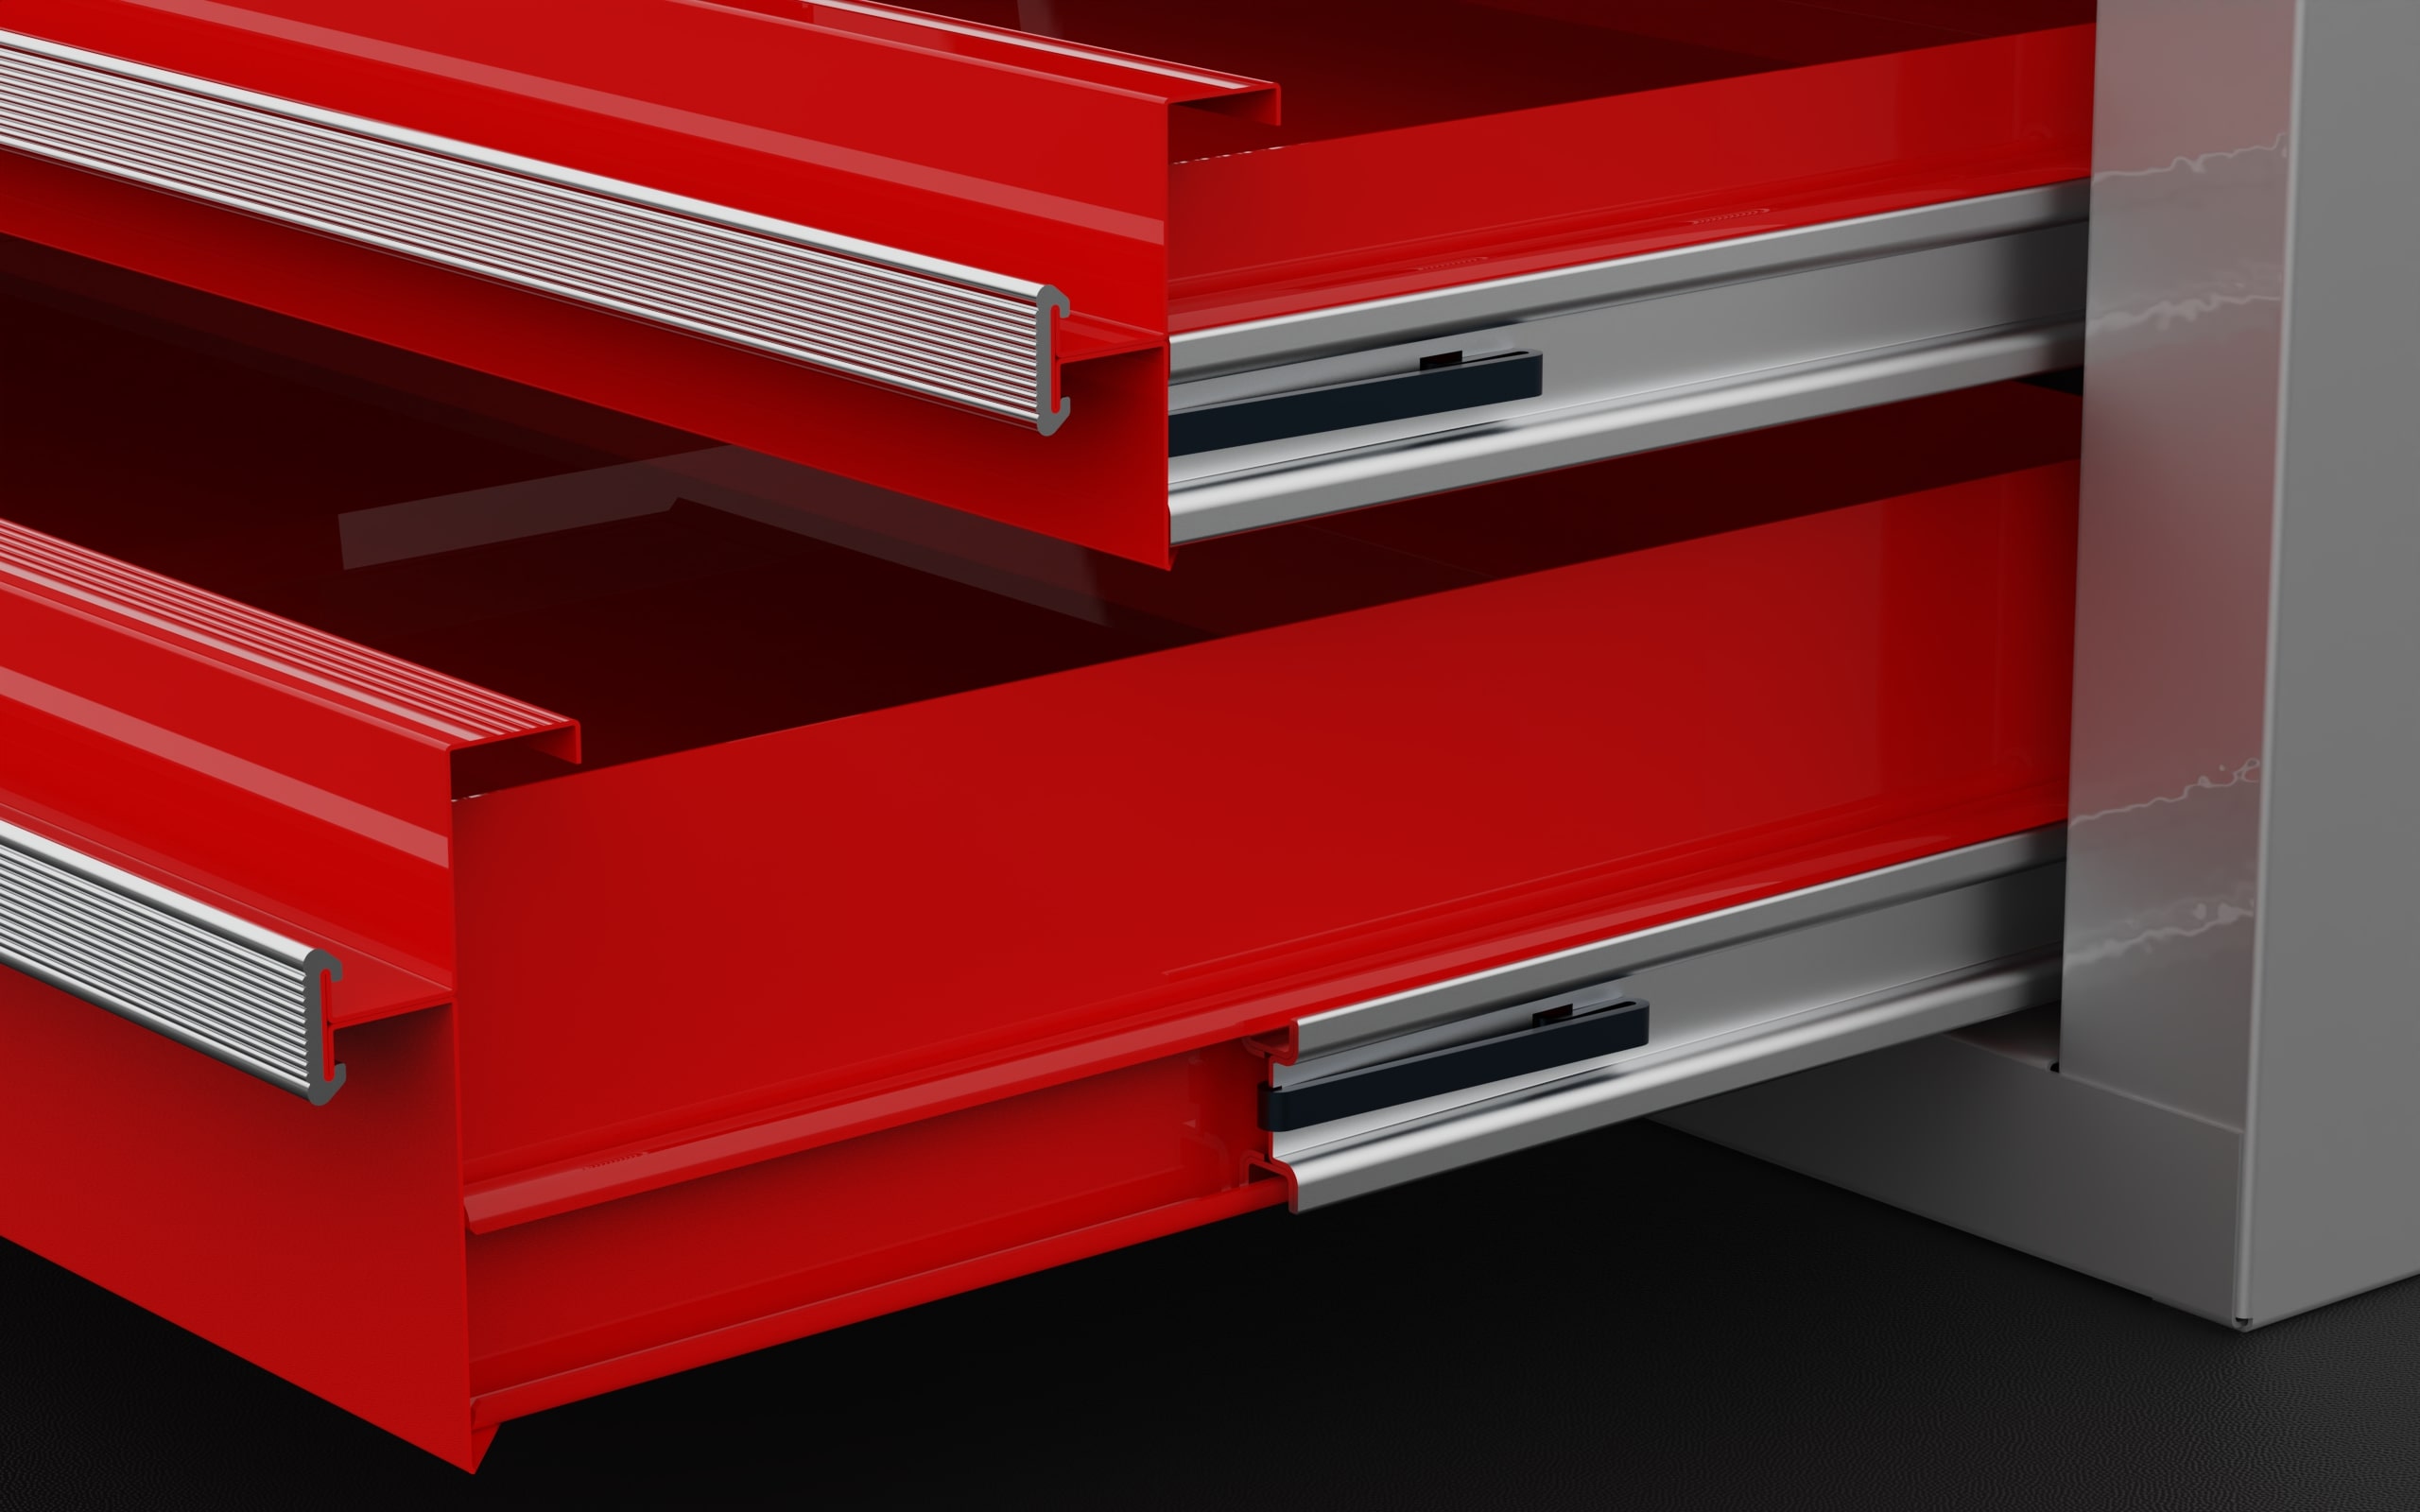
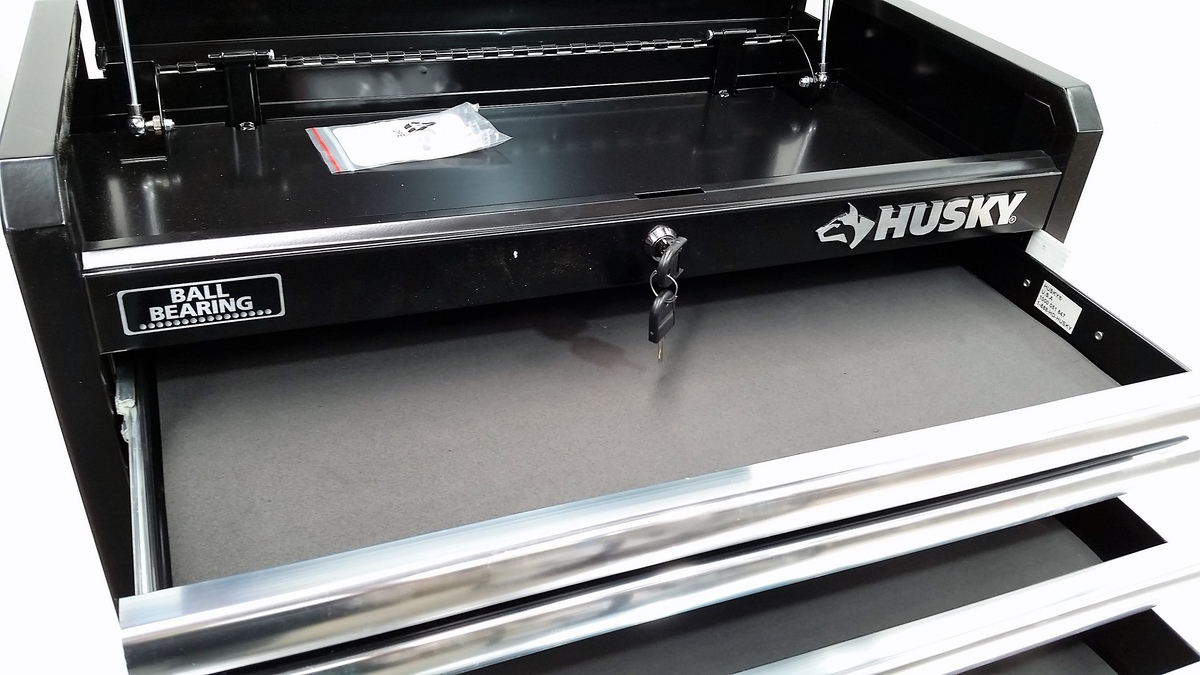
Locating the drawer release mechanism is essential for successfully removing the drawers from your Remline Pro Series Tool Chest. The drawer release mechanism is typically located on the sides or underside of each drawer and is designed to secure the drawer in place.
Start by examining the sides and underside of the tool chest drawers. Look for any visible levers, buttons, or tabs. In some cases, the release mechanism may be a simple latch or a push-to-release feature.
If you are unsure about the location of the release mechanism, consult the user manual or contact the manufacturer for assistance. They will be able to provide you with specific instructions based on the model of your Remline Pro Series Tool Chest.
Once you have identified the drawer release mechanism, take a moment to familiarize yourself with how it works. Understanding the mechanism will make it easier for you to operate it when removing and reinstalling the drawers.
If the release mechanism is a latch, ensure that it is in the “locked” position before moving on to the next step. This will prevent the drawer from accidentally sliding out while you are working on it.
With the drawer release mechanism located and understood, you are now ready to move on to the next step: releasing the drawer.
Step 3: Release the Drawer
Now that you have located the drawer release mechanism, it’s time to release the drawer from your Remline Pro Series Tool Chest. The release process may vary depending on the specific model of your tool chest, so it’s essential to follow the instructions provided by the manufacturer.
If your tool chest has a latch-style release mechanism, start by ensuring that the latch is in the unlocked position. This will allow the drawer to be released smoothly.
Next, gently pull the drawer towards you while simultaneously pressing or releasing the latch. You may need to apply a bit of force, but be careful not to exert too much pressure as it may damage the latch or the drawer itself.
If your tool chest has a push-to-release mechanism, look for a button or tab located near the drawer slides. Press or lift the button/tab while pulling the drawer towards you. This action should disengage the mechanism and allow the drawer to slide out.
Alternatively, some tool chests may have a lever or handle that needs to be lifted or rotated to release the drawer. Again, consult the user manual or contact the manufacturer if you are unsure about the specific process for your tool chest model.
Once the drawer release mechanism has been activated, you should feel the drawer become loose and slide out partially. However, be cautious as the drawer may still be attached to the slides or have other retention features in place.
With the drawer partially released, proceed to the next step to safely remove it from your Remline Pro Series Tool Chest.
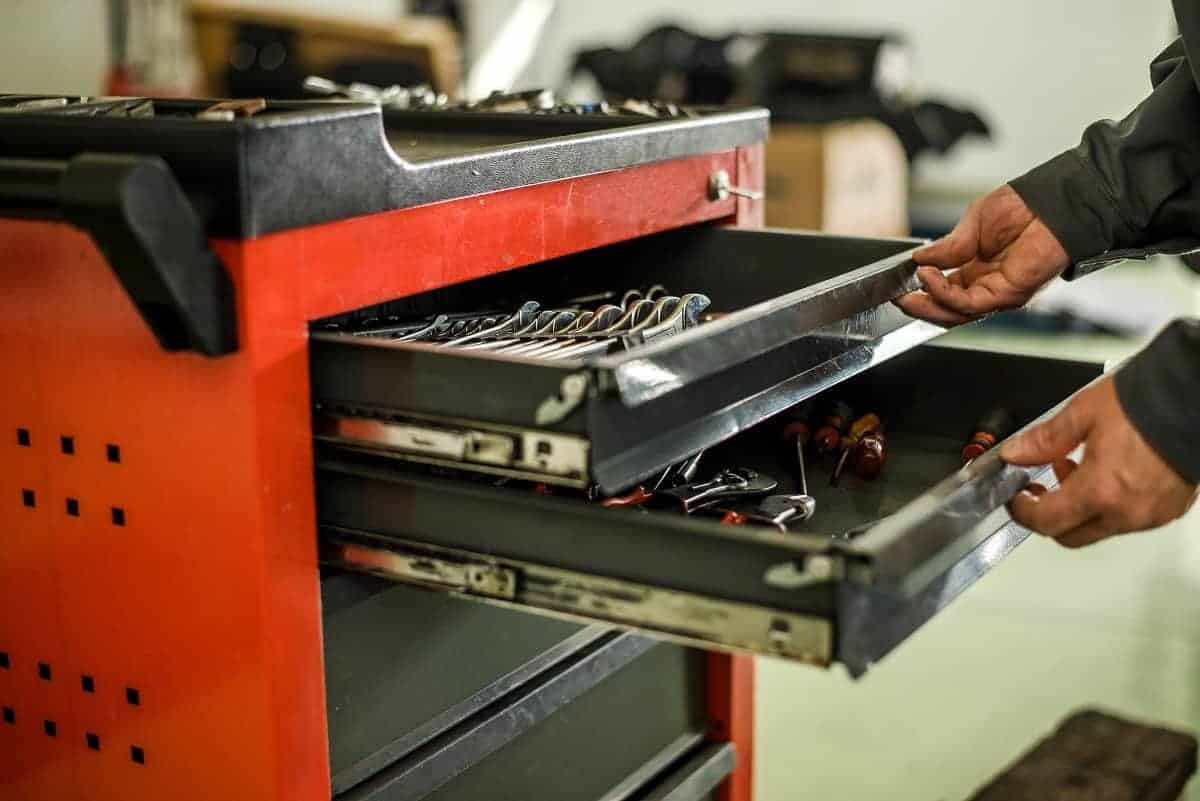
To remove drawers from a Remline Pro Series Tool Chest, start by fully extending the drawer. Then, locate the release tabs on each side of the drawer slides and push them in while pulling the drawer out.
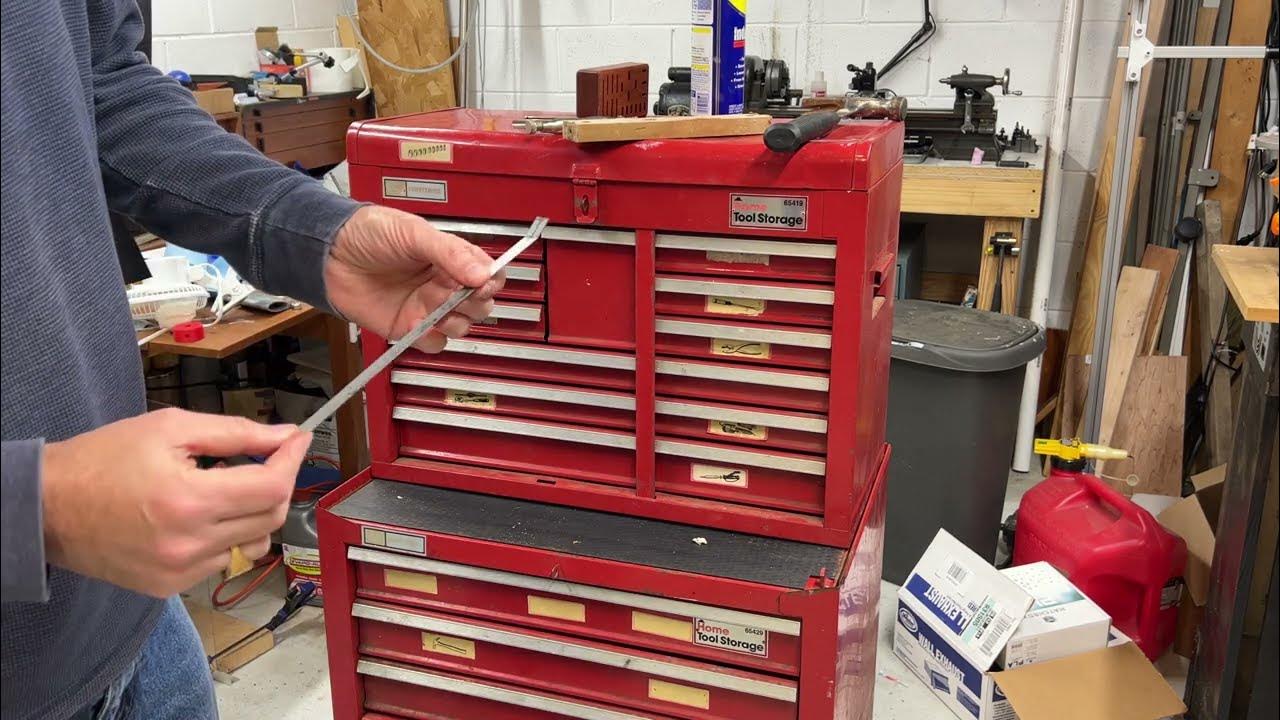
Step 4: Remove the Drawer
Now that the drawer has been partially released, it’s time to completely remove it from your Remline Pro Series Tool Chest. Carefully follow the steps below to ensure a smooth and safe removal process.
1. Hold the partially released drawer firmly with both hands, one on each side. Make sure to distribute the weight evenly to maintain control throughout the removal process.
2. Slowly and steadily pull the drawer towards you, keeping it level and straight. Be aware of any obstructions or cables that may be connected to the drawer, especially if your tool chest features a power outlet or charging station.
3. As you continue to pull the drawer out, you may encounter some resistance due to the drawer slides or retention features. Apply slightly more force to overcome these obstacles while ensuring that you have a firm grip on the drawer at all times.
4. Once the drawer is fully extended, carefully lift it upwards to disengage it from the slides. Ensure that the drawer is completely free from any attachments or cables before fully removing it from the tool chest.
5. Set the removed drawer aside in a safe and designated area. Take care not to place it in a location where it may be subjected to damage or potential hazards.
Repeat these steps for each drawer you wish to remove from your Remline Pro Series Tool Chest. If you plan to remove multiple drawers, it’s advisable to label them or take note of their specific locations to facilitate reinstallation.
Now that you have successfully removed the drawer(s) from your tool chest, you can proceed with any necessary cleaning, repairs, or reconfigurations. If you have completed your desired tasks, you can now move on to the optional step of reinstalling the drawer(s).
Step 5: Reinstall the Drawer (Optional)
If you have completed your desired tasks or made any necessary repairs or modifications to the drawer, you may choose to reinstall it back into your Remline Pro Series Tool Chest. Reinstalling the drawer is a straightforward process that can be done by following these steps:
1. Ensure that the drawer and the tool chest are free from any dirt, dust, or debris. Use a soft cloth or vacuum cleaner to remove any particles that may have accumulated during the removal process.
2. Align the drawer with the slides or tracks in the tool chest. Make sure that the drawer is level and positioned correctly to fit smoothly back into place. Take note of any alignment marks or indicators that may be present.
3. Gently slide the drawer back into the tool chest, ensuring that it moves along the slides or tracks smoothly. Apply even pressure and avoid forcing the drawer to prevent any damage to the slides or the drawer itself.
4. Once the drawer is fully inserted, listen for a click or a locking sound. This indicates that the drawer has properly engaged with the retention mechanism and is securely in place.
5. Give the drawer a slight tug to test its stability. It should be firmly in place and not easily dislodged. If the drawer feels loose or wobbly, double-check the alignment and make any necessary adjustments.
Repeat these steps for each drawer you wish to reinstall. Take your time to ensure that each drawer is correctly aligned and securely fastened in place.
Reinstalling the drawers will not only restore the functionality of your Remline Pro Series Tool Chest but also provide a sense of organization and efficiency to your workspace. Your tools will be readily accessible, allowing you to work with ease and efficiency.
Finally, step back and admire your well-organized tool chest with its freshly installed drawers. Your Remline Pro Series Tool Chest is now ready to serve you once again!
Conclusion
Removing and reinstalling the drawers in your Remline Pro Series Tool Chest is a simple and essential task that allows you to maintain and organize your tools effectively. Whether you need to clean, repair, or rearrange your tool chest, following the steps outlined in this guide will ensure a seamless process.
Remember to always prioritize safety by wearing protective gloves and working on a stable surface. Take the time to empty the tool chest and organize your tools before removing the drawers. This will prevent any damage to your tools and make the removal process more manageable.
Locating and understanding the drawer release mechanism is crucial for successfully removing the drawers. Take note of the specific mechanism used in your tool chest and follow the manufacturer’s instructions to ensure a smooth release.
When removing the drawers, proceed with caution and apply the necessary force to overcome any obstructions. Keep the drawers level and straight to prevent any accidents or damage during the removal process.
If desired, you can also choose to reinstall the drawers after completing your tasks or making any necessary repairs. Take care to align the drawers correctly and ensure they are securely in place before moving on.
By following these steps, you can maintain the functionality and organization of your Remline Pro Series Tool Chest for years to come. Enjoy the convenience and efficiency of a well-organized tool chest, knowing that you have the knowledge and skills to remove and reinstall the drawers as needed.
Now, go ahead and put this guide into action. Take care of your Remline Pro Series Tool Chest, and let it continue to serve as your trusted companion in all your DIY projects and professional endeavors.
Frequently Asked Questions about How To Remove Drawers From The Remline Pro Series Tool Chest
Was this page helpful?
At Storables.com, we guarantee accurate and reliable information. Our content, validated by Expert Board Contributors, is crafted following stringent Editorial Policies. We're committed to providing you with well-researched, expert-backed insights for all your informational needs.


0 thoughts on “How To Remove Drawers From The Remline Pro Series Tool Chest”