Articles
What To Use If I Dont Have A Stand Mixer
Modified: October 27, 2024
Discover alternative kitchen tools to use if you don't have a stand mixer. Read our informative articles for helpful tips and tricks.
(Many of the links in this article redirect to a specific reviewed product. Your purchase of these products through affiliate links helps to generate commission for Storables.com, at no extra cost. Learn more)
Introduction
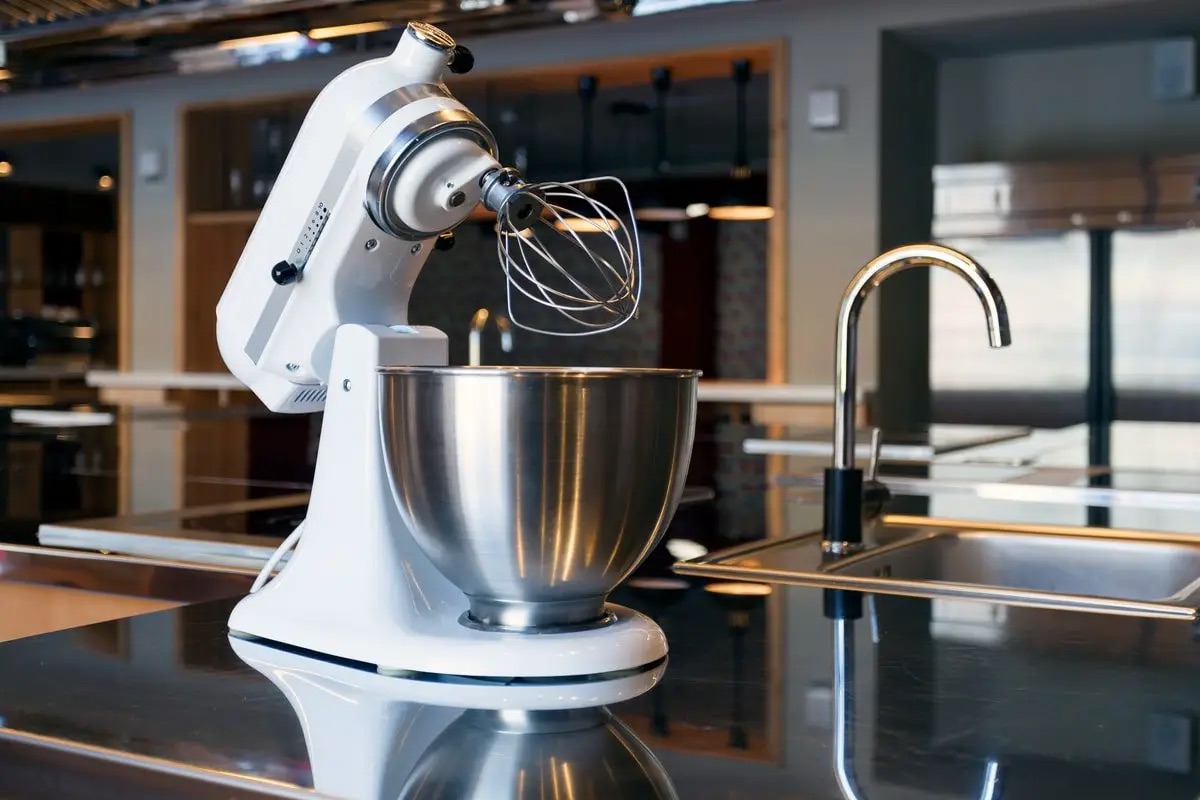
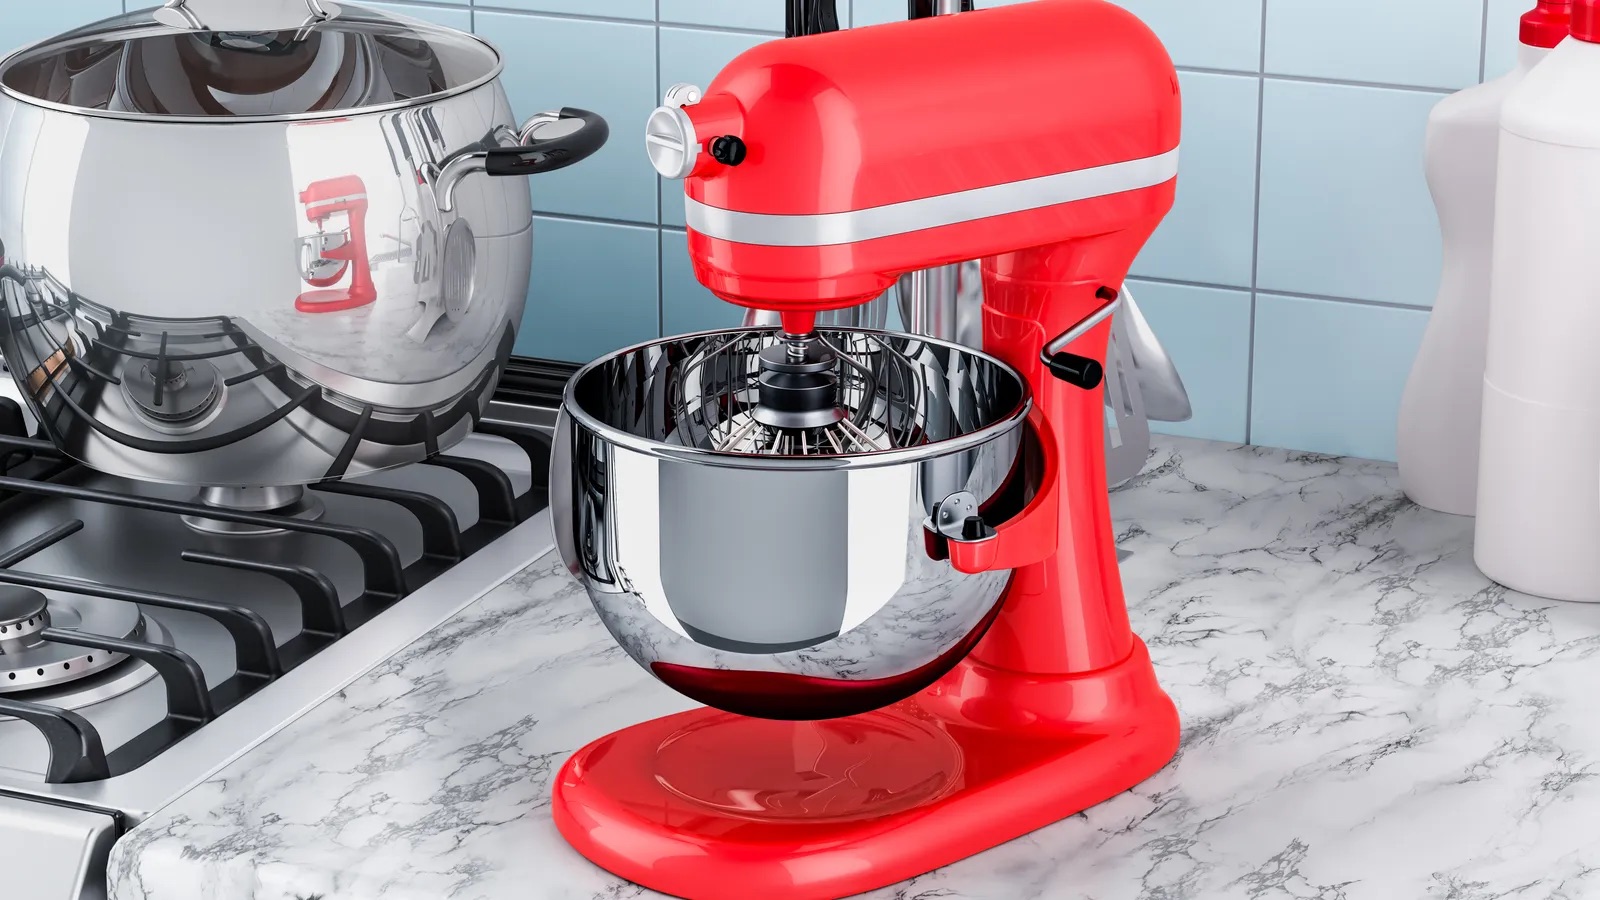
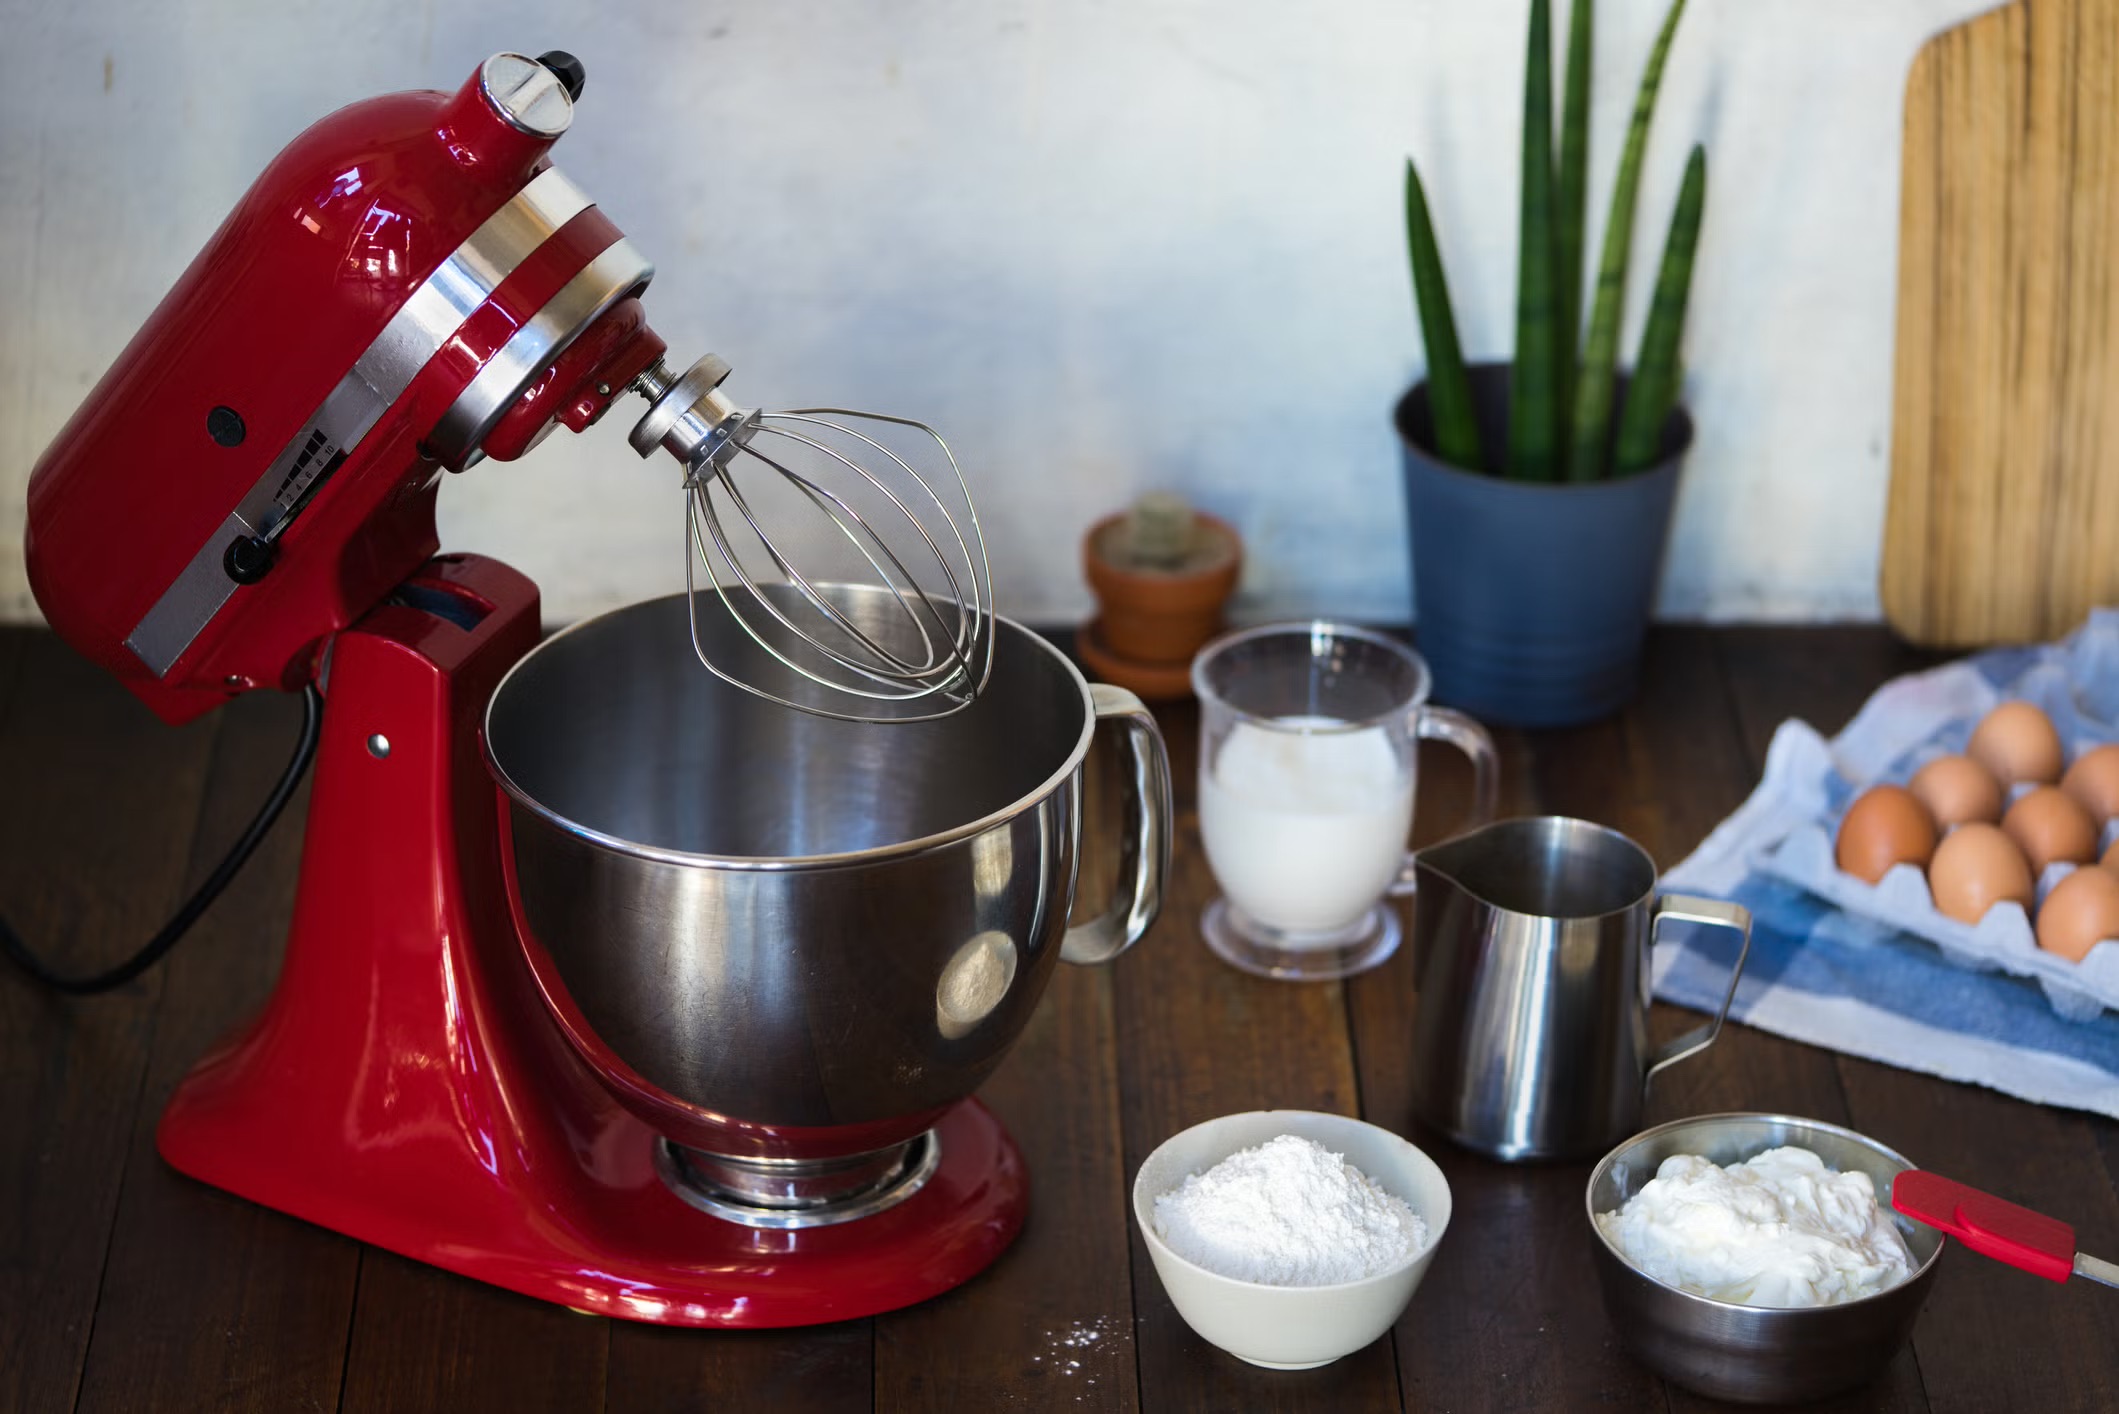
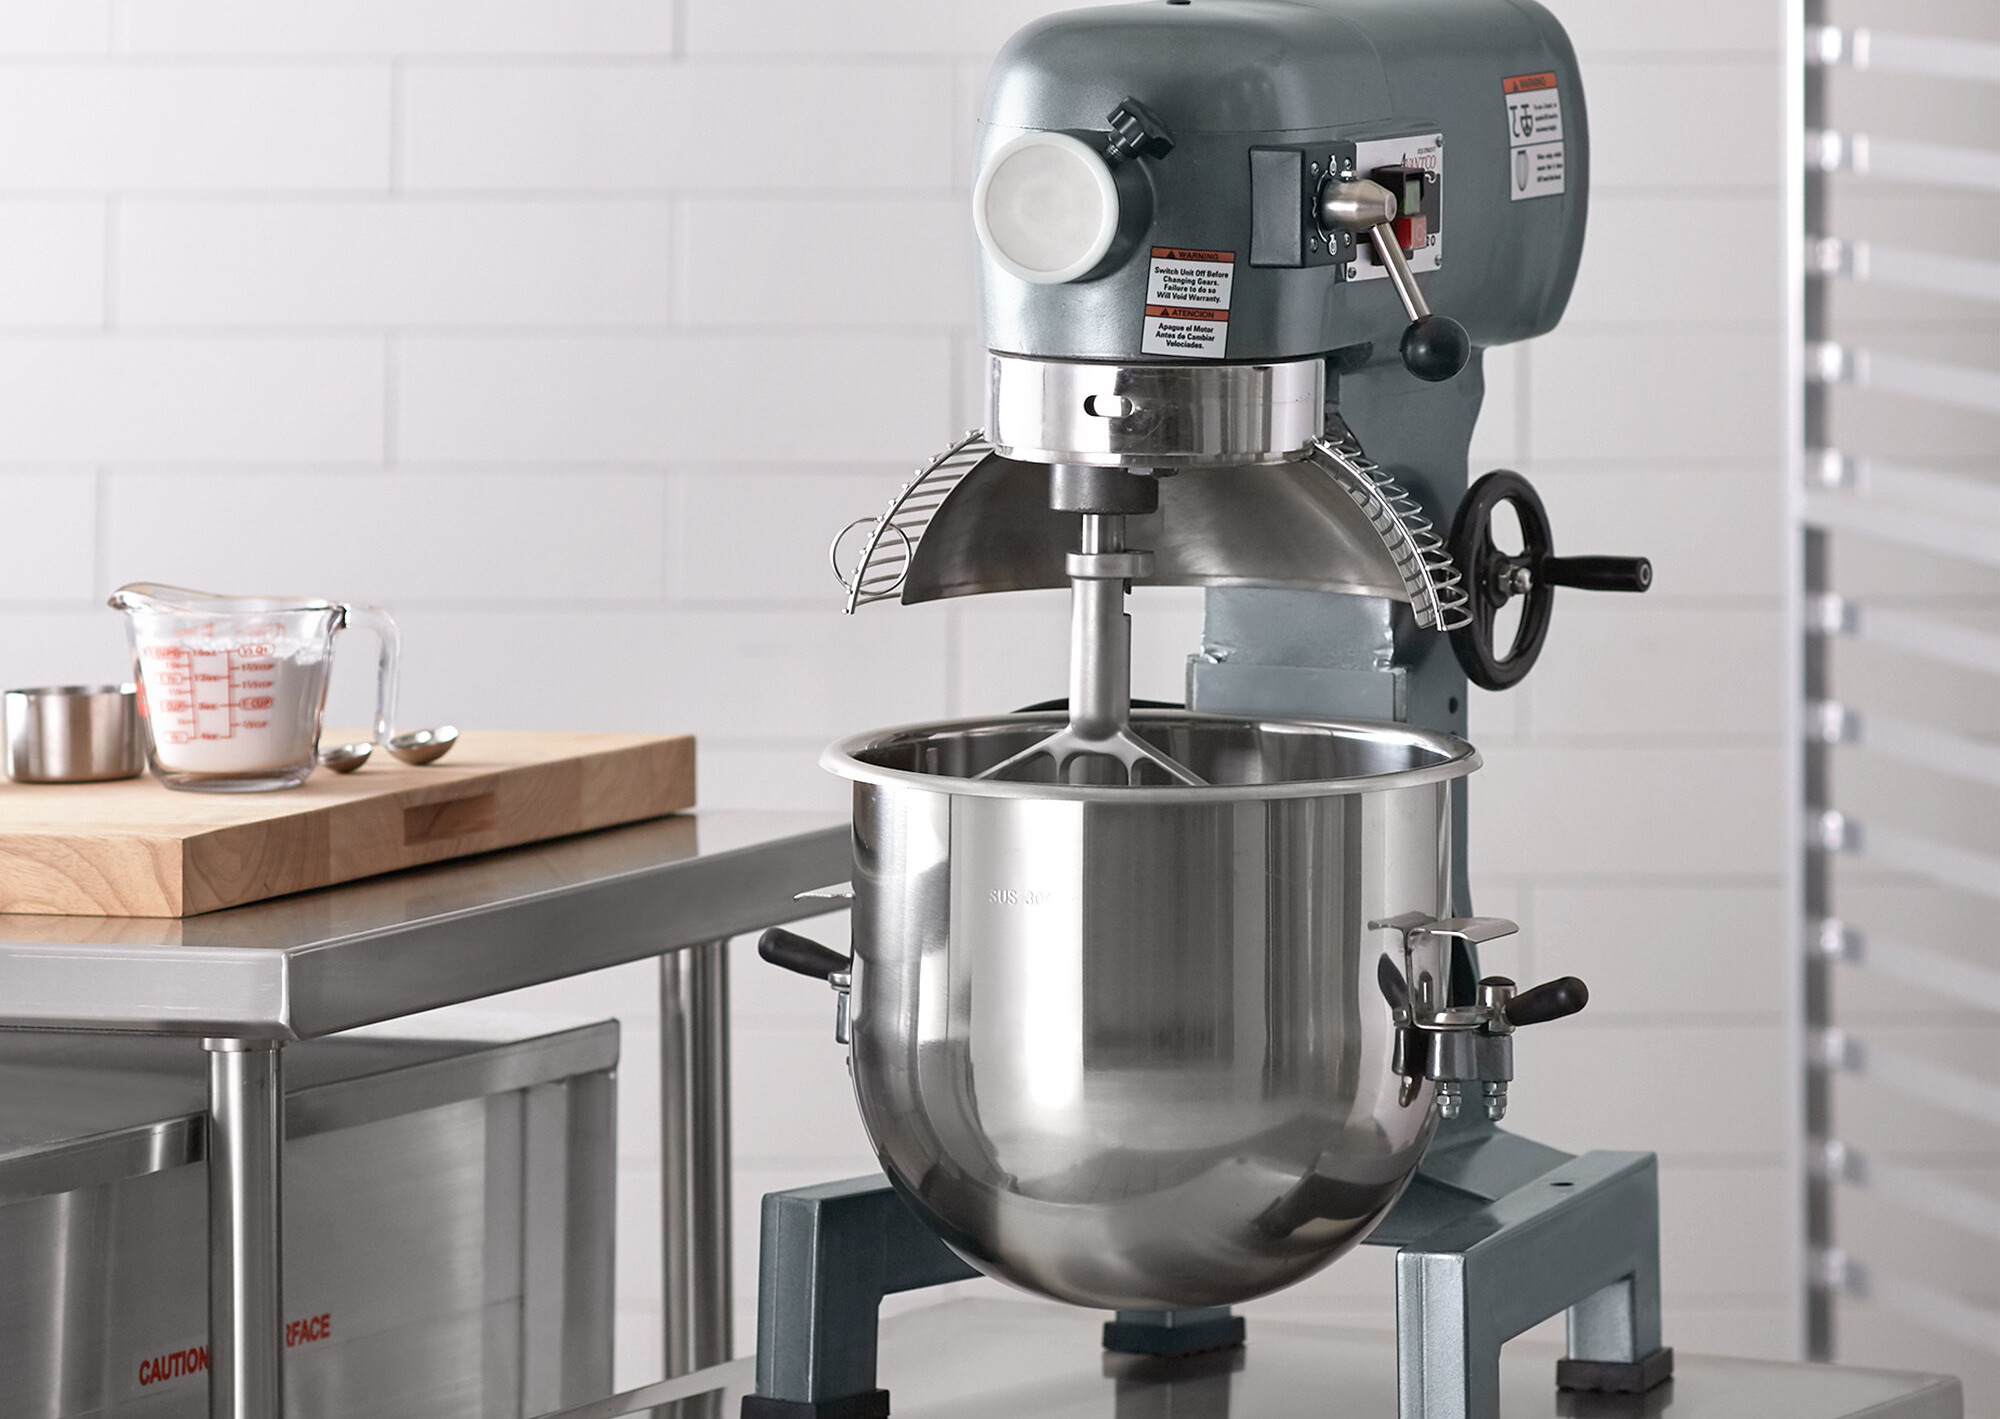
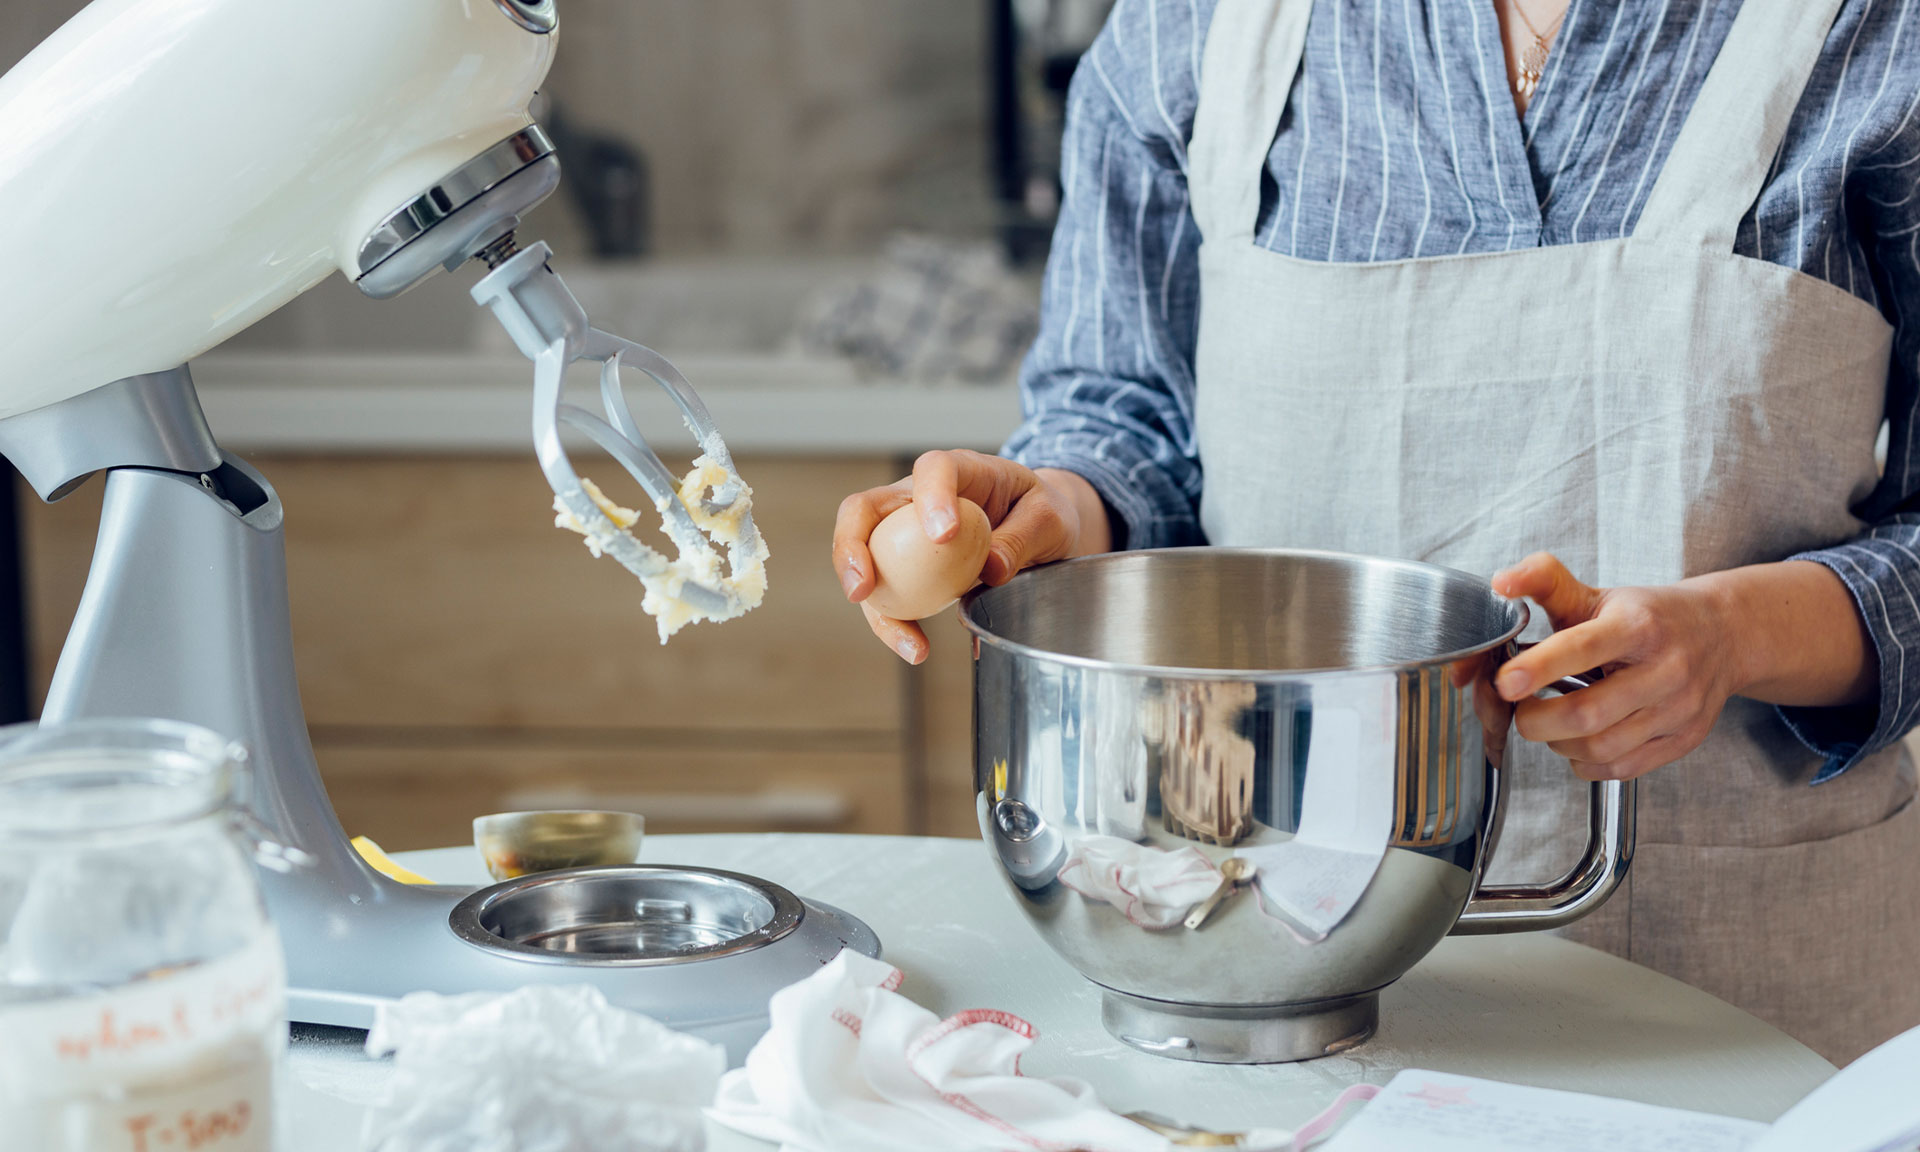
A stand mixer is a versatile kitchen appliance that is often used for mixing, kneading, and whipping ingredients. It is a staple tool in many kitchens, especially for avid bakers. However, not everyone has a stand mixer readily available in their kitchen. Whether you are a beginner cook, have limited space, or simply cannot afford a stand mixer, there is no need to worry. There are several alternatives that can be used to achieve similar results. In this article, we will explore some of the alternatives to a stand mixer, their benefits, and how to use them effectively in your cooking and baking endeavors.
Key Takeaways:
- Embrace the versatility of hand mixers, wooden spoons, blenders, food processors, dough hooks, and stand mixer attachments for handheld mixers as effective alternatives to a stand mixer in your cooking and baking endeavors.
- Experiment with different mixing techniques and tools to achieve excellent results, even without a stand mixer. Embrace the convenience, flexibility, and satisfaction offered by alternative mixing methods in your culinary creations.
Read more: If I Dont Have A Mixer What Can I Use
Benefits of Using a Stand Mixer
A stand mixer offers numerous benefits that can make your cooking and baking experiences more efficient and enjoyable. Here are some advantages of using a stand mixer:
- Time-saving: One of the main advantages of a stand mixer is its ability to save you time in the kitchen. Stand mixers come with powerful motors and multiple speed settings, allowing you to mix ingredients quickly and effectively. They can handle large quantities of batter or dough, reducing the time and effort required compared to manual mixing.
- Consistency: Stand mixers offer consistent results in terms of texture and mixing. The attachments, such as the paddle, whisk, and dough hook, help evenly distribute ingredients, ensuring that your baked goods and other dishes turn out perfectly every time.
- Versatility: Stand mixers often come with a variety of attachments, making them versatile kitchen appliances. With different attachments, you can not only mix ingredients but also knead dough, whip cream, beat egg whites, and more. This versatility allows you to explore and experiment with a wide range of recipes.
- Ease of use: Stand mixers are user-friendly and require minimal effort to operate. Simply attach the appropriate mixing tool, add your ingredients to the mixing bowl, and select the desired speed. The mixer will do the hard work for you, leaving you with more time and energy to focus on other aspects of your cooking or baking.
- Efficiency: Stand mixers are designed to handle heavy-duty tasks, such as kneading tough dough or whipping thick batters. Their powerful motors and sturdy construction ensure efficient mixing, reducing the time and effort required compared to manual mixing.
- Hands-free operation: Unlike hand mixers or manual mixing, a stand mixer allows you to mix ingredients without holding onto the appliance. This hands-free operation allows you to multitask in the kitchen, completing other cooking or baking tasks while the mixer does the mixing for you.
While a stand mixer offers these benefits, it is important to remember that it is not the only option available. If you do not have a stand mixer, there are several alternatives that can still deliver satisfactory results in your culinary endeavors. Let’s explore some of these alternatives in the following sections.
Alternatives to a Stand Mixer
If you don’t have a stand mixer, fear not! There are plenty of alternatives that can help you achieve similar results in your cooking and baking projects. Here are some effective alternatives to consider:
- Hand Mixer: A hand mixer is a handheld appliance with beaters attached. It provides a similar functionality to a stand mixer but on a smaller scale. A hand mixer is perfect for tasks like whipping cream, beating eggs, and mixing batters. It is portable, easy to use, and comes with different speed settings to suit your needs.
- Wooden Spoon and Bowl: The simplest and most traditional alternative to a stand mixer is the tried and true combination of a wooden spoon and a mixing bowl. While this method may require a bit more elbow grease, it can still get the job done effectively. The wooden spoon helps to mix and incorporate ingredients together, while the deep mixing bowl provides ample space to work with.
- Blender: Depending on the recipe, a blender can be a suitable alternative to a stand mixer. Blenders are great for tasks like pureeing fruits or vegetables, making smoothies, and even mixing batters. However, keep in mind that blenders have a smaller capacity, so you may need to mix in batches for larger recipes.
- Food Processor: A food processor is a versatile kitchen appliance that can assist with mixing, kneading, and blending tasks. While it may not be specifically designed for mixing batters and doughs, it can still be used effectively in a pinch. The pulsing action of a food processor ensures quick and even mixing. Just be mindful not to overmix or over-process the ingredients.
- Dough Hooks: If you are specifically looking to knead dough, dough hooks can come to the rescue. These hooks can be attached to a hand mixer, allowing you to knead dough easily. They simulate the kneading action of a stand mixer, ensuring that the dough is properly mixed and develops the desired texture.
- Stand Mixer Attachments for a Handheld Mixer: If you already have a handheld mixer, you can explore stand mixer attachments that are designed to be used with a handheld appliance. These attachments typically include beaters, dough hooks, and other mixing tools that can transform your handheld mixer into a mini stand mixer.
These alternatives offer flexibility and convenience when a stand mixer is not available. Choose the option that best suits your needs and the specific task at hand. Remember to adjust the mixing time and method as necessary to achieve the desired results. While these alternatives may require a bit more effort and hands-on involvement, they can still deliver excellent results in your favorite recipes.
Now that you know a variety of alternatives to a stand mixer, you can confidently tackle your cooking and baking projects without feeling limited by the absence of this specific appliance. So go ahead, get creative, and enjoy the process of creating delicious meals and treats!
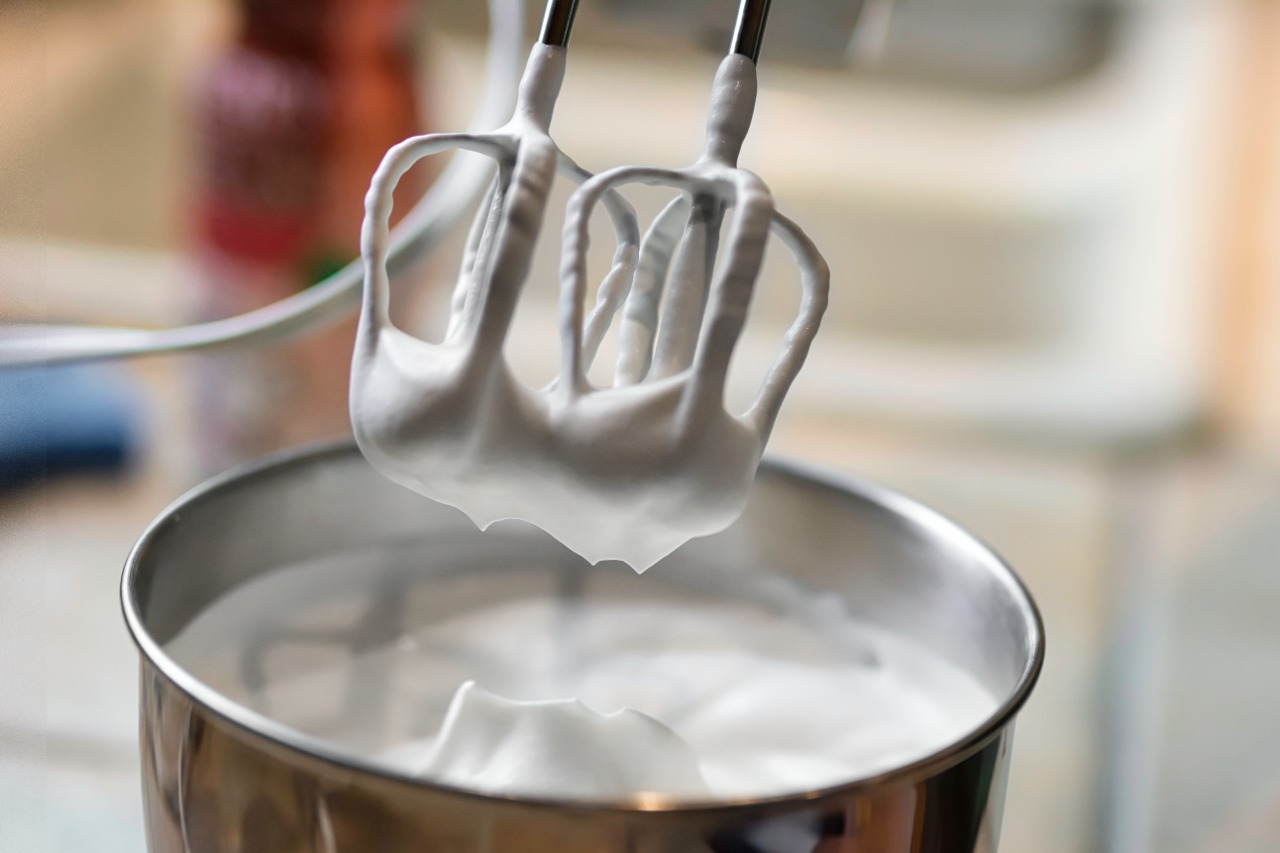
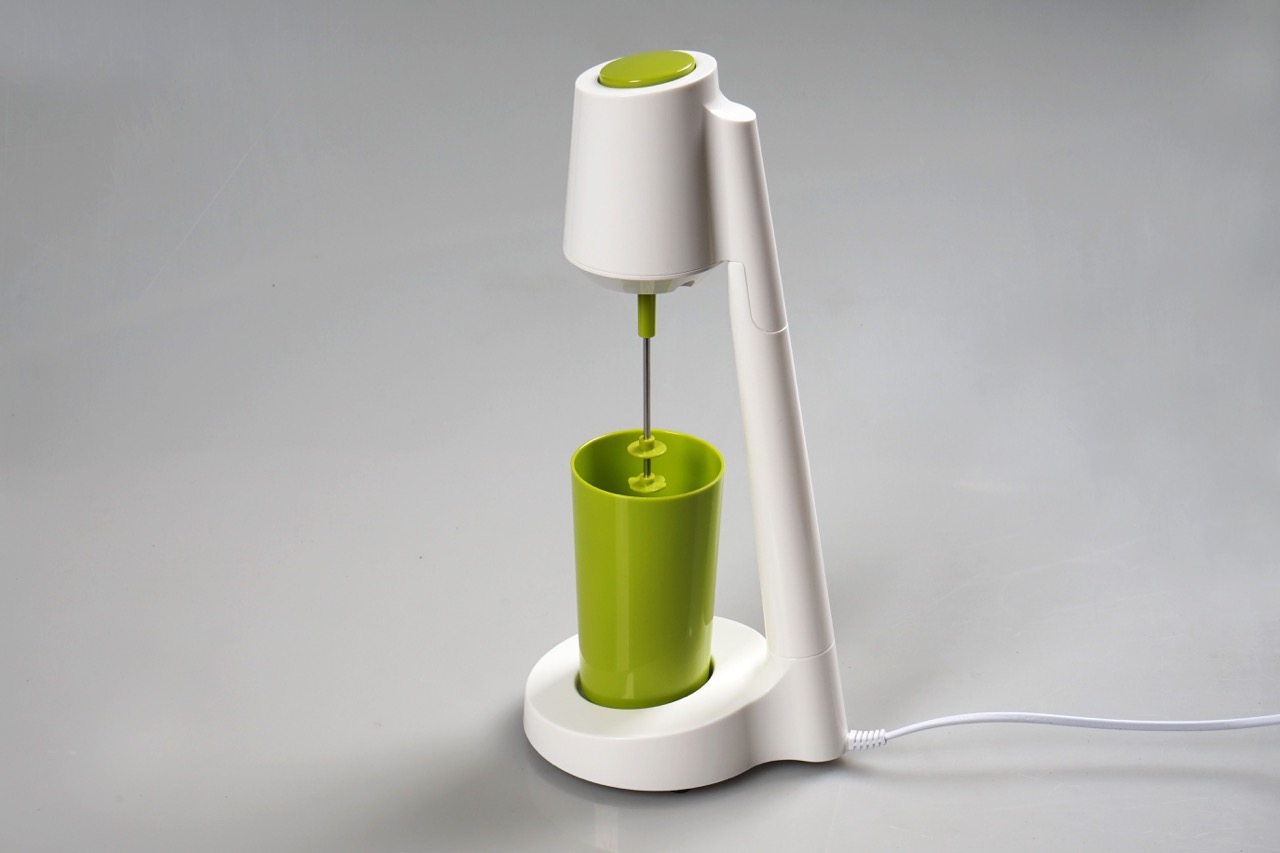
Hand Mixer
A hand mixer is a convenient alternative to a stand mixer that can help you achieve smooth and well-mixed batters, doughs, and other mixtures. This handheld appliance is lightweight, portable, and easy to use. Here’s how you can make the most of a hand mixer:
Key features:
- Multiple speed settings: Hand mixers typically come with various speed settings, allowing you to adjust the speed based on the recipe’s requirements.
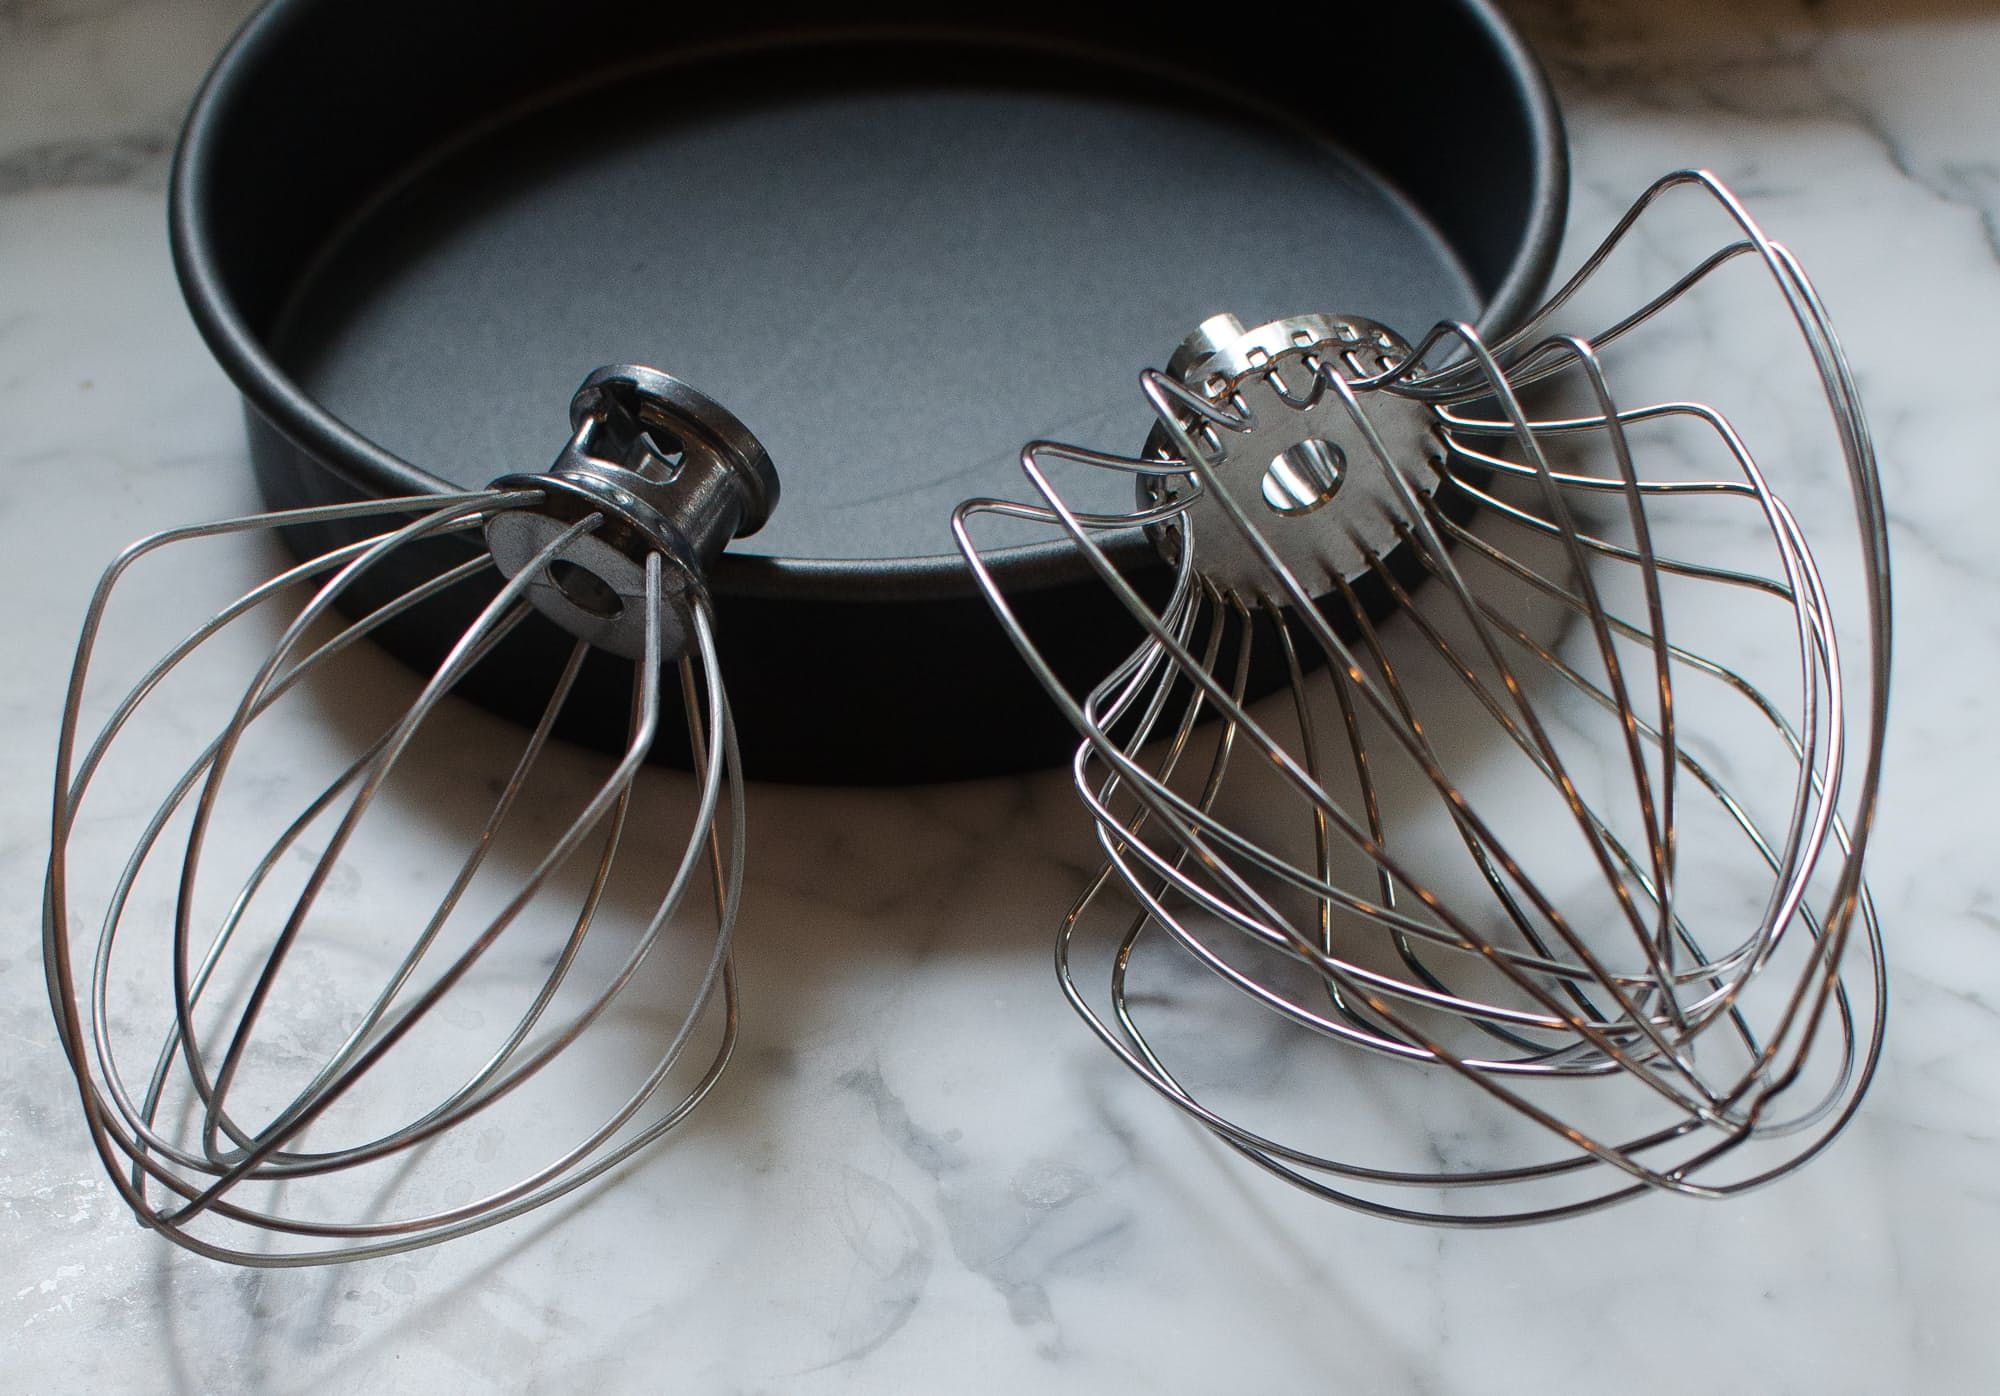
- Beater attachments: Hand mixers usually come with two beaters that can handle tasks like whisking, beating, and blending ingredients.
- Ergonomic design: Hand mixers are designed to fit comfortably in your hand, offering ease of use and control during mixing.
Steps to use a hand mixer:
- Before using the hand mixer, make sure to read the manufacturer’s instructions and familiarize yourself with the appliance’s features and safety precautions.
- Choose the appropriate beater attachment for your mixture. For light mixtures, such as whipped cream, use the standard beaters. For heavier mixtures, like cookie dough, consider using the dough hooks attachments if available.
- Add the ingredients to a suitable mixing bowl or container. Start with the wet ingredients first, followed by the dry ingredients.
- Plug in the hand mixer and select the desired speed setting based on your recipe. It’s generally recommended to start at a low speed to prevent splattering, then gradually increase the speed as needed.
- Hold the mixer firmly with one hand and place the beaters into the mixture. Tilt the bowl slightly to prevent the contents from splattering out.
- Move the beaters in a circular motion throughout the mixture, ensuring even mixing and incorporating all ingredients thoroughly. Continue mixing until the desired consistency is achieved.
- Once you’ve finished mixing, turn off the hand mixer and unplug it from the power source.
- Detach the beaters from the hand mixer and clean them according to the manufacturer’s instructions.
With a hand mixer, you can easily whip up a variety of recipes, including cake batters, pancake batter, cookie dough, frosting, and more. While a hand mixer may not provide the same level of power and efficiency as a stand mixer, it is a practical option for many cooking and baking needs.
Remember, every recipe may have specific instructions, so it’s important to follow them closely to achieve the best results. Experiment with different recipes and techniques to become comfortable using a hand mixer and to discover the versatility it offers in your kitchen.
Wooden Spoon and Bowl
If you don’t have a hand mixer or stand mixer, a classic wooden spoon and bowl combination can be your reliable go-to alternative. This traditional method of mixing not only requires minimal equipment but also allows you to have complete control over the mixing process. Here’s how you can effectively use a wooden spoon and bowl:
Key points to consider:
- Choose a sturdy mixing bowl: Opt for a bowl that is deep enough to contain your mixture comfortably. A stainless steel or glass bowl works well for most mixing tasks.
- Use a wooden spoon: A wooden spoon is ideal for mixing since it is gentle on the ingredients and helps prevent overmixing.
- Ensure ingredients are at room temperature: It’s important to have ingredients at room temperature, especially butter, to make mixing easier and to ensure even distribution.
Steps to mix using a wooden spoon and bowl:
- Gather all your ingredients and measure them accurately before you begin mixing.
- Add the ingredients to the mixing bowl in the order specified in your recipe. Start with the wet ingredients first, followed by the dry ingredients.
- Hold the bowl steady using your non-dominant hand. This will help keep the bowl in place while you mix and prevent any mess or movement.
- Using your dominant hand, hold the wooden spoon and begin stirring the mixture in a circular motion. Start from the center of the bowl and gradually work your way outwards.
- Continue stirring the mixture until all the ingredients are well combined. Make sure to scrape the sides and bottom of the bowl to incorporate everything. This may require a bit more effort and time compared to using an electric mixer.
- Avoid overmixing: Be cautious not to overmix the batter or dough, as it can lead to a dense or tough end result. Mix until the ingredients are just combined and there are no visible clumps or streaks.
- Once the mixture is evenly mixed, transfer it to the desired baking dish or continue with the recipe as instructed.
The wooden spoon and bowl method may require a bit more manual effort and time compared to using a stand mixer or a hand mixer, but it can still produce excellent results. It allows you to have a more hands-on approach to your recipes and provides a sense of satisfaction in the process.
Remember to adjust your mixing technique based on the recipe’s requirements. Some recipes may call for more vigorous stirring, while others may require a gentler approach. Experiment with different recipes to practice your mixing skills using a wooden spoon and bowl, and enjoy the process of creating delicious homemade treats.
You can use a hand mixer, a food processor, or even a sturdy whisk and some elbow grease as alternatives to a stand mixer. Just be prepared for a bit more effort!
Blender
If you find yourself without a stand mixer or hand mixer, don’t worry! Another alternative that you may already have in your kitchen is a blender. While primarily used for blending, pureeing, and making smoothies, a blender can also be used for certain mixing tasks. Here’s how you can utilize a blender effectively:
Important considerations:
- Choose the right blender: Opt for a blender with a powerful motor and a suitable capacity for the amount of mixture you plan to mix. A blender with variable speed settings is preferable as it provides more control over the mixing process.
- Use the pulse function: The pulse function allows you to control the blending process better. It gives you short bursts of blending power, preventing over-mixing or overheating.
- Be mindful of the capacity: A blender has a smaller capacity than a stand mixer, so you may need to mix smaller quantities or work in batches depending on your recipe.
Steps to mix using a blender:
- Prepare your ingredients by measuring and cutting them as needed for the recipe. Make sure to follow the order of ingredient addition as indicated in the recipe.
- Place the ingredients in the blender jar, ensuring it does not exceed the maximum fill line.
- Secure the blender lid tightly to prevent any leaks or spills.
- Start the blender on the lowest setting and gradually increase the speed as needed. If your blender has a pulse function, use it intermittently for short bursts to mix the ingredients.
- Keep pulsing or blending until the mixture is well combined and reaches the desired consistency. Be careful not to over-blend, as it can lead to over-mixing or a runny texture.
- Once the mixture is mixed to your satisfaction, turn off the blender and unplug it from the power source.
- Pour the mixture into a separate container or continue with the recipe as instructed.
While a blender may not be as versatile as a stand mixer or hand mixer, it can be a useful tool for certain mixing tasks. It works particularly well for liquid-based mixtures like smoothies, sauces, soups, and batters that require a quick and thorough mix.
It’s important to note that not all recipes may be suitable for blending, especially those that require delicate mixing or aeration. Also, keep in mind that a blender may not handle thick or heavy mixtures as effectively as a stand mixer or hand mixer. Adapt your recipes accordingly and consider the texture and consistency of the mixture you are trying to achieve.
By utilizing your blender creatively, you can still enjoy the convenience it offers in mixing various recipes and achieving delicious results!
Food Processor
When you don’t have a stand mixer or hand mixer at your disposal, a food processor can be a versatile alternative for mixing and blending tasks. While primarily known for chopping, slicing, and shredding, a food processor can also assist in achieving well-mixed doughs, batters, and more. Here’s how you can effectively use a food processor for mixing:
Key points to consider:
- Choose the right food processor: Look for a food processor with a sturdy motor and a capacity suitable for your recipe. Ensure it comes with a mixing or dough blade attachment.
- Use the pulse function: Similar to a blender, the pulse function of a food processor allows you to control the mixing process better. It helps prevent over-mixing and ensures ingredients are evenly incorporated.
Steps to mix using a food processor:
- Ensure your food processor is clean and assembled correctly with the mixing or dough blade attachment.
- Measure and prepare your ingredients according to the recipe.
- Add the ingredients to the food processor bowl in the order specified. Start with the wet ingredients first, followed by the dry ingredients.
- Secure the lid tightly to ensure a proper seal.
- Pulse the food processor a few times to combine the ingredients briefly. This helps prevent splattering and ensures even distribution.
- Run the food processor continuously in short bursts or pulses until the mixture is well mixed and reaches the desired consistency. Stop periodically to scrape down the sides and bottom of the bowl with a spatula, if necessary.
- Avoid over-processing: Be cautious not to over-process the mixture, especially for doughs. Over-processing can lead to tough textures and overworked dough. Stop once the ingredients are combined and the desired texture is achieved.
- Once the mixture is mixed to your satisfaction, turn off the food processor and unplug it.
- Transfer the mixture to a separate container or continue with the recipe as instructed.
A food processor can handle a variety of mixtures, including doughs for bread, pie crusts, and pizza dough. It can also be used to mix batters for pancakes, waffles, and other recipes that require thorough blending.
It’s important to note that a food processor may not be as effective at incorporating air into mixtures like a stand mixer or hand mixer. As a result, certain recipes, such as those requiring light and fluffy textures, may not be suitable for the food processor method. Adapt your recipes accordingly and be mindful of the desired end result.
By utilizing a food processor for mixing tasks, you can efficiently achieve well-mixed doughs, batters, and other mixtures, allowing you to continue creating delicious recipes in your kitchen.
Dough Hooks
If you’re looking to knead dough without a stand mixer, dough hooks are a great alternative. Dough hooks can be attached to a hand mixer and provide the necessary power and motion to effectively knead various types of dough. Here’s how you can use dough hooks to achieve well-kneaded dough:
Key points to consider:
- Check compatibility: Ensure that your hand mixer is compatible with dough hook attachments. Not all hand mixers have this feature, so check the manufacturer’s instructions or product specifications.
- Prepare the dough: Follow your recipe and prepare the dough by combining the appropriate ingredients, such as flour, water, yeast, and other necessary components.
Steps to knead dough using dough hooks:
- Attach the dough hooks to your hand mixer according to the manufacturer’s instructions.
- Place the prepared dough in a large mixing bowl. Make sure the bowl is deep enough to accommodate the rising dough.
- Start the hand mixer on a low-speed setting to avoid splattering or sending flour particles flying out of the bowl.
- Insert the dough hooks into the dough, ensuring they are evenly spaced and well submerged.
- Hold the bowl steady with your free hand to prevent it from moving along with the mixer’s motion.
- Allow the dough hooks to work their magic and knead the dough. Move the mixer in an up-and-down motion, gently pushing and pulling the dough in the process. Continue to knead until the dough becomes smoother and more elastic.
- If necessary, stop the mixer from time to time to scrape down the sides of the bowl and incorporate any stubborn flour or ingredients that may have settled there.
- When the dough reaches the desired consistency, turn off the hand mixer and remove the dough hooks.
- Transfer the kneaded dough to a clean, lightly floured surface and continue with the recipe as instructed, such as shaping the dough or letting it rise.
Dough hooks provide a convenient and efficient way to knead dough, allowing you to achieve the desired texture and elasticity in various baked goods. Whether you’re making bread, pizza dough, or even sweet treats like cinnamon rolls, dough hooks can be a reliable tool in your kitchen.
Remember that kneading by hand may take longer than using a stand mixer with dough hooks, so be patient and allow time for the dough to develop. Experiment with different recipes and adjust the kneading time as required to obtain the best results.
With the help of dough hooks and your hand mixer, you can create beautifully textured dough that will bake into delicious treats!
Stand Mixer Attachments for a Handheld Mixer
If you own a handheld mixer and are looking for a way to maximize its versatility, you’ll be glad to know that there are stand mixer attachments available specifically designed for handheld mixers. These attachments can transform your handheld mixer into a mini stand mixer, providing options for mixing, whipping, and more. Here’s how you can utilize stand mixer attachments for your handheld mixer:
Key points to consider:
- Check compatibility: Ensure that the stand mixer attachments you choose are compatible with your specific model of handheld mixer. Refer to the manufacturer’s instructions or product specifications to confirm compatibility.
- Choose the right attachments: Stand mixer attachments for handheld mixers can vary, so select attachments based on your specific mixing needs. Popular attachments include beaters, dough hooks, and whisk attachments.
- Follow the manufacturer’s instructions: Each stand mixer attachment may have specific instructions for installation and use, so it’s important to familiarize yourself with the instructions provided by the manufacturer.
Steps to use stand mixer attachments for a handheld mixer:
- Select the appropriate stand mixer attachment for the task at hand. For example, choose dough hooks for kneading dough, beaters for general mixing, and a whisk attachment for whipping or whisking ingredients.
- Ensure your handheld mixer is off and unplugged before attaching the stand mixer attachment.
- Follow the manufacturer’s instructions to securely attach the stand mixer attachment to your handheld mixer. This may involve aligning specific grooves or attaching the attachment to the motor base.
- Place your ingredients in a suitable mixing bowl or container, ensuring that it is deep enough to accommodate the attachment and the mixture.
- Plug in your handheld mixer and select the appropriate speed setting for the task. Start with a lower speed setting and gradually increase it as needed.
- Hold the handheld mixer and attachment firmly, ensuring it stays immersed in the mixture. Move the mixer in a circular or up-and-down motion to thoroughly mix or whip the ingredients.
- Continue mixing until the ingredients are well incorporated, the dough is smooth and elastic, or the desired texture is achieved.
- Once the mixing is complete, turn off the handheld mixer and unplug it from the power source.
- Detach the stand mixer attachment from the handheld mixer by following the manufacturer’s instructions.
- Clean the stand mixer attachment and any other parts according to the manufacturer’s instructions and store them appropriately for future use.
By utilizing stand mixer attachments for your handheld mixer, you can expand its capabilities and perform tasks that were previously exclusive to stand mixers. This gives you the freedom to tackle a wider range of recipes without investing in a separate stand mixer.
Remember to adjust your mixing techniques and times based on the specific attachment and handheld mixer you are using. Each handheld mixer and attachment combination may have unique characteristics that will impact your results.
With the help of stand mixer attachments for your handheld mixer, you can enjoy the convenience of a stand mixer without the need for additional kitchen appliances!
Read more: What Is Stand Mixer Used For
Conclusion
While a stand mixer is undoubtedly a valuable kitchen tool, it is not the only option available for achieving well-mixed ingredients in your cooking and baking endeavors. By exploring the alternatives mentioned in this article, you can still create delicious recipes, even without a stand mixer. Whether you opt for a hand mixer, wooden spoon and bowl, blender, food processor, dough hooks, or stand mixer attachments for a handheld mixer, each alternative offers its own advantages and can produce satisfactory results.
Hand mixers provide convenience, versatility, and ease of use, making them a suitable choice for many mixing tasks. Wooden spoons and bowls offer a traditional and satisfying way to mix ingredients, allowing for a hands-on experience. Blenders and food processors offer the ability to blend, puree, and even mix batters and doughs to varying degrees. Dough hooks allow handheld mixers to effectively knead dough, while stand mixer attachments expand the capabilities of your handheld mixer.
Throughout your culinary journey, it’s important to adapt and be flexible. Experiment with different techniques, tools, and recipes to find what works best for you. Remember to adjust mixing times and methods as needed, and understand that each alternative may have its own limitations and strengths.
So, whether you’re an accomplished baker or a beginner cook, don’t let the absence of a stand mixer hold you back. Embrace the alternatives and enjoy the process of creating delicious meals and treats in your own unique way. Happy mixing!
Frequently Asked Questions about What To Use If I Dont Have A Stand Mixer
Was this page helpful?
At Storables.com, we guarantee accurate and reliable information. Our content, validated by Expert Board Contributors, is crafted following stringent Editorial Policies. We're committed to providing you with well-researched, expert-backed insights for all your informational needs.


0 thoughts on “What To Use If I Dont Have A Stand Mixer”