Home>Articles>How Long Does It Take To Make Butter With A Hand Mixer
Articles
How Long Does It Take To Make Butter With A Hand Mixer
Modified: August 23, 2024
Learn how long it takes to make butter with a hand mixer in this informative article. Discover step-by-step instructions and helpful tips.
(Many of the links in this article redirect to a specific reviewed product. Your purchase of these products through affiliate links helps to generate commission for Storables.com, at no extra cost. Learn more)
Introduction
Welcome to the wonderful world of homemade butter! If you love the rich, creamy goodness of freshly churned butter, but don’t have access to a traditional butter churn, fear not. With just a hand mixer and a few simple ingredients, you can easily make your own butter right in the comfort of your own kitchen.
Making butter with a hand mixer is a fun and rewarding process that allows you to control the ingredients and flavor of your butter. Whether you want plain unsalted butter or prefer to add some herbs or spices for a unique twist, the possibilities are endless.
In this article, we will guide you through the step-by-step process of making butter with a hand mixer. We’ll also discuss the equipment and ingredients you’ll need, factors that can affect the butter making time, and share some tips and tricks to expedite the process.
So, put on your apron and get ready to churn up some delicious homemade butter. You’ll be amazed at how easy it is and how much better it tastes than store-bought alternatives. Let’s dive in!
Key Takeaways:
- Making butter with a hand mixer is a delightful, customizable process that yields rich, creamy homemade butter. Experiment with flavors, follow key steps, and enjoy the satisfaction of creating your own butter from scratch.
- Factors like cream temperature, fat content, and mixing speed can affect the time it takes to make butter with a hand mixer. With practice and these tips, you can expedite the process and enjoy delicious homemade butter more efficiently.
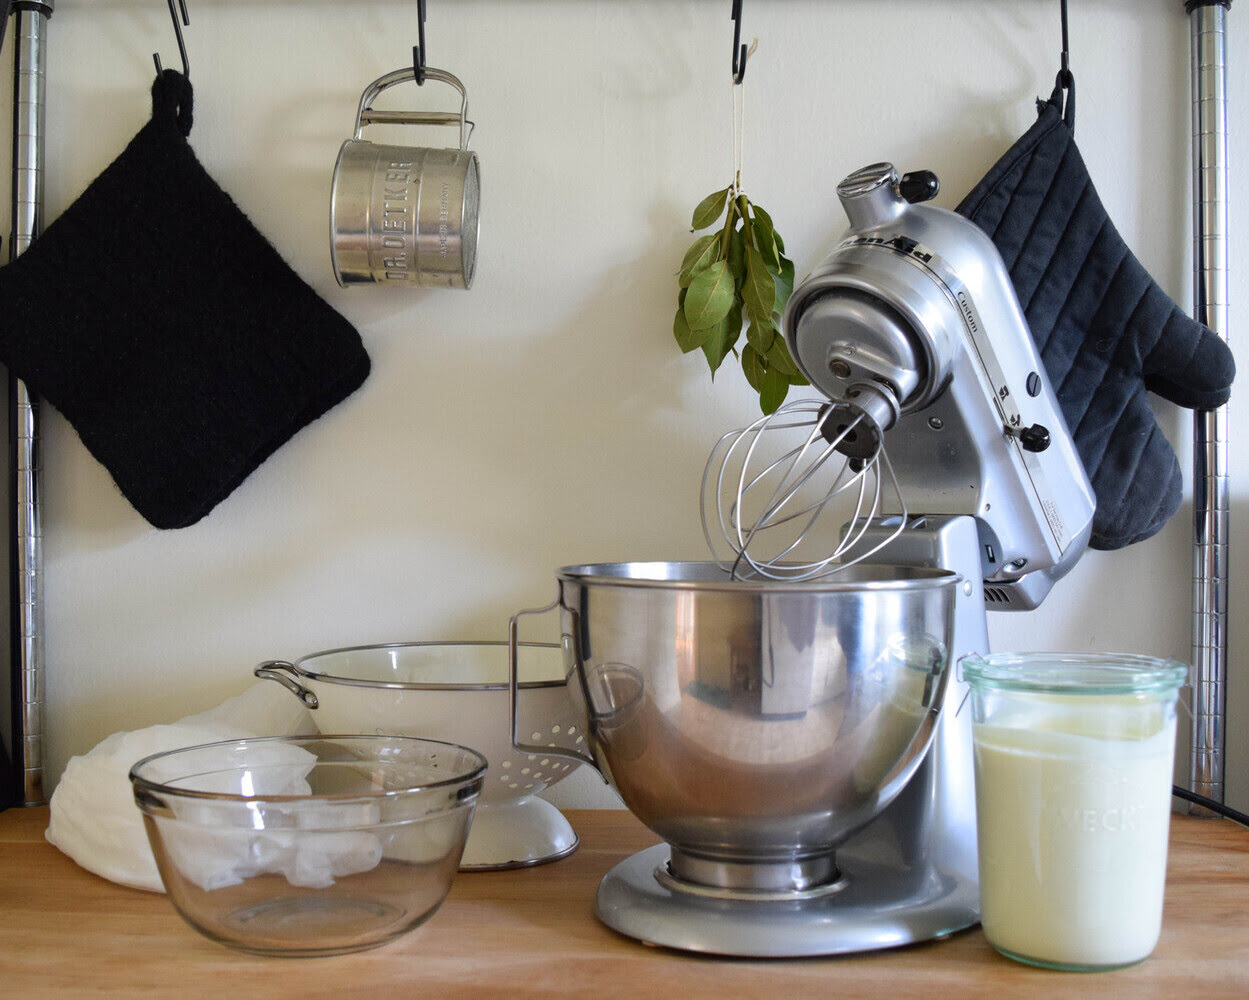
Equipment and Ingredients
Before you begin making butter with a hand mixer, let’s make sure you have all the necessary equipment and ingredients at hand. Here’s what you’ll need:
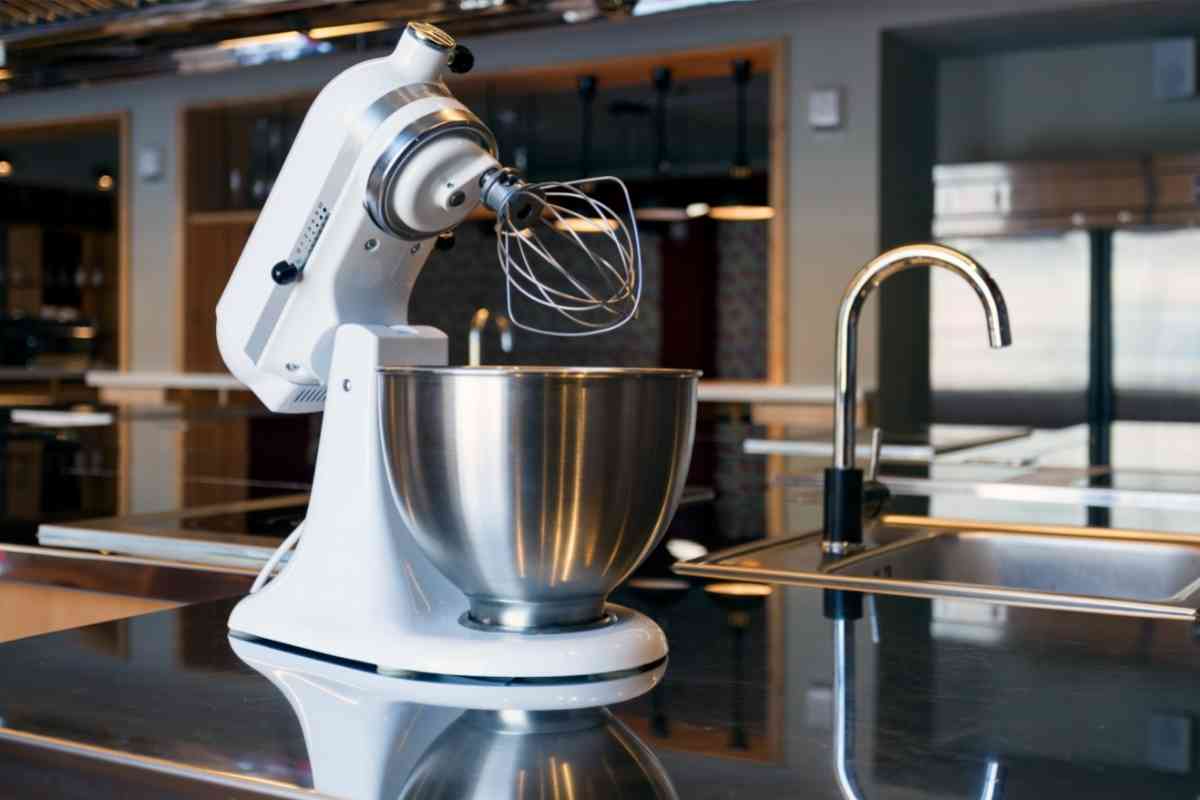
- Hand Mixer: This is the star of the show. Make sure you have a reliable hand mixer with different speed settings to whip the cream effectively.
- Bowl: Choose a sturdy and spacious bowl that can accommodate the cream without overflowing during the mixing process.
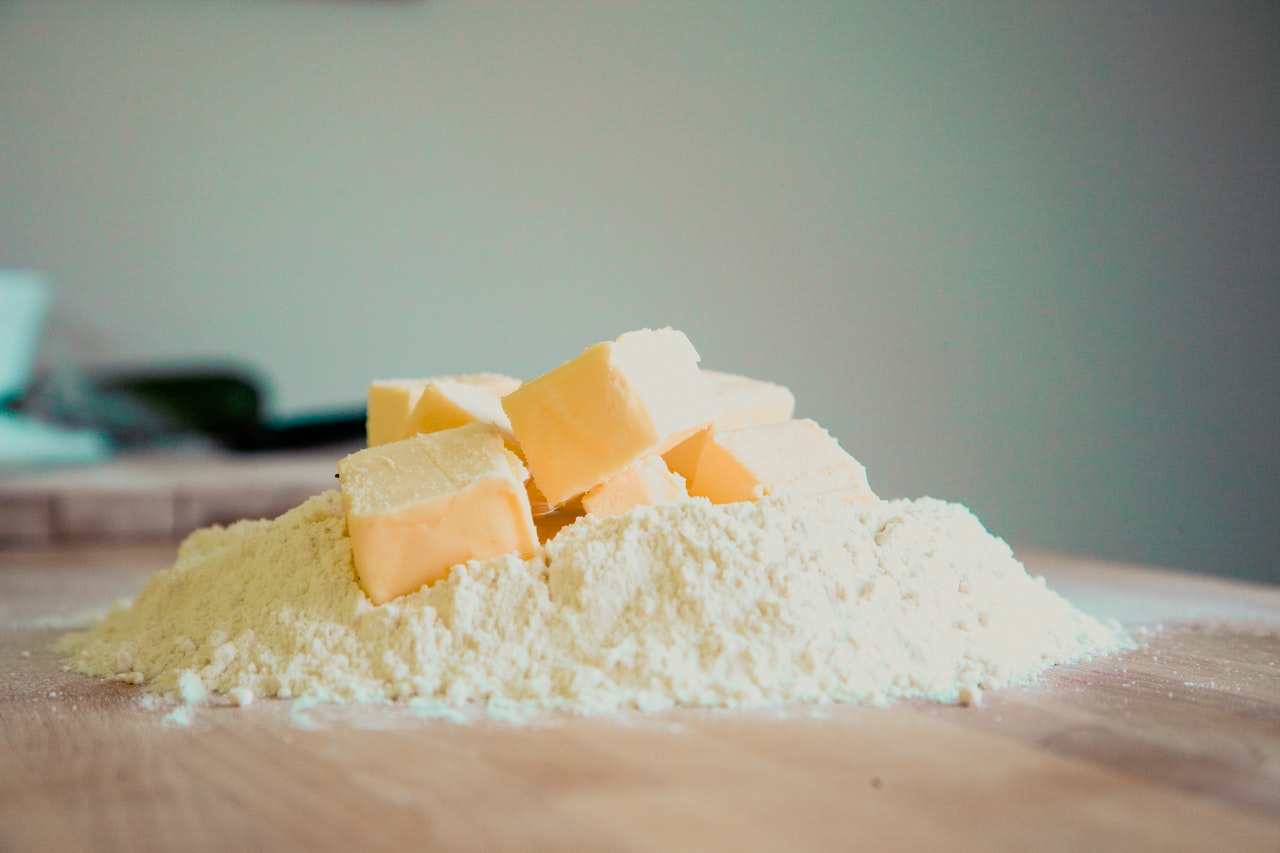
- Cream: The main ingredient for making butter is heavy cream or whipping cream. Look for high-quality cream with a high fat content, as it will yield better results.
- Salt (optional): If you prefer salted butter, have some fine salt on hand to add to the mixture. This step is entirely optional and depends on your personal taste preferences.
- Herbs or Spices (optional): If you want to experiment with flavored butter, gather your favorite herbs or spices. Popular choices include garlic, rosemary, chives, or even cinnamon for a sweet twist.
- Reusable Butter Cloth (optional): While not essential, a reusable butter cloth can come in handy for straining the buttermilk from the butter during the process.
Once you have all the necessary equipment and ingredients ready, it’s time to move on to the next step: actually making the butter with your hand mixer. Let’s get started!
Steps for Making Butter with a Hand Mixer
Now that you have all your equipment and ingredients ready, it’s time to dive into the step-by-step process of making butter with a hand mixer. Follow these simple instructions:
- Step 1: Prepare the Cream
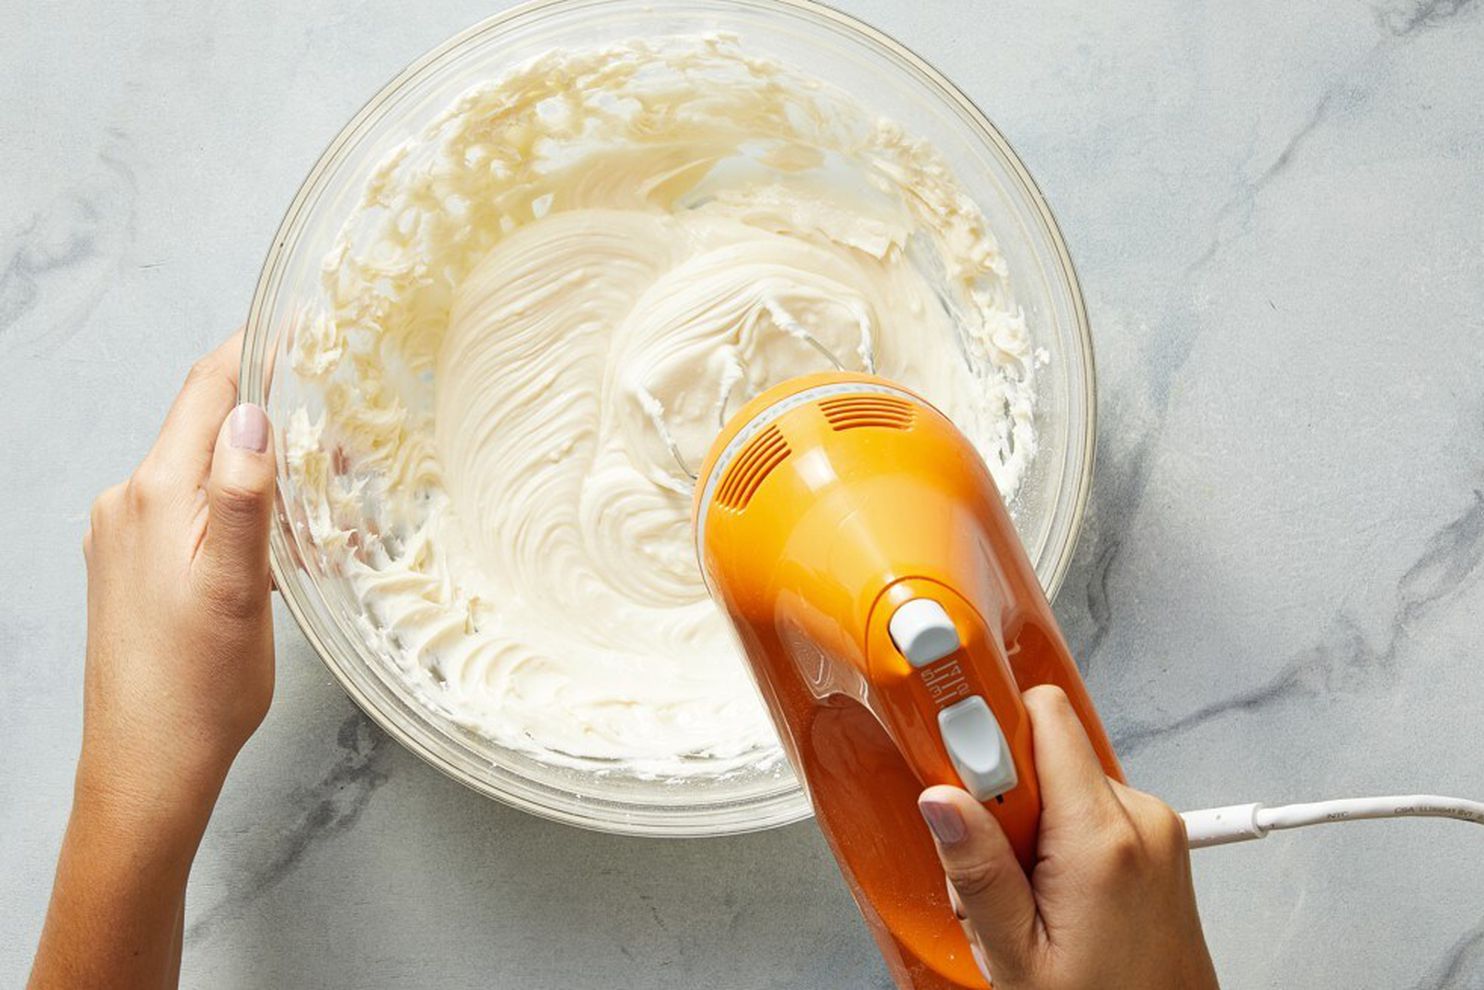
Pour the heavy cream into a clean and dry bowl. If you’re using salted butter, this is the time to add a pinch of salt. Let the cream reach room temperature for about 30 minutes to ensure smoother and quicker whipping. - Step 2: Start Mixing
Attach the beaters to your hand mixer and begin whisking the cream at a low speed. Gradually increase the speed as the cream thickens. Be patient, as this process can take several minutes. - Step 3: Observe the Stages
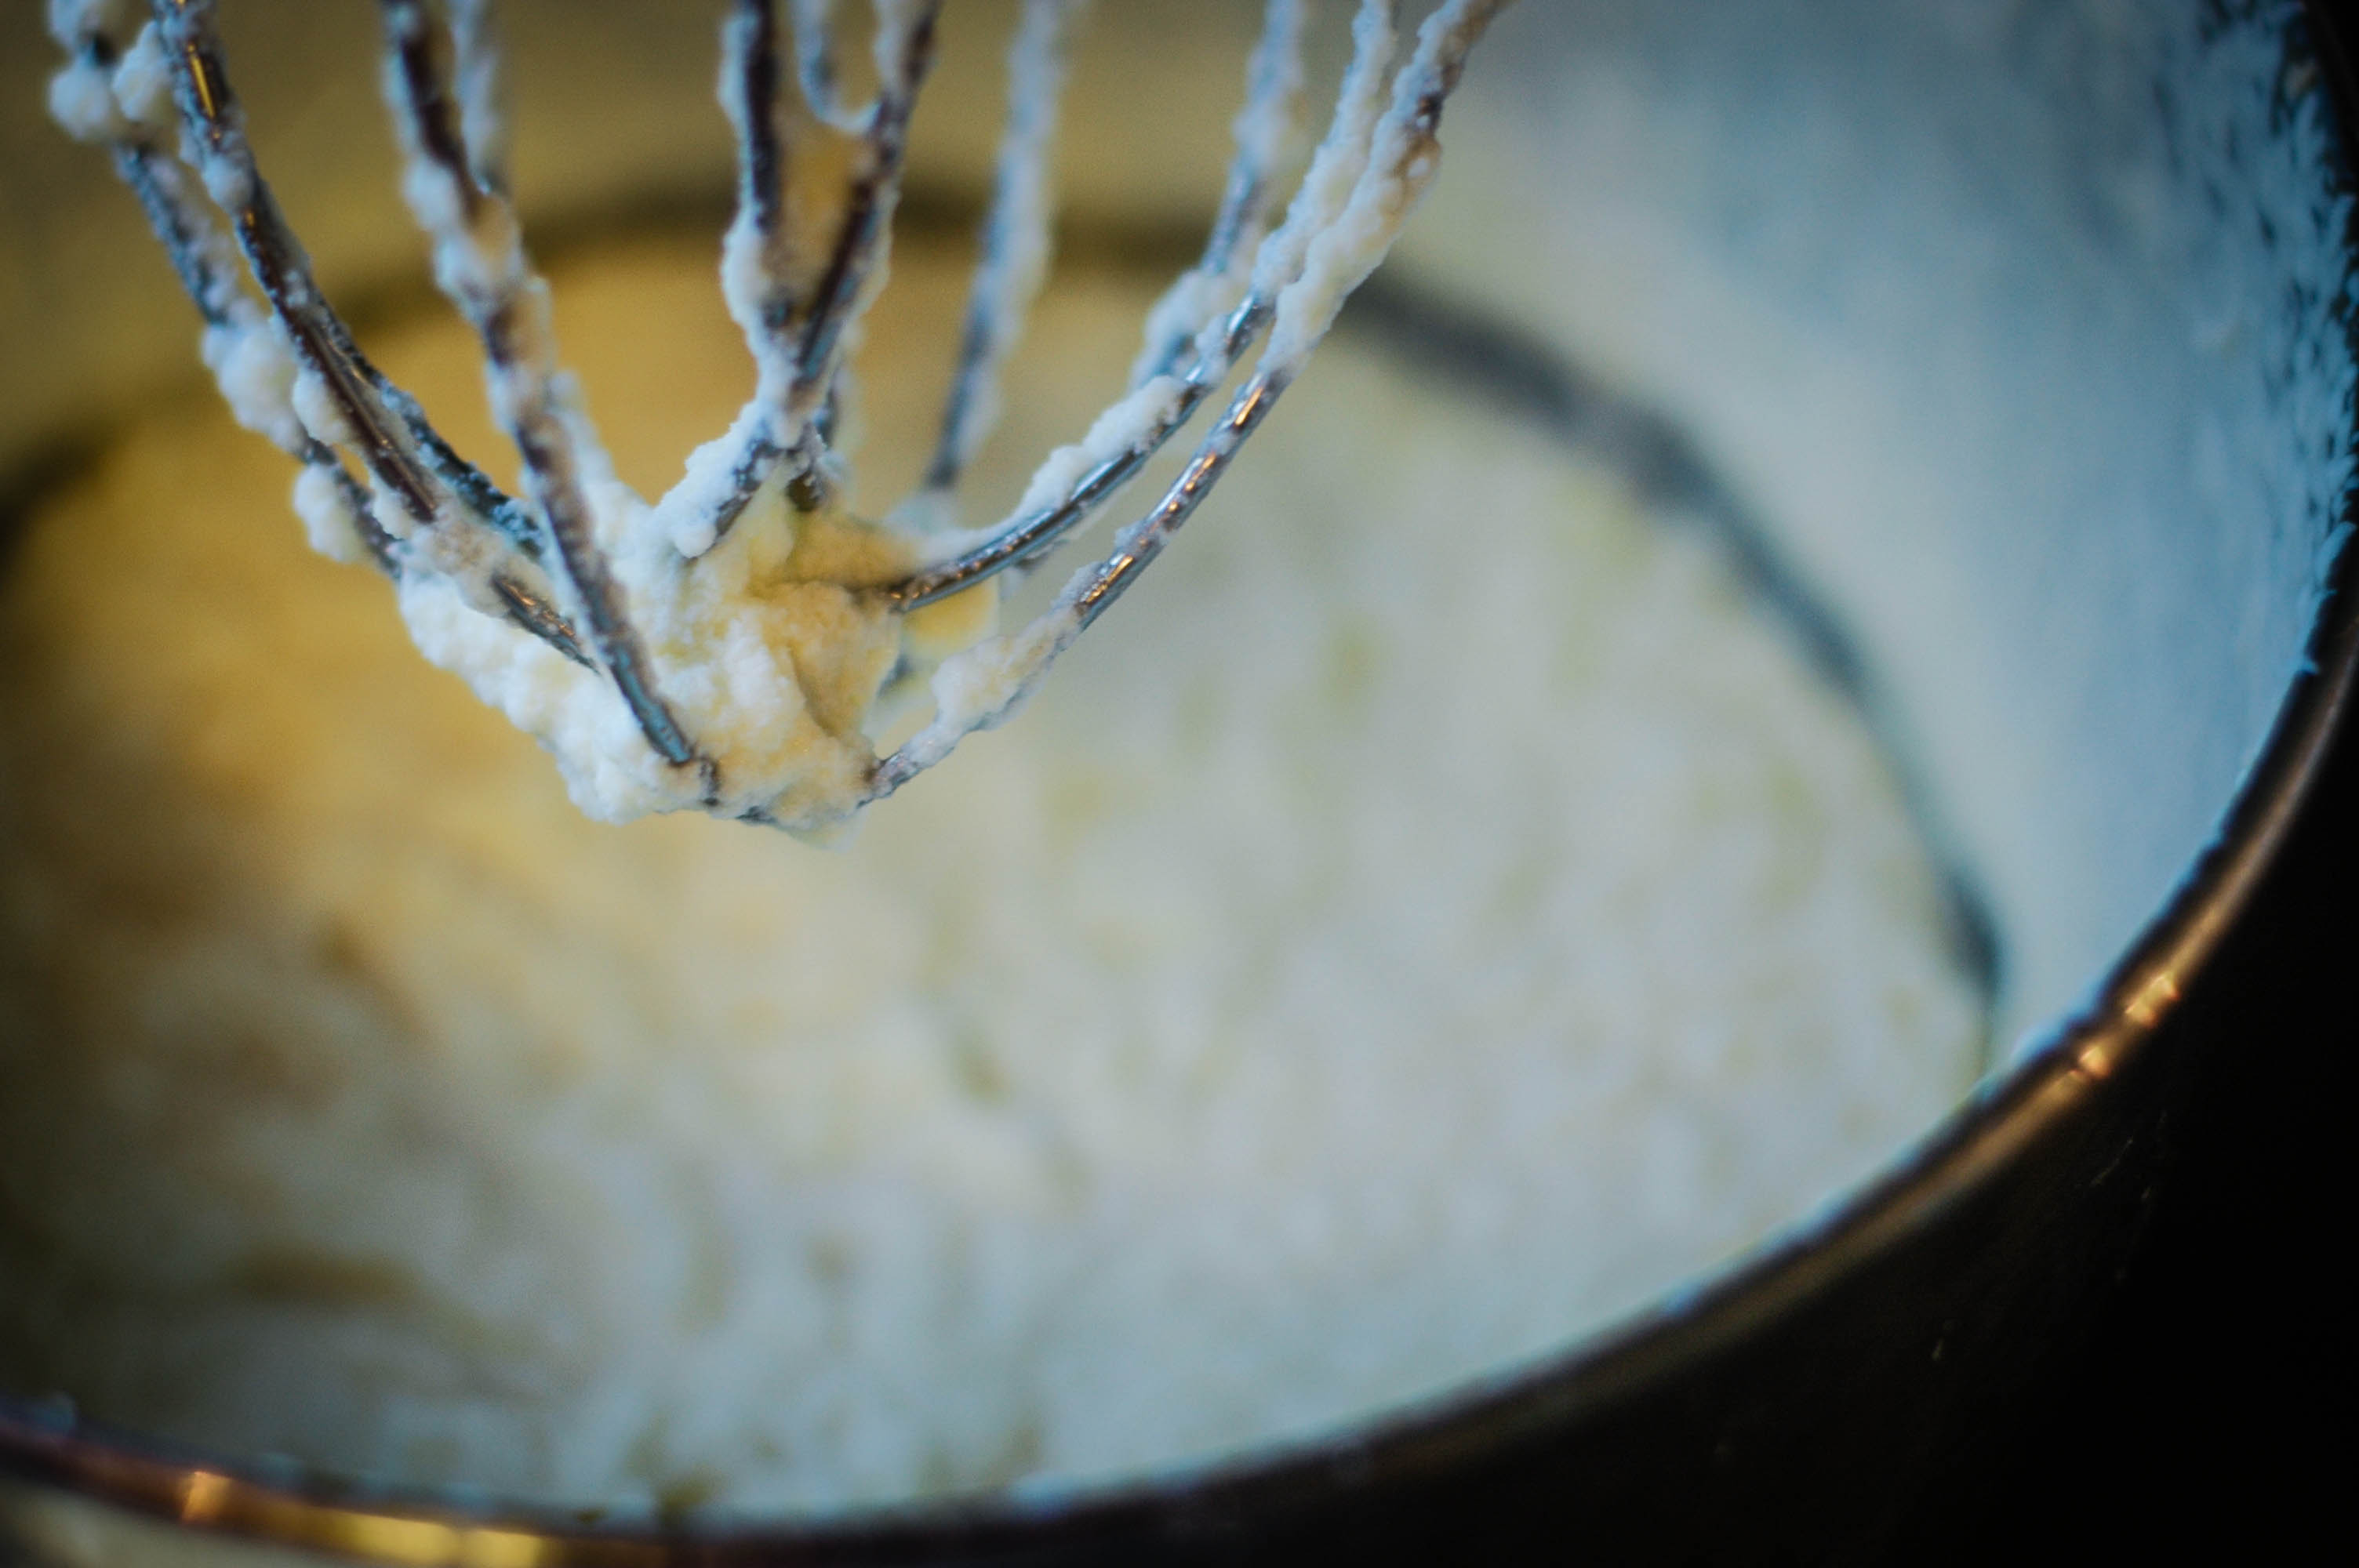
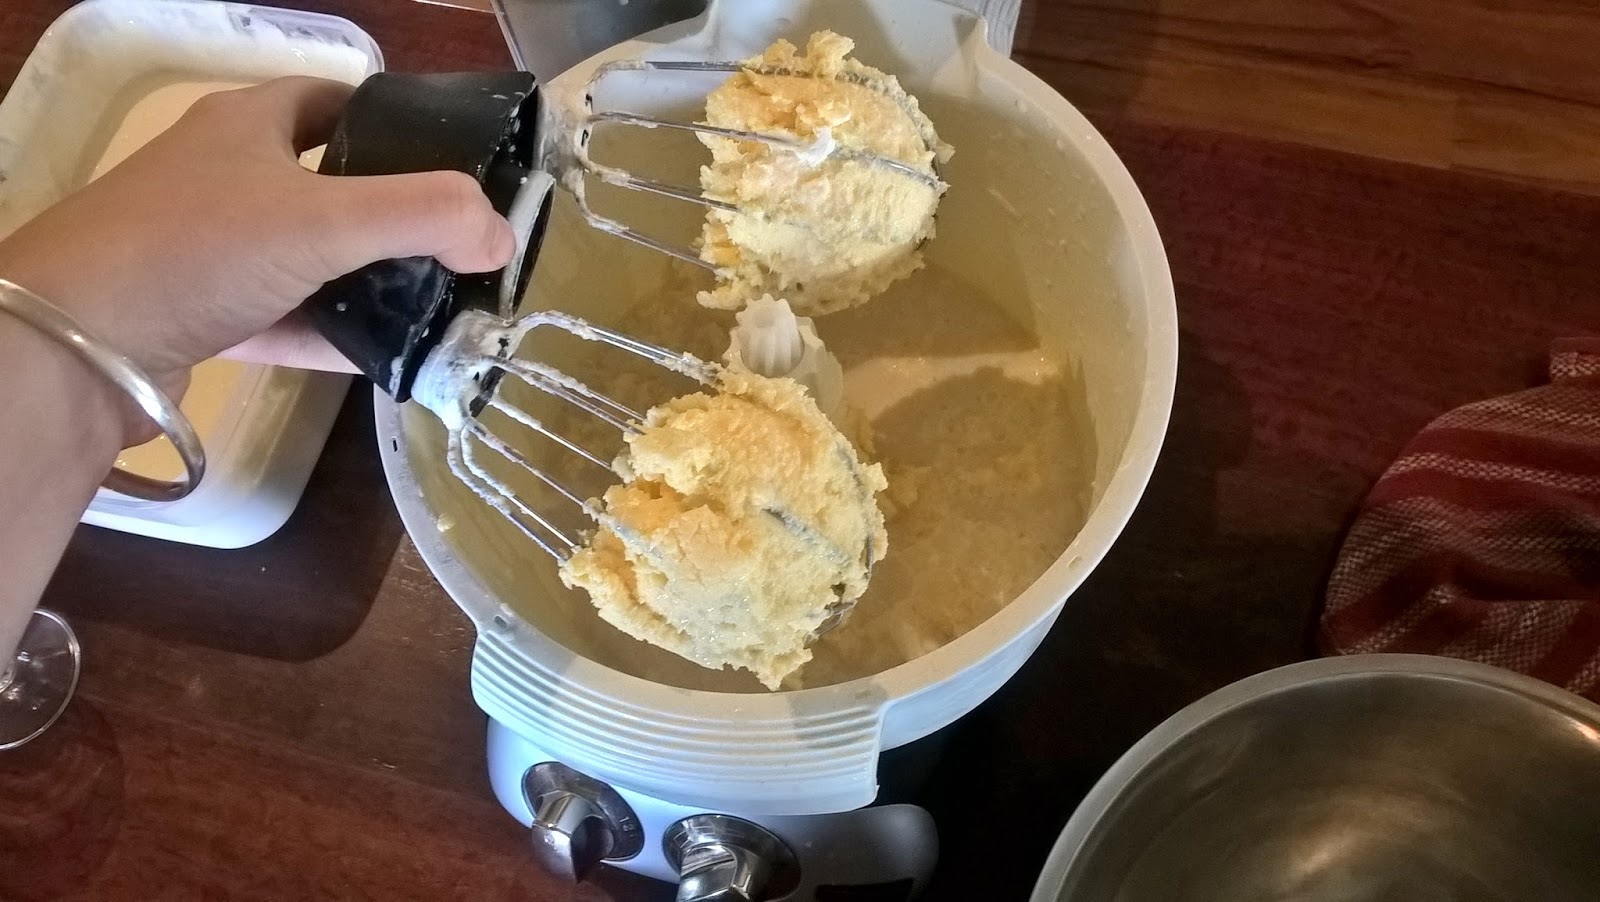
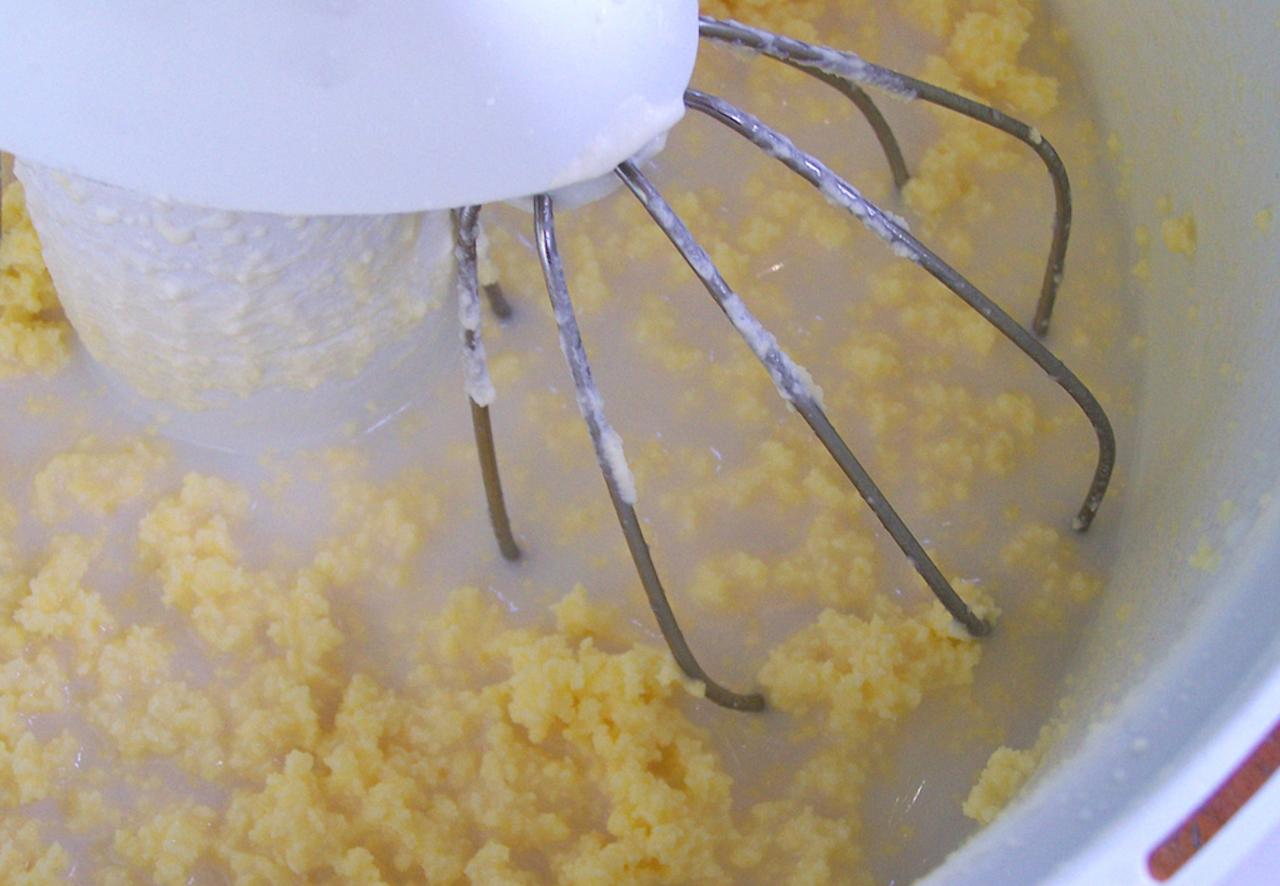
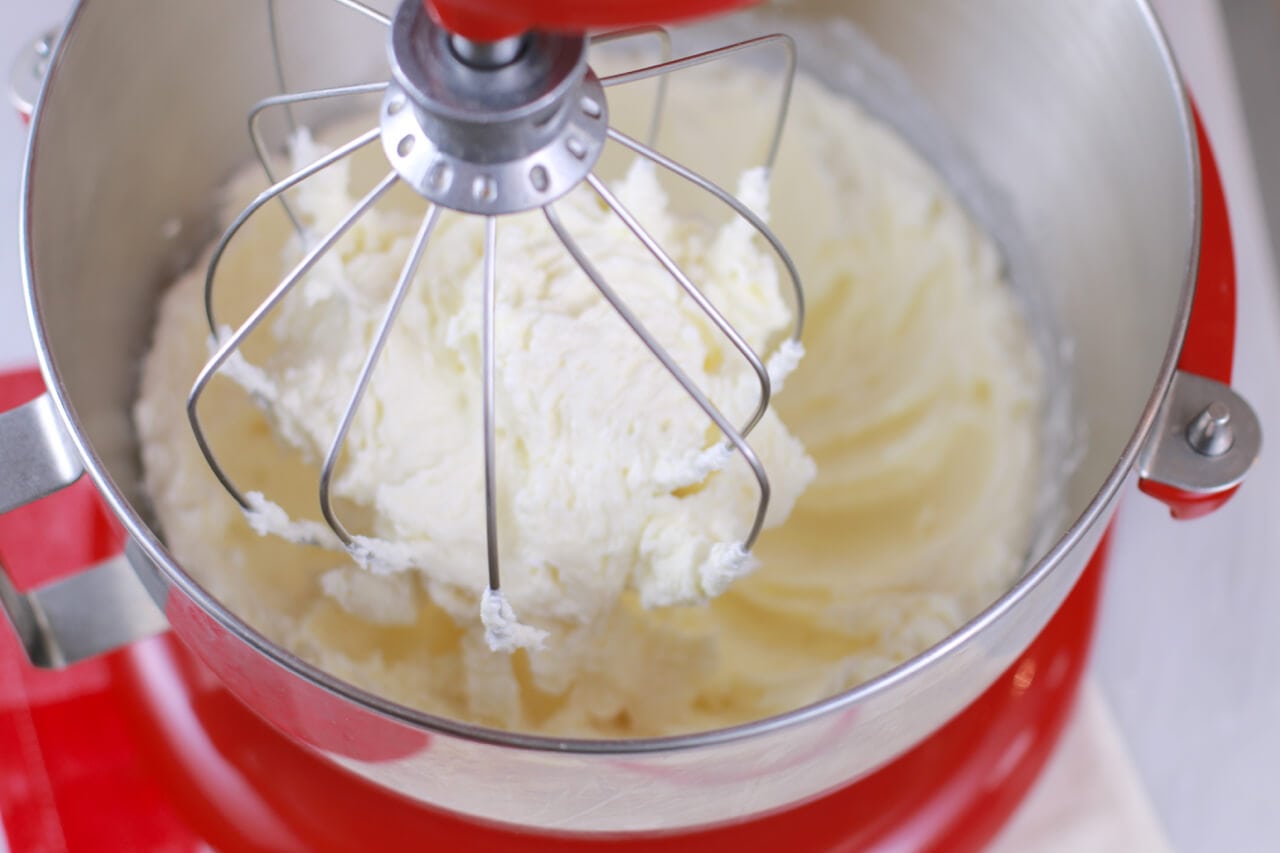
As you continue to whisk, you will notice various stages of the cream. At first, it will become frothy, then soft peaks will form, and finally, it will turn into a thick whipped cream consistency. - Step 4: Keep Mixing
Once the cream reaches the whipped cream stage, continue to mix it at a high speed. Be prepared for a sudden change in texture and appearance as the cream separates into butterfat and buttermilk. - Step 5: Drain the Buttermilk
Using a spatula or butter cloth, carefully separate the butterfat from the buttermilk. Squeeze out the excess liquid to leave you with pure butter. - Step 6: Rinse and Shape
Rinse the butter under cold water to remove any residual buttermilk. This helps to prolong its freshness. With clean hands, shape the butter into a block, disc, or any desired shape. - Step 7: Store and Enjoy
Transfer the butter to an airtight container or wrap it in wax paper. Store it in the refrigerator for up to two weeks or freeze it for longer storage. Now, sit back and enjoy the fruits of your labor!
By following these steps, you’ll have a batch of delicious homemade butter ready to enhance your dishes with its rich and creamy goodness. But before you start, let’s explore some factors that can affect the time it takes to make butter with a hand mixer.
When making butter with a hand mixer, use heavy cream at room temperature and mix on high speed for about 10-15 minutes until the butter separates from the buttermilk. Rinse the butter with cold water and knead out any remaining liquid.
Factors Affecting Butter Making Time
The time it takes to make butter with a hand mixer can vary depending on a few factors. Understanding these factors can help you manage your expectations and ensure a smoother butter making process:
- Temperature: The temperature of the cream plays a significant role in butter making. Cream that is too cold will take longer to whip, while cream that is too warm may not separate properly. Room temperature cream (around 68°F or 20°C) is ideal for quicker butter making.
- Fat Content: The fat content of the cream affects the time it takes to make butter. Cream with a higher fat content will result in faster butter making, as it has a higher concentration of butterfat.
- Mixing Speed: The speed at which you whip the cream with your hand mixer can also impact the butter making time. Starting at a low speed and gradually increasing it allows for better incorporation of air, leading to quicker separation of butterfat.
- Consistency: Achieving the right consistency is crucial in butter making. Whipping the cream until it reaches the whipped cream stage and then continuing to mix until the butterfat separates will give you faster results.
- Buttermilk Drainage: Properly draining the buttermilk from the butter is essential for its texture and longevity. Take your time to squeeze out excess liquid, as residual buttermilk can lead to spoilage if not properly removed.
- Water Rinse: Rinsing the butter under cold water after separating the buttermilk helps remove any remaining buttermilk and enhances its shelf life. Be sure to rinse thoroughly and reshape the butter to remove excess water.
Keep in mind that these factors can affect the time it takes to make butter, but don’t be discouraged if it takes longer than expected. With practice, you’ll become more familiar with the process and be able to make butter more efficiently.
Now that you’re aware of the factors that can impact butter making time, let’s explore some tips and tricks to expedite the process.
Tips and Tricks for Making Butter Faster
If you’re looking to speed up the process of making butter with a hand mixer, try implementing the following tips and tricks:
- Use chilled mixing bowl and beaters: Before starting, chill your mixing bowl and beaters in the refrigerator for a few minutes. This helps keep the cream cold and encourages faster whipping.
- Opt for high-speed whipping: Instead of starting at a low speed and gradually increasing, you can begin with a higher speed to expedite the process. However, be careful not to splash the cream out of the bowl.
- Use high-fat cream: Cream with a higher fat content, such as heavy cream or whipping cream, tends to separate into butter and buttermilk faster. Look for cream with a fat content of at least 35% for quicker results.
- Experiment with different cream temperatures: While room temperature cream is generally recommended, you can try experimenting with slightly colder or slightly warmer cream to see if it affects the butter making time. Keep in mind that extreme temperatures may hinder the process.
- Divide cream into smaller batches: If you’re working with a large quantity of cream, consider dividing it into smaller batches when whipping. This allows for more efficient incorporation of air and quicker separation of butterfat.
- Add a small amount of cultured buttermilk: Adding a tablespoon of cultured buttermilk to the cream can help kickstart the butter making process. The natural cultures in buttermilk can enhance the separation of butterfat and buttermilk.
- Be mindful of over-whipping: While you want to whip the cream until it turns into butter, be careful not to over-whip it to the point where it becomes clumpy and grainy. This can happen if you’re not monitoring the process closely.
- Invest in a higher-quality hand mixer: If you frequently make butter or other whipped delights, consider investing in a hand mixer with a more powerful motor and multiple speed settings. This can make the process faster and more efficient.
Remember, practice makes perfect. As you continue to make butter with a hand mixer, you’ll develop your own shortcuts and techniques to expedite the process. Enjoy the journey and the delicious homemade butter you’ll be able to create!
With all these tips and tricks in mind, you are now equipped to start making your own butter faster and more efficiently. So, roll up your sleeves, gather your ingredients, and enjoy the satisfaction of creating your very own homemade butter with a hand mixer!
Read more: How To Make Butter In Kitchenaid Mixer
Conclusion
Congratulations on completing your journey into the world of homemade butter using a hand mixer! Making your own butter is not only a fun and rewarding experience but also allows you to have full control over the ingredients and flavors of your butter.
Throughout this article, we’ve walked you through the equipment and ingredients you’ll need, the step-by-step process of making butter with a hand mixer, factors that can affect the butter making time, and some tips and tricks for expediting the process.
By now, you should have a clear understanding of how to effectively whip cream into butter, adjust the variables to fit your preferences, and produce smooth and delicious homemade butter in no time.
Remember to experiment with different flavors, herbs, and spices to personalize your butter and elevate your culinary creations. Whether you enjoy it on a fresh slice of bread, use it for cooking, or give it as a thoughtful gift, homemade butter is sure to impress!
As you continue on your butter-making journey, don’t be afraid to get creative and experiment with different techniques and ingredients. The more you practice, the more you’ll perfect your butter-making skills.
So, why settle for store-bought butter when you can easily whip up your own batch of homemade goodness with just a hand mixer? Embrace the simplicity, the satisfaction, and the incredible flavors that come with making butter from scratch.
Now it’s time to put everything you’ve learned into action. Grab your hand mixer, gather your ingredients, and start churning out that delicious homemade butter. Enjoy the process, revel in the taste, and share your newfound skill with friends and family.
Happy butter making!
Frequently Asked Questions about How Long Does It Take To Make Butter With A Hand Mixer
Was this page helpful?
At Storables.com, we guarantee accurate and reliable information. Our content, validated by Expert Board Contributors, is crafted following stringent Editorial Policies. We're committed to providing you with well-researched, expert-backed insights for all your informational needs.

0 thoughts on “How Long Does It Take To Make Butter With A Hand Mixer”