
Articles
How To Froth Milk With A Hand Mixer
Modified: August 27, 2024
Learn how to froth milk with a hand mixer in this comprehensive guide. Discover key tips and tricks from our expert articles to achieve the perfect frothy texture.
(Many of the links in this article redirect to a specific reviewed product. Your purchase of these products through affiliate links helps to generate commission for Storables.com, at no extra cost. Learn more)
Introduction
Welcome to the world of frothy milk goodness! Whether you’re a coffee lover or a fan of indulgent hot chocolates, knowing how to froth milk can take your beverage experience to the next level. And with the help of a handy kitchen tool like a hand mixer, you can achieve that perfect foam right at home.
In this article, we’ll guide you through the process of frothing milk with a hand mixer, from understanding the art of frothing to choosing the right mixer and implementing various techniques. We’ll also address common troubleshooting issues and provide tips for cleaning and maintaining your mixer.
So grab your favorite mug and let’s dive into the wonderful world of frothing milk!
Key Takeaways:
- Master the art of frothing milk at home using a hand mixer by understanding the science behind frothing, choosing the right mixer, and implementing various frothing techniques for luscious and foamy beverages.
- Achieve perfect froth consistency by troubleshooting common issues, experimenting with different milk types, and mastering the cleaning and maintenance of your hand mixer for long-lasting frothing adventures.
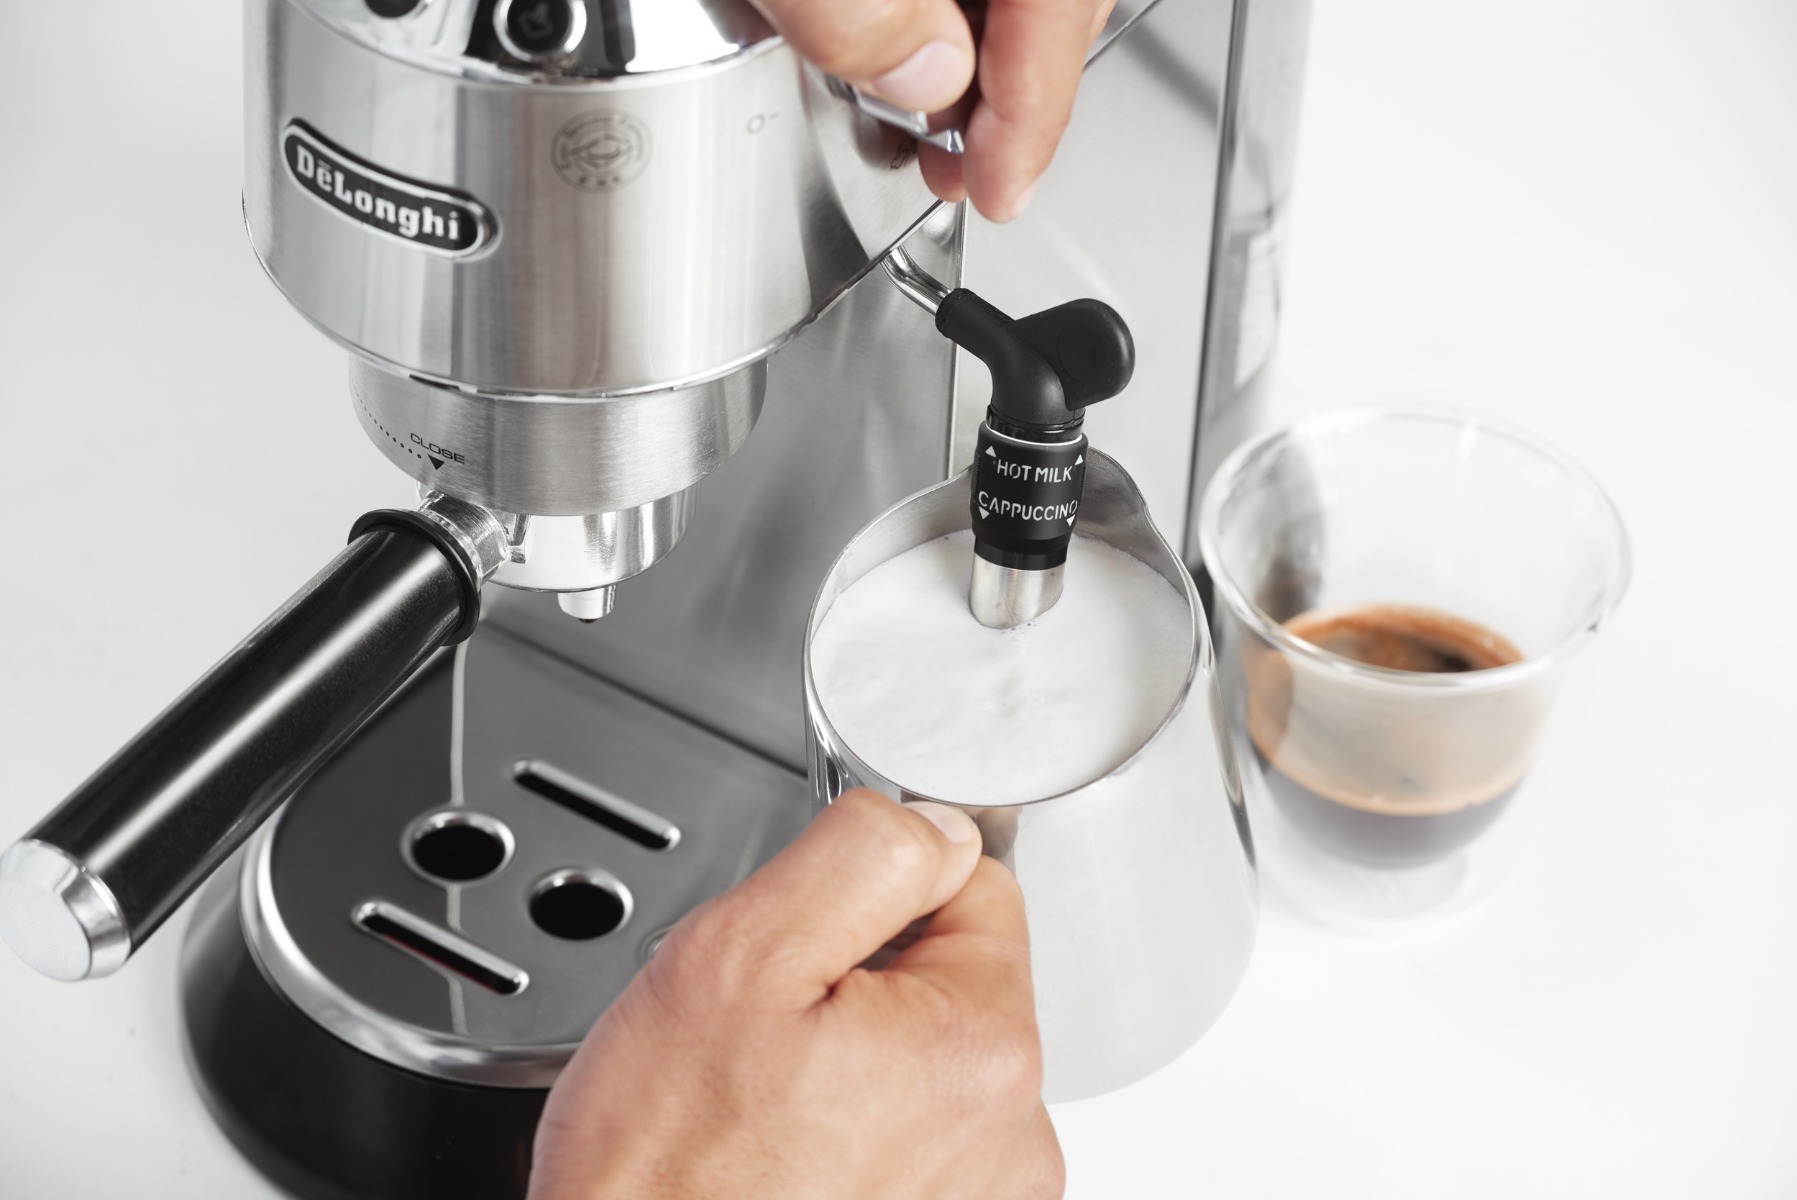
Read more: How To Froth Milk With Immersion Blender
Understanding Frothing Milk
Before we dive into the practicalities of frothing milk, it’s essential to understand what exactly happens during the process. Frothing milk involves incorporating air into the liquid, which creates tiny bubbles and gives the milk a creamy texture and a visually appealing foam layer.
The key to achieving frothy milk lies in the proteins present in the milk. When milk is heated, the proteins undergo denaturation, which means that their structure changes due to the heat. This causes the proteins to unfold and form a network that traps air bubbles when the milk is agitated or mixed.
The fat content of the milk also plays a crucial role in frothing. Milk with a higher fat content, such as whole milk or cream, tends to froth more easily and produces a richer foam. On the other hand, low-fat or skim milk may require a bit more effort to achieve a creamy froth.
It’s important to note that different types of milk, such as almond milk or soy milk, may froth differently due to their protein content and composition. Some non-dairy milk alternatives may require the addition of certain stabilizers or thickeners to achieve satisfactory frothing results.
Now that we have a basic understanding of the science behind frothing milk, let’s move on to choosing the right hand mixer to help us achieve that perfect foam!
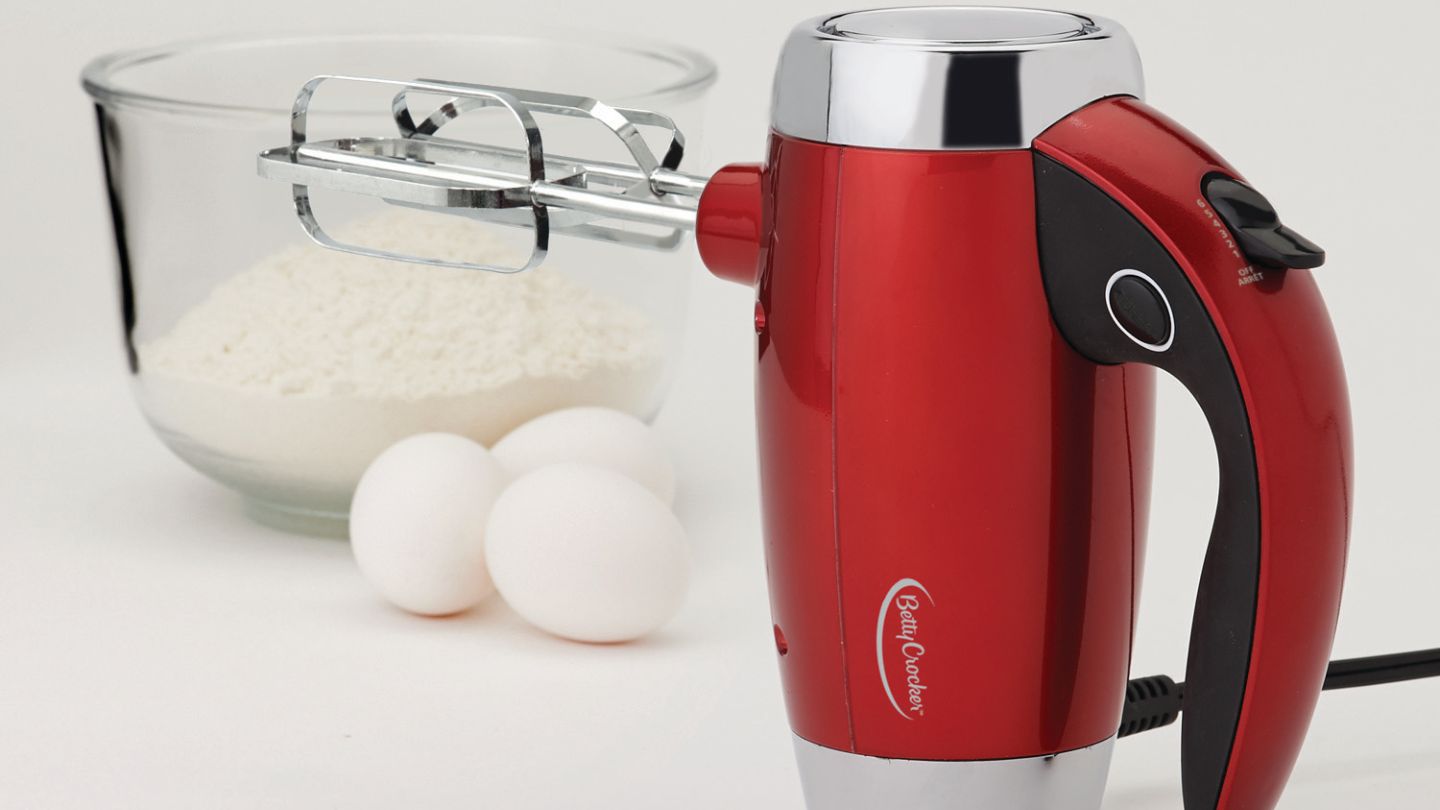
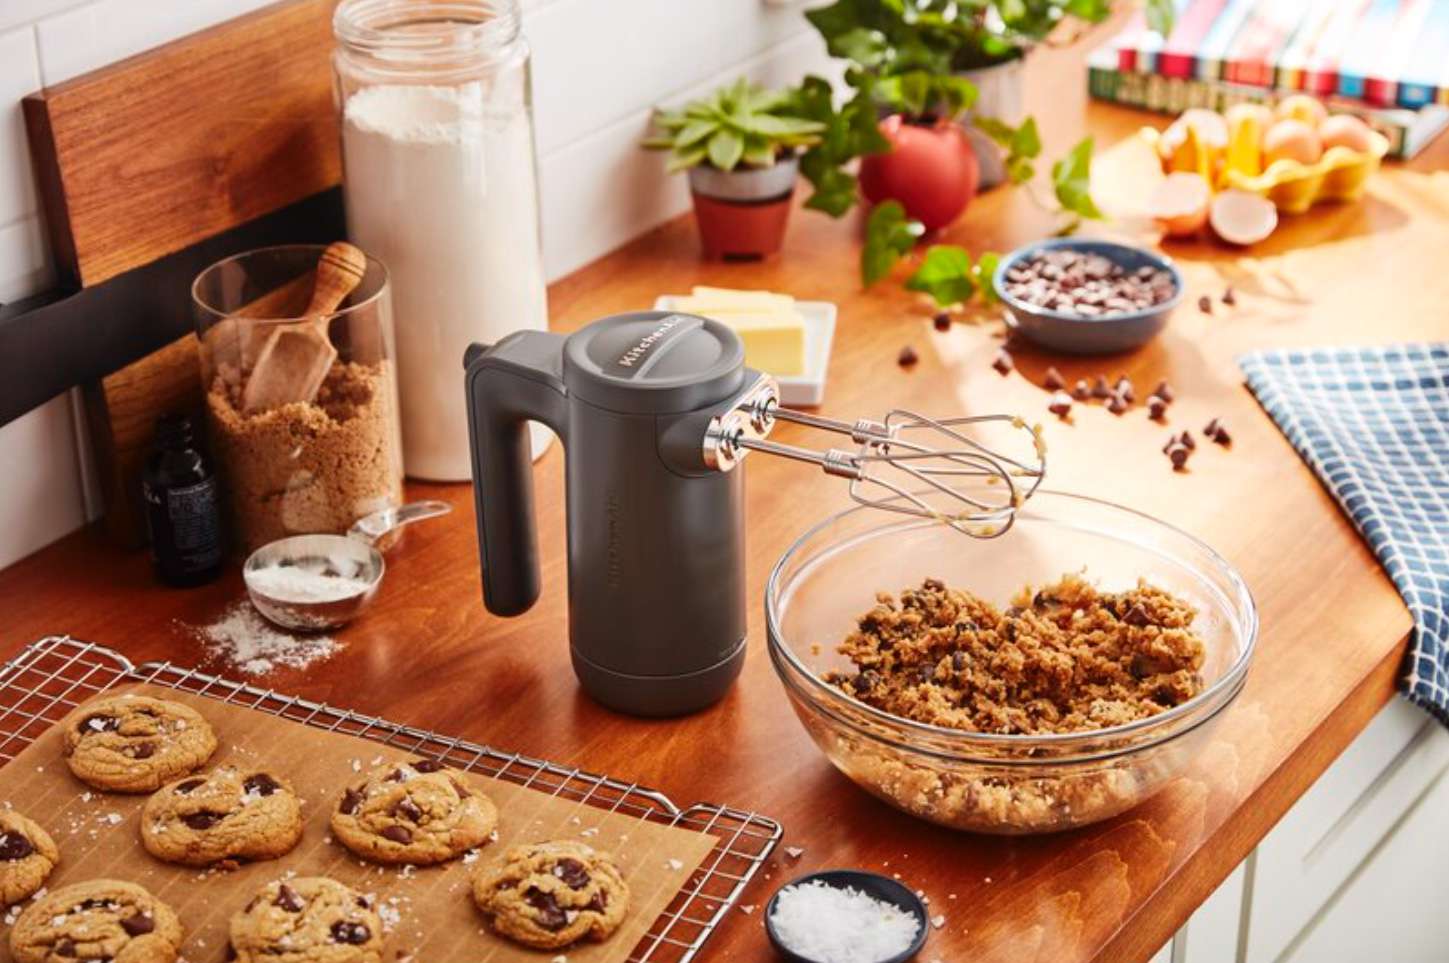
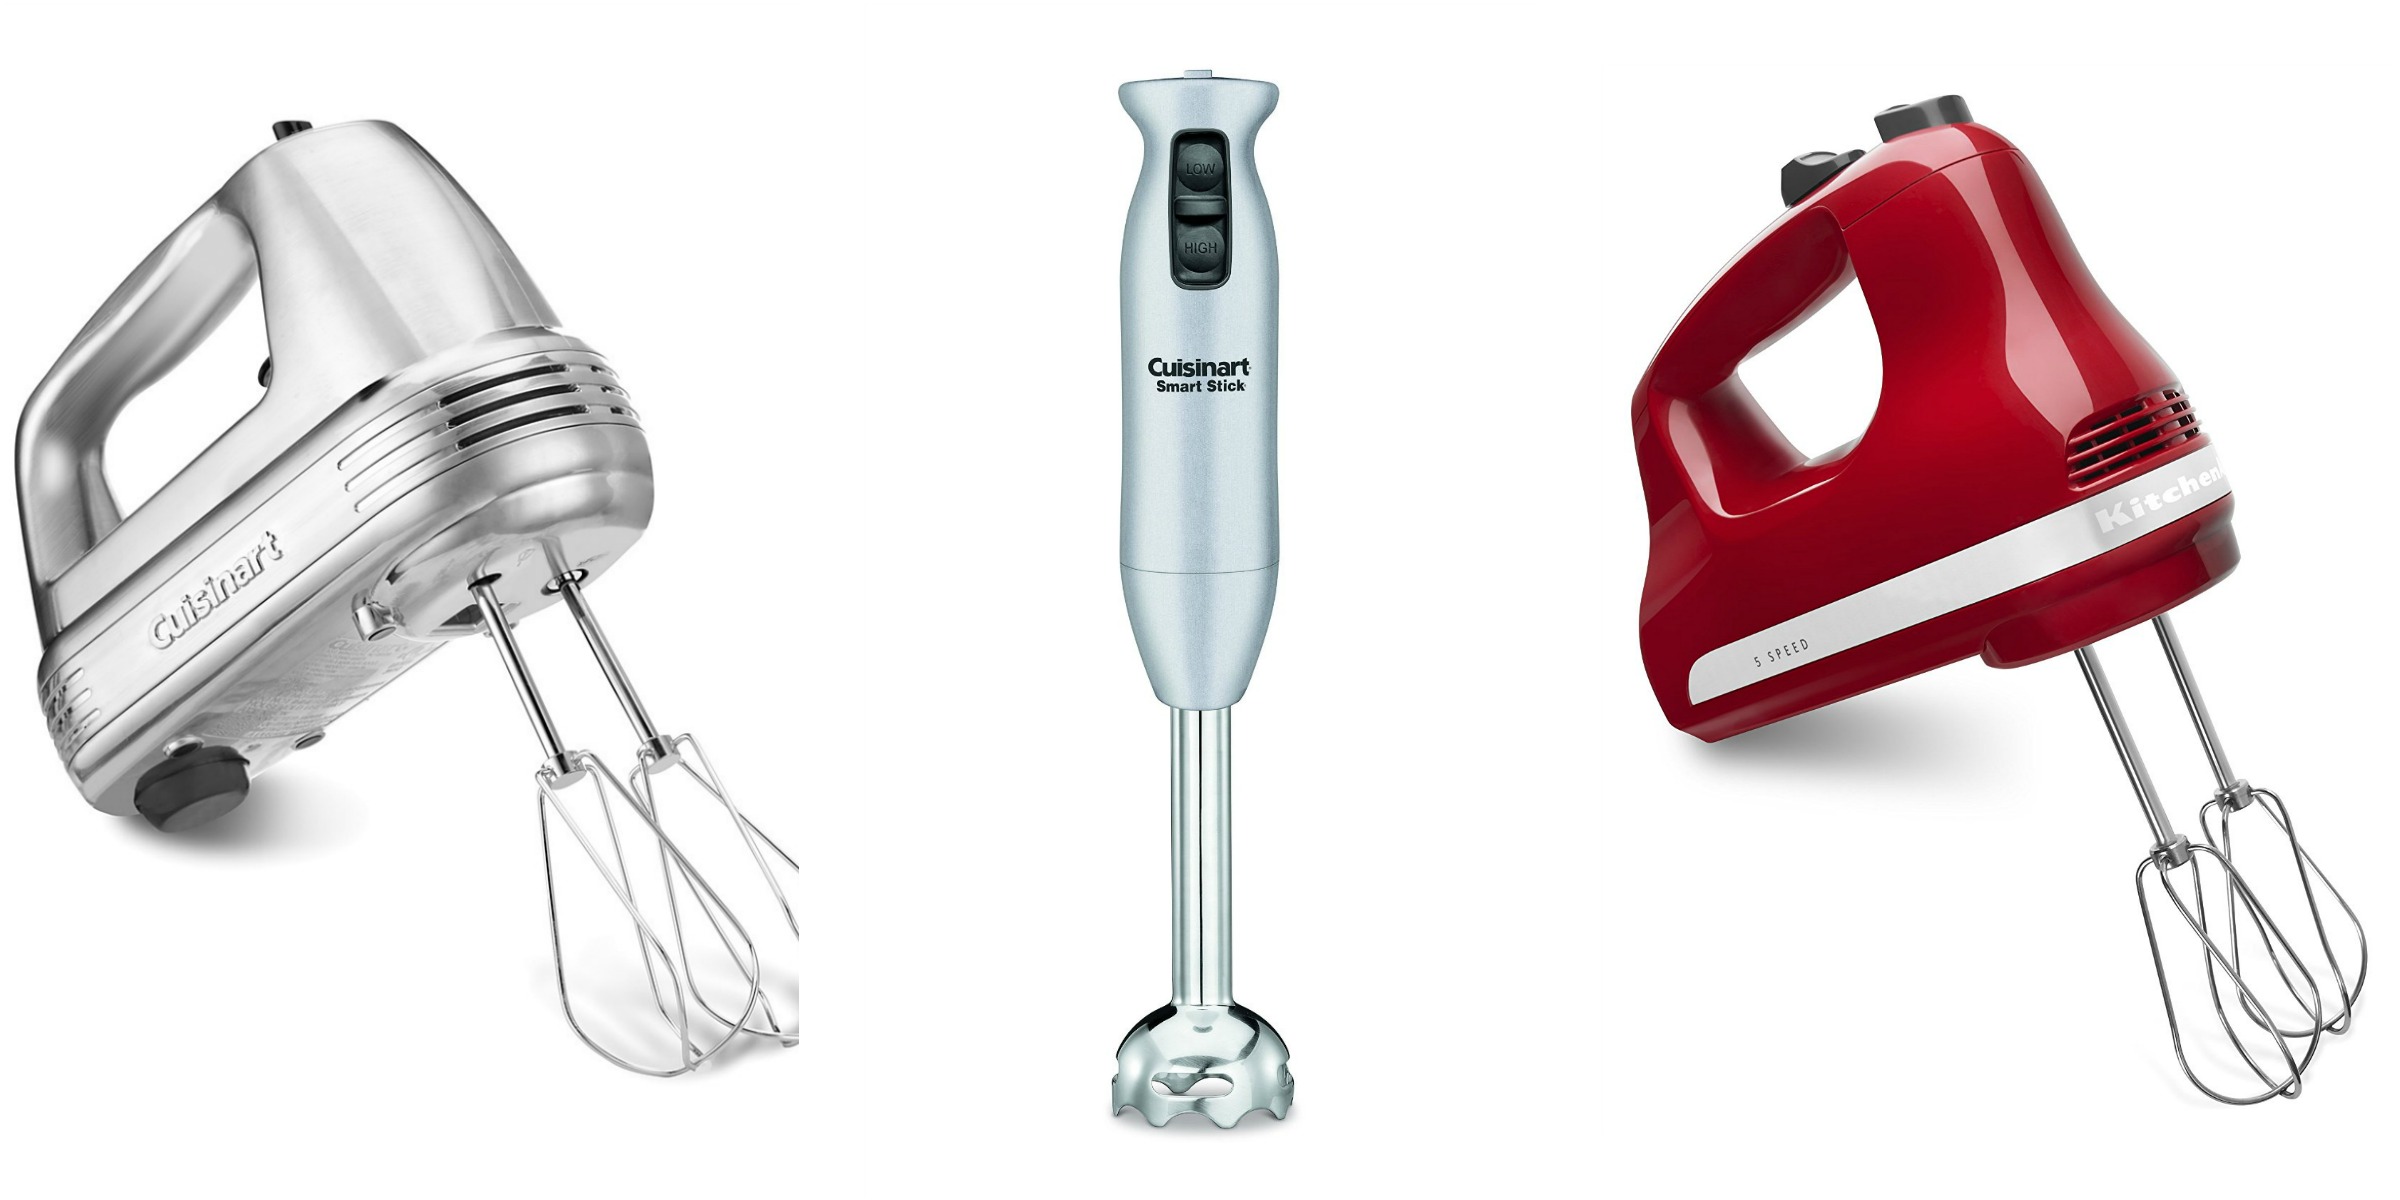
Choosing the Right Hand Mixer
When it comes to frothing milk with a hand mixer, having the right tool can make all the difference. Here are some factors to consider when choosing a hand mixer for frothing milk:
- Power: Look for a hand mixer with enough power to effectively froth milk. A higher wattage will provide better results, as it will be able to agitate the milk more efficiently.
- Speed Settings: Opt for a hand mixer with variable speed settings. Different beverages may require different frothing speeds, so having the flexibility to adjust the speed can help you achieve the desired consistency.
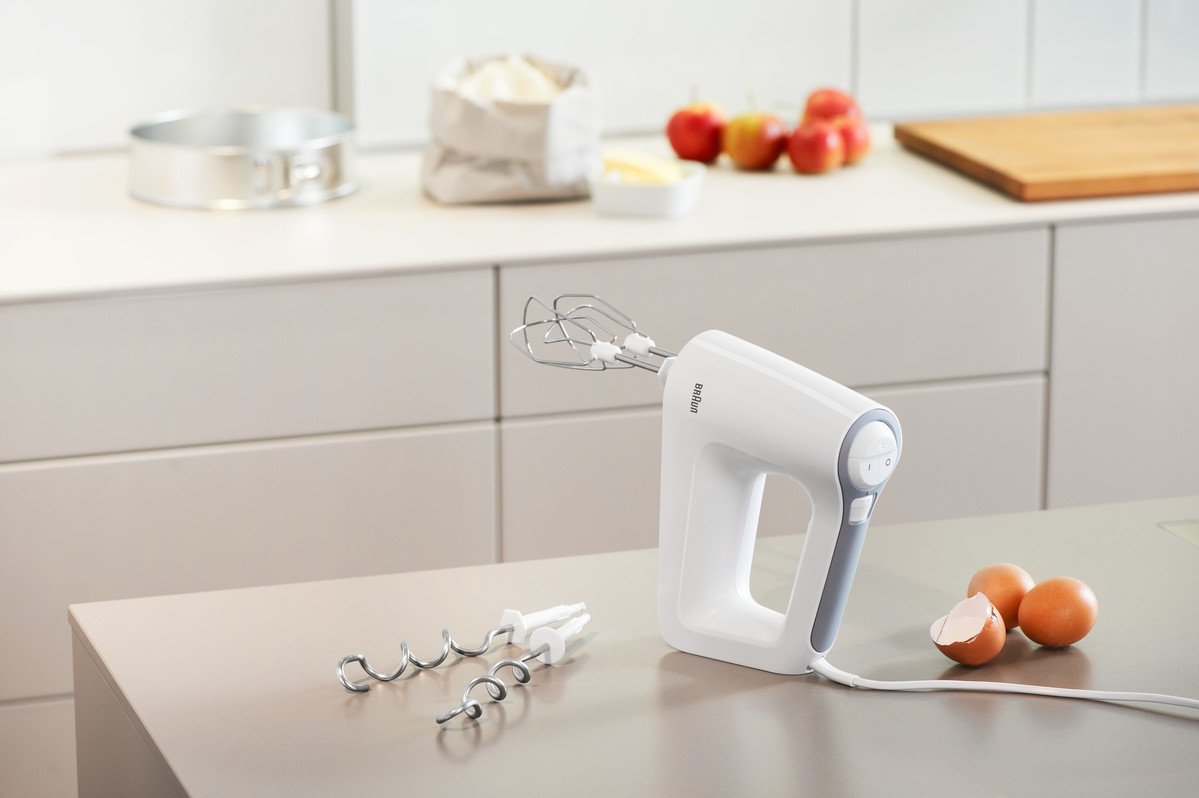
- Attachments: Check if the hand mixer comes with a whisk attachment specifically designed for frothing milk. This attachment will have a different design, with evenly spaced wires that can incorporate air into the milk effectively.
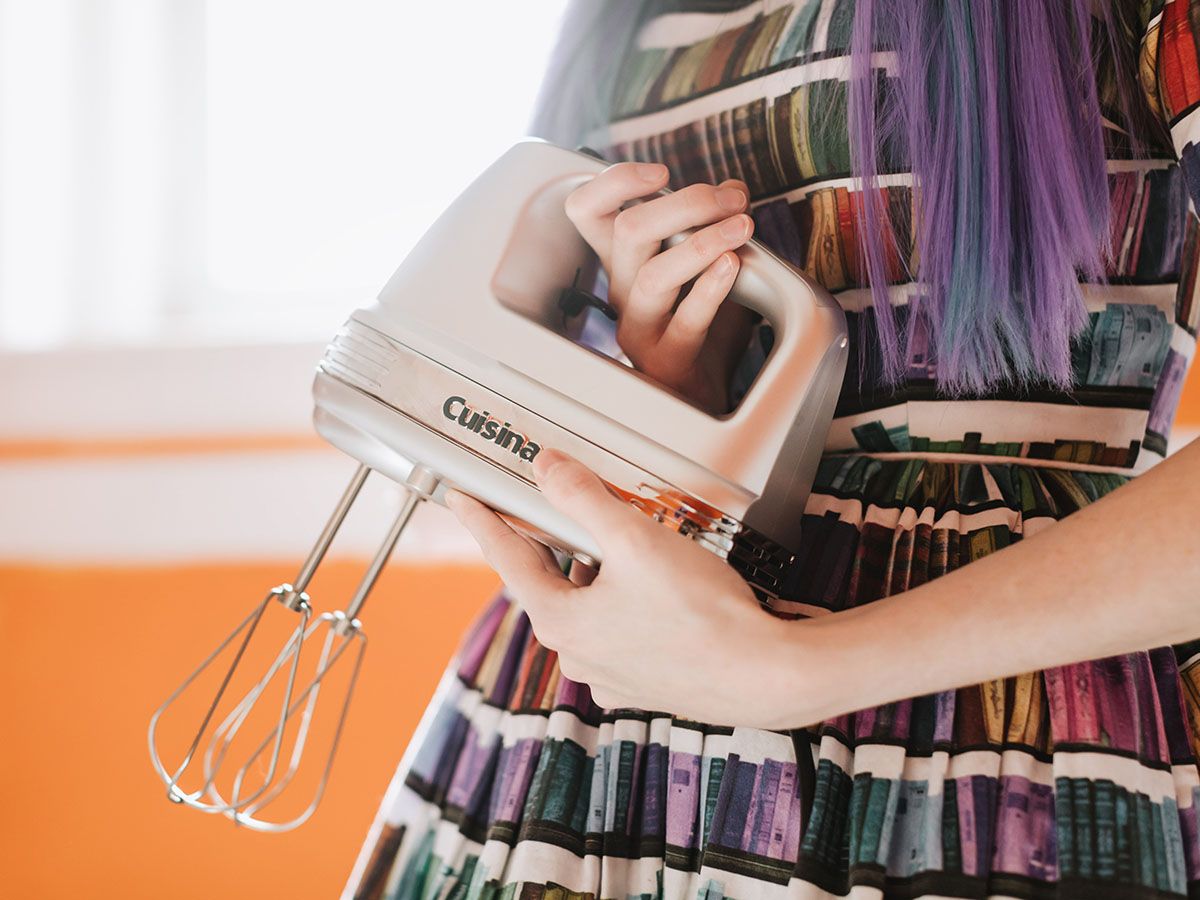
- Ergonomics: Consider the ergonomics of the hand mixer. Look for a comfortable grip and lightweight design that will make it easy to handle and maneuver when frothing milk.
- Easy to Clean: Frothing milk can sometimes lead to messy splatters, so choosing a hand mixer that is easy to clean is essential. Look for models with easily detachable and dishwasher-safe attachments.
- Reviews and Recommendations: Read reviews and seek recommendations from other users to get an idea of the performance and durability of the hand mixer you are considering.
By considering these factors, you can find a hand mixer that is well-suited for frothing milk and will make your frothing experience smooth and enjoyable. Once you have the right mixer, it’s time to prepare the milk for frothing!
Preparing the Milk
Properly preparing the milk before frothing is crucial to achieving the best results. Here’s how to prepare the milk for frothing:
- Choose the Right Type of Milk: As mentioned earlier, the fat content of the milk plays a role in frothing. Whole milk or cream tend to froth the best due to their higher fat content. However, you can also use low-fat or skim milk, but it may require more effort to achieve a creamy froth.
- Choose Cold Milk: Start with cold milk, as cold milk froths better than warm milk. It helps to retain the air bubbles created during frothing and results in a thicker and more stable foam.
- Measure the Quantity: Determine the amount of milk you need for your beverage and pour it into a suitable container. Keep in mind that the milk will expand in volume as it froths, so leave enough headspace in the container to prevent overflowing.
- Optional Flavorings: If you want to add some flavor to your frothy milk, you can incorporate any desired flavorings at this stage. Add a dash of vanilla extract, a sprinkle of cocoa powder, or a drizzle of honey to enhance the taste of your frothy creation.
- Warm the Milk (Optional): If you prefer your beverage to be warm rather than cold, you can gently heat the milk before frothing. Use a microwave or heat the milk on the stovetop until it reaches your desired temperature. Be careful not to overheat the milk as it can affect the frothing process.
With the milk ready, it’s time to move on to the exciting part – frothing the milk using various techniques!
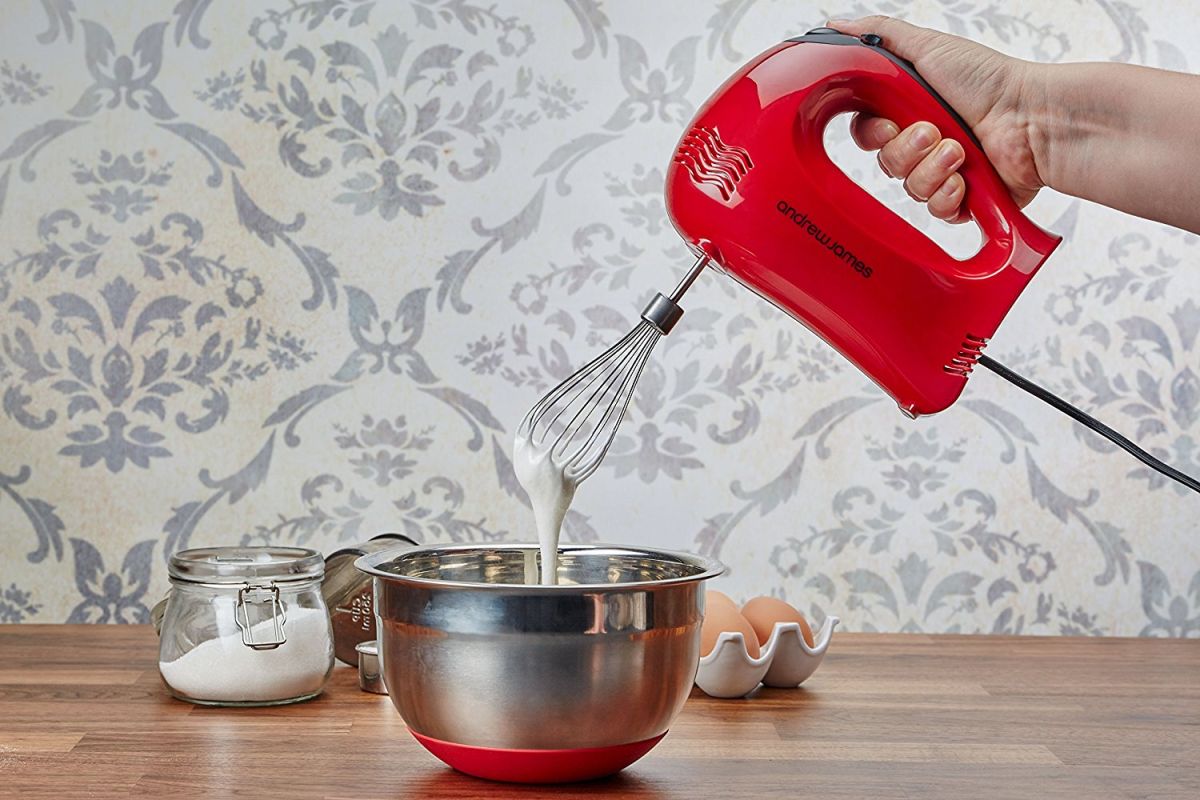
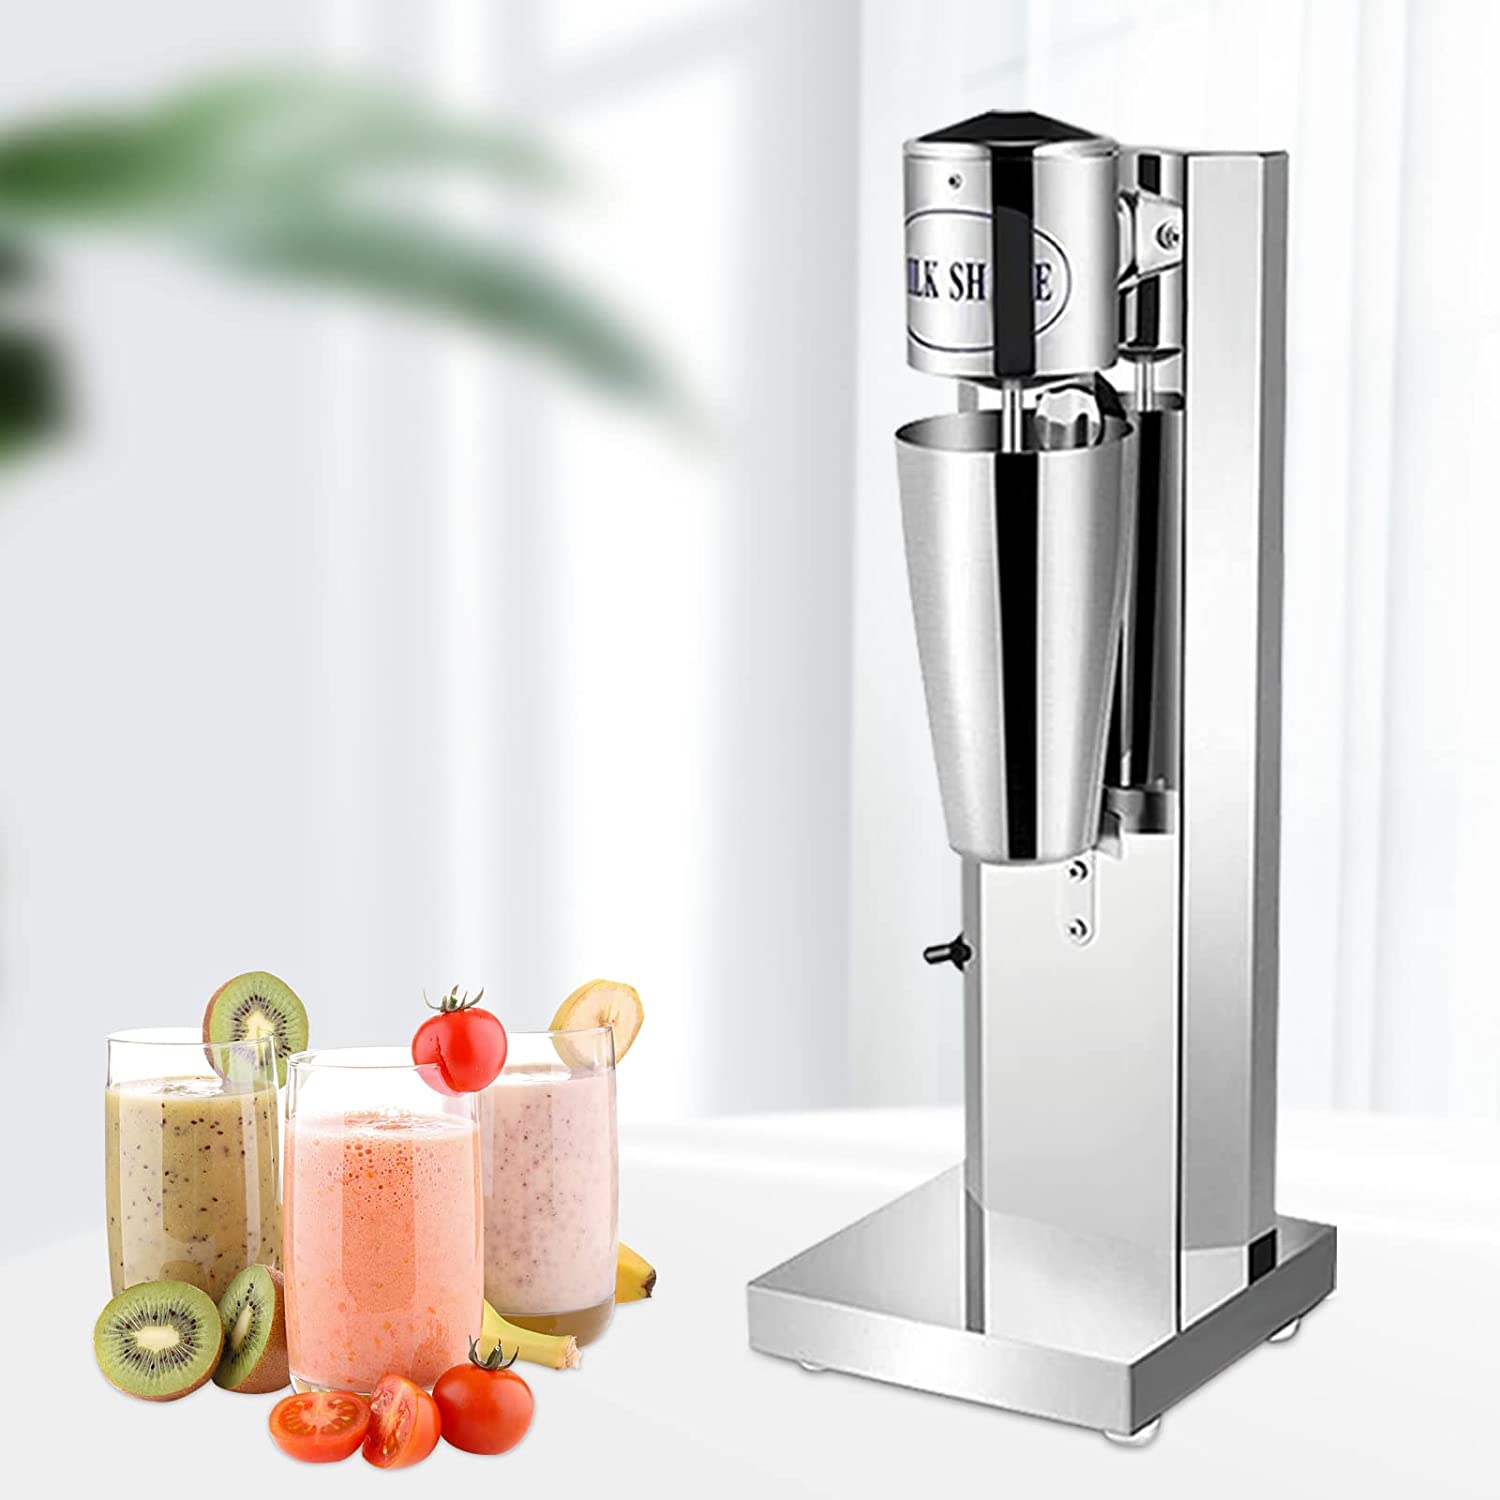
To froth milk with a hand mixer, use a deep, narrow container to prevent splashing. Start with the mixer on low speed and gradually increase to high for best results.
Frothing Techniques
Now that we have prepared the milk, let’s explore different techniques for frothing milk using a hand mixer. These techniques can help you achieve the perfect froth for your favorite beverages:
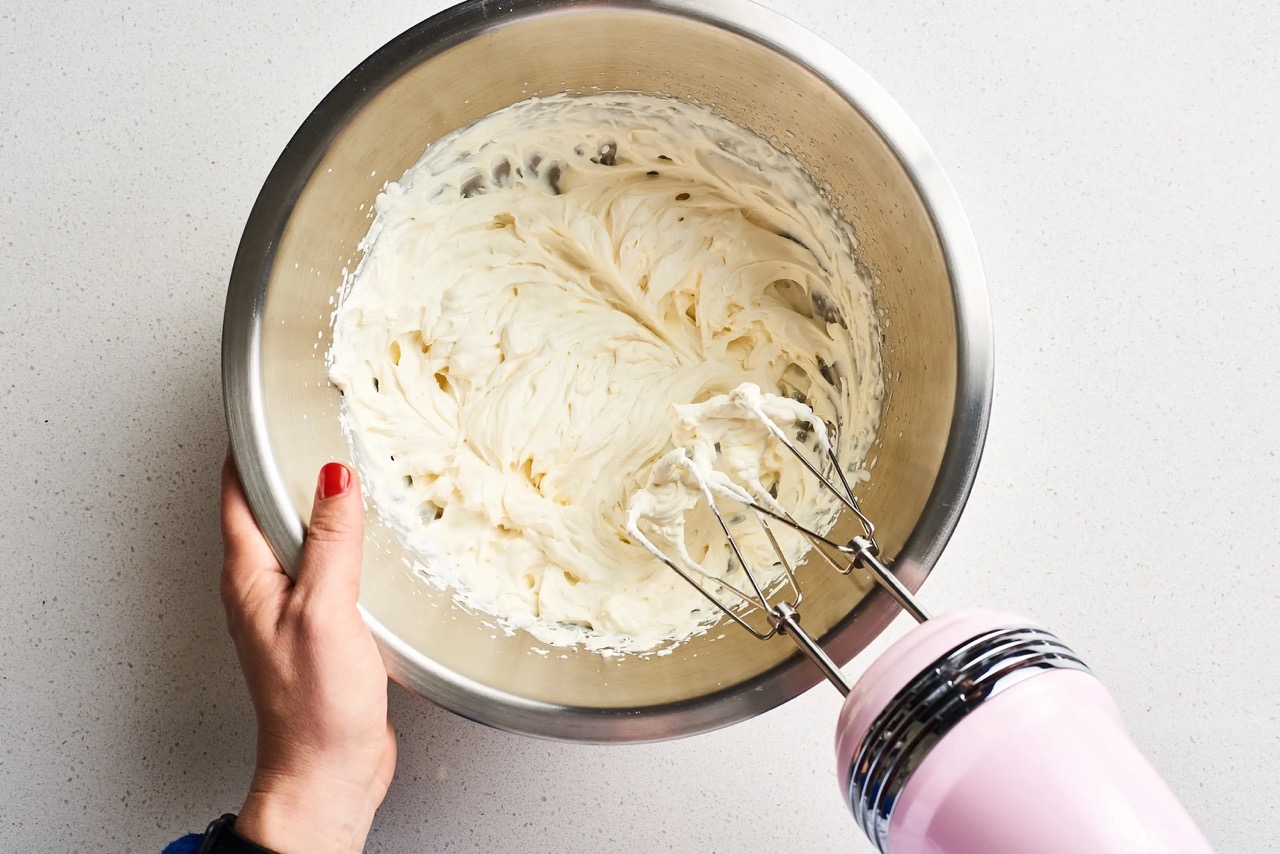
- Basic Frothing: Start by attaching the whisk attachment to your hand mixer. Immerse the whisk into the milk, ensuring that the wires are fully submerged. Turn on the mixer at a low speed to prevent splattering. Gradually increase the speed as the milk starts to froth. Move the whisk in an up-and-down motion or swirl it in circles to incorporate air into the milk. Continue whisking until the desired froth consistency is achieved.
- Advanced Frothing: For more refined foam, you can try the “tilt and roll” technique. Tilt the container slightly and roll the milk back and forth while simultaneously whisking with the hand mixer. This technique helps to create microfoam with smaller bubbles, resulting in a smoother texture.
- Double Whisk Technique: If you want to create extra frothy and creamy foam, you can use two whisk attachments simultaneously. Attach two whisks to the hand mixer and immerse them into the milk. Follow the basic frothing technique but with both whisks working simultaneously. The dual whisk action creates more agitation and incorporates additional air into the milk, resulting in a voluminous foam.
- Temperature Control: If you prefer hot frothy milk for your beverage, you can froth the cold milk first and then carefully heat it up in a microwave or on the stovetop while stirring gently. This method allows you to maintain the frothy texture while warming the milk to the desired temperature.
- Experiment with Speeds: Depending on the type of milk and desired froth consistency, you can experiment with different speed settings on your hand mixer. Higher speeds tend to create more foam, while lower speeds can result in denser, velvety foam. Find the speed that works best for the type of froth you prefer.
Remember, practice makes perfect! It may take a few tries to master the frothing process according to your preferences, so don’t be discouraged if you don’t get it right on the first attempt. With time and experience, you’ll become a frothing expert!
If you encounter any issues during the frothing process, don’t worry. Let’s address some common troubleshooting tips in the next section.
Read more: How To Froth Milk With Coffee Machine
Troubleshooting
While frothing milk with a hand mixer is generally a straightforward process, you might encounter a few common issues along the way. Here are some troubleshooting tips to help you overcome any challenges:
- Weak or Flat Foam: If your foam turns out weak or flat, ensure that your milk is cold and fresh. Older milk tends to produce less foam. You can also try adjusting the speed of your hand mixer, using a higher speed setting to incorporate more air into the milk.
- Excessive Splattering: To prevent splattering, start the hand mixer at a low speed and gradually increase the speed as the milk begins to froth. Ensure that the whisk attachment is fully submerged in the milk before turning on the mixer. Also, use a deep and wide enough container to minimize splattering.
- Large Bubbles: If your foam has large bubbles, it could be due to whisking too aggressively or using a high-speed setting. Try whisking more gently and using a lower speed to create smaller and more uniform bubbles.
- Difficulty Frothing Non-Dairy Milk: Non-dairy milk alternatives like almond milk or soy milk may require additional steps to achieve satisfactory frothing. Consider using a brand that is specifically labeled as froth-friendly or look for milk alternatives that contain stabilizers or thickeners for better frothing results.
- Inconsistent Froth: Inconsistency in froth may arise from variations in milk temperature or fat content. Ensure that the milk is uniformly cold before frothing and use milk with a consistent fat content for more predictable results.
Remember, troubleshooting is all about experimenting and making adjustments. Don’t be afraid to try different techniques or variations to achieve the desired froth consistency. With time and practice, you’ll become proficient in troubleshooting and achieving the perfect froth every time.
Now that you’ve successfully frothed your milk, it’s important to properly clean and maintain your hand mixer for long-lasting use. Let’s explore some cleaning and maintenance tips in the next section.
Cleaning and Maintenance
To keep your hand mixer in optimal condition and ensure its longevity, regular cleaning and maintenance are essential. Here are some tips to help you with the cleaning and maintenance process:
- Unplug the Mixer: Before cleaning your hand mixer, always remember to unplug it from the power source for safety.
- Detach Attachments: Remove any attachments, such as the whisk or beaters, from the hand mixer. Most attachments are dishwasher-safe, but it’s a good idea to check the manufacturer’s instructions to be sure.
- Wipe Down the Mixer: Use a damp cloth or sponge to wipe down the main body of the hand mixer. Pay attention to any areas that may have come into contact with the frothed milk to ensure thorough cleaning.
- Clean Attachments: If your attachments are dishwasher-safe, you can place them in the dishwasher for cleaning. Alternatively, you can hand wash them using warm, soapy water. Make sure to rinse them thoroughly and allow them to dry completely before reattaching them to the hand mixer.
- Remove Residue: If there is any residue or dried milk on the hand mixer or attachments that is difficult to remove, you can use a small brush, such as a toothbrush, to gently scrub away the debris.
- Store Properly: Once your hand mixer and attachments are clean and dry, store them in a dry and safe place. Consider finding a designated storage spot or using a storage case or bag to protect the hand mixer from dust and damage.
- Regular Maintenance: Regularly check the cord and plug of your hand mixer for any signs of wear or damage. If you notice any issues, discontinue use and have them repaired or replaced by a professional. Additionally, periodically oil the moving parts of the hand mixer as recommended by the manufacturer.
By following these cleaning and maintenance tips, you can ensure that your hand mixer remains in excellent condition, providing you with many frothing adventures to come!
With that, you’ve mastered the art of frothing milk with a hand mixer. It’s time to put your newfound skills to use and enjoy luscious and foamy beverages from the comfort of your home. Cheers!
If you have any further questions or need additional assistance, feel free to reach out. Happy frothing!
Conclusion
Congratulations! You’ve reached the end of our comprehensive guide on how to froth milk with a hand mixer. By understanding the science behind frothing, choosing the right hand mixer, preparing the milk correctly, implementing various frothing techniques, troubleshooting any issues, and maintaining your hand mixer, you’re well on your way to creating café-quality frothy beverages at home.
Remember, practice and experimentation are key to perfecting your frothing skills. Each time you froth milk, you’ll gain more confidence and a better understanding of your preferences. Don’t be afraid to try different techniques, adjust the speed settings, and explore different types of milk to find the perfect froth consistency for your favorite drinks.
Keep in mind that the quality of the milk and the fat content play significant roles in achieving the desired results. Whole milk or cream tends to froth the best, while low-fat or skim milk may require a bit more effort. Additionally, non-dairy milk alternatives may have different properties, so some experimentation may be needed to achieve satisfactory frothing.
Lastly, don’t forget about proper cleaning and maintenance to keep your hand mixer in excellent condition. Regularly clean the attachments and wipe down the main body of the mixer. Store it safely in a dry place to prevent dust and damage. By taking care of your hand mixer, it will serve you well for years to come.
Now that you have the knowledge and techniques, it’s time to put them into practice. Froth up your favorite milk-based drinks, be it a delightful cappuccino, a creamy hot chocolate, or a frothy latte. Enjoy the delicious and visually appealing results, right from the comfort of your home.
If you have any further questions or need more assistance, feel free to refer back to this guide or reach out to us. We’re here to help you on your frothing journey. Happy frothing!
Frequently Asked Questions about How To Froth Milk With A Hand Mixer
Was this page helpful?
At Storables.com, we guarantee accurate and reliable information. Our content, validated by Expert Board Contributors, is crafted following stringent Editorial Policies. We're committed to providing you with well-researched, expert-backed insights for all your informational needs.


0 thoughts on “How To Froth Milk With A Hand Mixer”