Home>Construction & Tools>Building Materials>How To Glaze Brick
Building Materials
How To Glaze Brick
Modified: August 27, 2024
Learn how to glaze brick and enhance the appearance of your building materials with our step-by-step guide. Discover the best techniques for achieving a professional finish.
(Many of the links in this article redirect to a specific reviewed product. Your purchase of these products through affiliate links helps to generate commission for Storables.com, at no extra cost. Learn more)
**
Introduction
**
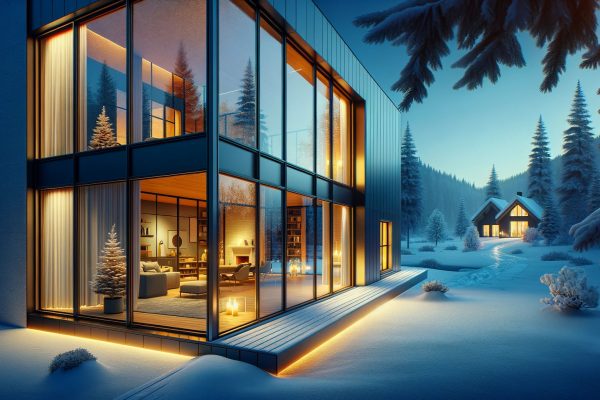
Welcome to the world of brick glazing! If you're looking to add a touch of elegance and uniqueness to your living space, brick glazing is a fantastic way to achieve that. This transformative process involves applying a specialized glaze to brick surfaces, creating a stunning, customized appearance that can breathe new life into any interior or exterior setting.
Whether you're a homeowner seeking to revamp your living space or a professional in the construction and design industry, understanding the art of brick glazing can open up a world of creative possibilities. In this comprehensive guide, we'll delve into the fundamentals of brick glazing, from selecting the right glaze to preparing and applying it to your brick surfaces. By the end of this journey, you'll have the knowledge and confidence to embark on your own brick glazing project and elevate the aesthetic appeal of your surroundings.
Now, let's embark on this exciting exploration of brick glazing, where creativity meets craftsmanship to breathe new life into traditional brick surfaces. Whether you're aiming for a rustic, weathered look or a sleek, modern finish, brick glazing offers endless potential for customization and artistic expression. So, roll up your sleeves and get ready to uncover the secrets of this captivating technique!
**
Key Takeaways:
- Transform ordinary brick surfaces into captivating focal points through the art of brick glazing, infusing spaces with personalized charm and enduring beauty while providing a protective shield against environmental elements.
- Meticulous preparation, thoughtful glaze selection, precise application, and diligent curing and sealing are crucial for creating visually captivating and durable glazed bricks that exude character, sophistication, and enduring allure.
Read more: How To Store Glazed Donuts
Understanding the Basics of Brick Glazing
**
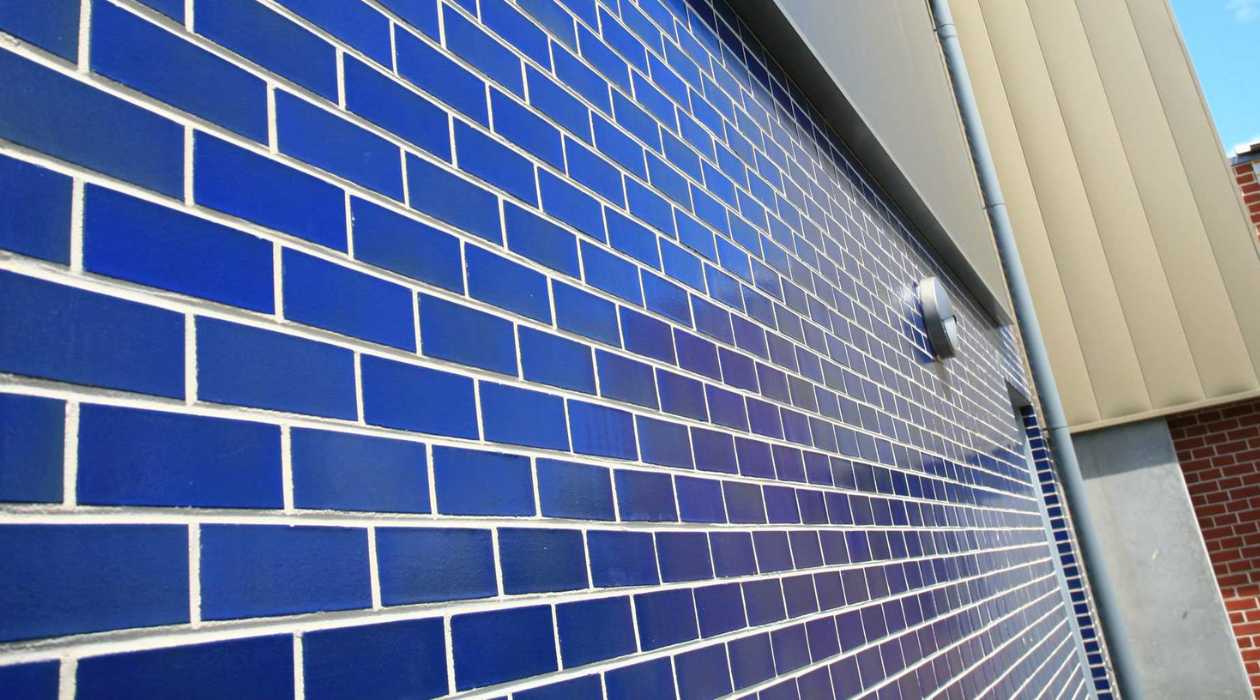
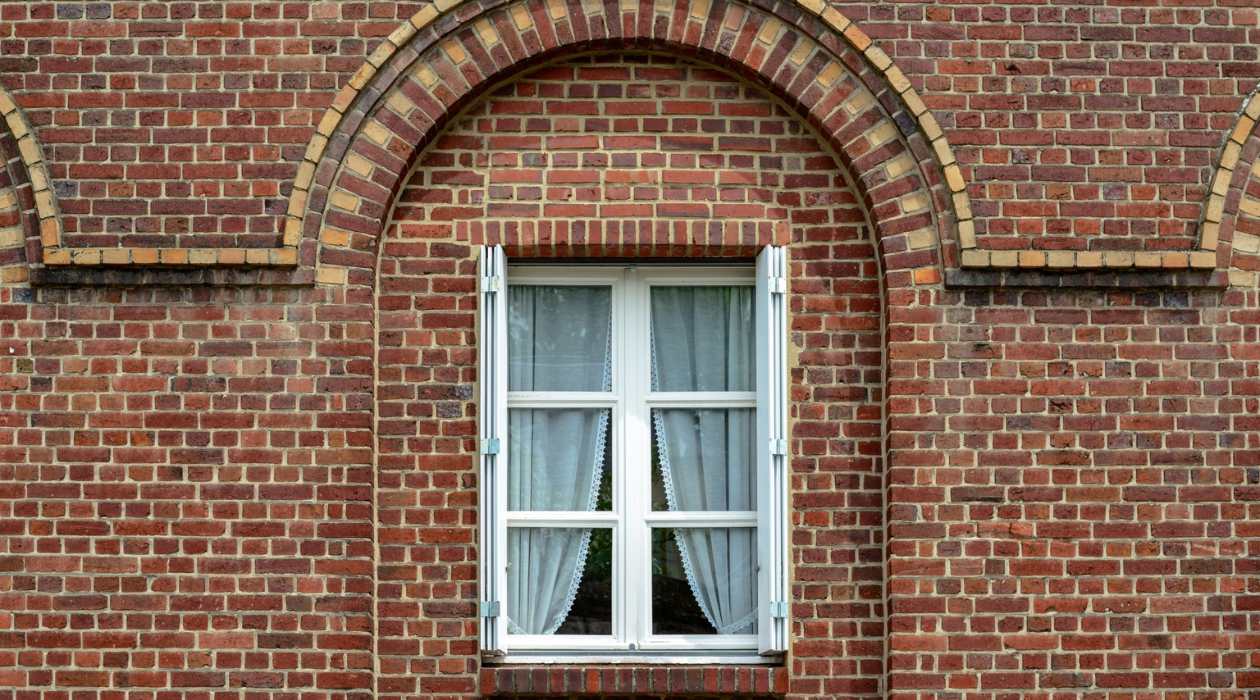
Brick glazing is a transformative process that involves applying a specialized glaze to brick surfaces, resulting in a customized and visually striking appearance. The glaze, typically a mixture of pigments and sealants, not only enhances the aesthetic appeal of the brick but also provides a protective layer, making the surface more durable and resistant to environmental elements.
One of the key aspects of brick glazing is the ability to customize the appearance of the bricks. Whether you desire a weathered, antique look or a sleek, modern finish, the right glaze can help you achieve your desired aesthetic. This versatility makes brick glazing a popular choice for both interior and exterior applications, allowing for endless creative possibilities.
When considering brick glazing, it’s essential to understand the impact it can have on the overall ambiance of a space. The choice of glaze color, texture, and application technique can significantly influence the mood and style of a room or exterior facade. By mastering the basics of brick glazing, you can harness the power of this technique to breathe new life into any environment, creating a unique and captivating atmosphere.
Additionally, brick glazing offers practical benefits beyond its visual appeal. The protective seal provided by the glaze helps safeguard the brick from moisture, UV exposure, and general wear and tear, extending the longevity of the surface and reducing maintenance requirements. This combination of aesthetic enhancement and protective functionality makes brick glazing a valuable investment for both residential and commercial properties.
As we delve deeper into the world of brick glazing, we’ll explore the intricacies of selecting the right glaze, preparing the brick surface, and applying the glaze to achieve professional-quality results. By gaining a solid understanding of these fundamental aspects, you’ll be well-equipped to embark on your own brick glazing journey with confidence and creativity.
**
Selecting the Right Glaze for Your Brick
**
Choosing the perfect glaze for your brick surfaces is a crucial step in the brick glazing process. The glaze not only enhances the aesthetic appeal of the bricks but also provides protection and durability. When selecting a glaze, several factors come into play, including color, finish, and the overall desired effect.
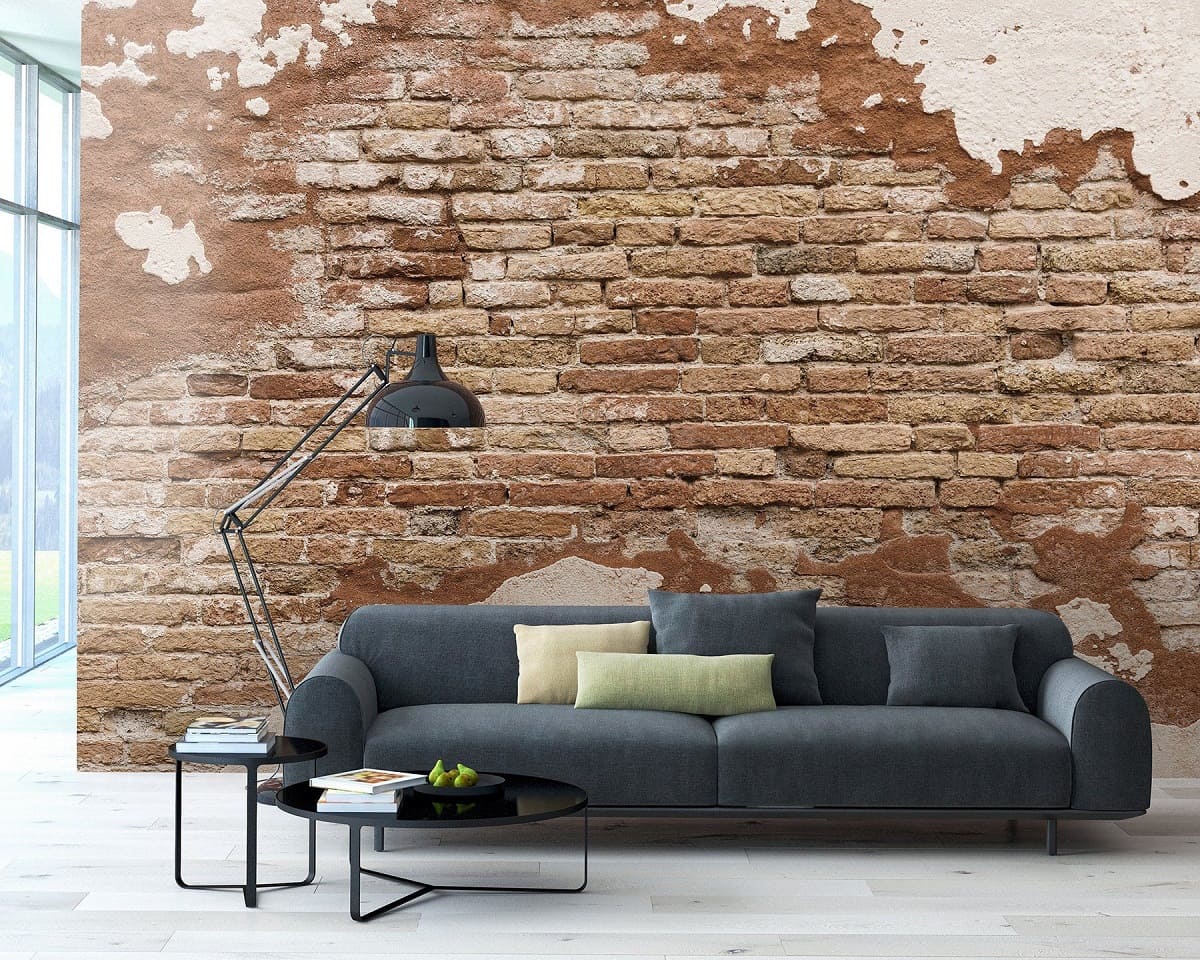
First and foremost, consider the existing color scheme and style of the space where the glazed bricks will be installed. Whether you aim to complement the surroundings or create a bold contrast, the glaze color should harmonize with the overall design scheme. Earthy tones like terracotta and sandstone can impart a warm, rustic charm, while cooler shades like slate and charcoal offer a contemporary allure. Additionally, some glazes are formulated to mimic the patina of aged or weathered bricks, adding a sense of history and character to the surface.
Next, the finish of the glaze plays a significant role in determining the final look of the bricks. Matte finishes exude a subtle, understated elegance and are often favored for a more natural or traditional aesthetic. On the other hand, glossy finishes can impart a sleek, modern appeal and are known for their light-reflective properties, adding depth and vibrancy to the brick surface. It’s essential to envision the desired ambiance and visual impact when choosing between matte, satin, or high-gloss finishes.
Another consideration when selecting a glaze is the texture it imparts on the bricks. Some glazes are designed to create a smooth, uniform appearance, ideal for achieving a contemporary or refined look. In contrast, textured glazes can add depth and dimension to the surface, simulating the tactile appeal of aged or handcrafted bricks. By carefully evaluating the texture options, you can tailor the glaze to suit the specific style and character you wish to convey.
Furthermore, it’s important to assess the environmental factors that the glazed bricks will be exposed to. If the bricks are intended for exterior applications, the glaze should offer UV resistance and weatherproofing properties to ensure long-term durability and color retention. For interior spaces, considerations such as ease of cleaning and maintenance may influence the choice of glaze, especially in high-traffic areas or moisture-prone environments.
By taking these factors into account and exploring the diverse range of glaze options available, you can select a glaze that not only aligns with your design vision but also provides the necessary protection and longevity for your brick surfaces. The right glaze will elevate the aesthetic appeal of the bricks while contributing to a resilient and enduring finish.
**
Preparing the Brick Surface for Glazing
**
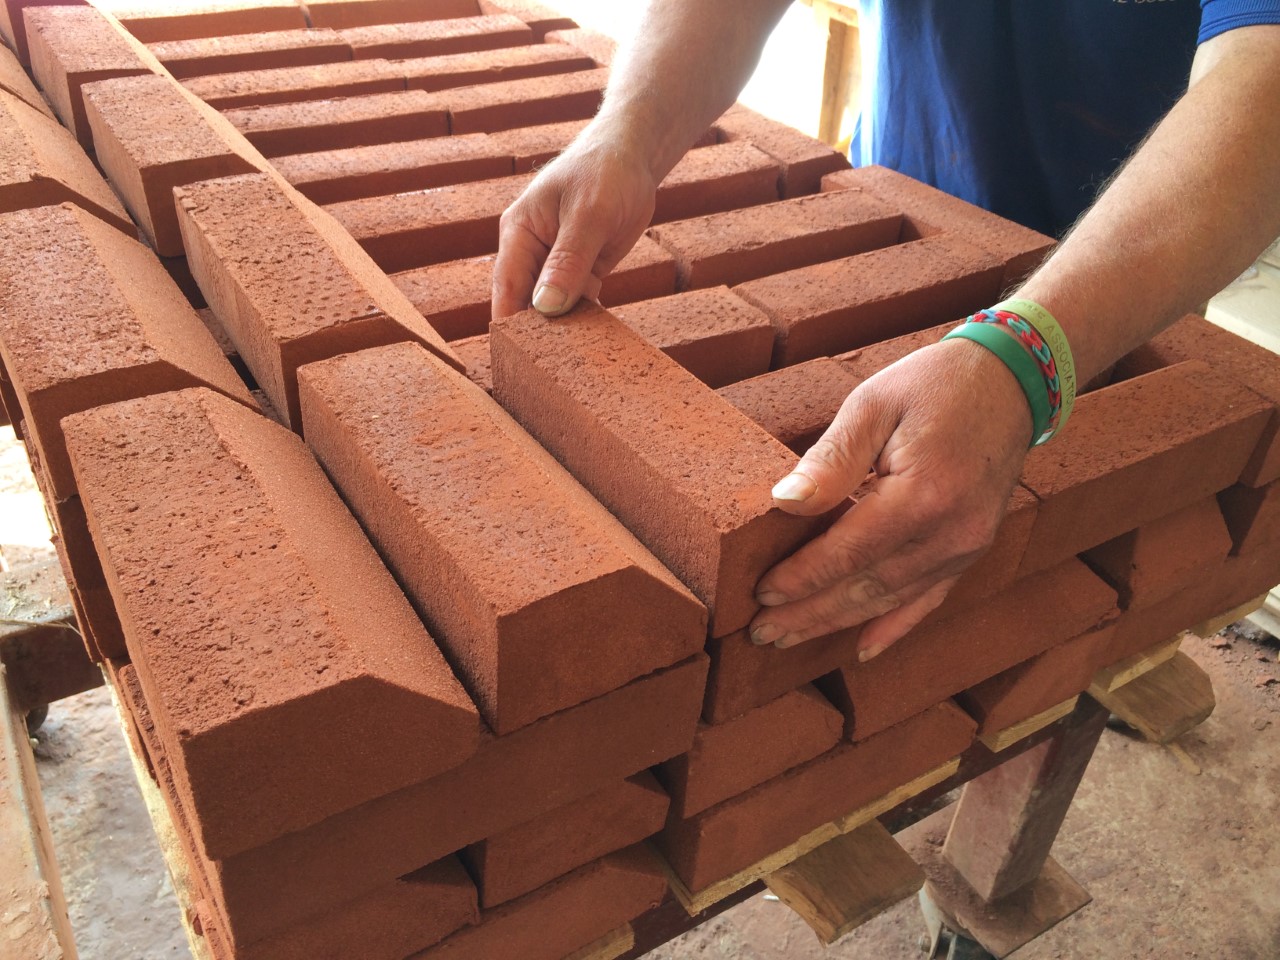
Before embarking on the process of glazing, it’s essential to ensure that the brick surface is properly prepared to achieve optimal results. Proper preparation not only facilitates the adhesion of the glaze but also contributes to the longevity and durability of the finished application. The following steps outline the crucial aspects of preparing the brick surface for glazing:
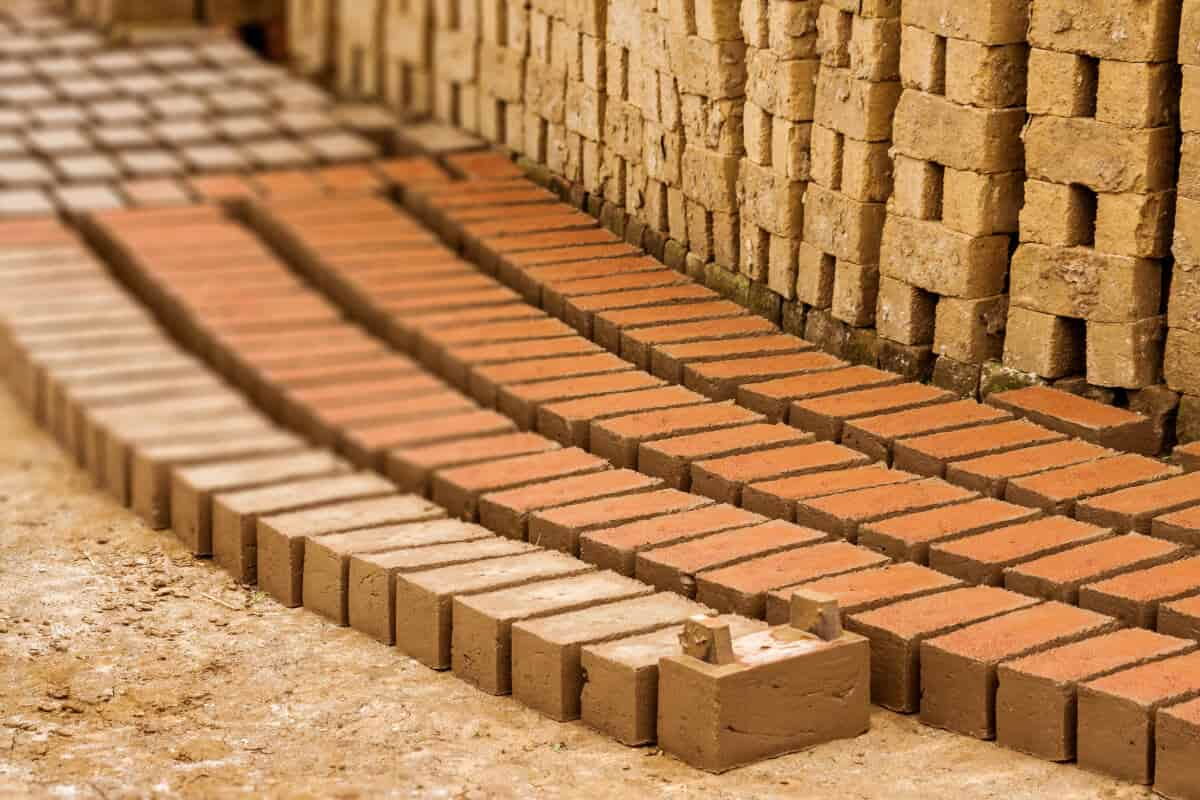
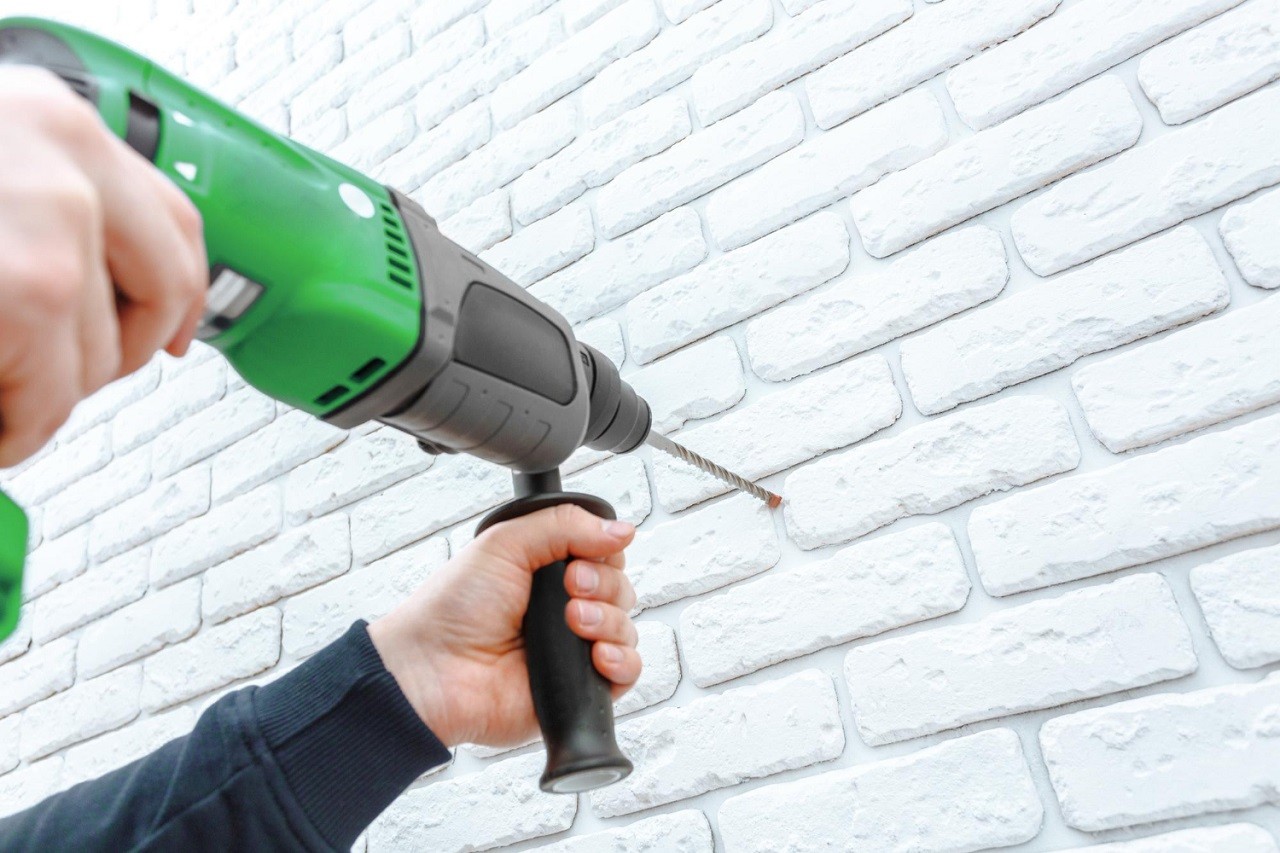
1. Cleaning the Surface: The first step in preparing the brick surface is thorough cleaning. Any dirt, dust, or debris must be removed to create a clean and smooth canvas for the glaze. Depending on the condition of the bricks, this may involve pressure washing, scrubbing with a mild detergent, or utilizing specialized cleaning solutions to eliminate stubborn stains or residues. Ensuring that the surface is free from contaminants is vital for the proper adhesion and uniform application of the glaze.
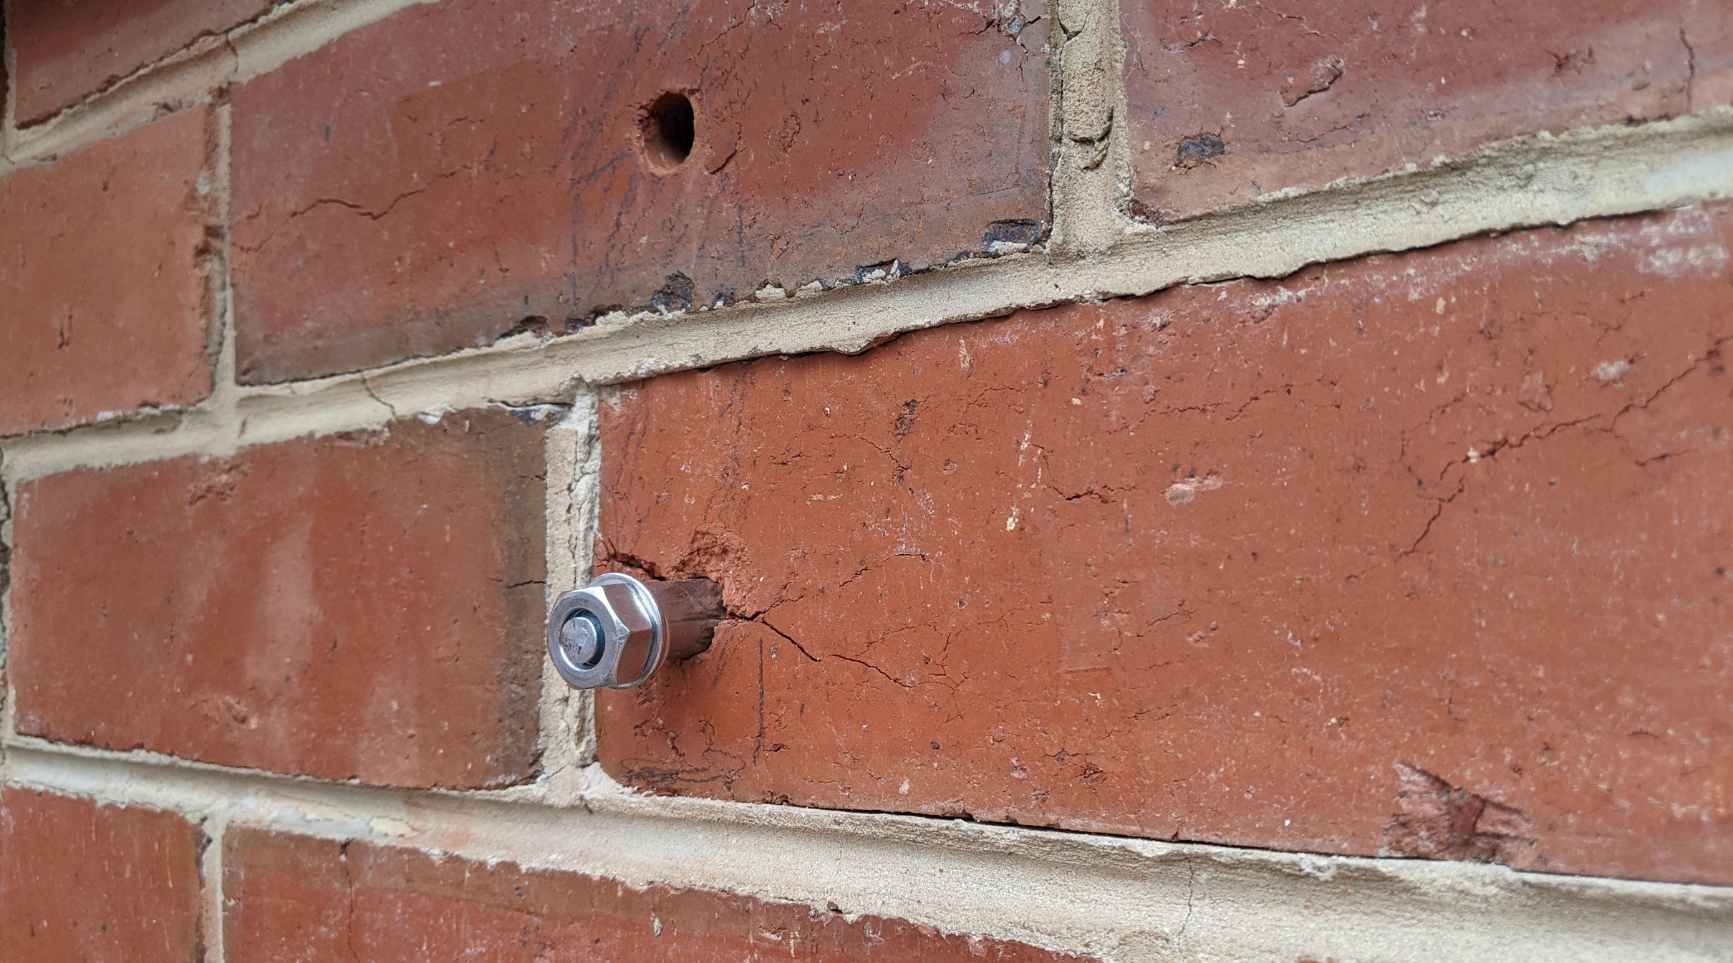
2. Repairing and Patching: Inspect the brick surface for any signs of damage, such as cracks, chips, or loose mortar. These imperfections should be addressed before applying the glaze. Repairing damaged bricks and mortar joints not only contributes to the visual appeal of the finished surface but also prevents further deterioration over time. Utilize appropriate repair materials and techniques to restore the integrity of the brickwork and create a seamless foundation for the glaze.
3. Smoothing and Leveling: In some cases, the brick surface may exhibit unevenness or rough textures that can impact the final appearance of the glaze. Smoothing out any rough areas and ensuring a consistent level across the surface can contribute to a more uniform and aesthetically pleasing result. This may involve light sanding or using specialized fillers to address irregularities, creating an ideal substrate for the glaze application.
4. Allowing for Drying and Curing: After the cleaning, repairing, and smoothing processes are complete, it's crucial to allow the brick surface to thoroughly dry before proceeding with the glazing. Additionally, if any repair materials or fillers have been utilized, they must be given adequate time to cure according to the manufacturer's recommendations. Proper drying and curing times are essential for ensuring the long-term integrity and performance of the glaze.
By meticulously preparing the brick surface through comprehensive cleaning, repair, and leveling processes, you can establish a solid foundation for the glazing application. This diligent preparation sets the stage for a successful and visually stunning outcome, ensuring that the glazed bricks exhibit both aesthetic allure and enduring resilience.
**
When glazing brick, make sure to clean the surface thoroughly before applying the glaze. Use a brush or roller to evenly apply the glaze, and allow it to dry completely before adding a second coat if needed.
Applying the Glaze to the Brick
**
As you embark on the exciting phase of applying the glaze to the brick surface, it’s essential to approach this process with precision, patience, and a keen eye for detail. The application of the glaze plays a pivotal role in determining the final appearance and durability of the bricks, making it a critical stage in the brick glazing journey. Here’s a step-by-step guide to achieving professional-quality results when applying the glaze:
1. Test and Prepare the Glaze: Before applying the glaze to the entire surface, it’s advisable to conduct a small test area to assess the color, consistency, and drying properties of the glaze. This test ensures that the chosen glaze aligns with your aesthetic vision and performs as expected. Additionally, thoroughly mix the glaze according to the manufacturer’s instructions, ensuring a uniform and well-blended solution.
2. Selecting the Application Method: The method of applying the glaze can significantly influence the final appearance of the bricks. Common application methods include brush application, spraying, or ragging, each offering distinct effects and textures. Consider the desired outcome and the characteristics of the chosen glaze when determining the most suitable application method for your project.
3. Applying the Glaze: Begin the application process with a methodical and consistent approach. Whether using a brush, sprayer, or rag, ensure that the glaze is applied evenly across the entire surface, paying attention to uniform coverage and avoiding excess buildup or drips. Work in manageable sections to maintain control over the application and achieve a cohesive finish.
4. Creating Visual Depth and Variation: To enhance the visual appeal of the glazed bricks, consider techniques that add depth and variation to the surface. This may involve layering multiple glaze colors, selectively removing glaze to reveal underlying tones, or employing texturizing tools to create tactile interest. These techniques can impart a sense of richness and complexity to the brick surface, elevating its overall aesthetic impact.
5. Allowing for Drying and Curing: Once the glaze has been applied, allow the bricks to thoroughly dry and cure according to the manufacturer’s recommendations. Proper drying times are essential for the glaze to set and adhere effectively, ensuring a durable and long-lasting finish. Additionally, consider environmental factors such as temperature and humidity, which can influence the drying process.
By meticulously following these steps and exercising care and precision during the glaze application, you can achieve a visually captivating and durable finish that enhances the character and allure of the brick surface. The application of the glaze is where creativity and craftsmanship converge, allowing you to bring your design vision to life with stunning results.
**
Read more: What Is Glass Glazing
Curing and Sealing the Glazed Brick
**
After the glaze has been meticulously applied to the brick surface, the final crucial steps involve curing and sealing to ensure the longevity, durability, and enduring beauty of the glazed bricks. Curing allows the glaze to set and bond effectively, while sealing provides an additional layer of protection, safeguarding the surface from environmental elements and wear. Here’s a comprehensive guide to the curing and sealing process for glazed bricks:
1. Allowing for Initial Drying: Once the glaze application is complete, allow the bricks to undergo an initial drying period as specified by the glaze manufacturer. This initial drying phase sets the stage for the subsequent curing process and allows the glaze to begin forming a strong bond with the brick surface.
2. Curing the Glaze: Curing is a critical phase that allows the glaze to fully set and establish a durable bond with the brick. Follow the recommended curing time provided by the glaze manufacturer, taking into account factors such as ambient temperature and humidity, which can influence the curing process. Adequate curing is essential for the glaze to achieve its optimal hardness and resilience.
3. Sealing the Glazed Surface: Once the glaze has fully cured, consider applying a protective sealant to the surface to enhance its durability and resistance to environmental factors. The sealant acts as a barrier, safeguarding the glazed bricks from moisture, UV exposure, and general wear and tear. Select a high-quality sealant that is compatible with the glaze and suitable for the intended application environment, whether indoor or outdoor.
4. Conducting Regular Maintenance: To preserve the beauty and integrity of the glazed bricks, it’s essential to adhere to a regular maintenance routine. Depending on the environmental conditions and usage, this may involve periodic cleaning with a mild detergent and water, avoiding harsh abrasives that could compromise the glaze. Additionally, inspect the sealed surface for any signs of wear or damage, addressing any issues promptly to maintain the longevity of the glaze.
5. Monitoring Long-Term Performance: Over time, observe the performance of the glazed and sealed bricks, taking note of any changes in appearance or functionality. Regular monitoring allows you to identify and address any maintenance needs promptly, ensuring that the glazed surface continues to exude its aesthetic charm and protective qualities for years to come.
By meticulously following these steps and exercising care and patience during the curing and sealing process, you can ensure that the glazed bricks exhibit enduring beauty and resilience. The combination of proper curing and sealing not only enhances the visual allure of the bricks but also contributes to their long-term durability, making them a timeless and captivating feature of any space.
**
Conclusion
**
Congratulations on completing this enlightening journey into the world of brick glazing! Throughout this comprehensive guide, we’ve explored the art and science of transforming ordinary brick surfaces into captivating focal points through the application of specialized glazes. By mastering the fundamentals of brick glazing, you’ve gained the knowledge and confidence to embark on your own creative projects, infusing spaces with personalized charm and enduring beauty.
Brick glazing is more than just a decorative enhancement; it’s a testament to the synergy of artistry and functionality. The application of a carefully selected glaze not only elevates the aesthetic appeal of the bricks but also provides a protective shield, ensuring their resilience against environmental elements and the test of time. Whether adorning interior accent walls, exterior facades, or fireplace surrounds, glazed bricks stand as timeless testaments to craftsmanship and creativity.
As you venture into the realm of brick glazing, remember the importance of meticulous preparation, thoughtful glaze selection, precise application, and diligent curing and sealing. Each step contributes to the creation of a surface that exudes character, sophistication, and enduring allure. Embrace the versatility of brick glazing, allowing it to breathe new life into diverse architectural styles and design motifs, from rustic and traditional to sleek and contemporary.
Furthermore, the journey doesn’t end with the completion of a glazing project; it continues with regular maintenance and attentive care. By nurturing the glazed bricks through proper cleaning, monitoring, and timely maintenance, you can ensure that their captivating beauty remains a cherished feature of your environment for years to come.
So, whether you’re a homeowner seeking to revitalize your living space or a design professional aiming to infuse projects with distinctive character, brick glazing offers a realm of creative possibilities. Embrace the art of brick glazing as a canvas for self-expression and design innovation, allowing each glazed brick to tell a unique story of artistry and enduring elegance.
As you embark on your own brick glazing endeavors, remember that the journey is as enriching as the destination. Each project is an opportunity to explore new techniques, refine your artistic vision, and witness the transformative power of brick glazing in shaping the ambiance of a space.
With this newfound knowledge and inspiration, may your future endeavors in brick glazing be filled with creativity, success, and the enduring beauty of glazed bricks that stand as timeless testaments to the artistry of design.
Frequently Asked Questions about How To Glaze Brick
Was this page helpful?
At Storables.com, we guarantee accurate and reliable information. Our content, validated by Expert Board Contributors, is crafted following stringent Editorial Policies. We're committed to providing you with well-researched, expert-backed insights for all your informational needs.


0 thoughts on “How To Glaze Brick”