Home>Construction & Tools>Building Materials>How To Cut Brick
Building Materials
How To Cut Brick
Modified: August 17, 2024
Learn the best techniques for cutting bricks and other building materials with our comprehensive guide. Find tips, tools, and safety precautions for your next project.
(Many of the links in this article redirect to a specific reviewed product. Your purchase of these products through affiliate links helps to generate commission for Storables.com, at no extra cost. Learn more)
Introduction
Welcome to the world of masonry, where the art of working with bricks is a time-honored tradition. Whether you’re a seasoned professional or a DIY enthusiast, knowing how to cut bricks is an essential skill for various construction and renovation projects. From creating custom shapes to fitting bricks around corners and obstacles, the ability to make precise cuts is invaluable.
In this guide, we’ll explore the step-by-step process of cutting bricks with precision and confidence. By following these techniques and safety precautions, you’ll be well-equipped to tackle your next brick-laying endeavor with finesse. So, grab your tools and let’s dive into the art of cutting bricks!
Key Takeaways:
- Master the art of cutting bricks by gathering essential tools, prioritizing safety, and meticulously marking and executing precise cuts. Embrace the finishing touches to seamlessly integrate cut bricks into your projects.
- Cutting bricks requires patience, precision, and dedication to craftsmanship. Equip yourself with the necessary tools, prioritize safety, and refine your technique to achieve professional-grade results in masonry projects.
Read more: How To Cut Glass
Tools and Materials Needed
Before embarking on your brick-cutting journey, it’s crucial to gather the essential tools and materials to ensure a smooth and efficient process. Here’s what you’ll need:
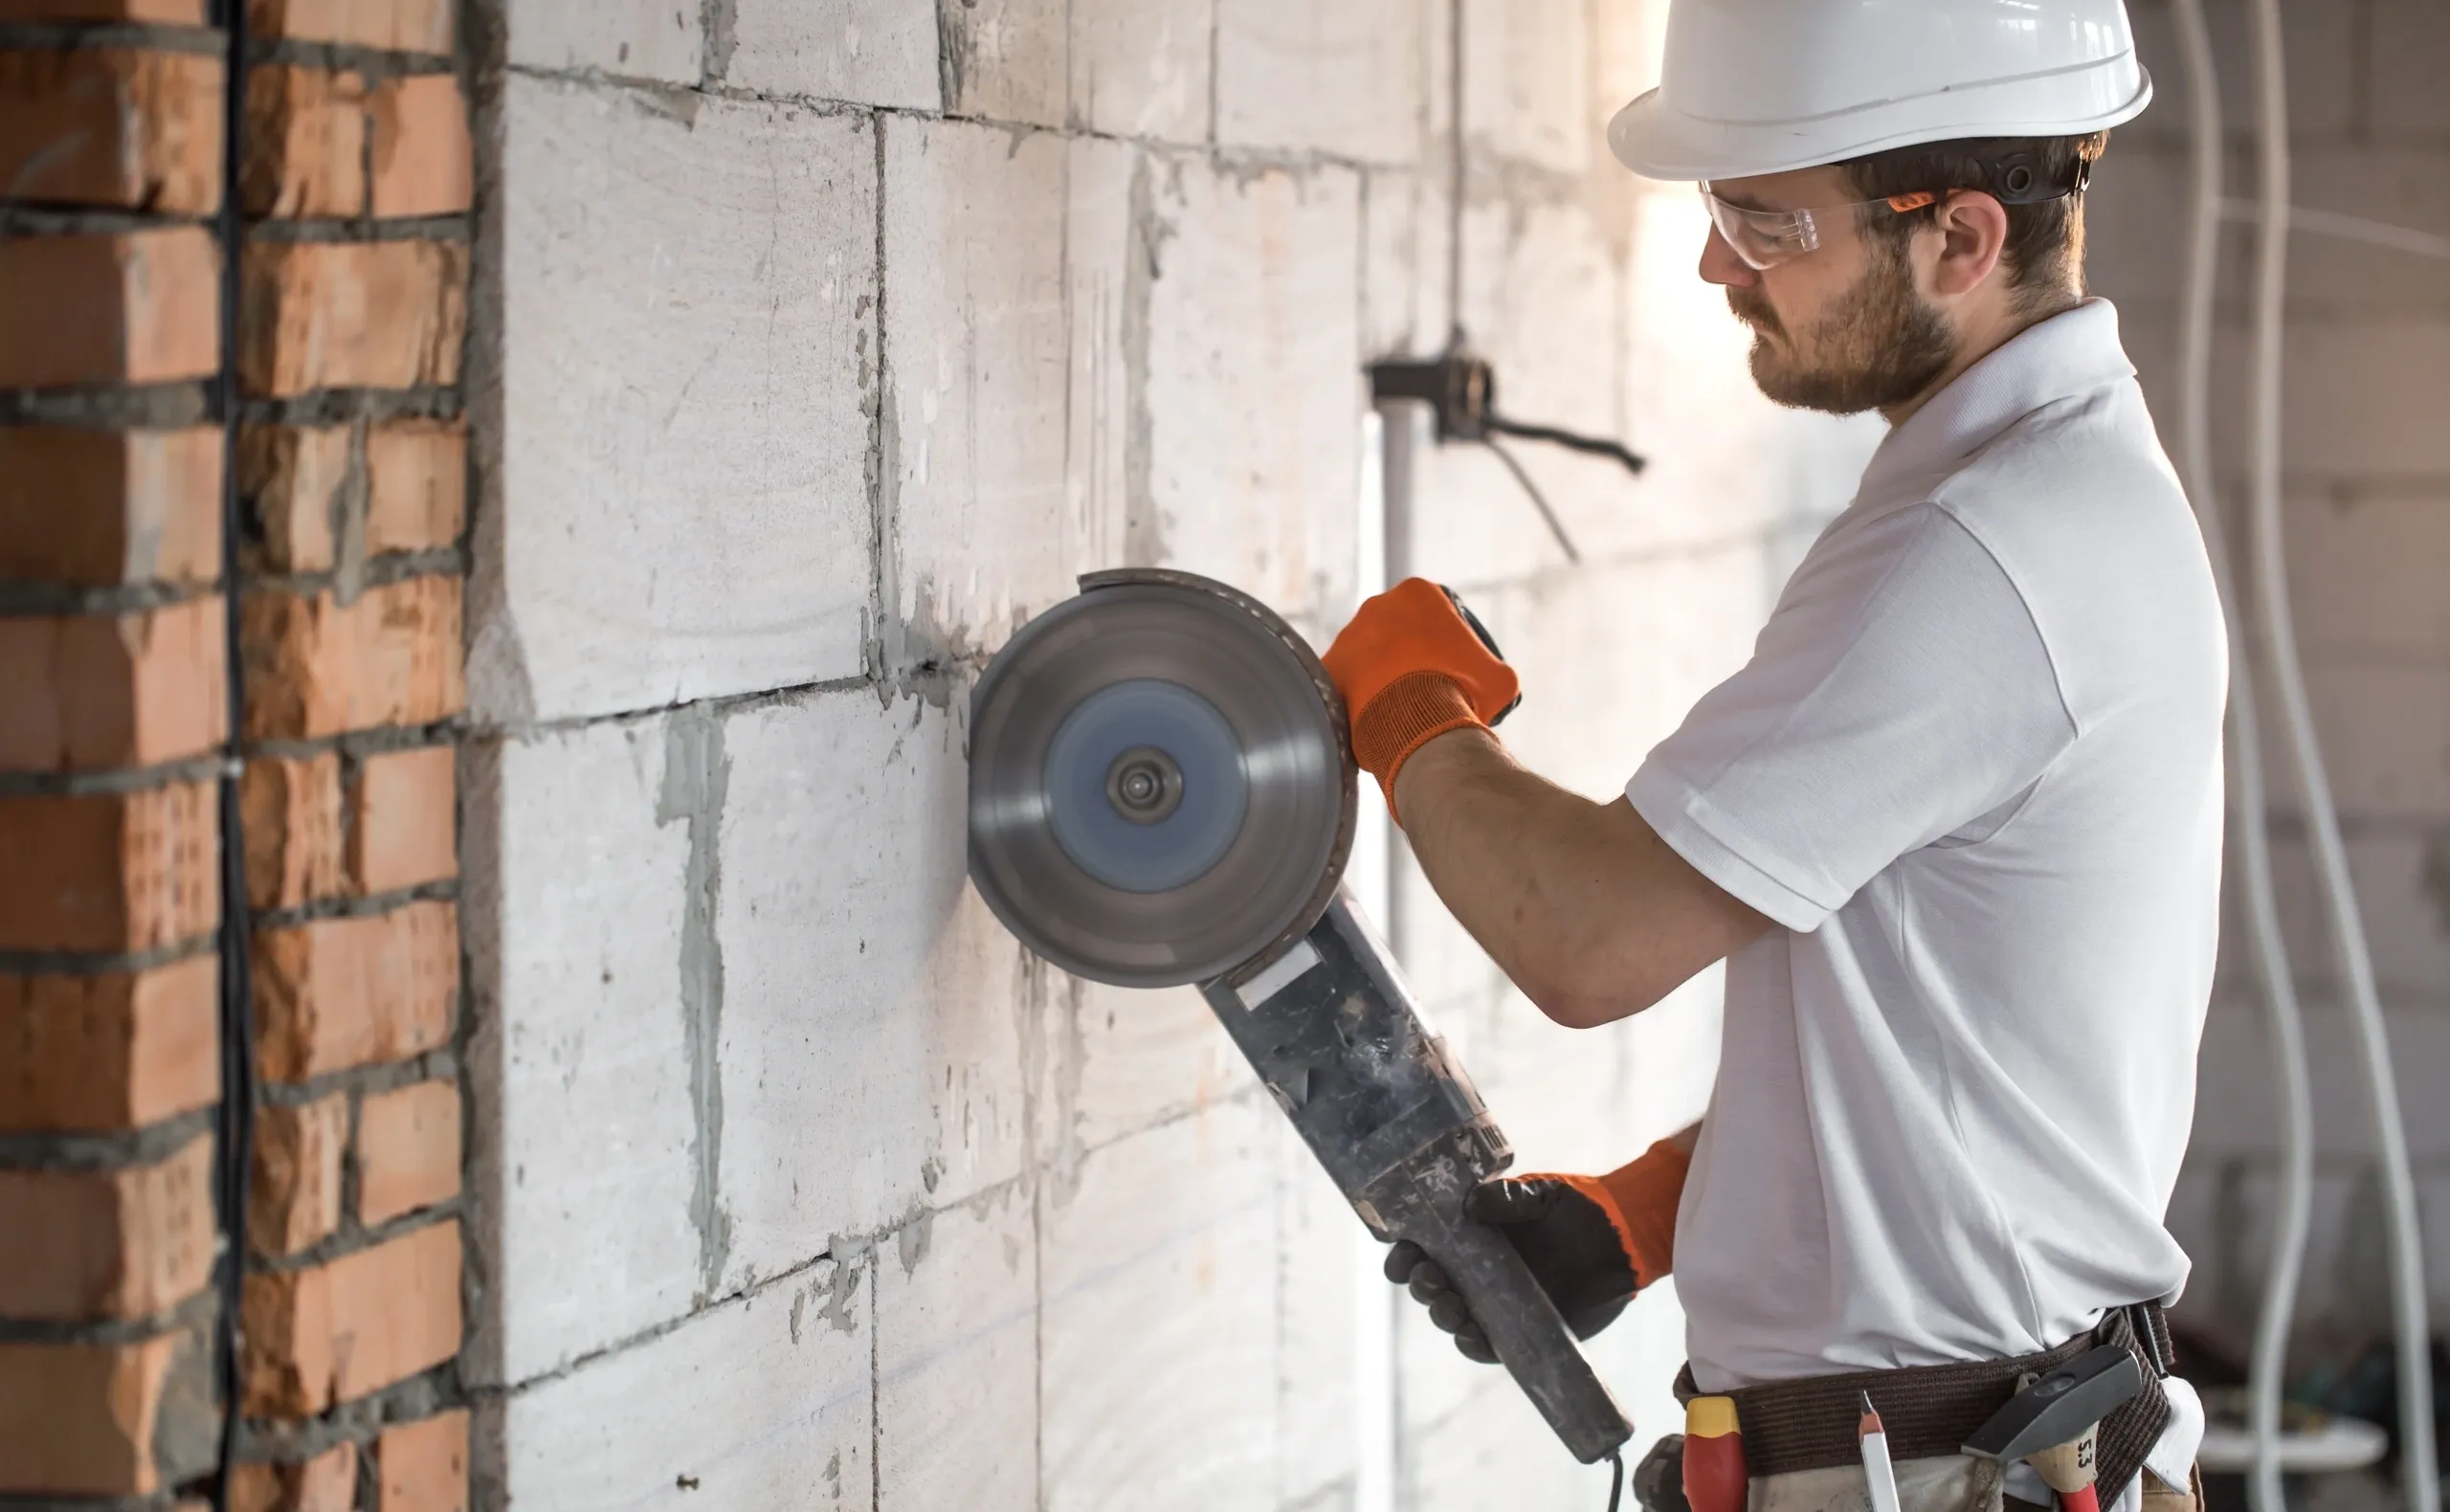
- Masonry Saw: A masonry saw equipped with a diamond blade is ideal for making precise cuts in bricks. It’s designed to handle the hardness of brick and produce clean edges.
- Safety Gear: Prioritize safety by wearing protective gear, including safety glasses, a dust mask, and work gloves to shield yourself from debris and dust particles.
- Straight Edge: A straight edge, such as a metal ruler or level, is essential for marking straight cutting lines on the bricks.
- Chalk Line: Utilize a chalk line to create straight and accurate guidelines for long cuts, ensuring uniformity and precision.
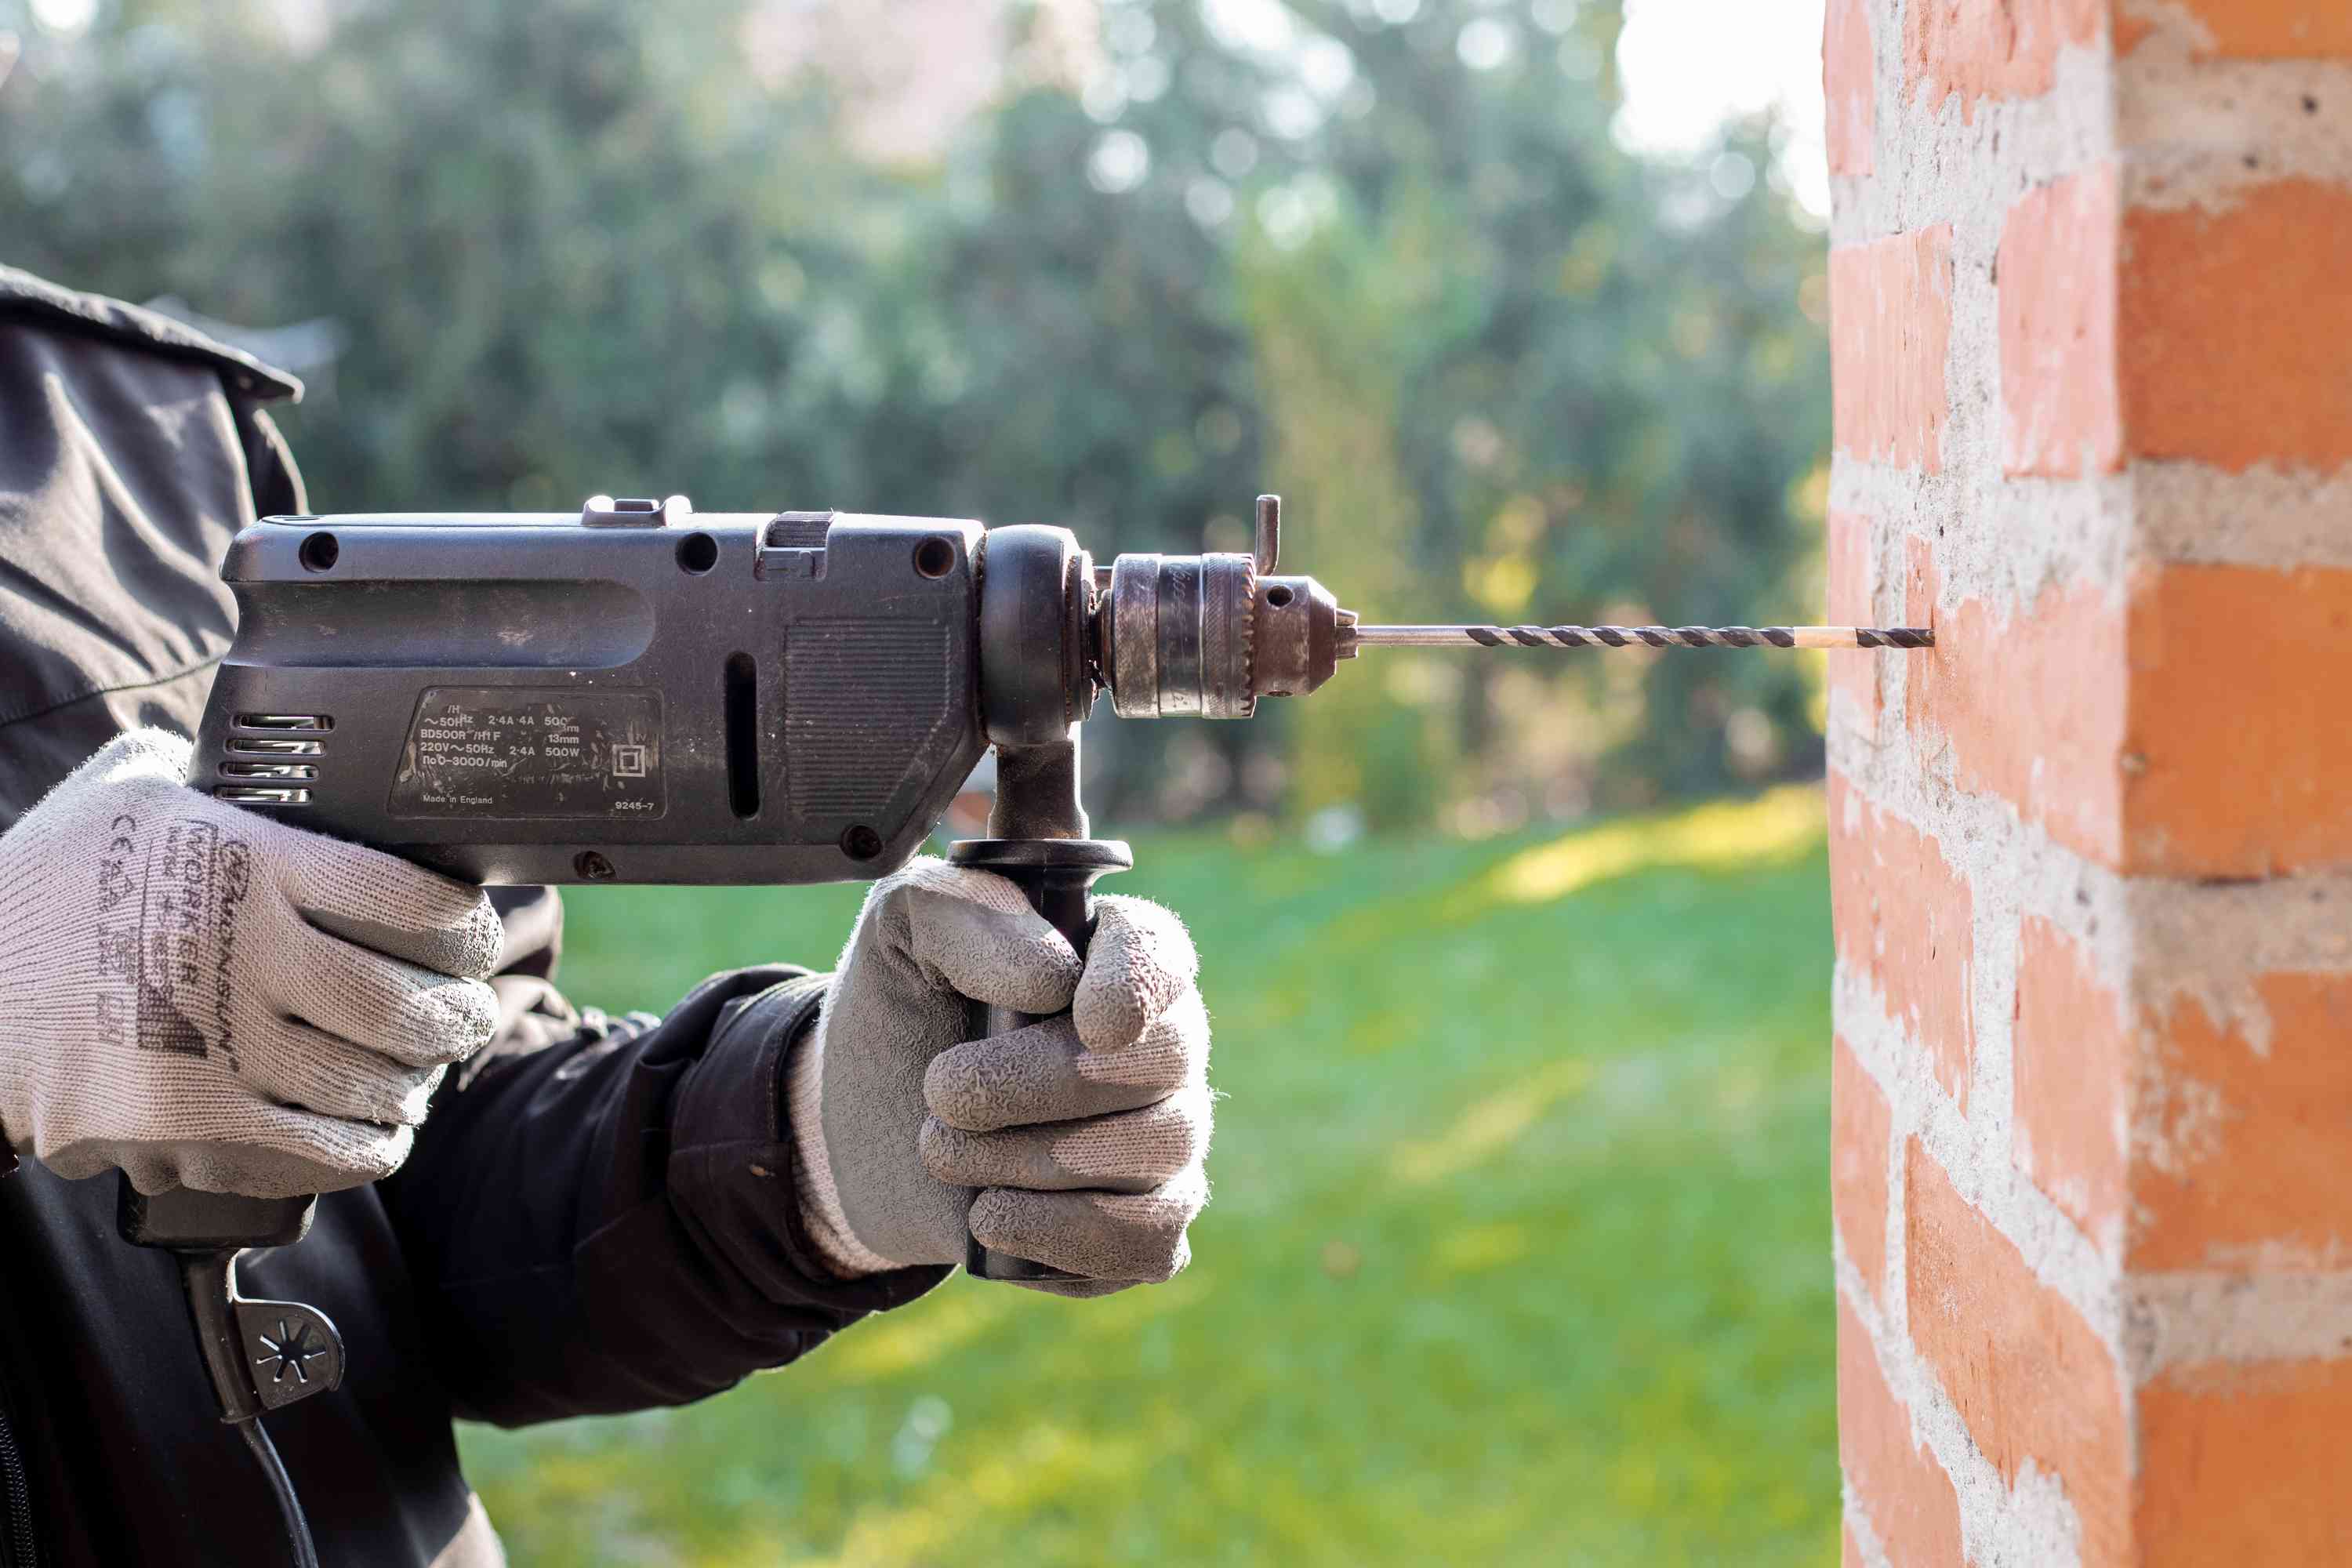
- Hammer and Chisel: For smaller, more intricate cuts, a hammer and chisel are indispensable for carefully shaping and refining the brick.
- Work Surface: Prepare a sturdy work surface, such as a sawhorse or workbench, to securely hold the bricks during the cutting process.
- Water Supply: Keeping the diamond blade cool and lubricated is essential to prevent overheating. Have a water supply, such as a hose or spray bottle, nearby for wet cutting.
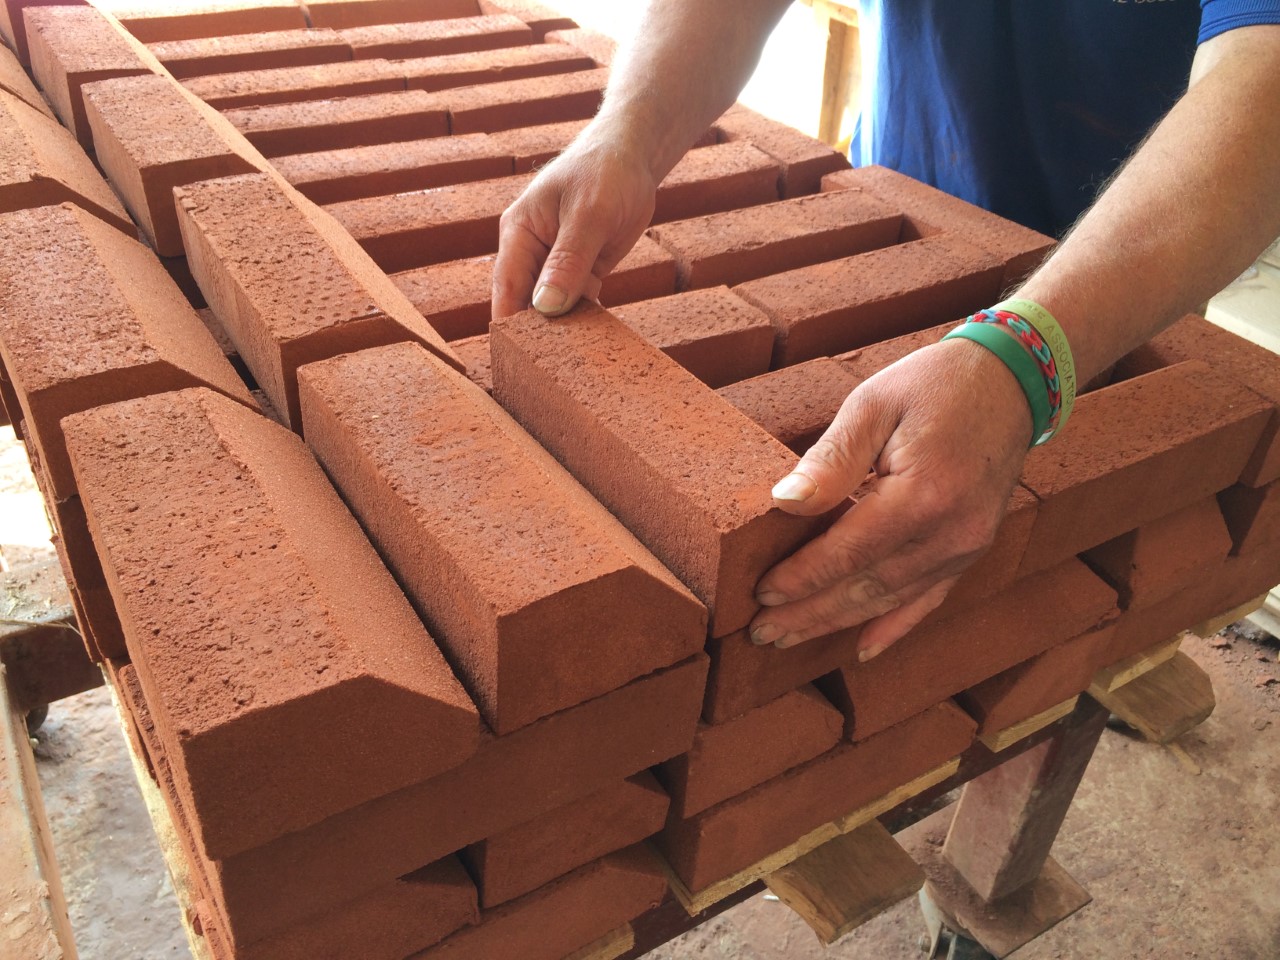
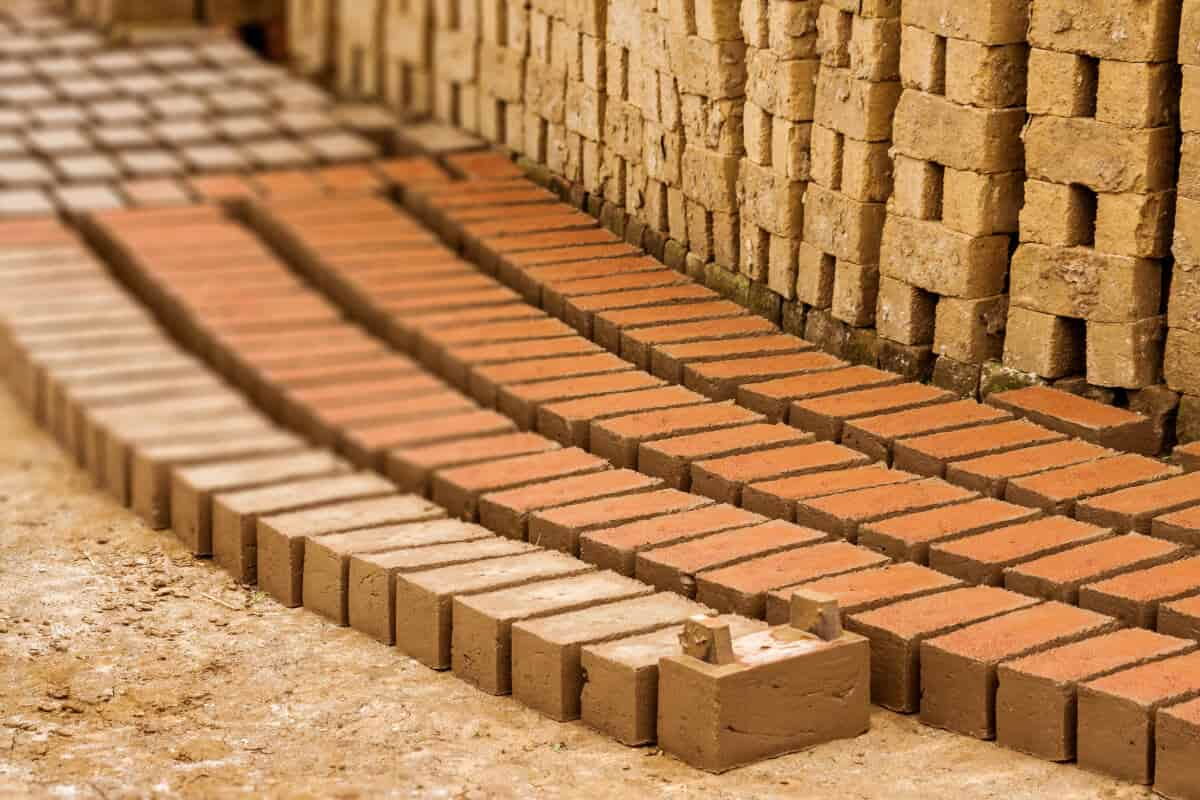
- Bricks: Of course, you’ll need the bricks you intend to cut. Ensure that they are clean, dry, and free from any defects before proceeding with the cutting process.
By having these tools and materials at your disposal, you’ll be well-prepared to execute precise and professional-grade brick cuts, setting the stage for a successful masonry project.
Safety Precautions
Prioritizing safety is paramount when working with bricks and masonry tools. By adhering to essential safety precautions, you can minimize the risk of accidents and ensure a secure working environment. Here are crucial safety measures to observe when cutting bricks:
- Protective Gear: Always wear appropriate protective gear, including safety glasses to shield your eyes from debris, a dust mask to prevent inhalation of dust particles, and durable work gloves to safeguard your hands from sharp edges.
- Stable Work Surface: Place the bricks on a stable and level work surface to prevent slippage or instability during the cutting process. A secure workbench or sawhorse can provide the necessary support.
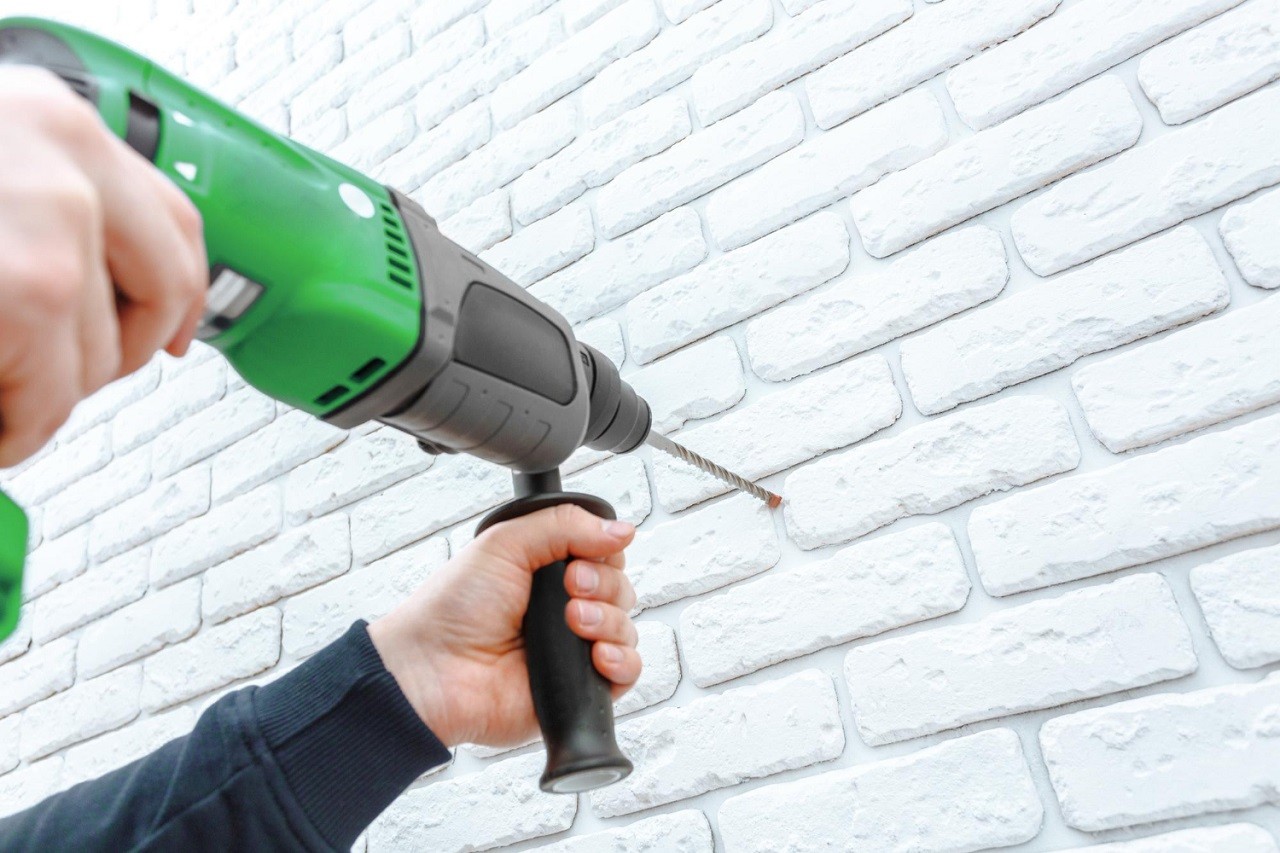
- Dust Control: Minimize dust exposure by using a masonry saw equipped with a dust control system or working in a well-ventilated area. If indoors, consider using a dust extractor to maintain air quality.
- Hearing Protection: The operation of masonry saws can generate significant noise levels. Protect your hearing by wearing earplugs or earmuffs to reduce the risk of hearing damage.
- Proper Technique: Familiarize yourself with the correct operation of masonry saws and cutting tools. Follow the manufacturer’s instructions and recommendations to ensure safe and efficient usage.
- Secure the Workpiece: When making cuts, firmly secure the brick to prevent movement or shifting. This reduces the likelihood of accidents and promotes precise cutting.
- Stay Hydrated: Cutting bricks can be physically demanding work, especially in warm conditions. Stay hydrated by having water readily available to prevent dehydration and fatigue.
- Alert Others: If working in a shared or public space, communicate with others to alert them of the cutting activities and establish a safe perimeter to prevent accidental contact.
By embracing these safety precautions and maintaining a vigilant approach, you can create a secure workspace and mitigate potential hazards, ensuring a safe and productive brick-cutting experience.
Marking the Cut
Before diving into the physical act of cutting bricks, it’s crucial to mark precise guidelines that will serve as your roadmap for achieving accurate cuts. Here’s a step-by-step guide to marking the cut on your bricks:
- Measure Twice, Cut Once: Begin by measuring the dimensions for the desired cut on the brick. Use a tape measure to determine the exact length and width of the cut, ensuring precision in your markings.
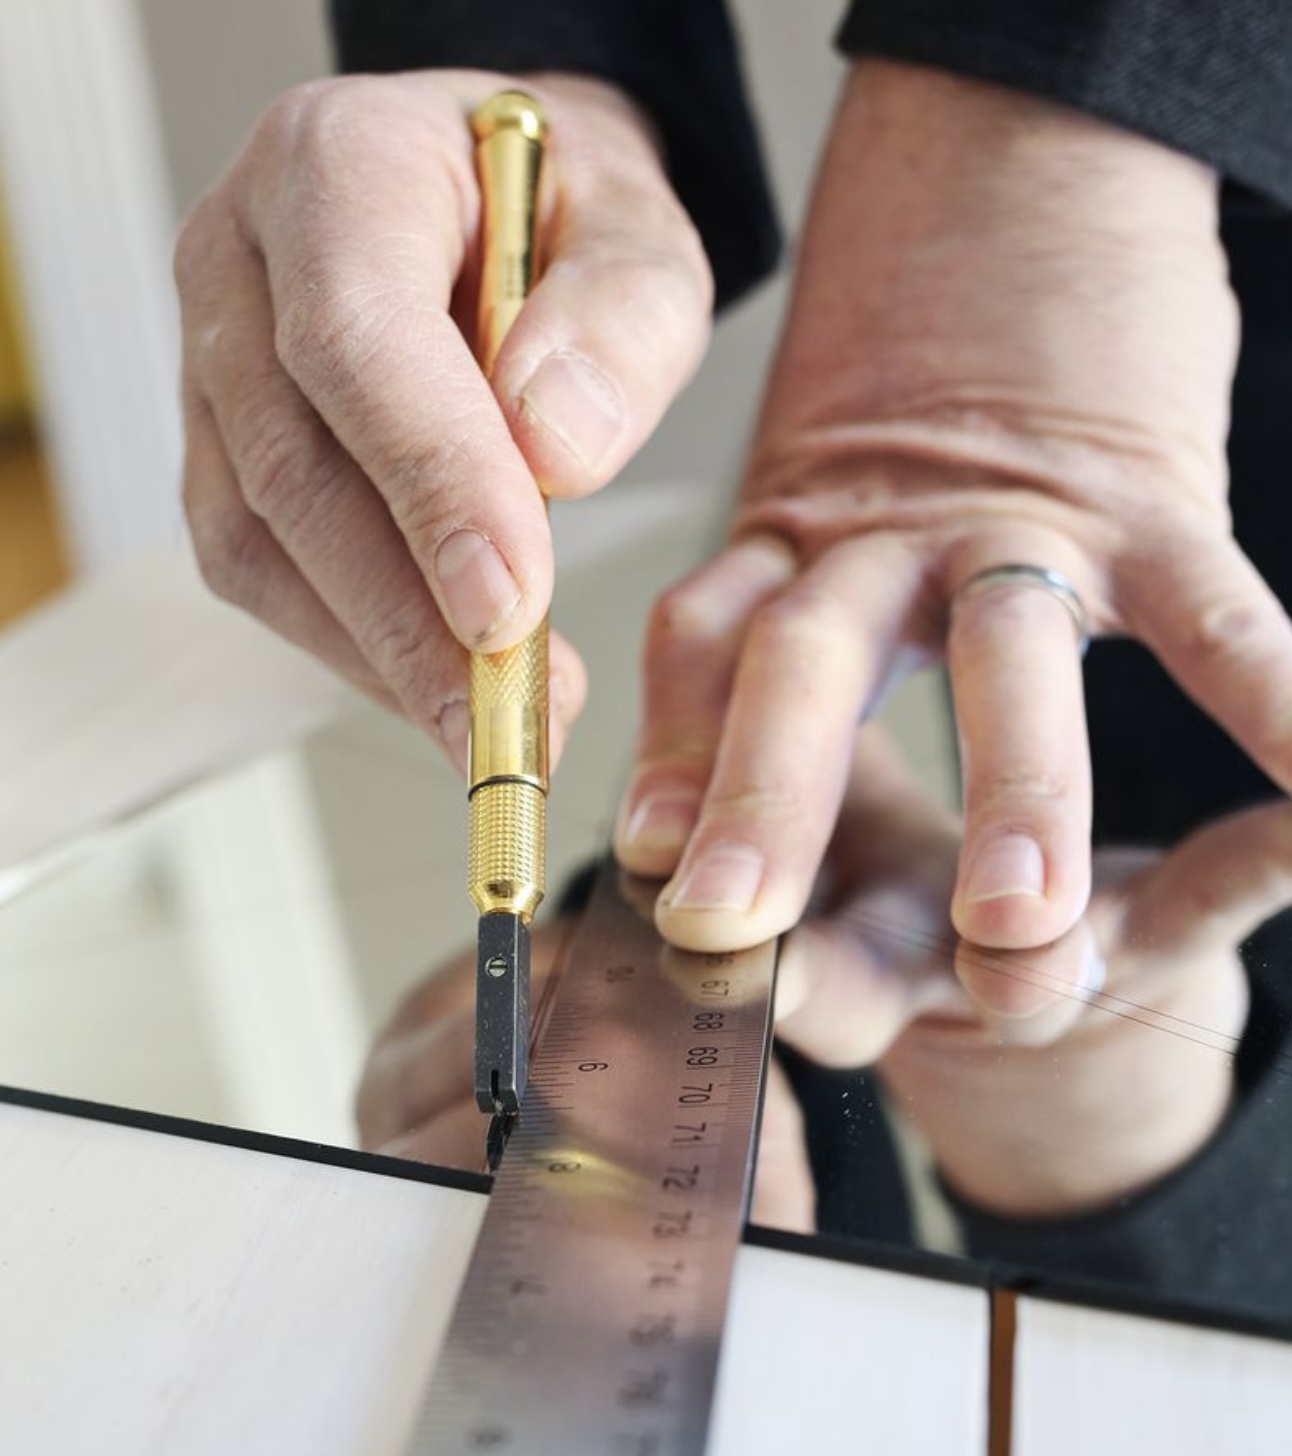
- Straight Edge Guidance: Once the measurements are determined, place a straight edge, such as a metal ruler or level, along the brick’s surface to create a straight guideline for the cut. Use a pencil or chalk to mark the cutting line directly on the brick, following the straight edge for accuracy.
- Chalk Line for Long Cuts: For longer cuts that require extended straight lines, a chalk line can be employed to establish a clear and continuous guideline. Secure one end of the chalk line at the beginning of the cutting line, stretch it taut along the brick’s surface, and snap it to leave a visible chalk guideline.
- Account for Blade Width: Keep in mind the width of the masonry saw blade when marking your cutting lines. Adjust your measurements to accommodate the blade’s thickness, ensuring that the final cut aligns with your intended dimensions.
- Double-Check the Markings: Before proceeding with the cutting process, double-check your markings to confirm their accuracy. Ensuring precise guidelines is essential for achieving clean and uniform cuts.
By meticulously marking the cut with attention to detail and accuracy, you’ll set the stage for successful brick cutting, laying the foundation for seamless integration of the bricks into your construction or renovation project.
When cutting brick, use a hammer and chisel to score a line on all sides, then place a bolster on the scored line and hit it with a hammer to split the brick. Always wear safety goggles and gloves.
Making the Cut
With the cutting guidelines in place, it’s time to bring your bricks one step closer to their customized form. The process of making the cut demands precision and attentiveness to ensure clean and accurate results. Here’s a comprehensive guide to executing the cut:
- Prepare the Masonry Saw: If you’re using a masonry saw, ensure that it’s equipped with a diamond blade suitable for cutting through bricks. Verify that the saw is securely set up and the blade is in optimal condition for efficient cutting.
- Don Protective Gear: Prioritize safety by donning your protective gear, including safety glasses, a dust mask, and work gloves to shield yourself from debris and dust particles generated during the cutting process.
- Position the Brick: Place the marked brick securely on the saw’s work surface, ensuring that it’s stable and well-supported to prevent movement during cutting.
- Align the Cutting Line: Position the brick so that the marked cutting line aligns with the path of the saw blade. Confirm that the brick is set at the appropriate angle to achieve the desired cut.
- Engage the Saw: Activate the masonry saw and allow the blade to reach its full speed before initiating the cut. Exercise caution and maintain a steady grip on the brick as you guide it through the saw blade.
- Apply Even Pressure: When feeding the brick into the saw, apply consistent and controlled pressure to facilitate a smooth cutting motion. Avoid excessive force, as the saw’s sharp blade is designed to efficiently cut through the brick with minimal effort.
- Wet Cutting Consideration: If utilizing a wet cutting method, ensure that a continuous flow of water is directed onto the saw blade and cutting area to minimize dust and prevent overheating. This lubrication enhances cutting efficiency and prolongs the life of the diamond blade.
- Complete the Cut: Maintain focus and follow the marked cutting line as you guide the brick through the saw. Exercise patience and precision to achieve a clean and accurate cut, allowing the saw to complete the task effectively.
By methodically executing the cutting process with attention to detail and safety, you’ll transform standard bricks into custom pieces tailored to your specific project requirements, setting the stage for seamless integration and professional results.
Read more: How To Cut A Carpet
Finishing Touches
Once the brick has been accurately cut to the desired dimensions, it’s time to refine the edges and ensure that the cut aligns seamlessly with your project’s requirements. The finishing touches are essential for achieving professional-looking results and ensuring that the cut bricks seamlessly integrate into your construction or renovation endeavor. Here’s a comprehensive guide to the finishing process:
- Inspect the Cut: After completing the cut, carefully examine the edges and surface of the brick to assess the quality of the cut. Look for any irregularities or rough areas that may require refinement.
- Use a Hammer and Chisel: For precision adjustments and refining the cut edges, employ a hammer and chisel to carefully shape and smooth any rough or uneven areas. Exercise patience and attention to detail to achieve a uniform and polished finish.
- Remove Excess Dust: Clear away any residual dust and debris from the cut brick using a brush or compressed air. This step ensures that the brick’s surface is clean and ready for seamless integration into your project.
- Test the Fit: Verify that the cut brick fits snugly into its intended placement within your construction or renovation layout. Make any necessary adjustments to the cut edges to ensure a precise and seamless fit.
- Consider Surface Treatments: Depending on the project’s requirements, you may opt to apply surface treatments or coatings to the cut edges of the brick to enhance its durability and aesthetic appeal. Consult with your project specifications to determine if any additional treatments are necessary.
- Organize and Store: If you have multiple cut bricks for your project, organize and store them in a secure and dry location, protecting them from potential damage or moisture until they are ready for installation.
By meticulously attending to the finishing touches, you’ll elevate the quality and precision of your cut bricks, ensuring that they seamlessly integrate into your construction or renovation project with professional-grade finesse and attention to detail.
Conclusion
Cutting bricks is a fundamental skill that empowers masons and DIY enthusiasts to customize and shape bricks to suit specific project requirements. By equipping yourself with the necessary tools, adhering to safety precautions, and mastering the art of marking and cutting bricks, you can achieve precise and professional results that elevate the quality of your construction or renovation endeavors.
From measuring and marking the cutting lines to executing the cuts with precision and finesse, each step in the brick-cutting process plays a crucial role in shaping the outcome of your project. Embracing the finishing touches and ensuring that the cut bricks seamlessly integrate into your layout further demonstrates your dedication to craftsmanship and attention to detail.
As you embark on your brick-cutting journey, remember that practice and patience are key allies in mastering this essential skill. Each cut presents an opportunity to refine your technique and elevate the quality of your work. By prioritizing safety, precision, and the pursuit of excellence, you’ll forge a path towards achieving professional-grade results in your masonry projects.
So, whether you’re crafting custom shapes, fitting bricks around corners, or creating intricate designs, the art of cutting bricks is a testament to the craftsmanship and dedication inherent in the world of masonry. Embrace the process, hone your skills, and unleash your creativity as you embark on your next brick-cutting adventure.
Remember, the ability to cut bricks with precision is not just a skill – it’s a testament to your commitment to excellence in the art of masonry.
Frequently Asked Questions about How To Cut Brick
Was this page helpful?
At Storables.com, we guarantee accurate and reliable information. Our content, validated by Expert Board Contributors, is crafted following stringent Editorial Policies. We're committed to providing you with well-researched, expert-backed insights for all your informational needs.


0 thoughts on “How To Cut Brick”