Home>Construction & Tools>Building Materials>How To Hang A Picture On A Brick Wall
Building Materials
How To Hang A Picture On A Brick Wall
Modified: October 22, 2024
Learn how to hang a picture on a brick wall with the right building materials and techniques. Follow our step-by-step guide for a secure and professional-looking result.
(Many of the links in this article redirect to a specific reviewed product. Your purchase of these products through affiliate links helps to generate commission for Storables.com, at no extra cost. Learn more)
Introduction
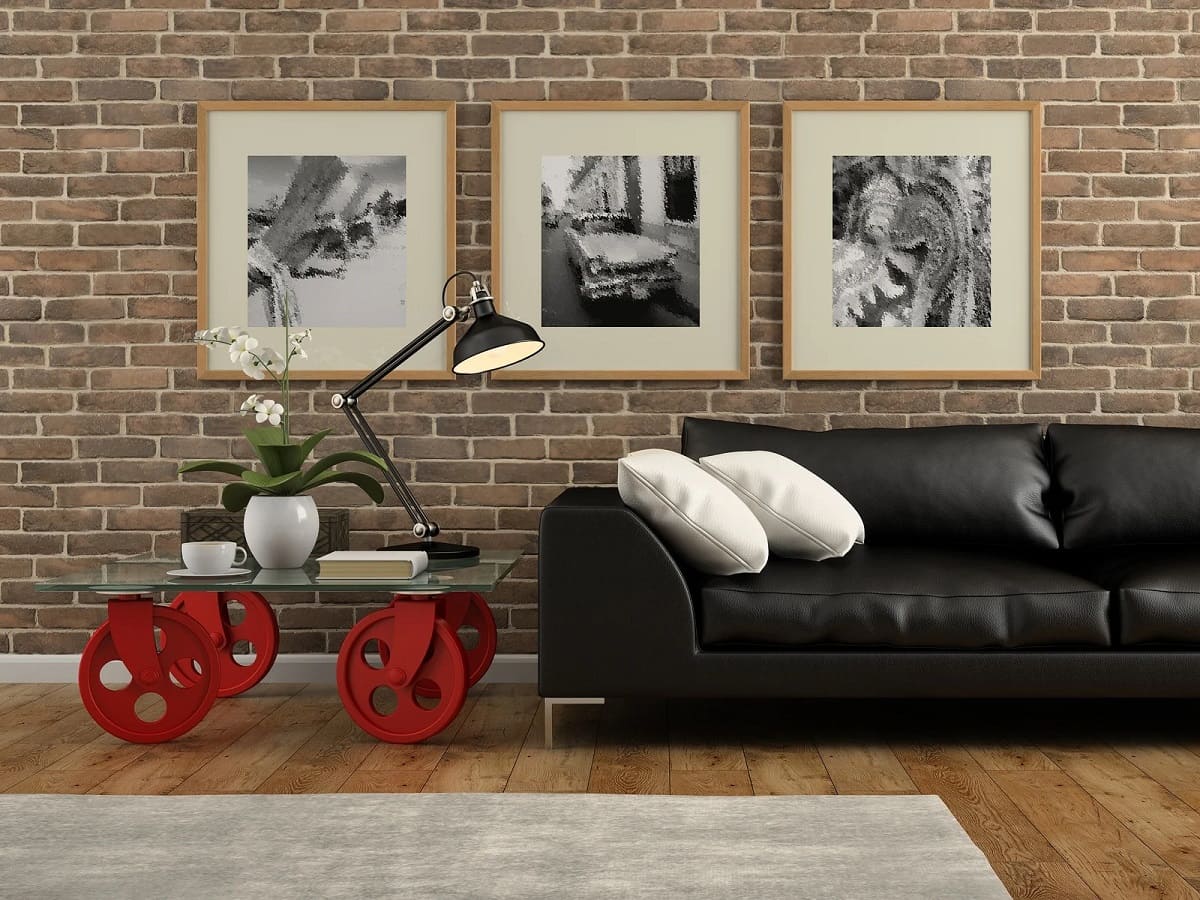
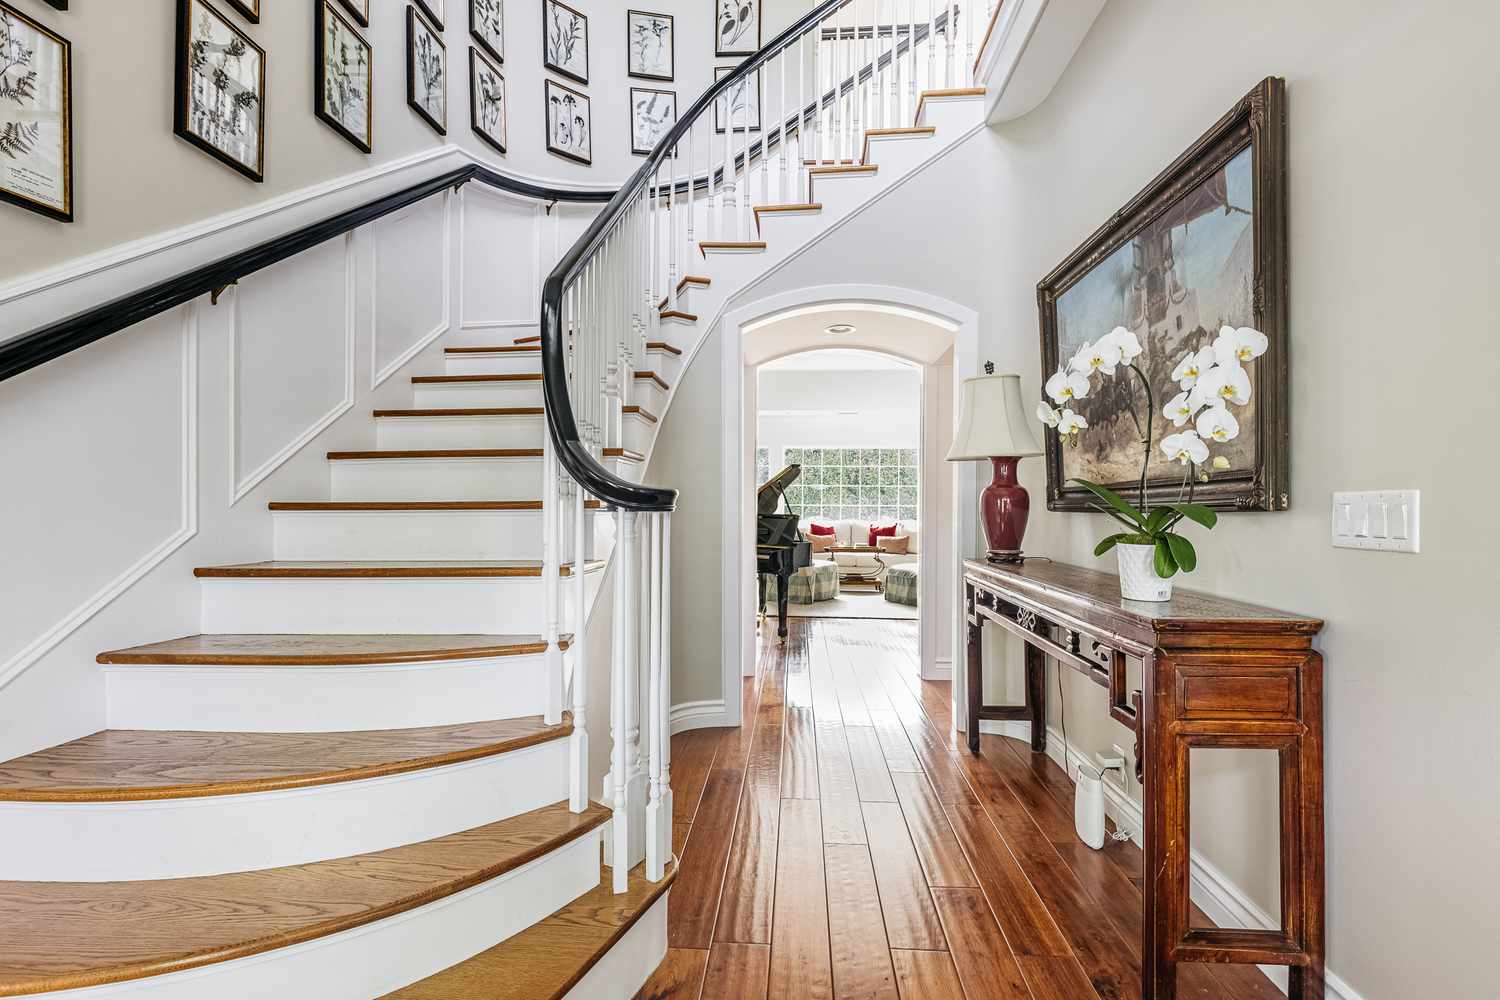
Brick walls can add a touch of rustic charm and character to any space, but they also present a unique challenge when it comes to hanging pictures or artwork. Unlike drywall, brick requires a different approach and specific tools to securely hang items without causing damage. Whether you’re looking to showcase a beautiful painting or a cherished family portrait, knowing how to properly hang a picture on a brick wall is essential.
In this comprehensive guide, we will walk you through the step-by-step process of hanging a picture on a brick wall, from gathering the necessary tools and materials to finding the perfect spot and executing the hanging process with precision. By following these instructions, you can confidently adorn your brick walls with your favorite artwork, creating a visually stunning display that complements the unique aesthetic of the space.
So, roll up your sleeves and let’s dive into the world of brick wall decor!
Key Takeaways:
- Hanging pictures on brick walls requires specific tools and careful preparation. By following the steps in this guide, you can confidently adorn your space with personalized artwork that complements the rustic charm of brick walls.
- Finding the right spot and preparing the wall are crucial for successful picture hanging. With the right tools and attention to detail, you can create a visually stunning display that reflects your creativity and style.
Read more: How To Hang A Banner On A Brick Wall
Tools and Materials Needed
Before you embark on the task of hanging a picture on a brick wall, it’s essential to gather the right tools and materials to ensure a successful and secure installation. Here’s what you’ll need:
Tools:
- Electric drill
- Masonry drill bit
- Screwdriver
- Level
- Tape measure
- Pencil
- Hammer
- Wire cutters
Materials:
- Picture hook or hanger designed for masonry walls
- Screws suitable for masonry
- Wall anchors (if necessary)
- Picture wire or sawtooth hanger
- Protective eyewear
- Dust mask
Having these tools and materials on hand will streamline the hanging process and ensure that your picture is securely and safely affixed to the brick wall. Now that you’re equipped with the essentials, it’s time to move on to the next step: finding the right spot for your picture.
Finding the Right Spot
Choosing the perfect location to hang your picture on a brick wall is crucial for achieving an aesthetically pleasing and balanced display. Here are the steps to help you find the ideal spot:
Read more: How To Hang Lights On A Brick Wall
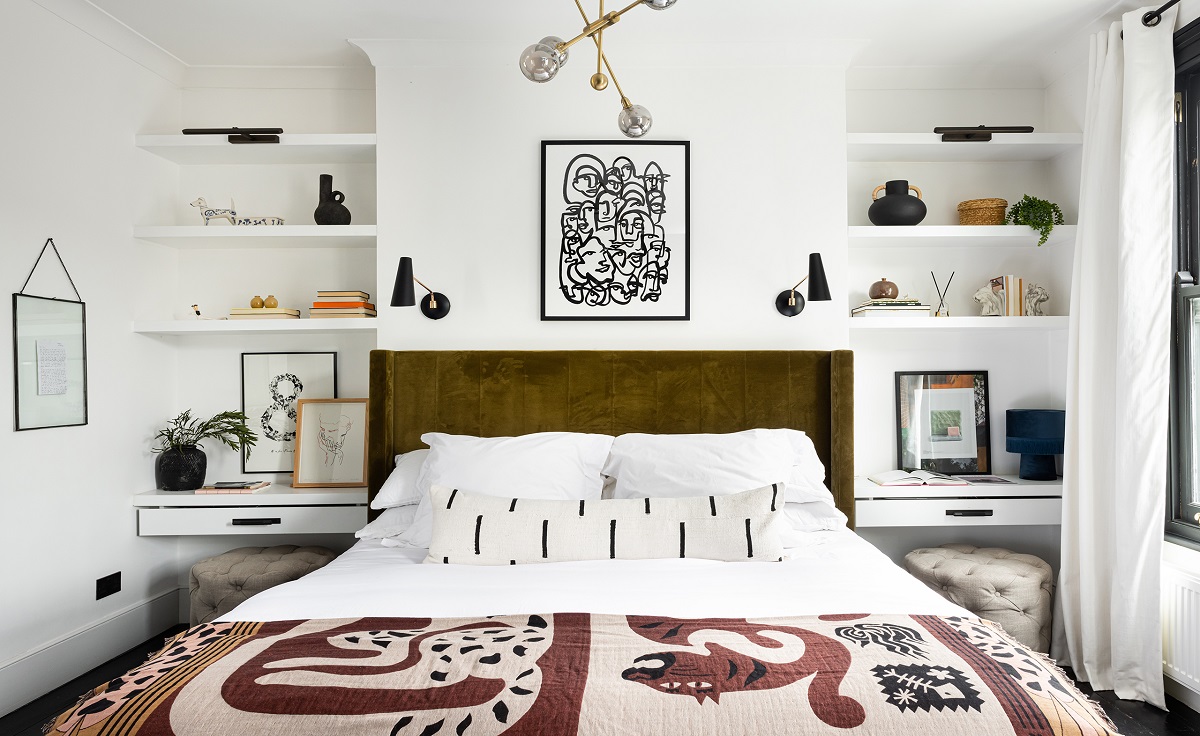
Consider Eye Level:
When hanging artwork, aim to position the center of the picture at eye level for optimal viewing. This typically translates to approximately 57 to 60 inches from the floor to the center of the artwork. Keep this in mind as you assess potential locations on the brick wall.
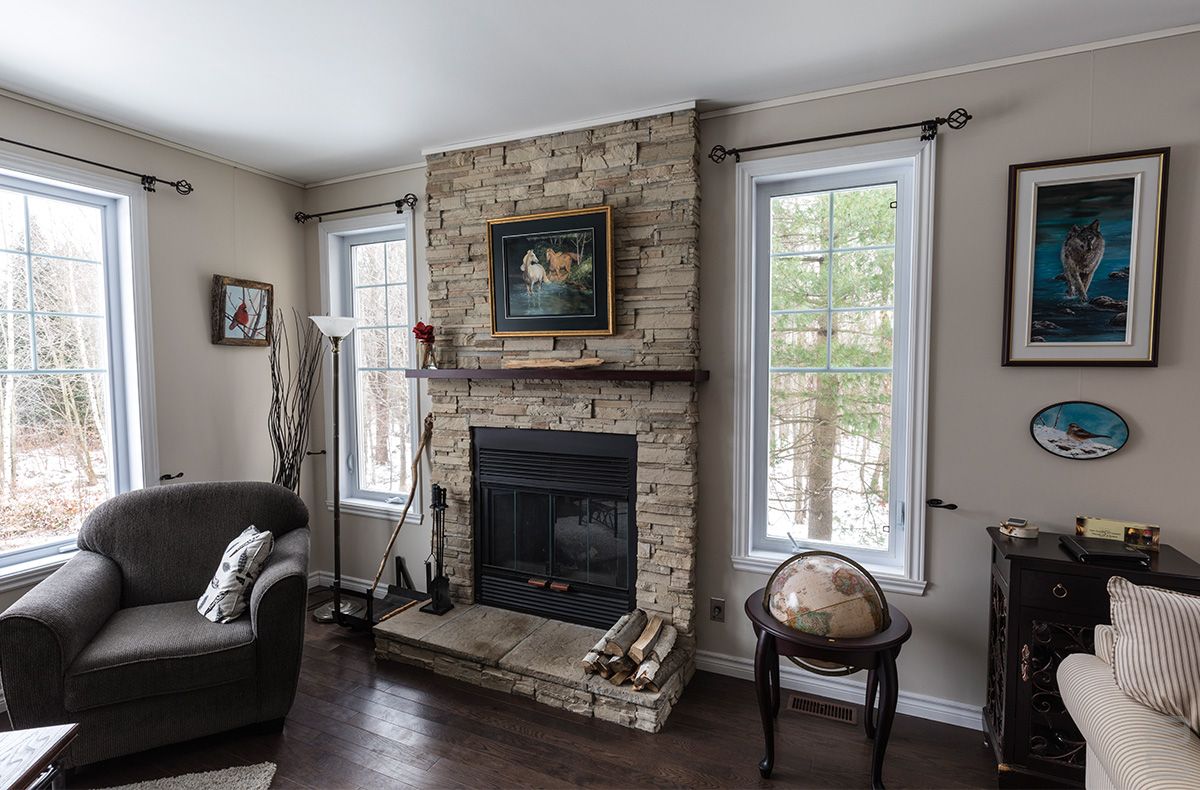
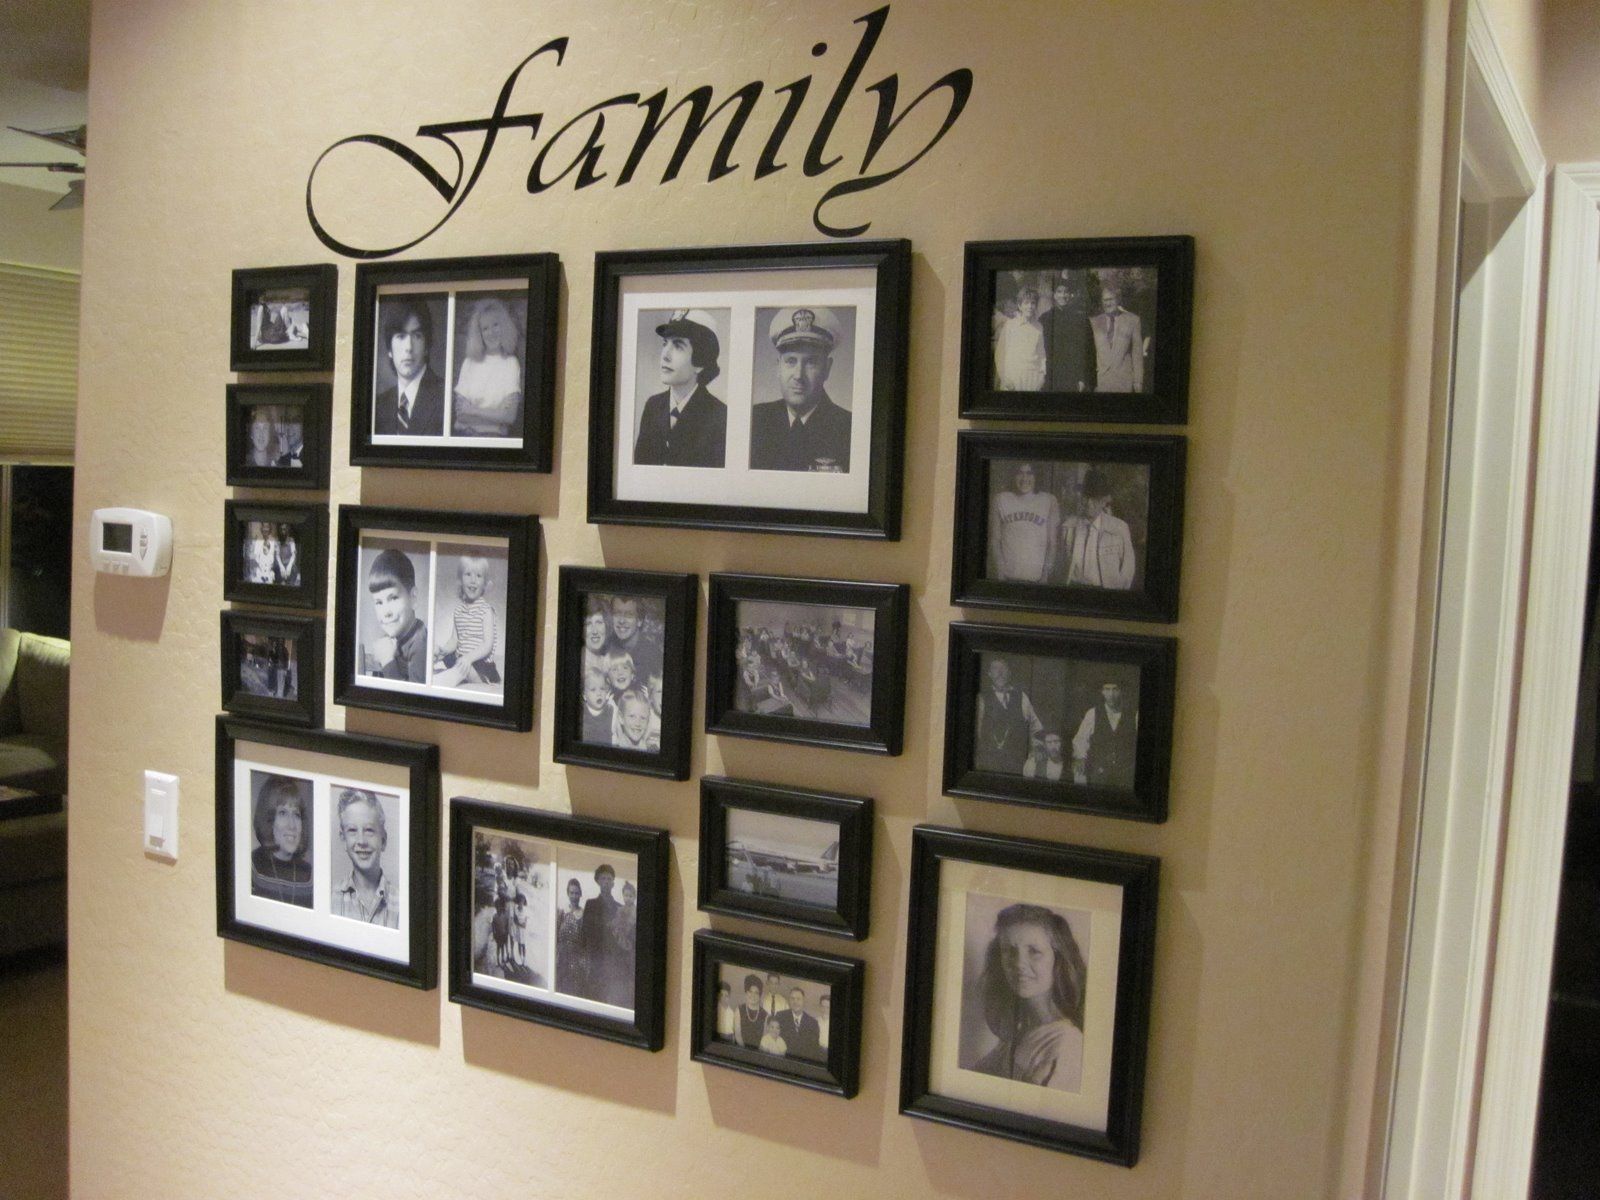
Assess the Surroundings:
Take note of the surrounding decor and furniture. The picture should complement the space and not appear overcrowded or overshadowed by other elements in the room.
Use a Level and Tape Measure:
With a helper, hold the picture against the wall in various spots while using a level to ensure it’s straight. Use a tape measure to confirm the desired height and distance from adjacent walls or furniture.
Mark the Spot:
Once you’ve found the perfect location, mark the spot on the brick wall with a pencil. This will serve as a guide when you proceed with the installation process.
By carefully considering these factors and taking the time to find the optimal placement, you can ensure that your picture enhances the overall aesthetic of the space while maintaining visual harmony with its surroundings. With the spot identified, it’s time to prepare the wall for the picture hanging process.
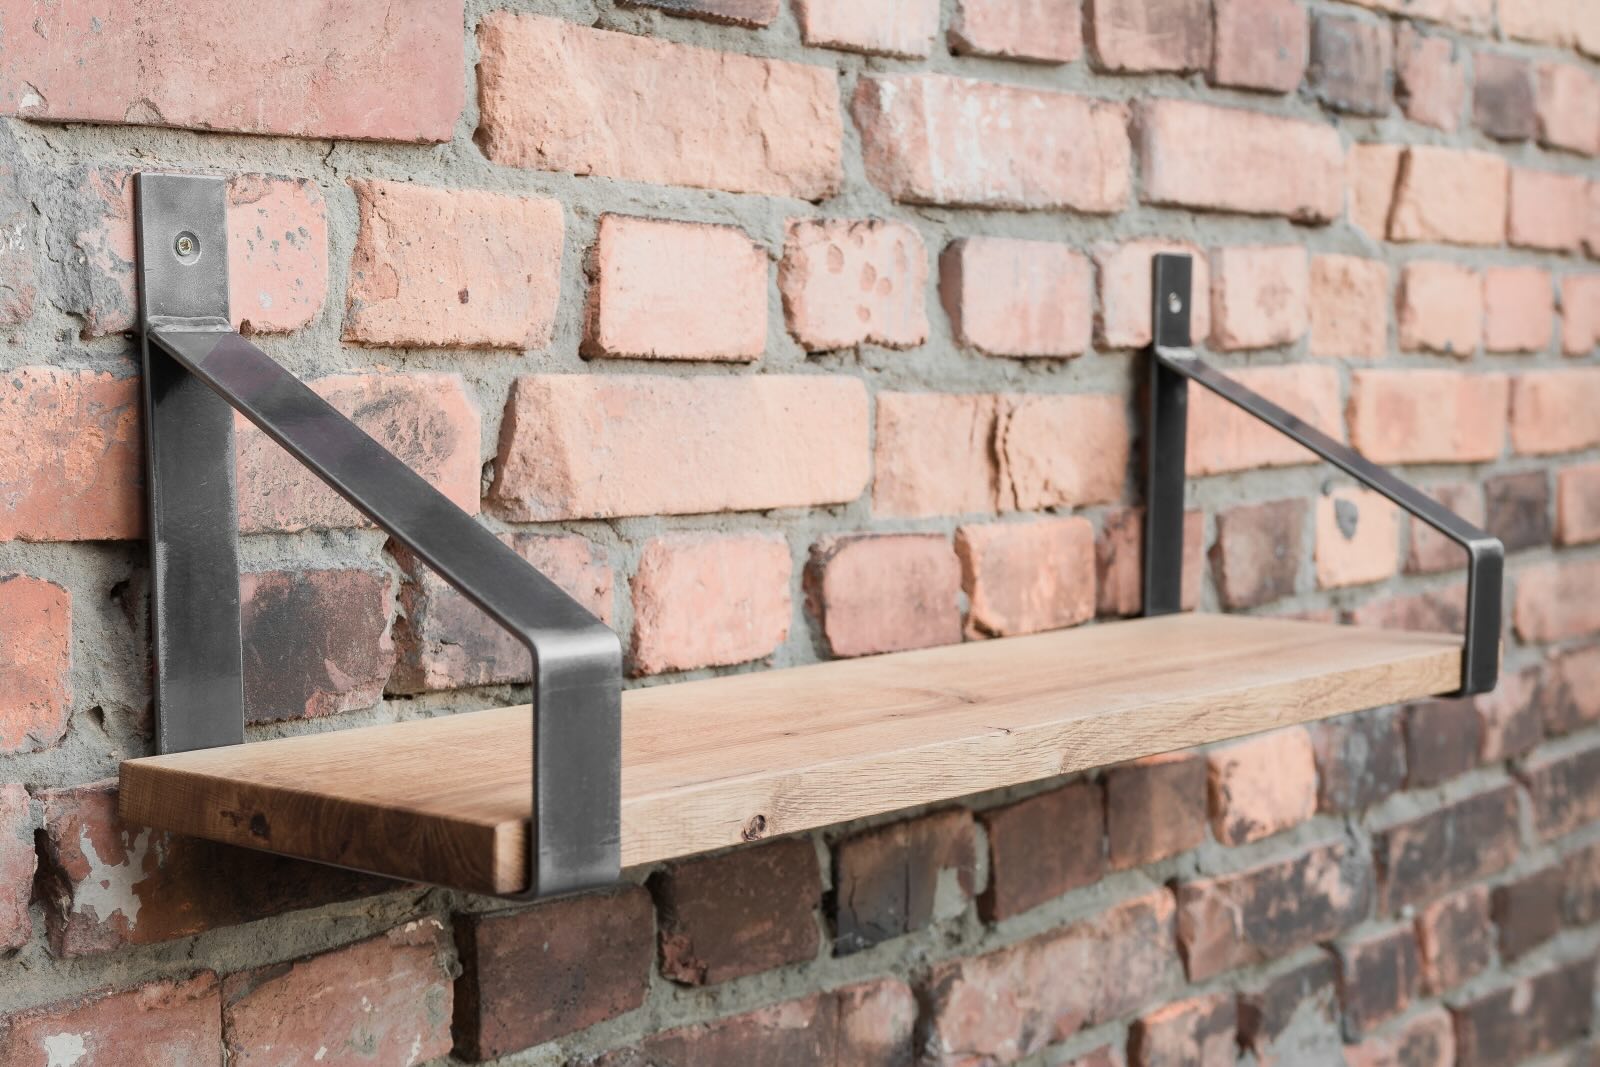
Read more: How To Hang A Shelf On A Brick Wall
Preparing the Wall
Before you begin the process of hanging a picture on a brick wall, it’s essential to prepare the surface to ensure a secure and stable installation. Here’s how to get the wall ready:
Clean the Area:
Start by cleaning the section of the brick wall where the picture will be hung. Use a brush or a vacuum with a soft brush attachment to remove any dust, dirt, or debris from the surface. This will create a clean and even base for the hanging hardware.
Mark Drill Points:
Using the previously marked spot as a guide, use a pencil to indicate the exact points where the holes for the picture hanger will be drilled. Take precise measurements to ensure accuracy.
Wear Protective Gear:
When drilling into masonry, it’s important to wear protective eyewear and a dust mask to shield your eyes and respiratory system from any debris or dust generated during the drilling process.
Read more: How To Hang A Sign On A Brick Wall
Drill Pilot Holes:
With the appropriate masonry drill bit and an electric drill, carefully create pilot holes at the marked points on the brick wall. Take care to drill to the appropriate depth to accommodate the wall anchors or screws that will support the picture hanger.
Insert Wall Anchors or Screws:
Depending on the weight of the picture and the type of hanger being used, insert wall anchors or screws into the pilot holes. Wall anchors provide additional support and stability for heavier pictures, ensuring a secure attachment to the brick wall.
Attach the Picture Hanger:
Once the wall anchors or screws are in place, affix the picture hanger to the wall, following the manufacturer’s instructions. Ensure that the hanger is securely fastened and level to support the weight of the picture.
By thoroughly preparing the wall and taking the necessary precautions, you’ll create a stable and reliable foundation for hanging your picture on the brick wall. With the wall ready, it’s time to move on to the exciting step of hanging the picture itself.
Hanging the Picture
With the wall prepared and the picture hanger securely in place, it’s time to hang your picture on the brick wall. Follow these steps to ensure a successful and visually appealing installation:
Attach the Picture Wire or Hanger:
If your picture has a wire on the back, securely attach it to the hanging hardware on the picture hanger. For pictures with a sawtooth hanger, ensure that it interlocks with the corresponding hardware on the hanger.
Check for Stability:
Before lifting the picture, verify that the hanging hardware is firmly in place and capable of supporting the weight of the picture. Gently tug on the wire or hanger to confirm its stability.
Position the Picture:
With the help of a friend or family member, carefully lift the picture and position it against the brick wall, aligning it with the hanger. Take your time to ensure that the picture is level and centered according to your markings.
Secure the Picture:
Once the picture is in the desired position, ensure that it’s level using a spirit level. Then, gently press the picture against the wall to create a slight mark where the hanging hardware touches the brick. This will guide you in making any necessary adjustments.
Read more: How To Hang A Balloon Arch On A Brick Wall
Make Adjustments:
If the picture is not level or centered, make the required adjustments by slightly shifting its position. Once you’re satisfied with the alignment, step back and visually confirm that the picture is positioned exactly as you want it.
Admire Your Handiwork:
Stand back and admire your beautifully hung picture on the brick wall. Take a moment to appreciate the visual impact it adds to the space and the personal touch it brings to your decor.
By following these steps, you can confidently hang your picture on a brick wall, creating a striking focal point that enhances the ambiance of the room. With the picture securely in place, you can now enjoy the captivating display and the unique character it brings to your living space.
Conclusion
Congratulations! You’ve successfully navigated the process of hanging a picture on a brick wall, transforming a blank expanse into a captivating display of art and personal expression. By following the steps outlined in this guide, you’ve not only adorned your space with a cherished picture but also gained valuable insight into the nuances of working with brick walls.
Remember, the key to a seamless picture hanging experience lies in careful preparation, thoughtful consideration of the wall’s characteristics, and attention to detail during the installation process. By utilizing the right tools, preparing the wall diligently, and executing the hanging with precision, you’ve achieved a visually stunning result that complements the unique charm of the brick wall.
As you admire your handiwork, take pride in the fact that you’ve enhanced your living space with a personalized touch that reflects your taste and style. The picture you’ve hung serves not only as a visual focal point but also as a testament to your creativity and attention to detail.
With your newfound expertise in hanging pictures on brick walls, you’re well-equipped to showcase additional artwork, photographs, or decorative elements, further enriching the ambiance of your home or workspace. Embrace the versatility and timeless appeal of brick walls as a canvas for your creative expression, and let your imagination guide you in curating a space that speaks to your individuality.
So, whether it’s a cherished family portrait, a captivating piece of art, or a collection of photographs, let your brick walls become the backdrop for your unique story, adding warmth, character, and visual interest to every room.
Now, sit back, relax, and revel in the beauty of your newly adorned brick wall, knowing that you’ve mastered the art of hanging pictures with finesse and flair.
Frequently Asked Questions about How To Hang A Picture On A Brick Wall
Was this page helpful?
At Storables.com, we guarantee accurate and reliable information. Our content, validated by Expert Board Contributors, is crafted following stringent Editorial Policies. We're committed to providing you with well-researched, expert-backed insights for all your informational needs.


0 thoughts on “How To Hang A Picture On A Brick Wall”