Home>Construction & Tools>Building Materials>How To Brick In A Window
Building Materials
How To Brick In A Window
Modified: August 28, 2024
Learn how to brick in a window using high-quality building materials. Our step-by-step guide will help you achieve a professional finish. Discover the best products for the job.
(Many of the links in this article redirect to a specific reviewed product. Your purchase of these products through affiliate links helps to generate commission for Storables.com, at no extra cost. Learn more)
Introduction
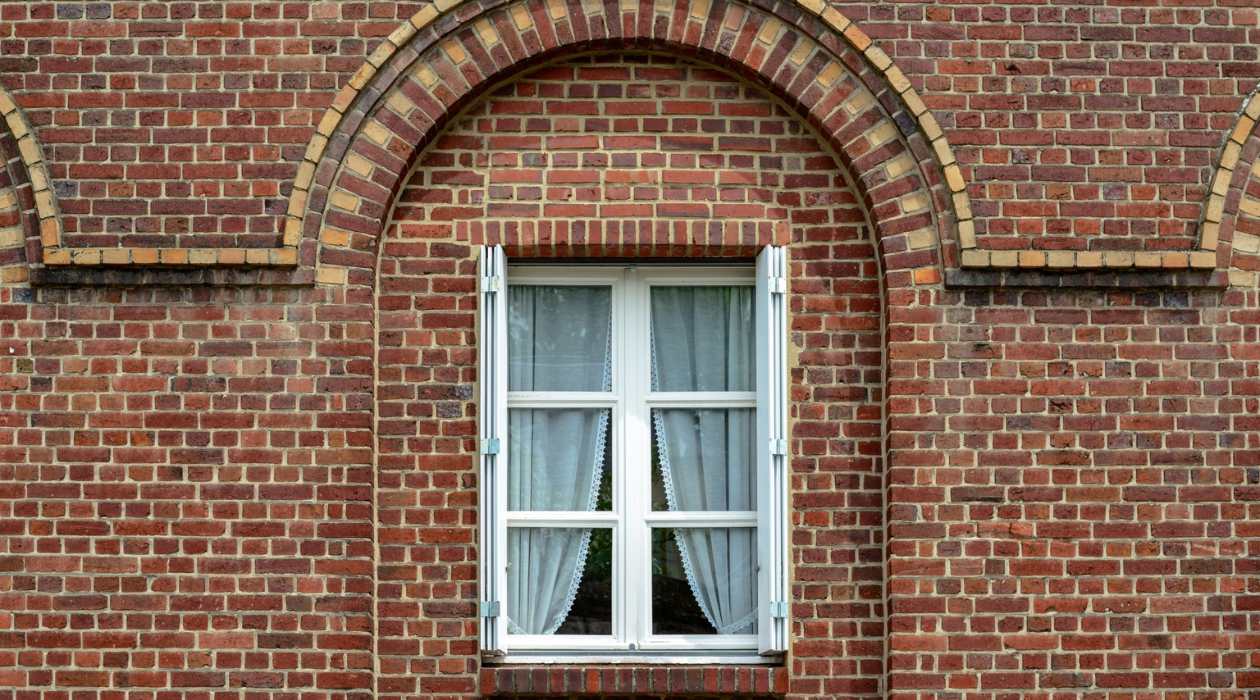
Bricking in a window is a practical and visually appealing solution for addressing various needs, such as enhancing privacy, improving insulation, or simply altering the aesthetics of a space. Whether you are a seasoned DIY enthusiast or a novice looking to embark on a new project, this comprehensive guide will walk you through the process, providing valuable insights and expert tips along the way.
By following the steps outlined in this article, you will gain the confidence and know-how to successfully brick in a window, transforming the look and functionality of your living or working environment. So, roll up your sleeves, gather your tools, and let’s dive into the rewarding endeavor of mastering the art of bricking in a window.
Key Takeaways:
- Bricking in a window involves gathering materials, preparing the window, measuring and cutting bricks, laying the bricks, mixing mortar, applying mortar, and finishing the brickwork for a professional and visually appealing result.
- By following the steps in this guide, you can transform the look and functionality of your space, enhance privacy and insulation, and gain valuable skills for future brickwork projects.
Read more: How To Replace Brick Molding On Windows
Step 1: Gather Materials and Tools
Before embarking on the project, it’s crucial to ensure that you have all the necessary materials and tools at your disposal. Here’s a comprehensive list to guide you:
Materials:
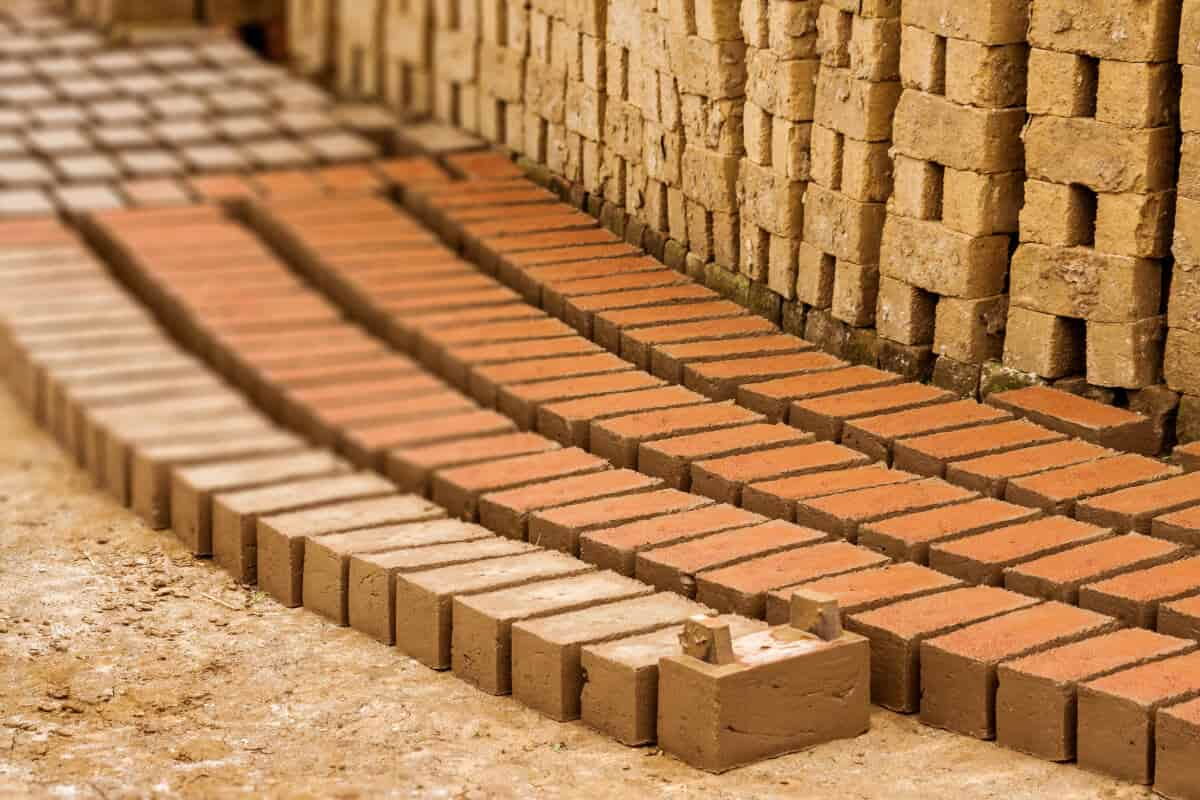
- Bricks: Select high-quality bricks that complement the existing architectural style of your building. Consider factors such as color, texture, and size to achieve a cohesive look.
- Mortar: Choose a reliable mortar mix suitable for the specific conditions of your location. Ensure that it provides excellent adhesion and long-term durability.
- Wood or Metal Lintels: These structural supports will be essential for bearing the load above the bricked-in window. Select lintels that are sturdy and appropriate for the size of the opening.
- Waterproofing Membrane: Investing in a high-quality waterproofing membrane is essential for safeguarding the interior against moisture infiltration.
- Expansion Foam: This material will help seal any gaps or voids between the window frame and the new brickwork, enhancing insulation and preventing air leakage.
- Protective Gear: Prioritize safety by acquiring protective gear, including gloves, safety goggles, and a dust mask to shield yourself from potential hazards during the construction process.
Tools:
- Tape Measure: Accurate measurements are crucial for ensuring a precise fit and professional finish.
- Hammer and Chisel: These tools will be indispensable for carefully removing the existing window frame and any obstructing masonry.
- Masonry Trowel: Invest in a high-quality masonry trowel for spreading mortar evenly and with precision.
- Level: A level is essential for confirming that the bricks are laid perfectly horizontal and vertical, maintaining structural integrity and aesthetic appeal.
- Wheelbarrow and Hoe: These items are essential for mixing mortar to the desired consistency before application.
- Jointing Tool: A jointing tool will aid in finishing the mortar joints to achieve a professional appearance.
By ensuring that you have all the necessary materials and tools on hand, you will set the stage for a smooth and efficient bricking-in process, minimizing disruptions and ensuring a satisfying outcome.
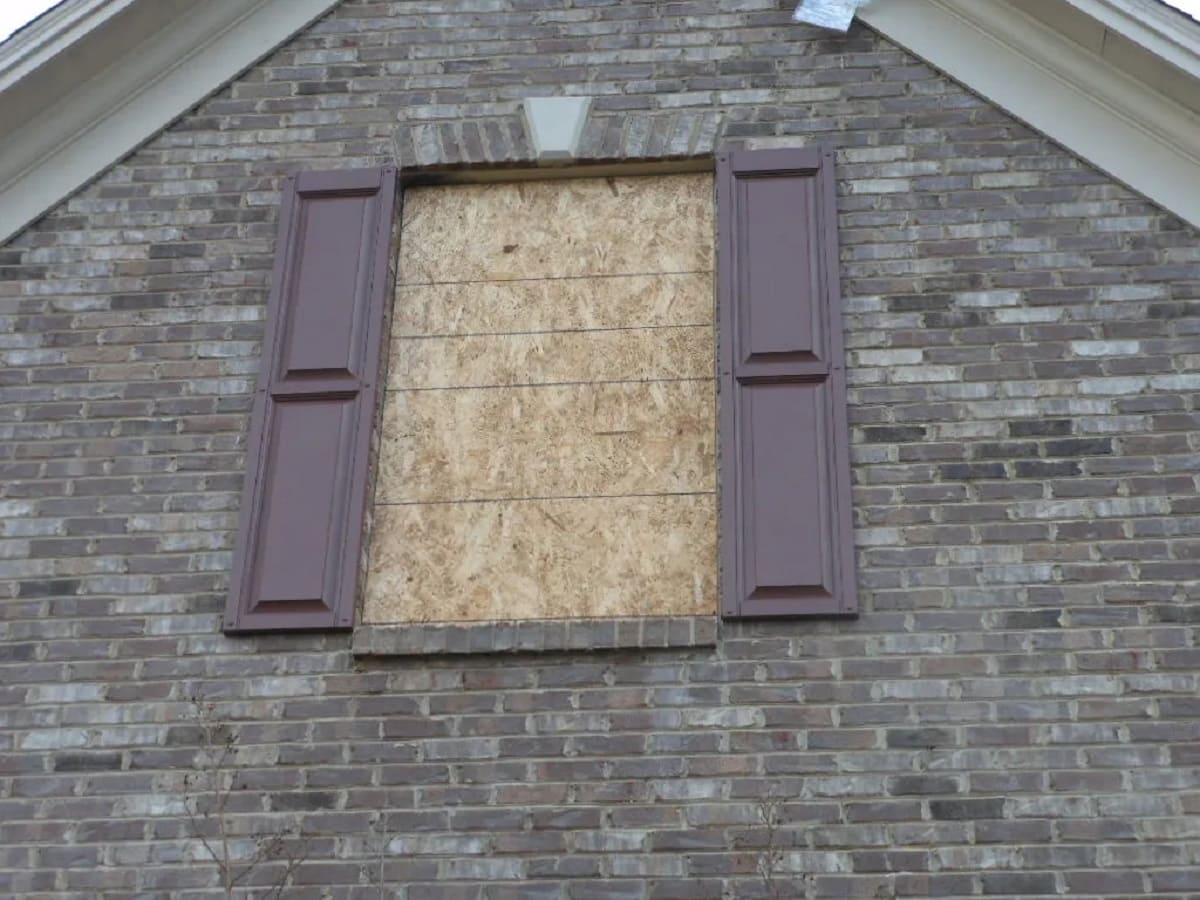
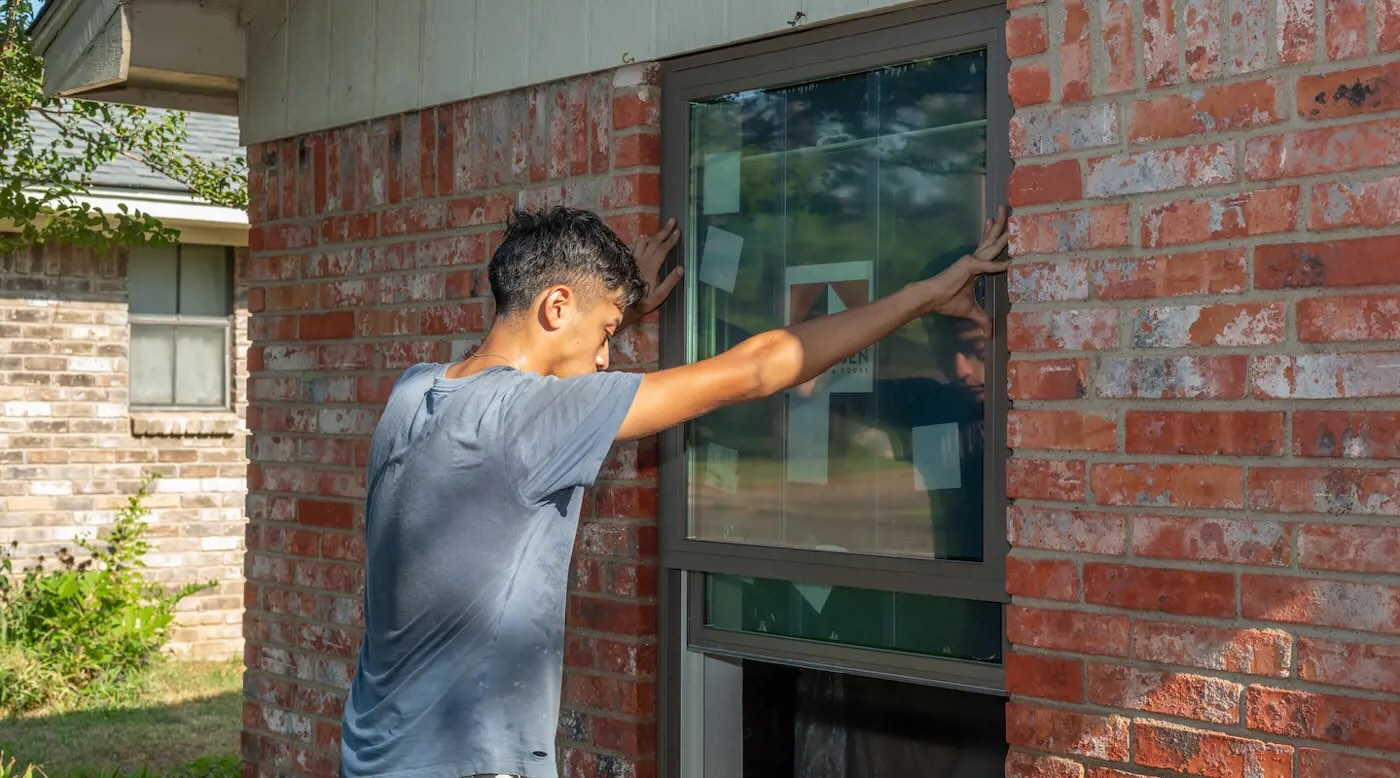
Step 2: Prepare the Window
Proper preparation of the window opening is essential for laying the groundwork for a successful bricking-in process. Follow these steps to ensure that the window is adequately prepared:
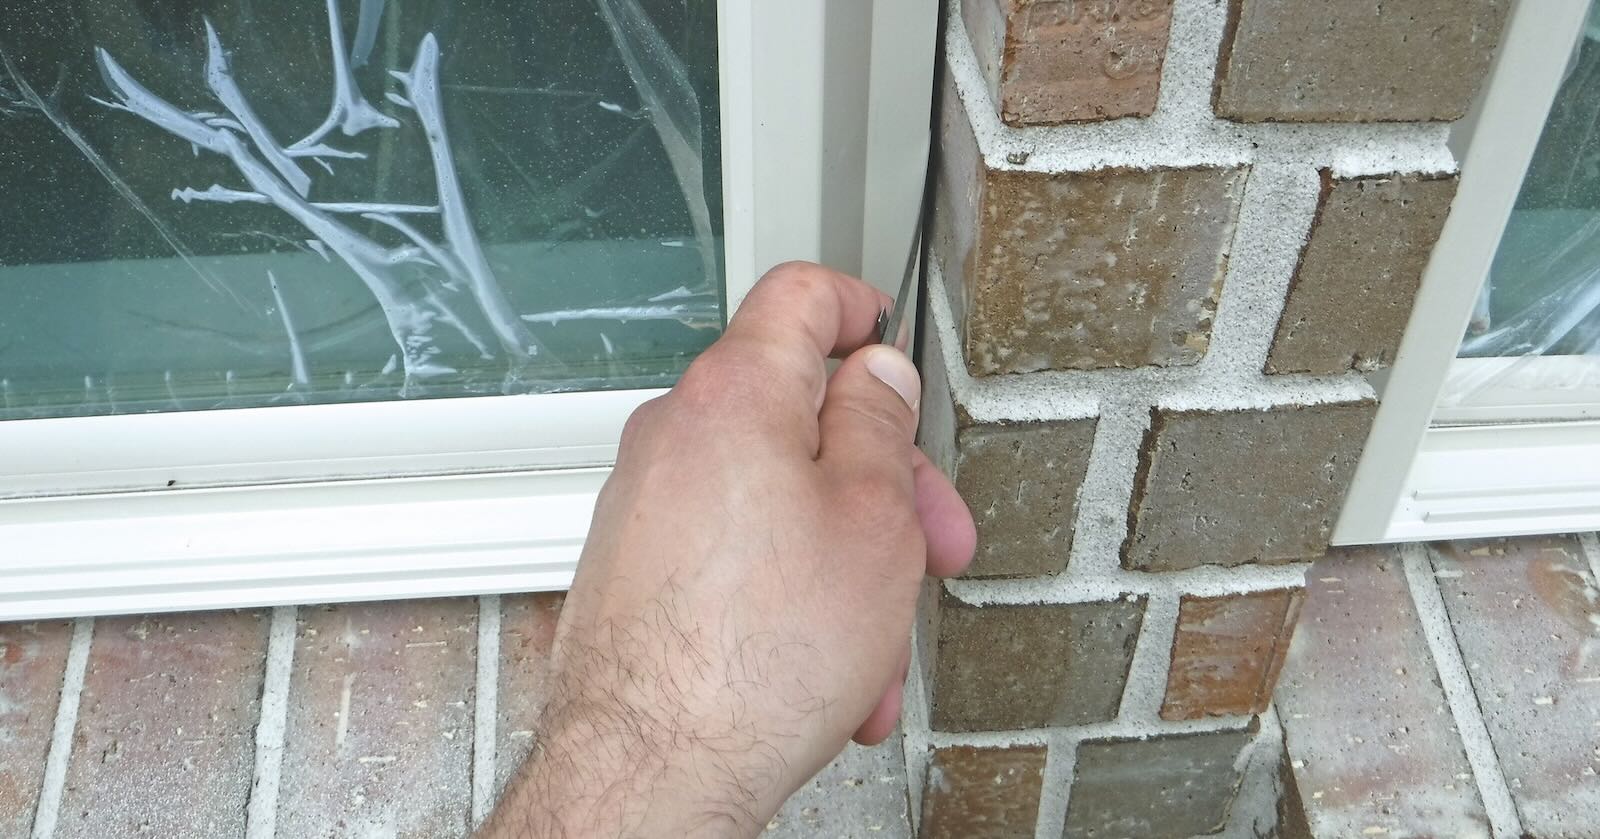
Remove the Existing Window: Carefully extract the existing window, taking care to avoid damage to the surrounding structure. Use a hammer and chisel to remove any obstructing masonry or protruding elements that may impede the installation of the bricks.
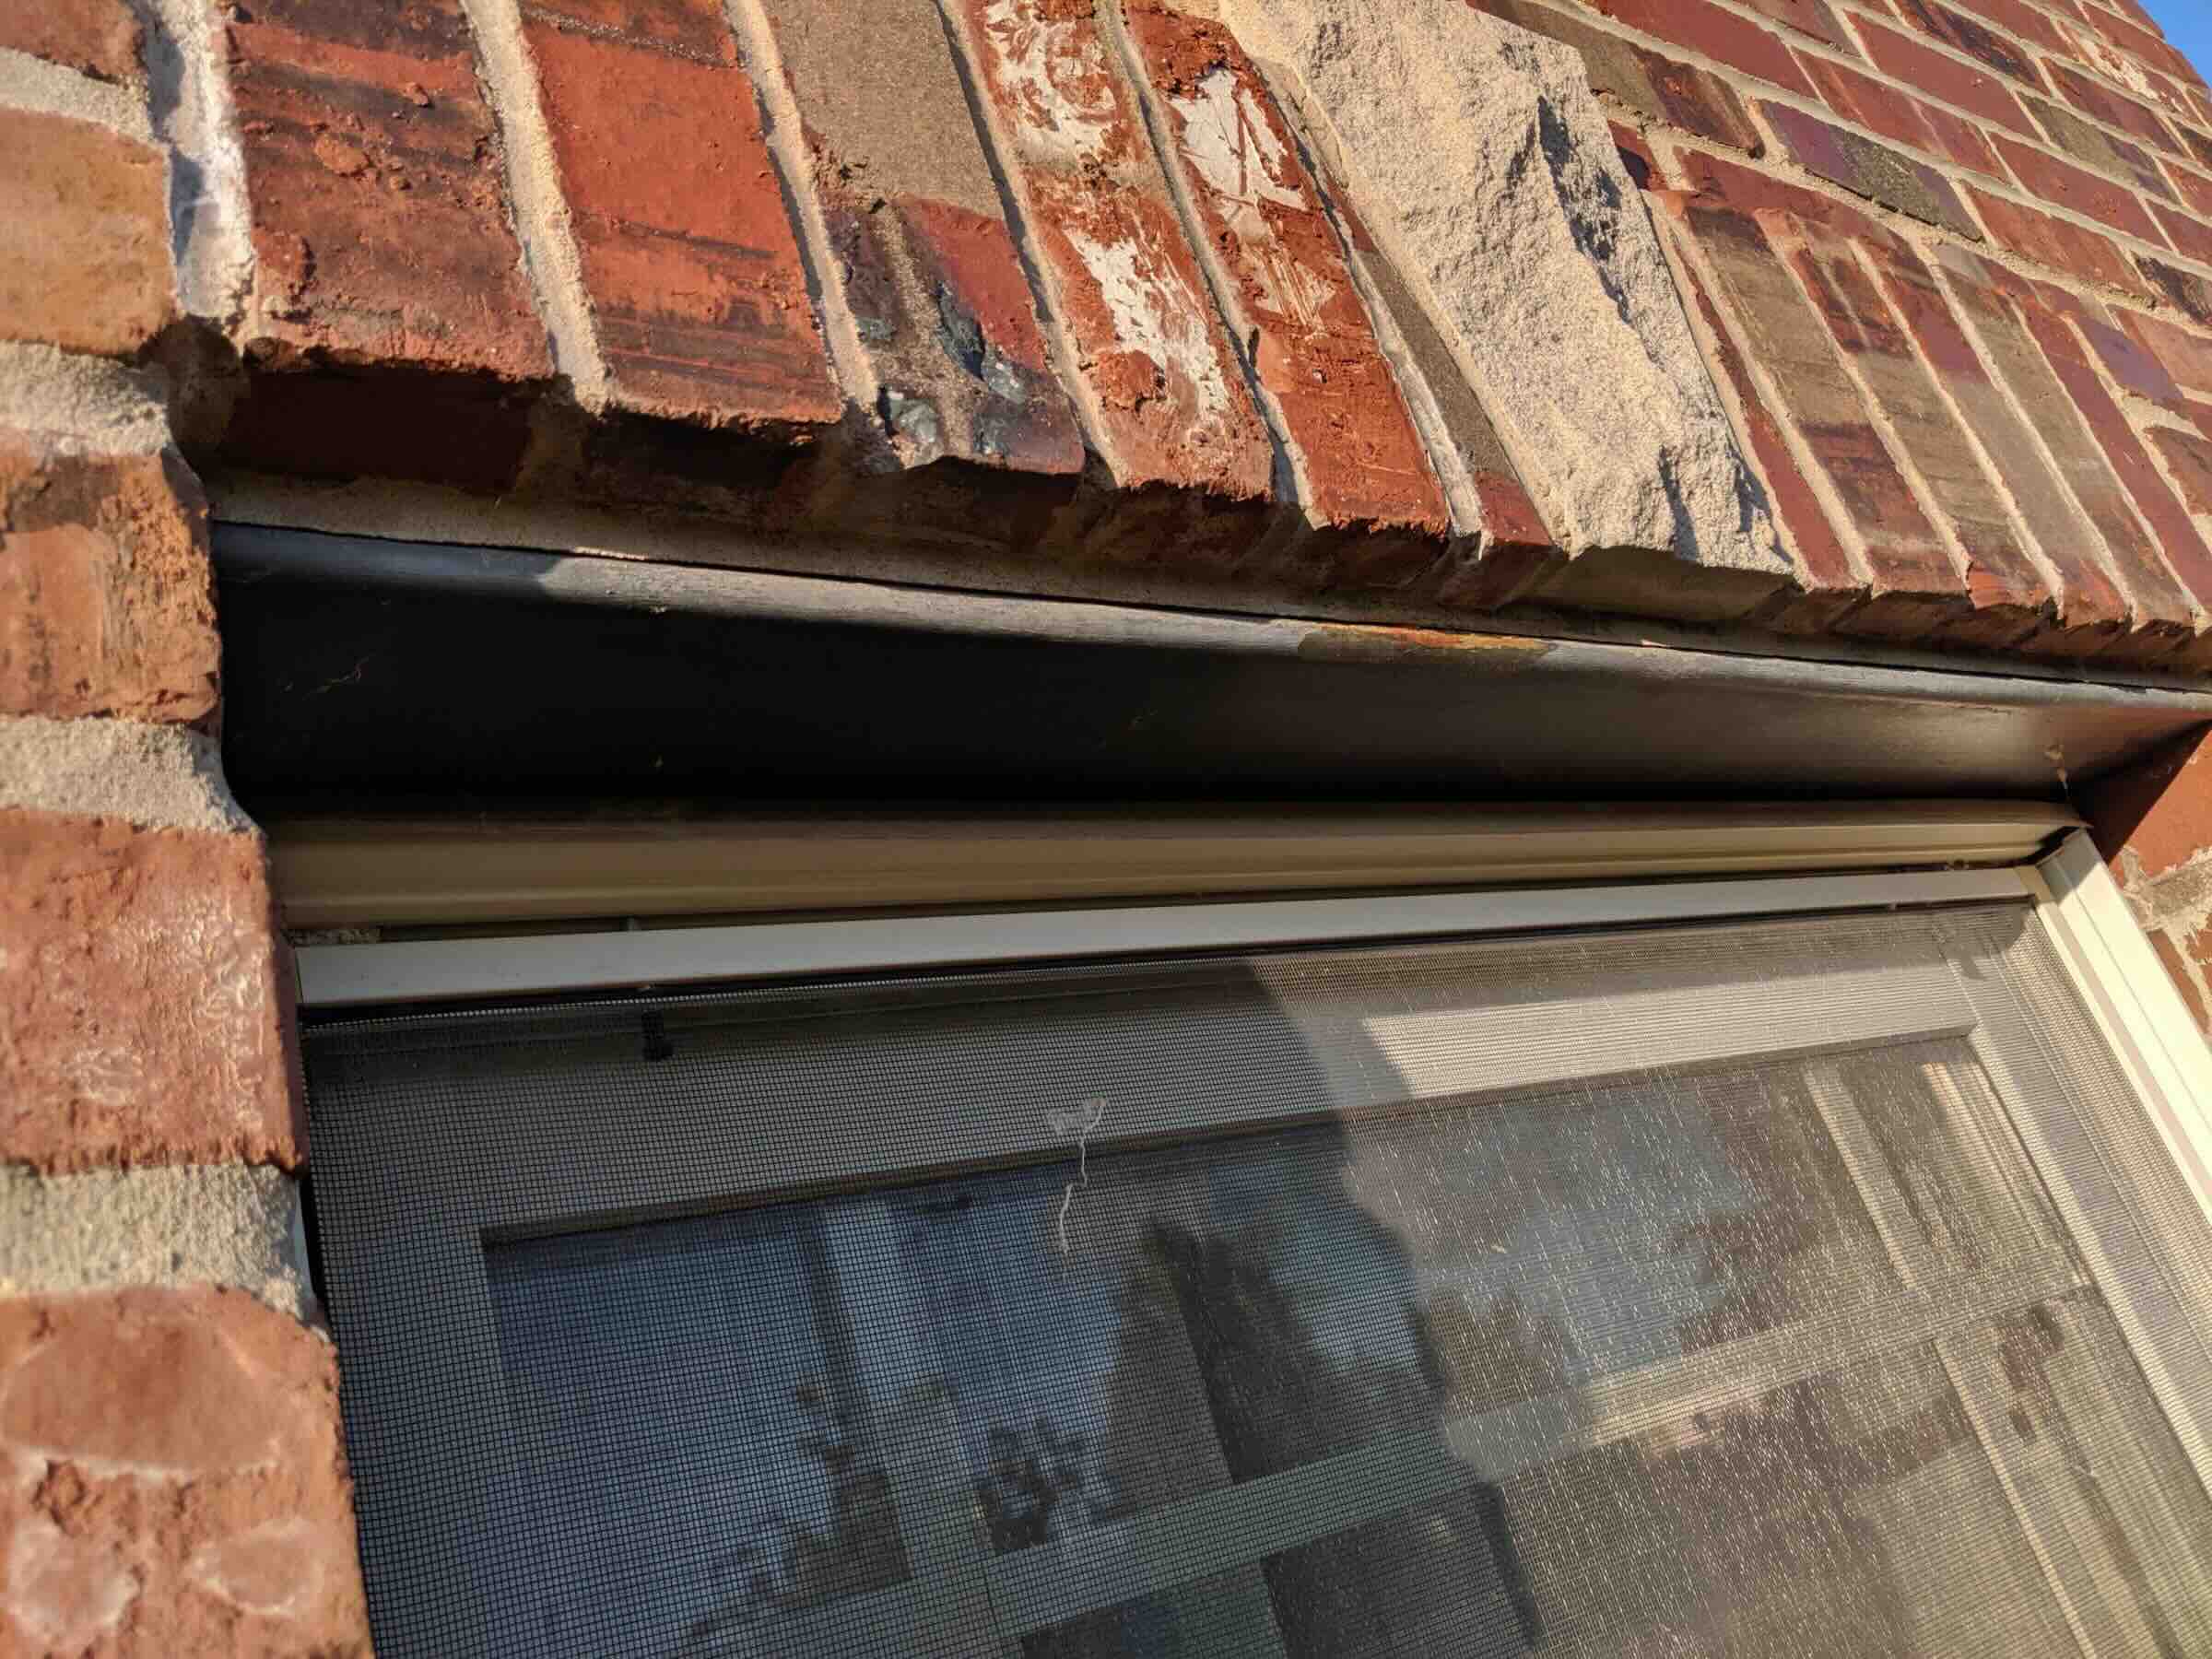
Assess the Surrounding Area: Inspect the window opening and the surrounding wall to identify any areas that require repair or reinforcement. Address any structural issues, such as deteriorated mortar or damaged bricks, to create a stable and sound foundation for the new brickwork.
Install Lintels: If necessary, install wood or metal lintels above the window opening to provide essential structural support. Ensure that the lintels are securely positioned and capable of bearing the load of the masonry above.
Apply Waterproofing Membrane: Prioritize the long-term protection of your interior space by applying a waterproofing membrane around the perimeter of the window opening. This crucial step will safeguard against moisture infiltration, promoting the durability of the brickwork and preventing potential water damage.
Prepare the Sill: If the window opening features a sill, ensure that it is level and in good condition. Address any issues, such as unevenness or deterioration, before proceeding with the bricking-in process.
By meticulously preparing the window and its immediate surroundings, you will establish a solid foundation for the subsequent stages of bricking in the window. This thorough preparation will contribute to the structural integrity and longevity of the finished brickwork, ensuring a professional and visually appealing result.
Read more: How To Replace Windows On A Brick House
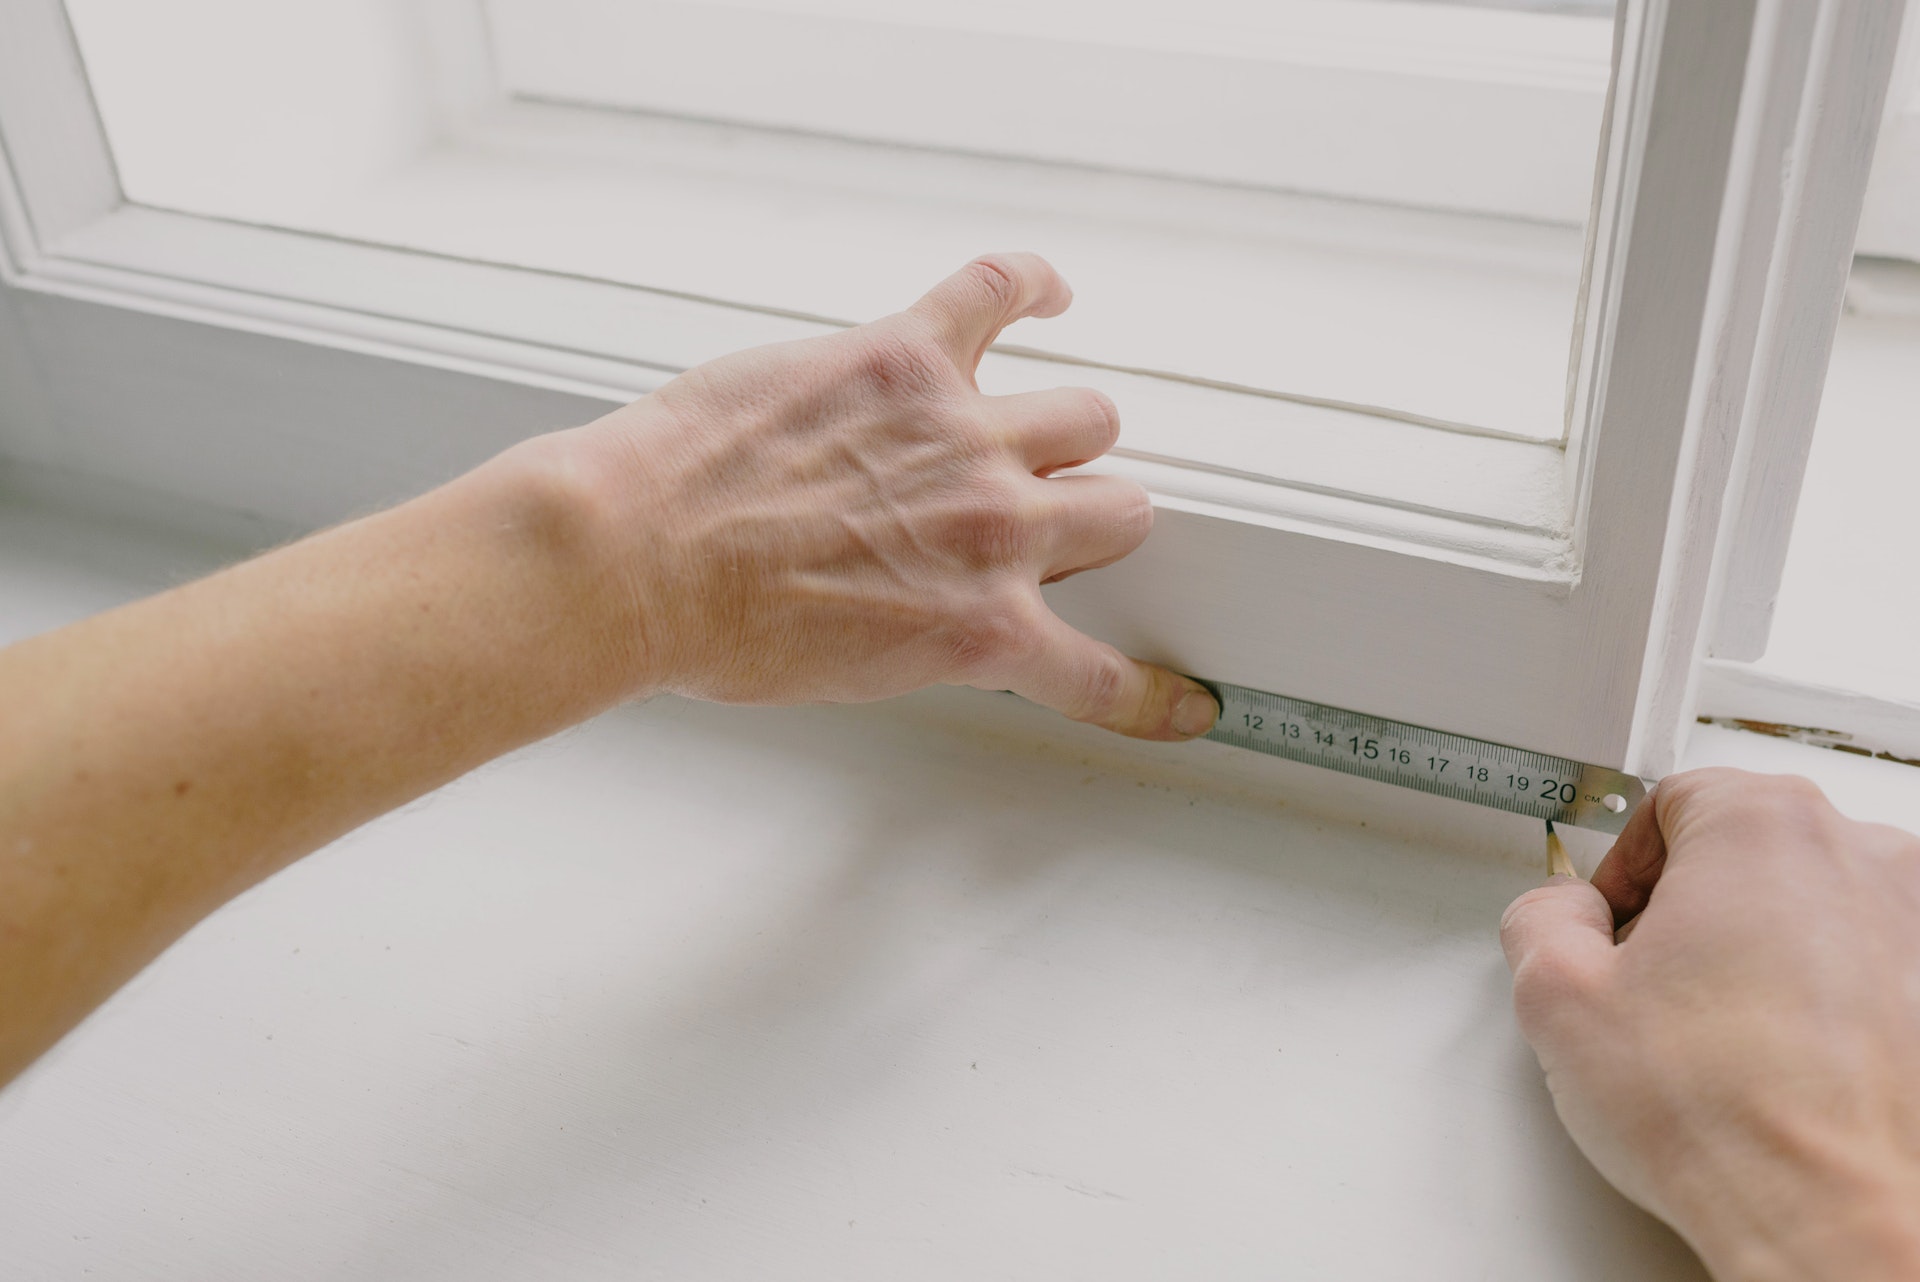
Step 3: Measure and Cut Bricks
Accurate measurements and precision are paramount when it comes to cutting and laying bricks for a seamless and visually appealing outcome. Follow these essential steps to measure and cut the bricks effectively:
Take Precise Measurements: Use a tape measure to determine the exact dimensions of the window opening. Account for the required mortar joints to ensure a snug fit for the bricks within the space.
Mark and Cut the Bricks: Transfer the measurements onto the bricks, marking the cutting lines with a pencil or chalk. Use a masonry saw or a specialized brick-cutting tool to make clean and precise cuts along the marked lines. Exercise caution and wear appropriate safety gear when cutting the bricks to prevent injuries and minimize dust exposure.
Dry-Fit the Bricks: After cutting the bricks to the required dimensions, perform a dry-fit by placing them within the window opening to verify their alignment and fit. Make any necessary adjustments to ensure a uniform and visually pleasing arrangement.
Address Special Considerations: If the window opening features curved or irregular shapes, take extra care in measuring and cutting the bricks to accommodate these unique characteristics. Employ specialized cutting techniques or tools as needed to achieve a tailored and professional finish.
By meticulously measuring and cutting the bricks to fit the window opening, you will lay the groundwork for a precise and visually stunning brickwork installation. Attention to detail at this stage will contribute to the overall quality and aesthetic appeal of the completed project.
Step 4: Lay the Bricks
Laying the bricks with precision and attention to detail is a crucial phase in the bricking-in process. Follow these essential steps to ensure a seamless and structurally sound brickwork installation:
Prepare the Mortar: Mix the mortar in a wheelbarrow or mortar-mixing tray, following the manufacturer’s instructions to achieve the desired consistency. Ensure that the mortar is well-blended and possesses the ideal adhesive properties for securing the bricks.
Apply Mortar to the Opening: Use a masonry trowel to spread a layer of mortar along the bottom of the window opening. This initial bed of mortar will provide a stable foundation for the first course of bricks.
Lay the First Course: Carefully position the first row of bricks within the window opening, pressing them firmly into the mortar bed. Use a level to ensure that the bricks are perfectly aligned and horizontally even. Make any necessary adjustments to maintain uniformity and structural integrity.
Add Subsequent Courses: Continue adding additional courses of bricks, applying mortar between each layer to securely bond the bricks together. Stagger the vertical joints between adjacent courses to enhance the stability and aesthetics of the brickwork.
Check for Alignment and Plumb: Regularly verify the alignment and vertical plumb of the bricks using a level and a straightedge. This meticulous attention to detail will ensure that the brickwork is structurally sound and visually appealing.
Address Openings and Voids: If the window opening requires partial bricks or custom cuts to address openings or voids, measure and cut the bricks accordingly to achieve a seamless and professional finish.
By methodically laying the bricks with precision and care, you will establish a sturdy and visually striking brickwork structure. Attention to detail and adherence to best practices during this phase will culminate in a professional and enduring bricking-in solution for your window.
Step 5: Mix Mortar
Mastering the art of mixing mortar is essential for achieving strong adhesion and a professional finish in your bricking-in project. Follow these steps to ensure that your mortar is well-prepared for the bricklaying process:
Select the Right Mortar Mix: Choose a mortar mix that is suitable for the specific environmental conditions and structural requirements of your project. Consider factors such as weather exposure, load-bearing capacity, and aesthetic preferences when selecting the appropriate mortar type.
Gather the Necessary Materials: Collect the essential components for mixing mortar, including the mortar mix itself, clean water, and a mixing container such as a wheelbarrow or mortar-mixing tray. Ensure that your tools, such as a hoe for mixing and a trowel for application, are clean and in good condition.
Add Water Gradually: Begin by pouring a portion of the required water into the mixing container. Gradually add the mortar mix while continuously stirring to achieve a consistent and workable mortar consistency. Avoid adding excessive water, as this can compromise the strength and adhesion of the mortar.
Achieve the Desired Consistency: Aim for a mortar consistency that is firm and cohesive, yet malleable enough to be spread easily with a trowel. The mortar should hold its shape without slumping excessively, ensuring reliable adhesion and structural integrity during the bricklaying process.
Test the Mortar: Perform a test application of the mortar to confirm its workability and adhesion properties. Adjust the water-to-mix ratio as needed to achieve the optimal consistency for your specific project requirements.
By mastering the art of mixing mortar, you will lay the groundwork for a successful and visually appealing bricking-in project. Attention to detail and precision during the mortar-mixing process will contribute to the overall quality and longevity of your finished brickwork.
Before bricking in a window, make sure to measure the window opening accurately. Use a chisel and hammer to remove the existing window frame. Then, build a wooden frame to fit the opening and secure it in place. Finally, lay bricks in a staggered pattern and use mortar to hold them in place.
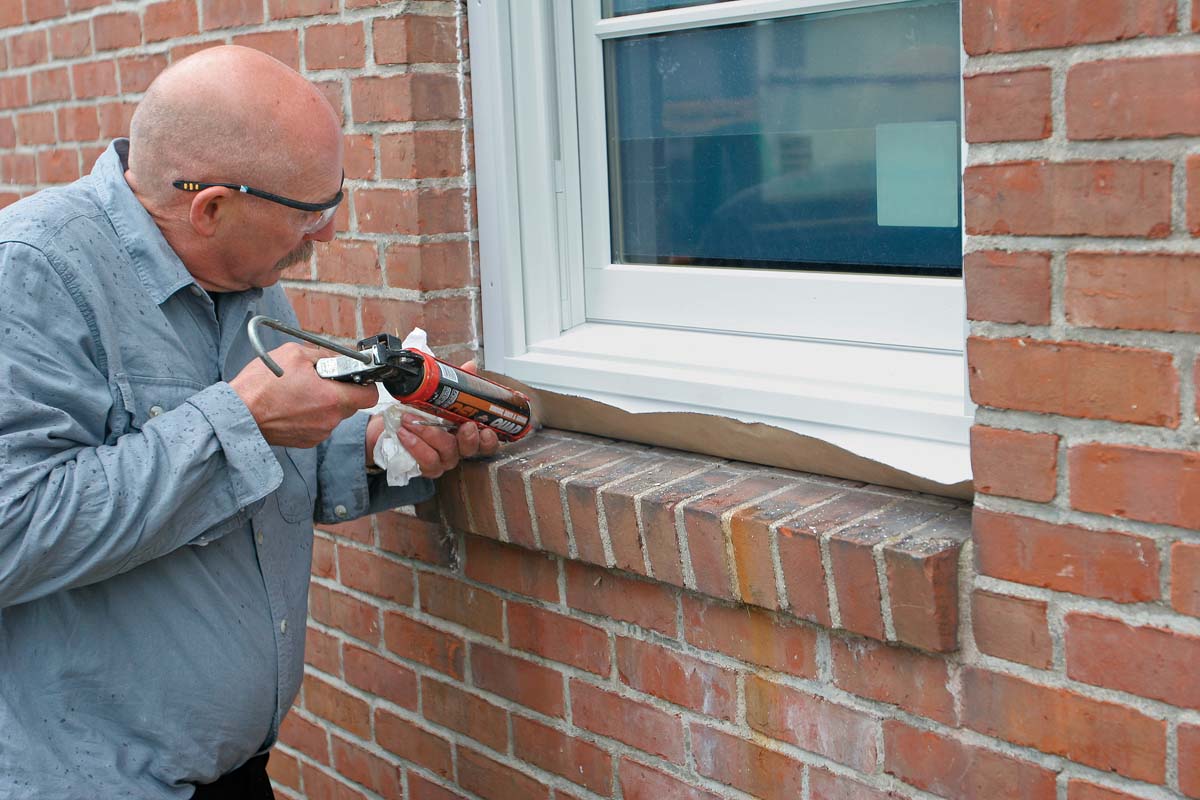
Step 6: Apply Mortar
Applying mortar with precision and expertise is crucial for ensuring strong adhesion and a professional finish in your bricking-in project. Follow these essential steps to effectively apply mortar during the bricklaying process:
Prepare the Surface: Before applying mortar, ensure that the brick surfaces and the immediate surrounding area are clean and free from debris. A clean surface will promote optimal adhesion and prevent potential contaminants from compromising the integrity of the mortar joints.
Use the Right Tools: Equip yourself with a high-quality masonry trowel suitable for spreading mortar with precision and control. Additionally, have a jointing tool on hand to finesse the mortar joints and achieve a polished appearance.
Apply an Even Layer: Use the masonry trowel to apply a consistent and even layer of mortar to the surface where the bricks will be placed. Ensure that the mortar bed is of uniform thickness to support the bricks securely and facilitate proper alignment.
Butter the Bricks: Prior to placing each brick, apply a thin layer of mortar, known as “buttering,” to the underside of the brick. This step enhances adhesion and ensures a strong bond between the brick and the mortar bed.
Position the Bricks: Carefully position each brick within the mortar bed, pressing it firmly and evenly to achieve solid contact with the mortar. Use a slight twisting motion to help the brick settle into place, expelling any air pockets and promoting optimal adhesion.
Tool the Joints: After placing the bricks, use a jointing tool to shape and finesse the mortar joints, ensuring a neat and uniform appearance. Pay attention to the depth and profile of the joints to achieve a professional finish.
By applying mortar with care and precision, you will establish a sturdy and visually appealing brickwork structure. Attention to detail during the mortar application process will contribute to the overall quality and longevity of your finished bricking-in project.
Read more: How To Install Windows On A Brick House
Step 7: Finish the Brickwork
Completing the brickwork with finesse and attention to detail is essential for achieving a professional and visually striking result. Follow these essential steps to finish the brickwork with precision and expertise:
Clean Excess Mortar: After laying the bricks and tooling the joints, carefully remove any excess mortar that may have accumulated on the brick surfaces. Use a stiff-bristled brush and a damp cloth to clean the bricks, ensuring a clean and polished appearance.
Shape and Profile the Joints: Employ a jointing tool to shape and profile the mortar joints, achieving a consistent and visually appealing finish. Pay attention to the desired style of joint, whether it be concave, V-shaped, or struck, to complement the architectural aesthetic of the building.
Inspect for Uniformity: Step back and visually inspect the brickwork to ensure that the mortar joints are uniform in depth and appearance. Address any inconsistencies or irregularities to achieve a cohesive and professional finish.
Address Special Considerations: If the window opening features architectural details or unique requirements, such as arched or angled brickwork, take the necessary steps to address these special considerations with precision and expertise.
Apply a Protective Finish: Consider applying a protective sealant or finish to the brickwork to enhance its durability and resistance to environmental elements. Consult with a knowledgeable professional to select a suitable product for your specific project requirements.
Admire Your Handiwork: Take a moment to appreciate the fruits of your labor. Stand back and admire the transformed space, reveling in the satisfaction of a well-executed bricking-in project that enhances the functionality and aesthetics of your environment.
By finishing the brickwork with care and attention to detail, you will achieve a visually stunning and enduring result. Your dedication to precision and expertise throughout the finishing process will be reflected in the quality and longevity of your completed bricking-in project.
Conclusion
Congratulations on successfully completing the bricking-in process for your window! By following the comprehensive steps outlined in this guide, you have not only transformed the aesthetics of your space but also enhanced its privacy, insulation, and structural integrity. As you reflect on your accomplishment, take pride in the skills and knowledge you have gained throughout this rewarding endeavor.
Remember, bricking in a window is a multifaceted project that requires careful planning, precision, and a keen eye for detail. From gathering the necessary materials and tools to meticulously laying and finishing the bricks, each step contributes to the overall success and longevity of the brickwork.
As you admire the newly bricked-in window, take note of the transformative impact it has had on the space. Whether it’s a residential, commercial, or industrial setting, the addition of brickwork brings a timeless and elegant charm while serving practical purposes such as enhanced insulation and privacy.
Furthermore, the skills and knowledge you have acquired in this process can be applied to future projects, empowering you to undertake additional brickwork endeavors with confidence and expertise. Whether it’s a decorative accent, a structural enhancement, or a creative architectural feature, your newfound proficiency in bricking in windows opens the door to a world of possibilities.
Lastly, as you bask in the satisfaction of a job well done, take the time to appreciate the artistry and craftsmanship inherent in the age-old practice of masonry. Your dedication to mastering this traditional skill has not only enriched your space but also deepened your connection to the timeless craft of building and construction.
As you embark on future projects, may your newfound expertise and passion for craftsmanship continue to inspire and elevate your endeavors. Whether it’s bricking in windows, laying pathways, or constructing walls, may each project be a testament to your skill, creativity, and unwavering commitment to excellence.
Frequently Asked Questions about How To Brick In A Window
Was this page helpful?
At Storables.com, we guarantee accurate and reliable information. Our content, validated by Expert Board Contributors, is crafted following stringent Editorial Policies. We're committed to providing you with well-researched, expert-backed insights for all your informational needs.


0 thoughts on “How To Brick In A Window”