Home>Construction & Tools>Building Materials>How To Stain Your Brick House
Building Materials
How To Stain Your Brick House
Modified: February 18, 2024
Learn how to stain your brick house and enhance its appearance with our comprehensive guide. Find the best building materials and techniques for a successful project.
(Many of the links in this article redirect to a specific reviewed product. Your purchase of these products through affiliate links helps to generate commission for Storables.com, at no extra cost. Learn more)
Introduction
Staining a brick house can breathe new life into its appearance, adding character and depth to the exterior. Whether you're aiming for a rustic, weathered look or a sleek, modern finish, staining offers a versatile way to enhance the aesthetic appeal of your home. This comprehensive guide will walk you through the process of staining your brick house, from selecting the right stain to maintaining its luster for years to come.
Staining brick is a popular choice for homeowners seeking to revitalize the look of their property without completely covering the natural texture and charm of the brickwork. Unlike paint, which can obscure the surface of the bricks, stain penetrates the porous material, allowing the natural variations and textures to shine through. This results in a rich, nuanced finish that complements the architectural style of the house.
In addition to its aesthetic benefits, staining can also provide a protective barrier against the elements. By sealing the brick surface, the stain helps to repel moisture and prevent the growth of mold and mildew, ultimately extending the lifespan of the brickwork. Furthermore, the right stain can enhance the structural integrity of the bricks, offering an added layer of defense against wear and tear.
Whether you're a seasoned DIY enthusiast or a first-time homeowner looking to embark on a home improvement project, staining your brick house can be a rewarding endeavor. With the right tools, techniques, and a bit of creativity, you can transform the exterior of your home and create a lasting impression.
In the following sections, we will delve into the key steps involved in staining a brick house, including selecting the appropriate stain, preparing the brick surface, applying the stain, and maintaining the stained finish. By the end of this guide, you'll be equipped with the knowledge and confidence to embark on this transformative journey and elevate the curb appeal of your home.
Key Takeaways:
- Transform your brick house with stain
Staining your brick house can enhance its appearance, protect it from the elements, and add a touch of personality. Choose the right stain, prepare the surface, and apply with care for a lasting transformation. - Maintain the beauty of your stained brick house
Regular cleaning, inspections, and reapplication of sealant are key to preserving the vibrant look of your stained brick house. Address stains promptly and consider professional maintenance for long-lasting appeal.
Read more: How To Stain A Brick Fireplace
Choosing the Right Stain
Selecting the right stain is a crucial first step in the process of staining your brick house. With a myriad of options available, it's essential to consider several factors to ensure that the chosen stain aligns with your aesthetic preferences and the specific characteristics of your brickwork.
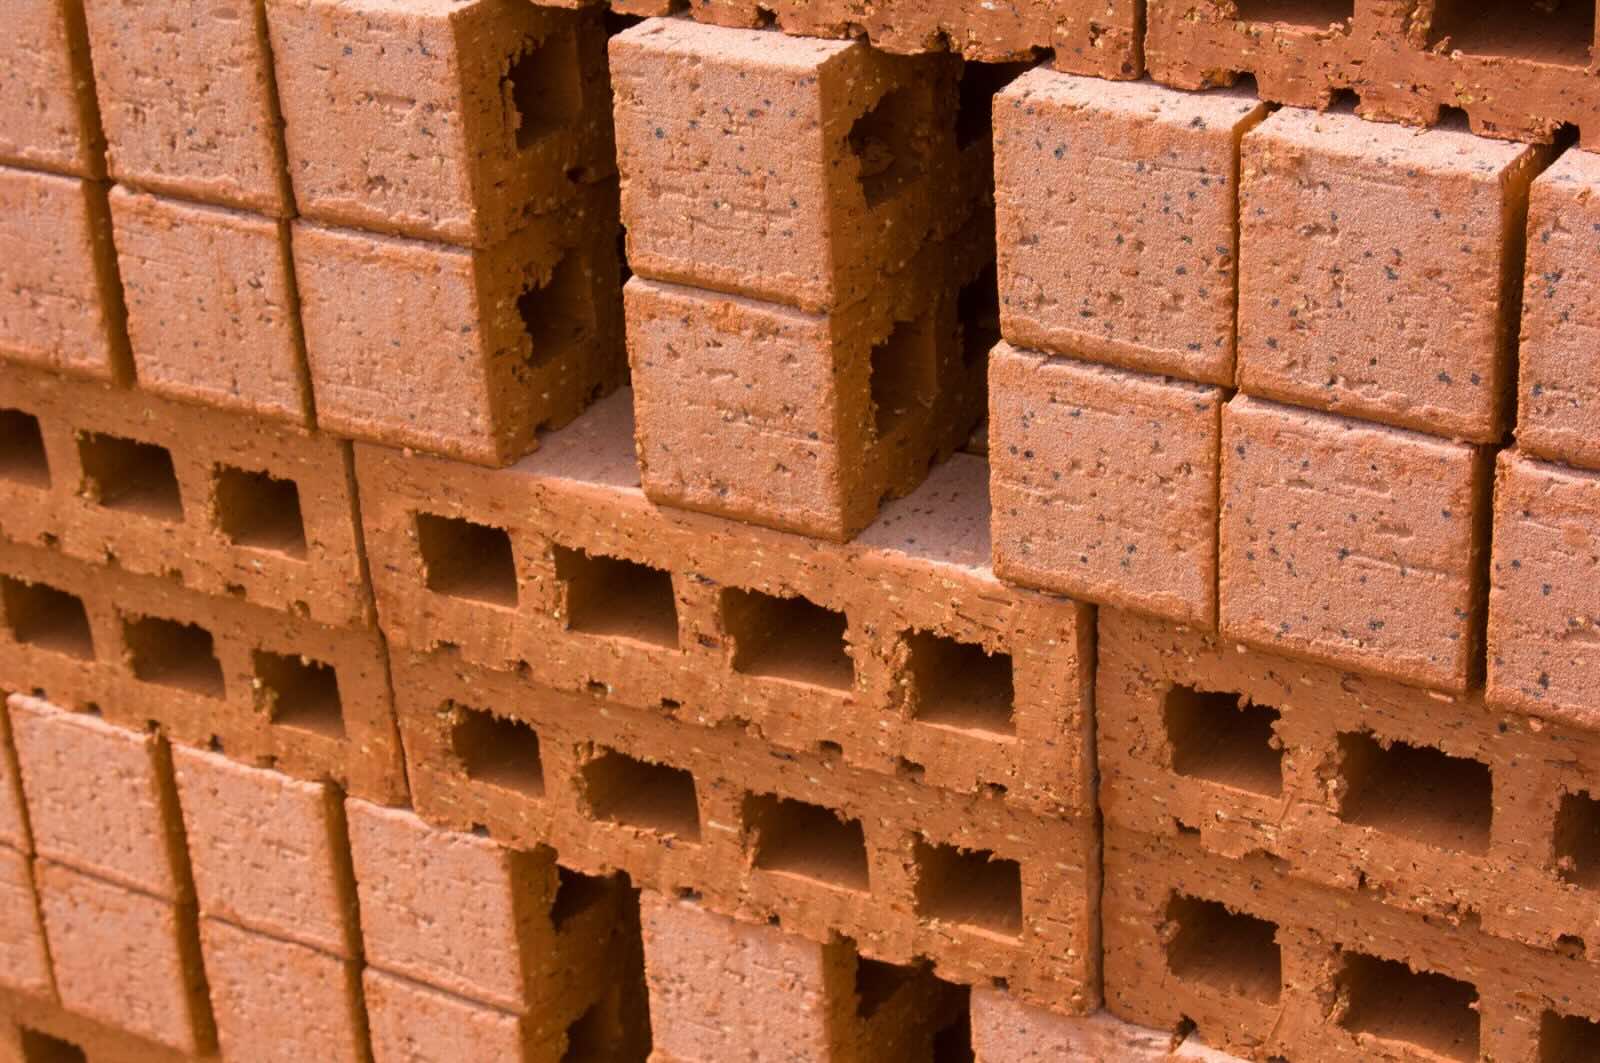
Consider the Brick Type
The type of brick used in your house plays a significant role in determining the most suitable stain. For instance, clay bricks, which are commonly found in traditional homes, may respond differently to stains compared to concrete bricks. It's important to assess the porosity and texture of the bricks to determine how they will interact with different types of stains.
Determine the Desired Finish
Before choosing a stain, envision the desired finish for your brick house. Whether you prefer a natural, earthy look or a more dramatic, opaque finish, understanding your aesthetic goals will guide you in selecting the appropriate stain. Stains are available in a range of colors and opacities, allowing you to achieve a look that complements the overall style of your home.
Test Samples
To ensure that the chosen stain will achieve the desired effect, it's advisable to test samples on a small, inconspicuous area of the brickwork. This allows you to observe how the stain interacts with the bricks and how the color appears in different lighting conditions. By testing samples, you can make an informed decision and avoid any surprises once the stain is applied to the entire surface.
Read more: How To Whitewash A Brick House
Consider Long-Term Durability
When choosing a stain, consider its long-term durability and resistance to fading, especially when exposed to sunlight and harsh weather conditions. Opting for a high-quality, UV-resistant stain can help maintain the vibrancy of the color over time, ensuring that your stained brick house retains its visual appeal for years to come.
Seek Professional Advice
If you're uncertain about which stain would best suit your brick house, consider seeking advice from professionals or experts in the field. They can provide valuable insights based on their experience and help you navigate the array of options available, ultimately guiding you toward the most suitable stain for your specific needs.
By carefully considering the type of brick, desired finish, conducting sample tests, prioritizing durability, and seeking expert advice, you can confidently select the right stain for your brick house. This thoughtful approach sets the stage for a successful staining process, laying the foundation for a visually stunning and enduring transformation of your home's exterior.
Preparing the Brick Surface
Preparing the brick surface is a critical phase in the process of staining a brick house, as it sets the stage for the successful application of the chosen stain. Proper preparation ensures that the stain adheres effectively to the brickwork, resulting in a durable and visually appealing finish. Here's a detailed look at the essential steps involved in preparing the brick surface for staining:
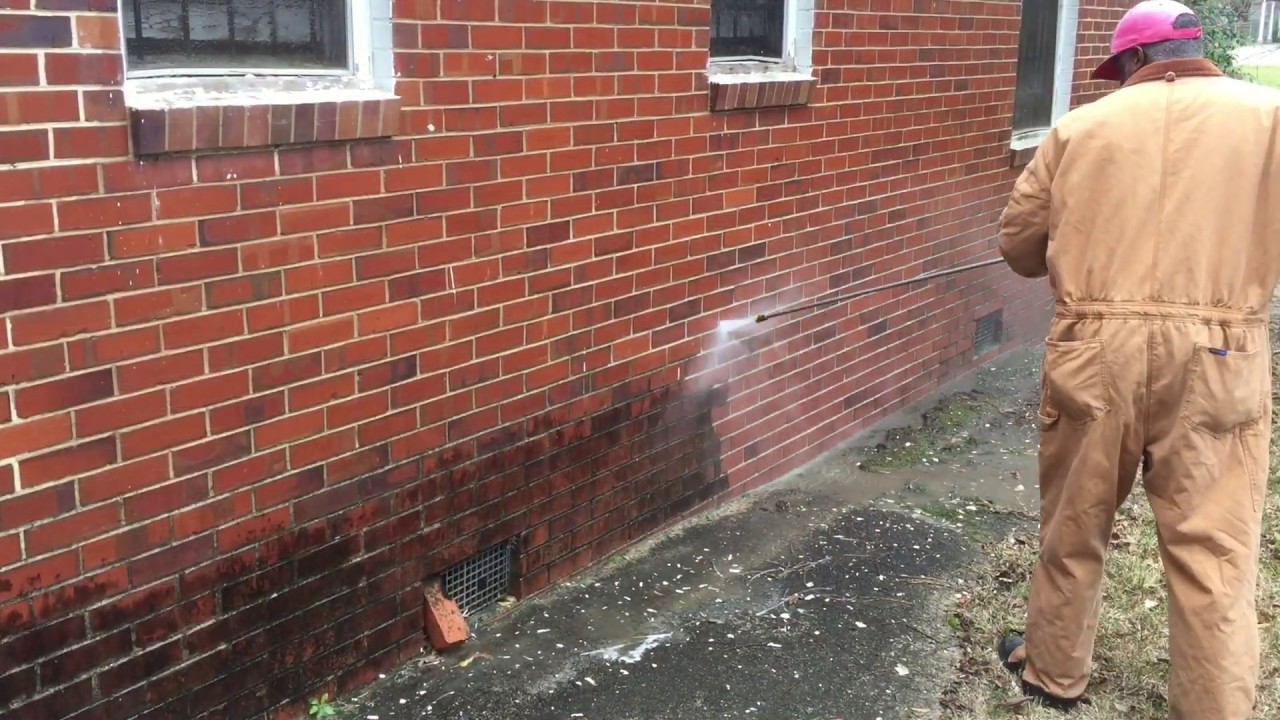
Clean the Surface
Before applying the stain, it's imperative to thoroughly clean the brick surface to remove any dirt, grime, or existing coatings. A pressure washer can be used to effectively cleanse the bricks, utilizing a mild detergent or brick-cleaning solution to dislodge stubborn stains or residues. Additionally, a stiff-bristled brush can be employed to target areas that require extra attention, ensuring that the surface is free from any contaminants that could hinder the staining process.
Read more: How To Insulate A Brick House
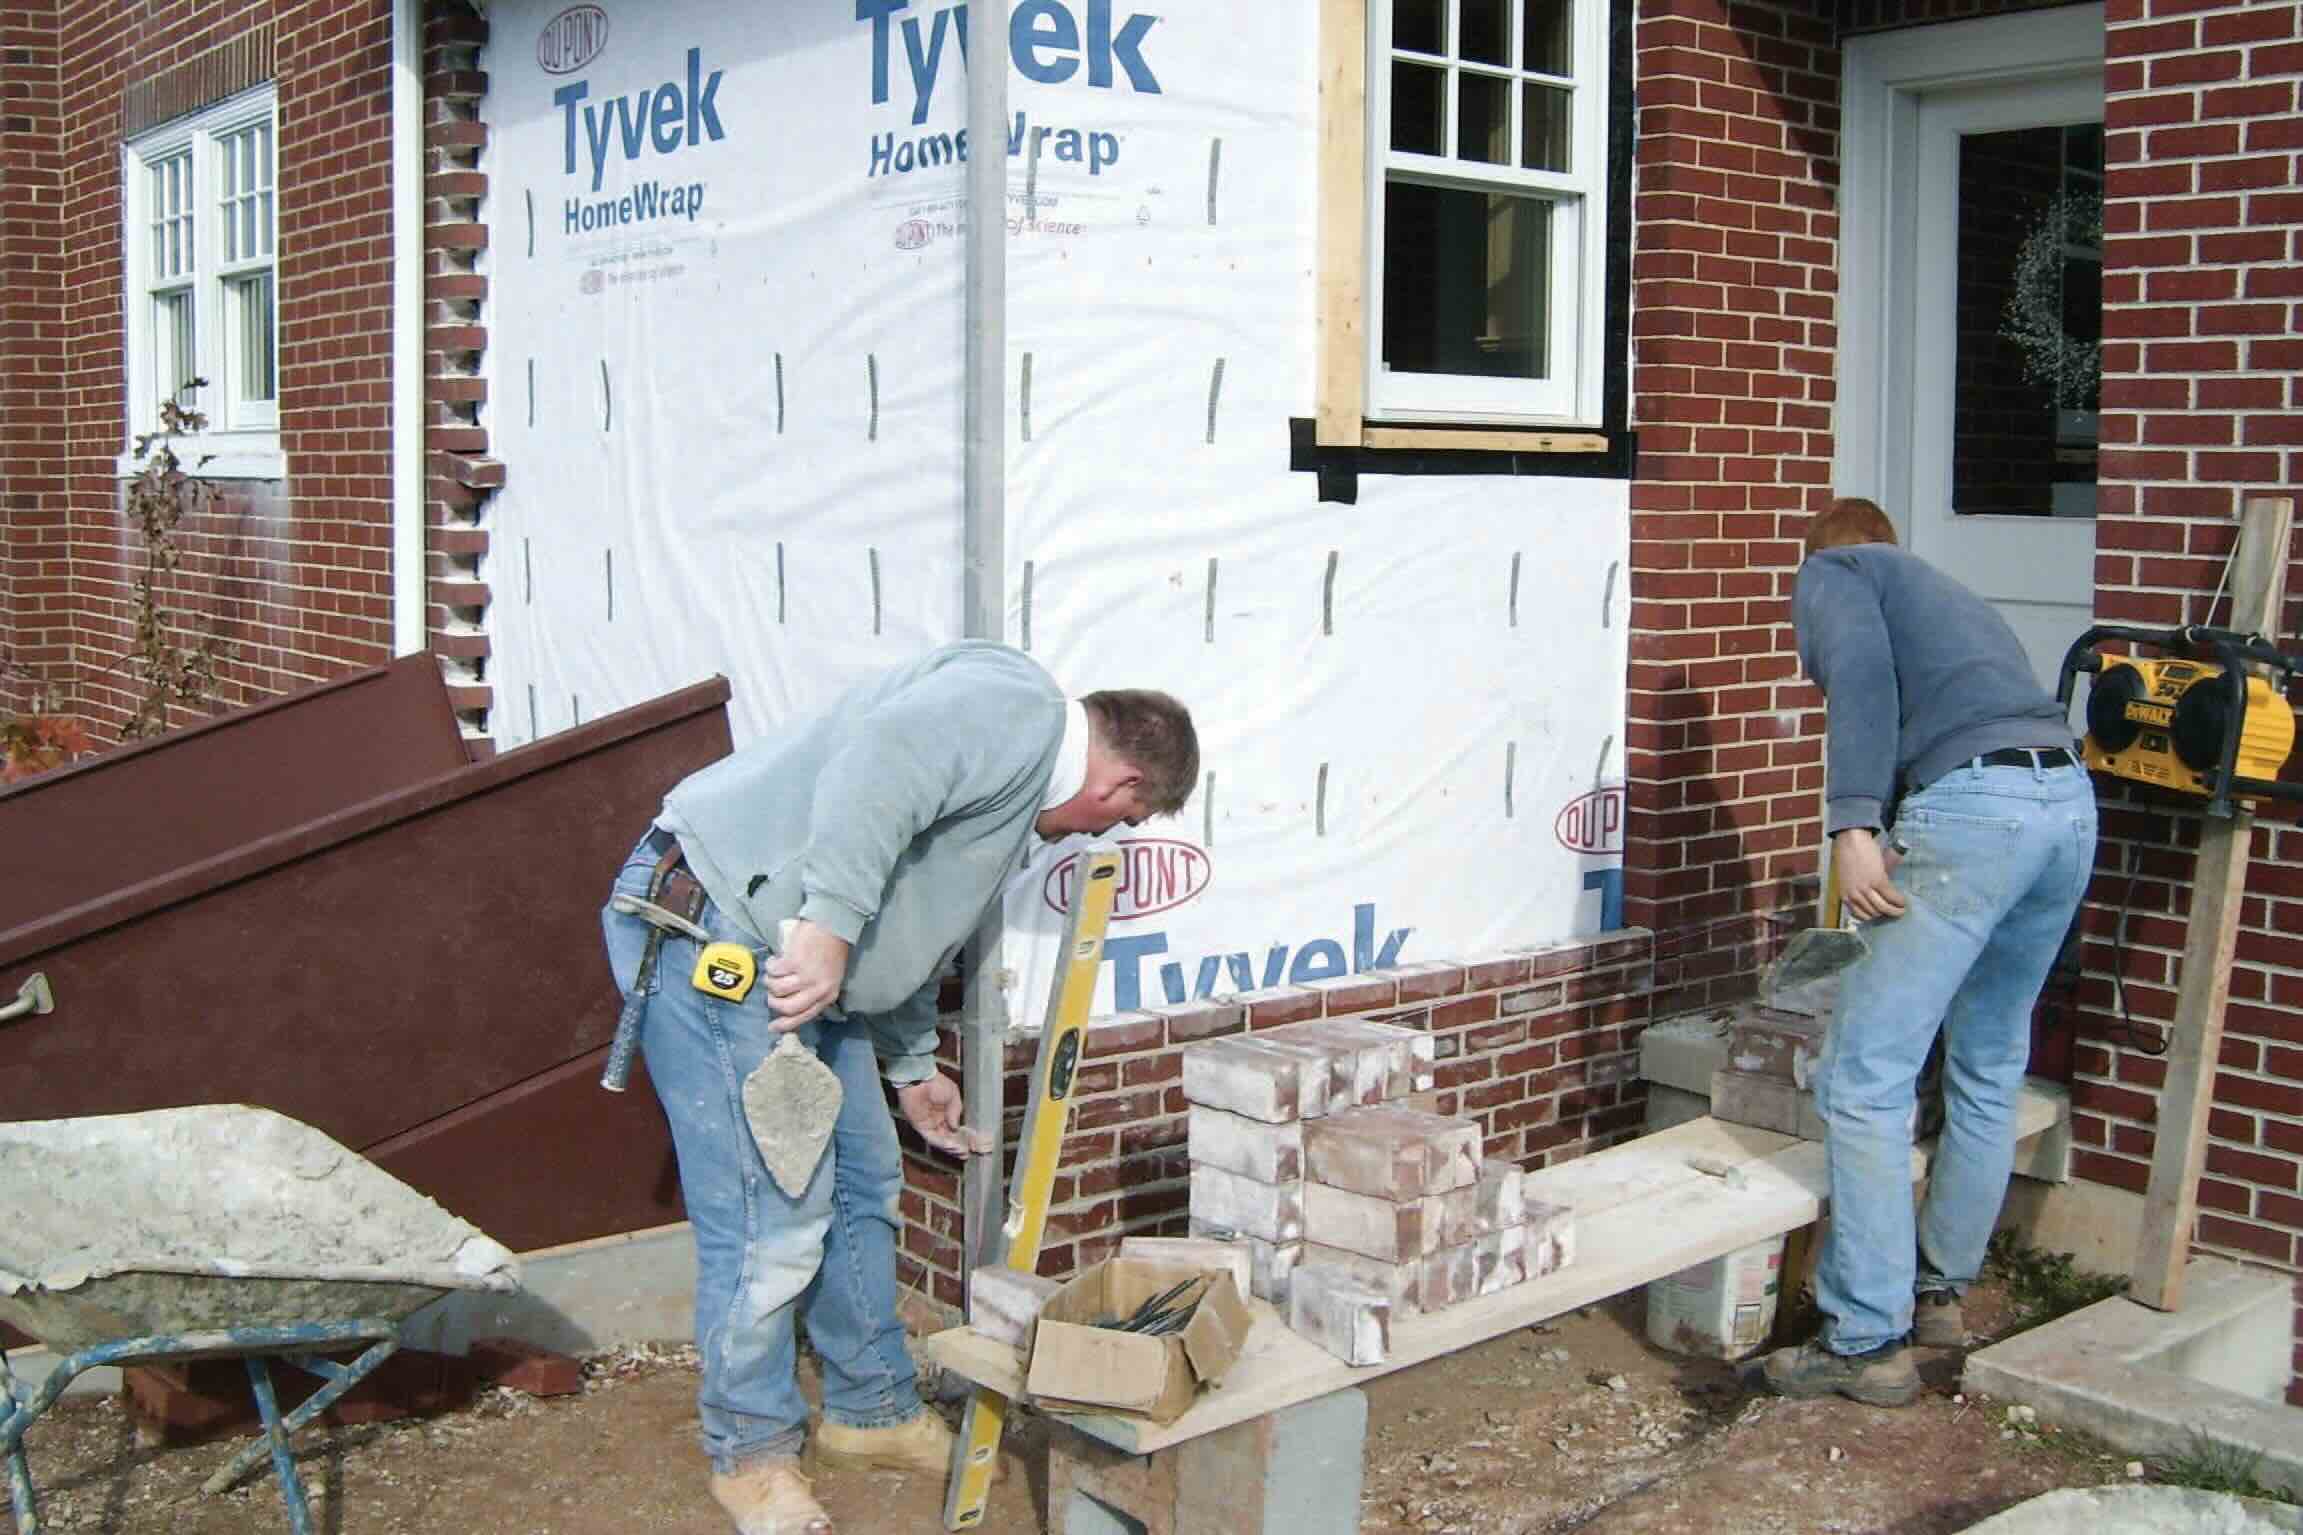
Repair Any Damage
Inspect the brickwork for any signs of damage, such as cracks, chips, or mortar deterioration. Addressing these issues before staining is crucial to maintaining the structural integrity of the bricks and achieving a uniform finish. Cracked or damaged bricks should be replaced, and any mortar joints in need of repair should be carefully repointed to ensure a smooth and even surface for the application of the stain.
Allow Sufficient Drying Time
After cleaning the brick surface and making necessary repairs, it's essential to allow ample time for the bricks to dry completely. Moisture trapped within the bricks or mortar can interfere with the adhesion of the stain, leading to an uneven or blotchy finish. Depending on the climate and weather conditions, this drying period may vary, so it's important to exercise patience and ensure that the surface is thoroughly dry before proceeding with the staining process.
Protect Surrounding Areas
To prevent unintended staining of adjacent surfaces, such as windows, doors, or landscaping features, it's advisable to protect these areas by covering them with plastic sheeting or masking tape. This precautionary measure helps to contain the staining process within the targeted areas, minimizing the risk of accidental staining and simplifying the cleanup process.
By meticulously cleaning the surface, addressing any damage, allowing for thorough drying, and protecting surrounding areas, you can effectively prepare the brick surface for staining. This diligent approach lays the groundwork for a successful staining process, ensuring that the final result is visually striking and enduring.
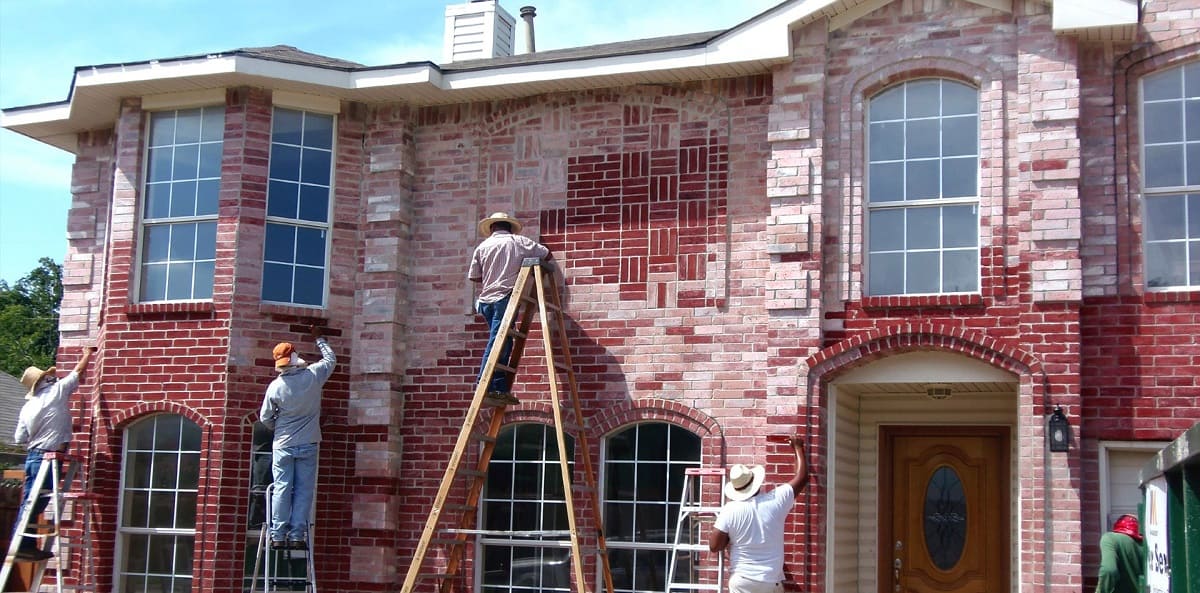
Applying the Stain
Once the brick surface is meticulously prepared, the application of the chosen stain marks a pivotal stage in the transformation of your brick house. This step requires precision, patience, and attention to detail to achieve a consistent and visually appealing finish. Here's a comprehensive guide to the process of applying the stain to your brick house:
Gather the Necessary Tools and Equipment
Before commencing the staining process, ensure that you have all the essential tools and equipment at hand. This typically includes a high-quality paint sprayer, brushes for detail work, a roller for larger surface areas, and protective gear such as gloves and goggles. Additionally, having ample staining material on hand is crucial to avoid interruptions during the application.
Test the Application Technique
Prior to applying the stain to the entire surface, it's advisable to conduct a test application on a small section of the brickwork. This allows you to familiarize yourself with the application technique, assess the coverage and absorption of the stain, and make any necessary adjustments before proceeding with the full application. Testing the technique also provides an opportunity to confirm that the chosen stain aligns with your aesthetic vision for the brick house.
Begin the Application Process
Start the application process by applying the stain to the brick surface using the selected method, whether it's a paint sprayer, brush, or roller. Work methodically, ensuring even coverage and paying close attention to any intricate details or recessed areas. It's important to maintain a consistent application technique to achieve a uniform finish across the entire surface.
Allow for Proper Drying Time
After applying the initial coat of stain, allow sufficient time for it to dry according to the manufacturer's recommendations. This drying period is crucial to assess the color intensity and determine if additional coats are required to achieve the desired finish. Depending on the type of stain and environmental conditions, multiple coats may be necessary to achieve the optimal result.
Read more: How To Repaint A Brick House
Evaluate and Refine
Once the initial coat has dried, evaluate the appearance of the stained brick surface. Assess the color, texture, and overall effect of the stain, making any refinements or adjustments as needed. This may involve applying additional coats to intensify the color or address any areas that require touch-ups to achieve a seamless and professional finish.
Seal the Stained Surface
To enhance the longevity and durability of the stained brick surface, consider applying a clear sealant or topcoat specifically designed for masonry. This protective layer helps safeguard the stain against environmental elements and further enhances the visual impact of the stained finish.
By following these meticulous steps and exercising care throughout the application process, you can achieve a beautifully stained brick house that reflects your aesthetic preferences and elevates the overall appeal of your home's exterior.
Maintaining the Stained Brick House
Maintaining the stained brick house is essential to preserve its visual allure and protect the integrity of the stained finish. By implementing regular maintenance practices, you can ensure that your stained brick house retains its vibrancy and appeal for years to come. Here's a detailed overview of the key maintenance steps to uphold the beauty and longevity of your stained brick exterior:
Regular Cleaning
Regularly cleaning the stained brick surface is fundamental to prevent the buildup of dirt, grime, and environmental pollutants. A gentle wash with a mild detergent and water, accompanied by a soft-bristled brush or sponge, can effectively remove surface debris and maintain the luster of the stained finish. Additionally, periodic cleaning helps prevent the accumulation of mold or mildew, preserving the pristine appearance of the stained brick house.
Read more: How Is A Brick House Built
Inspection and Repairs
Periodically inspect the stained brick surface for any signs of wear, damage, or discoloration. Addressing minor issues promptly, such as cracks, chips, or fading, can prevent them from escalating into more significant concerns. Conducting routine inspections allows you to identify and rectify any imperfections, ensuring that the stained brick house remains in optimal condition and retains its visual impact.
Reapplication of Sealant
Over time, the protective sealant applied to the stained brick surface may diminish due to exposure to the elements. Periodically reapplying a clear sealant or topcoat designed for masonry can bolster the resilience of the stained finish, providing an additional layer of protection against moisture, UV rays, and other environmental factors. This proactive measure helps sustain the vibrancy and longevity of the stained brick house, safeguarding it against premature deterioration.
Addressing Stains and Blemishes
In the event of accidental stains or blemishes on the stained brick surface, it's important to address them promptly using appropriate cleaning methods or stain-removal products. Whether it's a spill, graffiti, or other forms of discoloration, swift action can prevent permanent damage and preserve the pristine appearance of the stained finish. By promptly attending to any stains or blemishes, you can uphold the visual appeal of your stained brick house.
Professional Maintenance
Engaging professional masonry and staining experts for periodic maintenance and inspections can provide valuable insights and expertise in preserving the integrity of the stained brick house. Professional maintenance services may include deep cleaning, resealing, and targeted repairs, ensuring that the stained finish remains resilient and visually captivating. Leveraging the expertise of professionals can contribute to the long-term preservation of your stained brick exterior.
By adhering to these comprehensive maintenance practices, you can uphold the beauty and durability of your stained brick house, allowing it to stand as a timeless and captivating feature of your home's exterior. Regular care and attention to the stained finish will ensure that it continues to make a striking impression and remains a source of pride for years to come.
Frequently Asked Questions about How To Stain Your Brick House
Was this page helpful?
At Storables.com, we guarantee accurate and reliable information. Our content, validated by Expert Board Contributors, is crafted following stringent Editorial Policies. We're committed to providing you with well-researched, expert-backed insights for all your informational needs.


0 thoughts on “How To Stain Your Brick House”