Home>Construction & Tools>Building Materials>How To Install House Numbers On Stucco
Building Materials
How To Install House Numbers On Stucco
Modified: October 22, 2024
Learn how to easily install house numbers on stucco using common building materials. Follow our step-by-step guide for a quick and professional-looking installation.
(Many of the links in this article redirect to a specific reviewed product. Your purchase of these products through affiliate links helps to generate commission for Storables.com, at no extra cost. Learn more)
Introduction
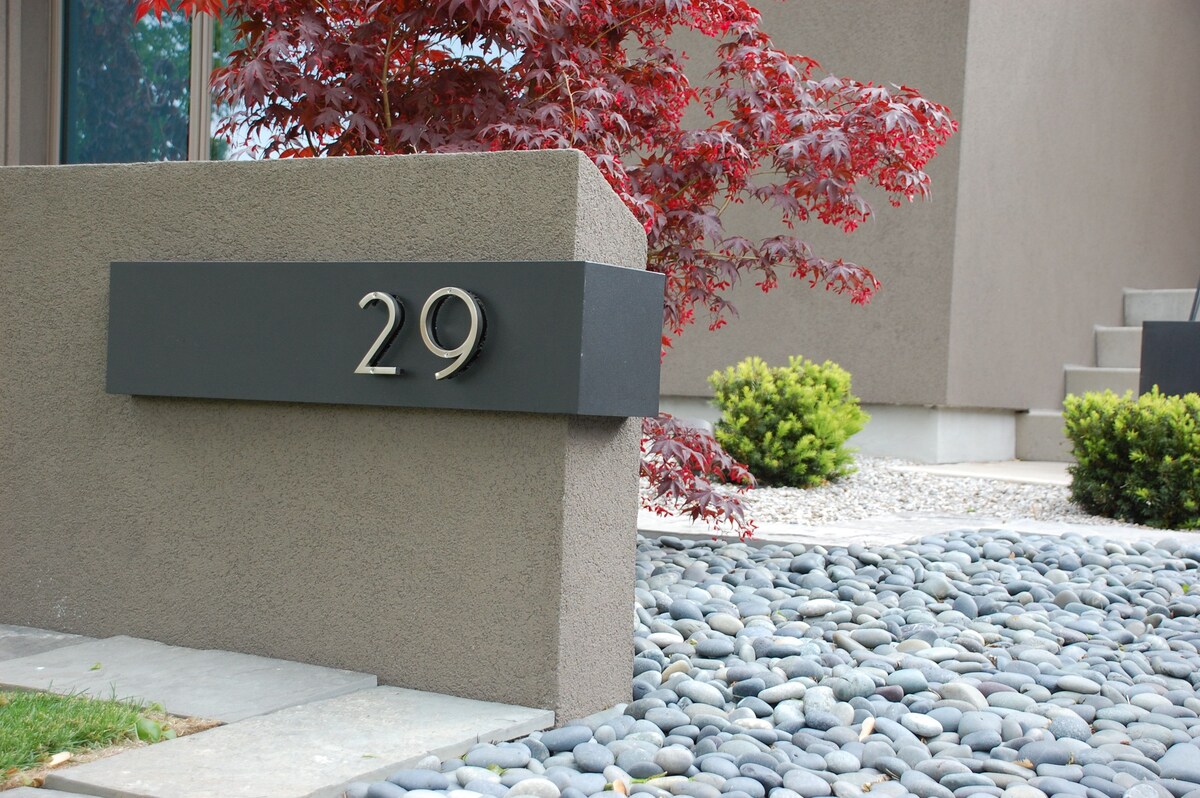
Welcome to the world of home improvement, where even the smallest details can make a significant impact. When it comes to adding a touch of personalization and style to your home's exterior, installing house numbers on stucco can make a striking difference. Whether you're enhancing curb appeal for your own enjoyment or preparing your home for sale, properly installed house numbers can elevate the overall aesthetic and functionality of your property.
In this comprehensive guide, we will walk you through the process of installing house numbers on stucco. From preparing the stucco surface to choosing the right house numbers and executing the installation with precision, each step plays a crucial role in achieving a professional and visually appealing result. Armed with the right tools, materials, and know-how, you can embark on this DIY project with confidence and transform your home's exterior in no time.
So, roll up your sleeves, gather your supplies, and let's dive into the world of stucco and house numbers. Whether you're a seasoned DIY enthusiast or a first-time home improver, this guide will equip you with the knowledge and skills needed to complete the task with finesse. Let's get started!
Key Takeaways:
- Personalize your home’s exterior by installing house numbers on stucco. Follow the steps to choose, mark, and attach the numbers for a professional and visually appealing result.
- Careful preparation, precise installation, and quality tools are key to successfully installing house numbers on stucco. Enjoy the personalized touch they bring to your home’s exterior.
Read more: What Is A Stucco House
Tools and Materials Needed
Before diving into the installation process, it’s essential to gather the necessary tools and materials to ensure a smooth and efficient experience. Here’s a comprehensive list of what you’ll need:
Tools:
- Power drill with masonry bit
- Masking tape
- Level
- Pencil or marker
- Tape measure
- Screwdriver
- Hammer drill (if dealing with extremely hard stucco)
Materials:
- House numbers
- Plastic anchors
- Masonry screws
- Isopropyl alcohol (for cleaning the stucco surface)
- Silicone adhesive or construction adhesive
- Optional: Stucco patch (for repairing any damaged areas)
By ensuring that you have all the required tools and materials on hand, you can streamline the installation process and minimize the likelihood of interruptions or delays. With your toolkit assembled, you’re ready to move on to the next steps of preparing the stucco surface and selecting the ideal house numbers for your home.
Preparing the Stucco Surface
Before you begin the installation process, it’s crucial to prepare the stucco surface to ensure a secure and long-lasting attachment for your house numbers. Follow these steps to get the surface ready:
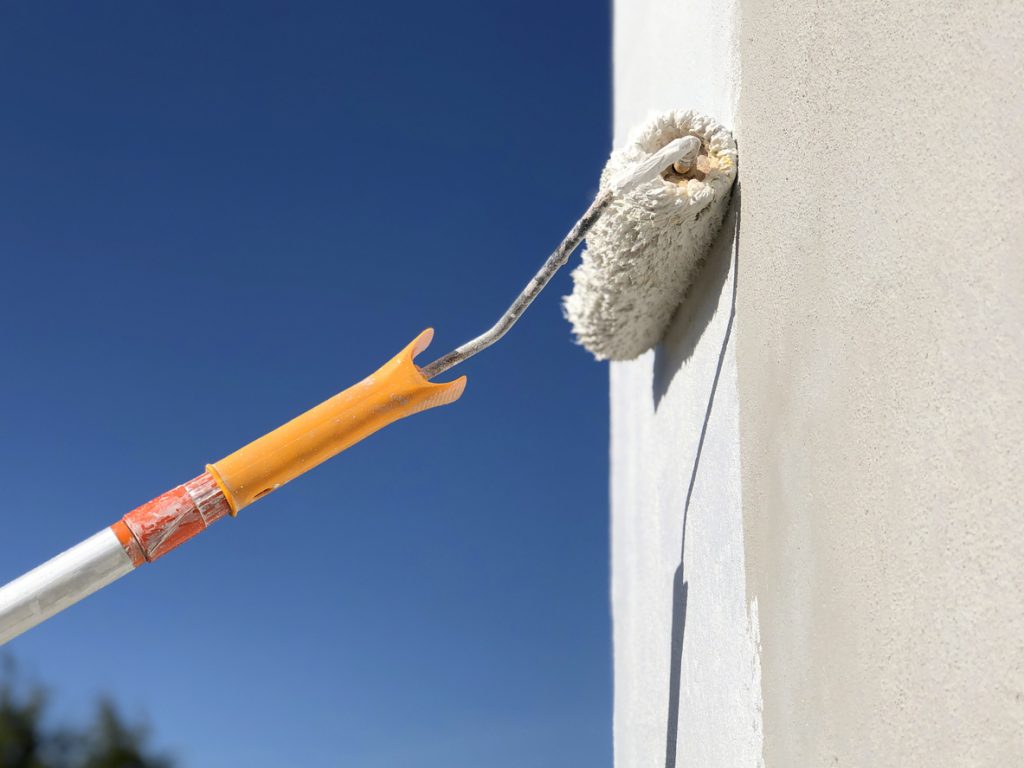
1. Clean the Surface: Start by cleaning the area where the house numbers will be installed. Use a cloth or sponge dampened with isopropyl alcohol to remove any dirt, dust, or debris from the stucco. This step is essential for promoting strong adhesion and ensuring that the house numbers remain firmly in place over time.
2. Assess the Condition: Take a close look at the stucco surface to check for any cracks, chips, or areas of damage. If you notice any issues, consider using stucco patch to repair these areas before proceeding with the installation. A smooth and even surface will contribute to a more professional and polished end result.
3. Mark the Placement: Using a pencil or marker, mark the desired placement of the house numbers on the stucco. Take your time to ensure that the positioning is level and visually appealing. You can use a level to guarantee that the markings are perfectly aligned.
By taking the time to prepare the stucco surface, you’re laying the foundation for a successful installation. Clean, well-maintained stucco will provide the ideal canvas for showcasing your chosen house numbers and elevating the overall look of your home’s exterior.
Read more: How To Install A Stucco Fireplace
Choosing the Right House Numbers
When it comes to selecting house numbers for your home’s exterior, the options are vast and varied. The chosen numbers should not only complement the architectural style of your home but also be clearly visible and aesthetically pleasing. Here are some key considerations to keep in mind when choosing the right house numbers:
1. Size and Visibility: Consider the distance from the street to your home and ensure that the size of the house numbers allows for optimal visibility. Larger numbers may be necessary for properties set back from the road or in areas with low lighting.
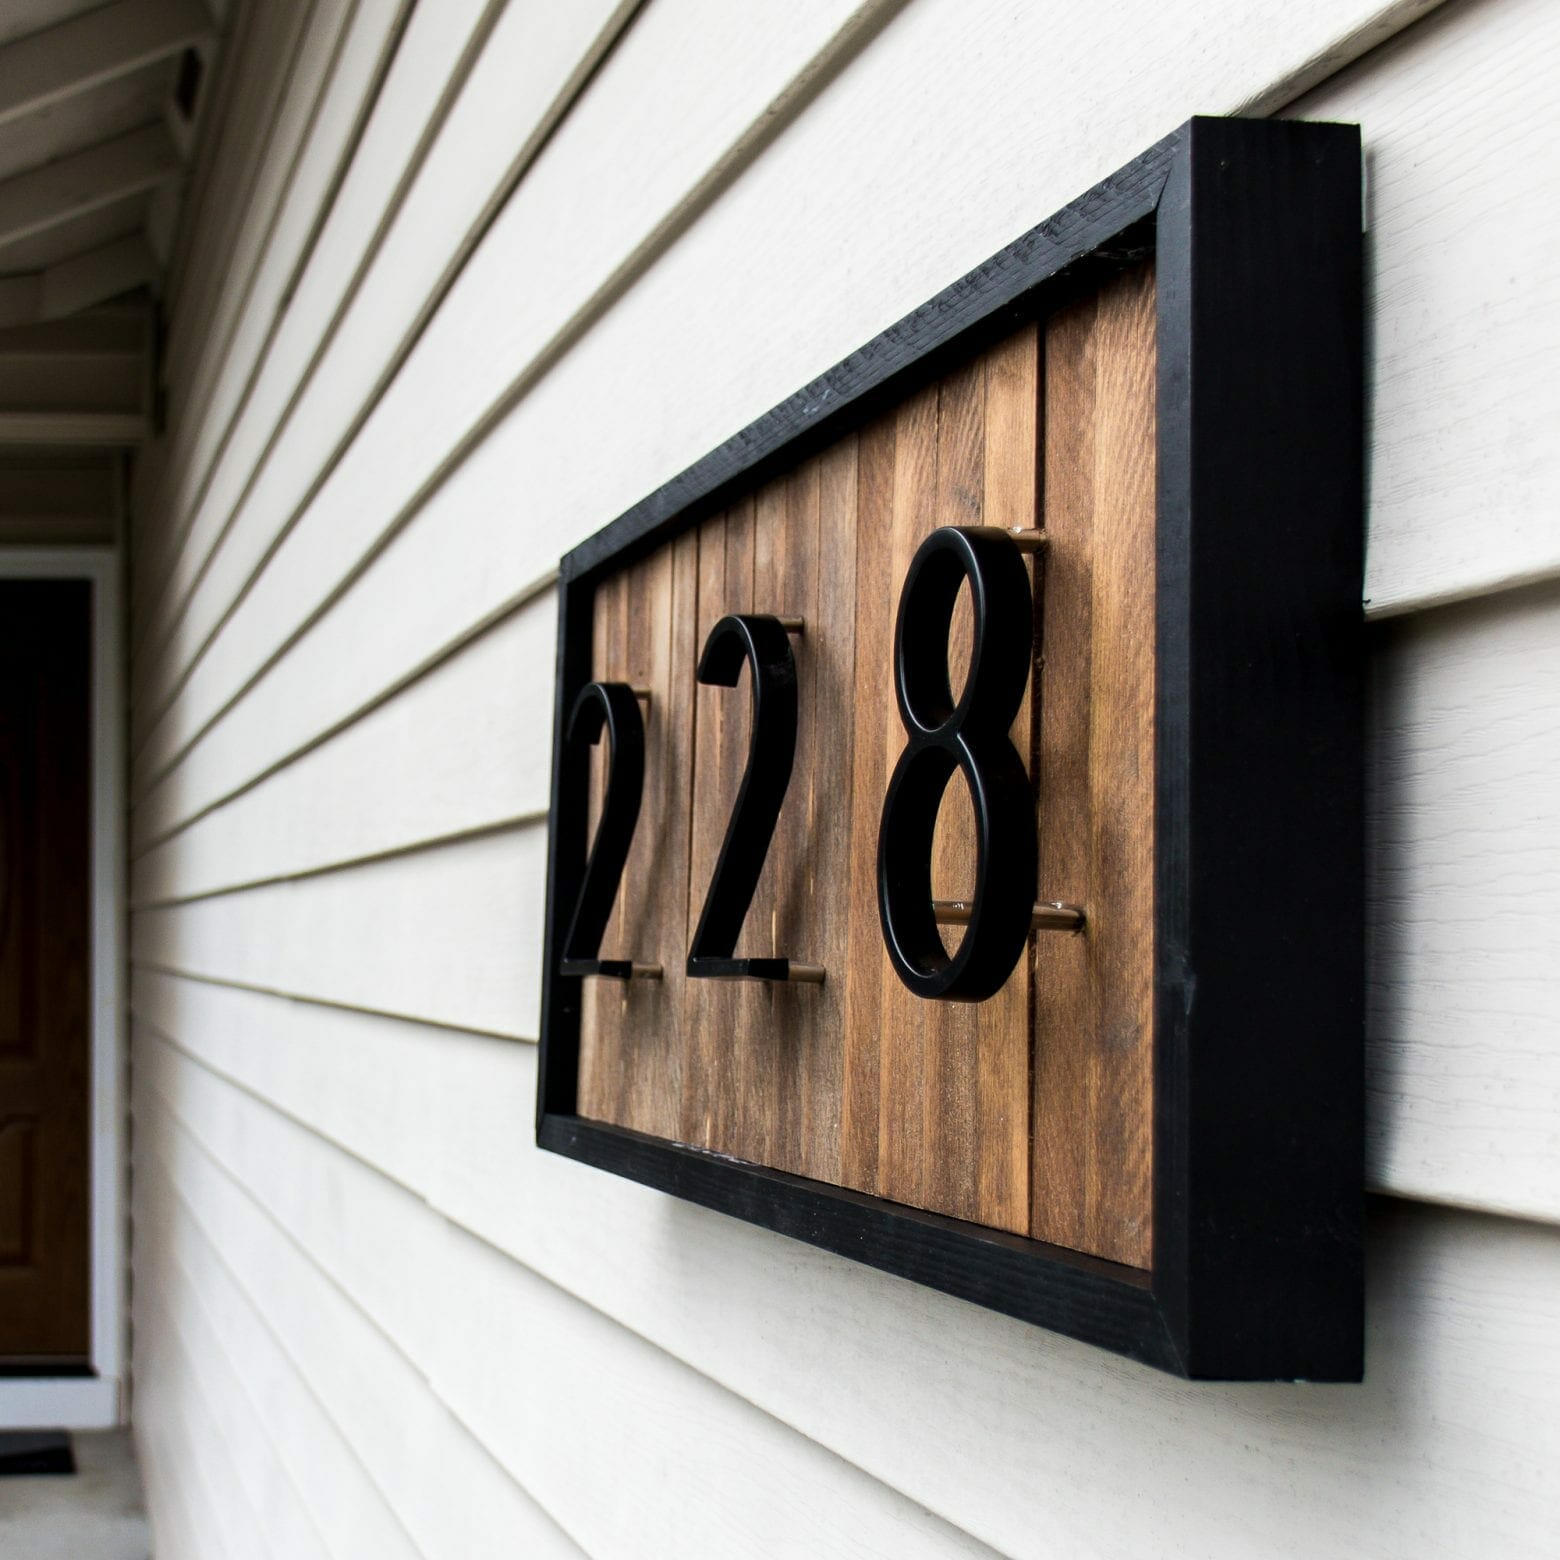
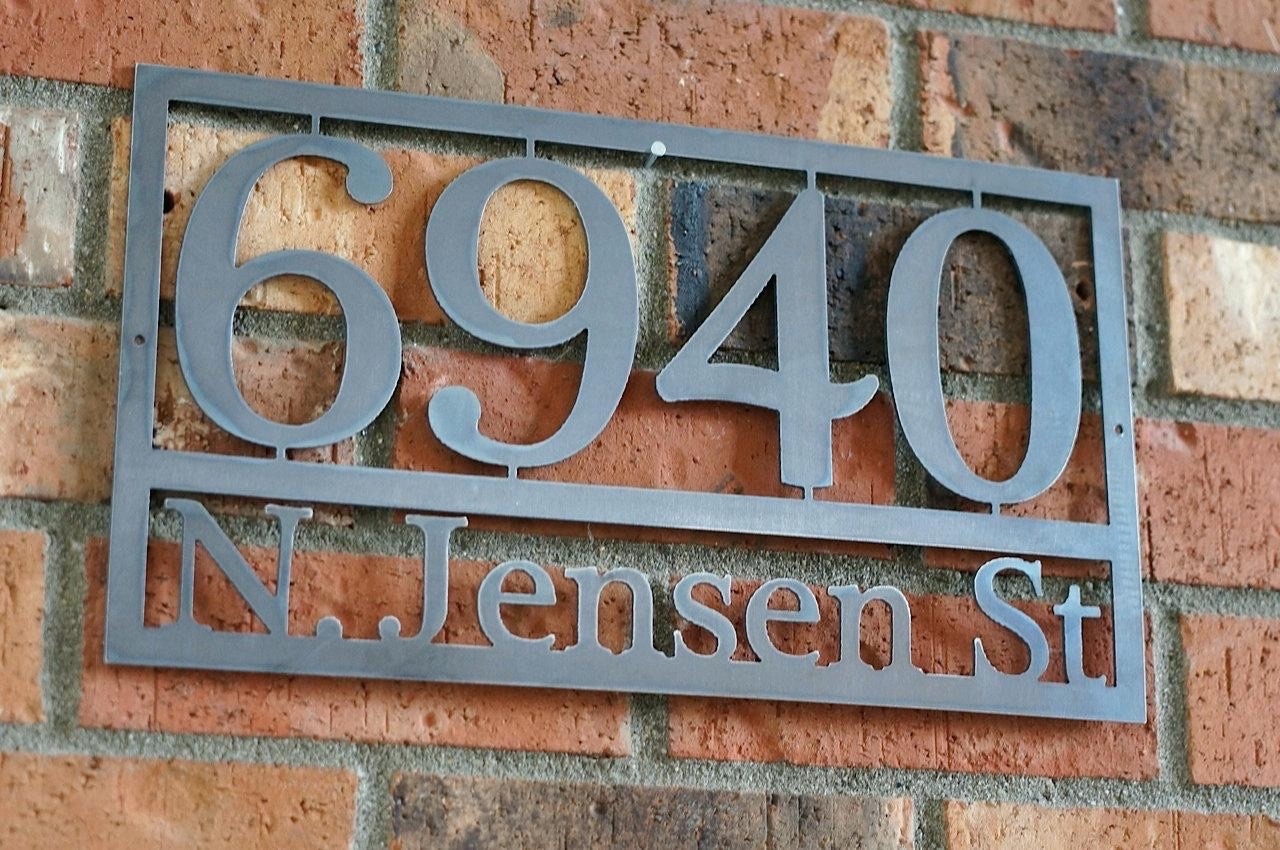
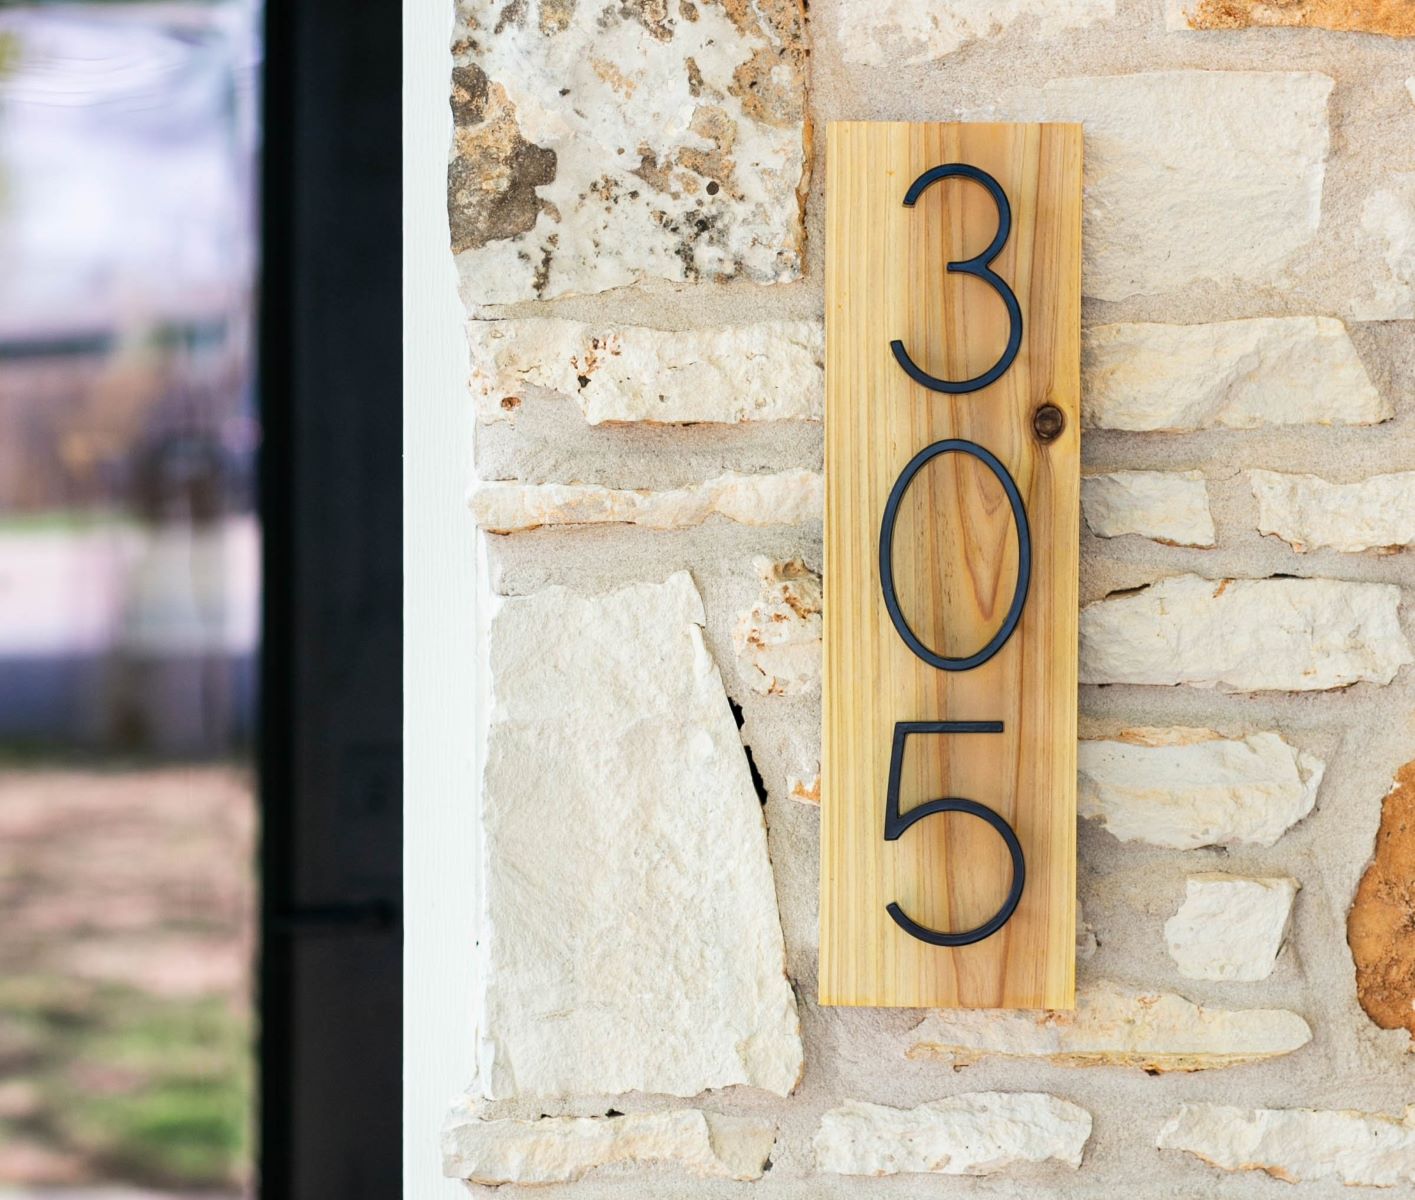
2. Material and Style: House numbers are available in a range of materials, including metal, wood, plastic, and more. Select a material that aligns with the overall aesthetic of your home’s exterior. Additionally, consider the style of the numbers – whether you prefer a modern, traditional, or decorative look.
3. Contrast and Legibility: Choose house numbers that contrast with the color of your stucco to ensure clear legibility. For example, dark numbers may stand out against light-colored stucco, while light numbers may pop against darker stucco.
4. Coherence with Architectural Style: Take into account the architectural style of your home. Whether it’s contemporary, craftsman, colonial, or another style, opt for house numbers that complement and enhance the overall design aesthetic.
By carefully considering these factors, you can select house numbers that not only serve their practical purpose but also contribute to the visual harmony and appeal of your home’s exterior. Once you’ve chosen the perfect house numbers, you’re ready to move on to marking their position on the stucco surface.
Marking the Position of the House Numbers
With the stucco surface prepared and the house numbers selected, it’s time to mark their precise position for installation. Follow these steps to ensure accurate placement:
1. Arrange the Numbers: Lay out the house numbers on the stucco surface, positioning them according to your desired layout. This step allows you to visualize the final placement and make any necessary adjustments before marking the surface.
2. Use Masking Tape: Once you’re satisfied with the arrangement, use small pieces of masking tape to secure the numbers in place. This will prevent them from shifting as you mark their position, ensuring that the final installation remains aligned and symmetrical.
3. Mark the Drill Holes: Using a pencil or marker, carefully mark the locations where the drill holes will be made to attach the house numbers. If you’re installing multiple numbers, ensure that they are evenly spaced and aligned. A level can be used to guarantee that the markings are straight and level.
By taking the time to mark the position of the house numbers with precision, you’ll set the stage for a seamless installation process. Accurate markings will guide the drilling of holes and the subsequent attachment of the numbers, resulting in a professional and visually appealing outcome.
Before installing house numbers on stucco, make sure to clean the surface thoroughly to remove any dirt or debris. Use a masonry drill bit to create pilot holes, then use plastic anchors and screws to secure the numbers in place.
Drilling Holes for the House Numbers
With the positions of the house numbers marked on the stucco surface, the next step involves drilling holes to facilitate their secure attachment. Follow these guidelines to ensure accurate and effective hole drilling:
1. Select the Appropriate Drill Bit: Choose a masonry drill bit that matches the size of the plastic anchors or masonry screws you’ll be using to attach the house numbers. The diameter of the drill bit should accommodate the hardware snugly for a secure fit.
2. Wear Protective Gear: Prior to drilling, don safety glasses and, if necessary, a dust mask to protect your eyes and respiratory system from debris generated during the drilling process.
3. Drill with Care: Position the drill bit at the marked locations on the stucco surface and proceed to drill the holes. Apply steady, even pressure as you drill to prevent the stucco from chipping or cracking. If your stucco is exceptionally hard, you may need to use a hammer drill for added power.
4. Clean the Drill Holes: Once the holes are drilled, remove any dust or debris from the openings. A quick blast of compressed air or a gentle tap can help clear out the drilled holes, ensuring a clean and unobstructed space for the installation of the house numbers.
By following these steps, you’ll be well-equipped to drill precise and clean holes in the stucco, setting the stage for the secure attachment of your chosen house numbers. With the holes in place, you’re ready to move on to the final step – attaching the house numbers to the stucco surface.
Attaching the House Numbers
With the holes drilled and the stucco surface prepared, it’s time to secure the house numbers in place. Follow these steps to ensure a secure and visually appealing attachment:
1. Insert Plastic Anchors: If using plastic anchors, gently tap them into the drilled holes until they are flush with the stucco surface. These anchors will provide a stable base for securing the house numbers.
2. Apply Construction Adhesive: For added stability, apply a small amount of construction adhesive or silicone adhesive to the back of each house number. This will help create a strong bond between the numbers and the stucco surface, enhancing their durability and resistance to shifting or loosening over time.
3. Align and Attach the Numbers: Carefully position each house number over the corresponding drilled holes, ensuring that they are level and aligned according to your markings. Press firmly to adhere the numbers to the stucco surface, allowing the adhesive to create a secure bond.
4. Secure with Screws: If using masonry screws, insert them through the pre-drilled holes in the house numbers and tighten them into the plastic anchors. Use a screwdriver to ensure a snug fit without over-tightening, which could potentially damage the stucco or the numbers themselves.
5. Clean Excess Adhesive: Wipe away any excess adhesive that may have seeped out from behind the house numbers during the attachment process. A damp cloth or cotton swab can be used to gently remove any visible adhesive, leaving behind a clean and polished installation.
By following these steps, you can confidently attach the house numbers to the stucco surface, creating a polished and professional look that enhances the overall appeal of your home’s exterior. With the installation complete, step back and admire the personalized touch that the house numbers bring to your property.
Read more: How To Attach House Numbers To Brick
Conclusion
Congratulations! By following this comprehensive guide, you’ve successfully navigated the process of installing house numbers on stucco, transforming your home’s exterior with a personalized and visually appealing touch. From preparing the stucco surface to selecting the perfect house numbers and executing a precise installation, each step has contributed to the enhancement of your property’s curb appeal.
As you stand back and admire the finished result, take pride in the fact that you’ve not only added a practical element to your home but also infused it with a touch of individuality and style. The house numbers now serve as a welcoming beacon, guiding visitors and adding a distinctive charm to your property.
Remember, the key to a successful installation lies in careful preparation, attention to detail, and the use of quality tools and materials. By approaching the project with patience and precision, you’ve achieved a professional and visually striking outcome that reflects your dedication to maintaining and enhancing your home.
Whether you’ve tackled this project as part of a larger home improvement endeavor or as a standalone enhancement, the impact of well-installed house numbers on stucco should not be underestimated. Your property now stands out with a touch of character and sophistication, setting it apart in the neighborhood.
As you enjoy the fruits of your labor, take a moment to appreciate the newfound visual appeal and functionality that the house numbers bring to your home. With this project successfully completed, you’re now equipped with the knowledge and skills to take on future home improvement tasks with confidence and flair.
So, revel in the transformation, share your newfound expertise with others, and continue to infuse your living space with personal touches that reflect your unique style and attention to detail. Your home’s exterior now exudes a sense of pride and individuality, thanks to the carefully installed house numbers that serve as a testament to your dedication to creating a welcoming and visually captivating environment.
Frequently Asked Questions about How To Install House Numbers On Stucco
Was this page helpful?
At Storables.com, we guarantee accurate and reliable information. Our content, validated by Expert Board Contributors, is crafted following stringent Editorial Policies. We're committed to providing you with well-researched, expert-backed insights for all your informational needs.


0 thoughts on “How To Install House Numbers On Stucco”