Home>Construction & Tools>Building Materials>How To Install Stone Veneer Over Stucco
Building Materials
How To Install Stone Veneer Over Stucco
Modified: August 28, 2024
Learn how to enhance your home's exterior by installing stone veneer over stucco. Explore the best building materials and step-by-step installation tips.
(Many of the links in this article redirect to a specific reviewed product. Your purchase of these products through affiliate links helps to generate commission for Storables.com, at no extra cost. Learn more)
Introduction
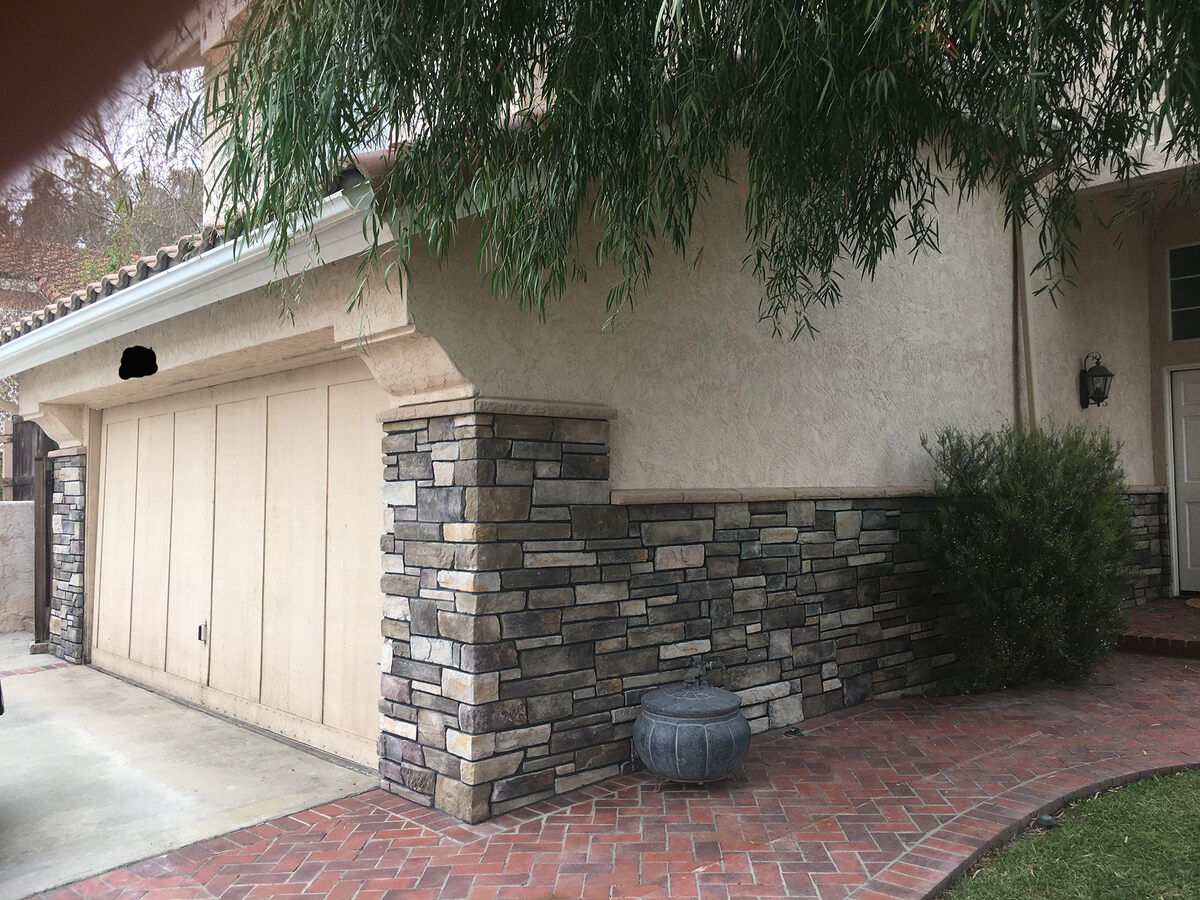
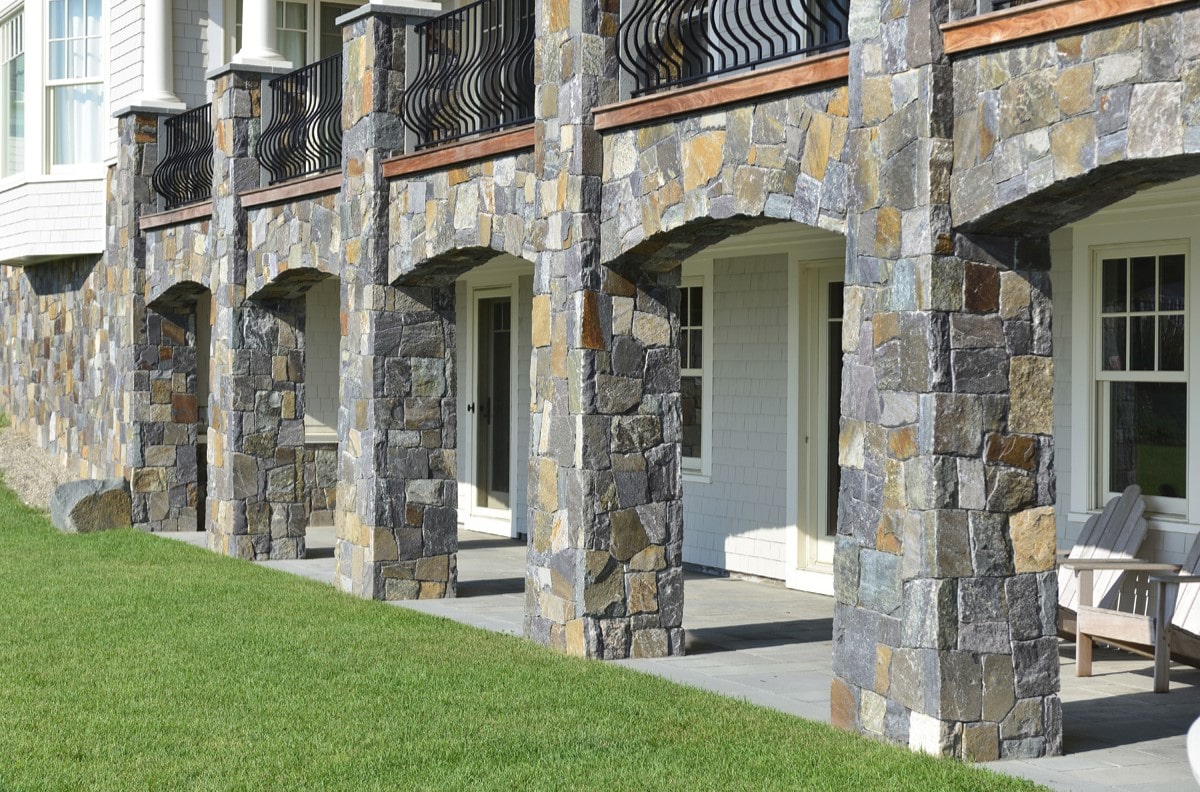
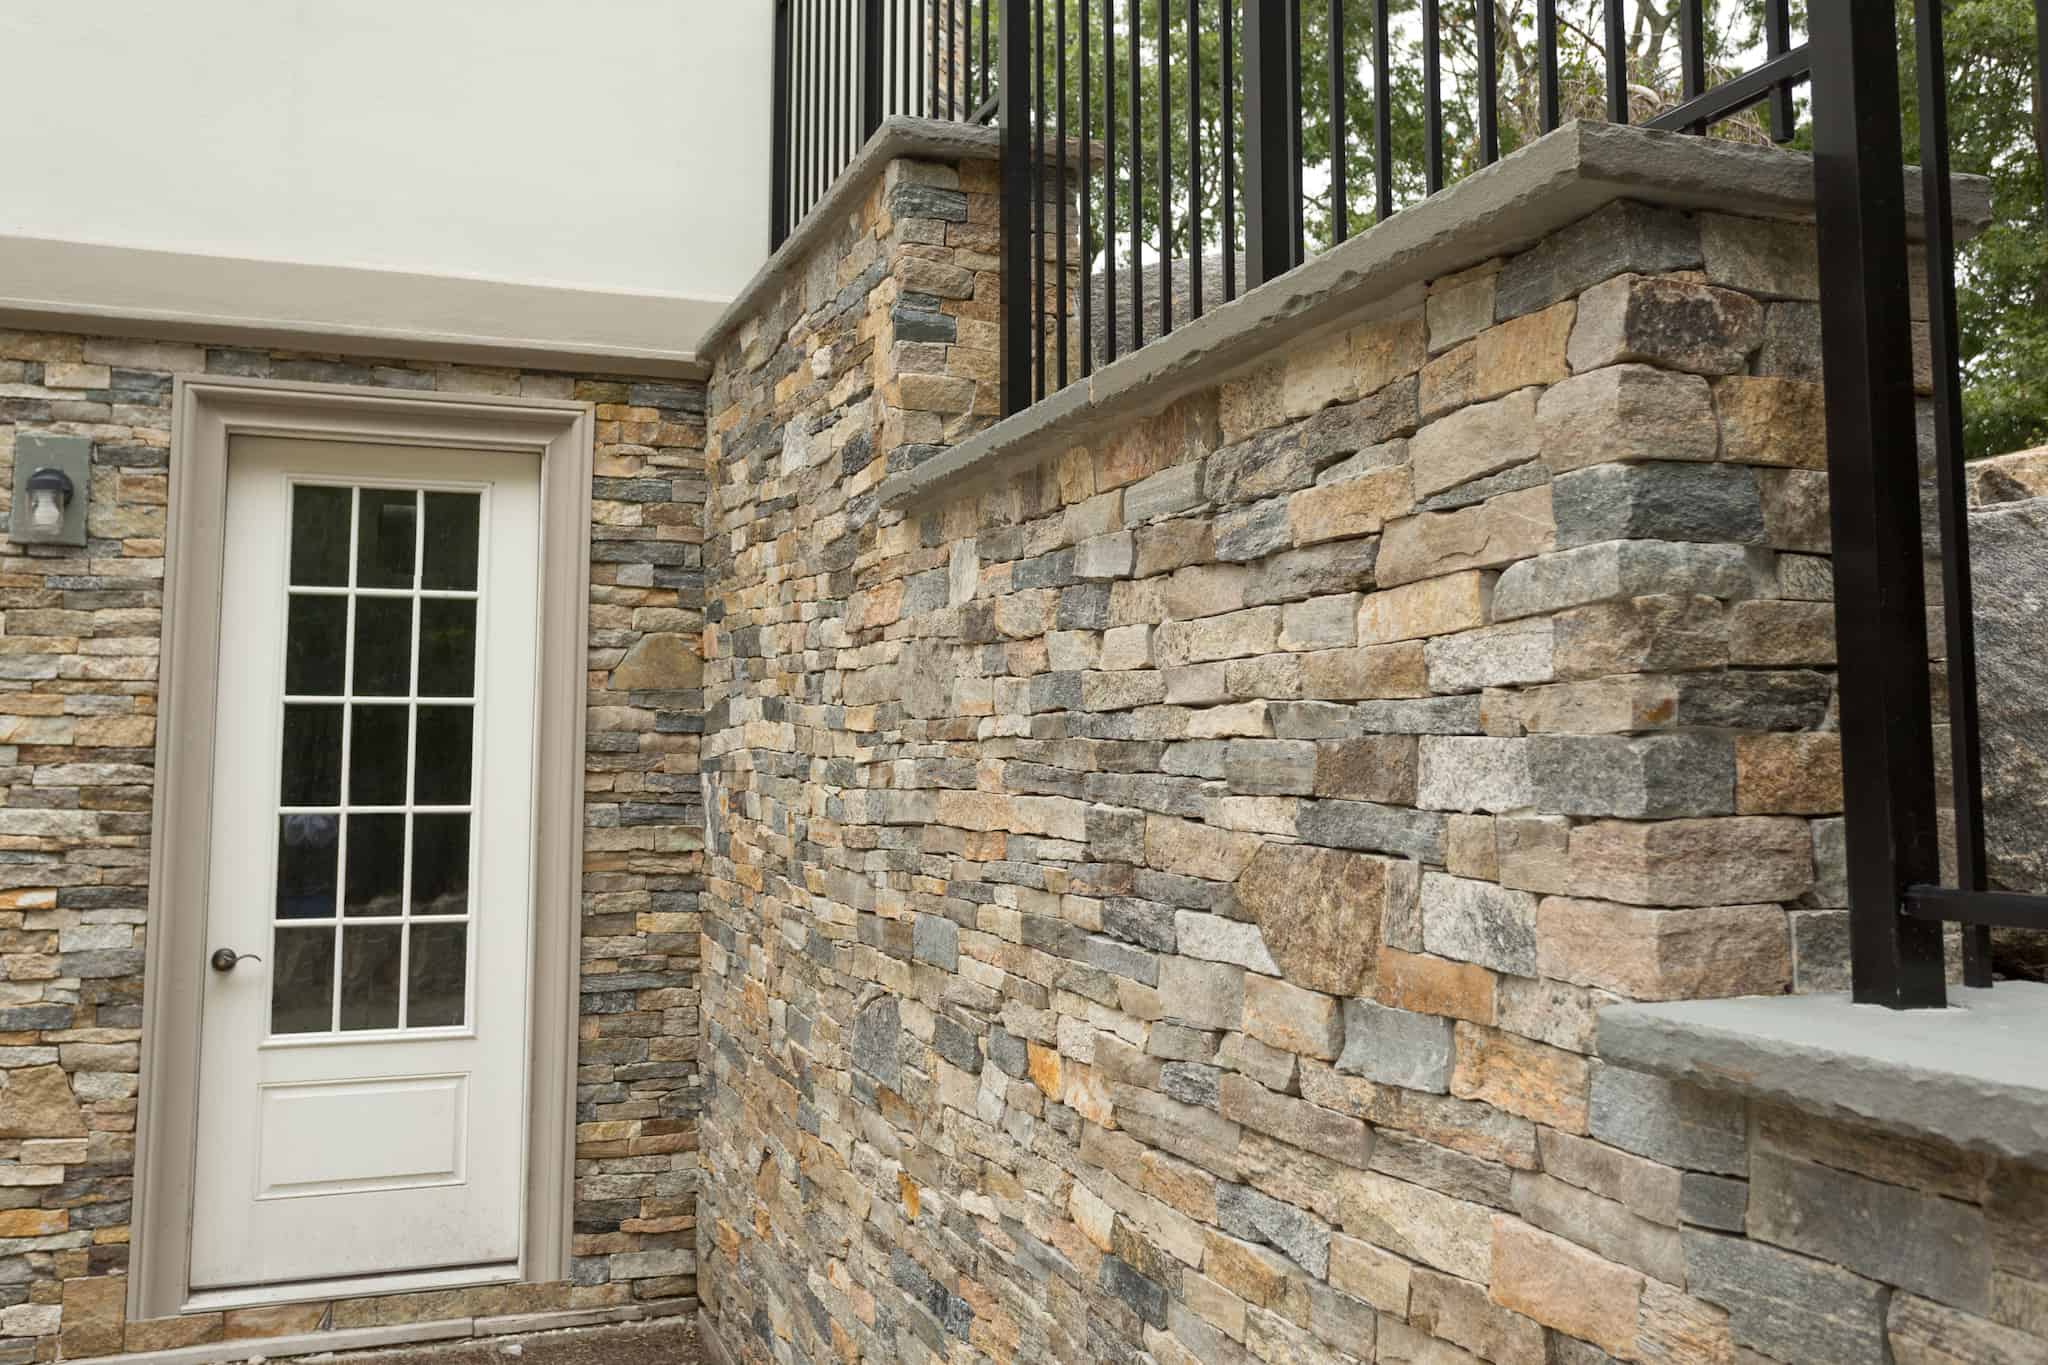
Welcome to the world of stone veneer installation! If you’re looking to enhance the aesthetic appeal of your home or business, installing stone veneer over stucco can be a game-changer. This process allows you to revamp the exterior of your property, adding a touch of elegance and timeless beauty. Whether you’re a seasoned DIY enthusiast or a first-time renovator, this comprehensive guide will walk you through the step-by-step process of installing stone veneer over stucco, ensuring that you achieve professional-looking results.
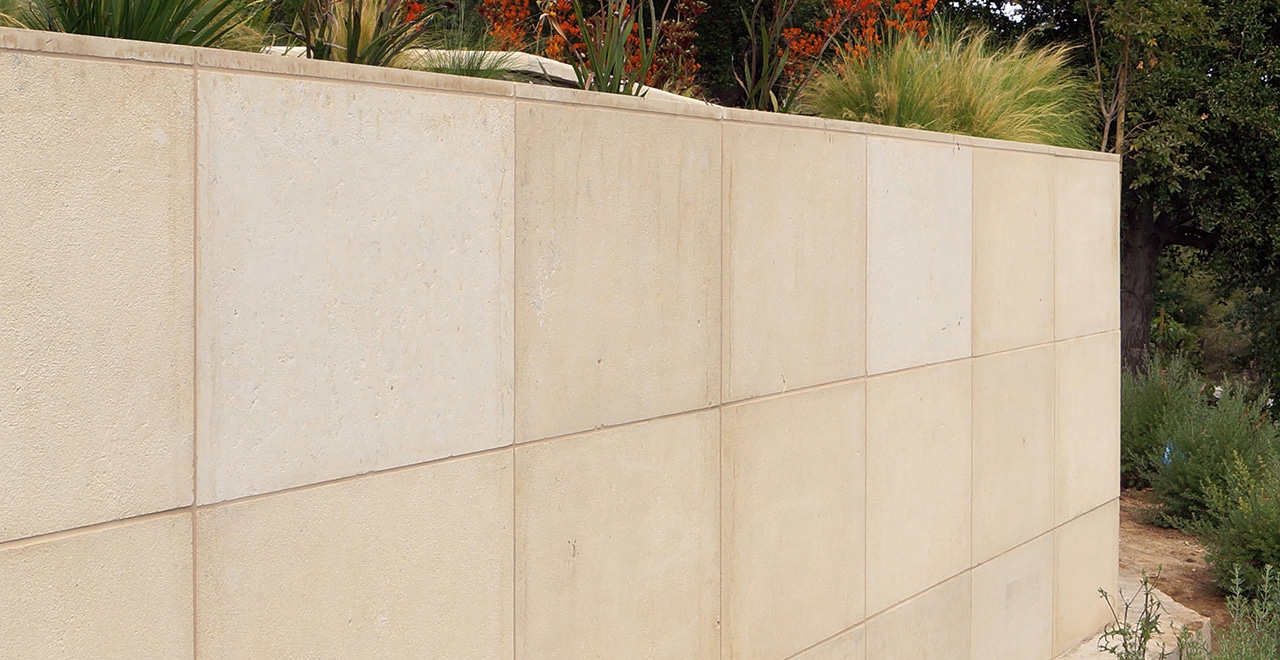
Before we dive into the nitty-gritty of the installation process, it’s essential to understand the basics of stone veneer and its compatibility with stucco surfaces. Stone veneer, a lightweight and cost-effective alternative to natural stone, offers the same captivating appearance without the hefty weight and complex installation requirements. Stucco, known for its durability and weather resistance, serves as an excellent substrate for applying stone veneer, creating a stunning and long-lasting exterior finish.
Throughout this guide, we’ll explore the necessary steps to prepare the stucco surface, apply the scratch coat, install the stone veneer, and add the finishing touches. By the end of this journey, you’ll be equipped with the knowledge and confidence to transform your property with the timeless allure of stone veneer. So, let’s roll up our sleeves and embark on this exciting home improvement endeavor!
Key Takeaways:
- Transform your property with timeless elegance by installing stone veneer over stucco. Follow meticulous steps to prepare, apply, and finish for a visually striking and enduring exterior finish.
- Embrace the beauty and resilience of stone veneer over stucco, showcasing your dedication and expertise in home improvement. Create captivating spaces that inspire and endure.
Preparing the Stucco Surface
Before diving into the installation process, it’s crucial to ensure that the stucco surface is properly prepared to facilitate the adhesion and longevity of the stone veneer. Here are the essential steps to prepare the stucco surface:
- Inspect the Stucco: Begin by thoroughly inspecting the stucco surface for any signs of damage, such as cracks, chips, or areas of deterioration. Addressing these issues before proceeding with the installation will prevent future complications and ensure a smooth application of the stone veneer.
- Clean the Surface: Use a high-pressure washer or a stiff-bristled brush to remove any dirt, debris, or efflorescence from the stucco surface. Efflorescence, a white, powdery residue caused by salt deposits, can hinder the adhesion of the stone veneer, so it’s crucial to eliminate it completely.
- Repair and Patch: For any identified imperfections or damage, utilize a high-quality stucco repair compound to fill in cracks, chips, or voids. Smooth out the repaired areas to ensure a uniform surface, promoting a seamless application of the stone veneer.
- Apply a Bonding Agent: To enhance the bond between the stucco surface and the stone veneer, apply a bonding agent or a recommended primer. This preparatory step is fundamental in ensuring the long-term adhesion and stability of the stone veneer.
- Allow for Drying Time: Once the surface preparation is complete, allow ample time for the stucco to dry thoroughly. Adequate drying time is essential to guarantee that the surface is ready to receive the subsequent layers of the stone veneer installation.
By meticulously preparing the stucco surface, you’re laying the groundwork for a successful and enduring stone veneer installation. This preparatory phase sets the stage for seamless adhesion and a visually stunning outcome, ensuring that your property exudes timeless charm and sophistication.
Applying the Scratch Coat
With the stucco surface meticulously prepared, the next crucial step in the stone veneer installation process is the application of the scratch coat. The scratch coat serves as the foundational layer that facilitates the adhesion of the stone veneer while providing a level and stable surface. Here’s a detailed overview of the process of applying the scratch coat:
- Mixing the Mortar: Begin by mixing a high-quality mortar according to the manufacturer’s instructions. The mortar should have the ideal consistency for easy application and optimal adhesion.
- Moistening the Surface: Before applying the scratch coat, lightly moisten the prepared stucco surface. This step prevents the stucco from drawing moisture from the scratch coat, ensuring proper curing and adhesion.
- Applying the Scratch Coat: Using a masonry trowel, apply the mortar onto the stucco surface, creating a uniform layer with a thickness of approximately 3/8 to 1/2 inch. Work in small sections to ensure even coverage and a consistent thickness throughout the surface.
- Texturing the Surface: Once the mortar is applied, use a scratching tool or a notched trowel to create horizontal ridges or grooves in the surface. This texturing process provides a better grip for the subsequent layer of stone veneer, enhancing the overall bond and stability.
- Curing and Drying: Allow the scratch coat to cure and dry for the recommended time specified by the mortar manufacturer. Proper curing is essential to ensure the strength and integrity of the scratch coat, preparing it for the installation of the stone veneer.
The application of the scratch coat is a critical stage in the stone veneer installation process, as it sets the stage for the successful adhesion and longevity of the stone veneer. By following these meticulous steps, you’re laying the groundwork for a visually striking and enduring exterior finish that will elevate the appeal of your property.
Make sure the stucco surface is clean and free of any loose material before applying a bonding agent. This will help the stone veneer adhere properly and ensure a long-lasting installation.
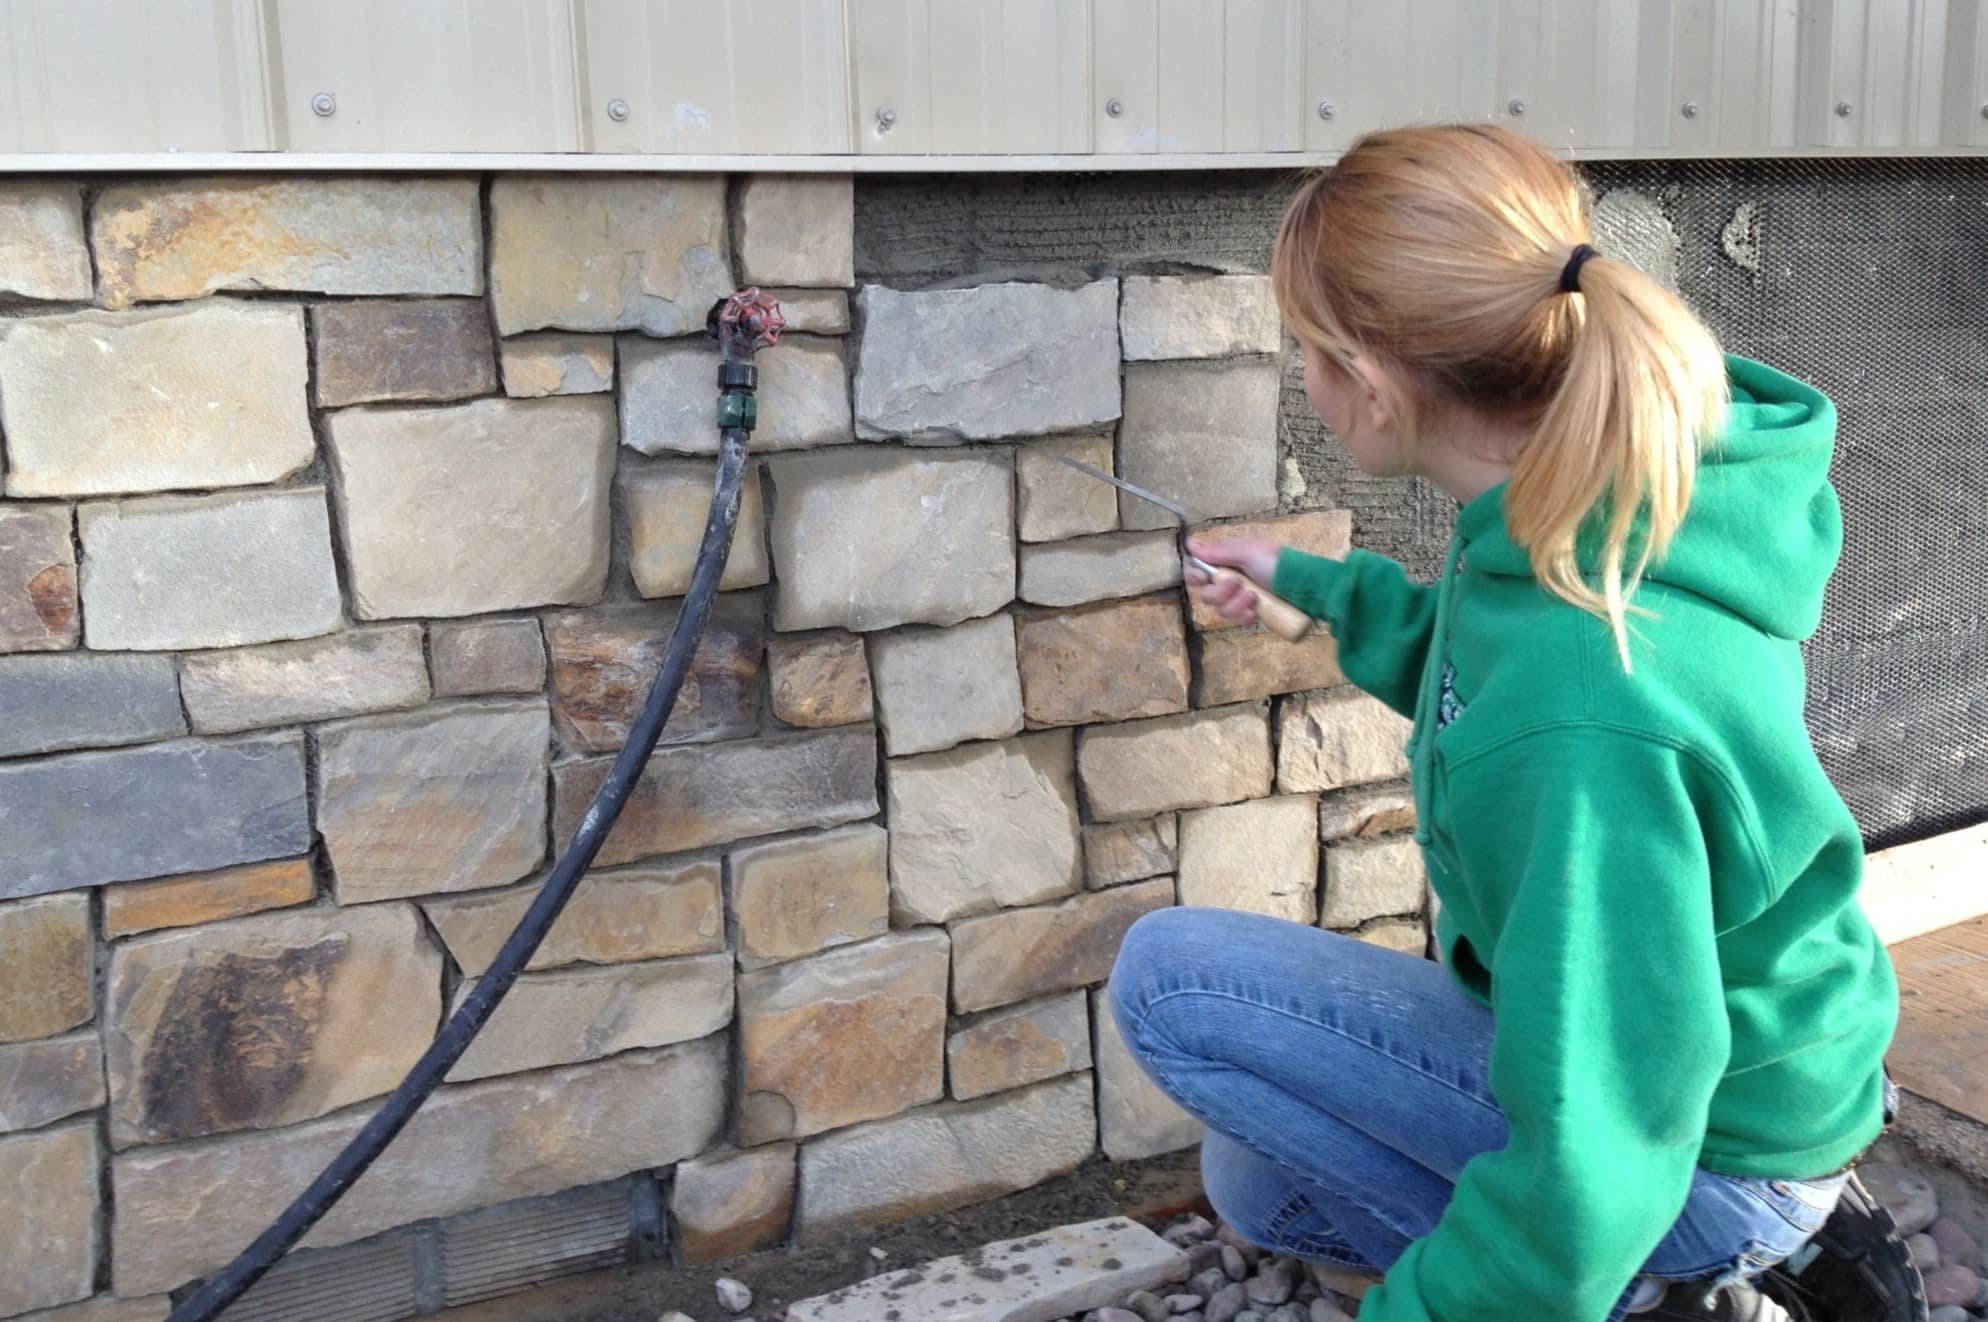
Installing the Stone Veneer
With the stucco surface prepared and the scratch coat in place, it’s time to embark on the exciting phase of installing the stone veneer. This transformative step will bring your vision to life, adding a touch of timeless elegance to your property. Here’s a comprehensive guide to installing the stone veneer over the prepared stucco surface:
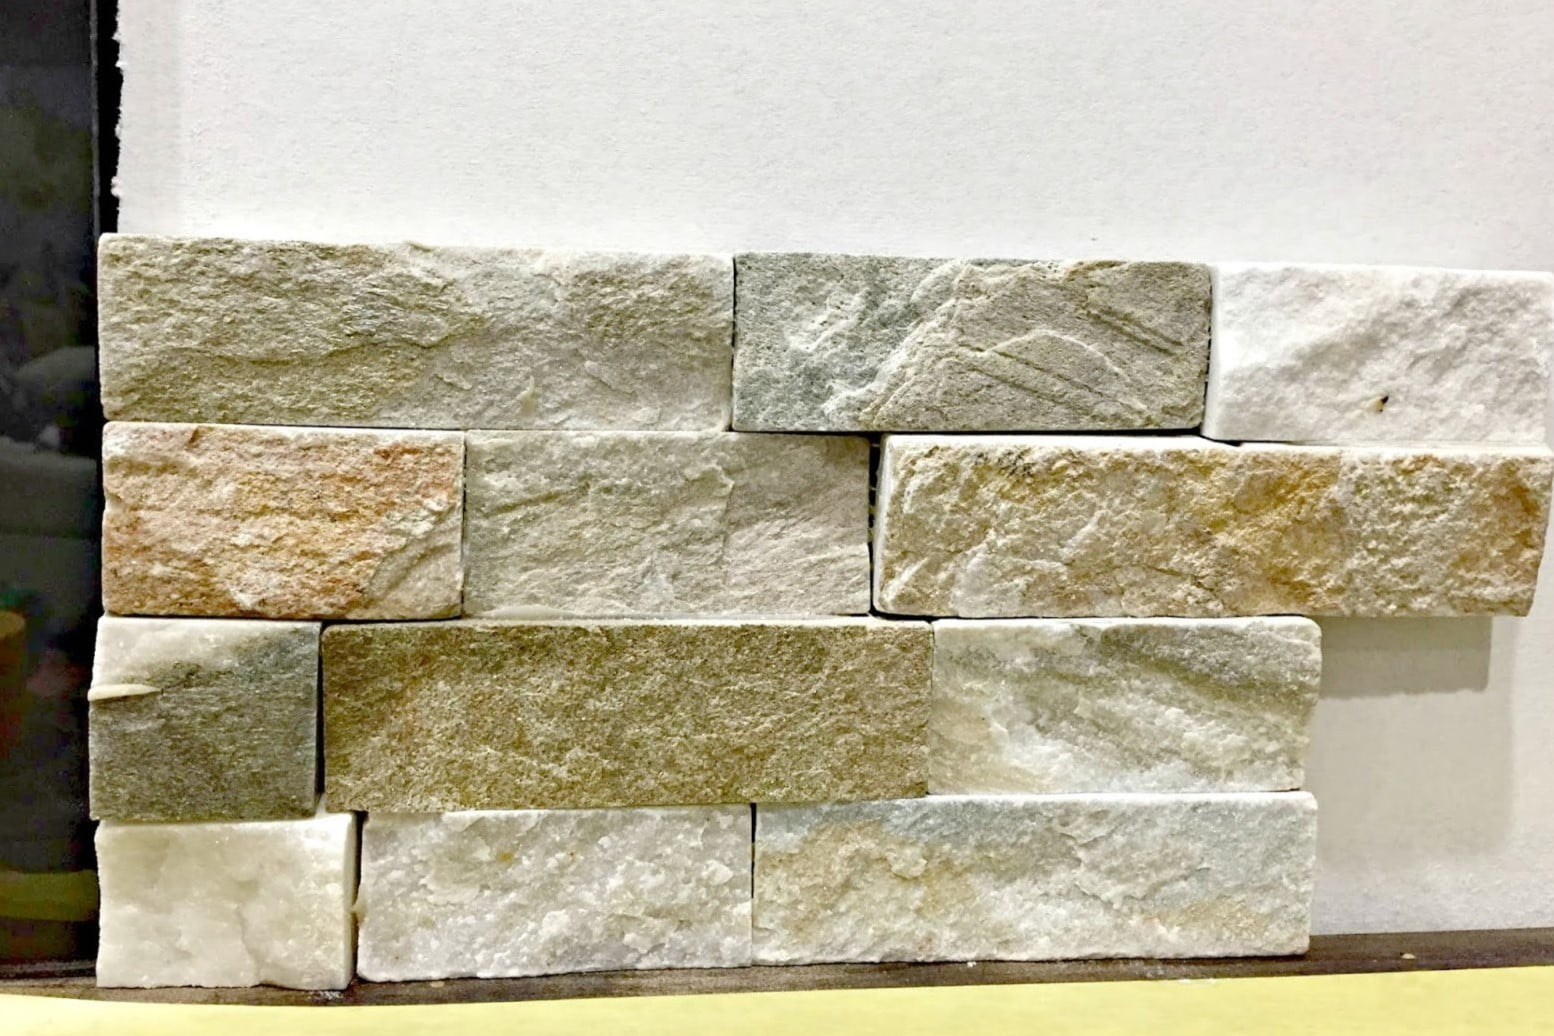
- Prepare the Stone Veneer: Before installation, carefully inspect the stone veneer panels or pieces to ensure they are free of defects and suitable for application. Sort and arrange the pieces according to size, shape, and texture to facilitate a seamless installation process.
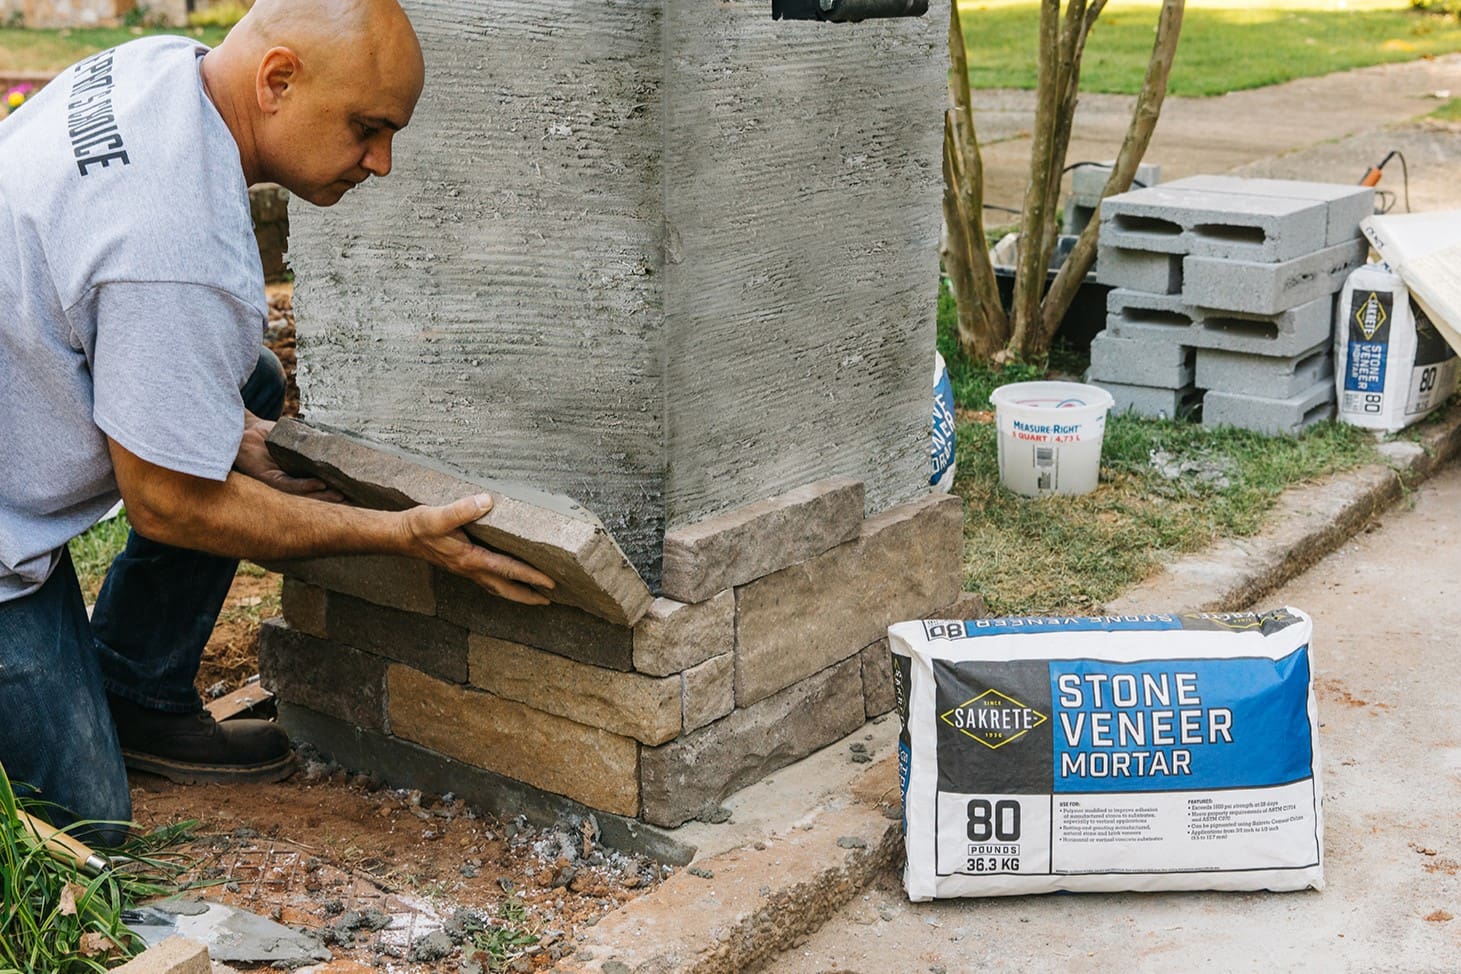
- Apply Mortar to the Back of the Stone: Using a notched trowel, apply a layer of mortar to the back of the stone veneer pieces. Ensure complete coverage while avoiding excess mortar that may ooze out from the edges when pressed onto the scratch coat.
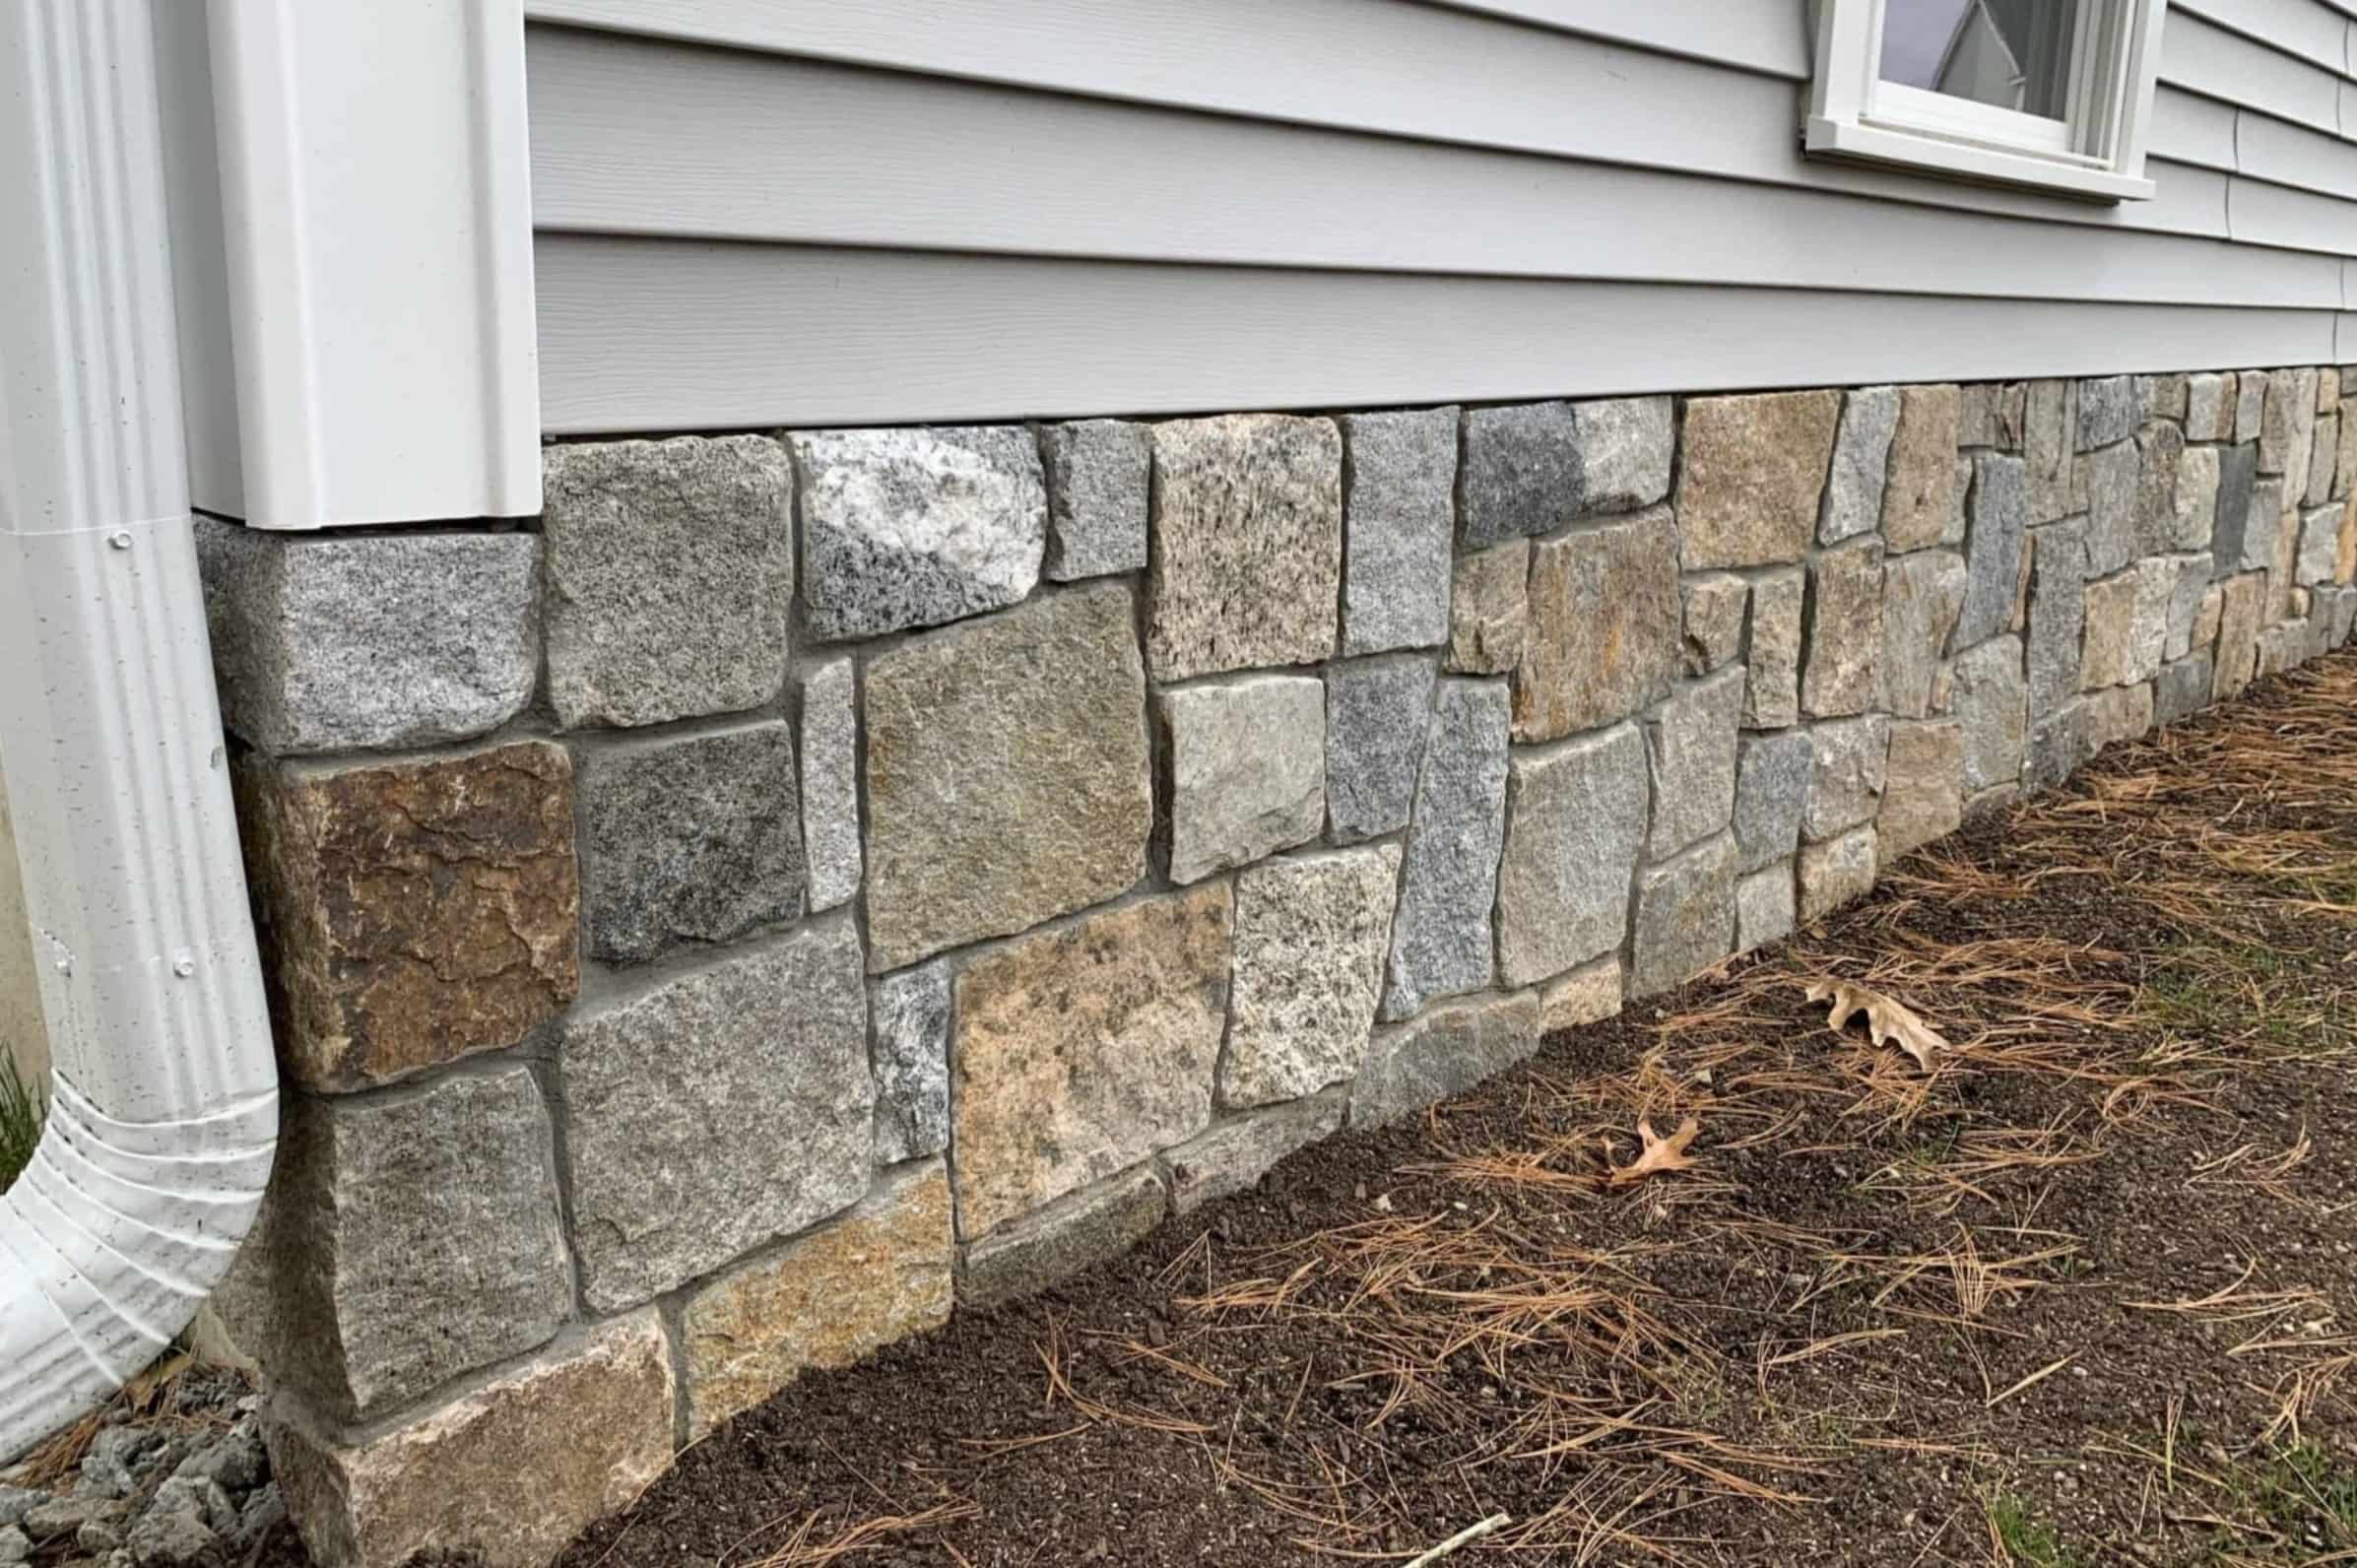
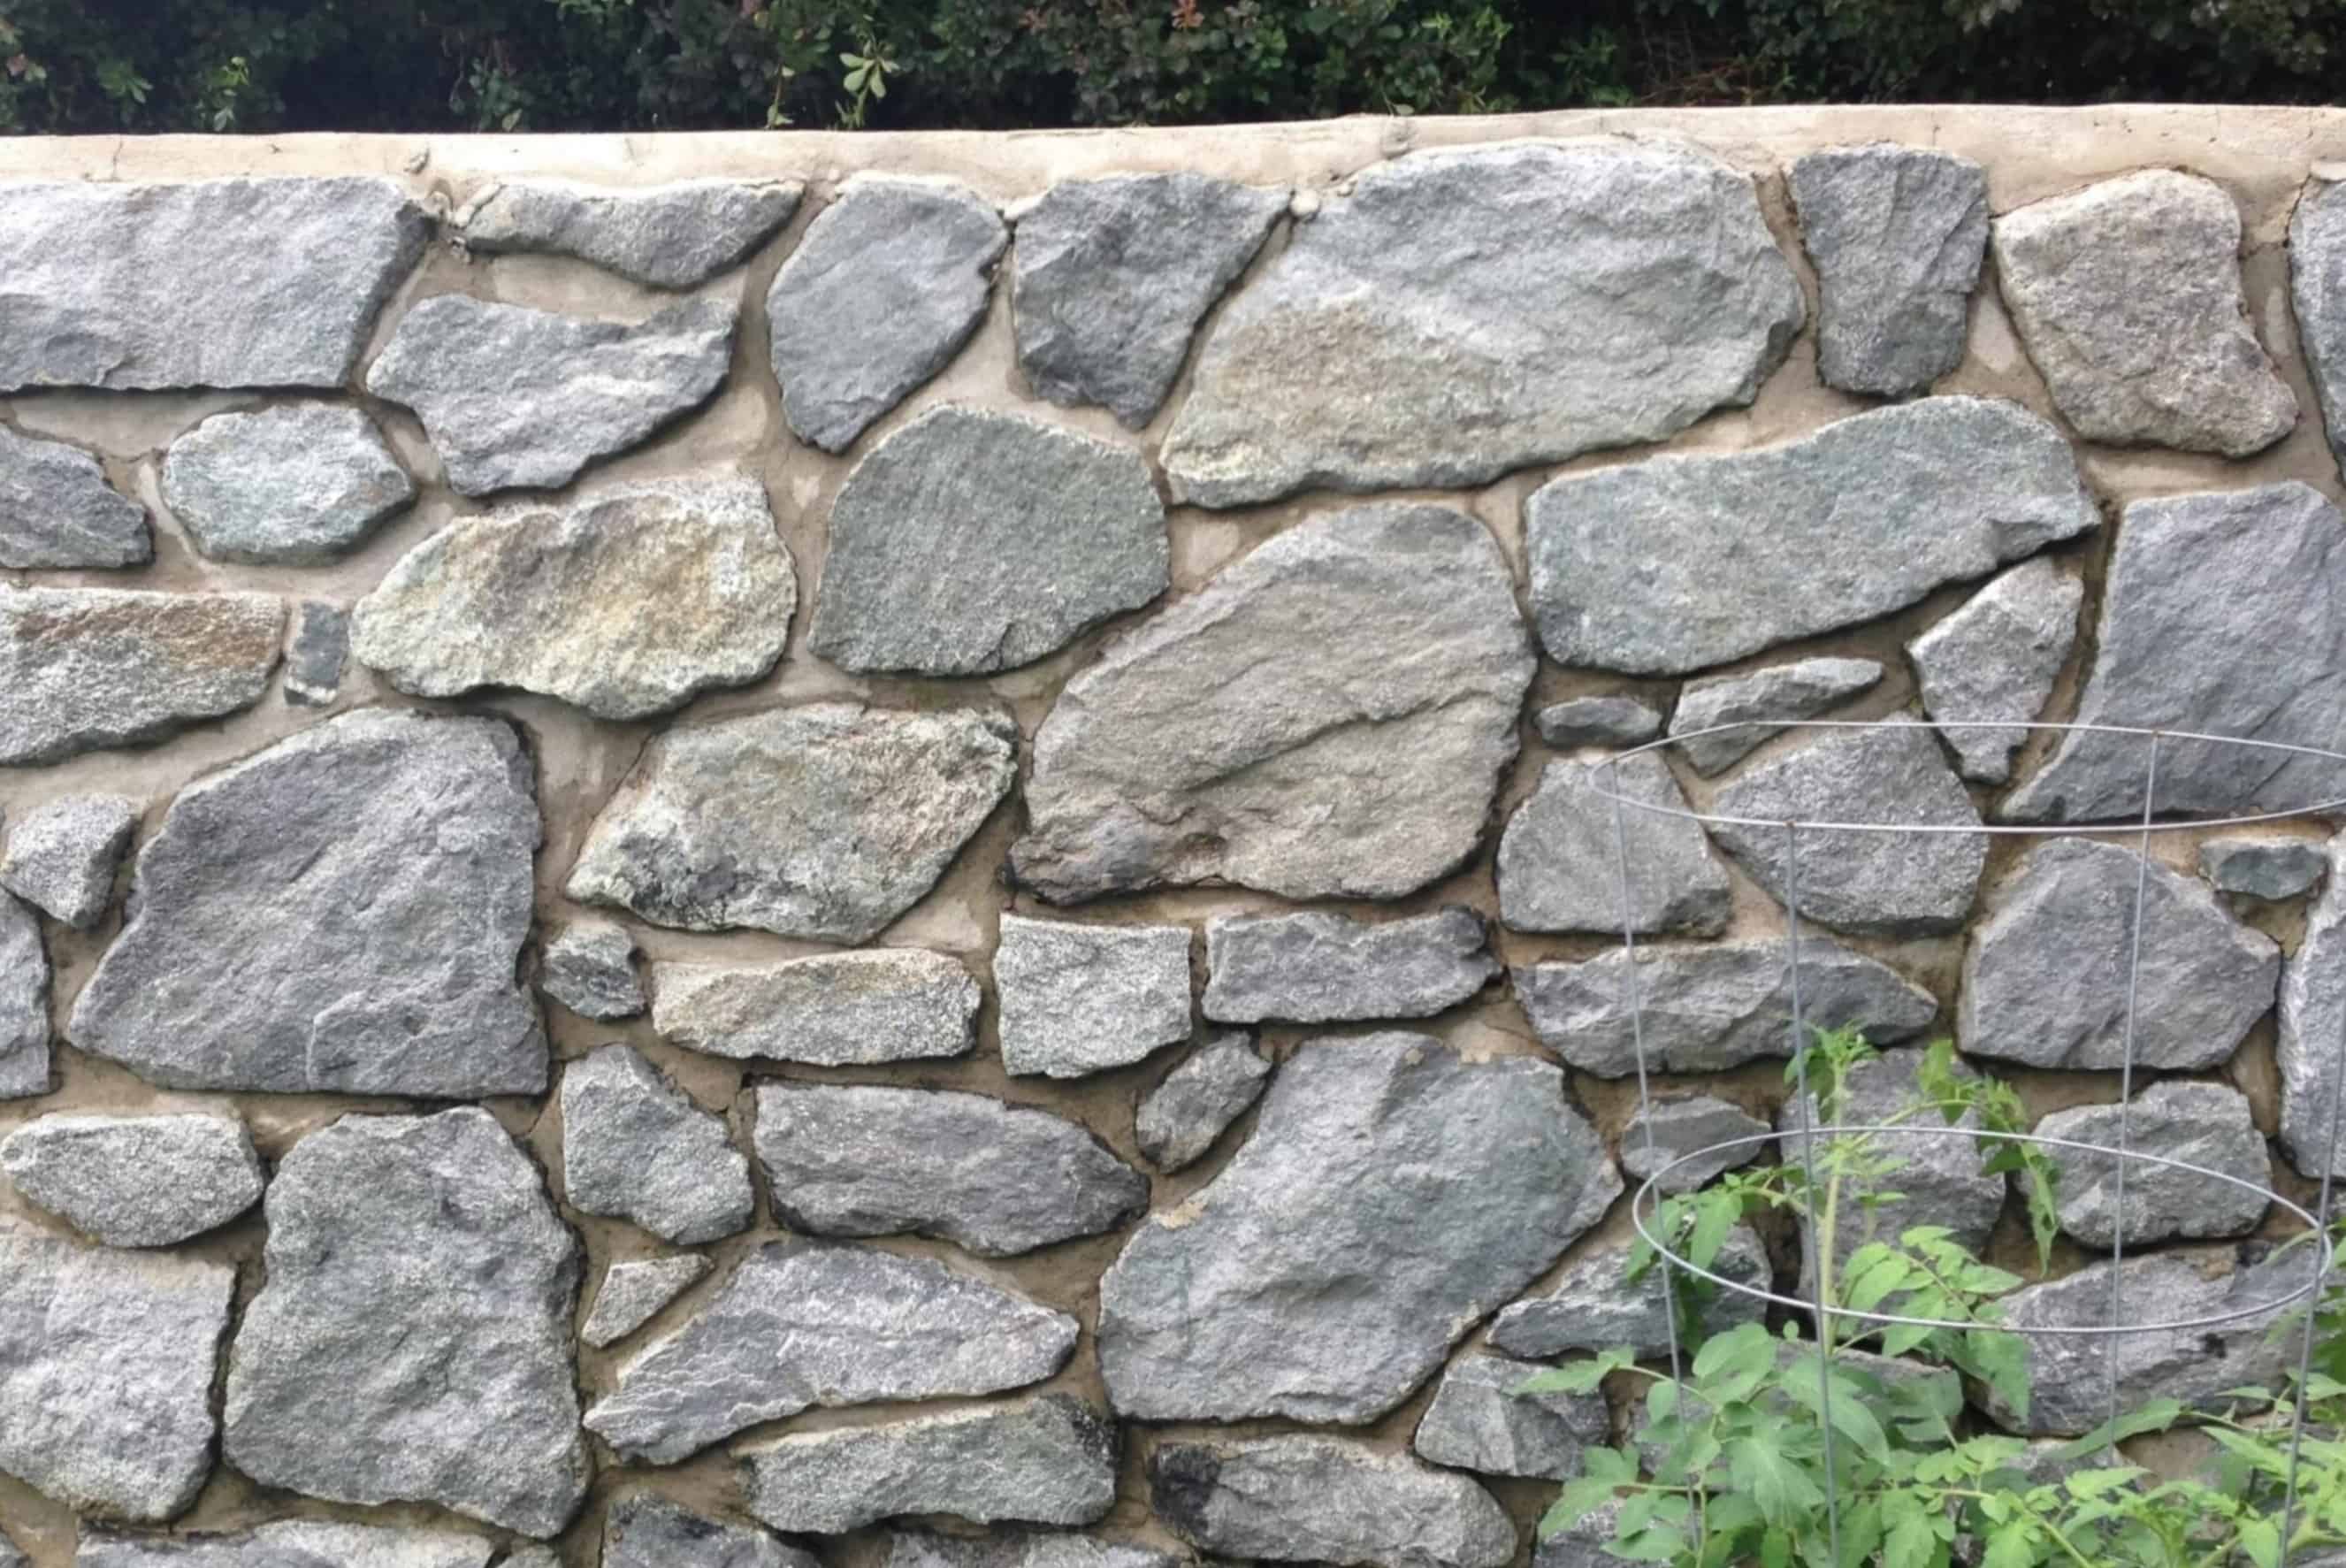
- Place and Press the Stone Veneer: Position the mortar-coated stone veneer pieces onto the scratch coat in the desired pattern and arrangement. Press the pieces firmly into place, ensuring a secure bond with the scratch coat and a level alignment with adjacent pieces.
- Fill the Joints: As you progress with the installation, fill the joints between the stone veneer pieces with additional mortar, ensuring a uniform and aesthetically pleasing appearance. Pay attention to the consistency and color of the mortar to achieve a cohesive and professional finish.
- Trim and Shape the Veneer: If necessary, use a masonry saw or appropriate tools to trim, shape, or customize the stone veneer pieces to fit specific areas or accommodate architectural features. Precision in trimming and shaping ensures a seamless integration of the stone veneer with the overall design.
- Allow for Proper Setting: Once the stone veneer is installed, allow ample time for the mortar to set and cure according to the manufacturer’s recommendations. This crucial curing period ensures the strength and stability of the stone veneer installation.
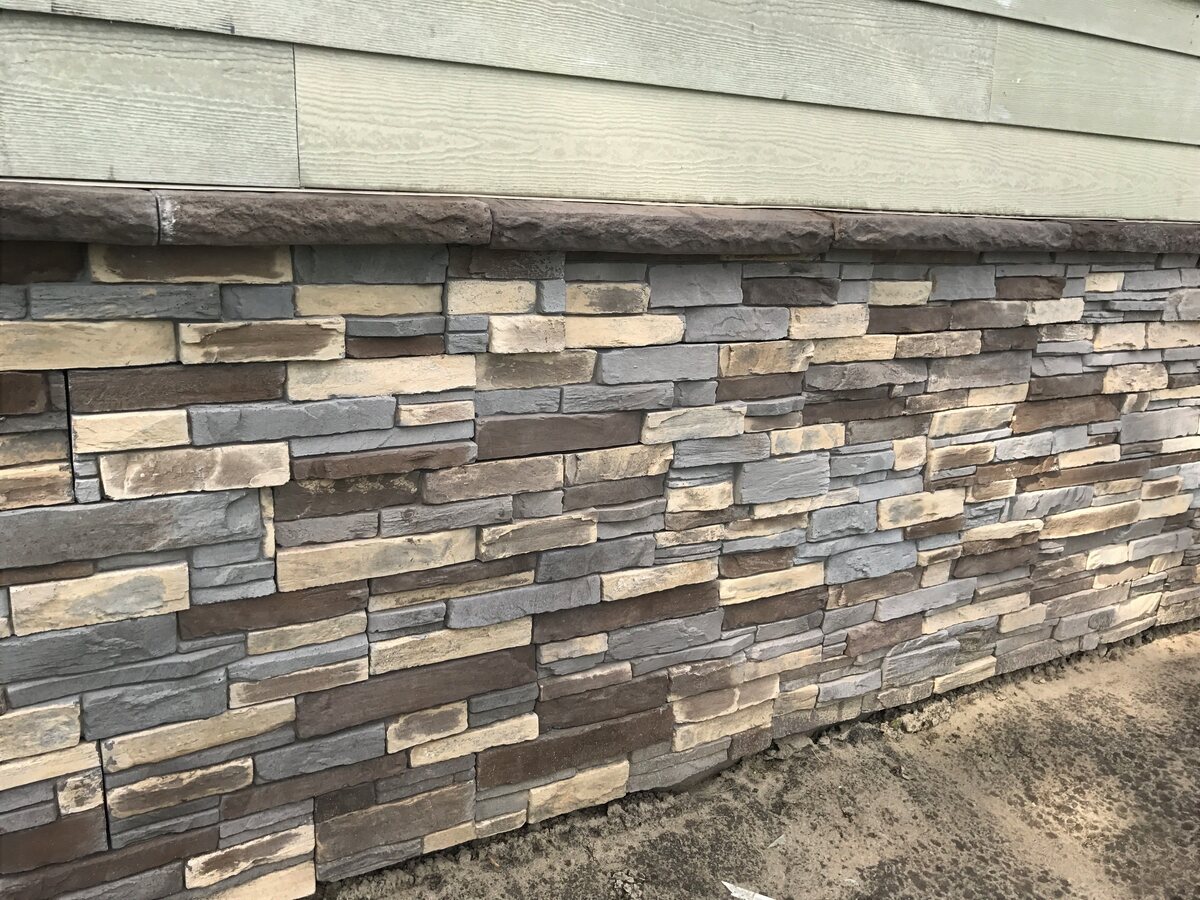
As you progress through the installation, step back periodically to assess the visual impact and alignment of the stone veneer. Attention to detail and precision in the installation process will yield a captivating exterior finish that exudes the timeless beauty of natural stone.
Grouting and Finishing Touches
As the stone veneer installation nears completion, the grouting and finishing touches play a pivotal role in enhancing the overall aesthetic appeal and cohesiveness of the exterior finish. This phase involves meticulous attention to detail and precision to achieve a visually stunning outcome. Here’s a comprehensive overview of the grouting and finishing touches process:
- Prepare the Grout: Begin by preparing the grout mixture to the desired consistency, ensuring that it complements the color and texture of the stone veneer. Opt for a high-quality grout that offers durability and a seamless finish.
- Apply the Grout: Using a grout bag or a grout float, carefully apply the grout to the joints between the stone veneer pieces. Ensure thorough coverage while smoothing the grout to achieve a uniform and professional finish. Work in small sections to maintain control and precision throughout the grouting process.
- Clean Excess Grout: Once the grout is applied, use a damp sponge or cloth to gently clean off any excess grout from the surface of the stone veneer. Pay close attention to achieving clean and defined grout lines, enhancing the overall visual impact of the installation.
- Finishing and Detailing: After the grout has set for the recommended time, inspect the installation for any remaining imperfections or excess grout residue. Use a soft brush or cloth to gently polish the surface and ensure that the stone veneer achieves its full visual potential.
- Seal the Stone Veneer: Consider applying a high-quality stone sealer to protect the stone veneer and grout from moisture, stains, and the elements. This protective sealant enhances the longevity and resilience of the installation, preserving its captivating appearance for years to come.
Throughout the grouting and finishing touches phase, precision and attention to detail are paramount in achieving a flawless and enduring exterior finish. By dedicating care and expertise to this stage, you will elevate the visual impact of the stone veneer installation, ensuring that your property radiates timeless charm and sophistication.
Read more: How To Install Stone Veneer Fireplace
Conclusion
Congratulations on successfully completing the installation of stone veneer over stucco! Through meticulous preparation, precise application, and attention to detail, you’ve transformed the exterior of your property, infusing it with the timeless allure of natural stone. As you stand back and admire the captivating result of your efforts, it’s essential to reflect on the transformative journey you’ve undertaken.
By preparing the stucco surface with care and attention, you’ve laid the foundation for a seamless and enduring stone veneer installation. The application of the scratch coat served as the cornerstone of the process, providing a stable and level surface for the stone veneer to thrive. As you meticulously installed the stone veneer, piece by piece, you brought your vision to life, creating a visually striking exterior finish that exudes elegance and sophistication.
The grouting and finishing touches phase allowed you to refine and enhance the visual impact of the installation, ensuring that every detail contributed to the cohesive and captivating appearance of the stone veneer. As you sealed the stone veneer, you safeguarded its enduring beauty, ensuring that it will continue to captivate and impress for years to come.
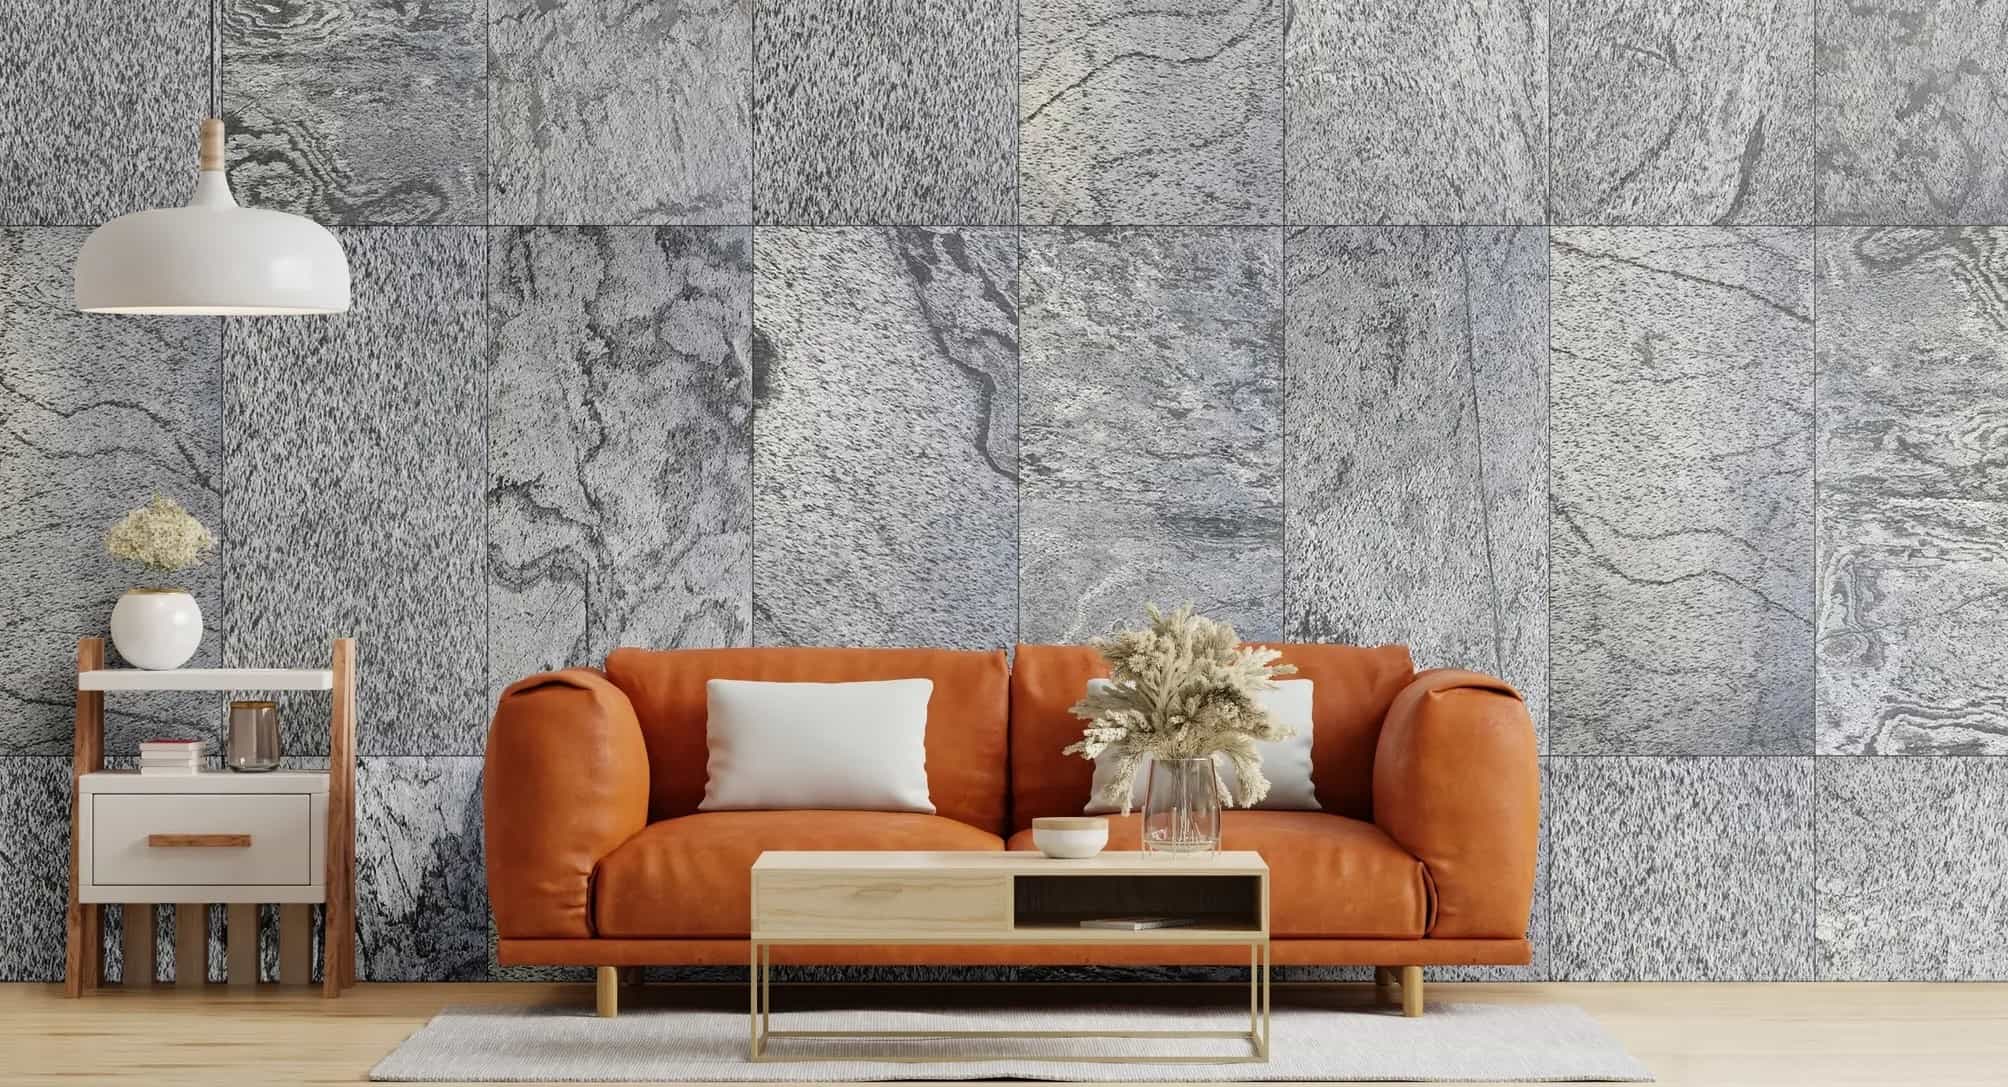
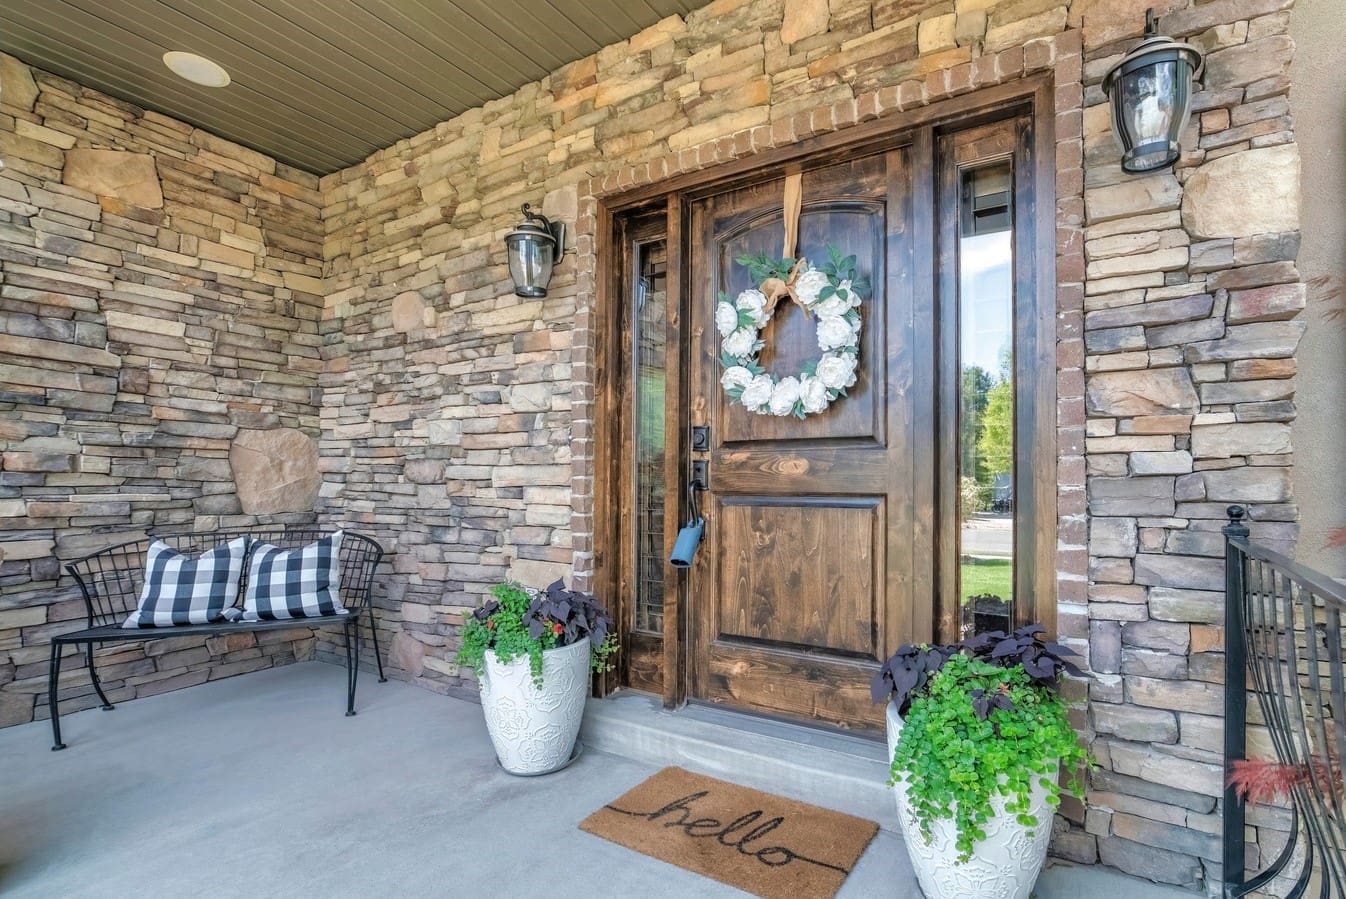
As you bask in the transformative impact of the stone veneer installation, take pride in the dedication and expertise you’ve brought to this project. Your property now stands as a testament to your vision and craftsmanship, showcasing the timeless allure of stone veneer over stucco. Whether it’s a residential home, a commercial property, or any architectural endeavor, the enduring beauty of stone veneer has the power to elevate and inspire.
Embrace the beauty and resilience of your newly transformed exterior, knowing that the allure of stone veneer will continue to captivate and impress for years to come. Your property now stands as a testament to the timeless elegance and enduring appeal of stone veneer, a testament to your dedication and expertise in the realm of home improvement.
So, as you embark on future endeavors, may the transformative journey of installing stone veneer over stucco serve as a reminder of the power of vision, dedication, and craftsmanship in creating timeless and captivating spaces.
Frequently Asked Questions about How To Install Stone Veneer Over Stucco
Was this page helpful?
At Storables.com, we guarantee accurate and reliable information. Our content, validated by Expert Board Contributors, is crafted following stringent Editorial Policies. We're committed to providing you with well-researched, expert-backed insights for all your informational needs.

0 thoughts on “How To Install Stone Veneer Over Stucco”