Articles
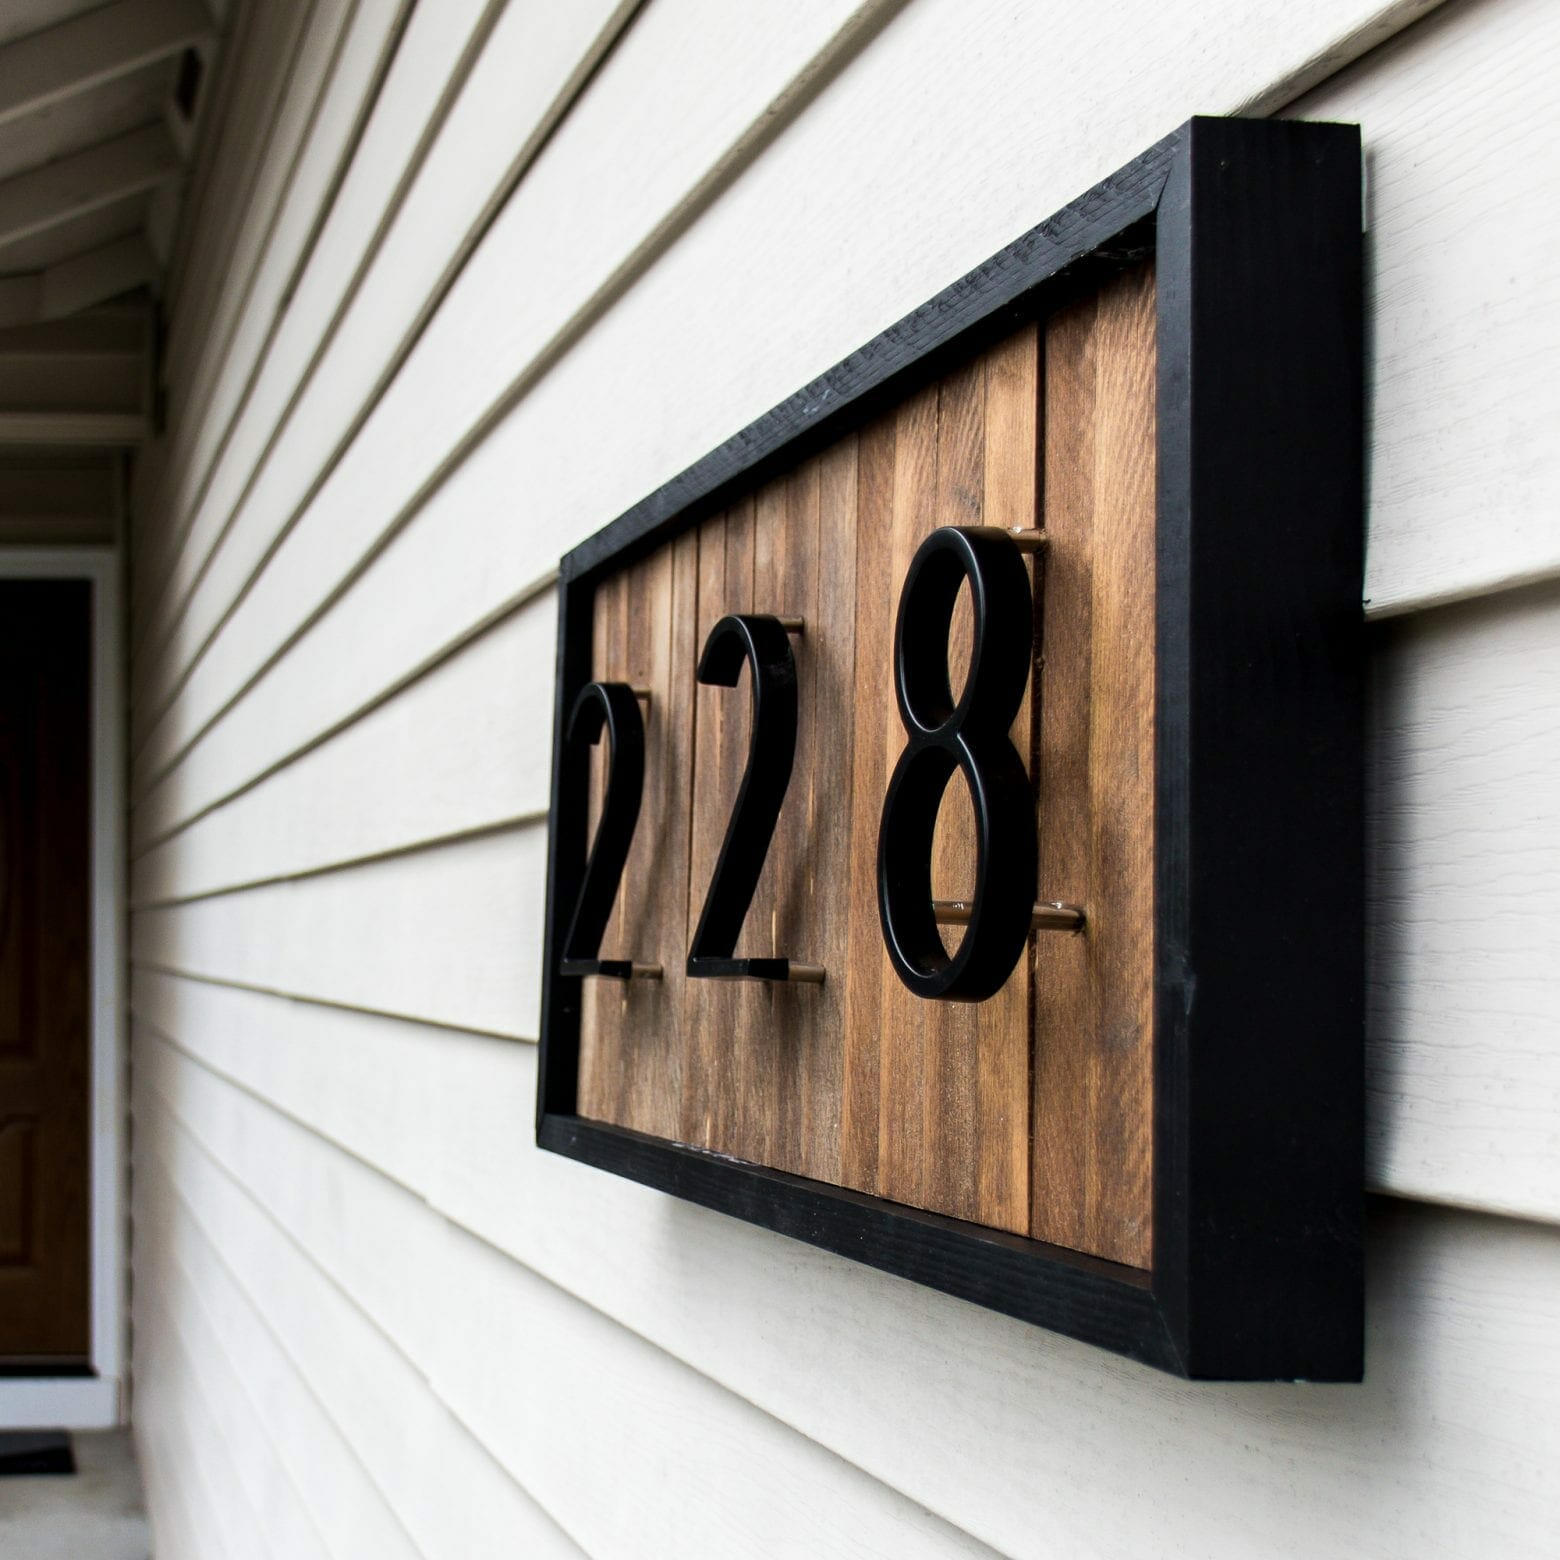
How To Attach House Numbers To Vinyl Siding
Modified: October 31, 2024
Learn how to easily attach house numbers to vinyl siding with our step-by-step articles. Enhance the curb appeal of your home with these simple DIY tips.
(Many of the links in this article redirect to a specific reviewed product. Your purchase of these products through affiliate links helps to generate commission for Storables.com, at no extra cost. Learn more)
Introduction
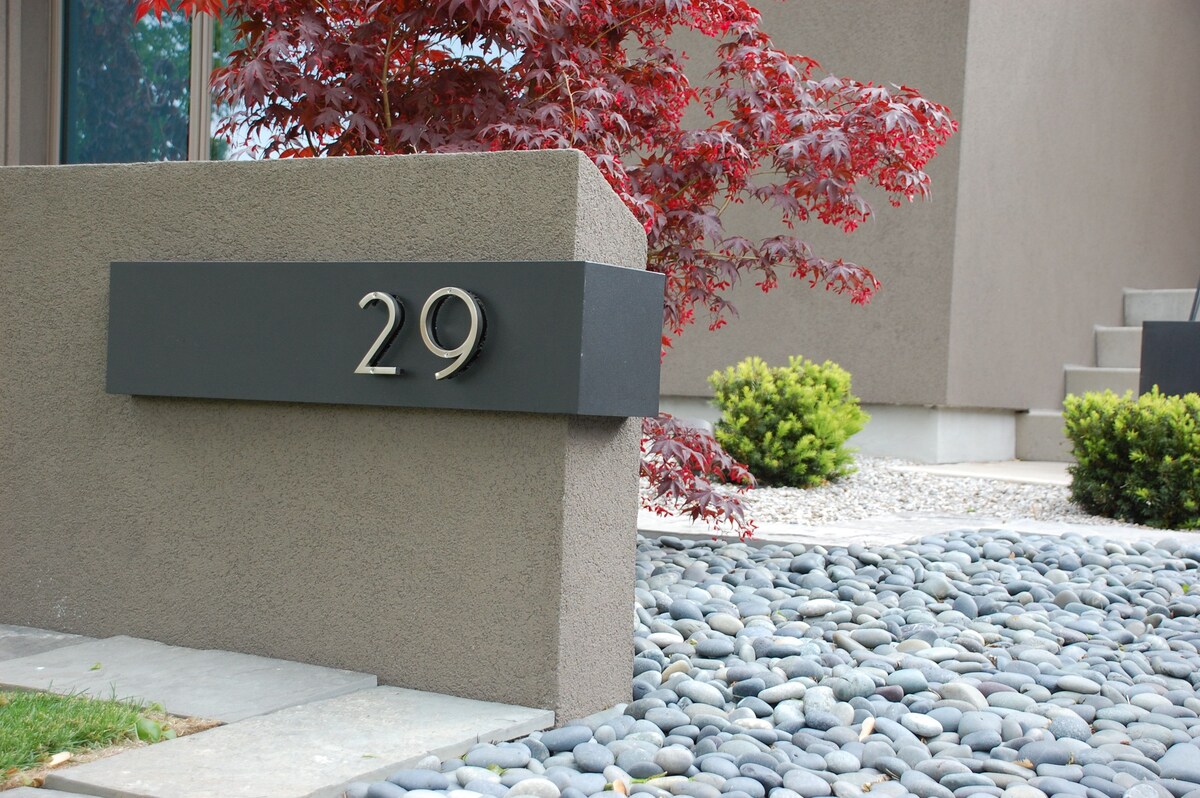
When it comes to adding a personal touch to your home, attaching house numbers to your vinyl siding can make a big difference. House numbers not only provide a practical purpose by helping visitors and emergency services locate your home, but they also add curb appeal and give your house a distinctive look.
In this article, we will guide you through the process of attaching house numbers to vinyl siding. Whether you’re a seasoned DIY enthusiast or a beginner, following these steps will ensure a secure and aesthetically pleasing installation. So gather your materials and let’s get started!
Key Takeaways:
- Choosing the right house numbers and preparing the vinyl siding surface are crucial for a secure and visually appealing installation. Consider size, material, and style of numbers, and ensure a clean and dry surface for optimal adhesion.
- Attaching and securing the house numbers requires attention to detail and periodic maintenance. Proper alignment, screw tightening, and regular inspections will ensure a long-lasting and polished look for your home’s exterior.
Materials Needed
Before we dive into the steps for attaching house numbers to vinyl siding, let’s make sure you have all the necessary materials on hand. Here’s a list of items you’ll need:
- House numbers: Choose numbers that complement the style and architecture of your home. They should be made of durable materials like metal or high-quality plastic.
- Tape measure: Use a tape measure to determine the placement and spacing of your house numbers.
- Pencil: You’ll need a pencil to mark the desired location of the house numbers on your vinyl siding.
- Drill: A drill with a drill bit that matches the size of the screws you’ll be using is essential for creating pilot holes for the house numbers.
- Screws: Select screws that are appropriate for attaching house numbers to vinyl siding. Stainless steel screws are a great choice as they are resistant to rust.
- Pliers: Pliers will come in handy for tightening screws and adjusting the position of the house numbers if needed.
- Clean cloth or sponge: You’ll need a clean cloth or sponge to wipe away any dirt or debris from the vinyl siding before attaching the house numbers.
By having these materials ready, you’ll be well-prepared to successfully complete the installation of your house numbers on vinyl siding. Now, let’s move on to the step-by-step process.
Step 1: Choose the House Numbers
The first step in attaching house numbers to vinyl siding is to choose the numbers that best suit your home’s style and personal aesthetic. Consider the following factors when selecting your house numbers:
- Size: Choose house numbers that are easily visible from the street. They should be large enough to be read from a distance but not too overpowering for the size of your home.
- Material: Opt for numbers made of durable materials that can withstand outdoor conditions. Common options include metal, plastic, and ceramic.
- Style: Select a style that complements the architecture and design of your home. Whether you prefer traditional, modern, rustic, or something in between, find house numbers that align with your desired aesthetic.
- Color: Consider the color of your house and choose house numbers that create a pleasing contrast or coordinate with the exterior palette.
Once you’ve decided on the perfect house numbers, make sure to purchase the necessary amount for your address. Most numbers are sold as individual digits, so be sure to buy enough to represent your full address.
Remember, your house numbers will not only serve a functional purpose, but they will also contribute to the overall appearance of your home. Take your time to find the style and design that best reflects your unique taste and enhances the curb appeal of your property.
With your house numbers selected, it’s time to move on to the next step: preparing the vinyl siding surface.
Step 2: Prepare the Vinyl Siding Surface
Before attaching the house numbers, it’s important to prepare the vinyl siding surface to ensure a secure and long-lasting installation. Follow these steps to properly prepare the area:
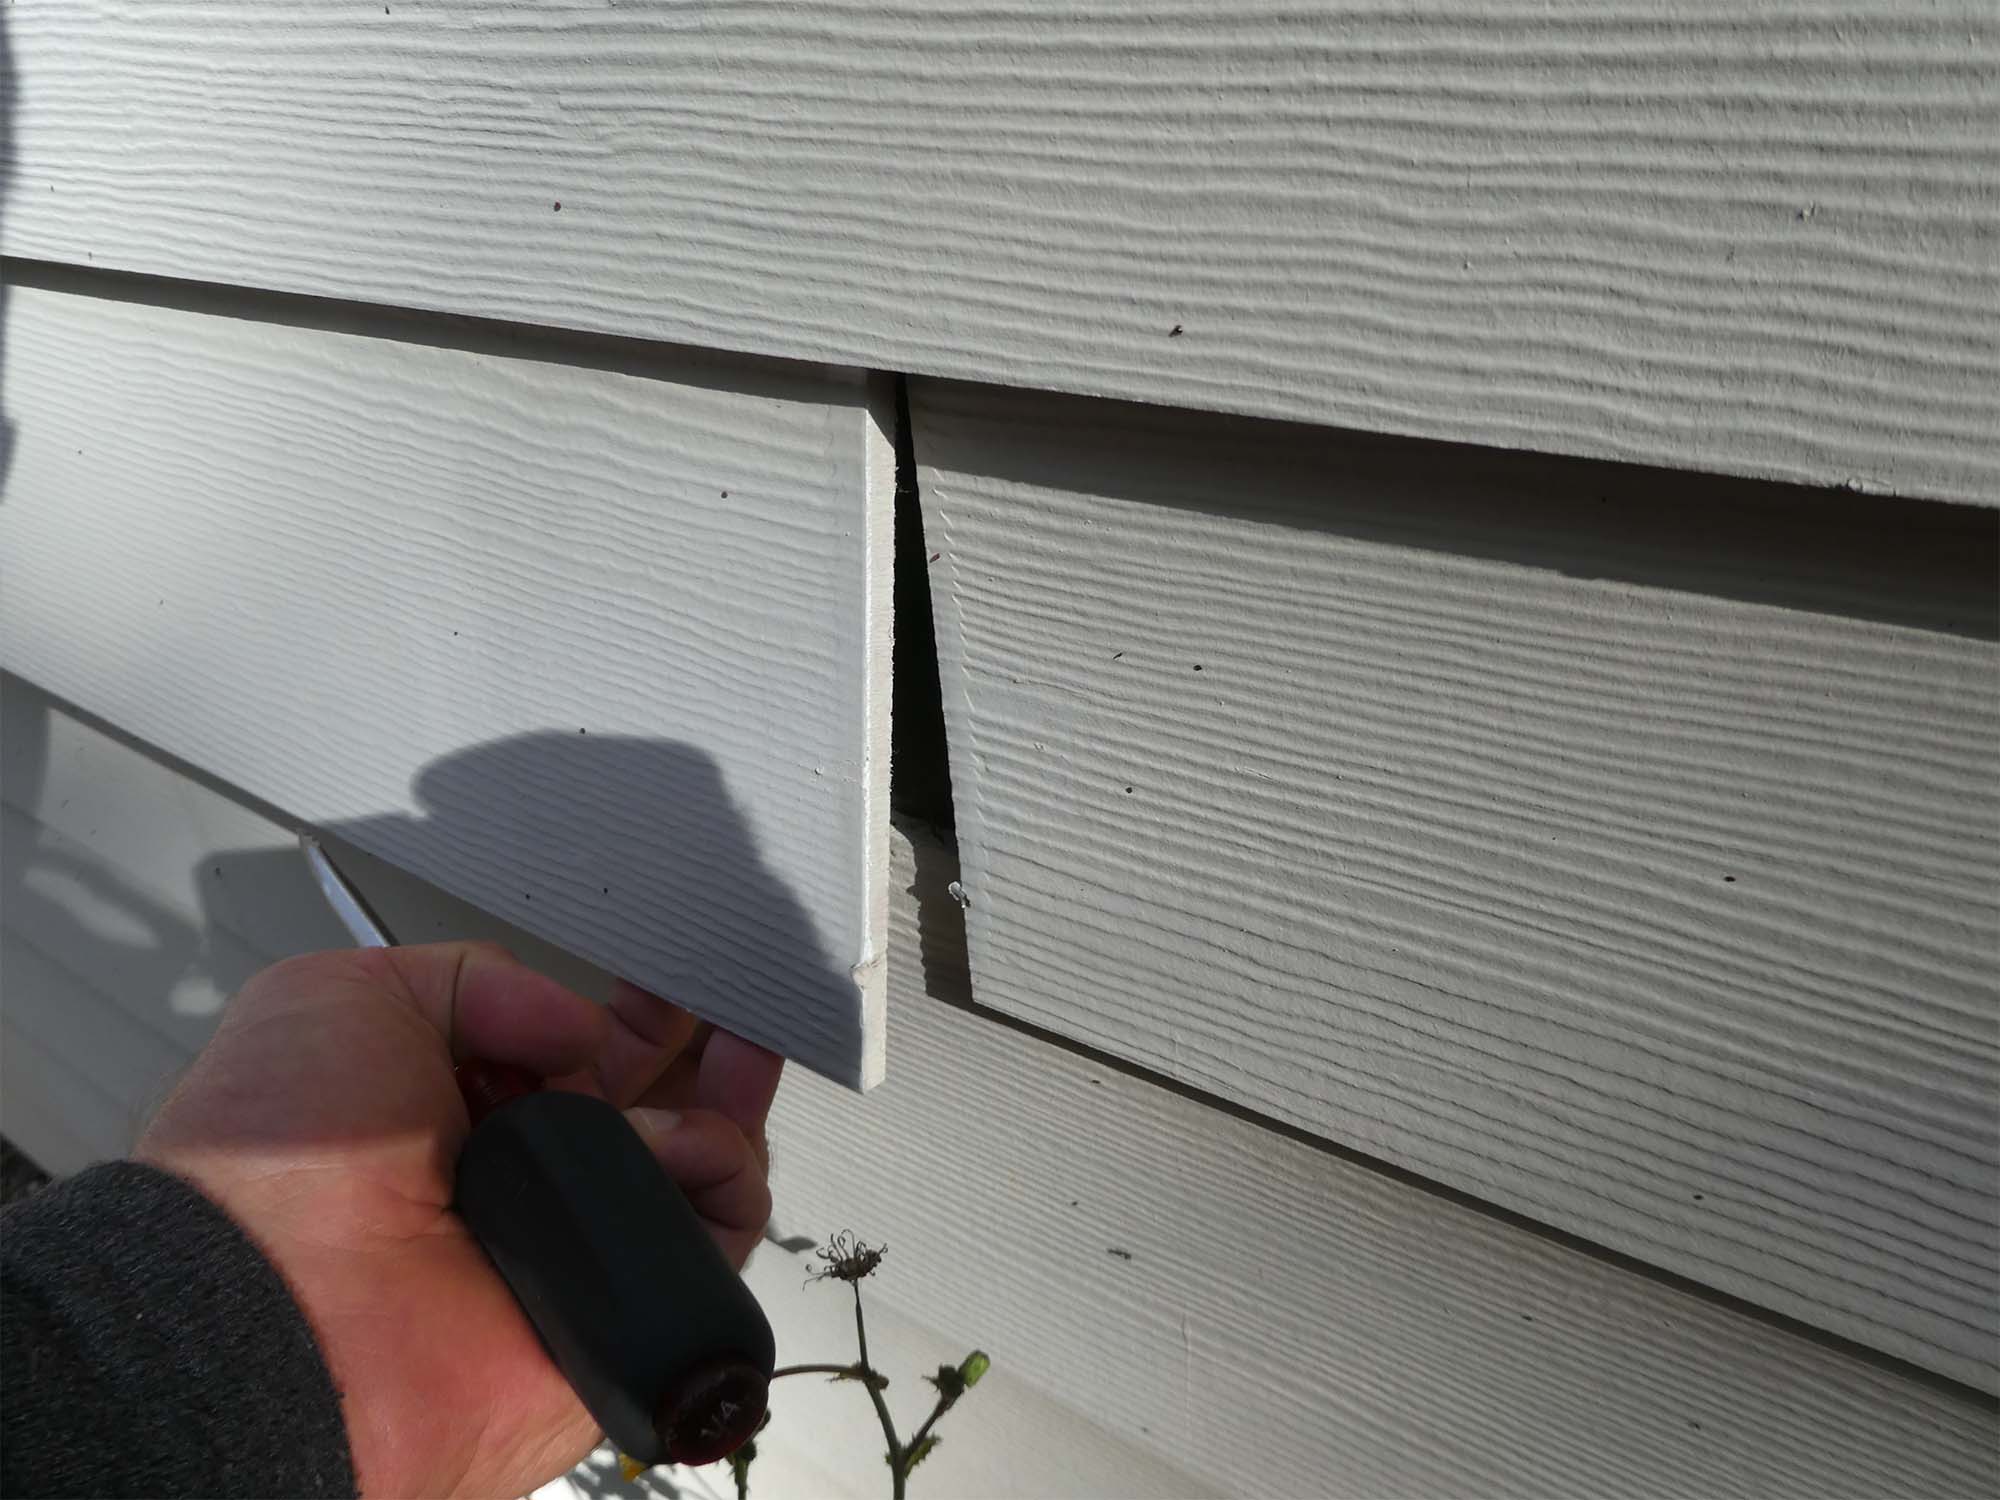
- Inspect the siding: Carefully examine the vinyl siding to check for any cracks, damage, or loose panels. If you notice any issues, address them before proceeding.
- Clean the surface: Use a clean cloth or sponge and mild detergent to wash away any dirt, dust, or grime from the area where the house numbers will be attached. This will help the numbers adhere better to the siding.
- Dry the surface: After cleaning, make sure to thoroughly dry the vinyl siding surface. This will ensure that the adhesive or screws used to attach the house numbers will adhere properly.
By taking the time to properly prepare the vinyl siding surface, you’ll create an ideal foundation for attaching the house numbers. This step will help ensure a secure and professional-looking installation. Now that the surface is ready, let’s move on to determining the placement of the house numbers.
Step 3: Determine Placement of House Numbers
Deciding on the placement of your house numbers is a crucial step in the installation process. Proper placement will not only ensure visibility but also enhance the overall aesthetics of your home. Here’s how to determine the ideal placement:
- Consider visibility: Ensure that your house numbers are easily seen from the street. They should be positioned in a location that offers maximum visibility, even from a distance. This is particularly important for emergency services and visitors trying to locate your home.
- Choose a focal point: Select an area on your vinyl siding that serves as a focal point for your house numbers. This can be near the front entrance, centered on a gable or porch, or above the garage door. The chosen location should be easily noticeable and in line with the architectural features of your home.
- Proper height and spacing: The house numbers should be positioned at a height that is easily readable for both pedestrians and drivers. A recommended height is between 4 to 6 inches. Additionally, ensure that the spacing between the numbers is consistent and visually balanced.
- Take measurements: With the chosen location in mind, use a tape measure to determine the precise positioning of the house numbers. Measure the distance from the ground or reference point to ensure consistent placement.
- Mark the placement: Once you’ve determined the measurements, use a pencil or tape to mark the exact placement of the house numbers on the vinyl siding. This will help guide you during the installation process.
By carefully considering visibility, focal points, height, spacing, and taking accurate measurements, you will be able to determine the optimal placement of your house numbers on the vinyl siding. With the placement determined, it’s time to move on to the next step: drilling pilot holes.
Use a vinyl siding hook or adhesive mounting tape to attach house numbers to vinyl siding. Make sure to clean the area before attaching and follow the manufacturer’s instructions for best results.
Read more: How To Attach House Numbers To Brick
Step 4: Drill Pilot Holes
Now that you have determined the placement of your house numbers on the vinyl siding, it’s time to drill pilot holes. These holes will serve as guides for attaching the house numbers securely. Follow these steps:
- Choose an appropriately sized drill bit: Select a drill bit that matches the size of the screws you will be using to attach the house numbers. The drill bit should be slightly smaller in diameter than the screws.
- Mark the drilling spots: Using the pencil marks you made in the previous step, mark the exact spots where the pilot holes will be drilled for each house number.
- Drill the pilot holes: Carefully drill the pilot holes at the marked spots on the vinyl siding. Apply gentle pressure and avoid drilling too deep to prevent damaging the underlying structure.
- Clean away any debris: After drilling the pilot holes, use a clean cloth or brush to remove any debris or plastic shavings from the drilling process. This will ensure a clean and secure fit for the screws.
By drilling pilot holes, you create a guide for attaching the house numbers without risking damage to the vinyl siding. This step is crucial for a secure and professional-looking installation. With the pilot holes drilled, it’s time to move on to the next step: attaching the house numbers.
Step 5: Attach the House Numbers
With the pilot holes drilled, it’s time to attach the house numbers to the vinyl siding. Follow these steps to ensure a secure and stable installation:
- Align the house numbers: Place the house numbers over the pilot holes, aligning them according to the marks you made earlier. Ensure that they are level and positioned correctly.
- Insert screws into pilot holes: Insert the screws into the pilot holes and begin to screw them in clockwise. Be careful not to overtighten, as this could potentially damage the vinyl siding.
- Repeat for all house numbers: If you have multiple house numbers to attach, repeat the alignment and screwing process for each one.
It’s important to take your time during this step to ensure that the house numbers are securely attached. By aligning them properly and using the appropriate screws, you can prevent any potential damage or loosening over time.
If your house numbers are adhesive-backed or have a different attachment method, follow the manufacturer’s instructions for proper installation.
Now that you have securely attached the house numbers, let’s move on to the next step: securing and adjusting as necessary.
Step 6: Secure and Adjust as Necessary
Once you have attached the house numbers to the vinyl siding, it’s important to ensure they are securely in place and make any necessary adjustments for optimal visibility and alignment. Follow these steps for securing and adjusting as necessary:
- Tighten screws: Carefully use a pair of pliers to tighten the screws holding the house numbers. Make sure they are snug but avoid overtightening to prevent damage to the vinyl siding.
- Check alignment: Step back and visually inspect the house numbers from a distance to ensure they are properly aligned. If adjustments are needed, gently loosen the screws and reposition the numbers.
- Secure any loose parts: If you notice any parts of the house numbers that are loose or wobbly, use the pliers to tighten them or make any necessary repairs.
It’s important to regularly check the house numbers over time and ensure they remain secure. Exposure to weather and other external factors can potentially cause them to become loose. By performing periodic inspections and making any necessary adjustments, you can maintain the integrity and visibility of your house numbers.
With the house numbers securely attached and properly adjusted, we’re now ready to move on to the final step: cleaning up and finalizing the installation.
Step 7: Clean Up and Finalize
After attaching the house numbers and making any necessary adjustments, the final step is to clean up the area and ensure everything looks polished and professional. Follow these steps to complete the installation:
- Remove any debris: Take a clean cloth or brush and wipe away any dust, dirt, or debris from the vinyl siding surrounding the house numbers.
- Inspect for any damage: Carefully inspect the vinyl siding and surrounding area to ensure that no damage occurred during the installation process. If you notice any issues, address them promptly.
- Step back for a final evaluation: Step back and take a good look at your house numbers from different angles and distances. Ensure they are clearly visible and aesthetically pleasing.
- Make any final adjustments: If you notice any minor alignment issues or loose parts, make the necessary adjustments, and tighten any screws if needed.
By taking the time to clean up the area and make any final adjustments, you can ensure that your house numbers look their best. This final step is crucial for achieving a professional and visually appealing installation.
Now that you have completed all the steps, stand back and admire your handiwork! Your house numbers are now securely attached to the vinyl siding, adding both functionality and curb appeal to your home.
Congratulations on successfully attaching house numbers to your vinyl siding! With these steps, you have transformed your home’s exterior and made it easier for visitors and emergency services to find your address. Enjoy the enhanced curb appeal and the pride of a job well done.
Now that you've mastered attaching house numbers, why not spruce up your home's exterior even further? Discover the latest trends in vinyl siding, perfect for giving your residence a fresh, modern look in 2024. Also, don't forget regular upkeep; our guide on home maintenance provides essential tips to keep your home in top shape, ensuring beauty and functionality year-round.
Frequently Asked Questions about How To Attach House Numbers To Vinyl Siding
Was this page helpful?
At Storables.com, we guarantee accurate and reliable information. Our content, validated by Expert Board Contributors, is crafted following stringent Editorial Policies. We're committed to providing you with well-researched, expert-backed insights for all your informational needs.


0 thoughts on “How To Attach House Numbers To Vinyl Siding”