Home>Construction & Tools>Building Materials>How To Paint A Brick House With A Sprayer
Building Materials
How To Paint A Brick House With A Sprayer
Modified: October 28, 2024
Learn how to paint a brick house using a sprayer for a smooth finish. Find the best building materials and techniques for a professional-looking result.
(Many of the links in this article redirect to a specific reviewed product. Your purchase of these products through affiliate links helps to generate commission for Storables.com, at no extra cost. Learn more)
Introduction
Painting a brick house can breathe new life into its appearance, providing a fresh and vibrant aesthetic that enhances the overall curb appeal. Whether you're looking to revamp the exterior of your home or simply seeking a change in color, using a sprayer to paint a brick house can be an efficient and effective method. However, it's essential to approach this task with careful planning and attention to detail to achieve a professional and long-lasting finish.
In this comprehensive guide, we will walk you through the step-by-step process of painting a brick house using a sprayer. From preparing the house and selecting the right equipment to the actual painting process and post-painting maintenance, we'll cover everything you need to know to successfully undertake this project. By the end of this guide, you'll have the knowledge and confidence to transform the exterior of your brick house with a beautifully applied coat of paint.
Before diving into the specifics of using a sprayer to paint a brick house, it's important to note that this undertaking requires careful consideration and meticulous preparation. Unlike painting other surfaces, such as wood or drywall, painting brick presents unique challenges due to its porous and textured nature. Therefore, understanding the intricacies of painting brick and the nuances of using a sprayer is crucial for achieving a flawless and enduring result.
By following the steps outlined in this guide, you'll gain valuable insights into the best practices for preparing the house, selecting the appropriate sprayer and paint, honing your spraying technique, and ensuring a thorough and even application. Additionally, we'll provide tips for cleaning up after the painting process and maintaining the freshly painted brick surface for years to come.
With the right approach and a commitment to precision, painting a brick house with a sprayer can be a rewarding and transformative project. So, let's embark on this journey together, equipping you with the knowledge and skills needed to elevate the visual appeal of your brick house through the art of painting.
Key Takeaways:
- Preparation is key! Cleaning, repairing, and protecting the house before painting ensures a smooth and professional finish. Choosing the right sprayer and paint is crucial for a successful transformation.
- Practice makes perfect! Familiarizing yourself with the sprayer and honing your technique ensures even coverage and a visually stunning result. After painting, proper clean-up and maintenance preserve the vibrant new look for years to come.
Read more: How To Paint A Brick House White
Step 1: Prepare the House and Surroundings
Before embarking on the painting process, thorough preparation of the house and its surroundings is essential to ensure a smooth and successful project. Here's a detailed breakdown of the crucial steps involved in preparing the house and its immediate environment for the painting endeavor:
-
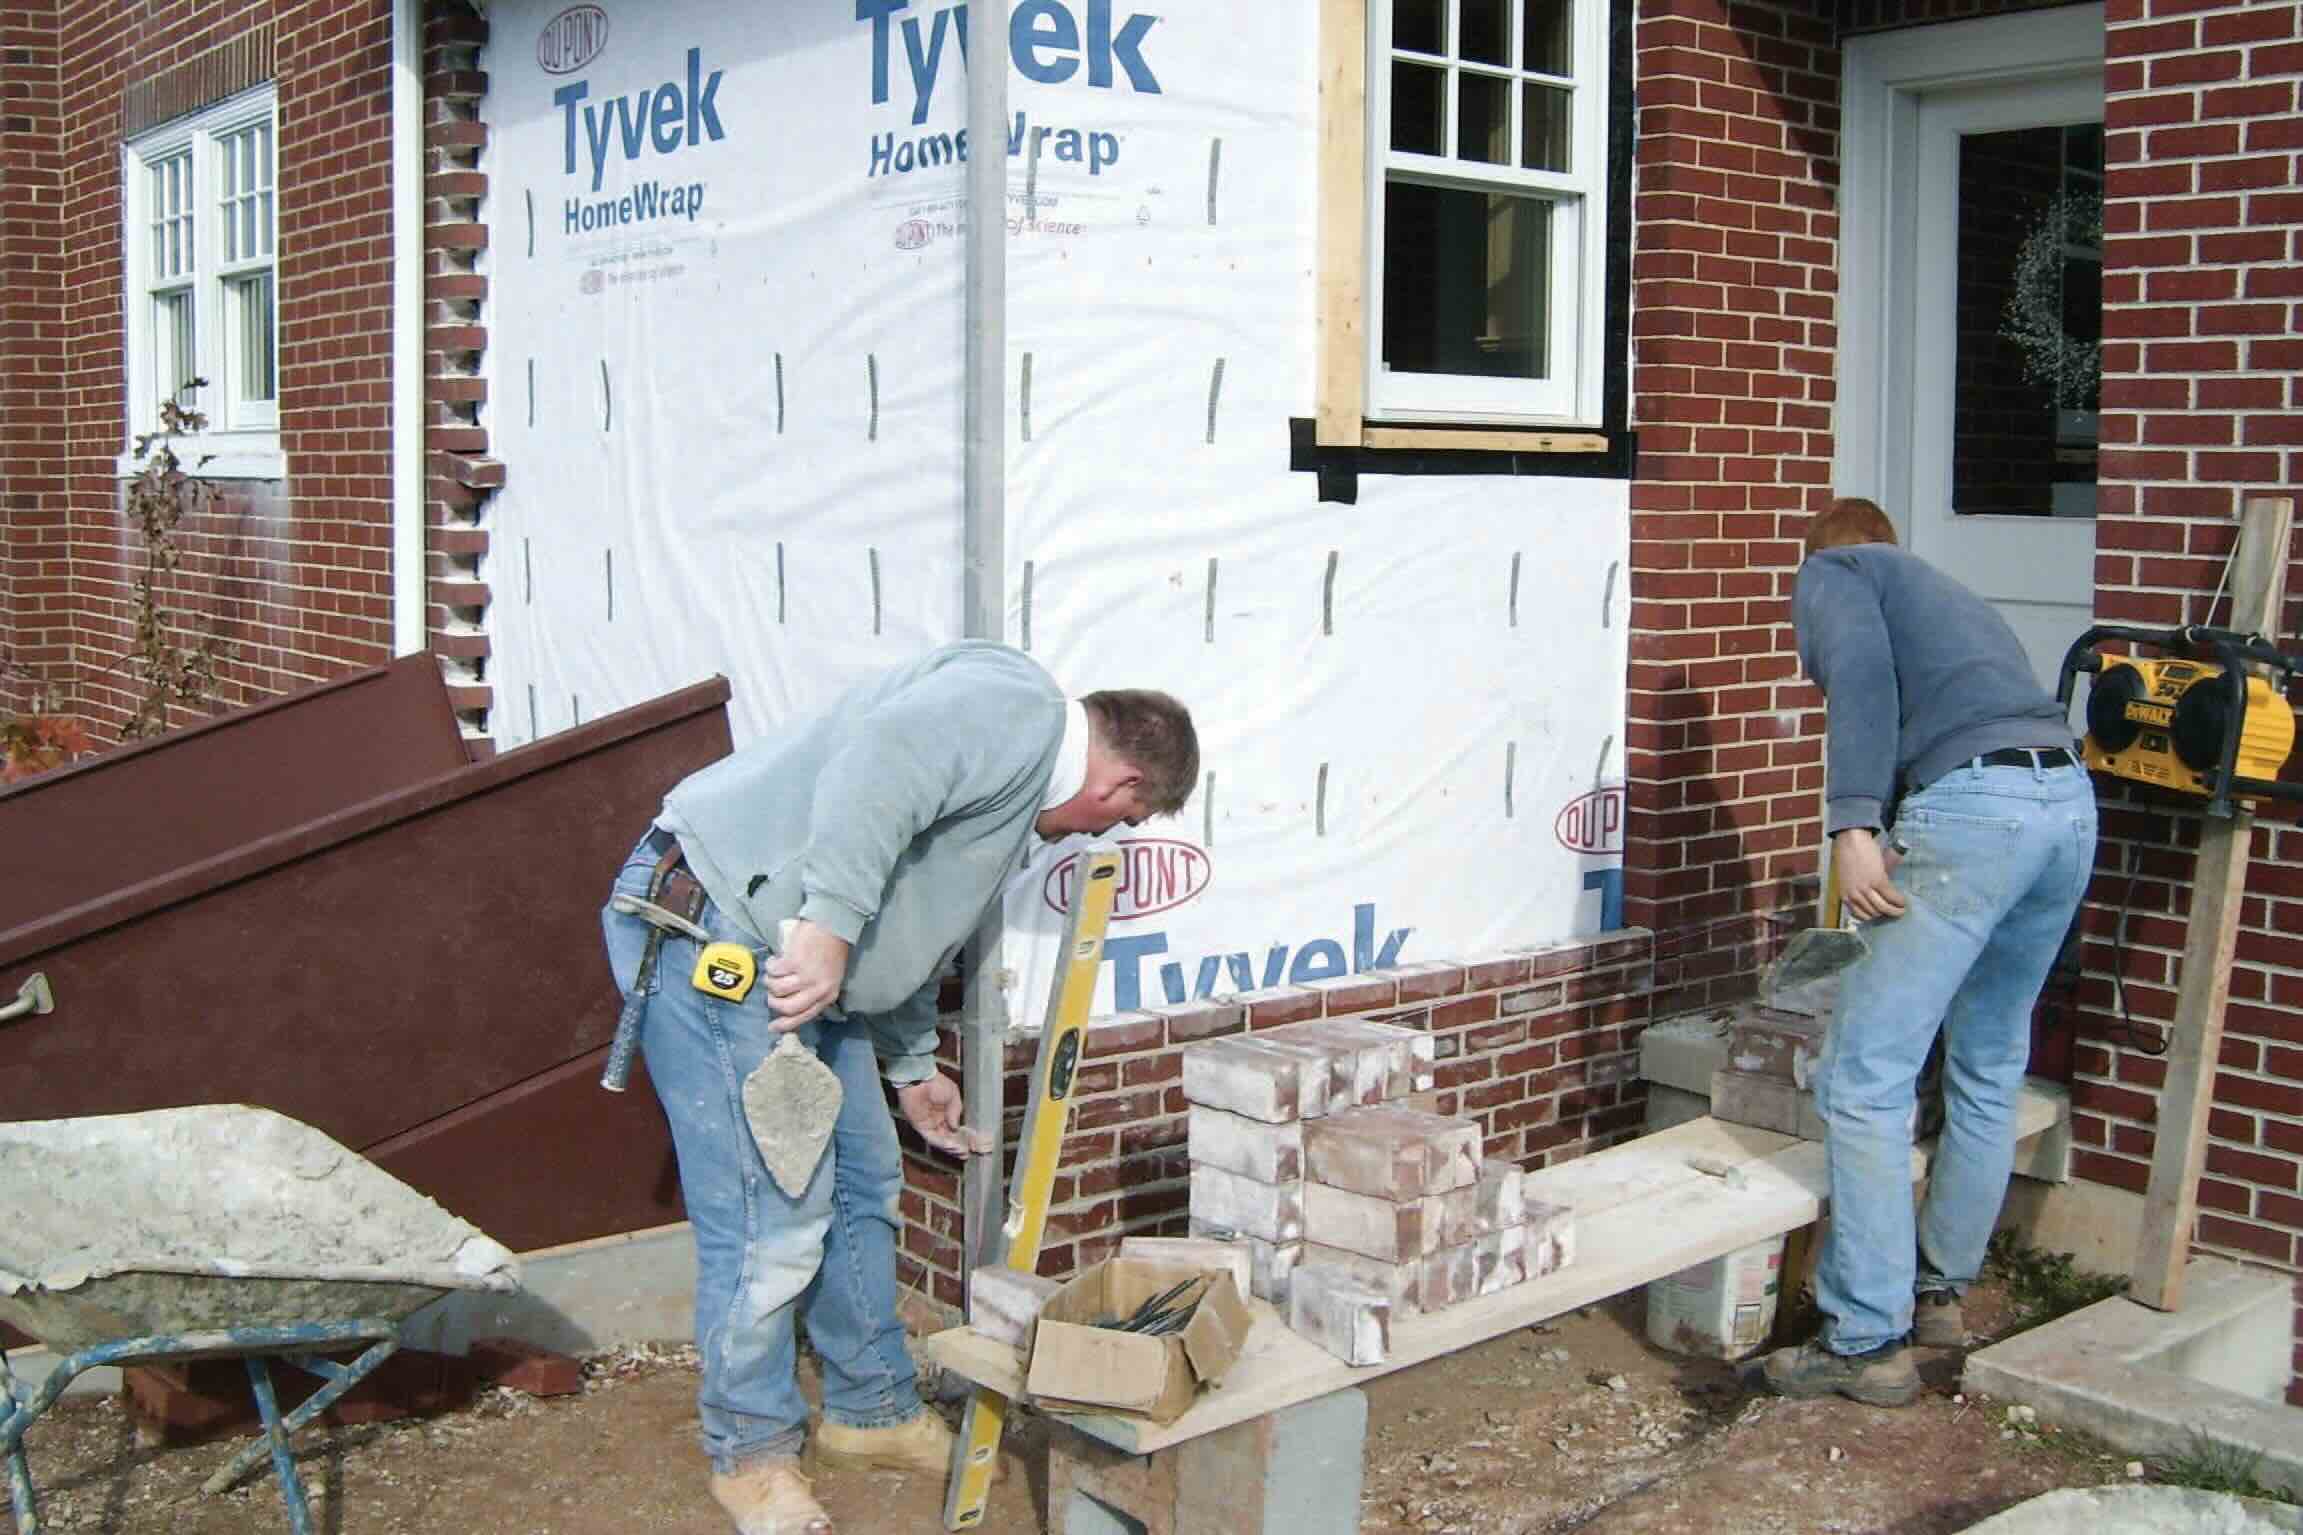
Clean the Exterior Surface: Begin by thoroughly cleaning the exterior surface of the brick house. Use a pressure washer to remove dirt, grime, and any existing loose paint. Pay special attention to areas with heavy buildup, such as around the foundation and near gutters. Allow the brick surface to dry completely before proceeding to the next step.
-
Repair Any Damage: Inspect the brick facade for any signs of damage, such as cracks, chipped mortar, or loose bricks. Repair any issues by re-pointing mortar joints and replacing damaged bricks. It's crucial to address these structural concerns before applying paint to ensure a stable and uniform surface.
-
Protect Surrounding Areas: Cover nearby plants, landscaping features, and any surfaces that won't be painted, such as windows, doors, and trim, with drop cloths or plastic sheeting. This precautionary measure helps prevent overspray and ensures that the paint is confined to the intended areas.
-
Mask Off Fixtures and Trim: Use painter's tape to carefully mask off fixtures, light fixtures, electrical outlets, and any trim or architectural details that should not be painted. This meticulous step helps maintain clean lines and prevents unintentional paint application on non-brick elements.
-
Evaluate Weather Conditions: Consider the weather forecast before proceeding with the painting project. Ideally, choose a period with mild temperatures and low humidity to facilitate optimal paint adhesion and drying. Avoid painting during windy conditions to prevent debris from affecting the paint application.
By diligently completing these preparatory tasks, you'll set the stage for a seamless and efficient painting process. The meticulous attention to detail during the preparation phase lays the foundation for a professional and enduring paint finish on your brick house.
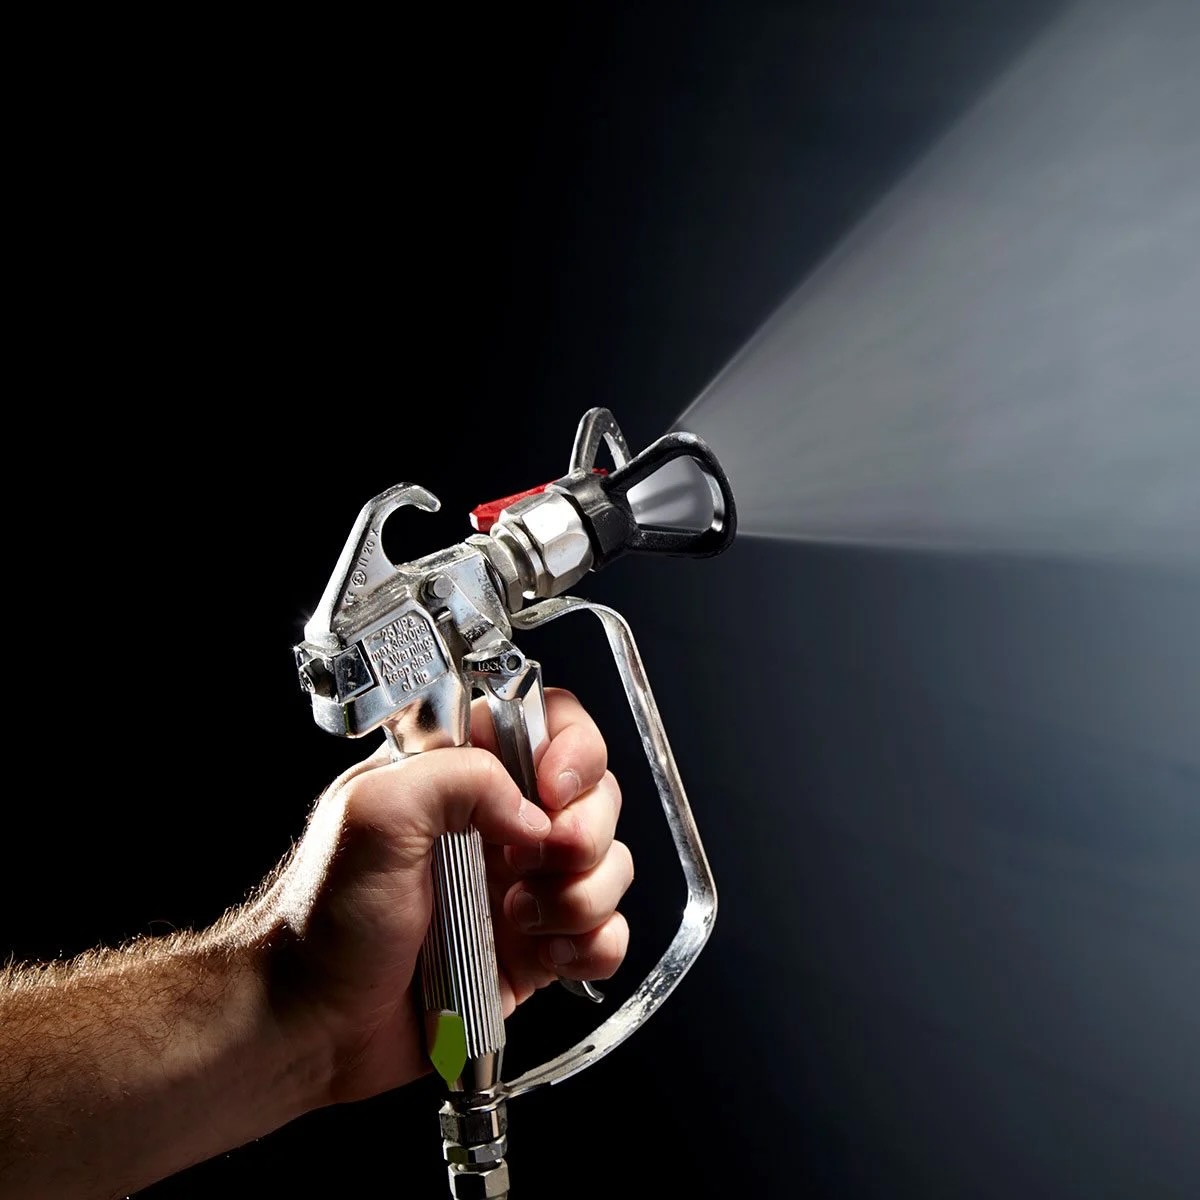
Step 2: Choose the Right Sprayer and Paint
Selecting the appropriate sprayer and paint is a critical aspect of painting a brick house with precision and efficiency. The right equipment and paint choices can significantly impact the overall outcome of the project, ensuring a smooth application and a durable, visually appealing finish.
Choosing the Sprayer:
When it comes to painting a brick house, utilizing a high-quality airless paint sprayer is often the preferred method. Airless sprayers are well-suited for applying paint to textured surfaces like brick, as they can deliver a consistent and even coat of paint across the irregular surface. Look for a sprayer with a minimum of 3,000 PSI (pounds per square inch) to effectively penetrate the porous nature of the brick and achieve thorough coverage. Additionally, consider the sprayer's tip size, opting for a larger tip to accommodate the texture of the brick and prevent clogging.
Selecting the Paint:
Choosing the right type of paint is equally crucial for achieving a successful outcome. Opt for a high-quality, breathable masonry paint specifically formulated for exterior brick surfaces. Acrylic latex paint is a popular choice for painting brick due to its durability, flexibility, and resistance to cracking. Look for a paint labeled as "breathable" or "porous" to allow moisture to escape from the brick, preventing potential issues such as trapped moisture and peeling paint. Additionally, consider the color of the paint and its compatibility with the existing brick color, architectural style, and surrounding environment.
Before making a final decision, consult with a knowledgeable paint professional or supplier to ensure that the selected paint is suitable for the unique characteristics of brick surfaces. Taking the time to research and invest in high-quality paint and a reliable sprayer will contribute to a successful and enduring paint application on your brick house.
By carefully considering the sprayer and paint options, you'll set the stage for a smooth and effective painting process, ultimately leading to a visually stunning transformation of your brick house's exterior.
Read more: How To Use Ryobi Paint Sprayer
Step 3: Practice Using the Sprayer
Before initiating the actual painting process on the brick house, it is imperative to familiarize yourself with the operation of the sprayer and refine your spraying technique through practice. This preparatory step not only enhances your comfort and proficiency with the equipment but also contributes to achieving a more uniform and professional finish on the brick surface.
Begin by setting up a designated practice area where you can experiment with the sprayer and paint application. Ideally, use a spare piece of plywood or a large cardboard surface to simulate the texture and porous nature of the brick. This allows you to adjust the sprayer settings and familiarize yourself with its handling without directly applying paint to the house.
Once the practice area is established, carefully read the manufacturer's instructions for the sprayer to understand its specific features, settings, and recommended operating techniques. Familiarize yourself with the sprayer's controls, including the pressure adjustment, spray pattern, and trigger operation. Additionally, ensure that the sprayer is properly assembled, and all components are securely connected to prevent any potential issues during the actual painting process.
With the sprayer ready for use, begin practicing by applying the paint to the designated surface in a consistent and controlled manner. Pay attention to the distance between the sprayer and the surface, as well as the speed and overlapping of each pass. Aim for a steady and even application, adjusting the sprayer's pressure and spray pattern as needed to achieve the desired coverage and texture simulation.
As you practice using the sprayer, take note of any adjustments or techniques that yield optimal results in terms of paint distribution and surface coverage. Experiment with different spraying angles and distances to understand how they influence the paint application on the textured surface. This hands-on practice session serves as a valuable opportunity to refine your spraying technique and build confidence in handling the sprayer effectively.
By dedicating time to practice using the sprayer, you'll gain valuable insights into its operation and develop a level of comfort that translates into greater precision and control during the actual painting process. This proactive approach sets the stage for a smoother and more proficient execution of the painting task, ultimately contributing to a professional and visually appealing outcome for your brick house's exterior.
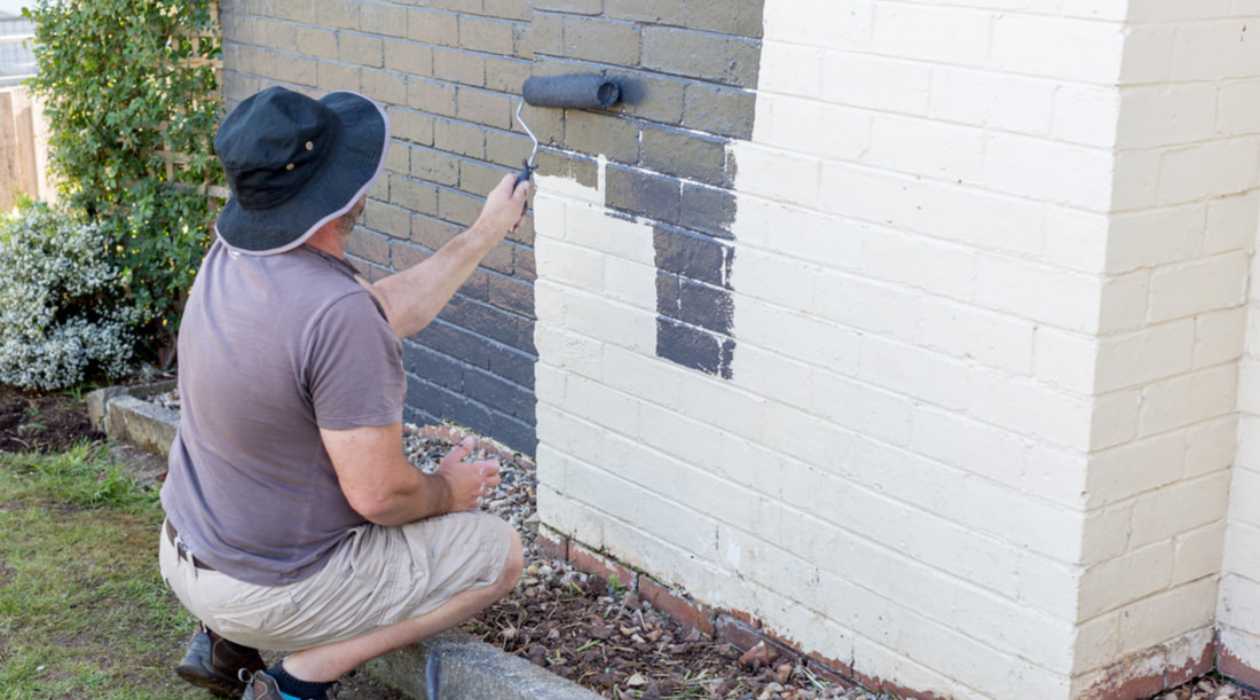
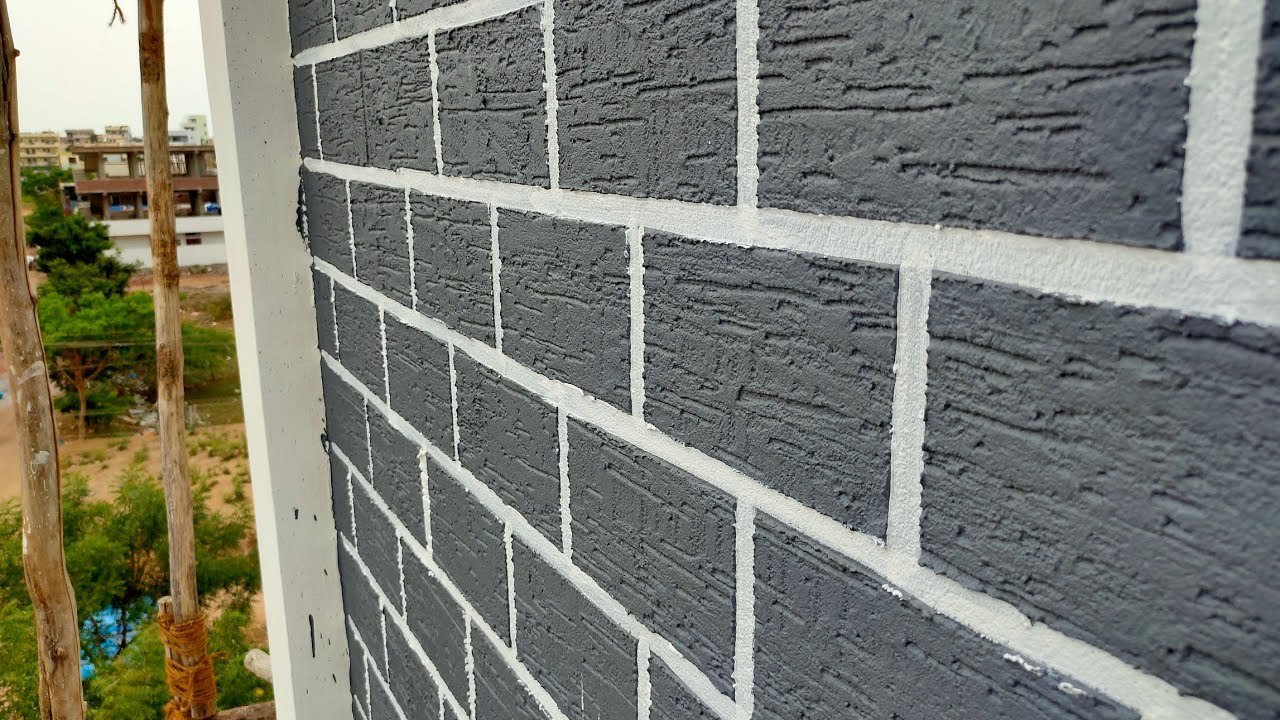
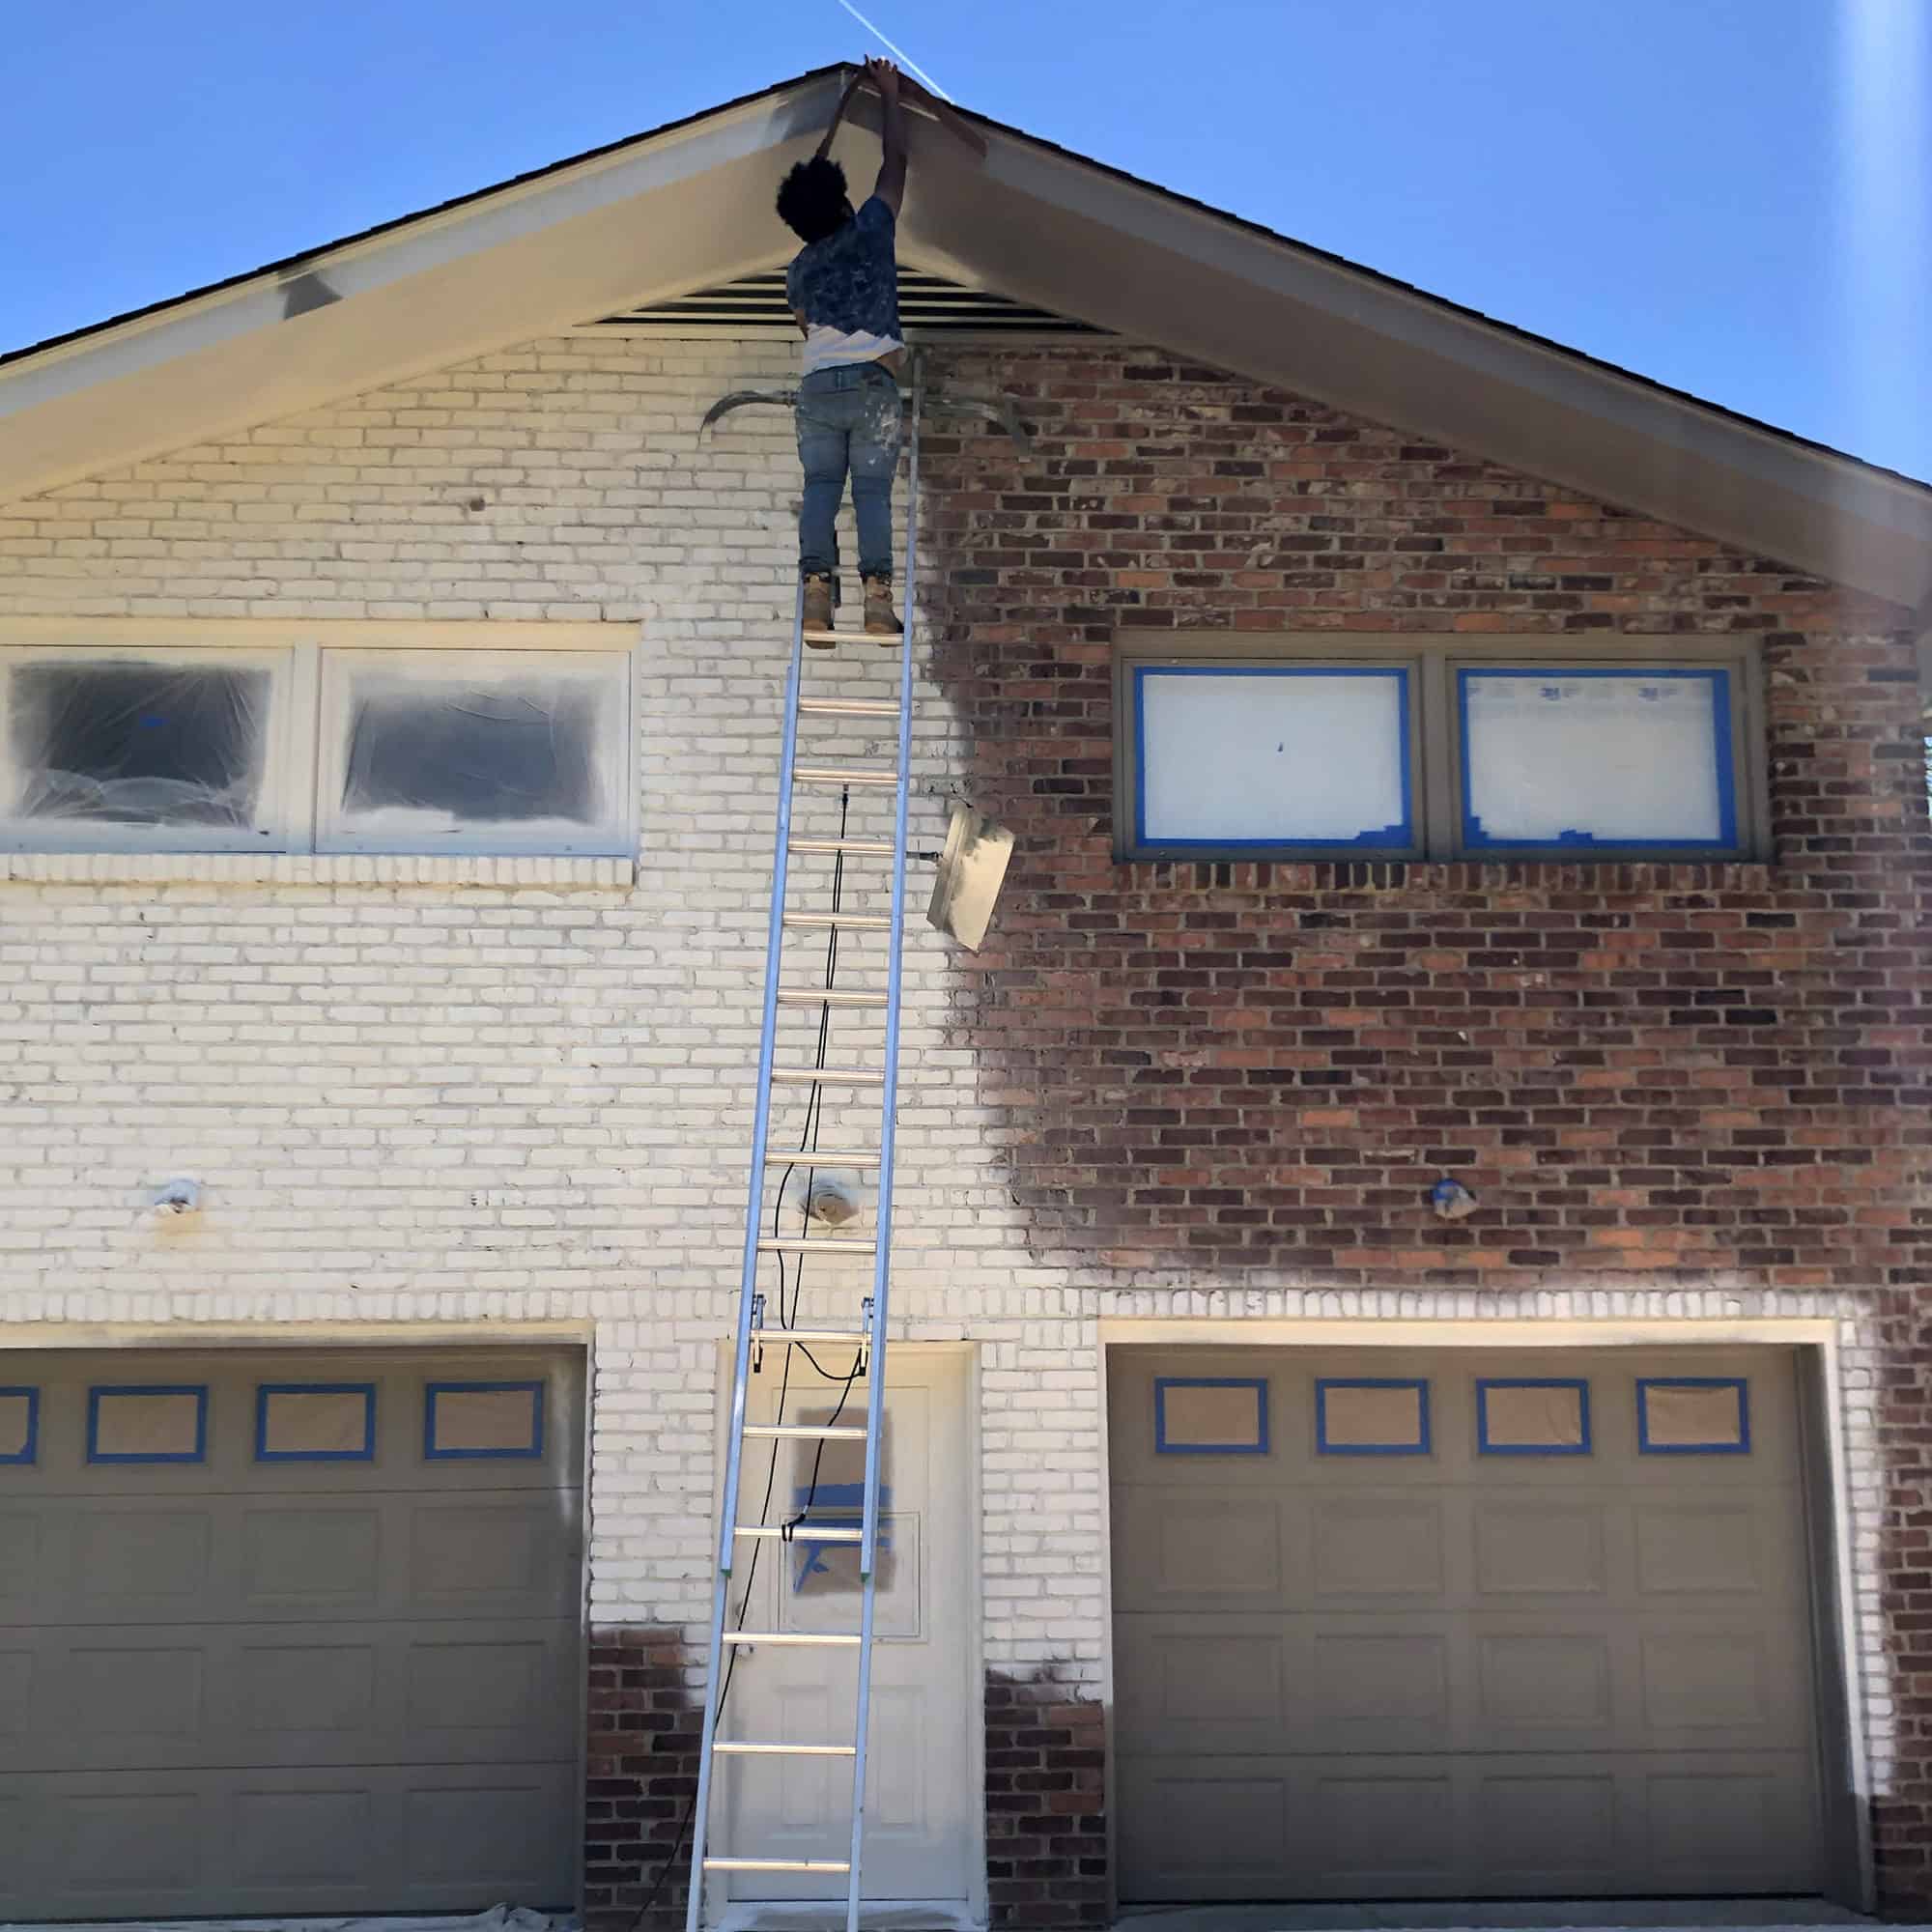
Step 4: Start Painting the Brick House
With the groundwork laid and the necessary preparations completed, it's time to embark on the transformative process of painting the brick house. This pivotal step requires a methodical approach and a keen eye for detail to ensure a flawless and enduring paint application. Here's a comprehensive breakdown of the essential actions involved in painting the brick house with a sprayer:
-
Begin with a Test Spray: Before applying paint to the entire brick surface, conduct a test spray on a discreet area to ensure that the sprayer is functioning optimally and that the paint consistency and coverage meet your expectations. This initial test allows you to fine-tune the sprayer settings and make any necessary adjustments before proceeding with the full application.
-
Start at the Top: Commence the painting process at the top of the brick house, working in manageable sections to maintain a consistent pace and ensure thorough coverage. Begin by spraying along the top edge of the wall, gradually moving downward in a methodical manner. This approach minimizes the risk of overspray and ensures that the paint is evenly distributed across the entire surface.
-
Maintain a Uniform Distance: As you apply the paint with the sprayer, maintain a consistent distance between the nozzle and the brick surface to achieve uniform coverage. Aim for an overlapping spray pattern, moving the sprayer in smooth, horizontal or vertical motions to prevent streaking and ensure that the paint penetrates the textured surface effectively.
-
Work in Sections: Divide the brick house into manageable sections, focusing on one area at a time to maintain control and precision. By systematically addressing each section, you can concentrate on achieving even paint distribution and texture consistency, resulting in a cohesive and professional finish across the entire exterior.
-
Address Corners and Edges: Pay special attention to corners, edges, and intricate architectural features, ensuring that the paint reaches these areas without excessive buildup or uneven application. Adjust the sprayer's settings as needed to accommodate the varying contours and angles of the brick surface, maintaining a meticulous approach to detail.
-
Monitor Paint Thickness: Throughout the painting process, monitor the thickness of the paint application to prevent excessive buildup, which can lead to drips and uneven texture. Aim for a consistent and moderate paint thickness, adjusting the sprayer's pressure and speed to achieve the desired result while avoiding over-application.
-
Allow for Drying Time: Once a section is painted, allow the paint to dry according to the manufacturer's recommendations before proceeding to the next area. This patience ensures that the paint adheres properly and minimizes the risk of smudging or imperfections as you continue painting the remaining sections of the brick house.
By following these meticulous steps and maintaining a methodical approach, you can effectively paint the brick house with a sprayer, achieving a professional and visually striking result. The careful execution of the painting process sets the stage for a remarkable transformation of the brick house's exterior, elevating its aesthetic appeal and leaving a lasting impression.
Step 5: Apply Additional Coats if Necessary
After completing the initial paint application on the brick house, it's essential to assess the coverage and overall finish to determine if additional coats are required to achieve the desired result. Applying additional coats, if necessary, plays a crucial role in enhancing the durability, color depth, and overall visual impact of the painted surface. Here's a detailed exploration of the process of applying additional coats to ensure a comprehensive and impeccable paint finish on the brick house.
Assessing the Initial Coat
Begin by carefully evaluating the appearance of the brick surface after the initial coat of paint has dried. Inspect the texture, color consistency, and coverage across different sections of the house to identify any areas that may require further attention. It's common for porous surfaces like brick to absorb the initial coat, potentially necessitating additional layers to achieve a uniform and vibrant finish.
Read also: 12 Unbelievable Paint Sprayer For 2025
Addressing Uneven Coverage
If certain areas exhibit uneven coverage or appear lighter than desired, applying an additional coat can rectify these inconsistencies and create a more balanced and visually appealing result. Pay close attention to any spots where the underlying brick color is still visible, as these areas may benefit from an extra layer of paint to achieve full coverage and color saturation.
Enhancing Color Depth and Uniformity
Applying a second coat of paint contributes to enhancing the color depth and richness, particularly with darker or more vibrant hues. The additional layer allows the paint to build up, resulting in a more pronounced and lustrous appearance that elevates the overall aesthetic impact of the brick house's exterior. Furthermore, multiple coats help achieve a uniform color tone across the entire surface, minimizing variations and ensuring a cohesive visual presentation.
Ensuring Long-Term Durability
Beyond aesthetic considerations, applying additional coats of paint enhances the long-term durability and resilience of the brick surface. Multiple layers of paint create a robust protective barrier, shielding the brick from environmental elements and potential wear over time. This added protection contributes to the longevity of the paint finish, ensuring that the exterior of the house maintains its striking appearance for years to come.
Methodical Application of Additional Coats
When applying additional coats, maintain a systematic approach, similar to the initial painting process. Work in manageable sections, ensuring that each area receives consistent and thorough coverage. Pay particular attention to blending the additional coats seamlessly with the existing paint, avoiding visible demarcation lines and ensuring a seamless transition between layers.
By carefully assessing the need for additional coats and executing the application with precision, you can elevate the overall quality and visual impact of the paint finish on the brick house. This meticulous approach ensures that the exterior of the house exudes a polished and enduring aesthetic, reflecting the care and attention invested in the painting process.
Step 6: Clean Up and Maintenance Tips
Once the painting process is complete, proper clean-up and post-painting maintenance are essential to preserve the integrity and visual appeal of the freshly painted brick house. This final step involves meticulous attention to detail and proactive measures to ensure that the painted surface remains vibrant and well-maintained for years to come.
Cleaning Up the Work Area
Begin by carefully removing any protective coverings, such as drop cloths and plastic sheeting, from the surrounding areas. Dispose of any paint cans, used materials, and debris in accordance with local waste disposal regulations. Thoroughly clean the sprayer and any painting equipment, following the manufacturer's guidelines for proper maintenance and storage. Additionally, ensure that any spilled or excess paint is promptly cleaned from non-brick surfaces, such as windows, doors, and trim, using appropriate cleaning agents and techniques.
Post-Painting Inspection
After the paint has fully dried, conduct a comprehensive inspection of the painted brick surface to identify any imperfections, drips, or areas requiring touch-ups. Address any issues promptly, utilizing the same paint and application method to seamlessly blend any necessary corrections with the existing finish. This proactive approach contributes to maintaining a flawless and uniform appearance across the entire exterior of the house.
Routine Maintenance Practices
To prolong the longevity of the paint finish, implement routine maintenance practices to safeguard the painted brick surface. Regularly inspect the exterior for signs of wear, moisture accumulation, or damage, addressing any issues promptly to prevent potential deterioration. Periodically clean the painted surface using a mild detergent and water, coupled with gentle scrubbing to remove dirt and environmental residue. Avoid using abrasive cleaning tools or harsh chemicals that may compromise the integrity of the paint.
Read more: How To Whitewash A Brick House
Addressing Potential Issues
Keep an eye out for potential issues such as efflorescence, a white, powdery residue that can appear on masonry surfaces. If efflorescence occurs, address it promptly using appropriate cleaning methods to prevent it from affecting the paint finish. Additionally, monitor the painted surface for signs of peeling, cracking, or discoloration, taking proactive measures to rectify any issues and preserve the overall visual appeal of the brick house.
Professional Maintenance Assistance
In cases where extensive maintenance or repairs are required, consider seeking professional assistance from experienced painters or masonry experts. Professional maintenance services can provide specialized solutions for preserving the integrity of the paint finish and addressing any underlying issues that may impact the longevity of the painted brick surface.
By adhering to these clean-up and maintenance tips, you can ensure that the freshly painted brick house maintains its vibrant and captivating appearance, standing as a testament to the meticulous care and attention invested in the painting process. These proactive measures contribute to the long-term preservation of the exterior, allowing the visual impact of the paint finish to endure and captivate for years to come.
Conclusion
In conclusion, painting a brick house with a sprayer is a transformative endeavor that demands meticulous preparation, precision, and a keen eye for detail. By following the comprehensive steps outlined in this guide, you have gained valuable insights into the intricacies of preparing the house, selecting the right equipment and paint, honing your spraying technique, and executing a flawless paint application. The culmination of these efforts results in a visually stunning transformation of the brick house's exterior, elevating its curb appeal and leaving a lasting impression.
As you reflect on the journey of painting your brick house, it's important to recognize the significance of each step in the process. From the initial preparations, including cleaning the surface and protecting the surroundings, to the careful selection of the sprayer and paint, every action contributes to the overall success of the project. The practice and refinement of your spraying technique further enhance your confidence and proficiency, laying the groundwork for a seamless and professional paint application.
The actual painting process itself is a culmination of skill and precision, as you methodically work through each section of the house, ensuring uniform coverage and a flawless finish. The application of additional coats, if necessary, adds depth and durability to the paint finish, further enhancing the visual impact and longevity of the transformation. Finally, the post-painting clean-up and maintenance tips underscore the commitment to preserving the vibrancy and integrity of the painted surface for years to come.
As you stand back and admire the newly painted brick house, take pride in the dedication and attention to detail that have brought about this remarkable change. The exterior now exudes a fresh and vibrant allure, reflecting the care and craftsmanship invested in the painting process. The enduring beauty of the painted brick house serves as a testament to your commitment to excellence and your ability to undertake transformative projects with skill and precision.
Moving forward, the knowledge and experience gained from this endeavor will continue to serve you well, whether you embark on future painting projects or share your insights with others seeking to revitalize their homes. The art of painting a brick house with a sprayer is a testament to the transformative power of meticulous craftsmanship and the enduring impact of a visually striking exterior.
In the end, the journey of painting a brick house with a sprayer extends beyond the physical transformation of the exterior. It embodies the dedication to precision, the pursuit of enduring beauty, and the fulfillment of a vision brought to life through skill and expertise. As you embrace the remarkable change that has unfolded, may the newly painted brick house stand as a testament to the artistry and craftsmanship that define your approach to home improvement and the pursuit of aesthetic excellence.
Frequently Asked Questions about How To Paint A Brick House With A Sprayer
Was this page helpful?
At Storables.com, we guarantee accurate and reliable information. Our content, validated by Expert Board Contributors, is crafted following stringent Editorial Policies. We're committed to providing you with well-researched, expert-backed insights for all your informational needs.


0 thoughts on “How To Paint A Brick House With A Sprayer”