Home>Construction & Tools>Building Materials>How To Put Sand Between Brick Pavers
Building Materials
How To Put Sand Between Brick Pavers
Modified: January 23, 2024
Learn how to properly install sand between brick pavers with our step-by-step guide. Find the best building materials and techniques for a professional finish.
(Many of the links in this article redirect to a specific reviewed product. Your purchase of these products through affiliate links helps to generate commission for Storables.com, at no extra cost. Learn more)
Introduction
When it comes to enhancing the aesthetic appeal and stability of your outdoor spaces, few things can rival the timeless charm and durability of brick pavers. These versatile building materials have been adorning walkways, patios, and driveways for centuries, adding a touch of rustic elegance to any setting. However, to ensure that your brick paver installation stands the test of time, it's crucial to pay attention to the finer details, such as the application of sand between the pavers.
The sand serves a vital role in the overall integrity of the paver structure, providing stability, preventing shifting, and minimizing weed growth. In addition to its functional benefits, the sand also contributes to the visual appeal of the installation, accentuating the natural beauty of the bricks and lending a cohesive, polished look to the entire surface.
In this comprehensive guide, we'll walk you through the process of properly applying sand between brick pavers. From choosing the right type of sand to the final finishing touches, you'll gain valuable insights and practical tips to ensure a successful and visually stunning paver installation. So, roll up your sleeves and get ready to elevate your outdoor space with the timeless allure of sand-enhanced brick pavers.
Key Takeaways:
- Choose the right sand: Polymeric, jointing, or regular sand can enhance the durability and visual appeal of your brick paver installation. Consider foot traffic, drainage, and visual outcome when selecting the sand type.
- Meticulous preparation and application: Thoroughly clean the paver surface, inspect for proper drainage, and use a sweeping and compacting technique when applying sand. Attention to finishing touches, such as misting and regular maintenance, ensures enduring charm and resilience.
Read more: What To Put Between Brick Pavers
Choosing the Right Sand
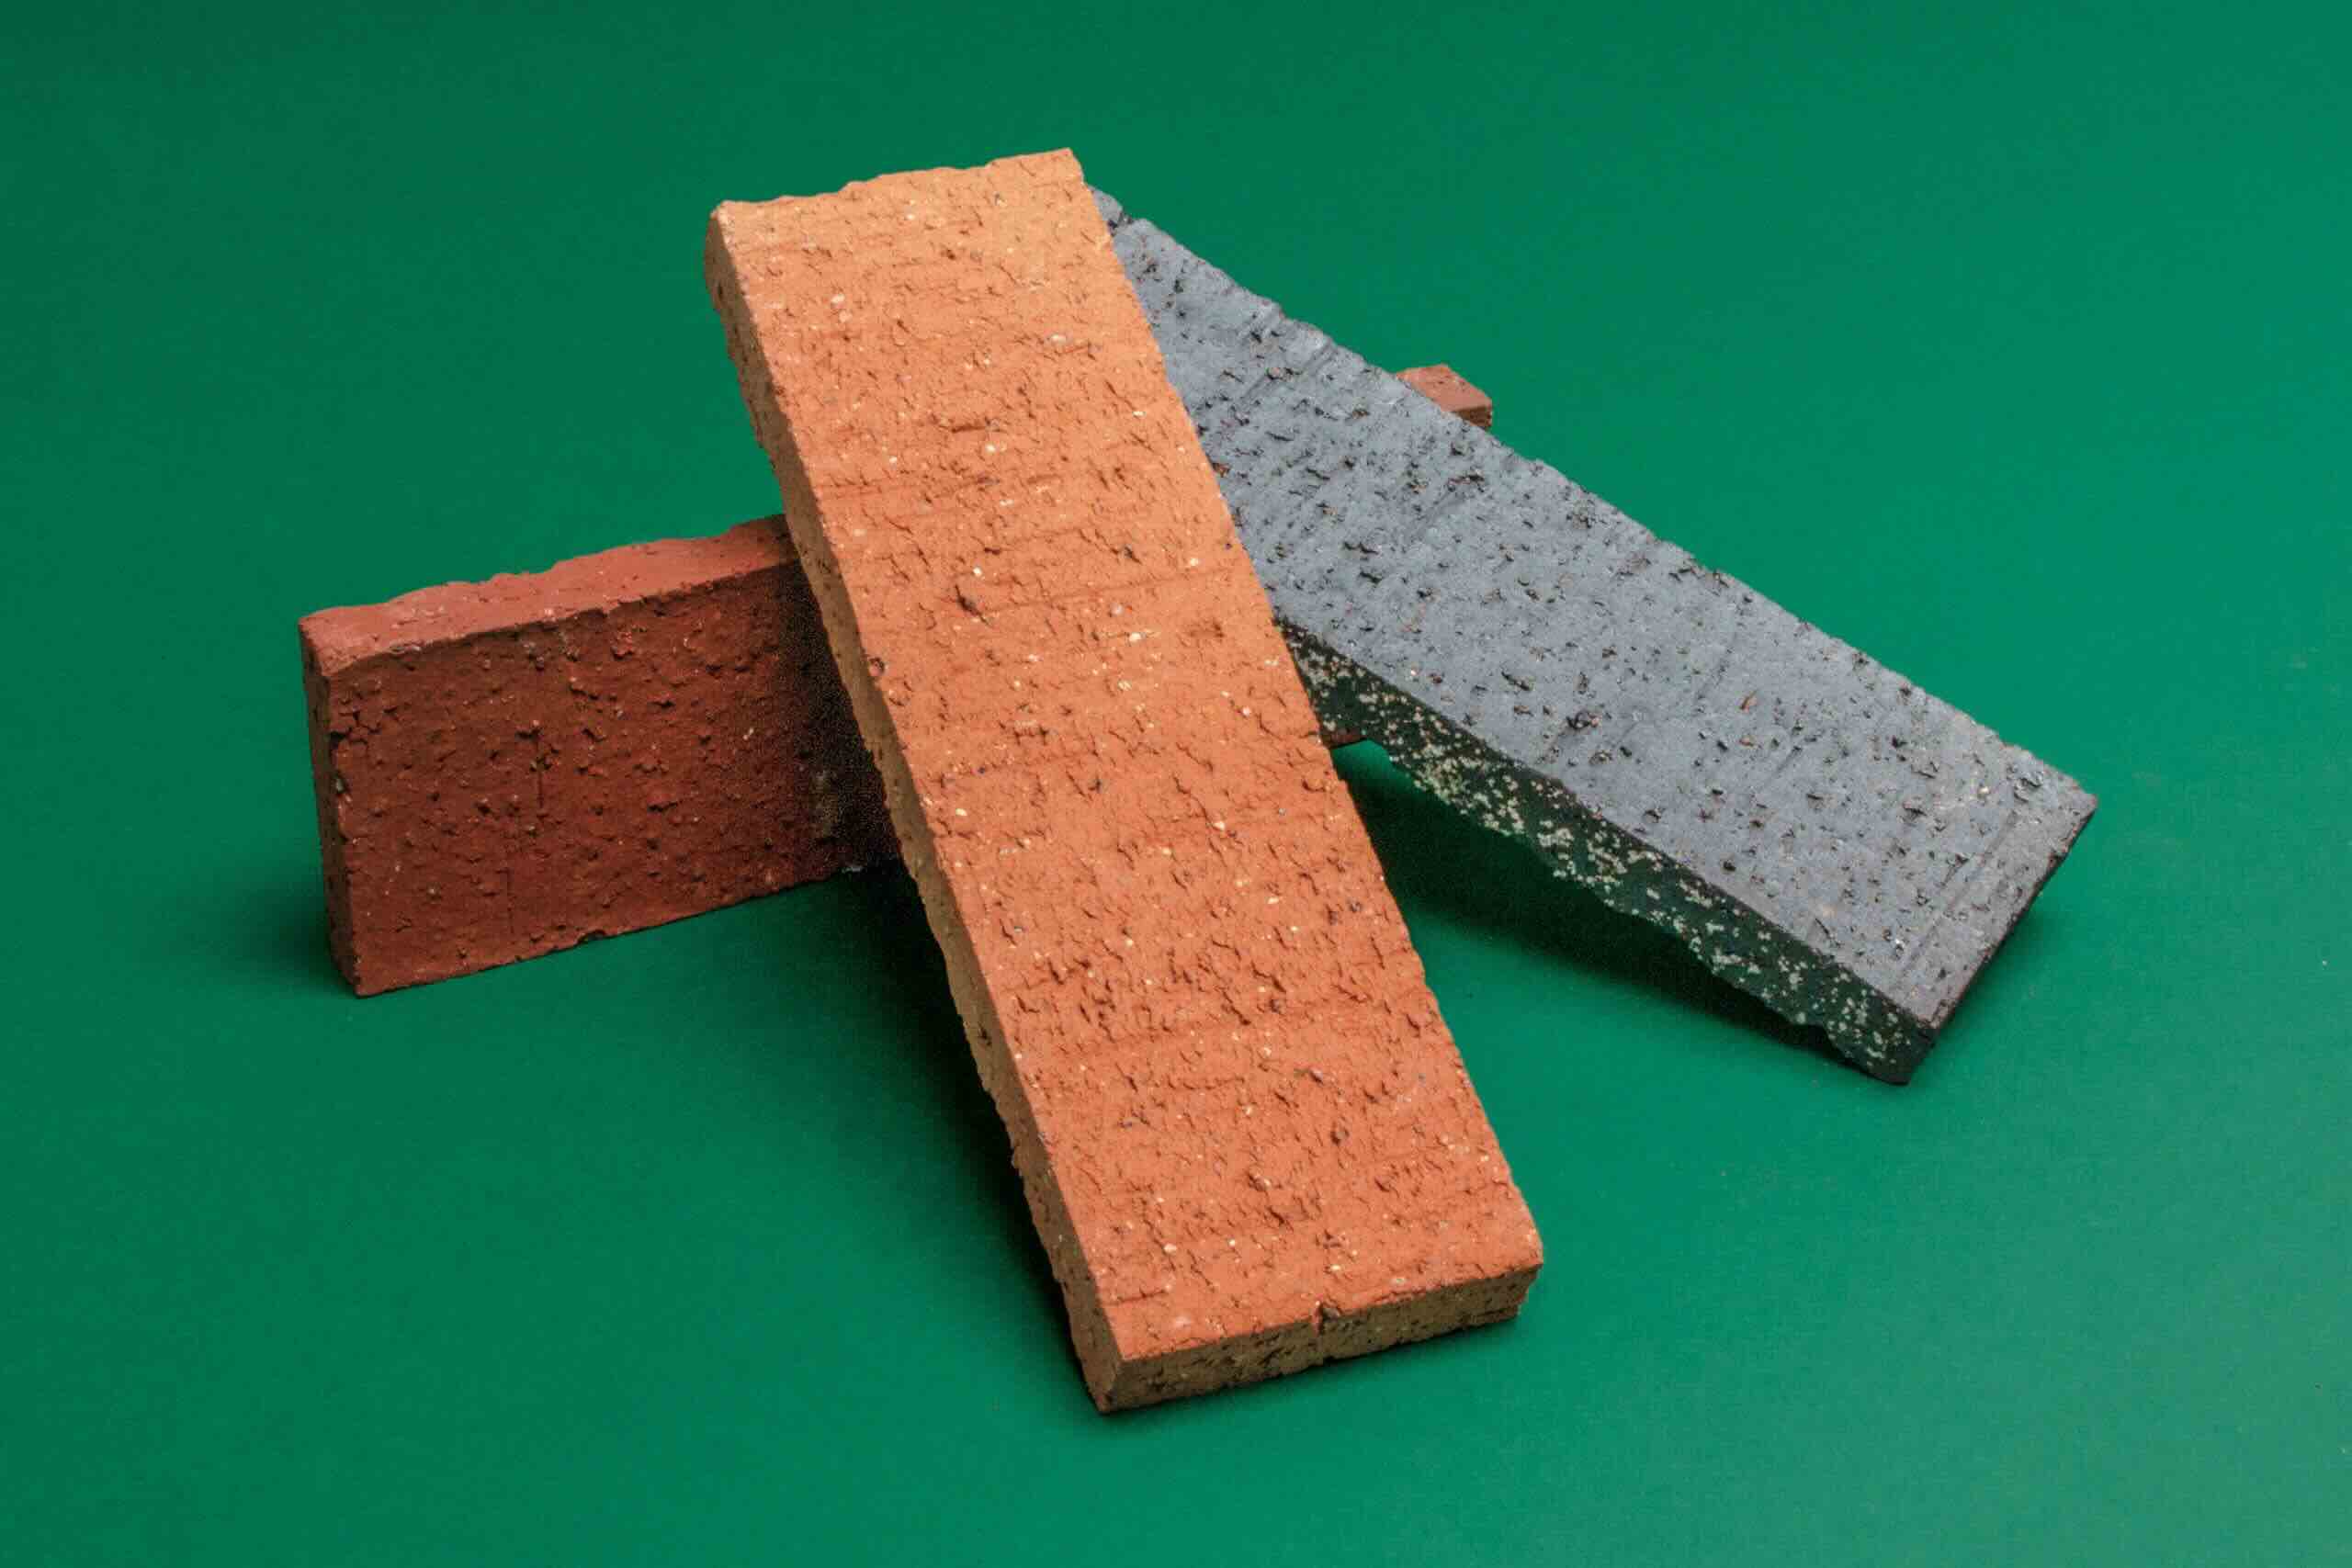
Before diving into the process of applying sand between brick pavers, it's essential to select the appropriate type of sand for the job. Not all sands are created equal, and choosing the right one can significantly impact the longevity and stability of your paver installation.
1. Polymeric Sand: This specialized sand is a popular choice for filling the joints between pavers. It contains a polymer that, when activated by water, forms a strong bond, effectively locking the pavers in place and minimizing weed growth. Polymeric sand is particularly beneficial for areas prone to heavy rainfall or where water runoff is a concern.
2. Jointing Sand: Comprising finely graded sand, jointing sand is an excellent option for filling the gaps between pavers. It provides a stable base, promoting interlock between the pavers and preventing shifting over time. Additionally, jointing sand allows for adequate drainage, making it suitable for various outdoor applications.
3. Regular Sand: While not as advanced as polymeric or jointing sand, regular sand can still be used for filling paver joints, especially in low-traffic areas. It is cost-effective and readily available, making it a practical choice for smaller projects or DIY enthusiasts on a budget.
When choosing the right sand, consider the specific requirements of your paver installation, including the anticipated foot traffic, exposure to environmental elements, and the desired visual outcome. Additionally, consult with your local building materials supplier or landscaping professional to determine the most suitable sand for your project.
By selecting the appropriate sand for your brick paver application, you set the stage for a durable, aesthetically pleasing outdoor surface that will withstand the test of time.
Preparation
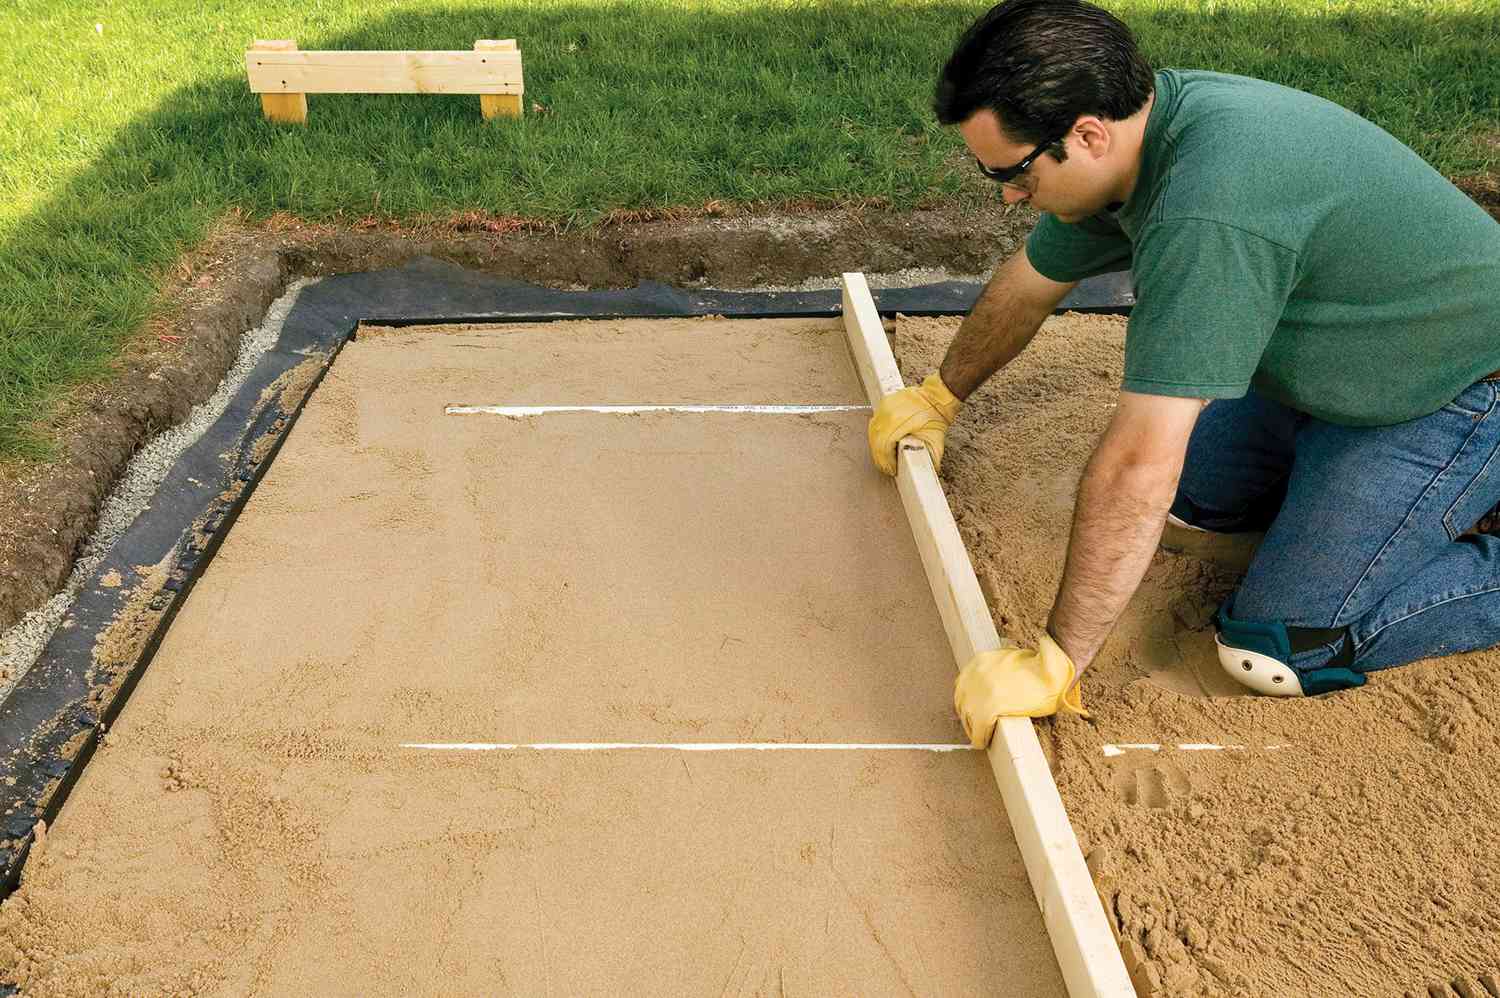
Before embarking on the task of applying sand between your brick pavers, it’s crucial to prepare the paver surface thoroughly. Adequate preparation sets the foundation for a successful sand application and ensures long-lasting stability and visual appeal.
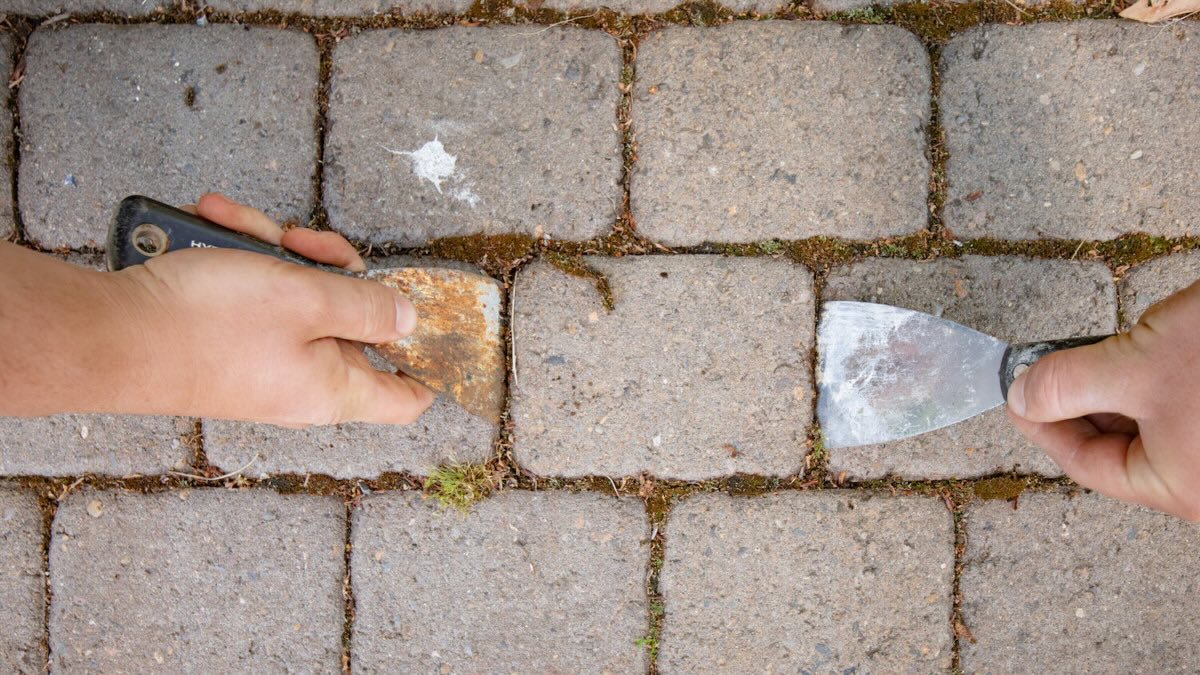
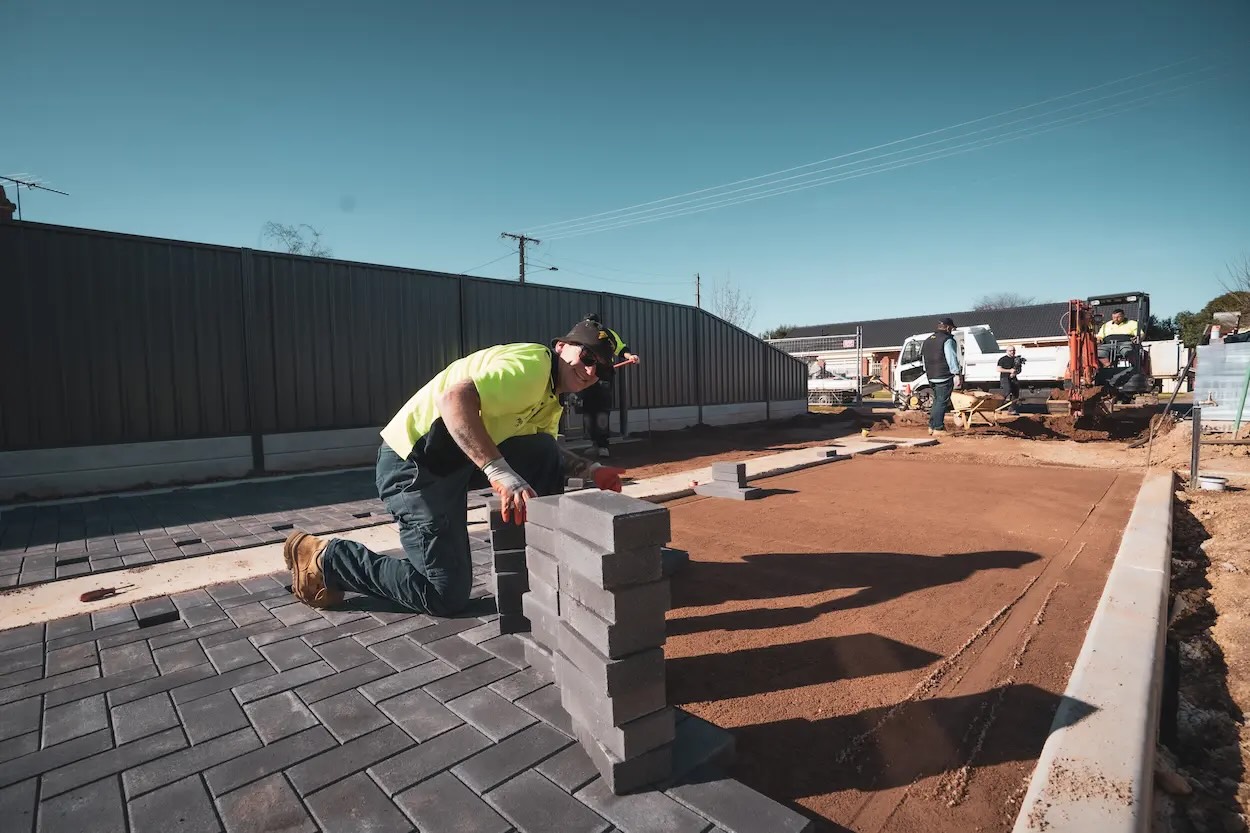
1. Clean the Paver Surface: Begin by thoroughly cleaning the paver surface to remove any debris, dirt, or organic matter that may have accumulated in the joints. Utilize a stiff-bristled broom or a pressure washer to achieve a clean, debris-free surface. This step is essential for promoting proper sand compaction and adhesion.
2. Inspect for Proper Drainage: Check the paver installation for adequate drainage. Proper drainage is crucial for preventing water from pooling between the pavers, which can compromise the integrity of the sand-filled joints. Adjust the base or underlying layers if necessary to ensure efficient water runoff.
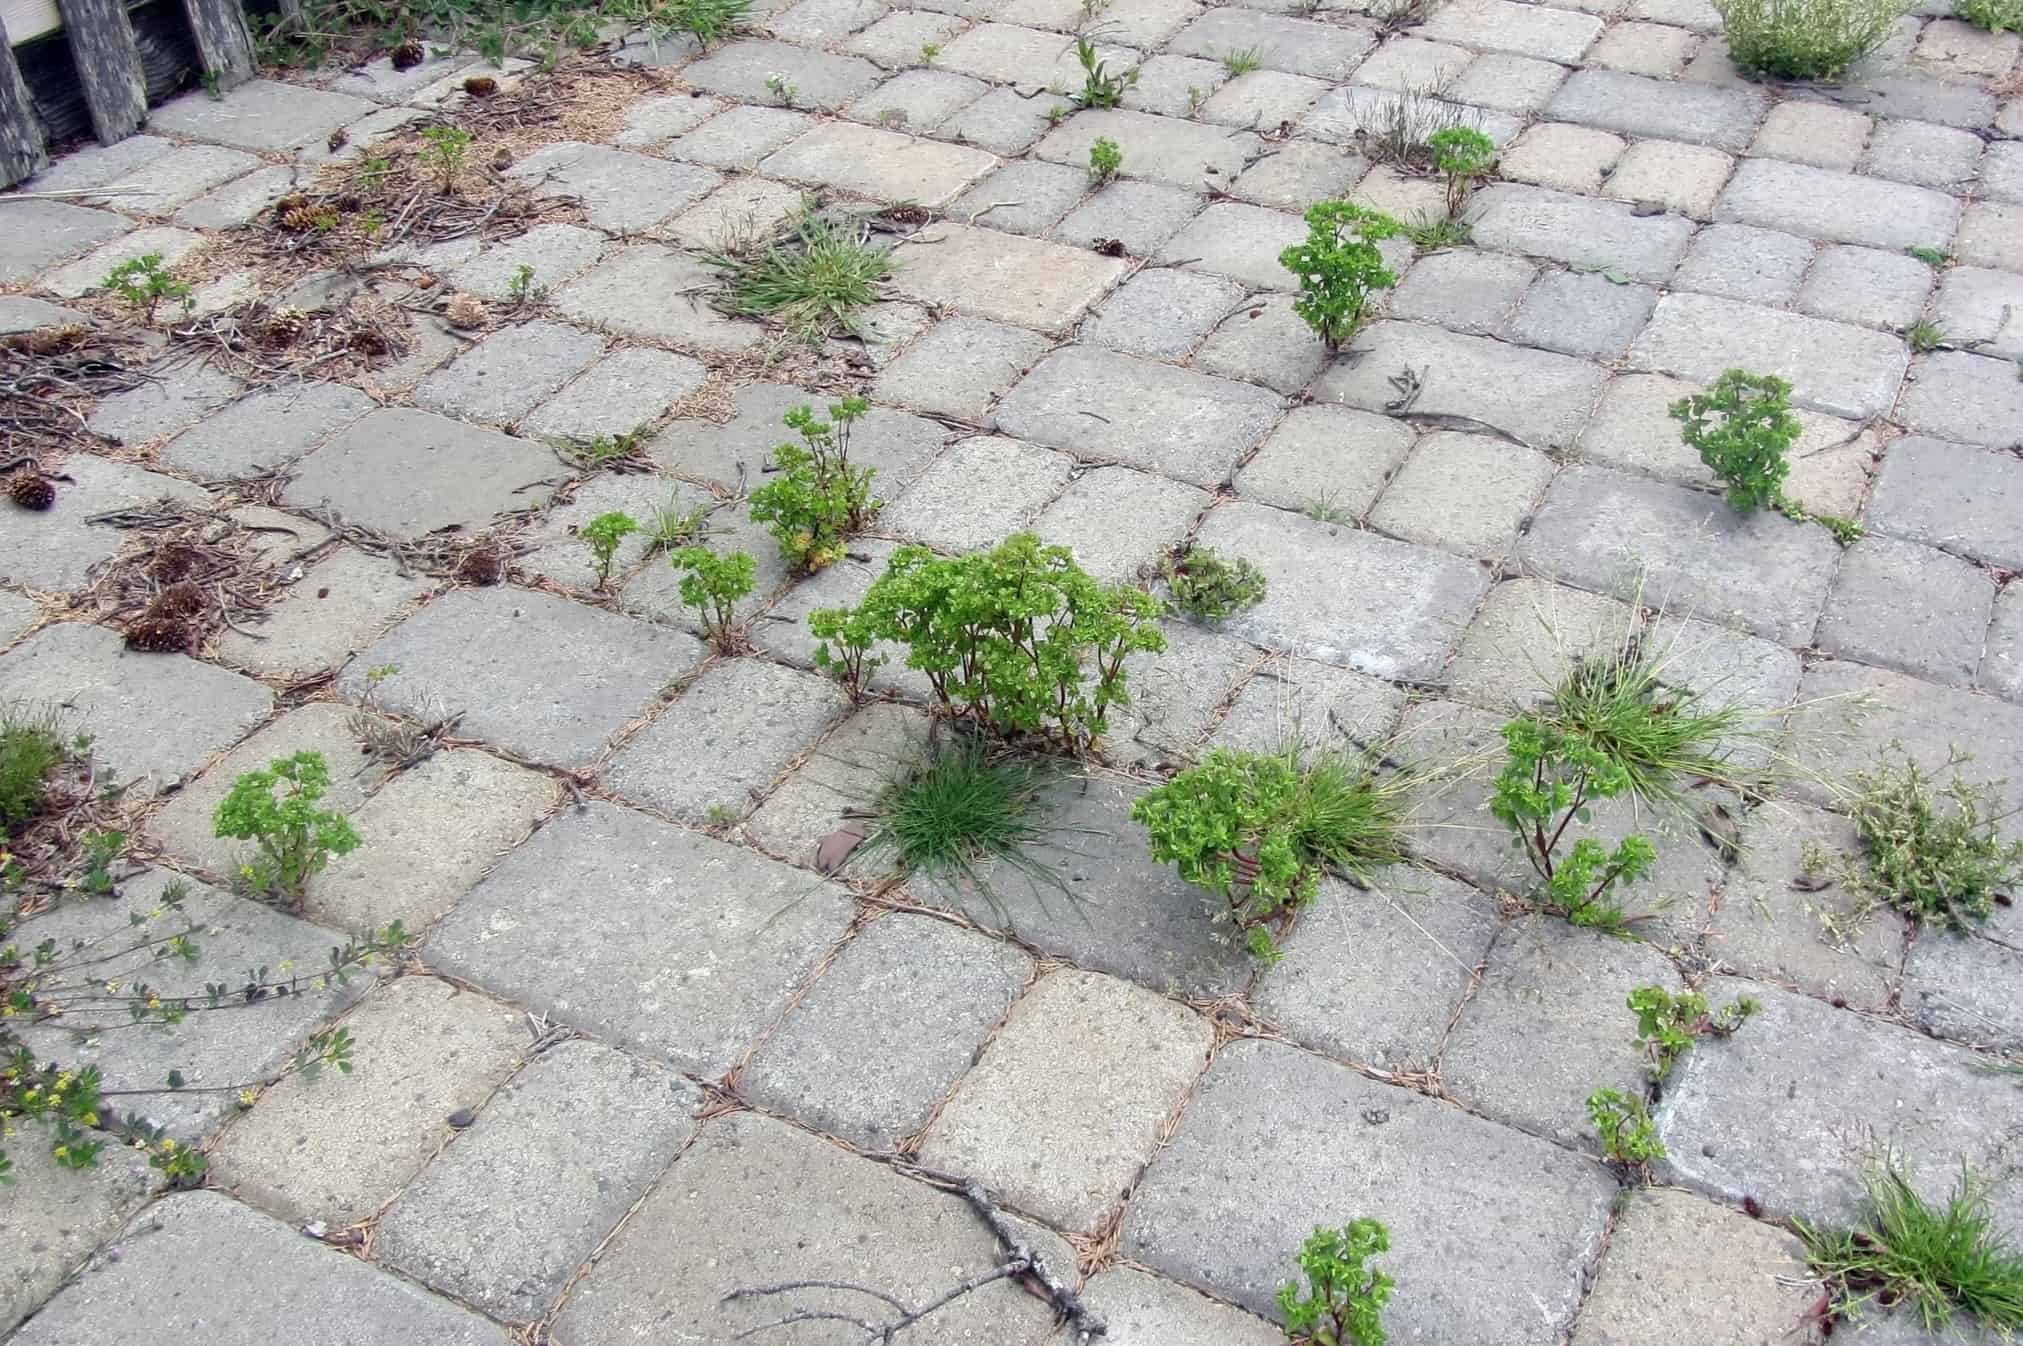
3. Address Weed Growth: If there are any existing weeds or vegetation growing between the pavers, take the time to remove them before proceeding with the sand application. Eliminating weeds at this stage helps prevent their regrowth and ensures a clean, uniform appearance for the finished project.
4. Consider Edge Restraints: Evaluate the need for edge restraints, such as plastic or metal paver restraints, to contain the sand and maintain the structural integrity of the paver installation. Proper edge restraints help prevent sand loss and maintain the defined pattern of the pavers.
By meticulously preparing the paver surface before applying sand, you lay the groundwork for a seamless and enduring sand-filled joint system. This attention to detail not only enhances the overall aesthetics of the installation but also contributes to its long-term stability and performance.
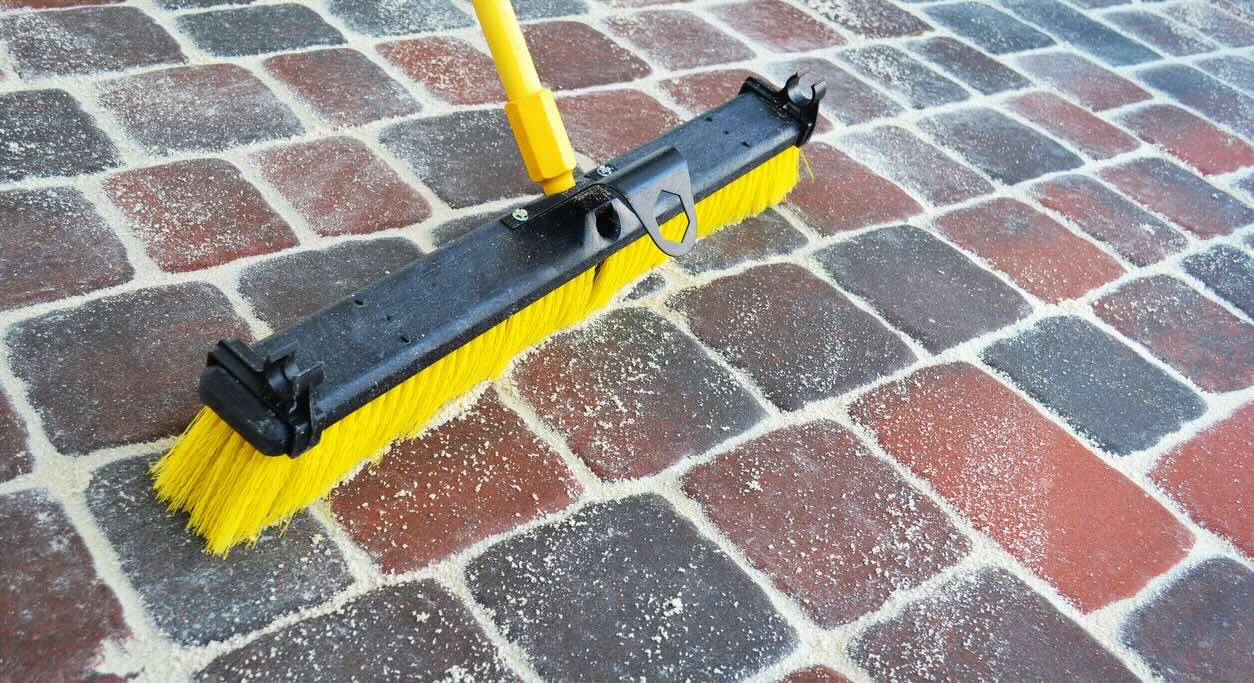
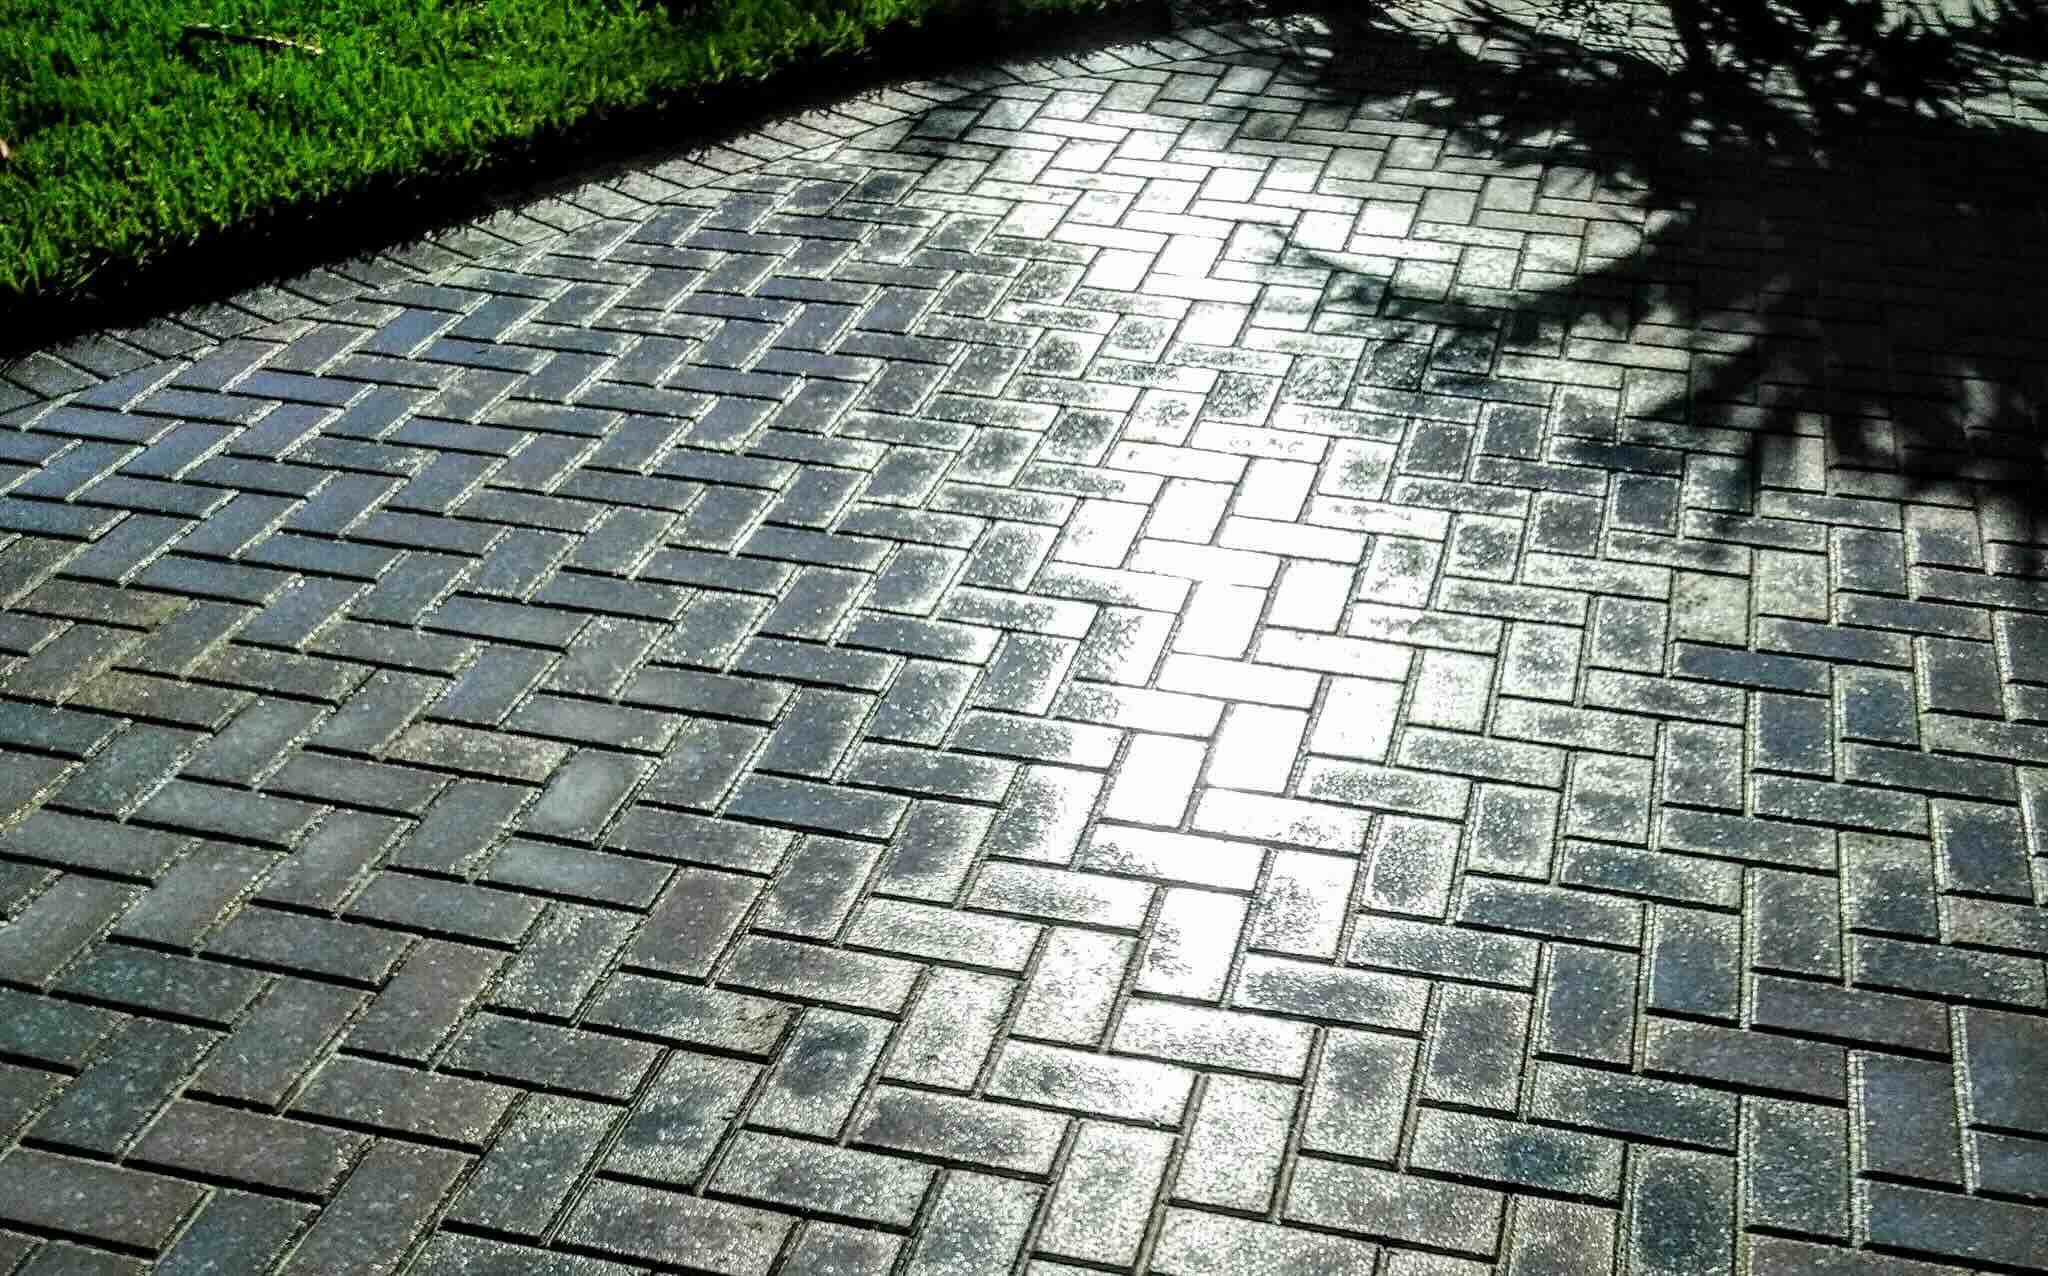
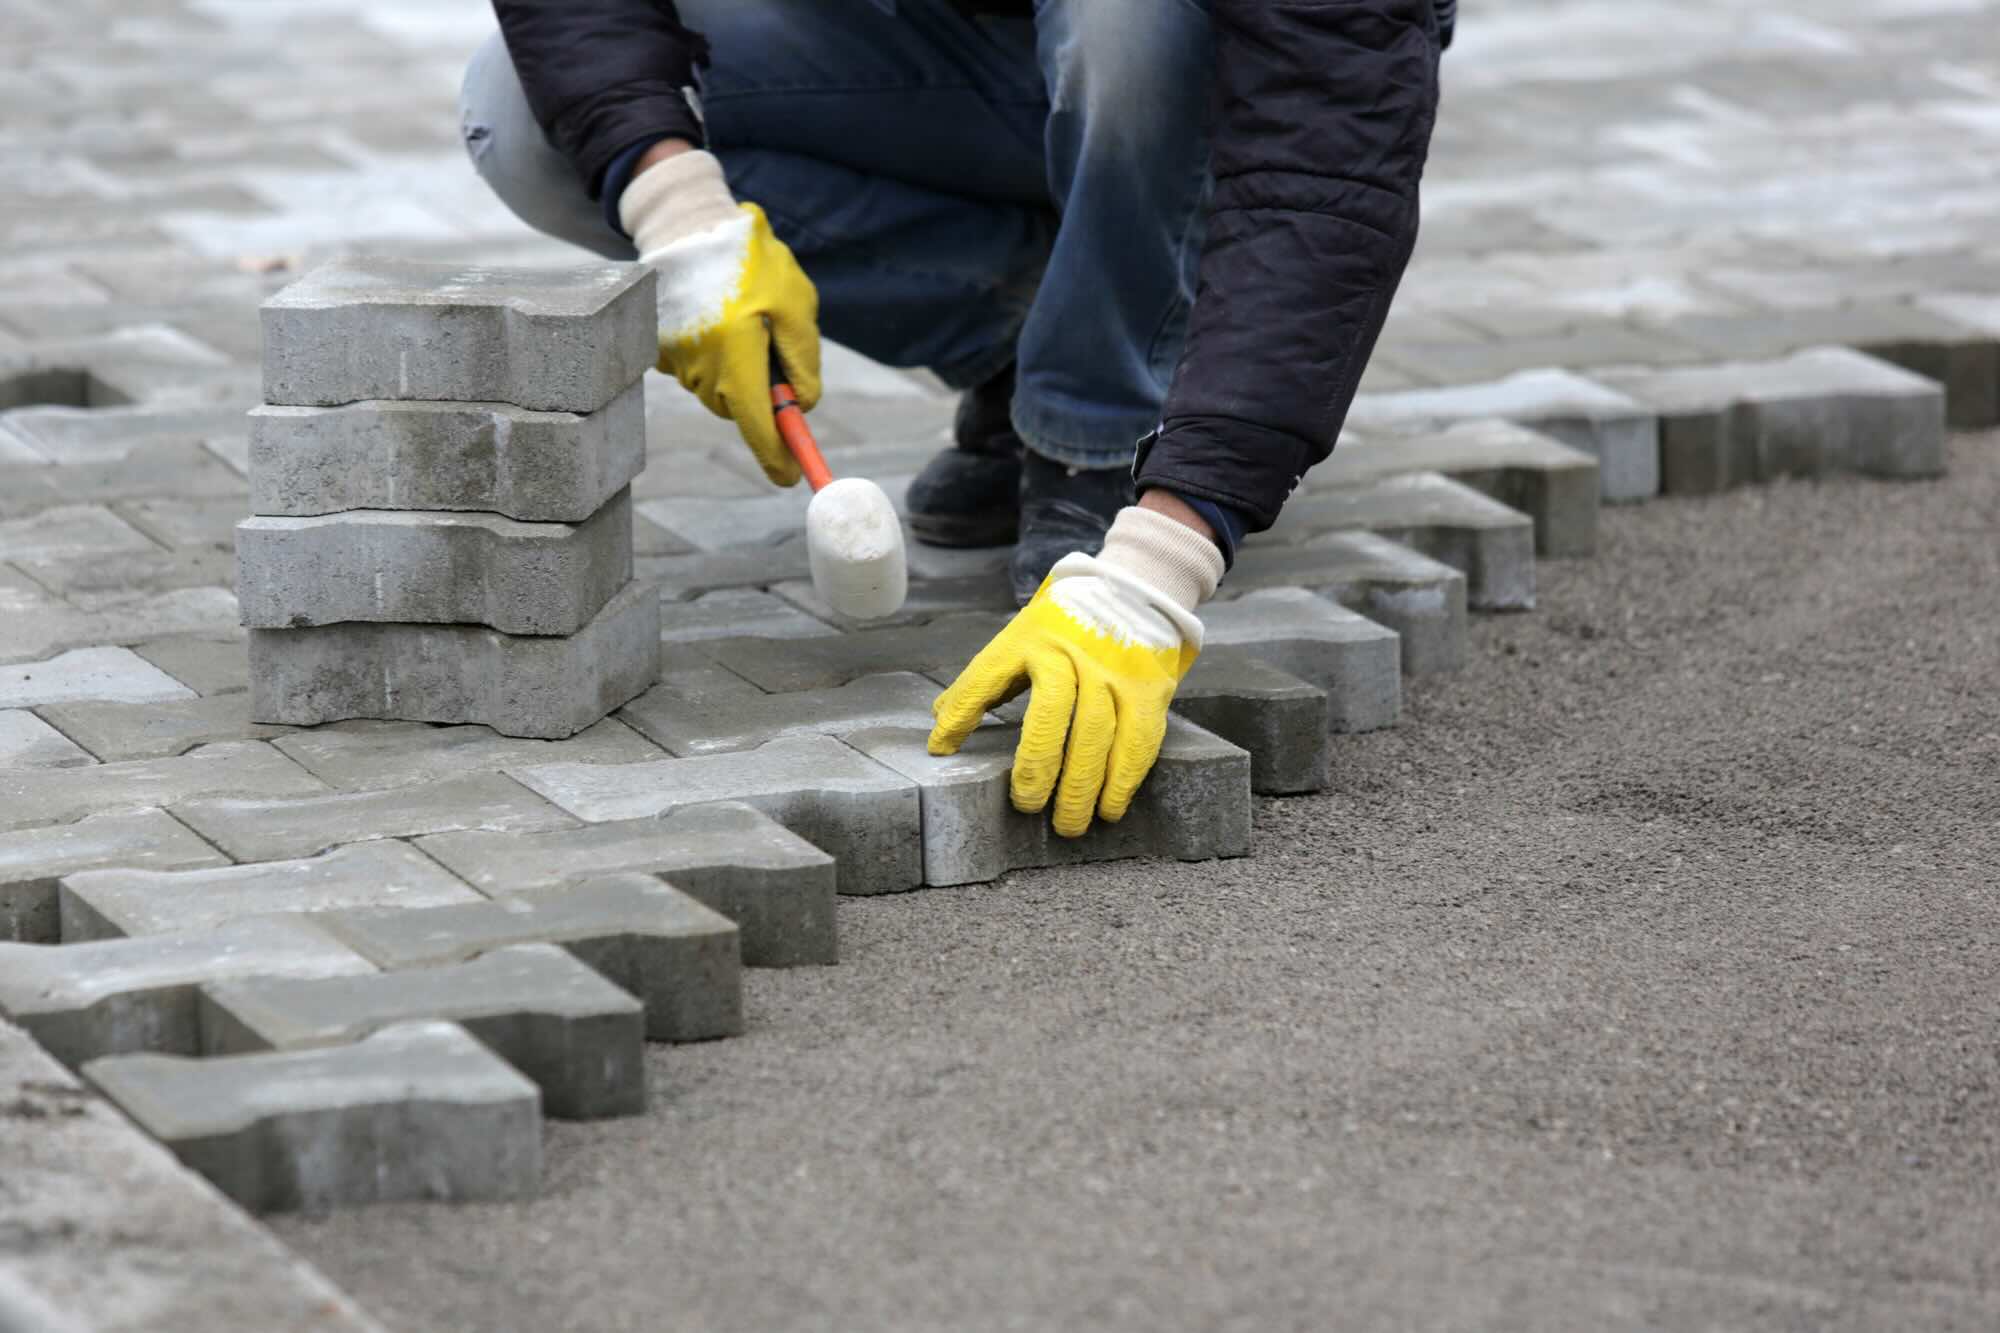
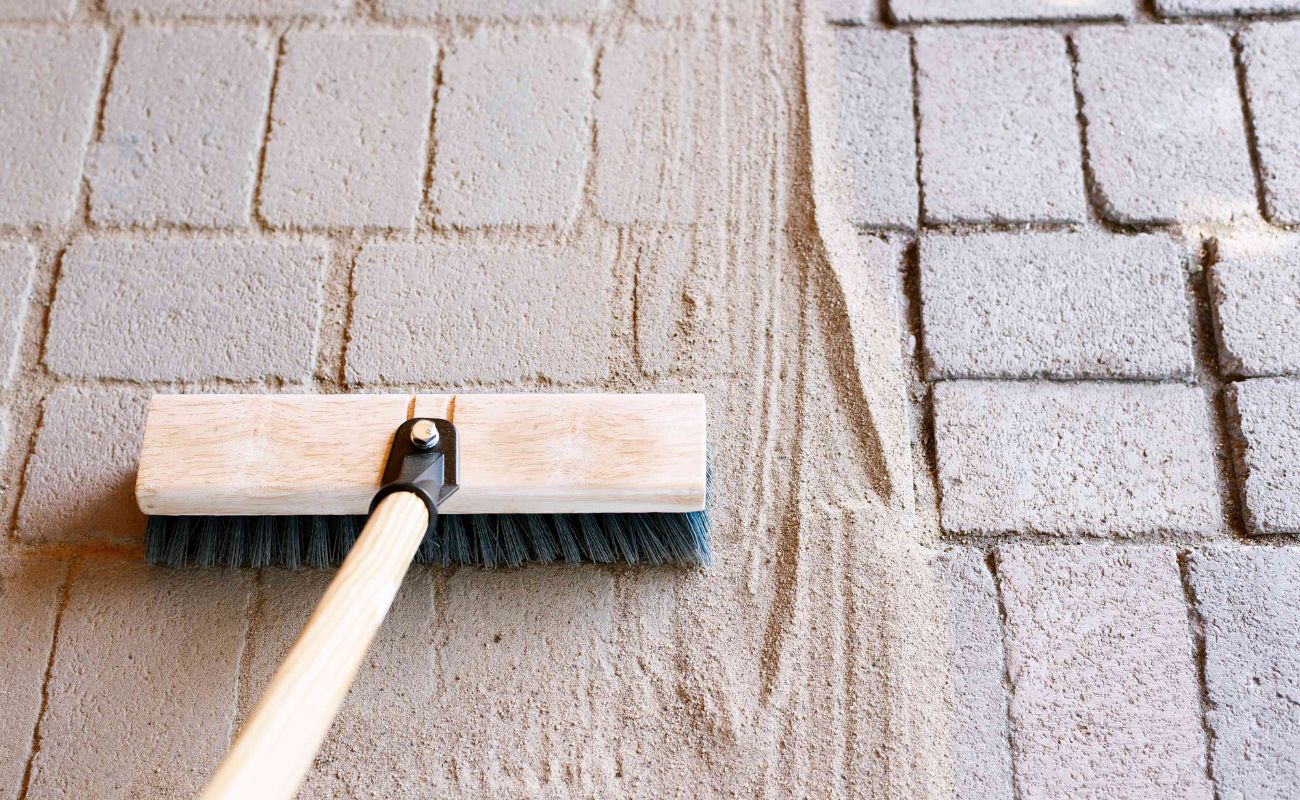
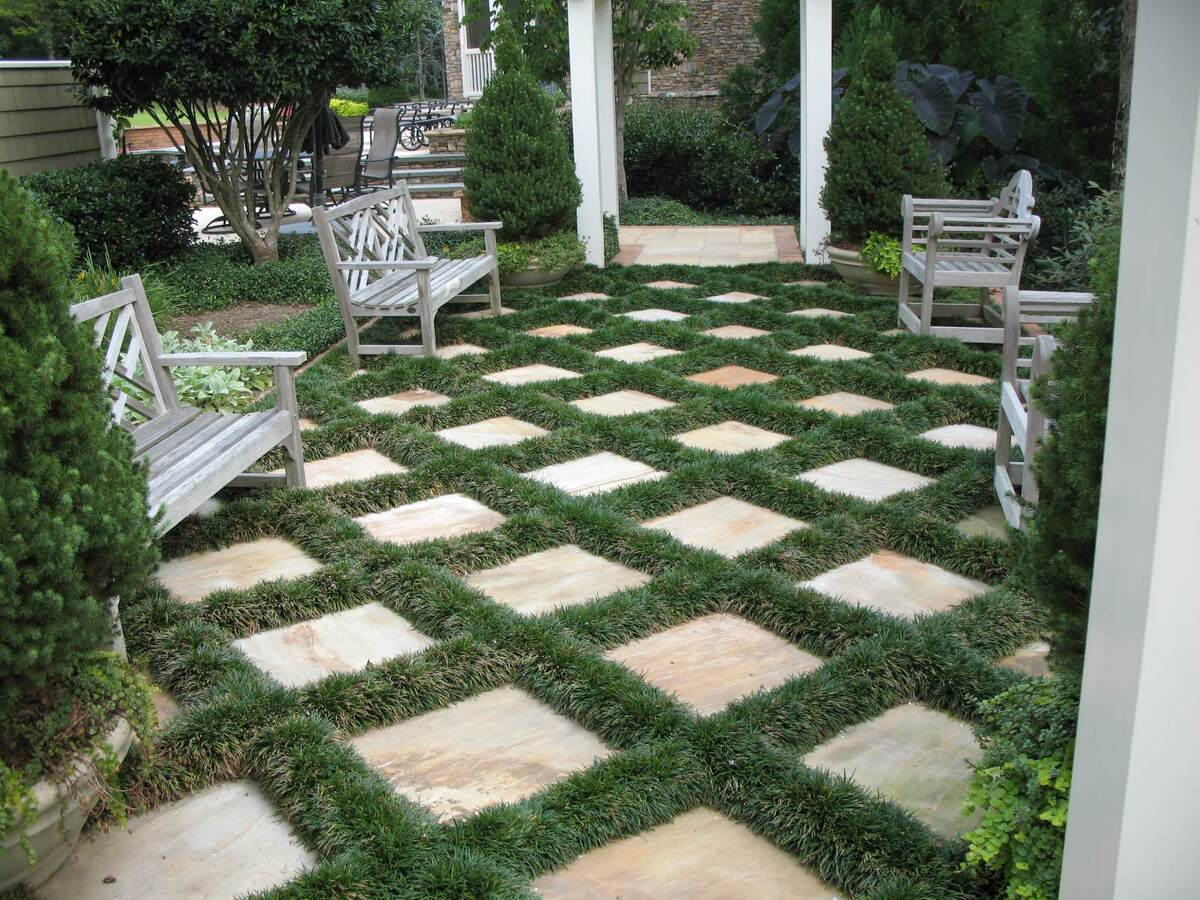
Use a broom to sweep dry, fine sand into the gaps between the brick pavers. Then, use a compactor to press the sand down and fill any remaining gaps. Finally, sweep away any excess sand for a clean finish.
Applying the Sand
With the paver surface meticulously prepared, it’s time to proceed with the application of sand between the brick pavers. This step requires precision and attention to detail to ensure proper filling of the joints and optimal interlock between the pavers.
1. Pouring the Sand: Begin by pouring the selected sand over the paver surface, focusing on the joints between the bricks. Use a shovel or a dedicated sand-spreading tool to distribute the sand evenly across the entire area, ensuring that it fills the gaps between the pavers to the desired depth.
2. Sweeping and Compacting: Once the sand is evenly distributed, use a stiff-bristled broom to sweep it into the joints. Work the broom back and forth, ensuring that the sand settles uniformly and fills the gaps completely. Following this, use a compactor or tamper to firmly pack the sand into the joints, promoting stability and preventing future settling.
3. Repeating the Process: Depending on the depth of the paver joints and the type of sand used, it may be necessary to repeat the pouring, sweeping, and compacting process to achieve the desired level of joint fill and compaction. This iterative approach ensures that the joints are adequately packed with sand, minimizing the risk of settlement over time.
4. Removing Excess Sand: After compacting the sand, use a leaf blower or a gentle stream of water to remove any excess sand from the paver surface. This step helps reveal the true beauty of the brick pavers while ensuring a clean and polished final appearance.
By following these meticulous steps for applying sand between brick pavers, you’ll create a sturdy, visually appealing joint system that enhances the overall integrity and allure of your outdoor space. Proper sand application not only contributes to the structural stability of the paver installation but also elevates its aesthetic charm, inviting admiration from all who encounter it.
Finishing Touches
As the sand settles into the joints between the brick pavers, attention to the finishing touches can elevate the overall appearance and durability of the installation. These final steps add finesse to the project, ensuring that your sand-filled paver surface exudes a timeless appeal and stands resilient against the elements.
1. Misting the Surface: After the initial application and compaction of the sand, lightly mist the paver surface with water. This gentle misting aids in activating the polymers in polymeric sand, promoting a secure bond and enhancing the stability of the joint system. For regular jointing sand, misting helps settle the particles, further compacting the joints.
2. Inspecting for Settling: Once the sand has been misted and allowed to settle, inspect the paver surface for any signs of settling or gaps in the joints. If necessary, add additional sand to fill any voids and ensure uniform joint levels across the entire installation.
3. Polymeric Sand Activation: If polymeric sand was used, follow the manufacturer’s guidelines for activating the sand. This typically involves a thorough watering of the paver surface, allowing the water to penetrate the joints and activate the bonding agents within the sand. The activated sand forms a resilient, weed-resistant barrier, enhancing the longevity of the paver installation.
4. Sealing the Surface (Optional): Consider applying a sealer to the entire paver surface to enhance its color, protect it from stains, and further stabilize the sand-filled joints. Sealers are available in various finishes, from natural matte to glossy, allowing you to customize the appearance of the pavers according to your preferences.
5. Regular Maintenance: Emphasize the importance of regular maintenance to preserve the integrity and aesthetics of the sand-filled paver installation. Periodic sweeping to remove debris and occasional reapplication of sand, especially in high-traffic areas, can help uphold the beauty and functionality of the surface over time.
By attending to these finishing touches, you ensure that your sand-filled brick paver installation achieves its full potential, radiating timeless elegance and enduring strength. These thoughtful details not only enhance the visual allure of the outdoor space but also contribute to the long-term resilience and performance of the paver surface.
Read more: What To Put Between Patio Pavers
Conclusion
In the realm of outdoor design and landscaping, the art of applying sand between brick pavers holds a significant place, blending functional stability with visual charm. As you’ve discovered through this guide, the process of sand application is not merely a technical task but a transformative journey that elevates the allure and endurance of your outdoor spaces.
By choosing the right type of sand and meticulously preparing the paver surface, you set the stage for a seamless and enduring joint system. The careful application of sand, coupled with the final touches of misting, inspecting, and optional sealing, results in a paver installation that exudes timeless elegance and resilience.
As the sand settles into the joints and the pavers stand adorned with their sand-filled seams, your outdoor space undergoes a metamorphosis, evolving into a captivating oasis of enduring beauty. The interlocking grains of sand not only provide stability and prevent weed growth but also accentuate the natural charm of the brick pavers, creating a cohesive and inviting surface that beckons admiration.
As you stand back and admire the seamless expanse of sand-enhanced brick pavers, take pride in the meticulous attention to detail and the transformative power of this seemingly simple element. The sand-filled joints not only connect the pavers physically but also connect the space to the timeless allure of classic craftsmanship and enduring quality.
So, whether it’s a meandering garden path, a welcoming patio, or a stately driveway, the art of putting sand between brick pavers transcends mere construction; it embodies the fusion of functionality and aesthetics, transforming outdoor spaces into enduring works of art.
Embrace the artistry of sand application, and watch as your outdoor space blossoms into a captivating tapestry of enduring charm and timeless allure.
Frequently Asked Questions about How To Put Sand Between Brick Pavers
Was this page helpful?
At Storables.com, we guarantee accurate and reliable information. Our content, validated by Expert Board Contributors, is crafted following stringent Editorial Policies. We're committed to providing you with well-researched, expert-backed insights for all your informational needs.


0 thoughts on “How To Put Sand Between Brick Pavers”