Home>Construction & Tools>Building Materials>How To Make Brick Wallpaper
Building Materials
How To Make Brick Wallpaper
Modified: October 19, 2024
Learn how to make brick wallpaper using affordable building materials. Create a rustic and stylish look for your space with our step-by-step guide.
(Many of the links in this article redirect to a specific reviewed product. Your purchase of these products through affiliate links helps to generate commission for Storables.com, at no extra cost. Learn more)
Introduction
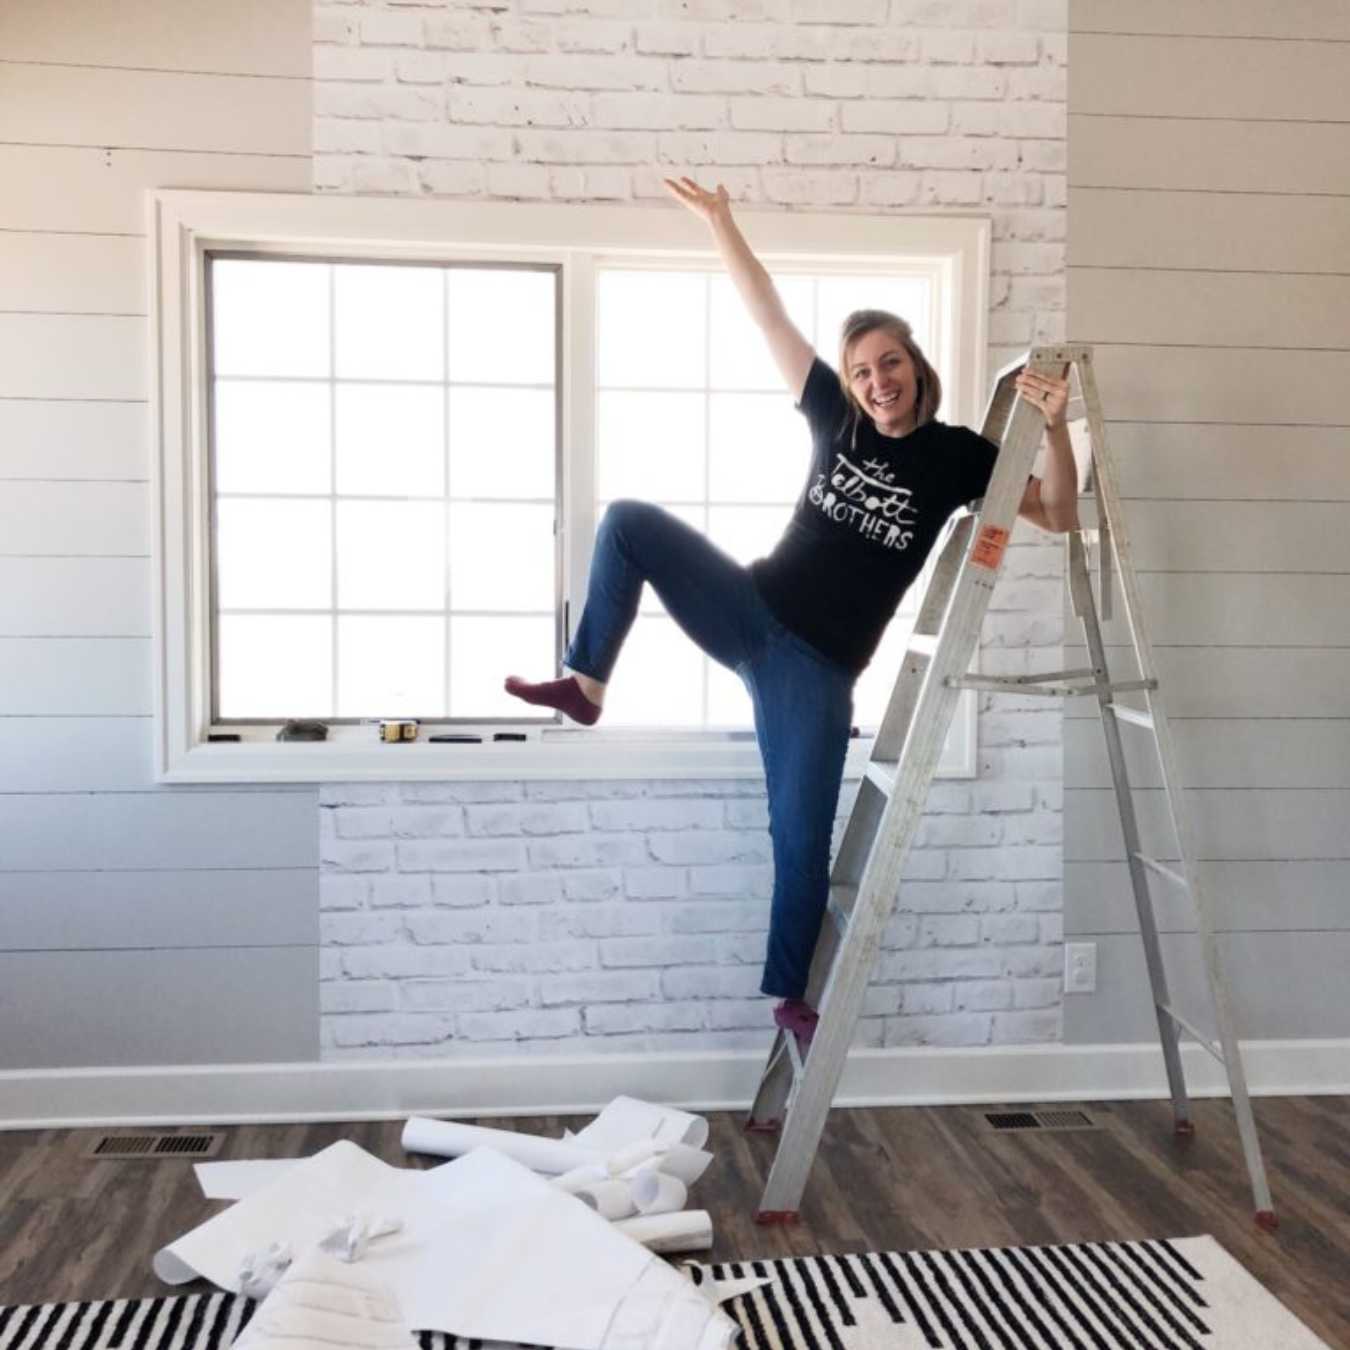
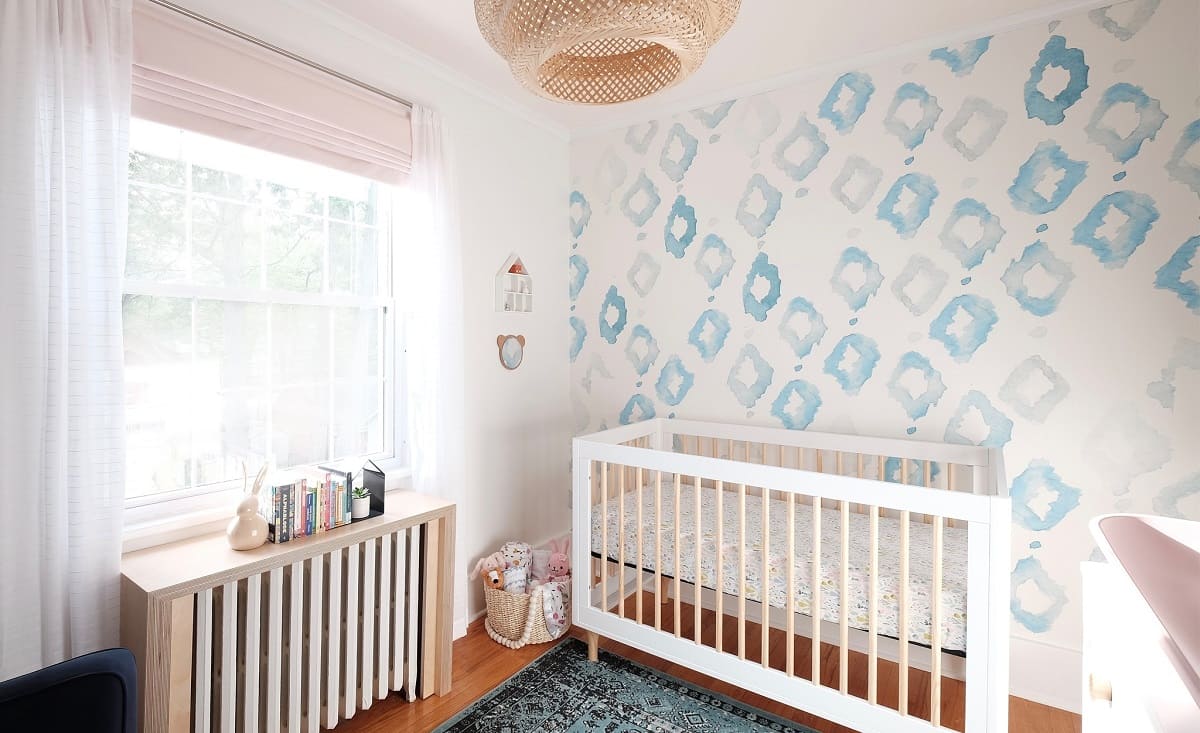
Brick wallpaper is a fantastic way to bring the rustic charm and timeless appeal of exposed brick into your home without the hassle and expense of actual brickwork. Whether you're aiming for an industrial loft vibe, a cozy rustic atmosphere, or a modern urban look, brick wallpaper offers a versatile and cost-effective solution to transform your space. This faux finish has gained popularity for its ability to add depth, texture, and character to any room, making it a popular choice for both residential and commercial interior design projects.
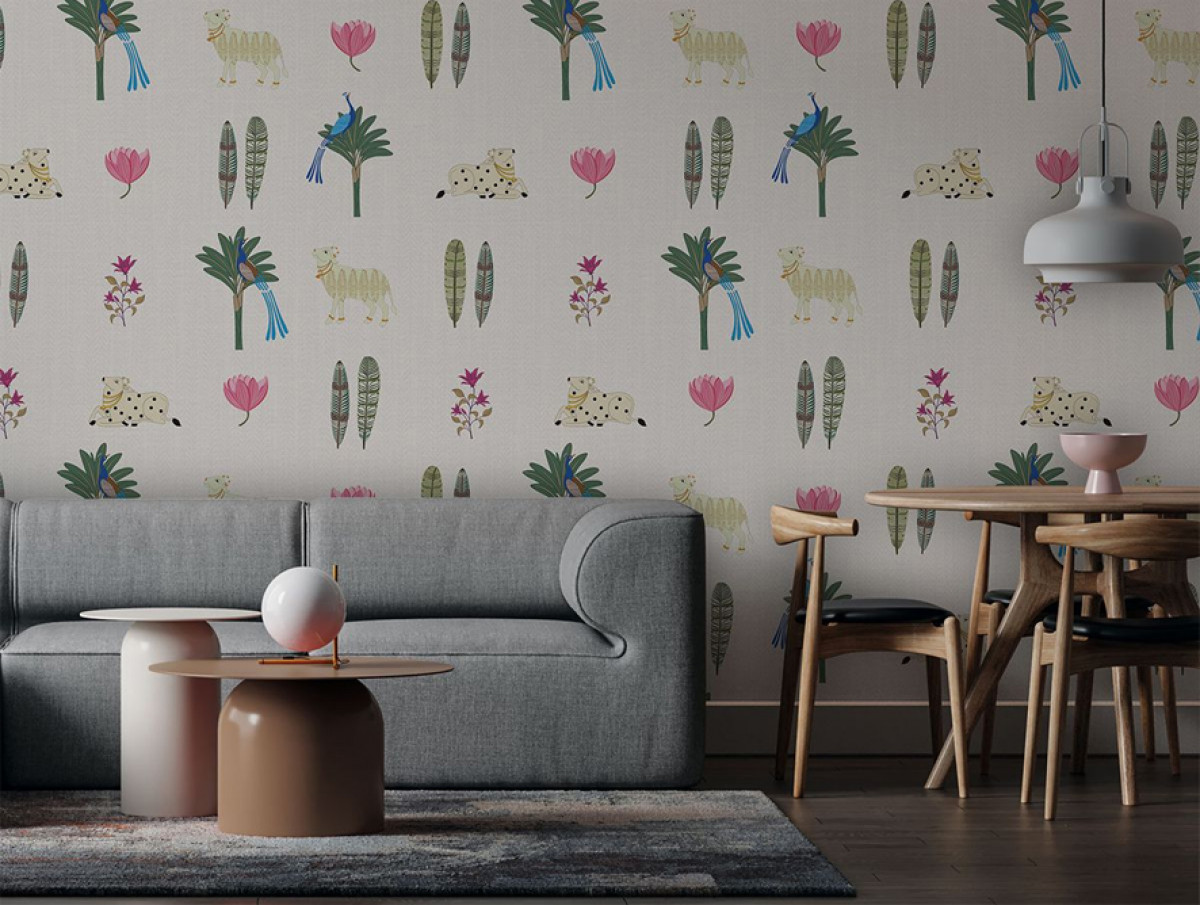
The beauty of brick wallpaper lies in its ability to create a striking focal point or to enhance the overall ambiance of a room. It can be used to accentuate a feature wall, create a cozy nook, or even cover an entire room for a bold statement. With a wide range of colors, textures, and patterns available, brick wallpaper allows for endless creativity and customization, making it suitable for various design preferences and architectural styles.
In addition to its aesthetic appeal, brick wallpaper offers practical benefits as well. It provides an extra layer of insulation, helping to regulate room temperature and reduce energy costs. Furthermore, it serves as an excellent way to cover up imperfections on walls, creating a smooth and uniform surface for a professional finish.
Whether you're a seasoned DIY enthusiast or a first-time decorator, installing brick wallpaper can be a rewarding and enjoyable project. With the right materials, preparation, and technique, you can achieve a stunning brick wall effect that adds character and warmth to your living space. In the following sections, we will explore the materials needed, the preparation process, the application of the wallpaper, and the finishing touches to ensure a successful and visually appealing result. Let's dive into the exciting world of brick wallpaper installation and unleash your creativity in transforming your living space!
Key Takeaways:
- Transform your space with brick wallpaper for a rustic, cozy, or modern look. It’s easy to install, offers insulation, and covers wall imperfections, making it a versatile and practical choice for any design preference.
- Prepare, apply, and finish with precision to achieve a stunning brick wallpaper installation. From wall inspection to final touch-ups, meticulous attention to detail ensures a professional and enduring result that elevates the ambiance of your living space.
Read more: How To Make A Brick
Materials Needed
To embark on the exciting journey of installing brick wallpaper, you will need a selection of essential materials and tools to ensure a smooth and successful application process. Here's a comprehensive list of the items required to bring your brick wallpaper vision to life:
-
Brick Wallpaper: The star of the show, the brick wallpaper itself is available in a variety of styles, colors, and textures. Whether you prefer a classic red brick, a whitewashed look, or a modern grey tone, choose a design that complements your overall interior aesthetic.
-
Wallpaper Adhesive: Opt for a high-quality wallpaper adhesive specifically formulated for heavy-duty or textured wallpapers. Ensure that the adhesive is suitable for the type of wallpaper you have selected, whether it is pre-pasted or requires a separate adhesive application.
-
Smoothing Tool: A smoothing tool, such as a wallpaper smoother or plastic squeegee, is essential for removing air bubbles and ensuring a flat, seamless application of the wallpaper.
-
Utility Knife: A sharp utility knife will be indispensable for trimming the wallpaper to fit around corners, outlets, and moldings with precision.
-
Measuring Tape: Accurate measurements are crucial for a precise and professional-looking installation. A reliable measuring tape will help you determine the dimensions of the walls and the amount of wallpaper needed.
-
Pencil and Level: Marking the wall with a pencil and using a level to ensure straight, even lines are essential for achieving a polished end result.
-
Water and Sponge: Keep a bucket of clean water and a sponge handy for wiping away excess adhesive and cleaning any smudges or marks during the installation process.
-
Drop Cloth or Tarp: Protect your floors and furnishings by laying down a drop cloth or tarp to catch any adhesive drips or wallpaper trimmings.
-
Wallpaper Seam Roller: A seam roller is useful for ensuring secure adhesion at the seams and edges of the wallpaper, creating a seamless finish.
-
Primer (Optional): Depending on the condition of the walls, you may consider applying a primer before installing the wallpaper to ensure better adhesion and a smoother surface.
By gathering these essential materials and tools, you will be well-equipped to begin the exciting process of transforming your space with the timeless allure of brick wallpaper. With careful preparation and attention to detail, you can achieve a stunning and professional-looking result that enhances the ambiance of your home or commercial environment.
Preparation
Before diving into the exhilarating process of applying brick wallpaper, thorough preparation is key to ensuring a seamless and visually captivating installation. The following steps will guide you through the essential preparation phase, setting the stage for a successful transformation of your living space.
Step 1: Wall Inspection and Cleaning
Begin by carefully inspecting the walls where the wallpaper will be applied. Ensure that the surface is smooth, clean, and free from any imperfections or debris. Repair any cracks, holes, or uneven areas with spackling compound, and sand the surface to create a uniform and level base for the wallpaper. Additionally, remove any existing wallpaper and adhesive residue, as the presence of old materials can affect the adhesion and appearance of the new wallpaper.
Step 2: Primer Application (Optional)
Depending on the condition of the walls and the type of wallpaper being used, applying a primer may be beneficial. A high-quality primer can help promote better adhesion, enhance the durability of the wallpaper, and create a uniform surface for a flawless finish. If you opt to use a primer, ensure that it is compatible with both the wallpaper and the wall surface, and allow sufficient drying time before proceeding to the next steps.
Read more: How To Make Brick Molds
Step 3: Measurement and Cutting
Accurate measurement is crucial for a precise and professional-looking installation. Use a measuring tape to determine the dimensions of the walls and calculate the amount of wallpaper needed. Consider the pattern repeat of the wallpaper when measuring and cutting the strips, ensuring that the pattern aligns seamlessly across the wall. Use a sharp utility knife and a straight edge to cut the wallpaper strips to the appropriate length, accounting for any extra length needed for trimming.
Step 4: Layout Planning
Before applying the adhesive, plan the layout of the wallpaper to ensure a balanced and visually appealing result. Consider the positioning of doors, windows, and focal points in the room, and determine the starting point for the wallpaper application. Mark guidelines on the wall with a pencil and use a level to ensure straight, even lines for precise alignment.
Step 5: Gather Essential Tools and Materials
Ensure that all necessary tools and materials are readily accessible before beginning the application process. This includes the wallpaper adhesive, smoothing tool, utility knife, measuring tape, pencil, level, water and sponge, drop cloth or tarp, wallpaper seam roller, and any additional items specific to the chosen wallpaper type.
By meticulously following these preparation steps, you will establish a solid foundation for the successful application of brick wallpaper. Thorough wall inspection, proper surface preparation, accurate measurement, and careful planning are essential elements that contribute to a professional and visually stunning outcome. With the groundwork laid and the tools at hand, you are now ready to embark on the exciting journey of applying brick wallpaper to elevate the aesthetic appeal of your living space.
Applying the Wallpaper
With the groundwork laid and the tools at hand, you are now ready to embark on the exciting journey of applying brick wallpaper to elevate the aesthetic appeal of your living space. The application process is a pivotal stage where precision, patience, and attention to detail are paramount to achieving a flawless and visually captivating result. Let's delve into the step-by-step process of applying the wallpaper, guiding you through each essential phase of this transformative endeavor.
Read more: How To Make Brick Slips
Step 1: Adhesive Application
Begin by preparing the wallpaper adhesive according to the manufacturer's instructions. Ensure that the adhesive is thoroughly mixed to achieve a smooth and uniform consistency. Using a paint roller or a wallpaper paste brush, apply an even layer of adhesive to the back of the first wallpaper strip, ensuring complete coverage from edge to edge. Take care to apply the adhesive generously, especially to the edges and corners, to promote secure adhesion.
Step 2: Wallpaper Alignment and Application
Carefully position the first wallpaper strip against the marked guidelines on the wall, starting from the top and working your way down. Use a smoothing tool, such as a wallpaper smoother or plastic squeegee, to gently press the wallpaper onto the wall, starting from the center and moving outward to remove any air bubbles and ensure a flat, seamless application. Take extra care to align the edges and corners accurately for a polished finish.
Step 3: Trimming and Matching Patterns
Once the first strip is securely in place, use a sharp utility knife to trim any excess wallpaper at the top and bottom, as well as around outlets, moldings, and corners. Maintain a steady hand and a sharp blade to achieve clean and precise cuts. If the wallpaper features a distinct pattern or texture, take the time to match the patterns seamlessly between each strip, ensuring a cohesive and professional look across the entire wall.
Step 4: Seam Rolling and Smoothing
After each wallpaper strip is applied and trimmed, use a wallpaper seam roller to firmly press along the seams and edges, ensuring secure adhesion and a seamless transition between the strips. Additionally, use the smoothing tool to gently smooth out any remaining air bubbles or wrinkles, working from the center towards the edges to achieve a flawless and uniform surface.
Read more: How To Make Brick Red
Step 5: Repeat and Align
Continue the process by applying subsequent wallpaper strips, aligning the patterns meticulously, and repeating the adhesive application, smoothing, and trimming steps for each strip. Take your time to ensure precise alignment and seamless transitions between the strips, maintaining a consistent and visually appealing pattern across the entire wall.
By following these detailed steps and exercising patience and precision throughout the application process, you will achieve a stunning and professional-looking brick wallpaper installation that enhances the ambiance and visual allure of your living space. With each strip meticulously applied and seamlessly aligned, the transformative power of brick wallpaper will unfold, creating a captivating focal point and infusing your environment with timeless charm and character.
Finishing Touches
With the brick wallpaper elegantly adorning your walls, the final phase of the installation process involves the meticulous attention to finishing touches, ensuring a polished and seamless presentation of your transformed space. These essential steps contribute to the overall visual impact and longevity of the wallpaper installation, elevating the aesthetic appeal and ensuring a professional and enduring result.
Step 1: Cleaning and Inspection
After the wallpaper has been applied and the adhesive has set, carefully inspect the entire wall surface for any residual adhesive, smudges, or imperfections. Use a clean, damp sponge to gently wipe away any excess adhesive and to remove any marks or blemishes on the wallpaper. This meticulous cleaning process will enhance the overall appearance of the wallpaper and contribute to a pristine and flawless finish.
Step 2: Trimming and Detailing
Examine the edges and corners of the wallpaper to ensure that all trims are clean and precise. Use a sharp utility knife to carefully trim any remaining excess wallpaper at the top and bottom, as well as around outlets, moldings, and corners. Pay close attention to detail, ensuring that the edges are neatly aligned and the transitions are seamless. This meticulous trimming and detailing process will result in a professional and refined presentation of the brick wallpaper.
Read more: How To Make A Brick Kiln
Step 3: Protective Coating (Optional)
For added durability and protection, consider applying a clear protective coating over the wallpaper. This optional step can safeguard the wallpaper from stains, moisture, and minor abrasions, prolonging its lifespan and preserving its visual appeal. Ensure that the protective coating is compatible with the wallpaper material and follow the manufacturer's guidelines for application to achieve optimal results.
Step 4: Final Inspection and Touch-Ups
Once the cleaning, trimming, and optional protective coating application are complete, conduct a final inspection of the entire wallpapered area. Look for any areas that may require touch-ups or additional detailing, such as smoothing out minor imperfections or addressing any visible seams. Take the time to make any necessary adjustments, ensuring that the entire wall presents a cohesive and immaculate appearance.
Step 5: Admire and Enjoy
With the finishing touches meticulously attended to, take a step back and admire the captivating transformation that the brick wallpaper has brought to your living space. Revel in the timeless charm, texture, and character that now grace your walls, creating a captivating focal point and infusing the environment with warmth and visual allure. Embrace the versatility and enduring appeal of brick wallpaper as it enhances the ambiance of your home or commercial space, inviting admiration and appreciation from all who encounter its captivating presence.
By meticulously attending to these finishing touches, you will elevate the visual impact and longevity of the brick wallpaper installation, ensuring a polished and enduring result that enriches the aesthetic appeal of your living space. With each meticulous detail and thoughtful consideration, the transformative power of brick wallpaper unfolds, leaving a lasting impression and infusing your environment with timeless allure and character.
Frequently Asked Questions about How To Make Brick Wallpaper
Was this page helpful?
At Storables.com, we guarantee accurate and reliable information. Our content, validated by Expert Board Contributors, is crafted following stringent Editorial Policies. We're committed to providing you with well-researched, expert-backed insights for all your informational needs.


0 thoughts on “How To Make Brick Wallpaper”