Home>Construction & Tools>Building Materials>How To Put Brick On A House
Building Materials
How To Put Brick On A House
Modified: October 19, 2024
Learn how to put brick on a house using the right building materials and techniques. Discover expert tips for a successful brick installation.
(Many of the links in this article redirect to a specific reviewed product. Your purchase of these products through affiliate links helps to generate commission for Storables.com, at no extra cost. Learn more)
Introduction
So, you've decided to give your house a stunning makeover by adding a timeless touch of elegance with brick cladding. Whether it's for enhancing the exterior aesthetics, boosting the property value, or simply because you love the classic appeal of brick, this decision marks the beginning of an exciting journey. Embarking on this project requires careful planning, precise execution, and a keen eye for detail. But fear not, with the right guidance and a bit of elbow grease, you can achieve remarkable results that will leave you in awe of your own handiwork.
In this comprehensive guide, we will delve into the step-by-step process of adding brick cladding to your house. From meticulous planning and gathering the necessary materials to preparing the surface, laying the brick, and adding those final finishing touches, we've got you covered. By the end of this journey, you'll not only have a beautifully adorned house but also a sense of accomplishment that comes with mastering a craft.
So, roll up your sleeves, put on your DIY hat, and let's dive into the intricacies of adding brick to your house. It's time to turn your vision into reality and transform your home into a captivating masterpiece.
Key Takeaways:
- Planning and Preparation
Before adding brick cladding to your house, meticulous planning, precise measurements, and gathering essential tools and materials are crucial for a successful and visually appealing installation. - Laying the Brick
Laying bricks requires careful mortar application, precise alignment, and periodic level checks to ensure a visually stunning and structurally sound brick cladding installation.
Read more: How To Whitewash A Brick House
Planning and Preparation
Before you start laying bricks, it’s crucial to have a well-thought-out plan in place. Begin by assessing the area where you intend to add brick cladding. Take precise measurements and consider any architectural features or obstacles that may impact the installation process. Additionally, check local building codes and regulations to ensure compliance with any necessary permits or restrictions.
Next, determine the type of brick and pattern you want to use. Whether it’s traditional red bricks, sleek and modern grey bricks, or any other variation, choose a style that complements your home’s architecture and your personal aesthetic preferences. The pattern, such as running bond, herringbone, or basket weave, can significantly influence the overall look, so take the time to explore various options.
Once the planning phase is complete, it’s time to gather the essential tools and materials. This typically includes bricks, mortar, a trowel, a spirit level, a masonry saw, safety goggles, and gloves, among other items. Ensuring that you have all the necessary supplies on hand will streamline the installation process and minimize interruptions.
Additionally, consider the weather conditions and choose a suitable time for the project. Ideally, aim for a period of mild, dry weather to facilitate optimal conditions for bricklaying. Adequate planning and preparation set the stage for a smooth and successful execution, so invest time in this phase to lay a solid foundation for your brick cladding project.
Gathering Materials
As you prepare to embark on your brick cladding project, it’s essential to gather all the necessary materials and tools to ensure a seamless and efficient installation process. Here’s a comprehensive list of items you’ll need to acquire:
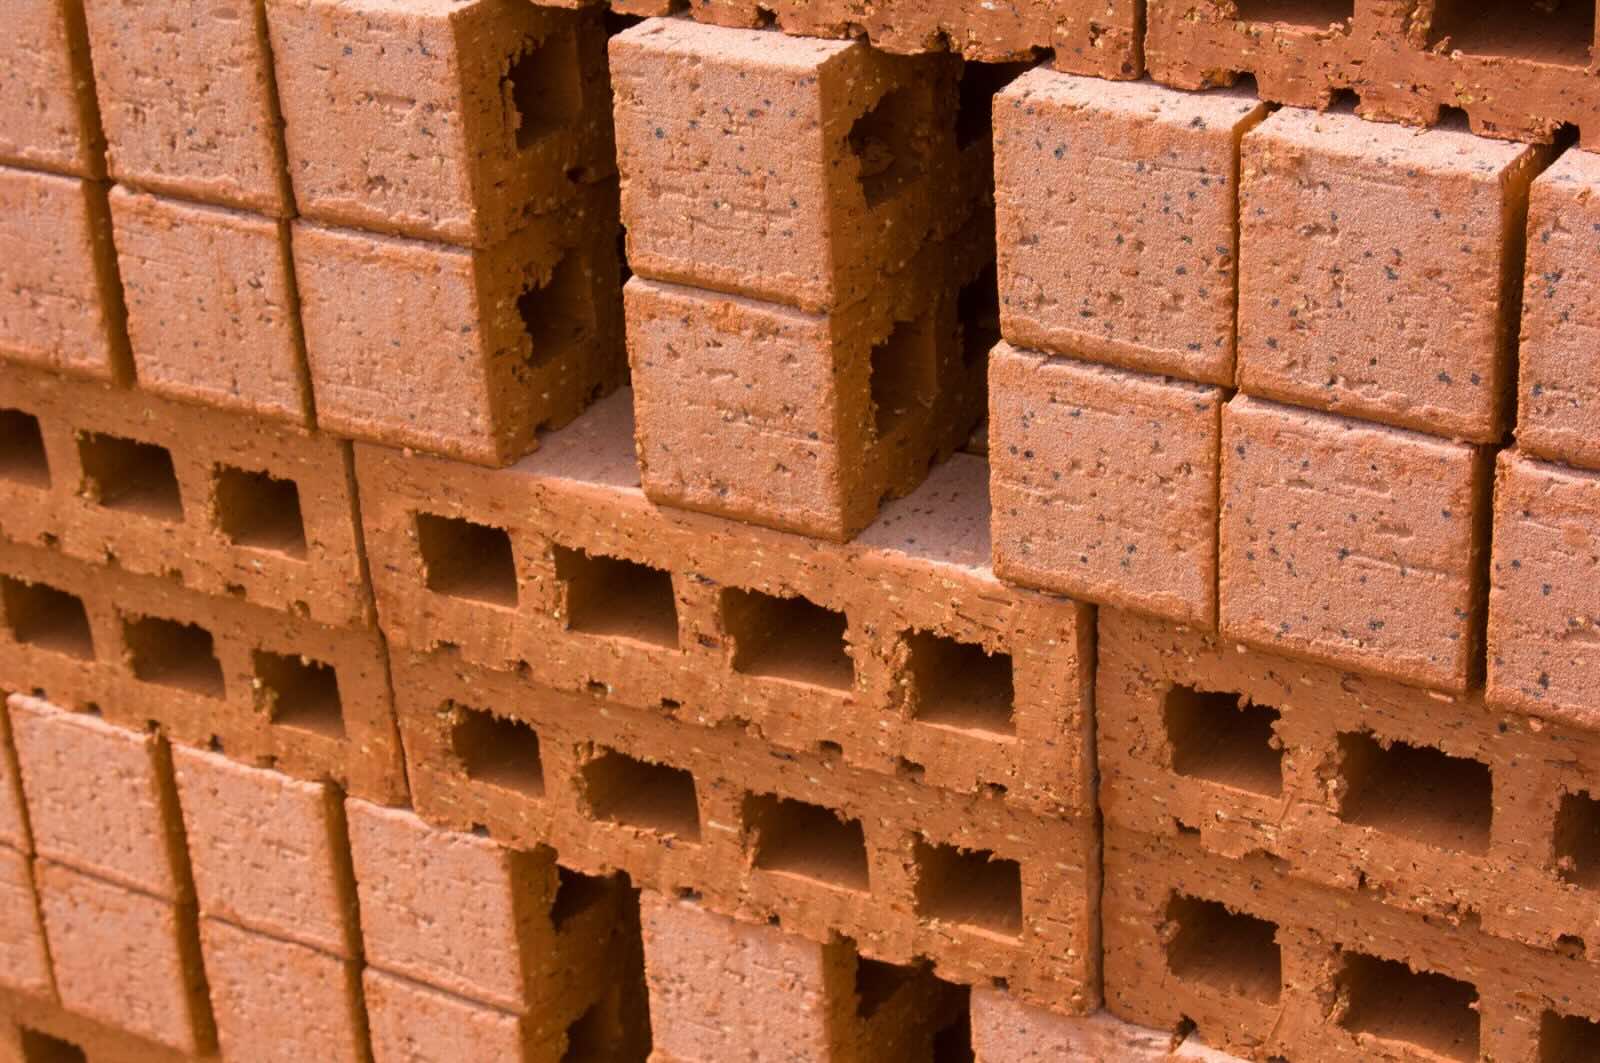
- Bricks: Select high-quality bricks in the color and style of your choice. Consider factors such as durability, texture, and visual appeal when making your selection.
- Mortar: Choose a suitable mortar mix that is compatible with the type of bricks you’re using. The mortar should provide strong adhesion and weather resistance.
- Trowel: Invest in a quality masonry trowel for applying mortar to the bricks and spreading it evenly.
- Spirit Level: A spirit level is essential for ensuring that the bricks are laid perfectly straight and level, maintaining structural integrity and visual uniformity.
- Masonry Saw: This tool is necessary for cutting bricks to fit specific dimensions or angles, allowing for precise customization during the installation process.
- Safety Gear: Prioritize safety by obtaining protective goggles, gloves, and appropriate footwear to safeguard yourself during the bricklaying process.
- Jointing Tool: A jointing tool is used to create clean and uniform mortar joints, contributing to the overall polished appearance of the brick cladding.
- Brushes and Cleaning Supplies: Keep brushes and cleaning materials on hand to remove excess mortar and maintain the cleanliness of the bricks as you work.
- Work Platform: Depending on the height of the installation area, you may need a stable work platform or scaffolding to facilitate safe and convenient access to the project site.
By ensuring that you have all the essential materials and tools at your disposal, you’ll be well-prepared to tackle the brick cladding project with confidence and efficiency. With these items in hand, you can proceed to the next stages of the installation process, ready to bring your vision to life.
Preparing the Surface
Before you begin laying the bricks, it’s crucial to ensure that the surface is properly prepared to provide a stable foundation for the cladding. Follow these essential steps to prepare the surface for brick installation:
- Clean the Surface: Start by thoroughly cleaning the area where the brick cladding will be applied. Remove any dirt, debris, or existing coatings to create a clean and smooth surface for the bricks to adhere to.
- Inspect for Structural Integrity: Carefully examine the surface for any signs of structural damage or instability. Address any issues such as cracks or unevenness before proceeding with the installation.
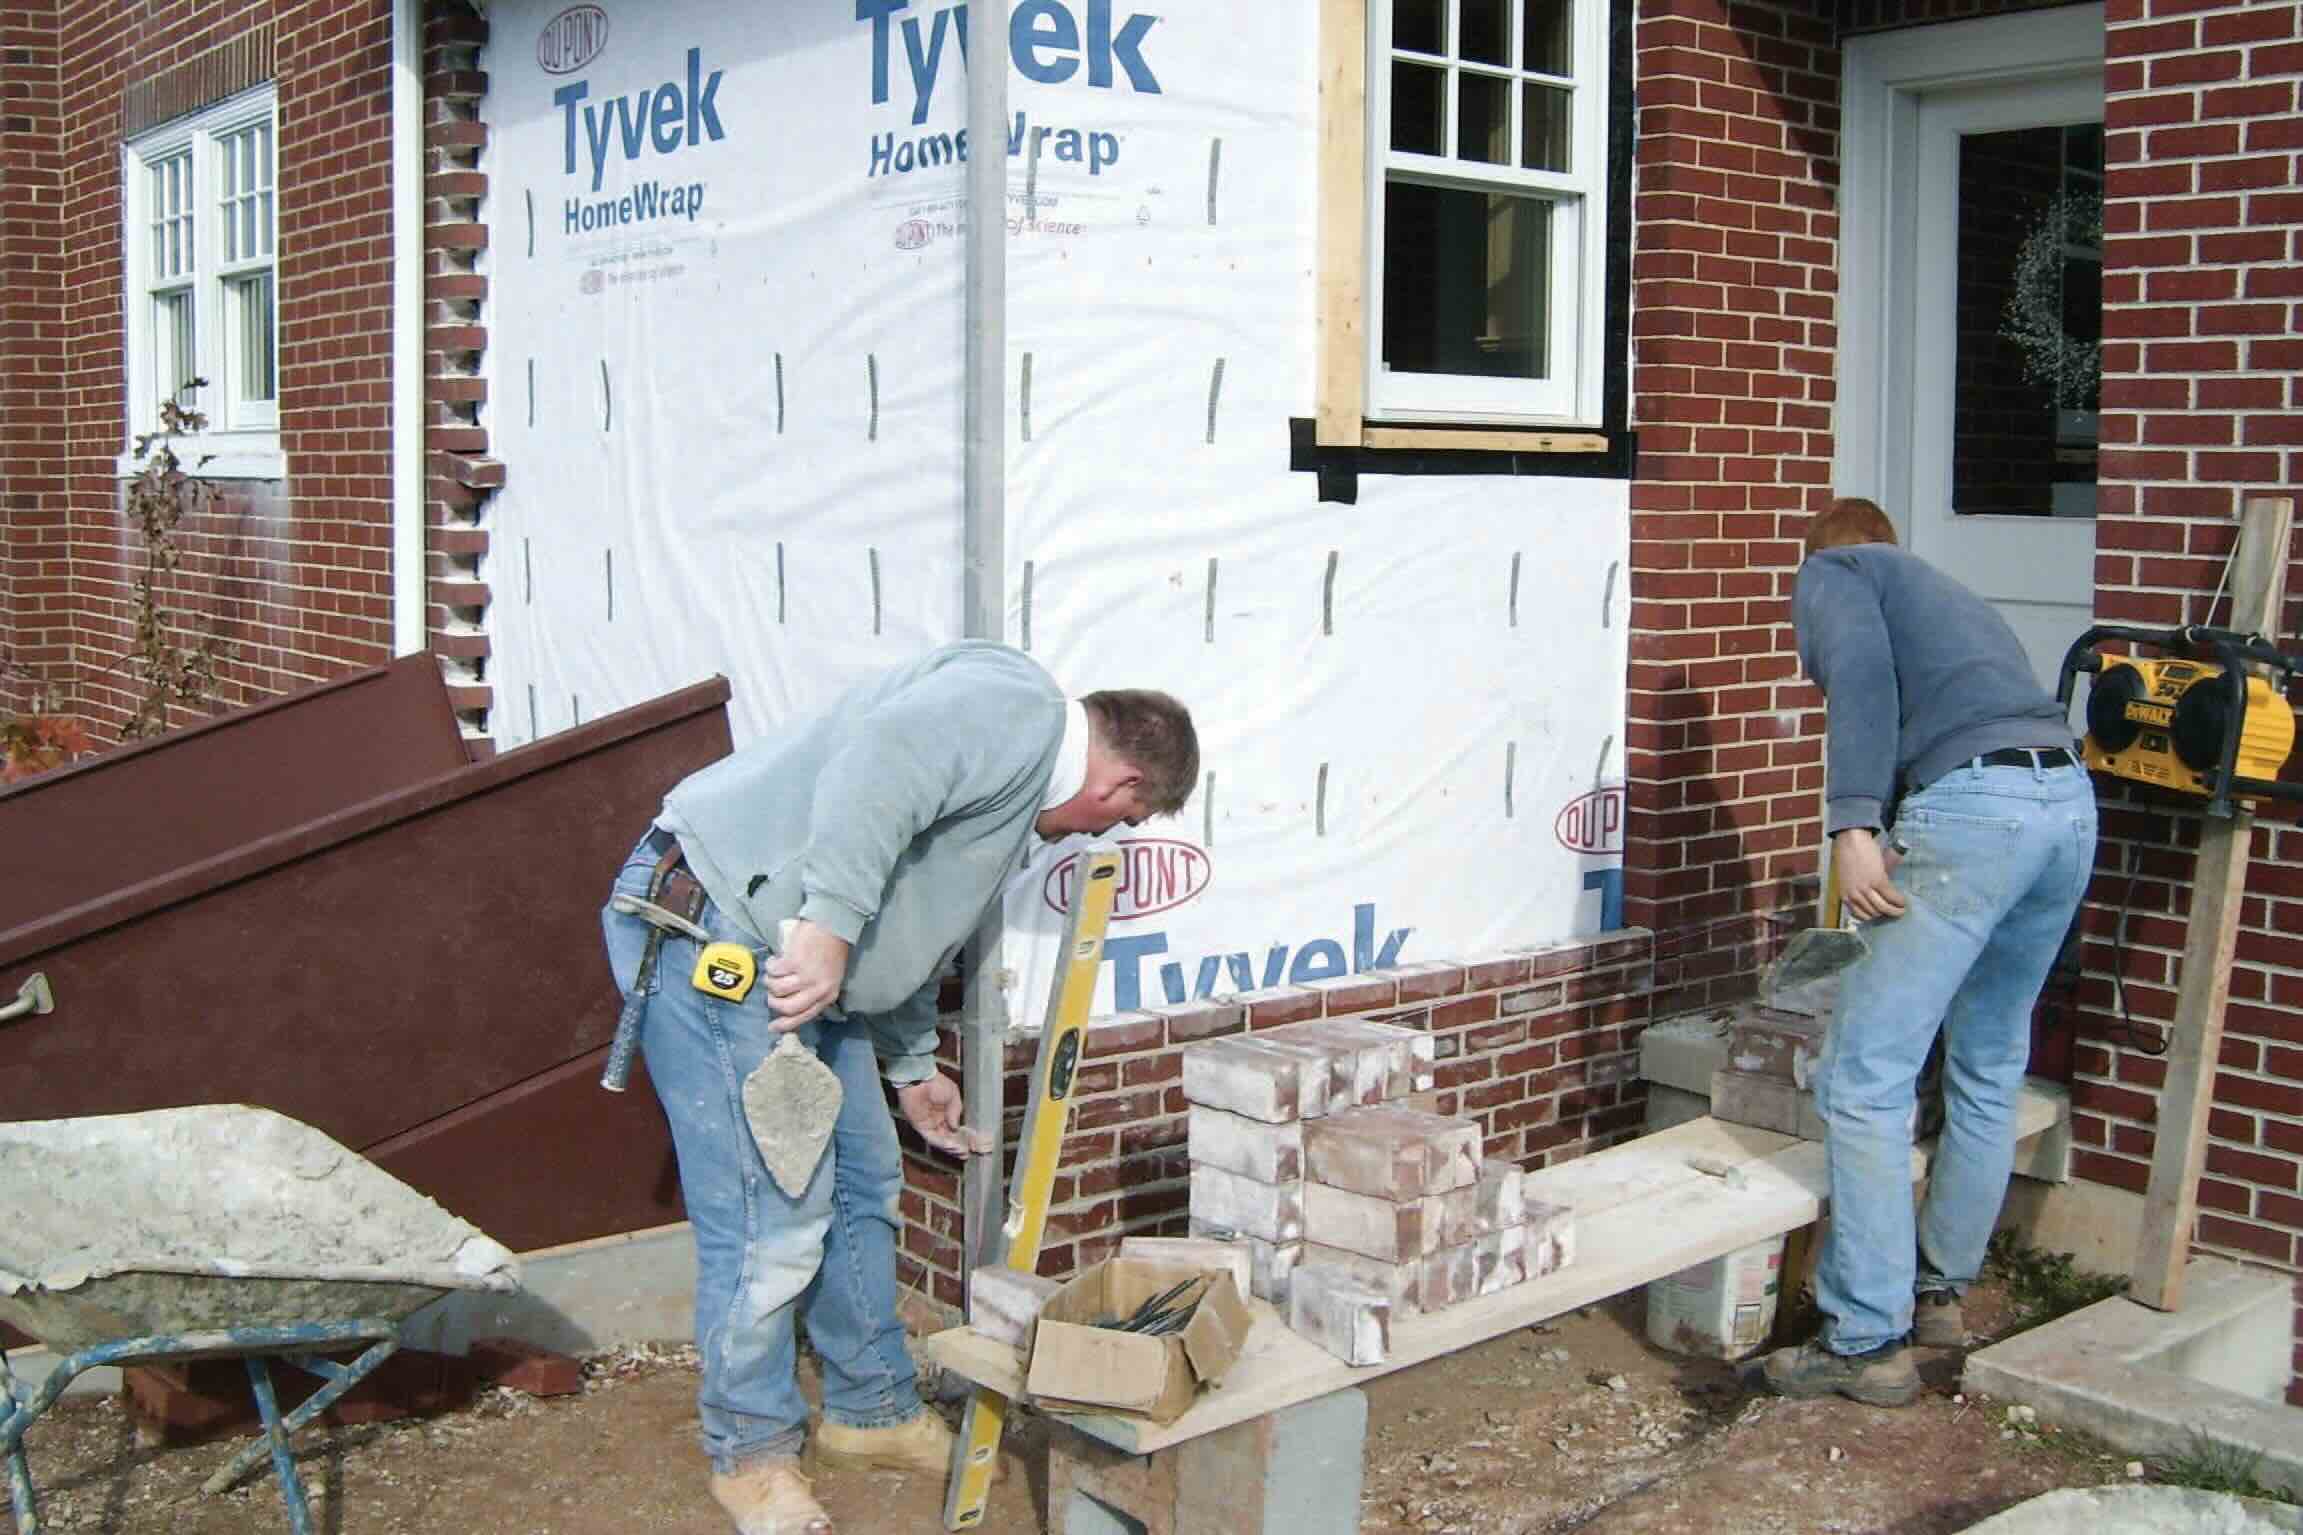
- Apply a Weather-Resistant Barrier: To enhance the longevity and resilience of the brick cladding, consider applying a weather-resistant barrier, such as a waterproof membrane or building paper, to protect the underlying structure from moisture infiltration.
- Install Metal Lath (if applicable): In some cases, particularly for exterior brick cladding, installing metal lath over the surface can provide additional support and reinforcement for the mortar and bricks.
- Prime the Surface (if necessary): Depending on the material of the underlying surface, applying a suitable primer can improve adhesion and ensure a secure bond between the surface and the mortar.
By meticulously preparing the surface according to these guidelines, you’ll create an optimal environment for the successful installation of the brick cladding. This preparatory phase is essential for establishing a solid foundation and ensuring the longevity and structural integrity of the finished project.
When putting brick on a house, make sure to start with a level foundation and use mortar to hold the bricks in place. It’s important to stagger the bricks for stability and use a level to ensure they are straight.
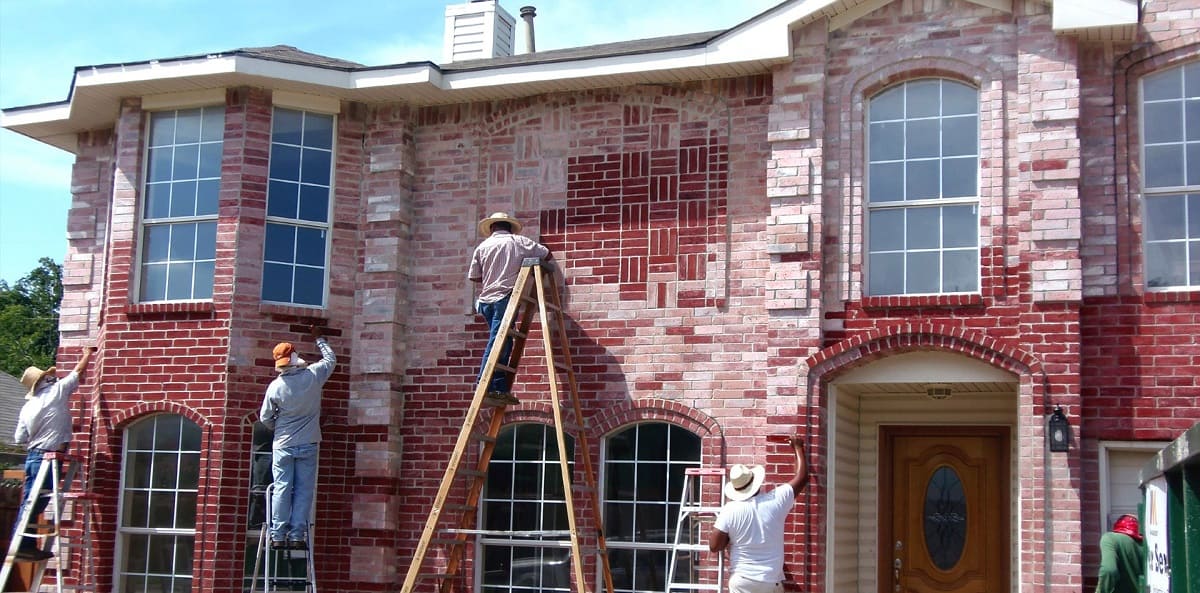
Laying the Brick
With the surface prepared and the necessary materials at hand, it’s time to embark on the intricate process of laying the bricks. Follow these steps to ensure a precise and visually appealing brick cladding installation:
- Prepare the Mortar: Begin by mixing the mortar according to the manufacturer’s instructions. Achieve a smooth, workable consistency that allows for optimal adhesion and ease of application.
- Apply Mortar to the Surface: Using the trowel, spread a layer of mortar onto the prepared surface. Ensure an even application, covering an area that corresponds to the size of several bricks to accommodate efficient bricklaying.
- Lay the First Course: Carefully place the first row, or course, of bricks onto the mortar bed. Use a slight twisting motion to set the bricks in place, ensuring a snug fit and consistent alignment.
- Check for Level and Alignment: Utilize a spirit level to verify that the bricks are laid perfectly level and aligned with the intended pattern. Make any necessary adjustments to maintain uniformity and structural integrity.
- Apply Mortar Between Bricks: Once the first course is in place, apply mortar between the bricks to create strong and secure bonds. Use a jointing tool to shape and finish the mortar joints, ensuring a clean and polished appearance.
- Continue Building Upward: Proceed to lay subsequent courses of bricks, ensuring proper staggering and maintaining consistent joint widths. Periodically check for level and alignment as you build upward to guarantee a professional and visually appealing outcome.
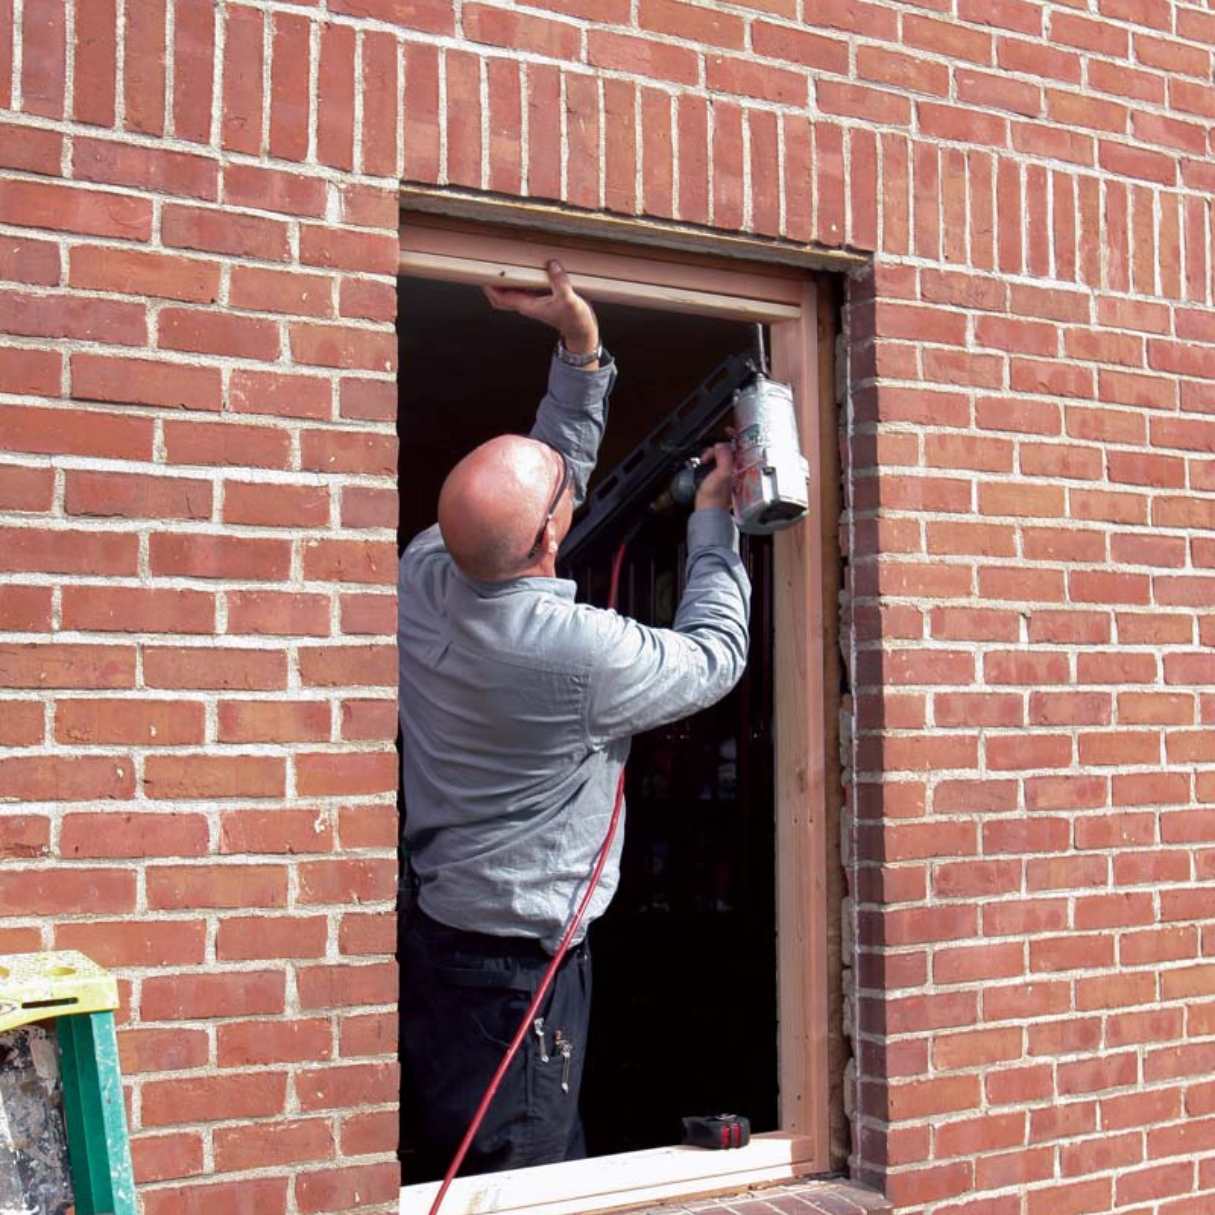
- Cut and Customize Bricks (if necessary): Use a masonry saw to cut bricks to fit specific dimensions or accommodate architectural features. Ensure precise cuts and a seamless integration of customized bricks into the overall design.
- Clean Excess Mortar: Throughout the process, promptly remove any excess mortar from the brick faces using a brush or suitable cleaning tool. This will help maintain the clean and polished appearance of the brick cladding.
By meticulously following these steps, you’ll be well-equipped to lay the bricks with precision and finesse, resulting in a visually stunning and structurally sound brick cladding installation.
Read more: How To Insulate A Brick House
Finishing Touches
As you near the completion of the brick cladding installation, it’s time to focus on the finishing touches that will elevate the overall appearance and ensure the longevity of the project. Paying attention to these final details will contribute to a polished and professional outcome:
- Tool and Finish Mortar Joints: Take the time to tool and finish the mortar joints to achieve a clean and uniform appearance. This step involves shaping and smoothing the mortar to create visually appealing and structurally sound joints between the bricks.
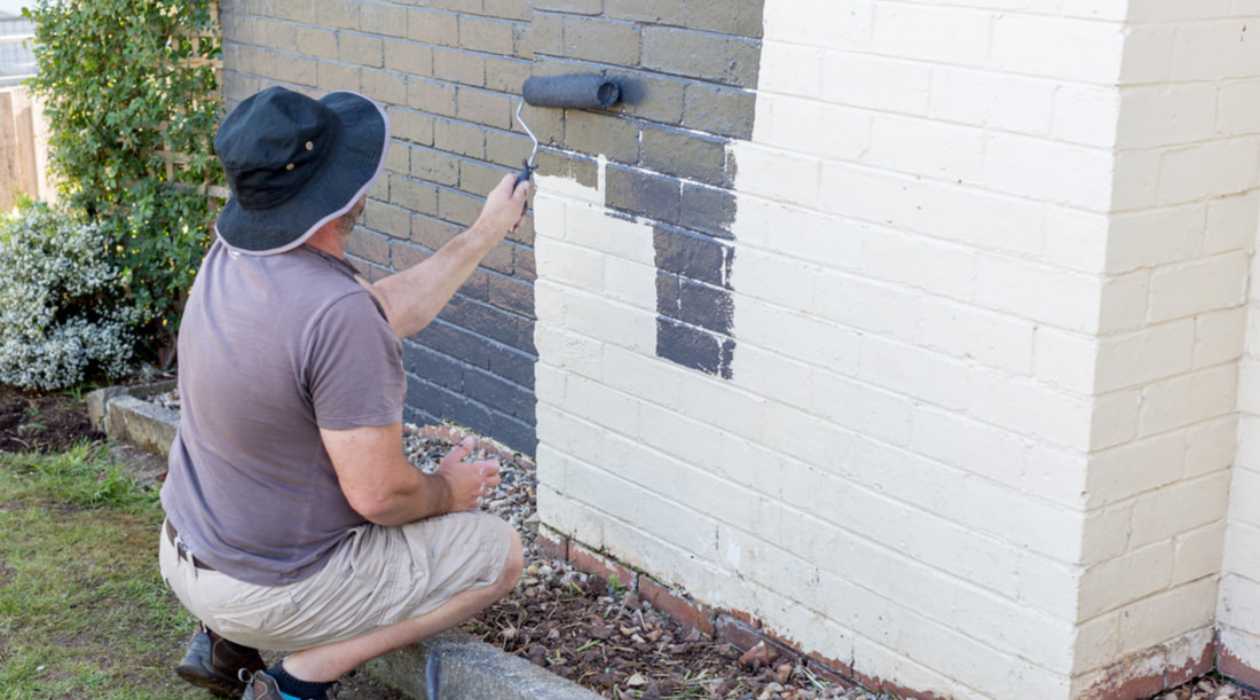
- Seal the Brick Surface (if applicable): Depending on the specific requirements and environmental factors, consider applying a suitable sealant to the brick surface. This can help protect the bricks from moisture, staining, and other potential damage, enhancing their durability and aesthetics.
- Inspect for Imperfections: Conduct a thorough inspection of the entire brick cladding installation, identifying any imperfections or areas that require attention. Address any issues promptly to ensure a flawless and professional result.
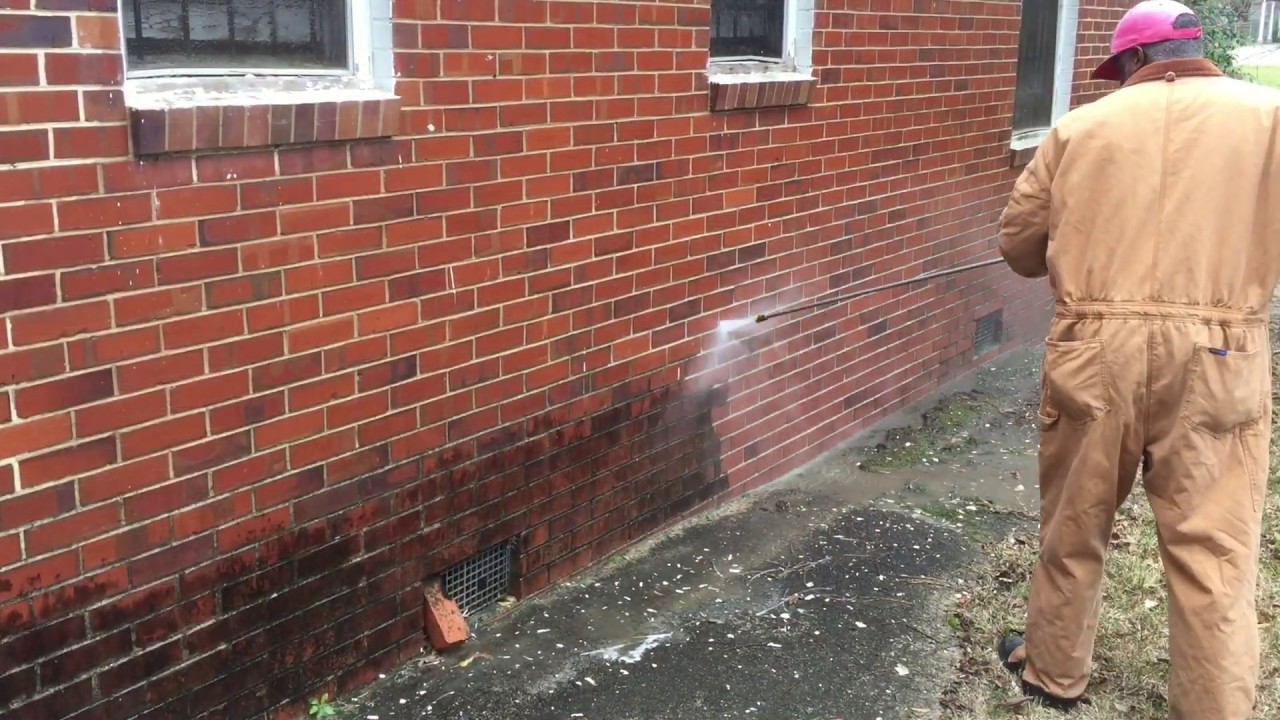
- Clean and Maintain the Bricks: Once the installation is complete, clean the brick surface to remove any residual mortar, dirt, or debris. Additionally, establish a maintenance routine to preserve the beauty and integrity of the brick cladding over time.
- Admire Your Handiwork: Take a moment to step back and admire the transformation that the brick cladding has brought to your home. Revel in the sense of accomplishment and the timeless elegance that the bricks have added to the exterior of your house.
By attending to these finishing touches, you’ll ensure that the brick cladding installation is not only visually captivating but also built to withstand the test of time. Embrace the opportunity to add your personal touch and craftsmanship to the final stages of the project, knowing that your attention to detail will result in a stunning and enduring enhancement to your home.
Conclusion
Embarking on the journey of adding brick cladding to your house is a transformative experience that allows you to infuse timeless charm and enduring beauty into your home. From the meticulous planning and gathering of materials to the precise execution of laying the bricks and attending to the finishing touches, each step contributes to the creation of a captivating masterpiece.
Throughout this process, you’ve not only enhanced the exterior aesthetics of your house but also cultivated a sense of pride and accomplishment through your dedication to craftsmanship. The enduring appeal of brick cladding transcends fleeting trends, offering a classic and elegant facade that stands the test of time.
As you admire the seamless integration of bricks into the architecture of your home, take a moment to appreciate the artistry and skill that have brought this vision to life. The enduring allure of brick cladding serves as a testament to the timeless synergy of form and function, blending aesthetic appeal with structural integrity in perfect harmony.
With the completion of this project, you’ve not only adorned your house with the enduring beauty of brick but also woven a narrative of craftsmanship and dedication into the very fabric of your home. As the seasons change and the years unfold, the enduring presence of brick cladding will continue to tell the story of your passion for timeless elegance and unwavering attention to detail.
So, as you stand back and behold the captivating transformation that brick cladding has brought to your house, revel in the knowledge that you’ve not only added bricks to a structure but also woven a tale of craftsmanship, dedication, and enduring beauty into the very essence of your home.
Frequently Asked Questions about How To Put Brick On A House
Was this page helpful?
At Storables.com, we guarantee accurate and reliable information. Our content, validated by Expert Board Contributors, is crafted following stringent Editorial Policies. We're committed to providing you with well-researched, expert-backed insights for all your informational needs.


0 thoughts on “How To Put Brick On A House”