Articles
How To Use Ryobi Paint Sprayer
Modified: August 28, 2024
Learn how to use the Ryobi paint sprayer with these helpful articles. Get step-by-step instructions and expert tips for perfect results every time.
(Many of the links in this article redirect to a specific reviewed product. Your purchase of these products through affiliate links helps to generate commission for Storables.com, at no extra cost. Learn more)
Introduction
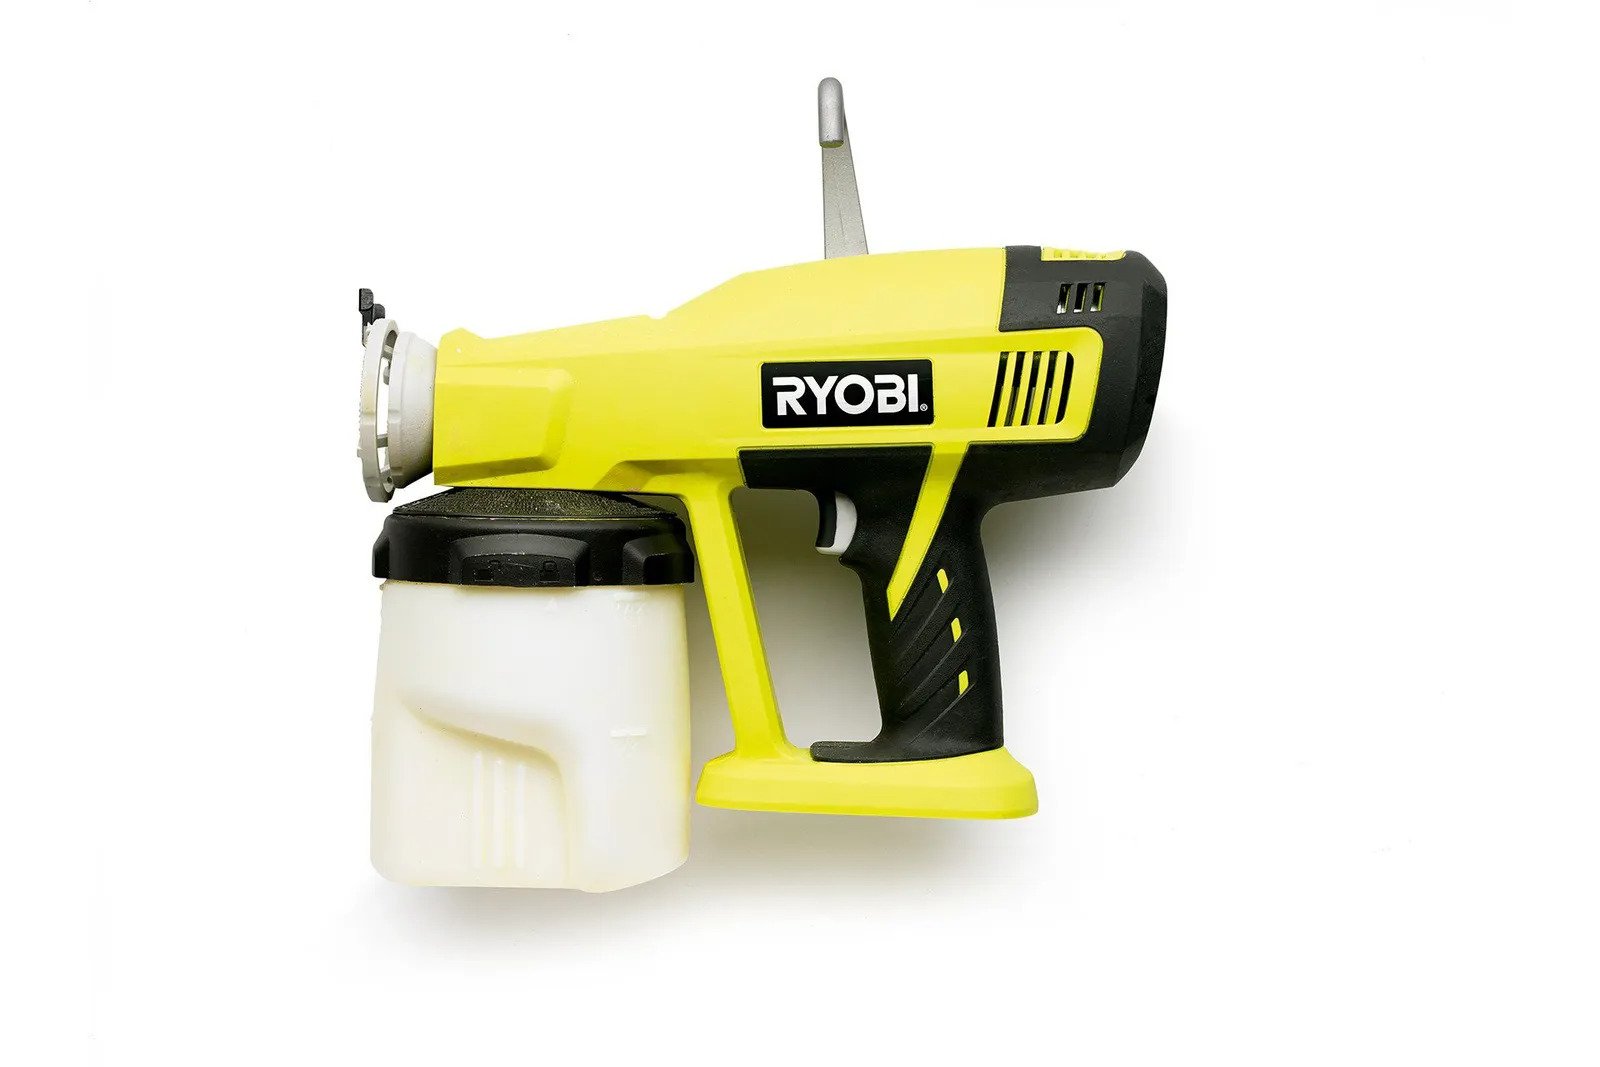
Welcome to this comprehensive guide on how to use the Ryobi Paint Sprayer. Whether you’re a professional painter or a DIY enthusiast, having the right tool can make all the difference in achieving a smooth and flawless finish. The Ryobi Paint Sprayer is a versatile and user-friendly tool that allows you to efficiently complete any painting project with ease.
In this article, we will walk you through the step-by-step process of using the Ryobi Paint Sprayer, from gathering the necessary materials to cleaning and maintaining the sprayer. By the end of this guide, you’ll feel confident and ready to tackle your next painting project.
Before we dive into the details, let’s take a moment to understand why the Ryobi Paint Sprayer is a popular choice among painters. The Ryobi Paint Sprayer offers precision control and consistent coverage, saving you time and effort compared to traditional painting methods. Its adjustable spray pattern allows you to customize the finish, whether you’re working on a large surface or tackling intricate details.
With the Ryobi Paint Sprayer, you can achieve professional-level results without the need for expensive equipment or professional training. So, let’s get started and learn how to make the most of this fantastic tool.
Key Takeaways:
- Mastering the Ryobi Paint Sprayer allows for professional-level painting results without the need for expensive equipment or professional training, making it an ideal choice for both DIY enthusiasts and professional painters.
- Proper preparation, including assembling the sprayer, adjusting the spray pattern, and testing before painting, is crucial for achieving flawless and efficient painting projects with the Ryobi Paint Sprayer.
Read more: What Is A Ryobi Electrostatic Sprayer
Step 1: Gather the necessary materials
Before you start using the Ryobi Paint Sprayer, it’s essential to gather all the necessary materials to ensure a smooth painting process. Here are the items you’ll need:
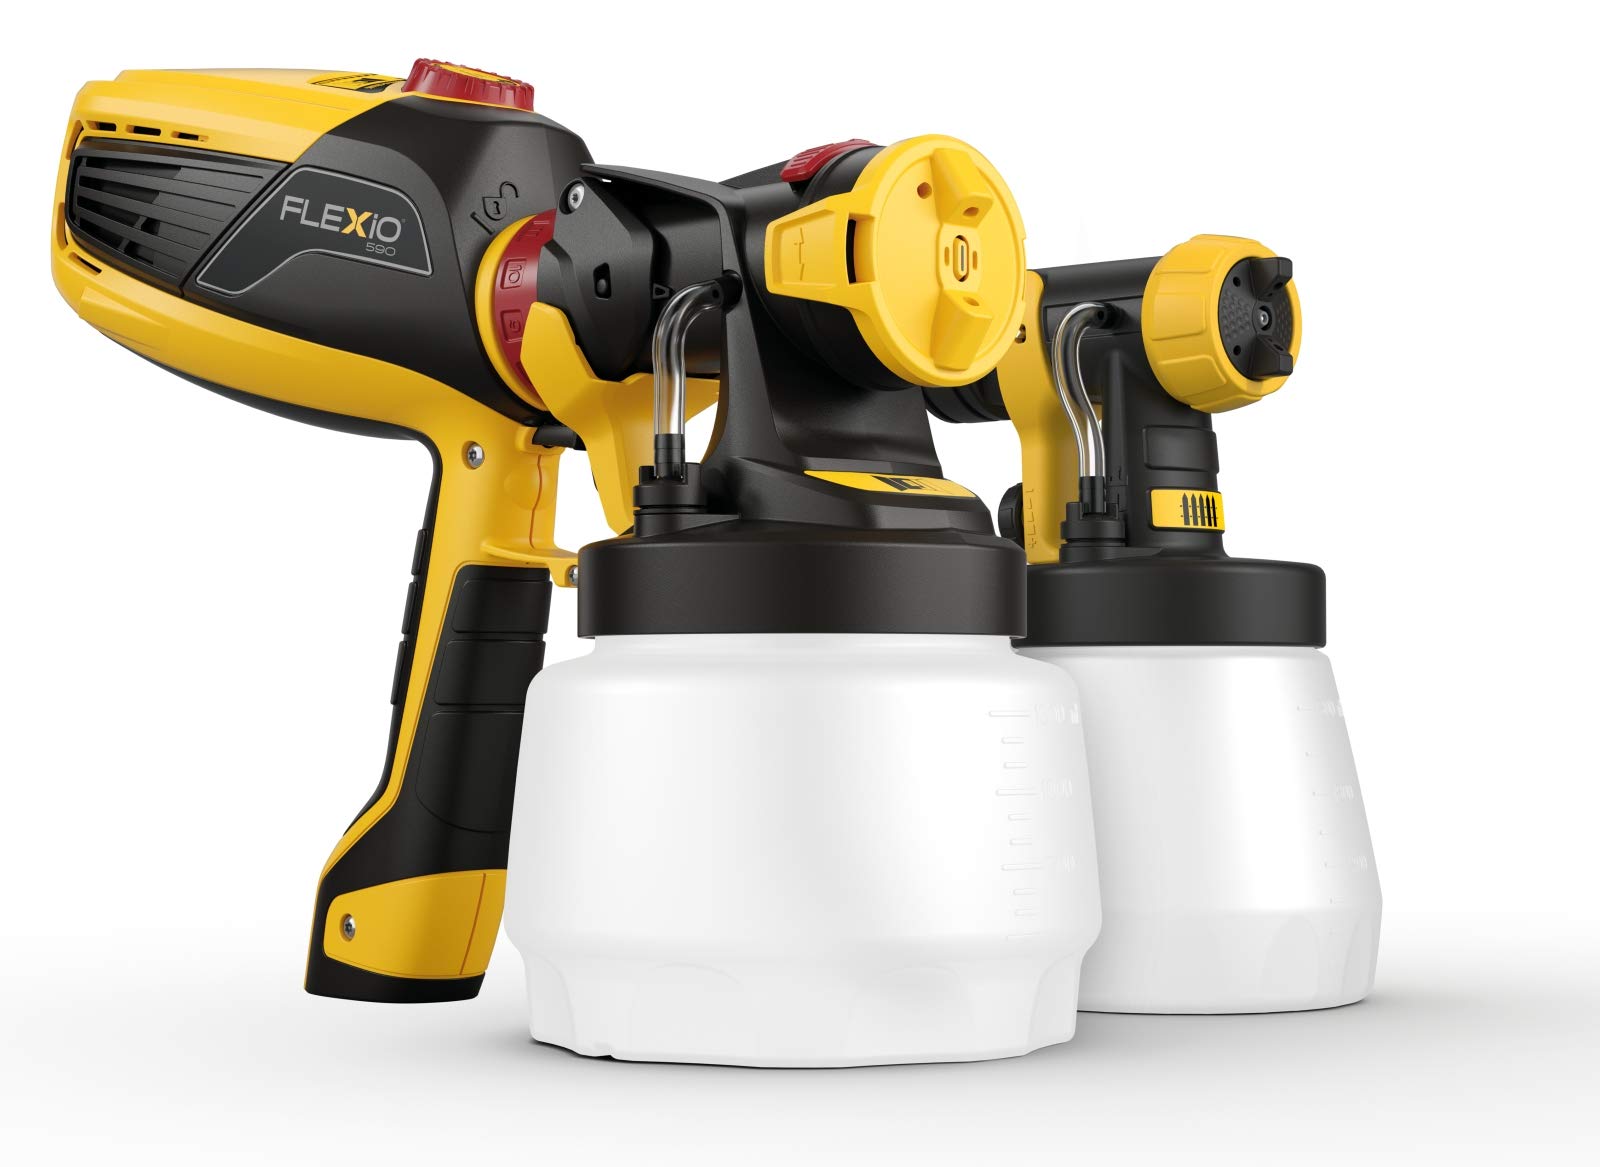
- Ryobi Paint Sprayer: Of course, the first thing you’ll need is the Ryobi Paint Sprayer itself. Make sure you have the correct model for your desired project.
- Paint: Choose the appropriate paint for your project, whether it’s interior or exterior work. Be sure to check the paint specifications for compatibility with the paint sprayer.
- Protective Gear: Painting can be messy, so it’s crucial to protect yourself. Wear safety goggles, a dust mask, and gloves to safeguard against fumes and potential paint splatters.
- Masking Tape and Plastic Sheets: Use masking tape to cover areas that you don’t want to paint, such as trim or windows. Plastic sheets can be used to protect furniture or floors from overspray.
- Drop Cloths: Lay down drop cloths or old sheets to protect the surrounding area from paint drips or spills.
- Paint Strainer: Using a paint strainer can help remove any impurities or debris from the paint, ensuring a smoother application through the sprayer.
- Extension Cord: Depending on the size of your painting project, you may need an extension cord to reach distant areas.
- Cleaning Supplies: It’s essential to have cleaning supplies readily available to clean the sprayer after use. This typically includes water, mild detergent, and a stiff brush.
By gathering all these materials beforehand, you’ll be well-prepared and can avoid any unnecessary interruptions during the painting process. Now that you have everything you need, let’s move on to the next step: preparing the paint sprayer.
Step 2: Prepare the paint sprayer
Now that you have gathered all the necessary materials, it’s time to prepare the Ryobi Paint Sprayer for use. Proper preparation is crucial to ensure optimal performance and avoid any mishaps during the painting process. Follow these steps to get your paint sprayer ready:
- Read the instruction manual: Before you start, thoroughly read the instruction manual provided with the Ryobi Paint Sprayer. Familiarize yourself with the different parts and controls of the sprayer to ensure proper usage.
- Assemble the sprayer: Follow the instructions to assemble the paint sprayer if it isn’t pre-assembled. Attach the spray gun to the hose and ensure all connections are tight and secure.
- Inspect the sprayer: Check the paint sprayer for any visible damage or wear. Ensure that all components, such as the nozzle, trigger, and air filters, are clean and in good working condition.
- Prepare the workspace: Choose a well-ventilated area for painting. Clear the space of any obstacles and ensure proper lighting. Place your drop cloths or sheets to protect the surrounding area from paint overspray.
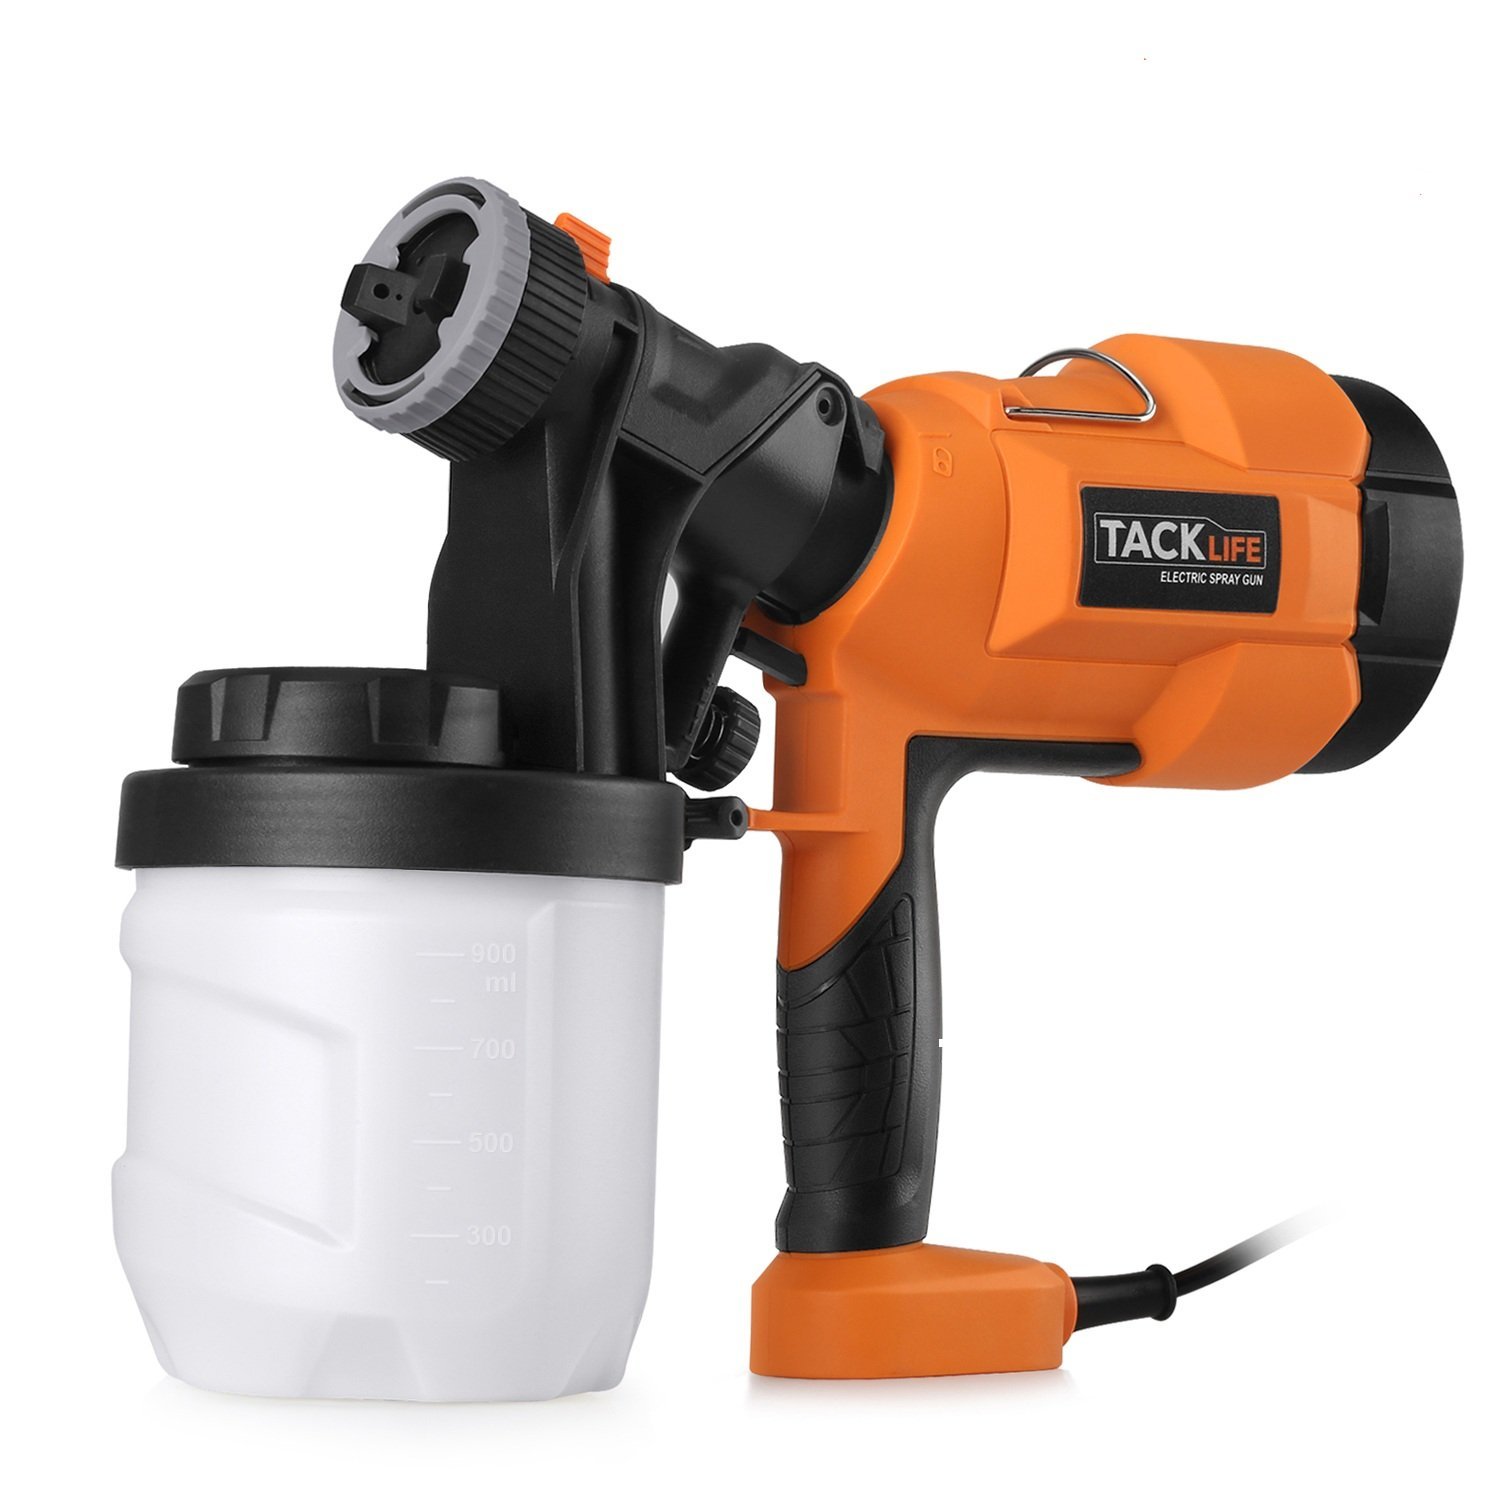
- Set up the paint container: Depending on the model of your Ryobi Paint Sprayer, you may have a paint container that needs to be attached. Follow the instructions to connect the container securely to the sprayer.
- Check the paint consistency: If necessary, mix the paint according to the manufacturer’s instructions. Ensure that the paint is well-mixed and has the right consistency for spraying. Use a paint strainer to remove any impurities that could clog the sprayer.
- Prime the sprayer: Some models may require priming before use. Refer to the instruction manual to prime the pump and remove any air bubbles from the system.
- Adjust the pressure: The Ryobi Paint Sprayer allows you to control the pressure for the desired spray pattern. Refer to the instruction manual to set the pressure according to your specific painting needs.
By following these steps, you’ll ensure that your Ryobi Paint Sprayer is in optimal condition and ready for painting. In the next step, we’ll cover how to fill the paint container correctly.
Step 3: Fill the paint container
With the Ryobi Paint Sprayer prepared and ready for use, the next step is to fill the paint container. Properly filling the paint container ensures a continuous and smooth paint flow throughout your painting project. Follow these steps to fill the paint container effectively:
- Prepare the paint: Before filling the paint container, ensure that your paint is well-mixed and at the desired consistency. Refer to the manufacturer’s instructions for the correct ratio of any thinners or additives.
- Detach the container: Depending on the model of your Ryobi Paint Sprayer, you may need to detach the container from the sprayer. Carefully remove the container and place it on a stable surface.
- Open the paint container: Most paint containers have a lid or cap that needs to be opened. Remove the lid and set it aside, ensuring that it is kept clean and free from any paint drips or contamination.
- Fill the container: Slowly pour the paint into the container, taking care not to overfill it. Avoid splashing or spilling the paint outside the container to prevent any mess or wastage.
- Attach the container: Once the container is filled, securely attach it to the Ryobi Paint Sprayer, following the manufacturer’s instructions. Make sure all connections are tight and properly sealed to prevent any leaks.
It’s important to note that the size of the paint container may vary depending on the model of your Ryobi Paint Sprayer. If you’re working on a large painting project, you may need to refill the container multiple times. In such cases, ensure that you clean and properly rinse the container before refilling it with fresh paint.
By following these steps, you’ll be able to fill the paint container efficiently, ensuring a continuous supply of paint throughout your project. In the next step, we’ll cover how to adjust the spray pattern to achieve the desired finish.
Step 4: Adjust the spray pattern
Adjusting the spray pattern is a crucial step in using the Ryobi Paint Sprayer to achieve the desired finish. The spray pattern determines how the paint is distributed onto the surface you’re painting. Follow these steps to adjust the spray pattern effectively:
- Test the spray pattern: Before you start painting, it’s important to test the spray pattern on a scrap piece of material or cardboard. This allows you to see how the paint is being dispersed and make any necessary adjustments before applying it to your target surface.
- Adjust the spray width: The Ryobi Paint Sprayer offers adjustable spray width settings. Depending on the model, you may have a knob or dial to control the width of the spray pattern. Turn the knob or dial in the appropriate direction to increase or decrease the width as desired.
- Adjust the spray shape: Some models allow you to change the spray shape from a horizontal fan pattern to a vertical fan pattern or even a round pattern. Refer to the instruction manual for your specific Ryobi Paint Sprayer to adjust the shape accordingly.
- Check the spray pressure: The pressure of the sprayer can also affect the spray pattern. Refer to the instruction manual to adjust the pressure based on the desired effect and the type of surface you’re painting. Higher pressure may be suitable for larger surface areas, while lower pressure may be better for detailed or delicate work.
When adjusting the spray pattern, it’s important to consider the size and shape of the surface you’re painting, as well as the type of paint you’re using. Take your time to make the necessary adjustments and ensure that the spray pattern is even and consistent.
Remember to always test the spray pattern before starting your painting project and make any necessary adjustments to achieve the desired finish. In the next step, we’ll walk you through how to test the Ryobi Paint Sprayer before painting your target surface.
When using a Ryobi paint sprayer, make sure to properly thin the paint according to the manufacturer’s recommendations to ensure smooth and even application.
Read more: How To Paint A Brick House With A Sprayer
Step 5: Test the paint sprayer
Testing the paint sprayer before diving into your actual painting project is a crucial step to ensure that everything is functioning properly and that you achieve the desired results. Follow these steps to effectively test the Ryobi Paint Sprayer:
- Prepare a test surface: Find a suitable test surface, such as a piece of cardboard or a scrap material, to spray your paint on. This will allow you to adjust the spray pattern and ensure that the paint is being distributed evenly.
- Position yourself and the sprayer: Stand at a comfortable distance from the test surface, ensuring that you have a clear line of sight. Hold the Ryobi Paint Sprayer at a slight angle, pointing it towards the test surface.
- Activate the sprayer: Depending on the model of your Ryobi Paint Sprayer, you will need to either pull the trigger or press the power button to activate the sprayer. Start by applying a light and even coat of paint to the test surface.
- Observe and make adjustments: Pay close attention to the spray pattern, observing its width, shape, and coverage. If the spray pattern is too narrow or too wide, adjust the spray width accordingly. If the pattern is uneven, adjust the pressure or inspect the nozzle for clogs.
- Refine your technique: Use the test sprays to practice your technique, ensuring smooth and consistent movements. Keep the sprayer at a consistent distance from the surface and maintain an even speed across the entire test area.
- Check for drips or runs: After testing, inspect the test surface for any drips, runs, or uneven coverage. If you notice any areas that require touch-ups, adjust your technique or make further adjustments to the spray pattern.
By testing the Ryobi Paint Sprayer before starting your project, you’ll be able to make any necessary adjustments to achieve the desired finish. This will also give you the opportunity to familiarize yourself with the sprayer’s operation and enhance your overall painting experience.
Once you are satisfied with the results and confident in your technique, you are ready to move on to the next step: starting your painting project with the Ryobi Paint Sprayer.
Step 6: Start painting
Now that you’ve tested the Ryobi Paint Sprayer and made any necessary adjustments, it’s time to start your actual painting project. Follow these steps to ensure a smooth and successful painting process:
- Prepare the target surface: Clean the surface you’ll be painting to remove any dirt, dust, or debris. Ensure that it’s dry and free from any obstacles or objects that could interfere with your painting.
- Protect surrounding areas: Use masking tape and plastic sheets to cover or mask off any areas that you don’t want to be painted. This includes trim, windows, furniture, and floors. Secure the sheets and tape them tightly to avoid any accidental paint splatters.
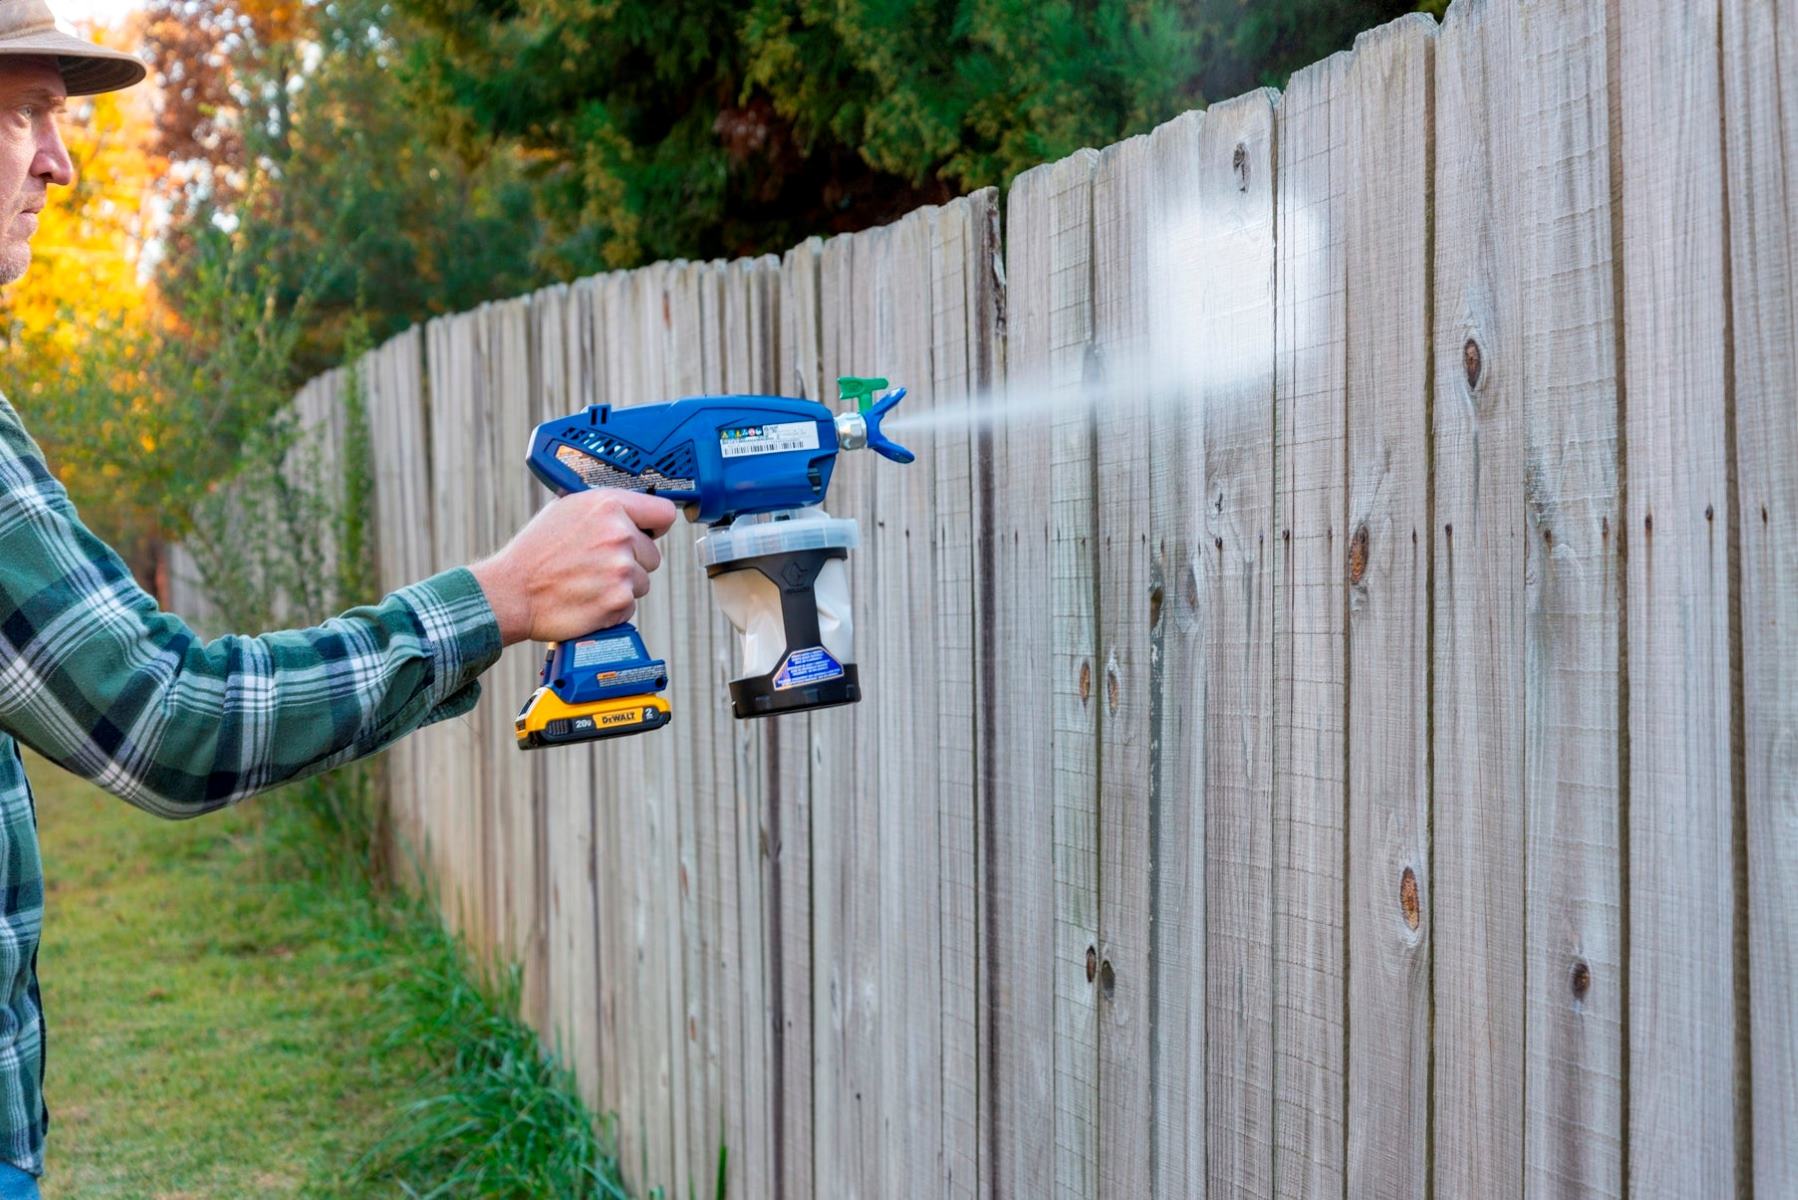
- Position yourself: Stand at a comfortable distance from the surface you’ll be painting. Hold the Ryobi Paint Sprayer at a slight angle, pointing it towards the surface.
- Start with a light coat: Begin by applying a light coat of paint to the surface in a smooth and even motion. Start at one side and work your way across to ensure consistent coverage.
- Overlap the strokes: To achieve an even finish, overlap your strokes by about 50% with each pass. This will help blend the paint and avoid any visible lines or streaks.
- Maintain a consistent speed and distance: Keep a consistent speed as you move the sprayer across the surface, ensuring that the distance between the sprayer and the surface remains the same. This will help maintain an even application of paint.
- Build up the layers: Depending on the paint and surface, you may need to apply multiple coats to achieve full coverage. Allow each coat to dry before applying the next, following the manufacturer’s instructions for drying times.
- Inspect and refine: After each coat, inspect the painted surface for any imperfections or missed spots. Make any necessary touch-ups before proceeding to the next coat.
Throughout the painting process, it’s important to maintain a steady and controlled motion, ensuring that the paint is applied evenly and smoothly. Take breaks as needed and stay hydrated to maintain your energy and focus.
Once you’ve completed painting the target surface and achieved the desired coverage, allow the paint to fully dry before removing any protective coverings. This will ensure a flawless and professional-looking finish.
Congratulations! You have successfully completed the painting process with the Ryobi Paint Sprayer. Now it’s time to move on to the final step: cleaning and maintaining the paint sprayer for future use.
Step 7: Clean and maintain the paint sprayer
Properly cleaning and maintaining your Ryobi Paint Sprayer after each use is essential to ensure its longevity and optimal performance for future painting projects. Follow these steps to effectively clean and maintain the paint sprayer:
- Flush the system: Start by flushing the paint sprayer with clean water. Detach the paint container and empty any remaining paint. Fill the container with water and reattach it to the sprayer. Activate the sprayer and spray water through it until the water runs clear.
- Clean the nozzle and filters: Remove the nozzle from the spray gun and clean it using a small brush and water. Pay attention to any clogs or build-up and remove them carefully. Clean or replace any filters as recommended by the manufacturer.
- Disassemble and clean the spray gun: If possible, disassemble the spray gun and clean each part thoroughly. Use water and mild detergent to remove any paint residue or debris. Rinse the parts and allow them to dry completely before reassembling.
- Inspect the seals and gaskets: Regularly check the seals and gaskets of the paint sprayer for any signs of wear or damage. If necessary, replace them to prevent any leaks or loss of pressure during future use.
- Store the paint sprayer properly: After cleaning, ensure that all components of the paint sprayer are dry. Store the sprayer in a clean and dry place, protected from dust and extreme temperatures. If possible, store it in its original case or box for additional protection.
- Follow the manufacturer’s maintenance guidelines: Refer to the instruction manual for any additional maintenance recommendations specific to your Ryobi Paint Sprayer. This may include lubrication of moving parts, regular inspections, or other maintenance tasks.
By regularly cleaning and maintaining your Ryobi Paint Sprayer, you’ll ensure that it remains in excellent condition for future use. This will not only extend the life of the sprayer but also ensure consistent and high-quality results for your painting projects.
With proper care and maintenance, your Ryobi Paint Sprayer will continue to be a valuable tool in your painting endeavors for a long time to come.
That wraps up our comprehensive guide on how to use the Ryobi Paint Sprayer. We hope this article has provided you with the knowledge and confidence to successfully utilize this versatile tool for your painting needs.
Happy painting!
Conclusion
Congratulations! You have reached the end of our comprehensive guide on how to use the Ryobi Paint Sprayer. By following the step-by-step instructions outlined in this article, you are now equipped with the knowledge and confidence to efficiently complete your painting projects with ease.
The Ryobi Paint Sprayer offers a versatile and user-friendly solution to achieve professional-level results without the need for expensive equipment or professional training. Its adjustable spray pattern, precise control, and consistent coverage make it an excellent choice for both professional painters and DIY enthusiasts.
Throughout the guide, we covered essential steps, from gathering the necessary materials to cleaning and maintaining the paint sprayer. We stressed the importance of proper preparation, including assembling the sprayer, adjusting the spray pattern, and testing the sprayer before starting your painting project.
We also highlighted the significance of maintaining a steady and controlled motion while painting, overlapping strokes, and applying multiple coats for optimal coverage. And, of course, we emphasized the importance of proper cleaning and maintenance to ensure the longevity and optimal performance of your Ryobi Paint Sprayer.
Remember, as you gain experience using the Ryobi Paint Sprayer, your technique will improve, and your painting projects will become even more efficient and professional-looking. Practice makes perfect, so don’t hesitate to experiment with different materials, surfaces, and spray patterns to hone your skills.
Whether you’re tackling interior or exterior projects, the Ryobi Paint Sprayer will be your reliable ally, providing smooth and flawless finishes for years to come.
Thank you for joining us on this journey to explore the world of the Ryobi Paint Sprayer. We hope this guide has been informative and helpful in your painting endeavors. Happy painting!
Frequently Asked Questions about How To Use Ryobi Paint Sprayer
Was this page helpful?
At Storables.com, we guarantee accurate and reliable information. Our content, validated by Expert Board Contributors, is crafted following stringent Editorial Policies. We're committed to providing you with well-researched, expert-backed insights for all your informational needs.


0 thoughts on “How To Use Ryobi Paint Sprayer”