Home>Dining>Table Decor>How To Dry Floral Arrangements
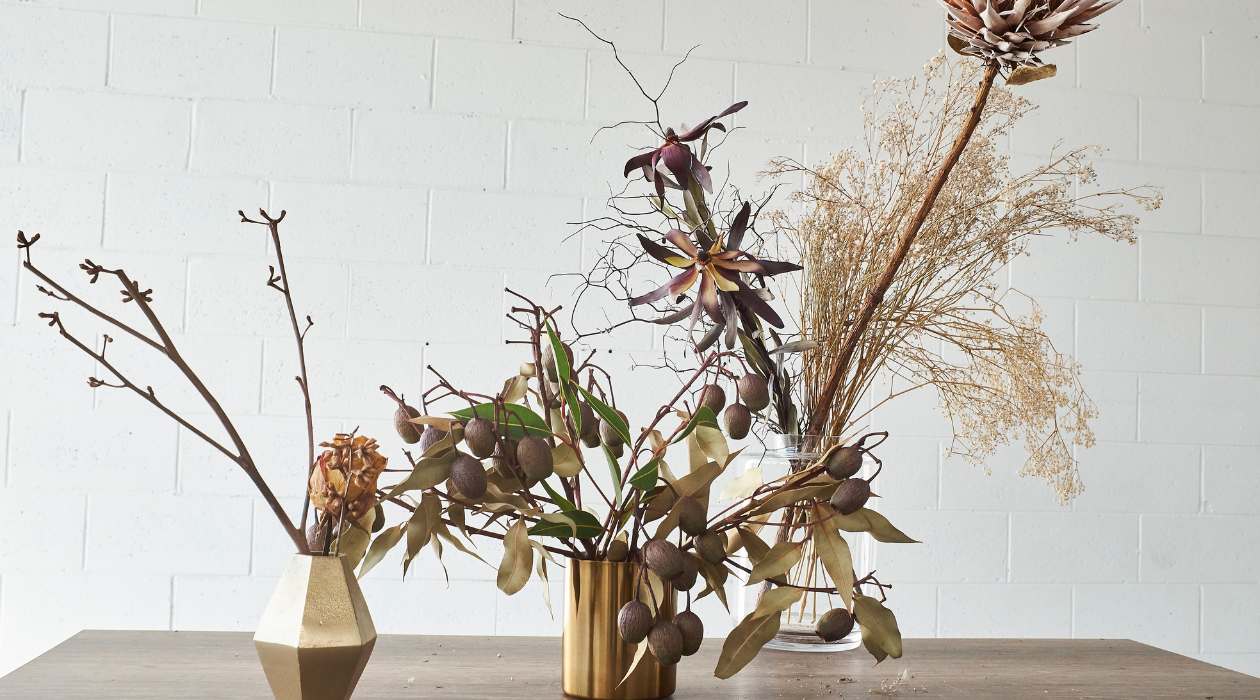
Table Decor
How To Dry Floral Arrangements
Modified: October 19, 2024
Learn how to dry floral arrangements with our step-by-step guide and create stunning table decor for any occasion. Discover tips and techniques for preserving flowers and keeping their vibrant colors intact.
(Many of the links in this article redirect to a specific reviewed product. Your purchase of these products through affiliate links helps to generate commission for Storables.com, at no extra cost. Learn more)
Introduction
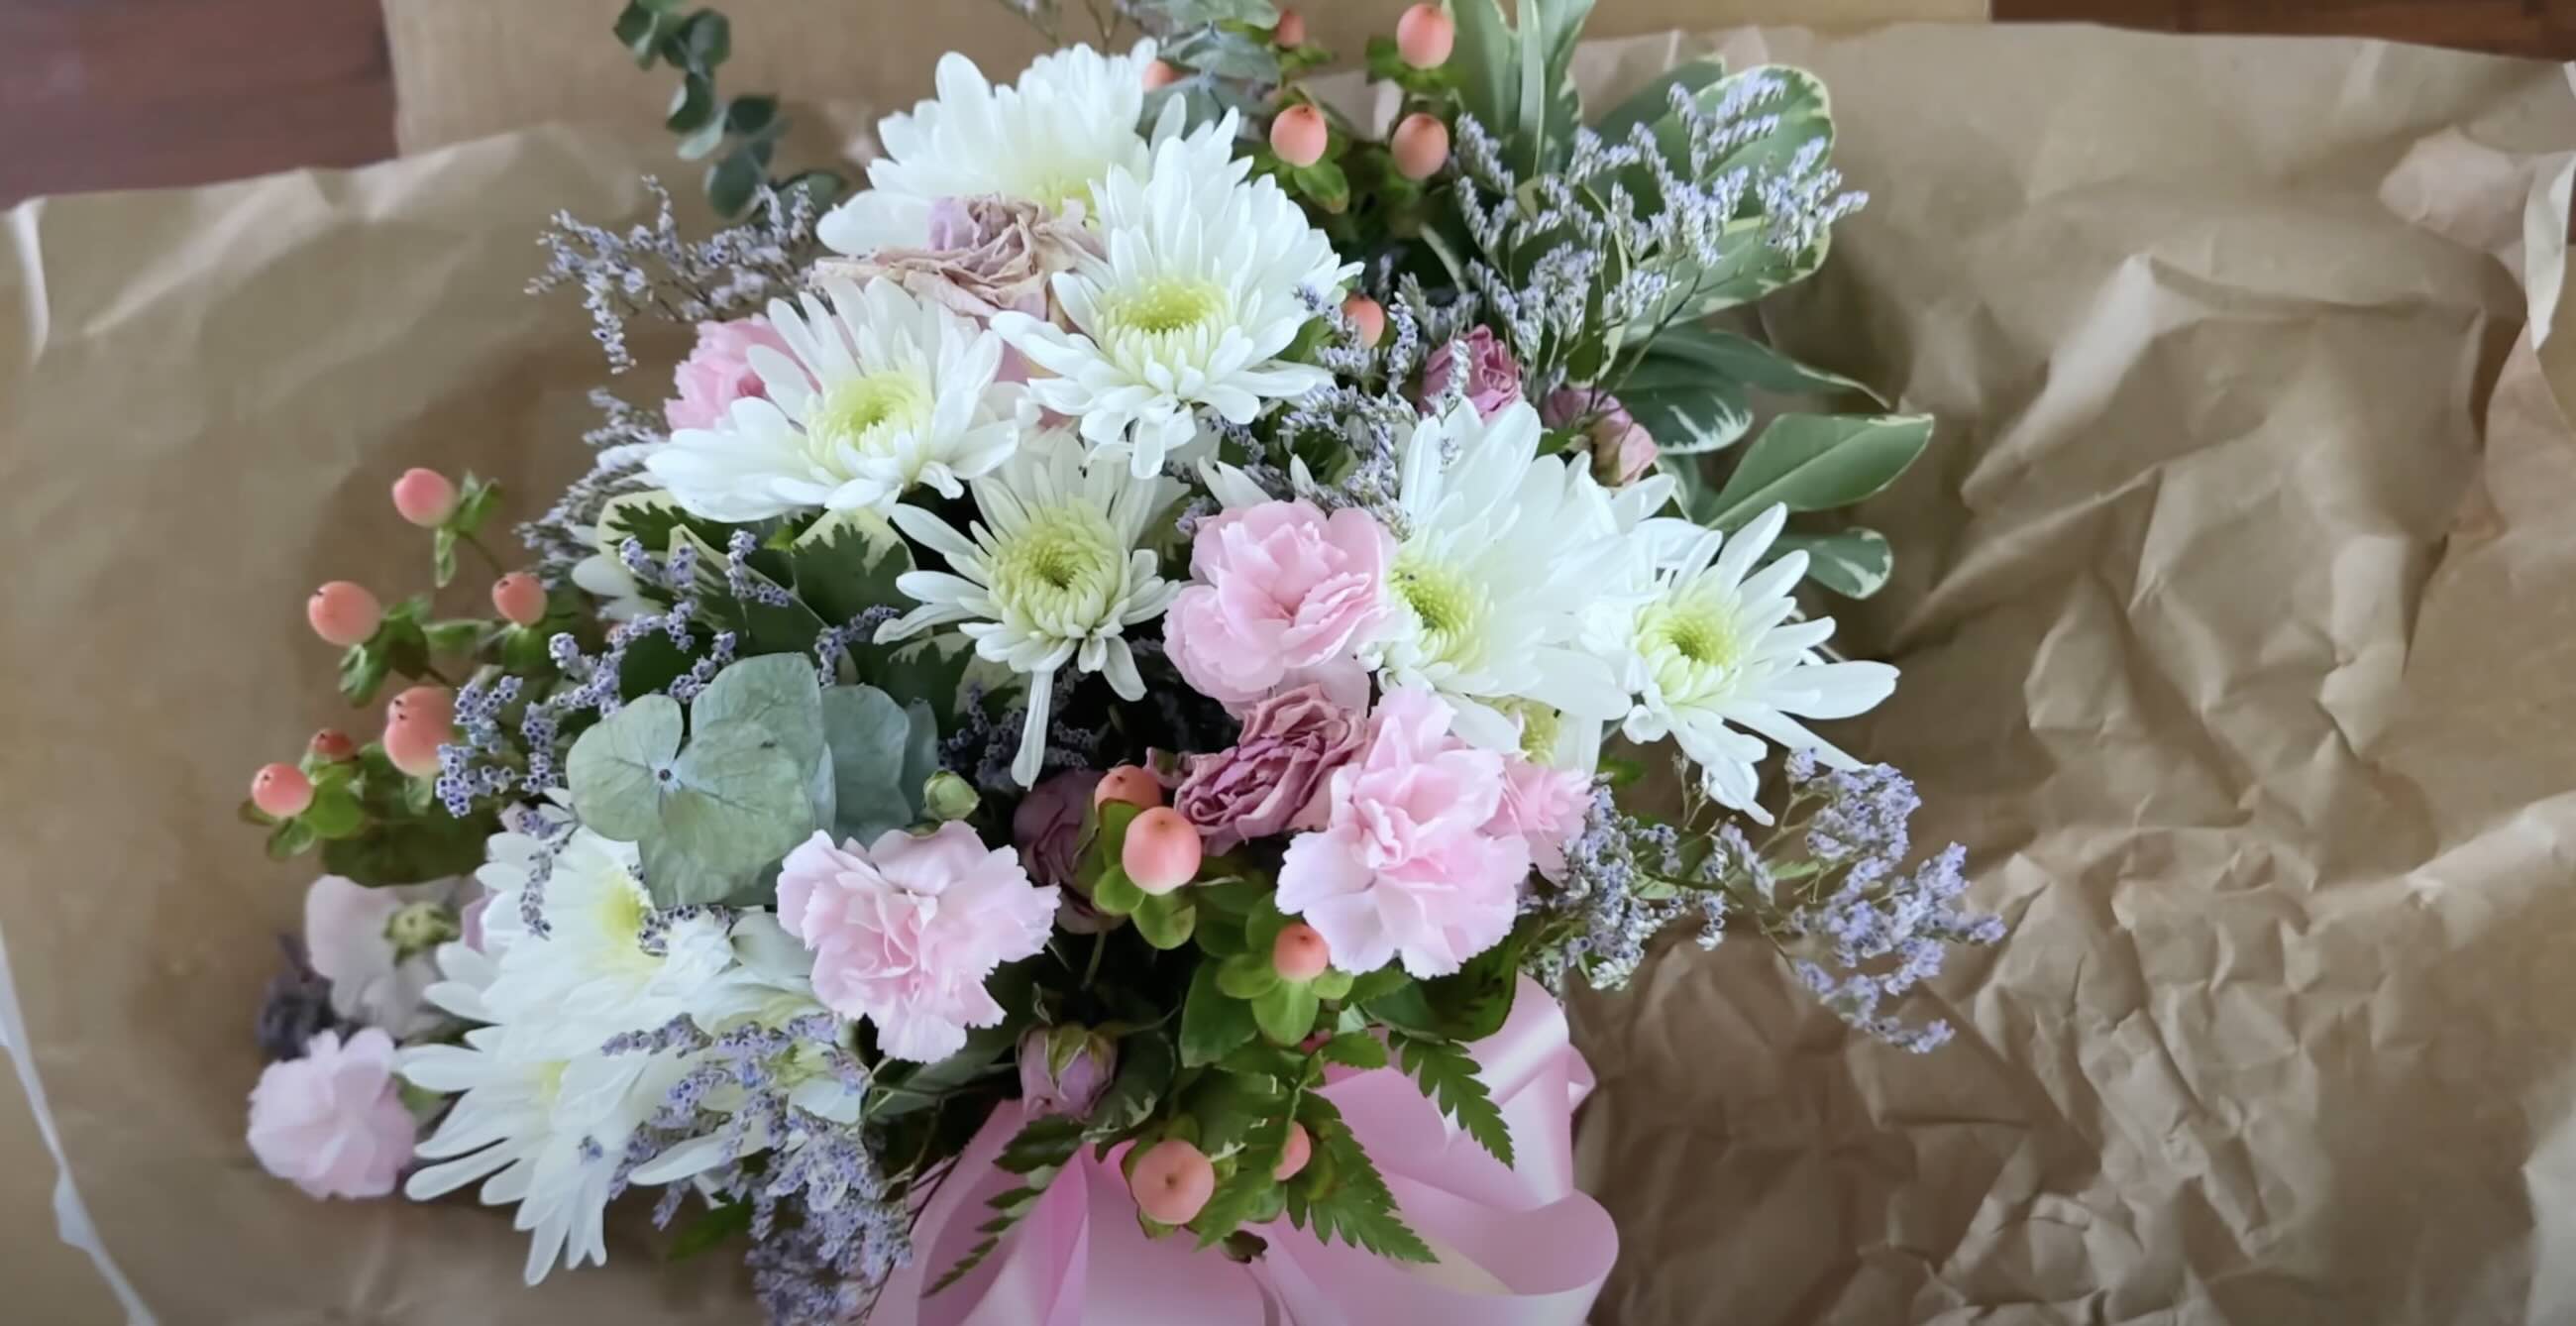
Creating stunning floral arrangements is a wonderful way to add beauty and charm to any space. Whether it’s for a special occasion or simply to brighten up your home, the art of arranging flowers can bring joy and create a welcoming atmosphere. However, fresh flowers often have a limited lifespan, leaving us wanting to find ways to preserve their beauty for longer.
Enter the world of drying floral arrangements – a technique that allows you to enjoy your favorite blooms year-round. Dried flowers not only retain their beauty but also provide a unique touch to various settings, including weddings, parties, and home decor. Whether you prefer traditional air drying methods or want to explore more modern techniques, this article will guide you through the steps of drying and preserving your floral arrangements.
Before we dive into the different methods, it’s essential to understand how to choose the right blooms for drying. Some flowers hold up better than others and are more suitable for the drying process. Moreover, the stage at which the flowers are harvested also plays a crucial role in their longevity and appearance when dried.
So, grab your gardening gloves and let’s delve into the world of drying floral arrangements!
Key Takeaways:
- Preserve the beauty of your favorite blooms year-round by choosing the right flowers for drying and mastering various techniques, from air drying to using silica gel or glycerin.
- Care for your dried floral arrangements to ensure their longevity, keeping them away from direct sunlight and moisture, gently dusting and handling them, and replacing faded flowers when needed.
Read more: How To Arrange Ikebana Floral Arrangements
Choosing the Right Blooms
When it comes to drying floral arrangements, not all blooms are created equal. Some flowers are better suited for drying due to their structure and ability to retain their shape and color. Here are some of the top blooms that are ideal for drying:
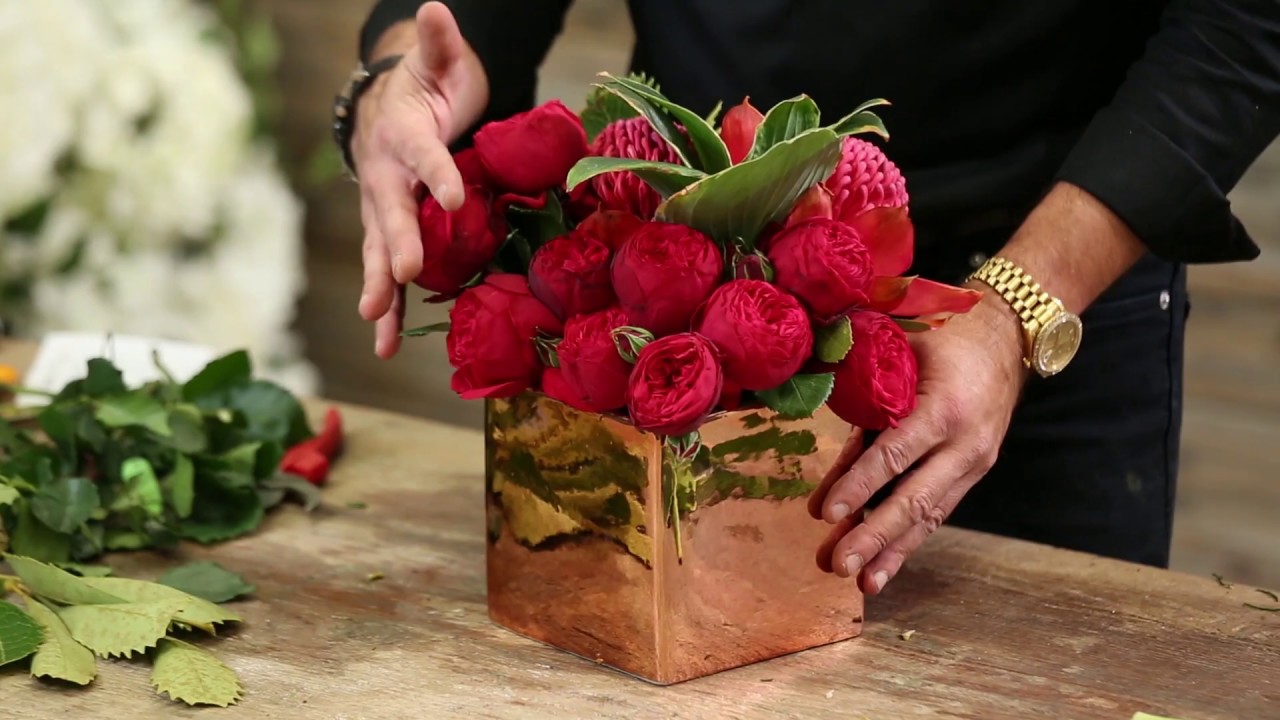
- Roses: One of the most popular flowers for drying, roses come in a variety of colors and hold their shape and fragrance exceptionally well.
- Lavender: Known for its soothing scent, lavender dries beautifully and adds a touch of elegance to any arrangement.
- Moonflower: These delicate, white flowers open at dusk and close at dawn. When dried, they can be used to create whimsical and romantic arrangements.
- Hydrangeas: With their large, voluminous blooms, hydrangeas are stunning when dried. They come in a range of colors and can be preserved with their original hue intact.
- Eucalyptus: Known for its aromatic leaves, eucalyptus dries perfectly, retaining its silver-gray color and adding a touch of texture to arrangements.
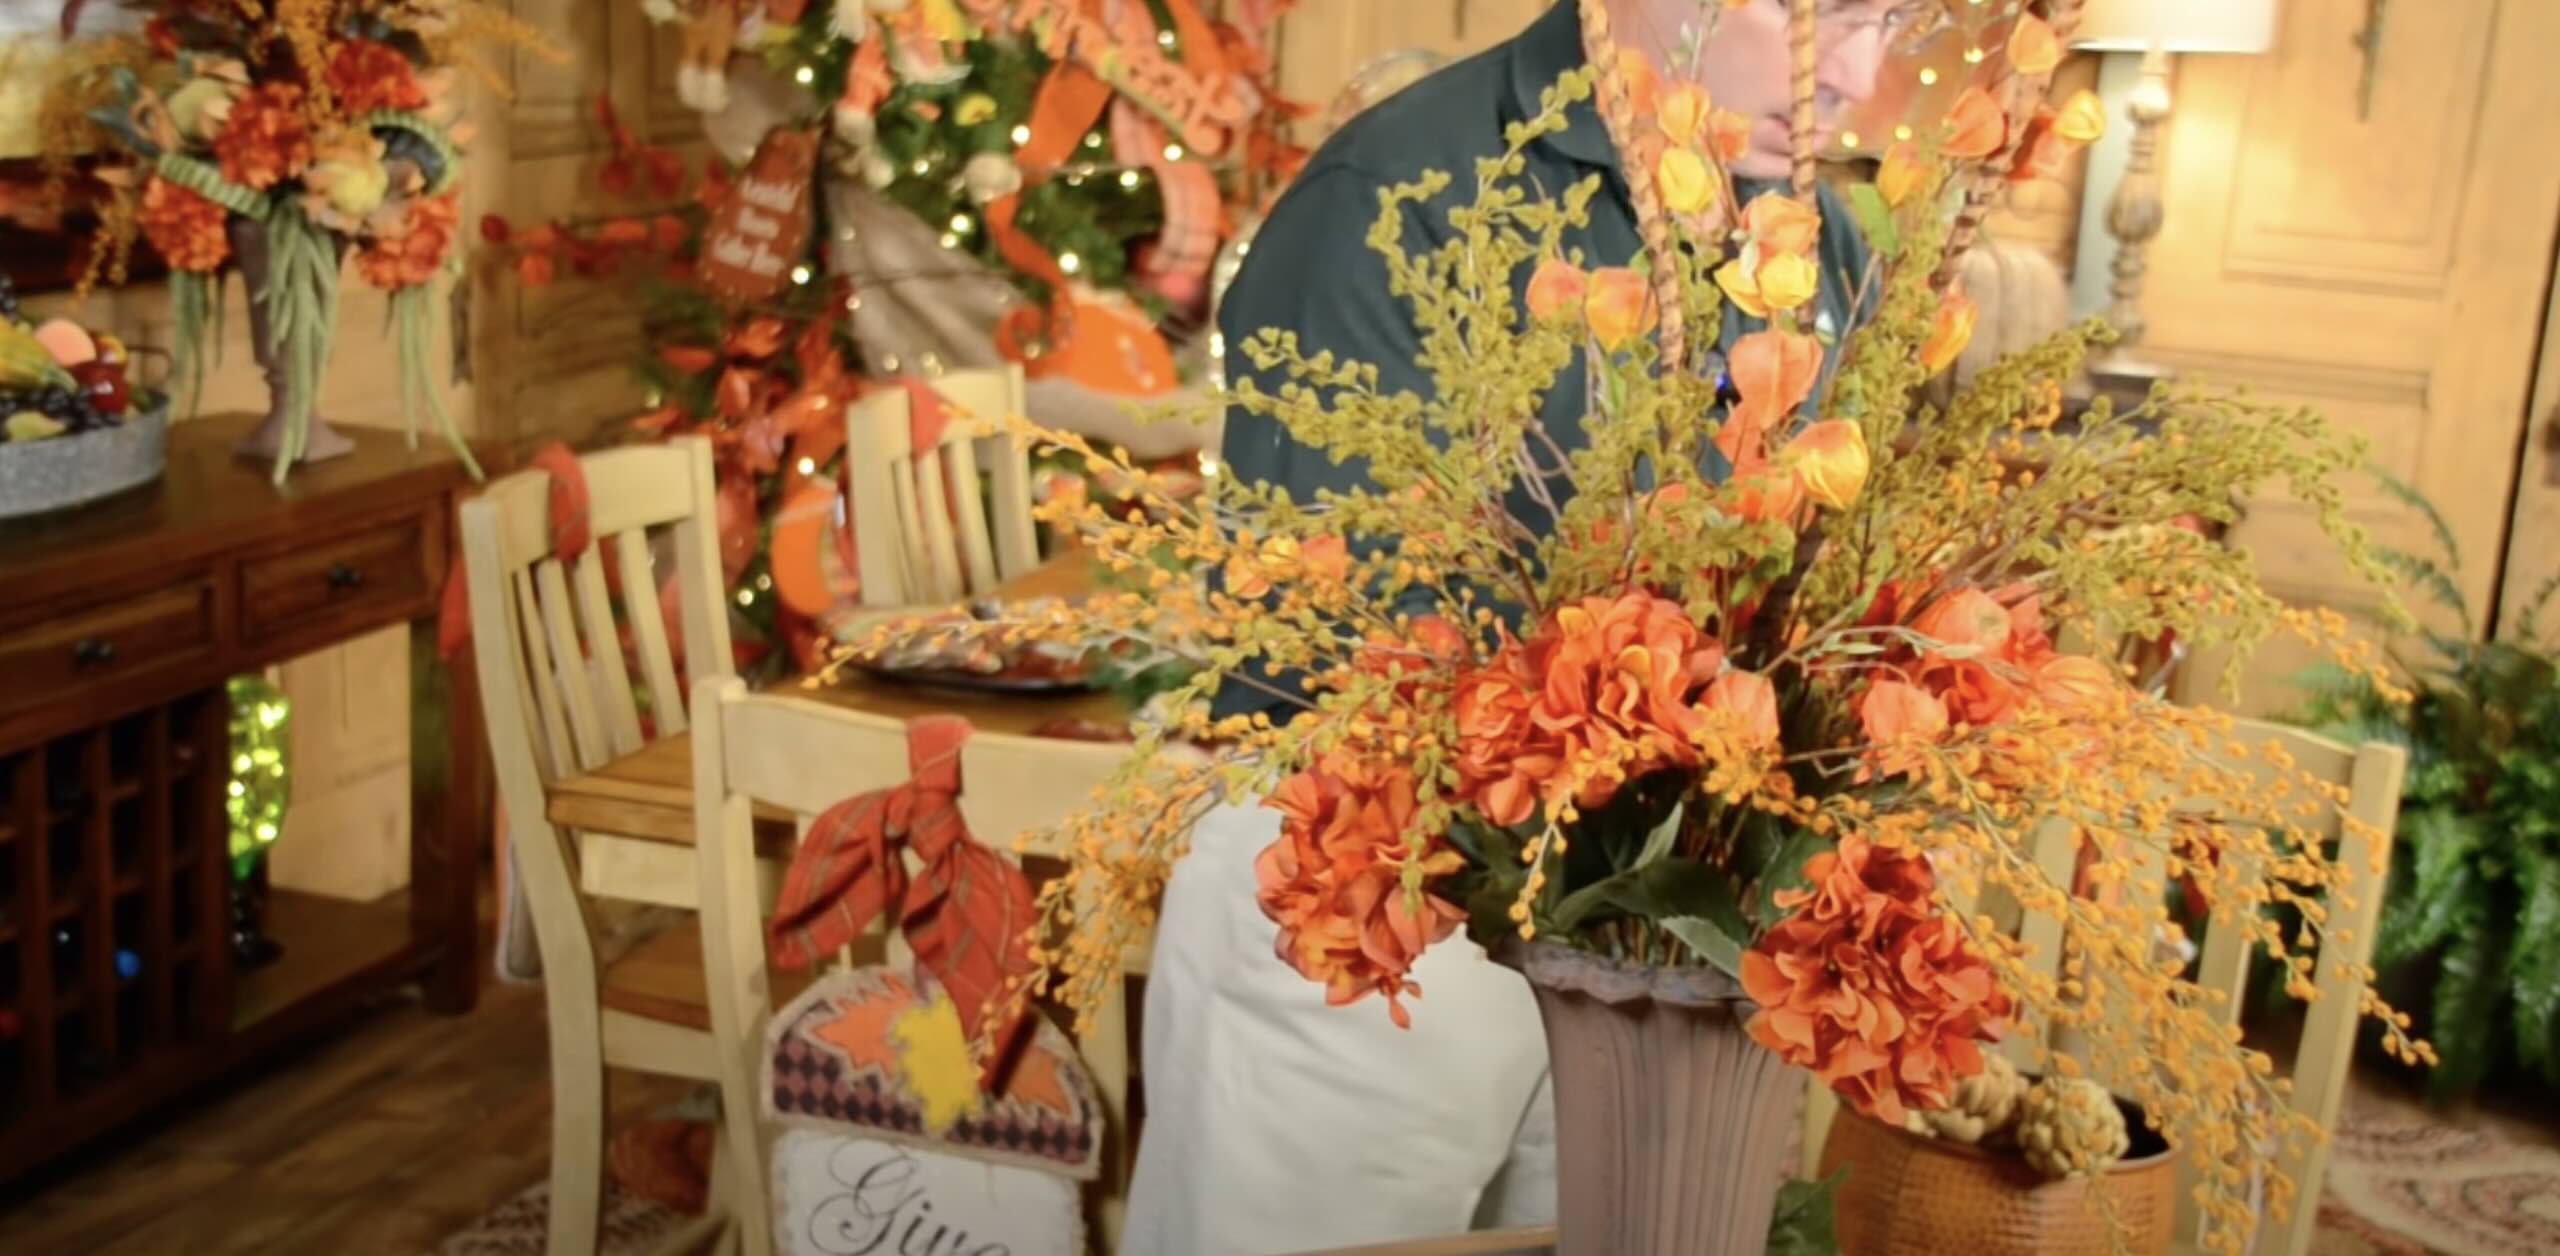
- Statice: These small, colorful flowers dry well and add a pop of vibrant color to dried bouquets.
- Strawflower: With their papery petals, strawflowers are resilient and maintain their shape and color even after drying.
When choosing flowers for drying, it’s important to select those that are in their peak condition. Harvest your blooms when they are fully opened but still very fresh. Avoid using flowers that show signs of wilting or browning, as they may not dry well and can detract from the overall appearance of the arrangement. Additionally, it’s recommended to dry flowers that have been grown organically or without the use of harmful chemicals to ensure the best results.
Now that you have a better understanding of which blooms are suitable for drying, it’s time to move on to the preparation process. Properly preparing your floral arrangement is essential for achieving optimal results in the drying process, as it ensures that the flowers retain their shape and color. Let’s explore the next step!
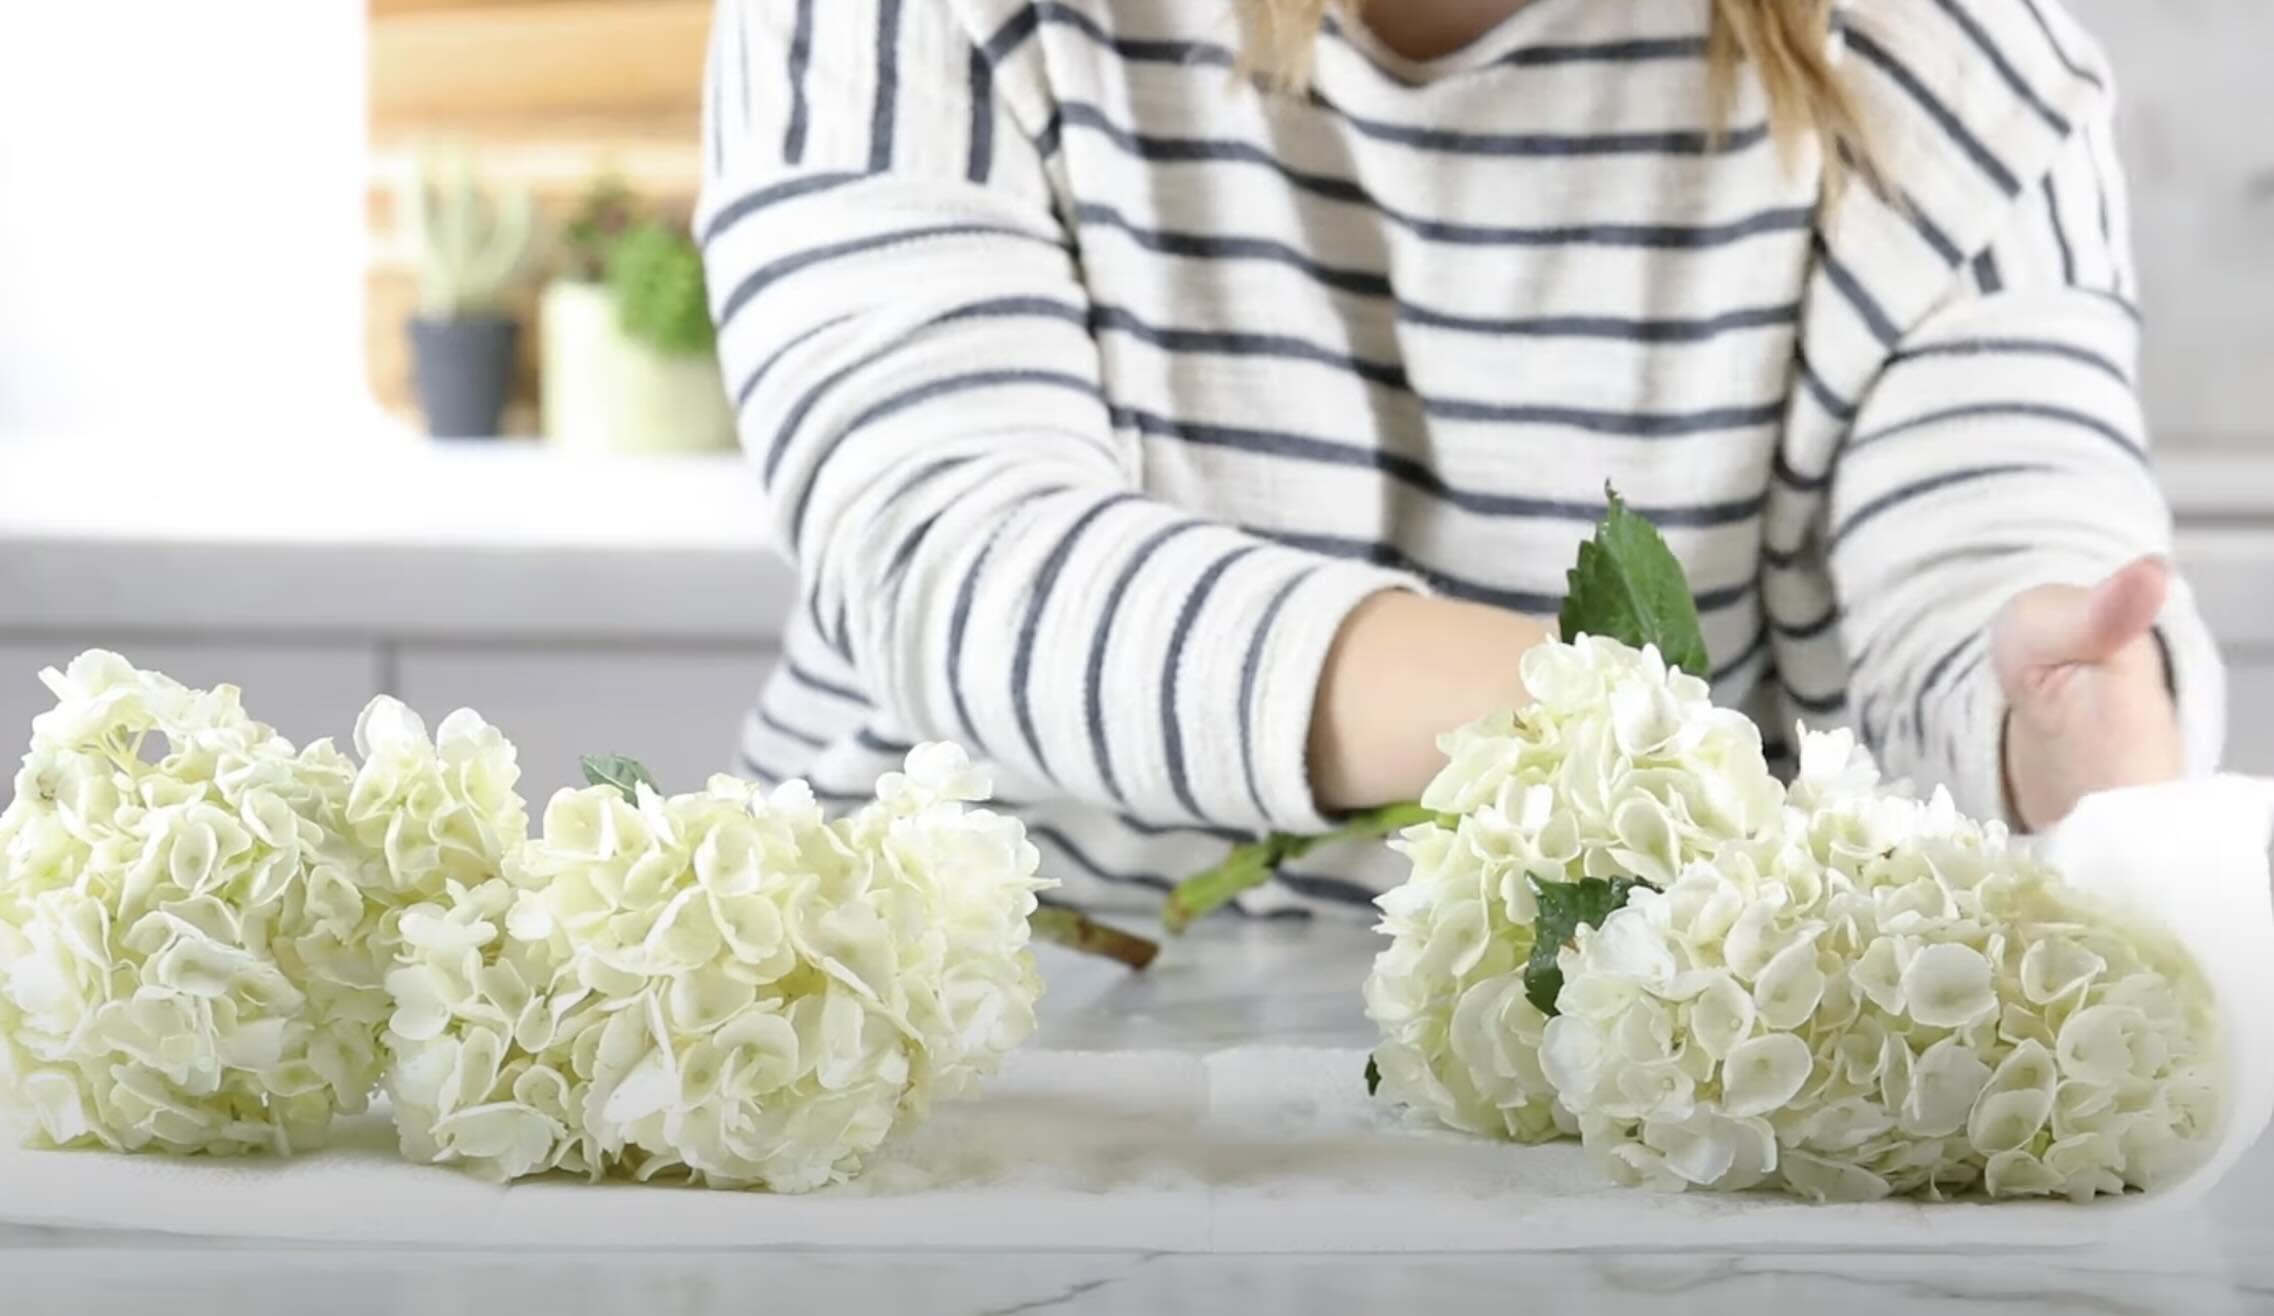
Preparing the Floral Arrangement
Before you begin the drying process, it’s important to properly prepare your floral arrangement. This step ensures that the flowers are in the best condition for drying and helps them maintain their shape and color. Here are some key steps to follow when preparing your blooms:
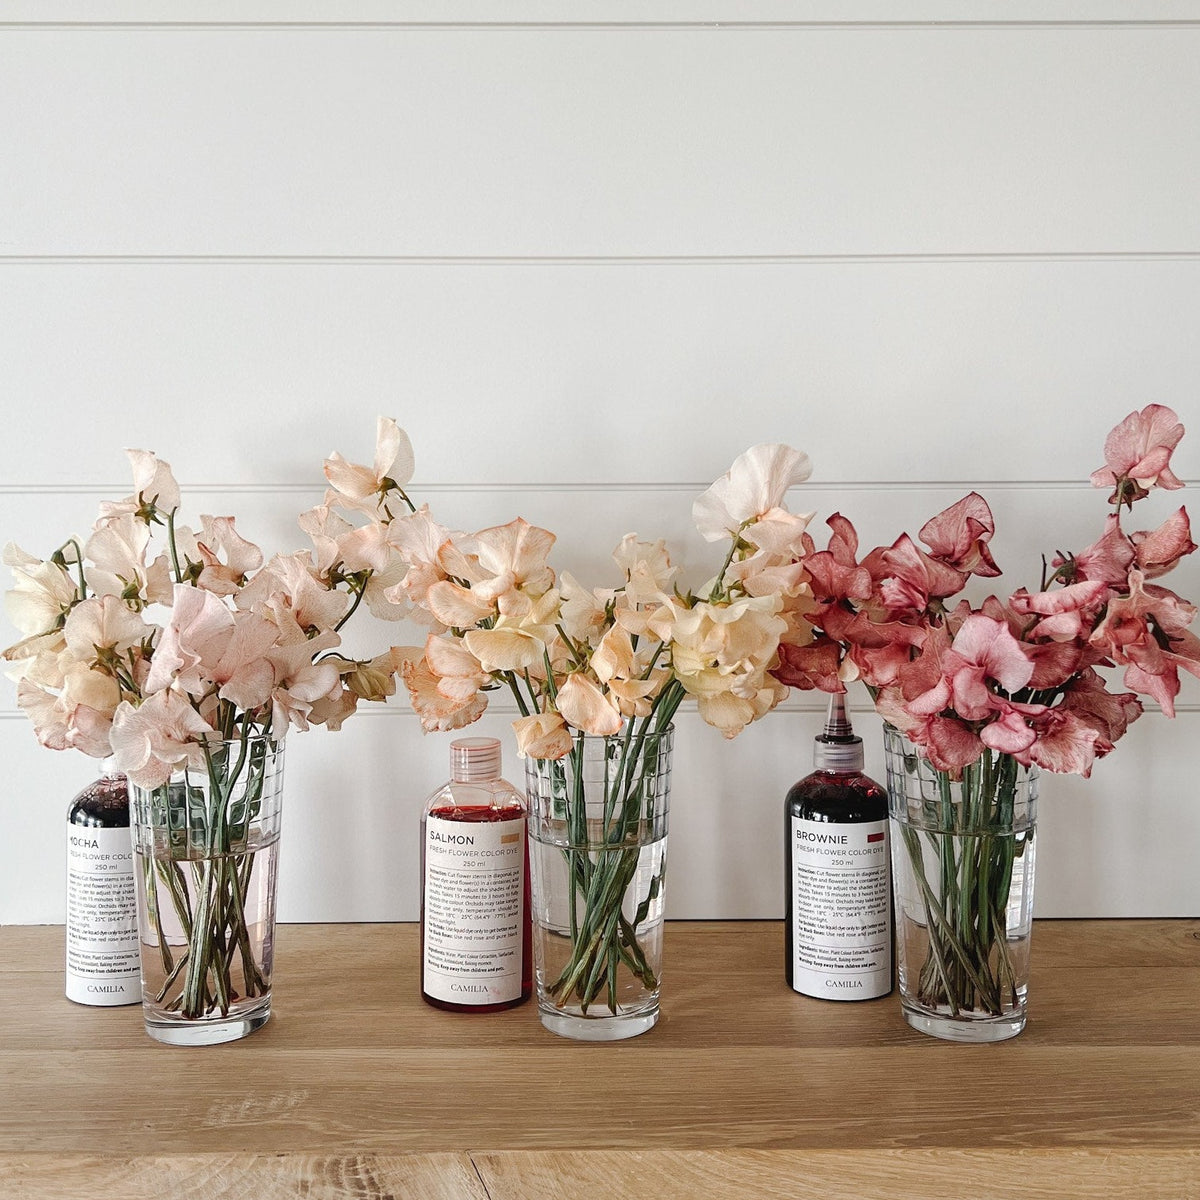
- Trim the stems: Start by trimming the stems of your flowers at an angle. This allows for better water absorption and helps prolong the life of the blooms.
- Remove excess leaves: Remove any leaves that will be below the waterline. Leaves left in the water can promote bacterial growth and lead to the deterioration of your flowers.
- Choose a clean vase: Select a vase that is clean and free of any residue or bacteria. This ensures that your flowers stay fresh and healthy before they begin to dry.
- Add water and preservative: Fill the vase with lukewarm water and add a floral preservative to help extend the life of your flowers. Follow the instructions on the package for the correct dosage.
- Arrange the blooms: Arrange your flowers in the vase, taking care to space them evenly and create a visually pleasing arrangement. Consider the color, shape, and height of each bloom for a balanced look.
Once you have prepared your floral arrangement, it’s time to choose a drying method that suits your needs and preferences. There are various techniques available, each offering unique results and considerations. From air drying to pressing, microwaving, and using silica gel, let’s explore the different methods of drying floral arrangements in the upcoming sections.
Are you ready to embark on your journey of preserving the beauty of your blooms? Let’s get started with the classic technique of air drying!
Air Drying Method
The air drying method is one of the oldest and simplest techniques for drying floral arrangements. It involves hanging your flowers upside down in a well-ventilated area, allowing them to naturally dry over time. This method works best for flowers with sturdy stems and petals that retain their shape when dry. Here’s how to air dry your blooms:
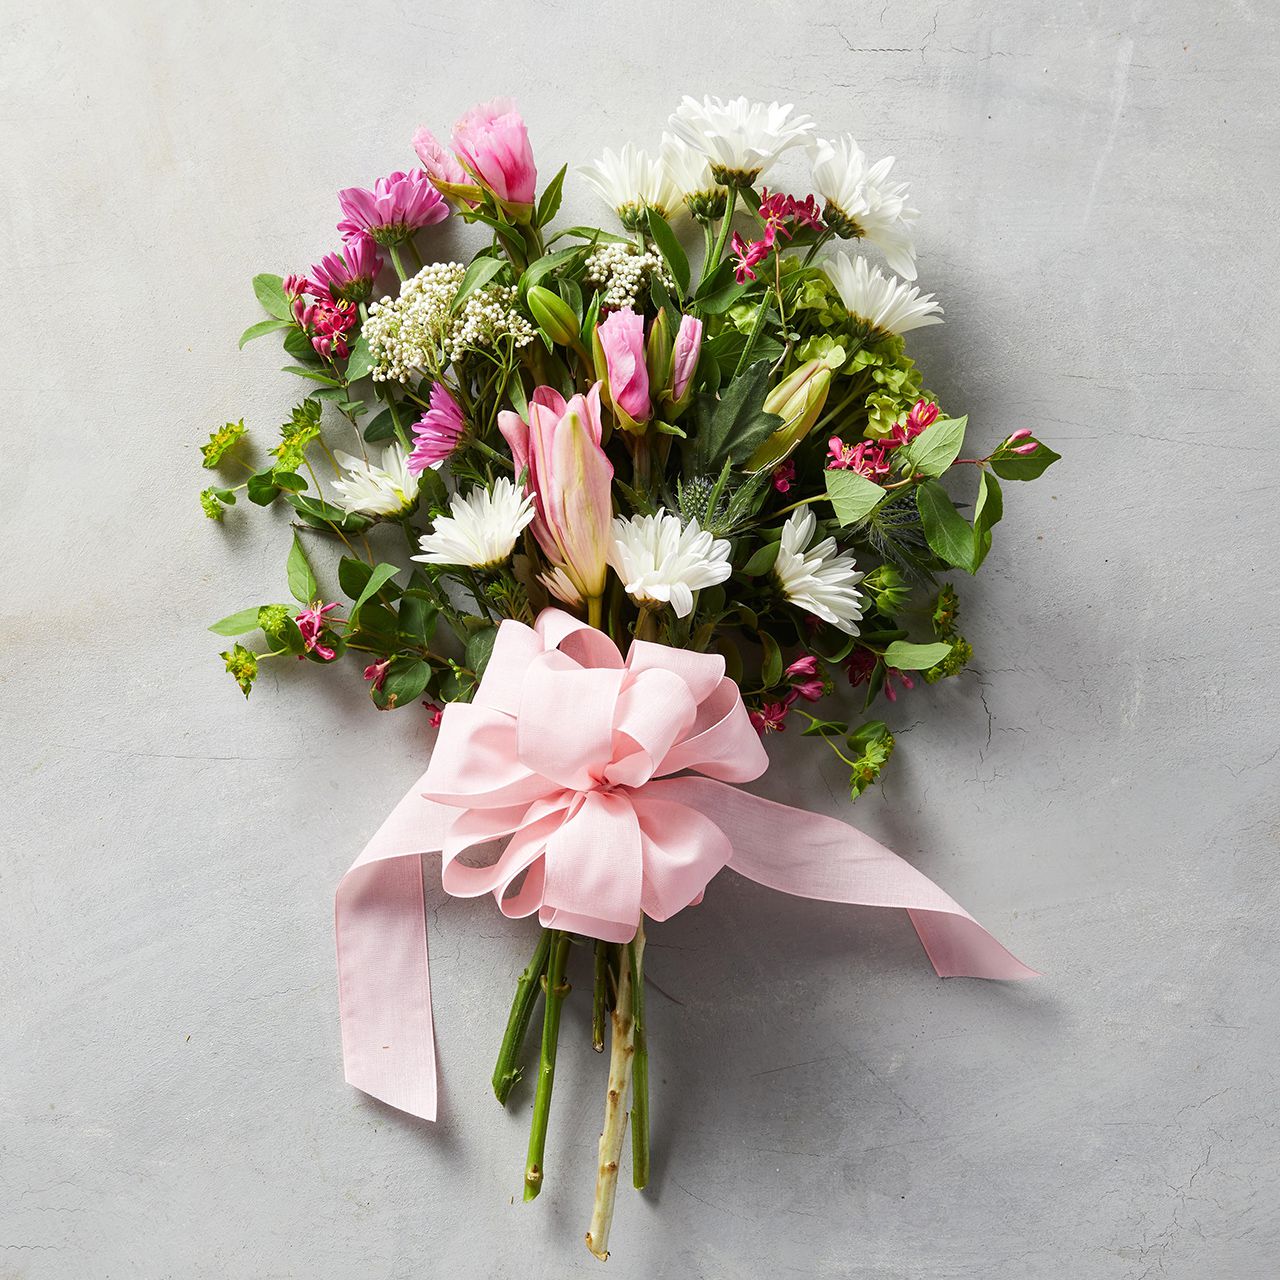
- Gather your flowers: Select the flowers you want to dry and gather them into small bunches. Tie the stems together with string or rubber bands, leaving a loop at the end for hanging.
- Choose a drying location: Find a dark, dry, and well-ventilated area to hang your flowers. Avoid areas with direct sunlight, as it can cause the colors to fade.
- Hang the flowers: Attach the loops of the hanging bunches to a drying rack or a clothesline. Make sure there is enough space between each bunch to allow for proper airflow.
- Patiently wait: Allow the flowers to air dry undisturbed for several weeks. The drying time will vary depending on the type and thickness of the flowers, as well as the humidity levels in your environment.
- Check for dryness: After a few weeks, check if the flowers are fully dry by gently touching the petals. If they feel crisp and papery, they are ready.
- Remove from the hanging position: Once the flowers are dry, remove them from the hanging position and gently untie the bunches. Trim the stems if needed to achieve the desired length.
The air drying method is an excellent choice for preserving flowers with natural-looking shapes and colors. It is ideal for preserving lavender, statice, roses, and other flowers with sturdy petals. Once your flowers are dried, you can use them individually or create unique arrangements by combining various dried blooms and foliage.
Now that you have mastered the art of air drying, let’s explore another popular method – pressing.
Pressing Method
The pressing method is a delicate and precise technique that allows you to preserve the natural beauty of your blooms in a flattened form. This method is ideal for creating pressed flower artwork, as well as adding dried petals to crafts, stationery, and more. Here’s how to press your flowers:
- Select your flowers: Choose flowers with flat petals, such as pansies, daisies, or violets. Make sure the blooms are fresh and dry, free of any moisture.
- Prepare a flower press: You can use a flower press, or make your own by placing the flowers between layers of absorbent paper, such as blotting paper or coffee filters.
- Position the flowers: Lay the flowers flat between two sheets of absorbent paper. Make sure the petals are not touching each other to avoid sticking together during the pressing process.
- Apply pressure: Place the layered flowers inside the flower press or between heavy books. Add additional weight on top, such as more books or bricks, to provide even pressure on the flowers.
- Patience is key: Leave the flowers pressed for several weeks to allow them to dry completely. The drying time will depend on the thickness and moisture content of the flowers.
- Uncover the pressed flowers: Carefully remove the pressed flowers from between the layers of absorbent paper. Handle them gently to avoid any damage.
The pressing method is perfect for creating flat, preserved flowers that can be used for various creative projects. You can use them to make personalized greeting cards, bookmarks, framed art, or even incorporate them into resin jewelry for a unique and natural touch.
Now that you have explored the air drying and pressing methods, let’s delve into another technique that allows for faster drying – using silica gel.
Read more: How To Sell Floral Arrangements
Using Silica Gel
Silica gel is a desiccant that absorbs moisture and is commonly used to dry flowers quickly and effectively. It helps preserve the natural shape and vibrant colors of the blooms while speeding up the drying process. Here’s how to use silica gel to dry your floral arrangements:
- Choose a container: Select a container that is large enough to accommodate the flowers you wish to dry. It should have an airtight lid to ensure maximum absorption.
- Prepare the silica gel: Fill the container with a layer of silica gel, ensuring it is evenly spread and covers the bottom of the container.
- Trim and position the flowers: Trim the stems of your flowers and carefully place them on top of the layer of silica gel. Make sure the petals are not touching each other to avoid any sticking.
- Cover the flowers with silica gel: Gently pour more silica gel over the flowers, ensuring they are completely covered. Carefully shake the container or use a soft brush to fill in any gaps between the petals.
- Seal the container: Close the container with the airtight lid to create a sealed environment. This will allow the silica gel to absorb the moisture from the flowers.
- Wait for the drying process: Leave the container undisturbed for several days or weeks, depending on the thickness and moisture content of the flowers. Check periodically to see if the flowers are fully dry.
- Remove the flowers: Once the flowers are dry, carefully remove them from the container. Gently brush off any excess silica gel using a soft brush.
Using silica gel provides a faster drying method compared to air drying while maintaining the shape and color of the flowers. Remember to handle the dried flowers with care, as they can be fragile after the drying process.
Now that you have learned about using silica gel to dry your flowers, let’s explore another method that offers quick and convenient results – microwave drying.
After removing the flowers from the water, hang them upside down in a dark, well-ventilated area to dry. This will help preserve their color and shape.
Microwave Drying Method
The microwave drying method is a quick and efficient technique for drying flowers. This method utilizes the microwave’s ability to remove moisture from the flowers, resulting in preserved blooms in a much shorter time compared to traditional drying methods. Here’s how to dry flowers using the microwave:
- Prepare the flowers: Select fresh flowers with petals that are not too thick or delicate. Remove any excess foliage and trim the stems to your desired length.
- Place flowers in a microwavable container: Arrange the flowers in a single layer in a microwavable container. Make sure that the petals are not touching each other to allow for even drying.
- Add desiccant material: Cover the flowers with a desiccant material such as silica gel or kitty litter. Make sure all the petals are completely covered but keep the flowers visible.
- Microwave in short bursts: Set the microwave to the low power setting and microwave the flowers in short bursts, usually around 30 seconds to one minute at a time. Check the flowers after each burst to prevent overheating or scorching.
- Allow to cool: After each burst, let the flowers cool for a few minutes before repeating the process. This helps to evenly distribute the heat and ensure thorough drying.
- Check for dryness: To test if the flowers are dry, gently touch the petals. If they feel crisp and dry, they are ready. If not, continue microwaving in short bursts until they reach the desired dryness.
- Remove and cool: Once the flowers are dry, carefully remove them from the container. Allow them to cool completely before handling or using them in your arrangements.
The microwave drying method is a convenient way to dry flowers quickly, especially when you need preserved blooms in a short amount of time. However, be cautious not to overheat or scorch the flowers, as some microwave models may vary in power.
Now that you have explored microwave drying, let’s move on to another method that allows for a more hands-off approach – hanging drying.
Hanging Drying Method
The hanging drying method, also known as air drying on stems, is a classic technique that allows flowers to dry naturally while maintaining their shape and color. This method is easy and requires minimal effort, making it a popular choice for drying floral arrangements. Here’s how to dry flowers using the hanging method:
- Gather your flowers: Choose fresh flowers that have just bloomed or are close to full bloom. Remove any excess foliage from the stems.
- Bundle the stems: Gather a small bunch of flowers and tie the stems together securely using string or a rubber band. Be careful not to tie the stems too tightly, as this may cause damage.
- Choose a drying location: Find a cool, dry, and well-ventilated area to hang your flower bundles. Avoid areas with direct sunlight, as it can fade the colors of the flowers.
- Hanging the flowers: Attach the flower bundles to a hook, clothes hanger, or a drying rack. Make sure there is enough space between each bundle to allow for proper airflow.
- Patience is key: Allow the flowers to dry naturally for several weeks. The drying time will vary depending on factors such as humidity levels and the type of flowers you are drying.
- Check for dryness: After a few weeks, gently touch the petals to check if they are dry and crisp. If they are, it means the flowers have successfully dried.
- Remove and trim: Once the flowers are dry, carefully remove them from the hanging position. Trim the stems if desired to achieve the desired length for your floral arrangements.
The hanging drying method is perfect for preserving flowers with long and sturdy stems, such as wildflowers, lavender, or baby’s breath. It allows the flowers to retain their natural beauty and shape while adding an elegant and rustic charm to your space.
Now that you’re familiar with the hanging drying method, let’s explore another technique that involves preserving flowers using glycerin.
Preserving with Glycerin
Preserving flowers with glycerin is a unique method that allows you to maintain their natural beauty and flexibility while also adding a touch of color. The glycerin replaces the water content in the flowers, resulting in soft, supple, and long-lasting blooms. Here’s how you can preserve flowers using glycerin:
- Prepare the stems: Start by cutting the stems of your fresh flowers at an angle. This enables better absorption of the glycerin solution.
- Mix the glycerin solution: In a container, combine one part glycerin with two parts warm water. Stir until the glycerin is thoroughly dissolved.
- Trim and place the flowers in the solution: Trim the stems again and place the flowers in a vase or container filled with the glycerin mixture. Make sure the stems are fully submerged in the solution.
- Let the flowers absorb the solution: Place the container in a cool and dark area for about two to three weeks. During this time, the flowers will gradually absorb the glycerin and replace the water content with the preserving solution.
- Monitor the progress: Check the flowers regularly to gauge their progress. You will notice a change in color and texture as the glycerin takes effect.
- Remove and air dry: Once the flowers have absorbed enough glycerin and appear pliable and vibrant, carefully remove them from the solution. Allow them to air dry for a few days to reduce any excess moisture before arranging.
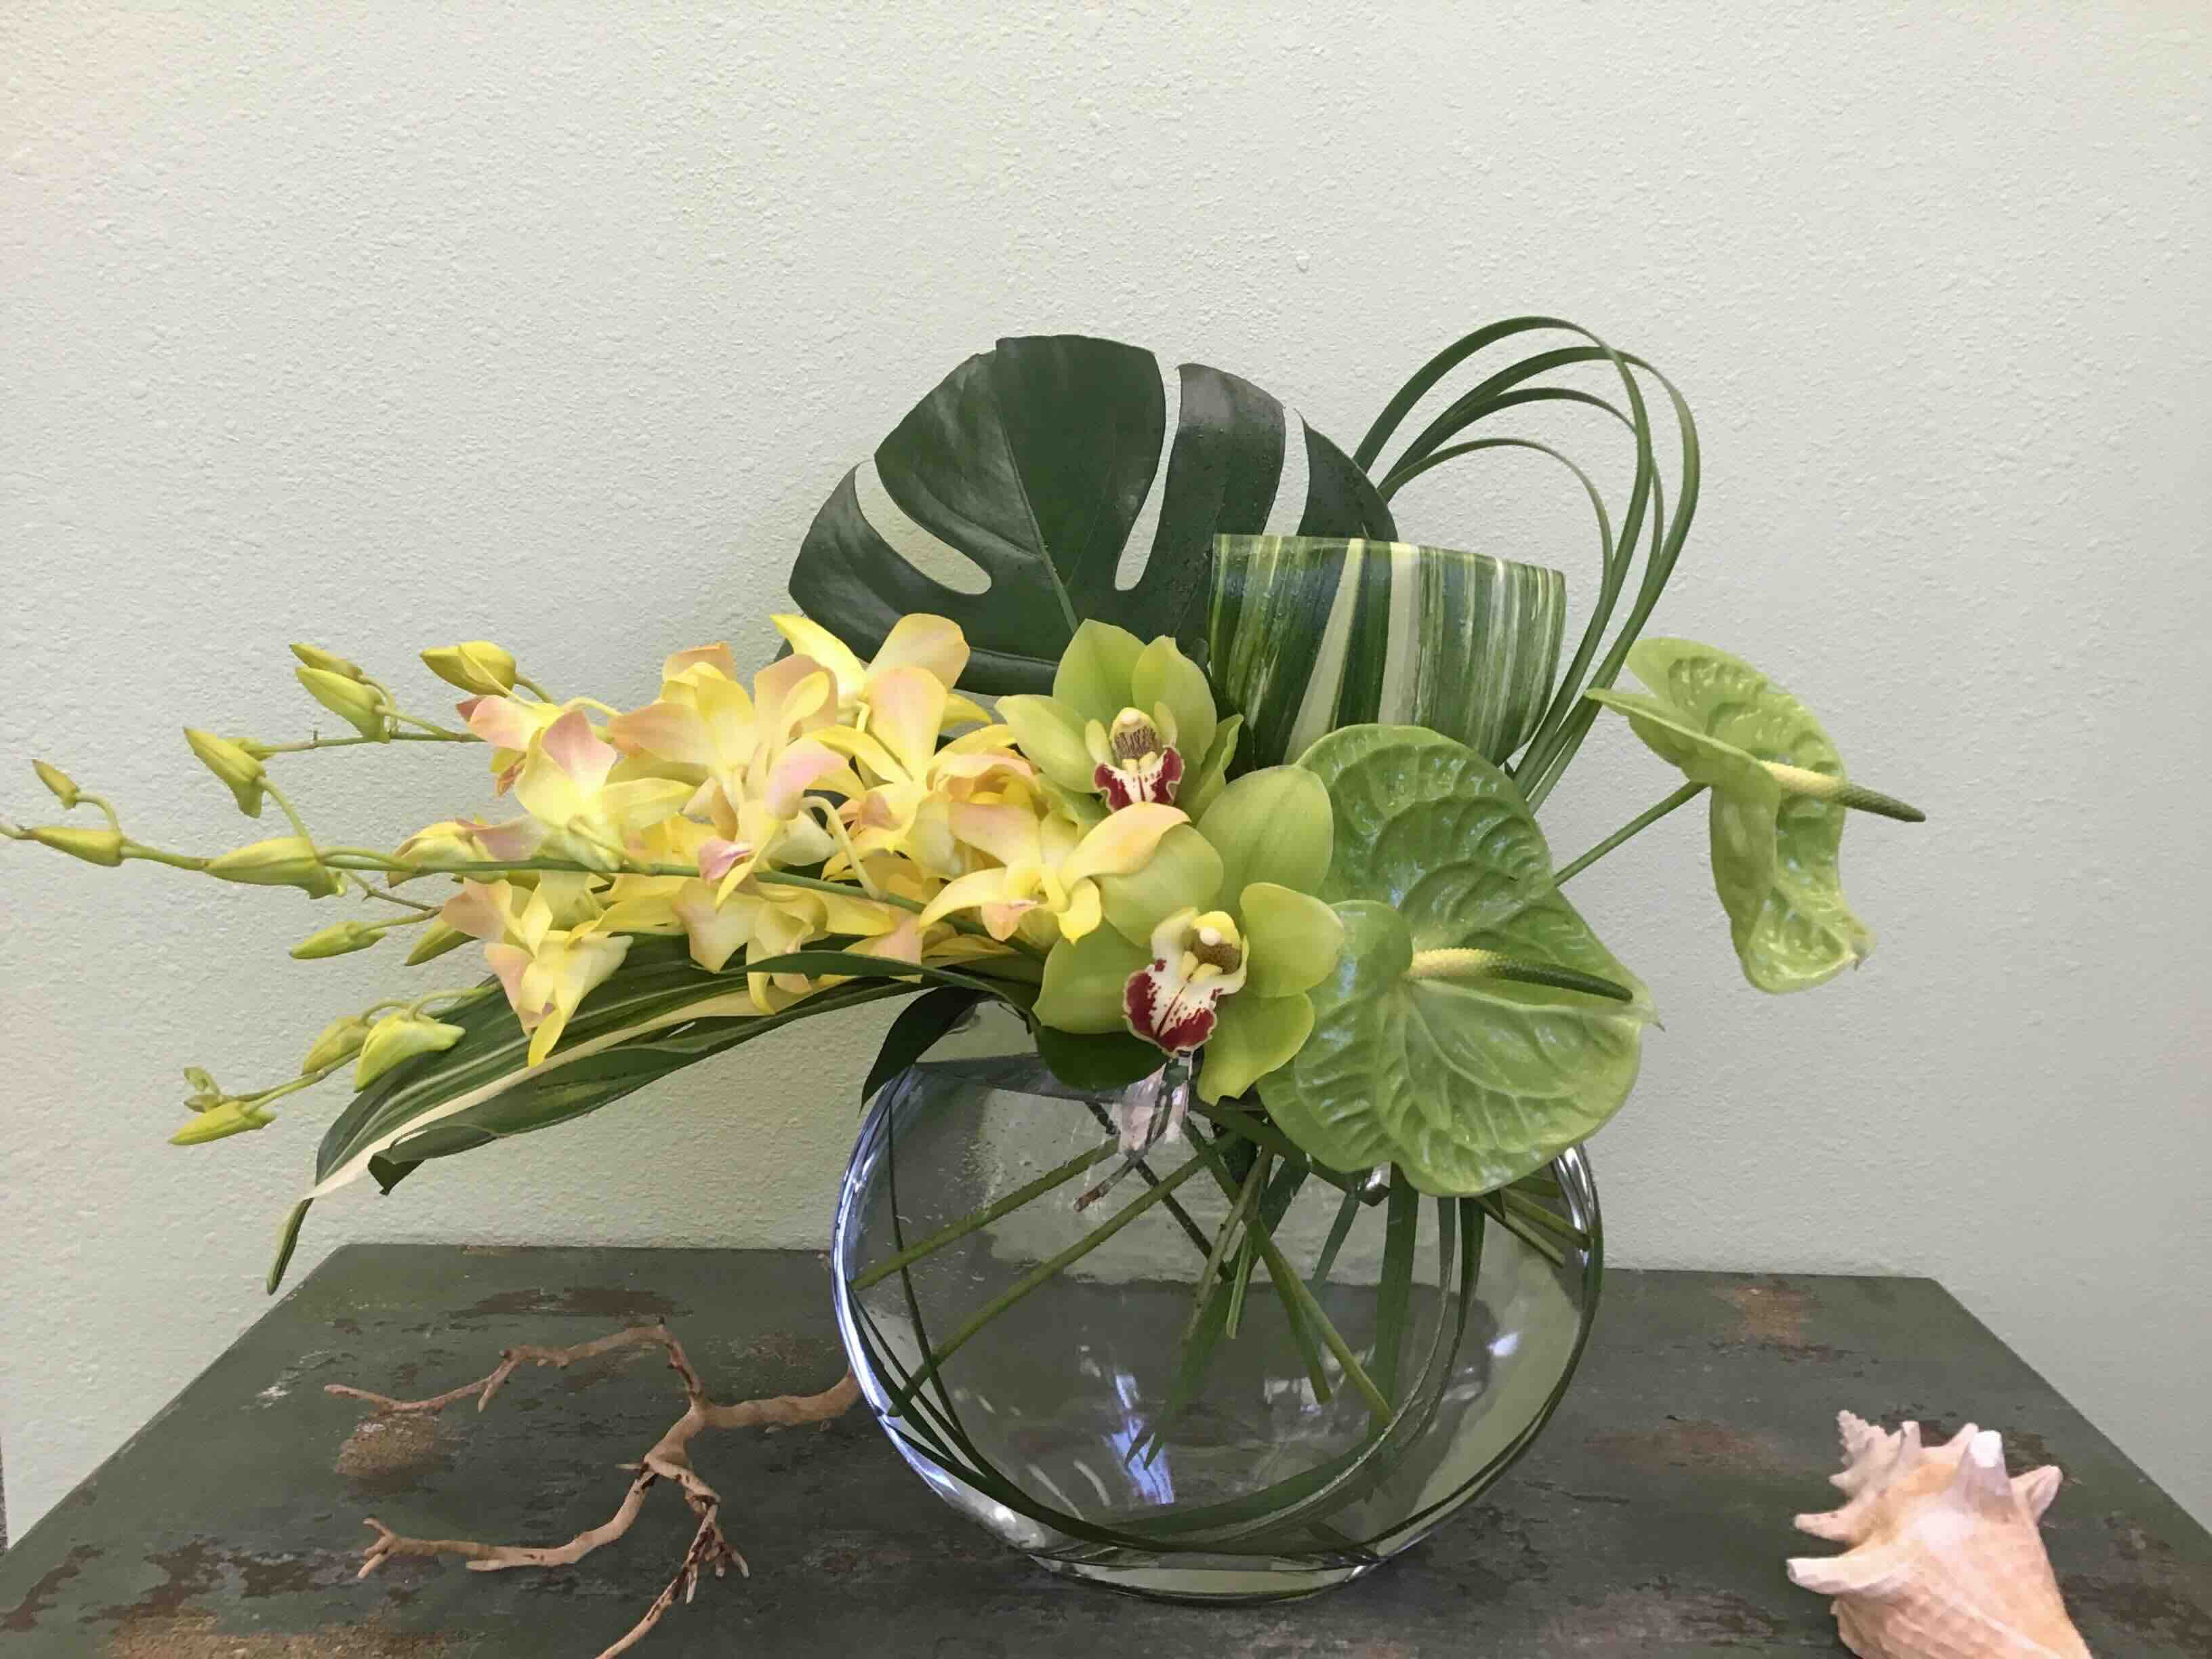
The glycerin preservation method is excellent for preserving delicate and intricate flowers, such as roses, orchids, and lilies. The preserved blooms can be used in various floral arrangements, crafts, or even as standalone decorative pieces.
Remember to handle the preserved flowers with care, as they may be more delicate and prone to breakage compared to their fresh counterparts. With proper preservation and handling, you can enjoy the beauty of these flowers for a long time.
Now that you’ve learned about preserving flowers with glycerin, let’s move on to some care and maintenance tips to ensure the longevity of your dried floral arrangements.
Read more: How To Clean Floral Arrangements
Care and Maintenance Tips
Now that you have successfully dried and preserved your floral arrangements, it’s important to know how to care for them to ensure their longevity. Here are some care and maintenance tips to keep your dried flowers looking beautiful:
- Avoid direct sunlight: Display your dried flowers in an area away from direct sunlight. Prolonged exposure to the sun can cause the colors to fade and the flowers to become brittle.
- Keep away from moisture: Dried flowers are susceptible to absorbing moisture, which can lead to mold or damage. Place them in a dry environment and avoid areas with high humidity, such as bathrooms or kitchens.
- Gently dust and clean: Dust your dried flowers regularly with a soft brush or a hairdryer on the cool setting to remove any accumulated dust or dirt. Be gentle to prevent any damage to the delicate petals.
- Avoid touching them too often: While dried flowers are fragile, handling them excessively can lead to breakage or loss of petals. Limit touching to when necessary and take care when arranging or moving them.
- Store properly: If you need to store your dried flowers, place them in a sealed container or display case to protect them from dust and moisture. Keep them in a cool, dry location to maintain their condition.
- Replace as needed: Over time, the colors of dried flowers may naturally fade. If you notice significant fading or deterioration, consider replacing them with fresh dried flowers to maintain the vibrancy of your arrangements.
By following these care and maintenance tips, your dried floral arrangements will remain beautiful and last for an extended period. With proper care, you can continue to enjoy their beauty and add a touch of nature to your home or special events.
Congratulations on becoming a pro at drying and preserving floral arrangements! Now you have a variety of methods at your disposal, allowing you to explore your creativity and add a unique touch to your home decor or special occasions. So go ahead and proudly display your dried flowers, knowing that you have preserved their beauty for years to come.
Happy drying!
Conclusion
Drying floral arrangements is a rewarding and creative way to preserve the beauty of your favorite blooms. Whether you choose the traditional air drying method, the delicate pressing technique, or opt for modern methods such as using silica gel, the microwave, or glycerin, each method offers its own unique results and benefits.
By choosing the right blooms, properly preparing your flowers, and following the appropriate drying method, you can create stunning dried floral arrangements that exude charm and elegance. From vibrant roses and fragrant lavender to ethereal moonflowers and voluminous hydrangeas, the possibilities for dried flower arrangements are endless.
Remember to care for your dried flowers by keeping them away from direct sunlight, moisture, and excessive handling. Regular dusting and gentle cleaning will help maintain their beauty and prolong their lifespan. If needed, you can also replace faded or damaged flowers to keep your arrangements looking fresh.
Whether you use dried flowers to embellish your home decor, create unique crafts, or add a touch of beauty to special occasions, the art of drying floral arrangements allows you to enjoy the beauty of nature all year round. Let your creativity flourish as you explore different drying methods, experiment with various blooms, and create stunning displays that captivate and inspire.
So, embrace the wonder of dried flowers and let your imagination blossom. Start drying your floral arrangements today and infuse your space with the timeless beauty of these preserved blooms. Happy drying!
Frequently Asked Questions about How To Dry Floral Arrangements
Was this page helpful?
At Storables.com, we guarantee accurate and reliable information. Our content, validated by Expert Board Contributors, is crafted following stringent Editorial Policies. We're committed to providing you with well-researched, expert-backed insights for all your informational needs.

0 thoughts on “How To Dry Floral Arrangements”