Home>Dining>Table Decor>How To Make A Country-Style Table
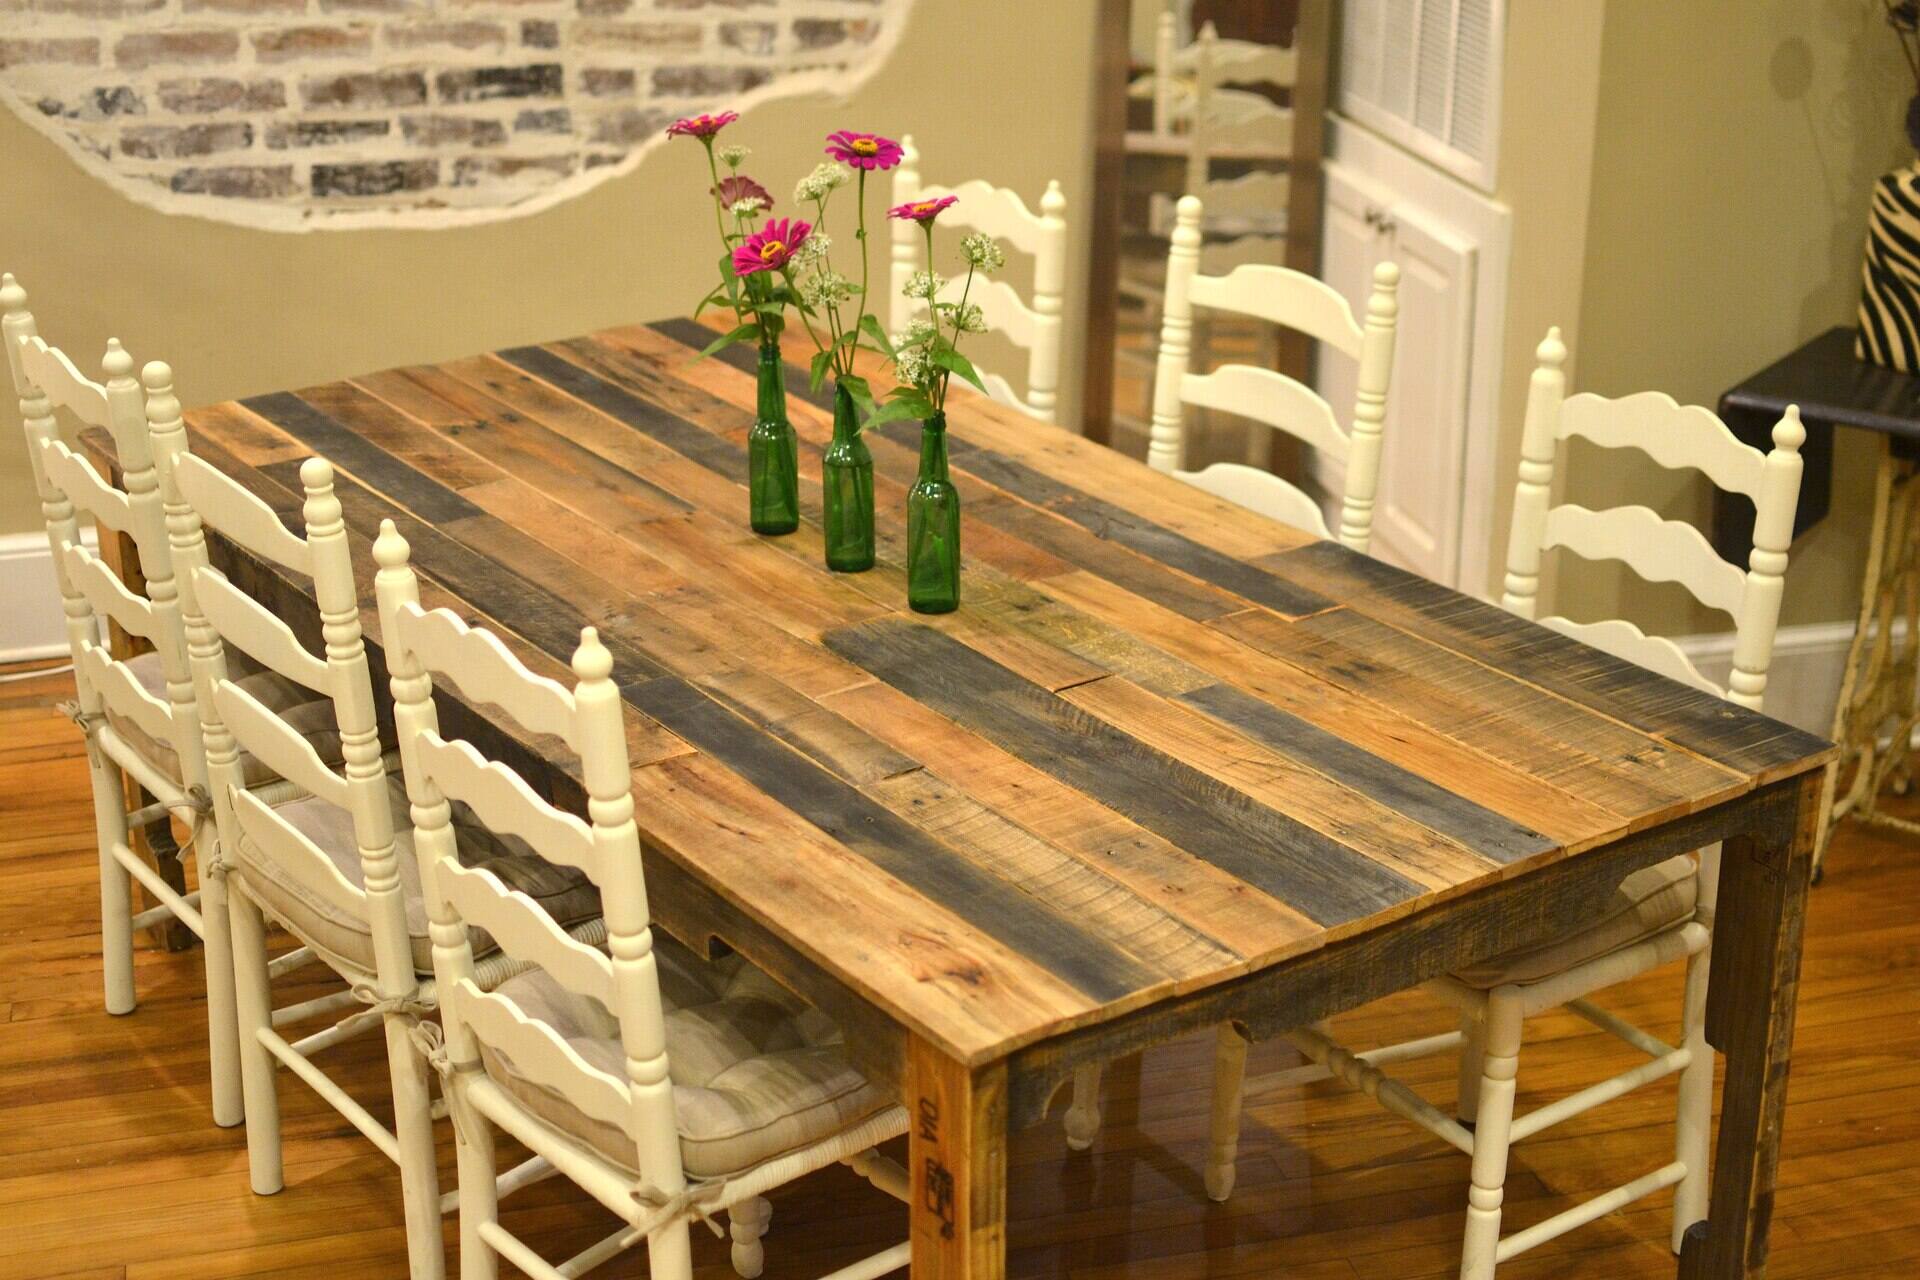
Table Decor
How To Make A Country-Style Table
Modified: December 7, 2023
Learn how to create a charming country-style table with our step-by-step guide. Discover creative table decor ideas to add a rustic touch to your home.
(Many of the links in this article redirect to a specific reviewed product. Your purchase of these products through affiliate links helps to generate commission for Storables.com, at no extra cost. Learn more)
Introduction
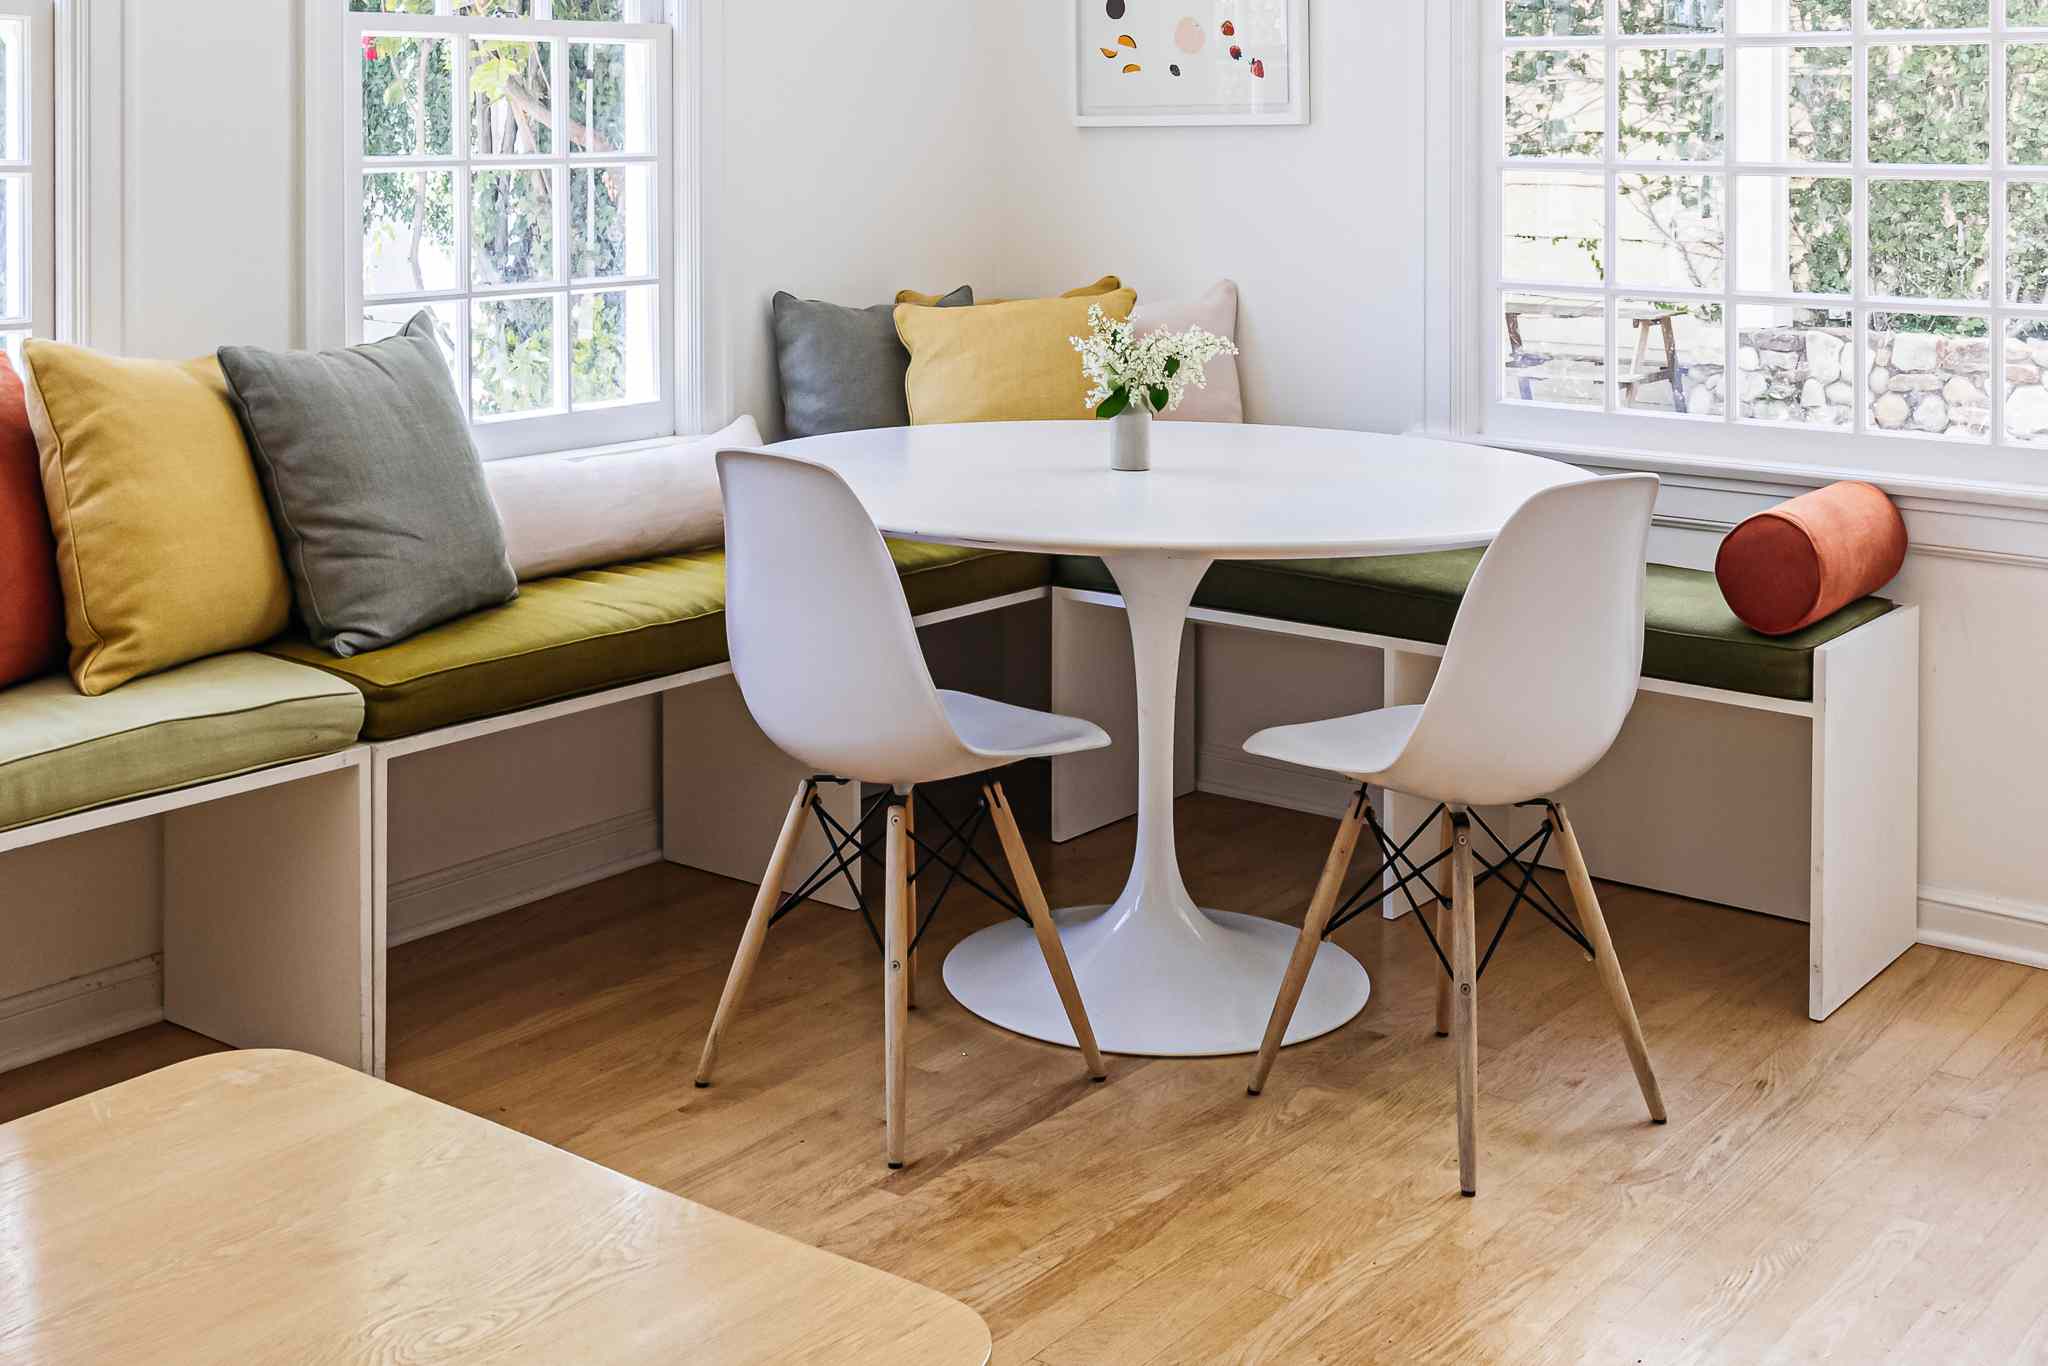
Welcome to our comprehensive guide on how to make a country-style table. If you’re looking to add a touch of rustic charm to your home decor, a country-style table is the perfect addition. Whether you’re a seasoned DIY enthusiast or a beginner looking to embark on your first woodworking project, this step-by-step guide will walk you through the process of creating a beautiful and functional country-style table.
The beauty of a country-style table lies in its simplicity and natural aesthetics. It often features a distressed finish, sturdy construction, and a timeless design that adds warmth and character to any space. By following our instructions and using basic woodworking techniques, you’ll be able to create a stunning country-style table that will become the focal point of your dining area or kitchen.
In this guide, we’ll cover everything from gathering the necessary materials to sanding and finishing the table. You’ll learn how to select the right type of wood, prepare it for construction, assemble the tabletop, and build the table legs. We’ll also discuss how to attach the legs securely, and provide tips on sanding the table to achieve a smooth finish. Finally, we’ll give you ideas for adding the perfect finishing touches and decorations to complete the country-style look.
Before we dive into the construction process, it’s important to note that woodworking can be a challenging but rewarding hobby. Take your time, follow safety precautions, and reach out to a professional if you feel uncertain about any step of the process. Now, let’s gather our materials and get started on creating your very own country-style table!
Key Takeaways:
- Create a stunning country-style table with rustic charm and warmth using sturdy wood, basic woodworking techniques, and personalized finishing touches for a unique and functional centerpiece.
- Embrace the rewarding journey of woodworking by following step-by-step instructions to gather materials, prepare and assemble the table, and add personal touches, resulting in a beautiful and cherished country-style table.
Read more: How To Modernize A Country-Style Table
Materials Needed
Before we begin the construction process, let’s ensure that we have all the necessary materials at hand. Here is a list of items you will need to make a country-style table:
- Wood: Choose a sturdy and durable wood like oak, pine, or maple for the tabletop and legs. The amount of wood needed depends on the desired size of the table.
- Screws: Use screws that are appropriate in length and thickness for securing the tabletop and legs together.
- Wood Glue: Opt for a high-quality wood glue that provides a strong bond.
- Saw: A table saw or circular saw will be required for cutting the wood to the desired dimensions.
- Sander: A belt sander or orbital sander will be necessary for smoothing the wood surfaces.
- Drill: A power drill is essential for drilling pilot holes and attaching the screws.
- Measuring Tape: Accurate measurements are crucial for ensuring a precise fit.
- Square: A carpenter’s square will help ensure that the table corners are square.
- Clamps: Clamps will come in handy for holding the wood pieces together during assembly.
- Safety Gear: Don’t forget to wear safety glasses, gloves, and a dust mask to protect yourself during the woodworking process.
It’s important to have all the necessary materials and tools before starting the project to avoid any delays or interruptions. Once you have everything ready, it’s time to gather the wood and begin building your country-style table. Let’s move on to the next step.
Step 1: Gathering the Wood
The first step in creating a country-style table is gathering the wood. As mentioned earlier, you’ll need a sturdy and durable wood such as oak, pine, or maple. The type of wood you choose will depend on your personal preference and budget.
When selecting the wood, keep in mind the dimensions of the table you want to create. Measure the area where you plan to place the table to determine the appropriate length and width. This will help you determine the amount of wood you need to purchase.
Head to your local lumberyard or home improvement store to purchase the wood. Look for pieces that are free from cracks, knots, or any other visible defects. It’s a good idea to inspect the wood and choose straight and smooth pieces that will make construction easier.
If you have the necessary tools and skills, you can also consider milling the wood yourself. Milling involves cutting the wood to the desired dimensions and smoothing the surfaces. This allows you to have complete control over the quality and finish of the wood. However, if you’re new to woodworking or don’t have the necessary tools, purchasing pre-cut and pre-surfaced wood is a convenient option.
Once you have all the wood you need, transport it safely to your workshop or working area. Keep in mind that wood can be heavy, so it’s important to handle it with care and use proper lifting techniques to avoid any injuries.
With the wood gathered and ready to go, you can move on to the next step of preparing the wood for construction. This involves cutting the pieces to the desired dimensions and making any necessary adjustments. Let’s dive into step two: preparing the wood.
Step 2: Preparing the Wood
Now that you have gathered the wood for your country-style table, it’s time to prepare it for construction. This step involves cutting the wood to the desired dimensions and making any necessary adjustments to ensure a precise and seamless fit.
Start by measuring and marking the dimensions for the tabletop and legs according to your desired table size. Use a measuring tape and a carpenter’s square to ensure accurate measurements and square corners.
Next, it’s time to cut the wood. If you have access to a table saw or circular saw, it will make the cutting process much easier and more precise. Set the saw blade to the appropriate depth and align the wood piece with the marked measurements. Slowly and carefully guide the wood through the saw, ensuring a straight cut.
If you don’t have access to power tools, you can use a hand saw or a miter box to make the cuts. Take your time and follow the marked lines to ensure accuracy.
After cutting the wood to size, you may need to make adjustments to the edges or corners. Use a sander or a file to smooth any rough edges or uneven surfaces. This will not only make the construction process easier but also result in a more polished and professional-looking table.
It’s also a good idea to test-fit the pieces together before moving on to the next step. This will allow you to check the dimensions and make any necessary adjustments. If the fit is too tight, you can remove material with a sander or file. If the fit is too loose, you may need to recut the pieces or add additional support.
Once you are satisfied with the fit and finish of the wood pieces, it’s time to move on to the next step: assembling the tabletop. We will cover this in detail in the next step, so let’s get ready to bring the pieces together and create a beautiful and functional country-style table.
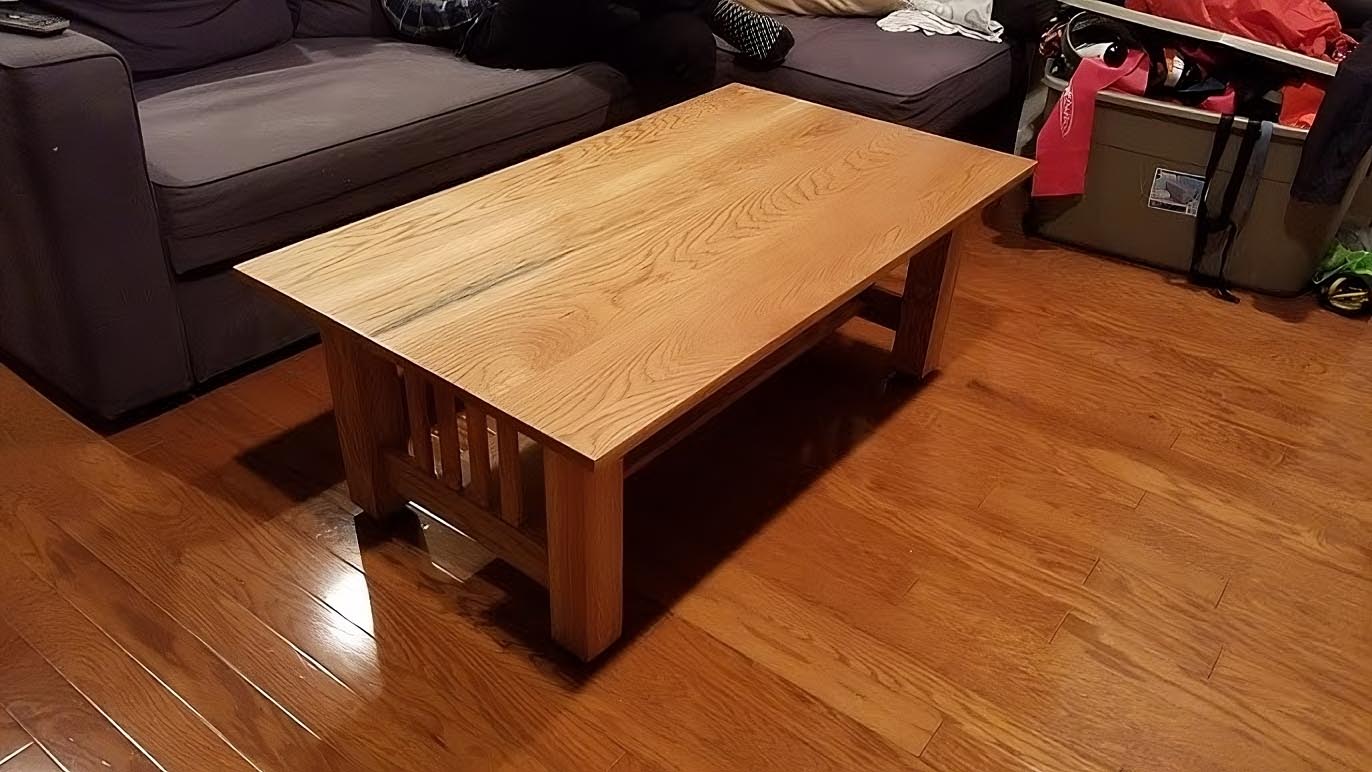
Step 3: Assembling the Tabletop
Now that the wood is prepared, it’s time to start assembling the tabletop of your country-style table. The tabletop is the centerpiece of the table and the surface where you and your guests will dine and gather around.
Begin by laying out the pre-cut wood pieces for the tabletop on a flat and stable surface. Ensure that the pieces are oriented correctly and in the desired arrangement. Take note of any natural variations in the wood grain and decide whether you want to emphasize or minimize these variations in your tabletop design.
To secure the wood pieces together, you have a few options. One common method is using wood glue and clamps. Apply a thin and even layer of wood glue to the edges of the wood pieces that will be joined together. Then, carefully align the pieces and press them firmly together. Use clamps to hold the pieces in place while the glue dries. Follow the manufacturer’s instructions for drying time.
Another option is to use a combination of wood glue and screws. In this method, pre-drill pilot holes along the edges of the wood pieces before applying the wood glue. This helps prevent the wood from splitting when the screws are inserted. Then, apply the wood glue and use screws to secure the pieces together. Be sure to countersink the screws to create a flush surface.
Whichever method you choose, take care to ensure that the wood pieces are aligned correctly and that the tabletop surface is flat. Use a straightedge or level to check for any gaps or unevenness in the tabletop. If necessary, adjust the pieces and tighten the clamps or screws accordingly.
Once the glue has dried or the screws are tightly secured, remove any excess glue and let the tabletop sit for a while to ensure a strong bond. You can use a scraper or sandpaper to remove the glue residue.
With the tabletop assembled, it’s time to move on to building the table legs. In the next step, we will guide you through the process of creating sturdy and visually appealing table legs that will support your country-style table.
When making a country-style table, consider using reclaimed wood for a rustic look. Sand the wood thoroughly and apply a protective finish to enhance its durability and natural beauty.
Read more: How To Decorate A Table French Country Style
Step 4: Building the Table Legs
Now that the tabletop is assembled, it’s time to move on to building the table legs for your country-style table. The legs provide stability and support, so it’s important to create sturdy and visually appealing legs that complement the overall design of your table.
Begin by determining the desired height of your table. Measure from the bottom of the tabletop to the floor and mark the measurement on each leg piece. Make sure the measurements are consistent for all legs.
Next, it’s time to cut the legs to the desired height. Use a saw to make clean and straight cuts according to your measurements. Take your time and double-check the measurements before making any cuts to ensure accuracy.
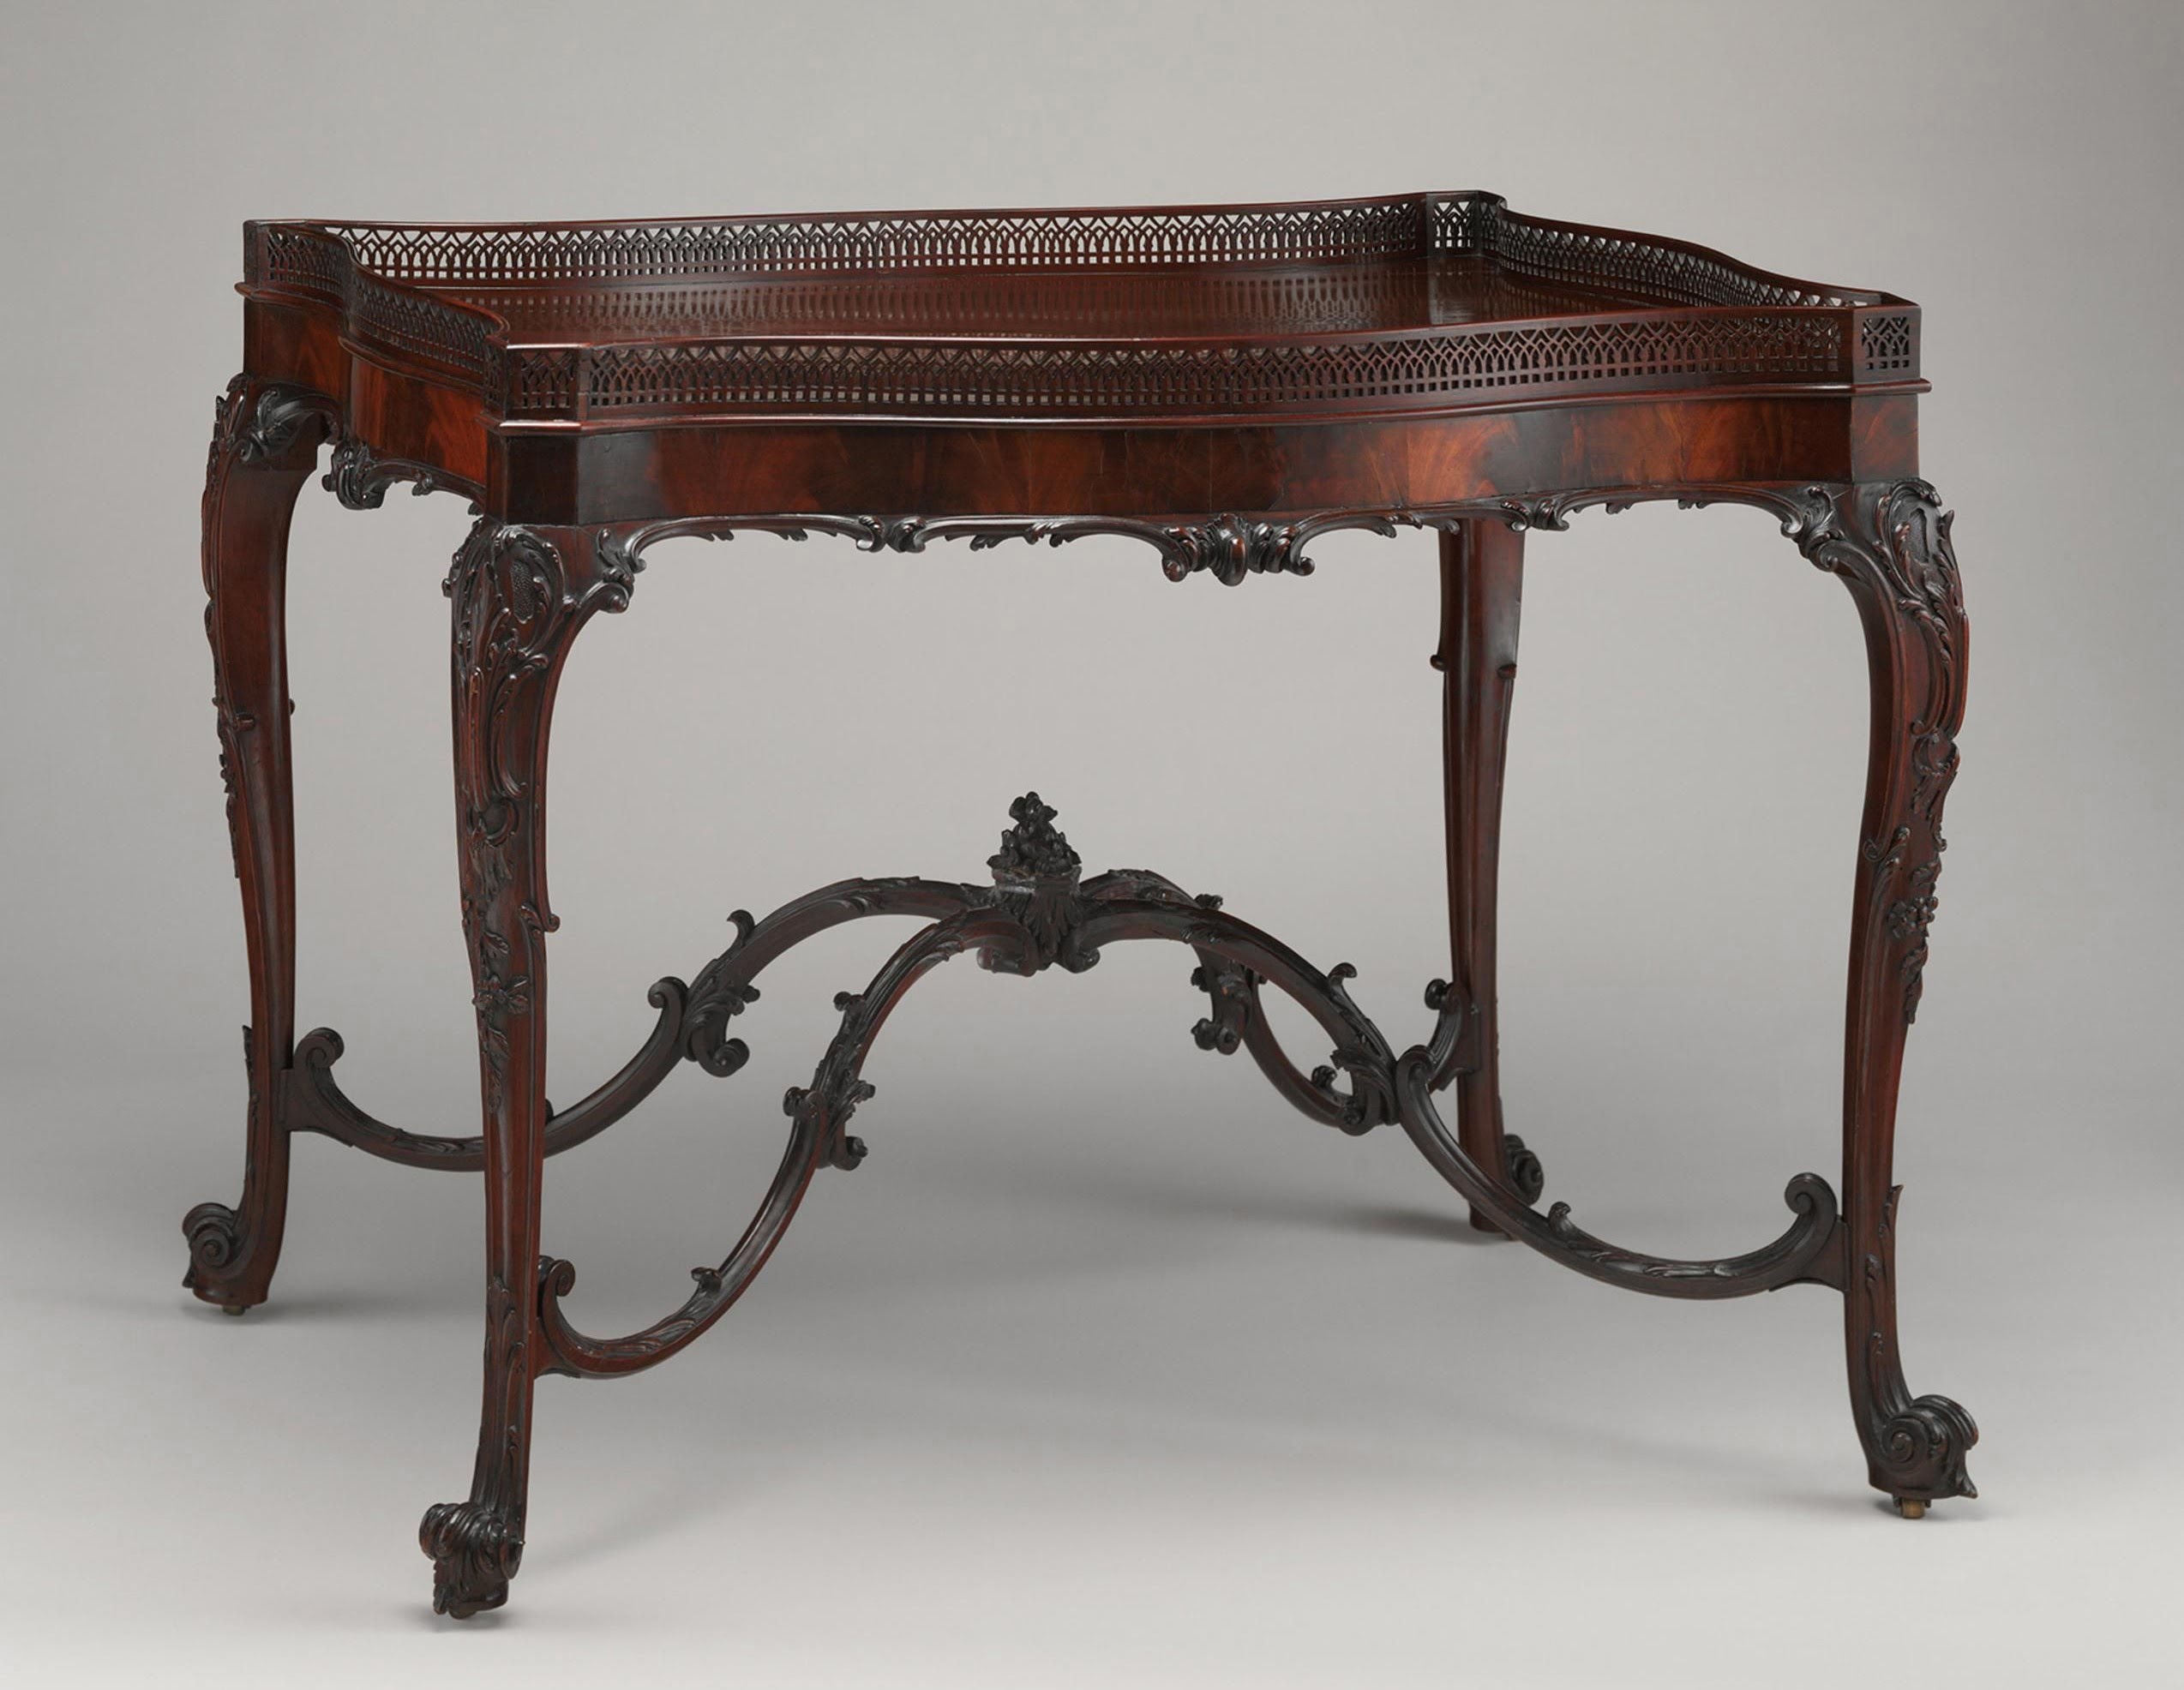
Once the legs are cut to size, you can enhance their visual appeal by adding decorative details. Consider using a router or a chisel to create grooves, beveled edges, or other decorative elements. This will give your table legs a unique and personalized touch.
After adding decorative details, it’s important to ensure the stability of the table legs. One method is to create aprons that connect the legs, providing additional support and preventing wobbling. Measure and cut the apron pieces according to the desired width and length. Then, attach them to the legs using wood glue and screws. Make sure the aprons are flush with the top of the legs for a seamless look.
Another option is to use angle brackets or corner braces to secure the legs to the tabletop. Position the legs in the desired location and attach them to the tabletop using screws and the appropriate hardware. This method allows for easy disassembly if needed.
Once the legs are securely attached to the tabletop, double-check the stability of the table. Give it a gentle shake to ensure that it is sturdy and level. If you notice any wobbling or instability, make any necessary adjustments by tightening screws or reinforcing the connections.
With the table legs in place, it’s time to move on to the next step: attaching the legs to the tabletop. This is a crucial step that will ensure the strength and integrity of your country-style table.
Step 5: Attaching the Legs to the Tabletop
Now that the table legs are built, it’s time to attach them securely to the tabletop of your country-style table. This step is critical to ensure the stability and strength of your finished piece.
First, determine the desired placement of the table legs on the tabletop. Measure and mark the locations for each leg, ensuring that they are evenly spaced and aligned correctly. Use a carpenter’s square to verify that the legs are perpendicular to the tabletop.
Next, prepare the tabletop for the attachment of the legs. If you haven’t done so already, turn the tabletop upside down on a stable work surface. This will make it easier to position and attach the legs. Double-check that the surface is level and clean from any debris that could interfere with the attachment process.
Now it’s time to attach the legs to the tabletop. There are a few methods you can use for this step, depending on your preference and the design of your table.
One common method is to use metal brackets or corner braces for added stability. Position the bracket or brace on the tabletop edge, aligning it with the pre-determined location of the leg. Mark the screw holes with a pencil or marker, remove the bracket, and set it aside. Pre-drill pilot holes on the marked spots, ensuring that they are perpendicular to the tabletop.
Place the leg back in position and align it with the pre-drilled holes. Insert screws through the bracket holes and into the leg. Secure the screws tightly, but be careful not to over-tighten and risk splitting the wood. Repeat this process for each leg, checking the stability as you go.
If you prefer a more visually seamless attachment, you can use dowels or wood joinery techniques. Pre-drill holes in the tabletop and legs, aligning them carefully. Apply wood glue to the dowels or joinery and insert them into the holes, ensuring a snug fit. Allow the glue to dry completely before testing the stability of the table.
Once the legs are securely attached to the tabletop, give the table a gentle shake to ensure that it is stable and level. Check for any wobbling or unevenness and make any necessary adjustments.
With the legs firmly attached, it’s time to move on to the next step of the process: sanding and finishing the table. This will help achieve a smooth surface and enhance the overall appearance of your country-style table.
Step 6: Sanding and Finishing the Table
After attaching the legs to the tabletop, it’s time to move on to the next important step: sanding and finishing the table. This process will give your country-style table a smooth surface and enhance its overall appearance.
Start by ensuring that the table is clean and free from any dust or debris. If necessary, wipe it down with a damp cloth and allow it to dry completely before proceeding.
Next, begin sanding the entire table, including the tabletop and legs. Start with a coarse-grit sandpaper to remove any roughness or imperfections on the wood surface. Sand in the direction of the wood grain, applying even pressure and using long, smooth strokes. Be careful not to apply too much pressure, as this can create unevenness or damage the wood.
After using the coarse-grit sandpaper, switch to a finer-grit sandpaper to achieve a smoother finish. Continue sanding all surfaces of the table, ensuring that the wood feels smooth to the touch. Pay extra attention to any areas where the wood may be rough or uneven.
Once the sanding process is complete, remove the sanding dust using a clean, damp cloth or a vacuum cleaner with a brush attachment. This will ensure a clean surface for applying the finish.
Now it’s time to choose the finish for your country-style table. There are several options available, including stain, paint, or a clear protective finish.
If you want to enhance the natural beauty of the wood, consider applying a wood stain. Stains come in a variety of colors and can help highlight the grain and richness of the wood. Apply the stain evenly with a brush or cloth, following the manufacturer’s instructions. Allow the stain to penetrate the wood for the recommended duration before wiping any excess stain off with a clean cloth.
If you prefer a painted finish, choose a paint color that complements your overall decor. Apply multiple coats of paint, allowing each coat to dry before applying the next. Sand lightly between coats to ensure a smooth finish. You can also experiment with different paint techniques, such as distressing or antiquing, to achieve a more rustic look.
For a more natural and durable finish, consider using a clear protective finish, such as polyurethane or varnish. Apply the finish according to the manufacturer’s instructions, ensuring even coverage. Allow each coat to dry before applying subsequent coats. Sand lightly between coats for a smooth and even finish.
Once the finish has dried completely, perform a final inspection of the table. Look for any areas that may require additional sanding or touch-ups. Sand lightly if needed and apply a final coat of finish to seal the wood.
Congratulations! You have successfully sanded and finished your country-style table. The final step is to add some personal touches and decorations to make it uniquely yours.
Let’s move on to the last step: adding the final touches and decorations to complete your country-style table.
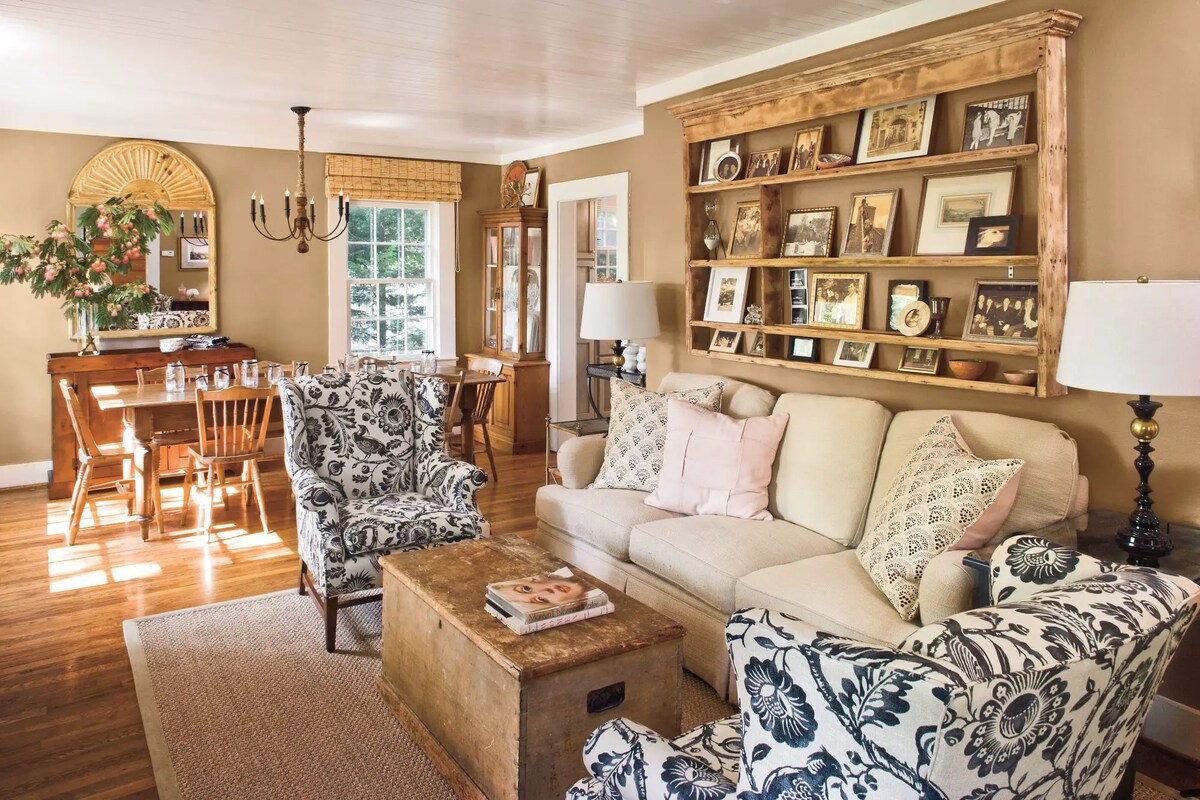
Step 7: Final Touches and Decorations
You’re almost there! In this final step of creating your country-style table, it’s time to add the finishing touches and decorations that will truly bring your table to life.
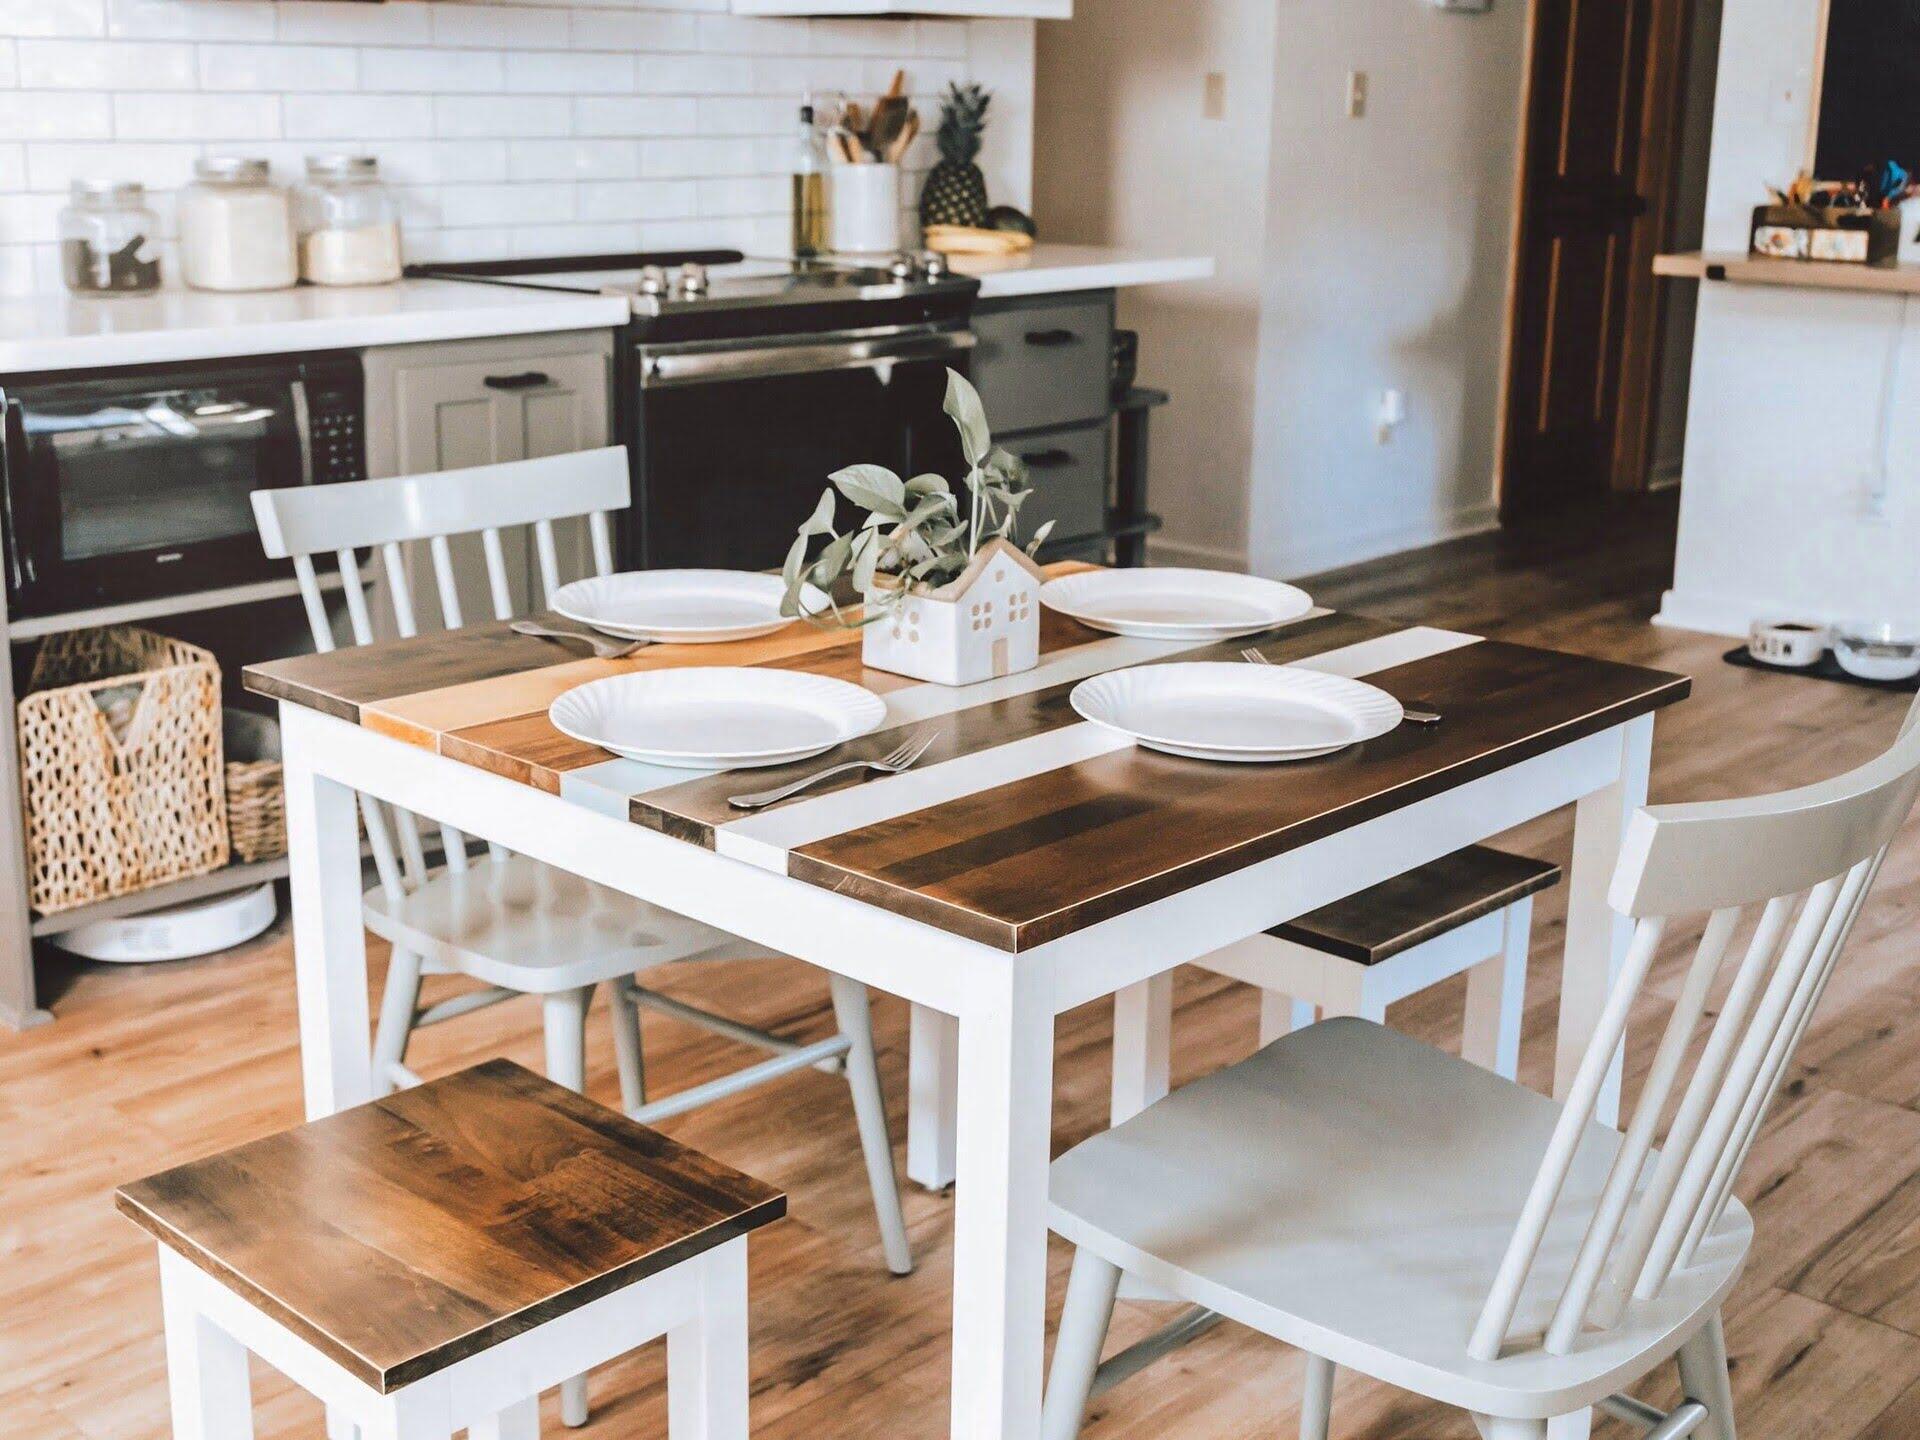
Consider adding decorative elements such as table runners, placemats, or a centerpiece that aligns with the country-style aesthetic. These items can help tie the overall look together and add a touch of charm to your table.
If you want to protect the surface of your table from spills and stains, consider applying a coat of wax or a polyurethane topcoat. This will provide a protective layer while enhancing the wood’s natural beauty. Follow the manufacturer’s instructions for application and drying time.
For an extra touch of personalization, you can also consider adding custom touches such as carved initials, a family crest, or other designs onto the tabletop or legs. This will make your table truly unique and reflect your individual style.
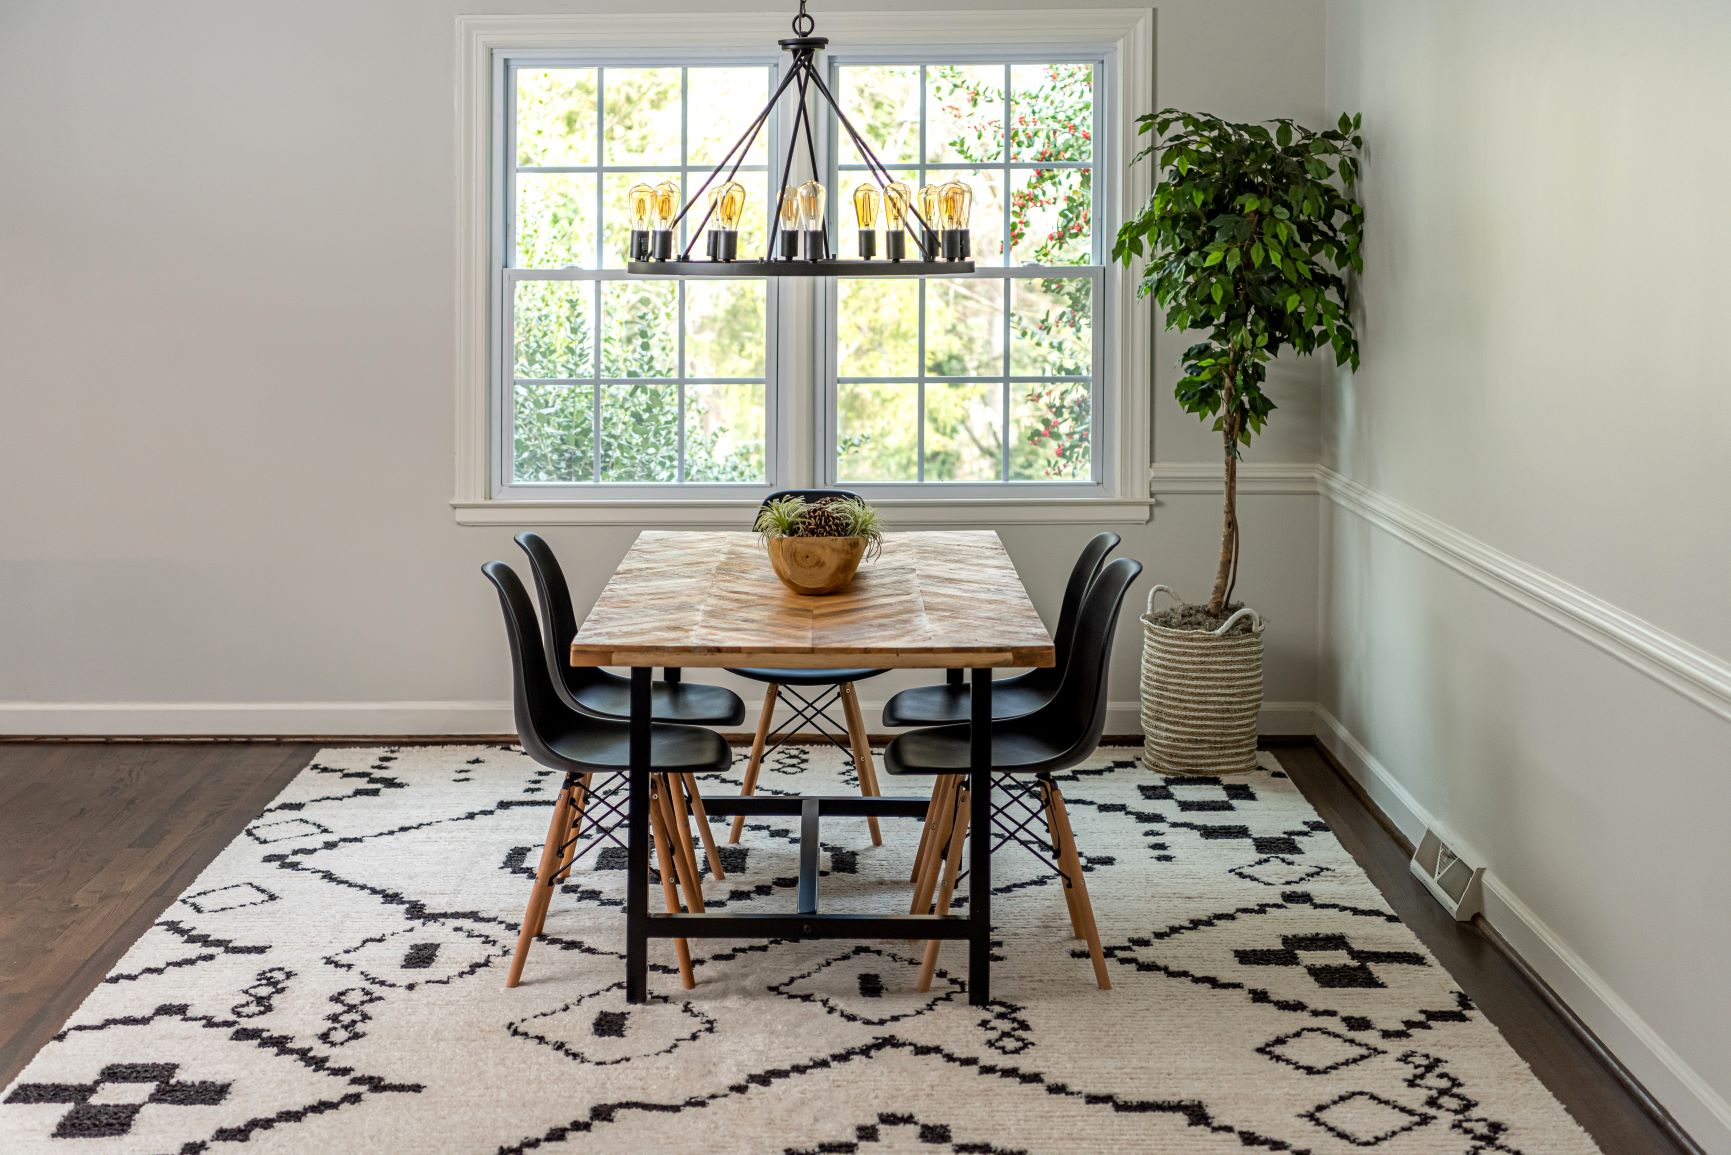
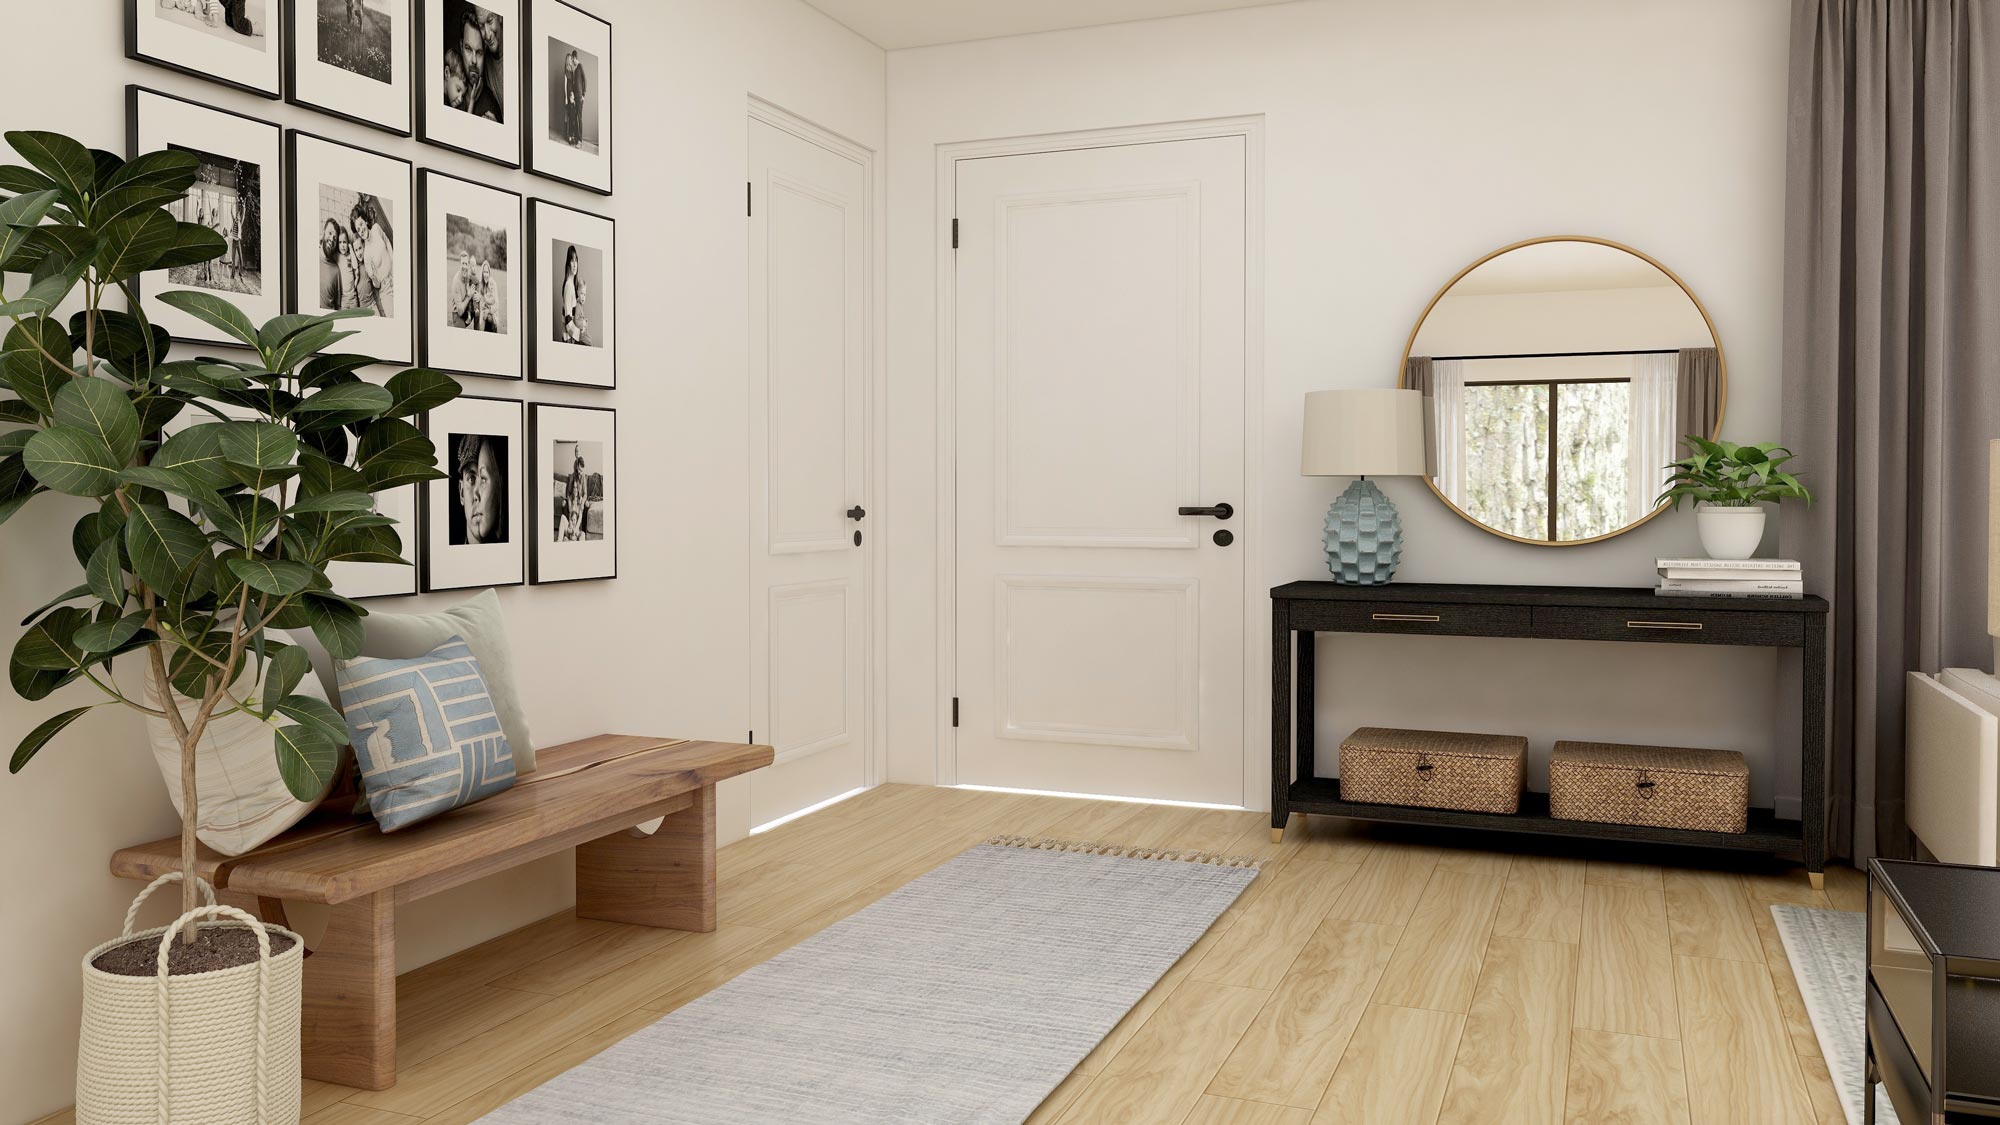
Additionally, consider the lighting in the room where your table will be placed. Lighting plays a crucial role in creating ambiance, so choose lighting fixtures or lamps that complement the country-style theme. Soft, warm lighting can help create a cozy and inviting atmosphere.
Lastly, don’t forget about the seating. Choose chairs or benches that match the style and height of your country-style table. Consider upholstered seats for added comfort or traditional wooden chairs for a more rustic feel.
With the final touches in place, step back and admire your completed country-style table. Take a moment to appreciate the craftsmanship and effort you put into creating a beautiful and functional piece of furniture.
Remember, woodworking is a continuous learning process, and each project presents an opportunity to hone your skills and explore new techniques. Whether this is your first woodworking project or you’re an experienced craftsman, creating your own country-style table is a rewarding endeavor that adds a personal touch to your home decor.
Enjoy your new country-style table and savor the moments of gathering around it with family and friends for years to come.
Thank you for following this comprehensive guide on how to make a country-style table. Happy woodworking!
Conclusion
Congratulations on completing your journey to create a stunning country-style table! Throughout this comprehensive guide, we have walked you through each step – from gathering the wood to adding the final touches and decorations. By following these instructions and harnessing your woodworking skills, you have successfully crafted a beautiful and functional centerpiece for your home.
A country-style table adds a touch of rustic charm and warmth to any space. It serves not only as a gathering place for meals but also as a focal point for family gatherings, celebrations, and cherished memories. Your hard work and attention to detail have resulted in a unique piece of furniture that reflects your personal style and craftsmanship.
Remember, woodworking is an ongoing learning process. Each project provides an opportunity to refine your skills, explore new techniques, and unleash your creativity. As you gain more experience, feel free to experiment with different finishes, wood types, and design elements to create truly one-of-a-kind pieces.
We hope that this guide has inspired you to embark on more woodworking projects and continue to explore the world of DIY furniture. Remember to prioritize safety at all times, use the appropriate tools and materials, and seek professional advice if needed.
Now, take a step back, admire your masterpiece, and bask in the joy and satisfaction of creating something with your own hands. Your country-style table will serve as a gathering place for laughter, storytelling, and cherished memories for years to come.
Thank you for joining us on this woodworking adventure. Happy crafting!
Frequently Asked Questions about How To Make A Country-Style Table
Was this page helpful?
At Storables.com, we guarantee accurate and reliable information. Our content, validated by Expert Board Contributors, is crafted following stringent Editorial Policies. We're committed to providing you with well-researched, expert-backed insights for all your informational needs.


0 thoughts on “How To Make A Country-Style Table”