Home>Dining>Table Decor>How To Use Chicken Wire For Floral Arrangements
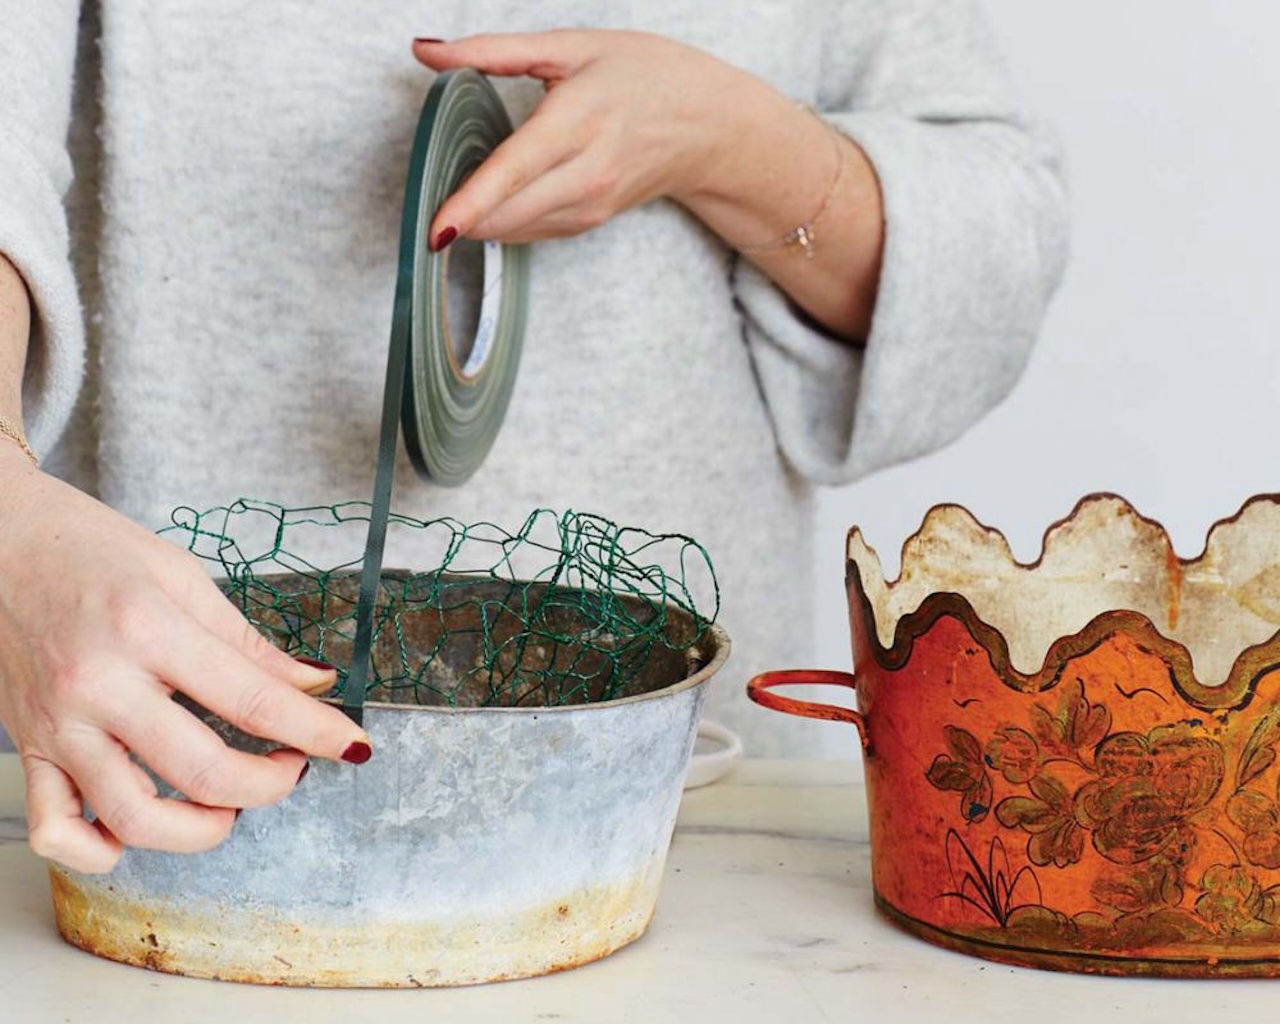
Table Decor
How To Use Chicken Wire For Floral Arrangements
Modified: December 7, 2023
Enhance your table decor with creative floral arrangements using chicken wire. Learn how to use chicken wire to create stunning centerpieces and unique floral designs.
(Many of the links in this article redirect to a specific reviewed product. Your purchase of these products through affiliate links helps to generate commission for Storables.com, at no extra cost. Learn more)
Introduction
Welcome to the world of table decor! Whether you’re planning a special event or just want to spruce up your home, floral arrangements are a beautiful and versatile way to add a touch of elegance to any space. And when it comes to creating stunning arrangements, using chicken wire can be a game-changer.
Chicken wire, also known as poultry netting, may seem like an unconventional choice for floral arrangements, but it’s actually a secret weapon for florists and DIY enthusiasts alike. Its flexible and sturdy mesh structure provides excellent support for flowers and allows for endless creative possibilities.
In this article, we’ll explore the art of using chicken wire for floral arrangements, from choosing the right wire to mastering special techniques. So, let’s dive in and discover how chicken wire can take your floral design skills to the next level!
Key Takeaways:
- Embrace the versatility of chicken wire for floral arrangements, from creating sturdy bases to exploring unique designs and special techniques. Unleash your creativity and elevate your table decor with this secret weapon!
- Master the art of using chicken wire confidently in floral arrangements with the right materials, techniques, and tips. Let your imagination flourish and create stunning, stable, and eye-catching floral masterpieces!
Read more: How To Use Moss In Floral Arrangements
Materials Needed
Before we get started, let’s gather the materials you’ll need to create stunning floral arrangements with chicken wire:
- Chicken wire: Look for a roll of chicken wire in your local gardening or hardware store. Opt for a gauge that is sturdy enough to hold the weight of the flowers but flexible enough to shape into various forms.
- Wire cutters: These will come in handy for cutting the chicken wire to the desired size and shape.
- Floral tape: This is optional but can be helpful for securing the chicken wire onto the container or creating a base for your arrangement.
- Container: Choose a vase, jar, or any other container that suits your style and complements the flowers you’ll be using.
- Flowers: Select your favorite blooms and greenery to bring your arrangement to life. It’s always a good idea to choose a variety of shapes, sizes, and colors to create visual interest.
- Water: Fill your container with clean water to keep your flowers fresh and vibrant.
- Pruning shears: These will be useful for trimming the stems and removing any excess leaves.
- Optional decorations: If you want to add an extra touch to your arrangement, consider incorporating ribbons, beads, or other decorative elements.
Once you have gathered all these materials, you’re ready to start working with chicken wire and bring your floral creations to life!
Step 1: Choosing the Right Chicken Wire
The first step in using chicken wire for floral arrangements is selecting the right type of wire. Here are a few key factors to consider:
1. Wire Gauge: Chicken wire comes in various gauges, which refers to the thickness of the wire. For floral arrangements, it’s best to choose a medium gauge wire that is strong enough to hold the flowers securely but still pliable enough to mold into desired shapes.
2. Mesh Size: The size of the mesh openings will determine how easy it is to insert and secure the stems. Opt for a chicken wire mesh with smaller openings, around 1/2 inch to 1 inch, as this will provide better support for the flowers and prevent them from slipping through.
3. Size and Shape: Consider the size of your container and the desired arrangement shape. Cut the chicken wire to fit the container, leaving a bit of extra length to wrap around the edges. A good rule of thumb is to cut a piece that is roughly 2-3 times the width and height of your container.
4. Rust-Resistant: If you plan on using the chicken wire for multiple arrangements or want to reuse it in the future, look for rust-resistant options. This will ensure the longevity and durability of the wire.
5. Availability: Check your local gardening or hardware stores for chicken wire. If you can’t find it nearby, consider purchasing it online from reputable sellers.
Remember, it’s better to have more chicken wire than you think you’ll need. Having extra wire allows for flexibility and experimentation in your arrangements.
Once you’ve chosen the right chicken wire, you’re ready to move on to the next step in creating your stunning floral arrangement.
Step 2: Preparing the Chicken Wire
Now that you have your chicken wire, it’s time to prepare it for your floral arrangement. Follow these steps to get it ready:
- Cut the chicken wire: Using wire cutters, carefully measure and cut a piece of chicken wire that will fit inside your container. Remember to leave some extra length to wrap around the edges for added stability.
- Shape the chicken wire: Take the cut piece of chicken wire and shape it into a dome-like or ball-like structure to fit the container. Gently bend and manipulate the wire to achieve the desired shape. This step is optional and depends on the type of arrangement you’re creating.
- Secure the chicken wire: Carefully place the shaped chicken wire inside the container. If needed, use floral tape to secure the wire to the container. This step will ensure that the wire stays in place while you arrange the flowers.
- Trim the excess wire: If you have any excess wire sticking out from the container, use wire cutters to trim it down. Be cautious while cutting to avoid any sharp edges.
Preparing the chicken wire is a crucial step as it provides a stable base and structure for your floral arrangement. Once the chicken wire is in place, you’re ready to start bringing your arrangement to life.
Now that the chicken wire is ready, let’s move on to the next step—creating a basic floral arrangement.
When using chicken wire for floral arrangements, cut a piece of wire to fit the inside of your vase and bend the edges to secure it in place. This will help support the stems and keep your arrangement in place.
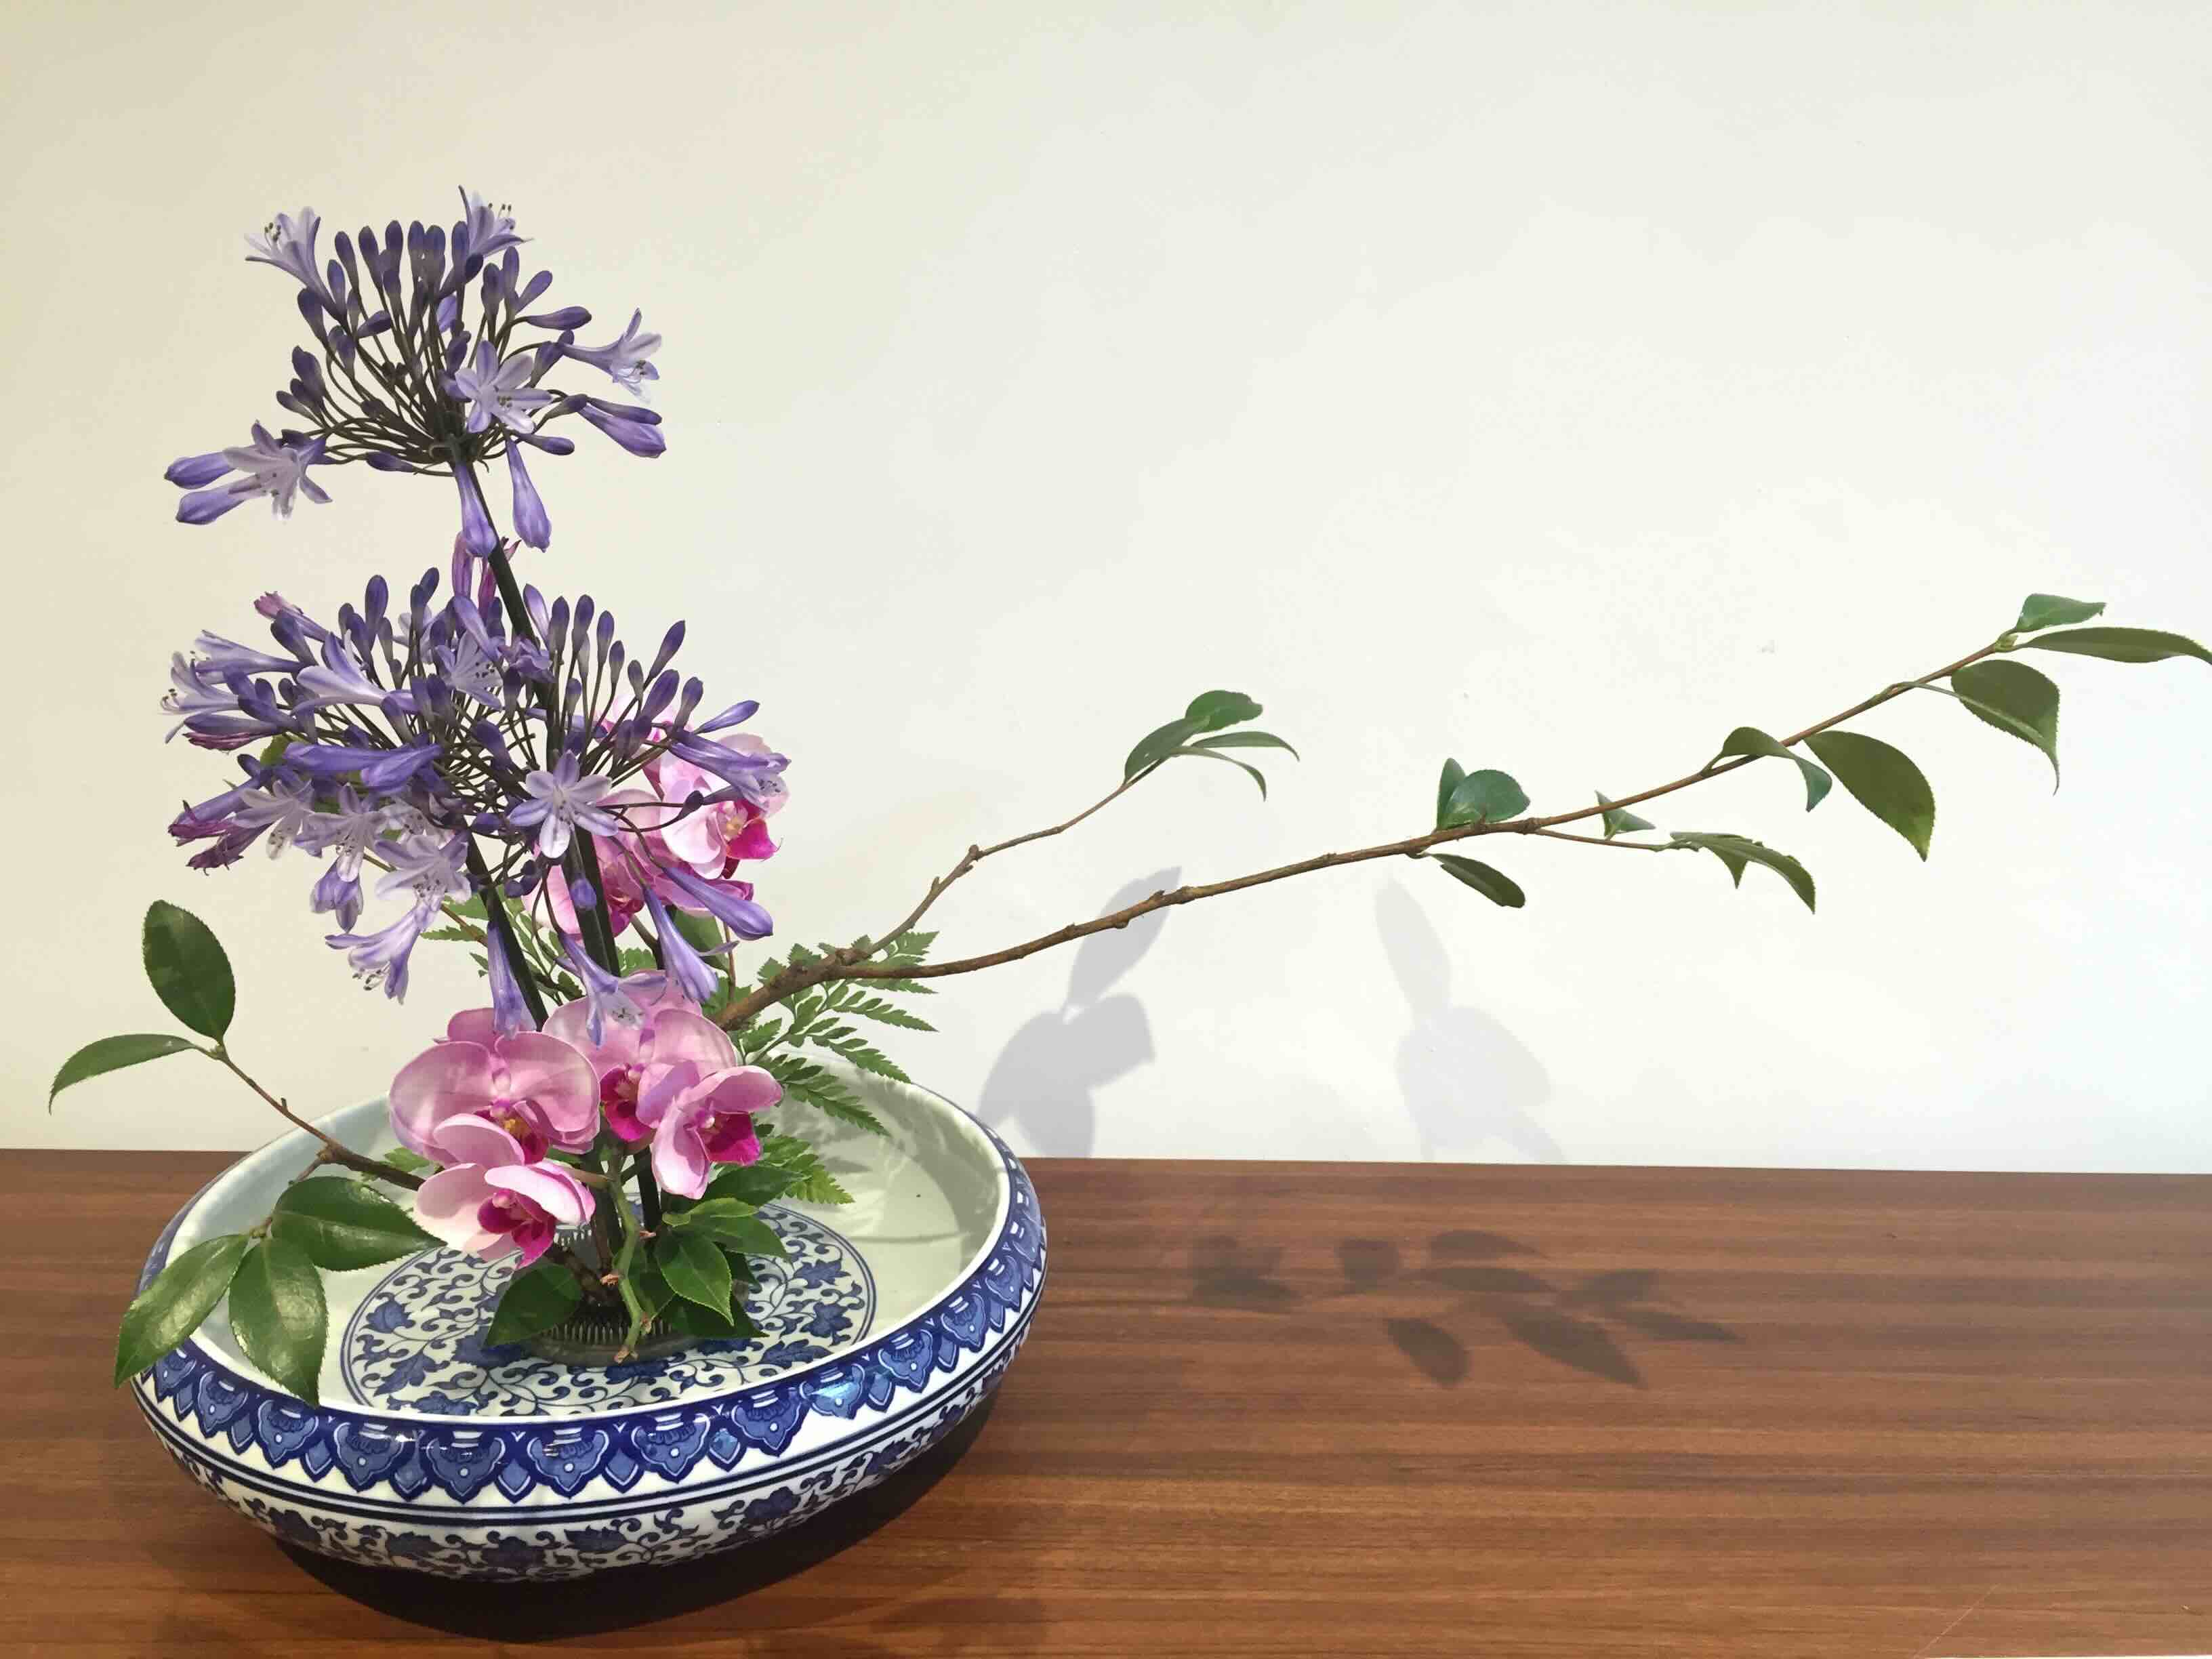
Step 3: Creating a Basic Floral Arrangement
With the chicken wire prepared, it’s time to start creating your basic floral arrangement. Follow these steps to bring your vision to life:
- Prepare the flowers: Trim the stems of your flowers at a diagonal angle using pruning shears. Remove any excess leaves or thorns that could potentially be submerged in the water.
- Add water: Fill your container with clean water, ensuring that it covers the ends of the flower stems.
- Start with foliage: Begin by inserting greenery or foliage into the chicken wire. This provides a base for your arrangement and adds depth and texture. Place the stems evenly around the container to create a balanced look.
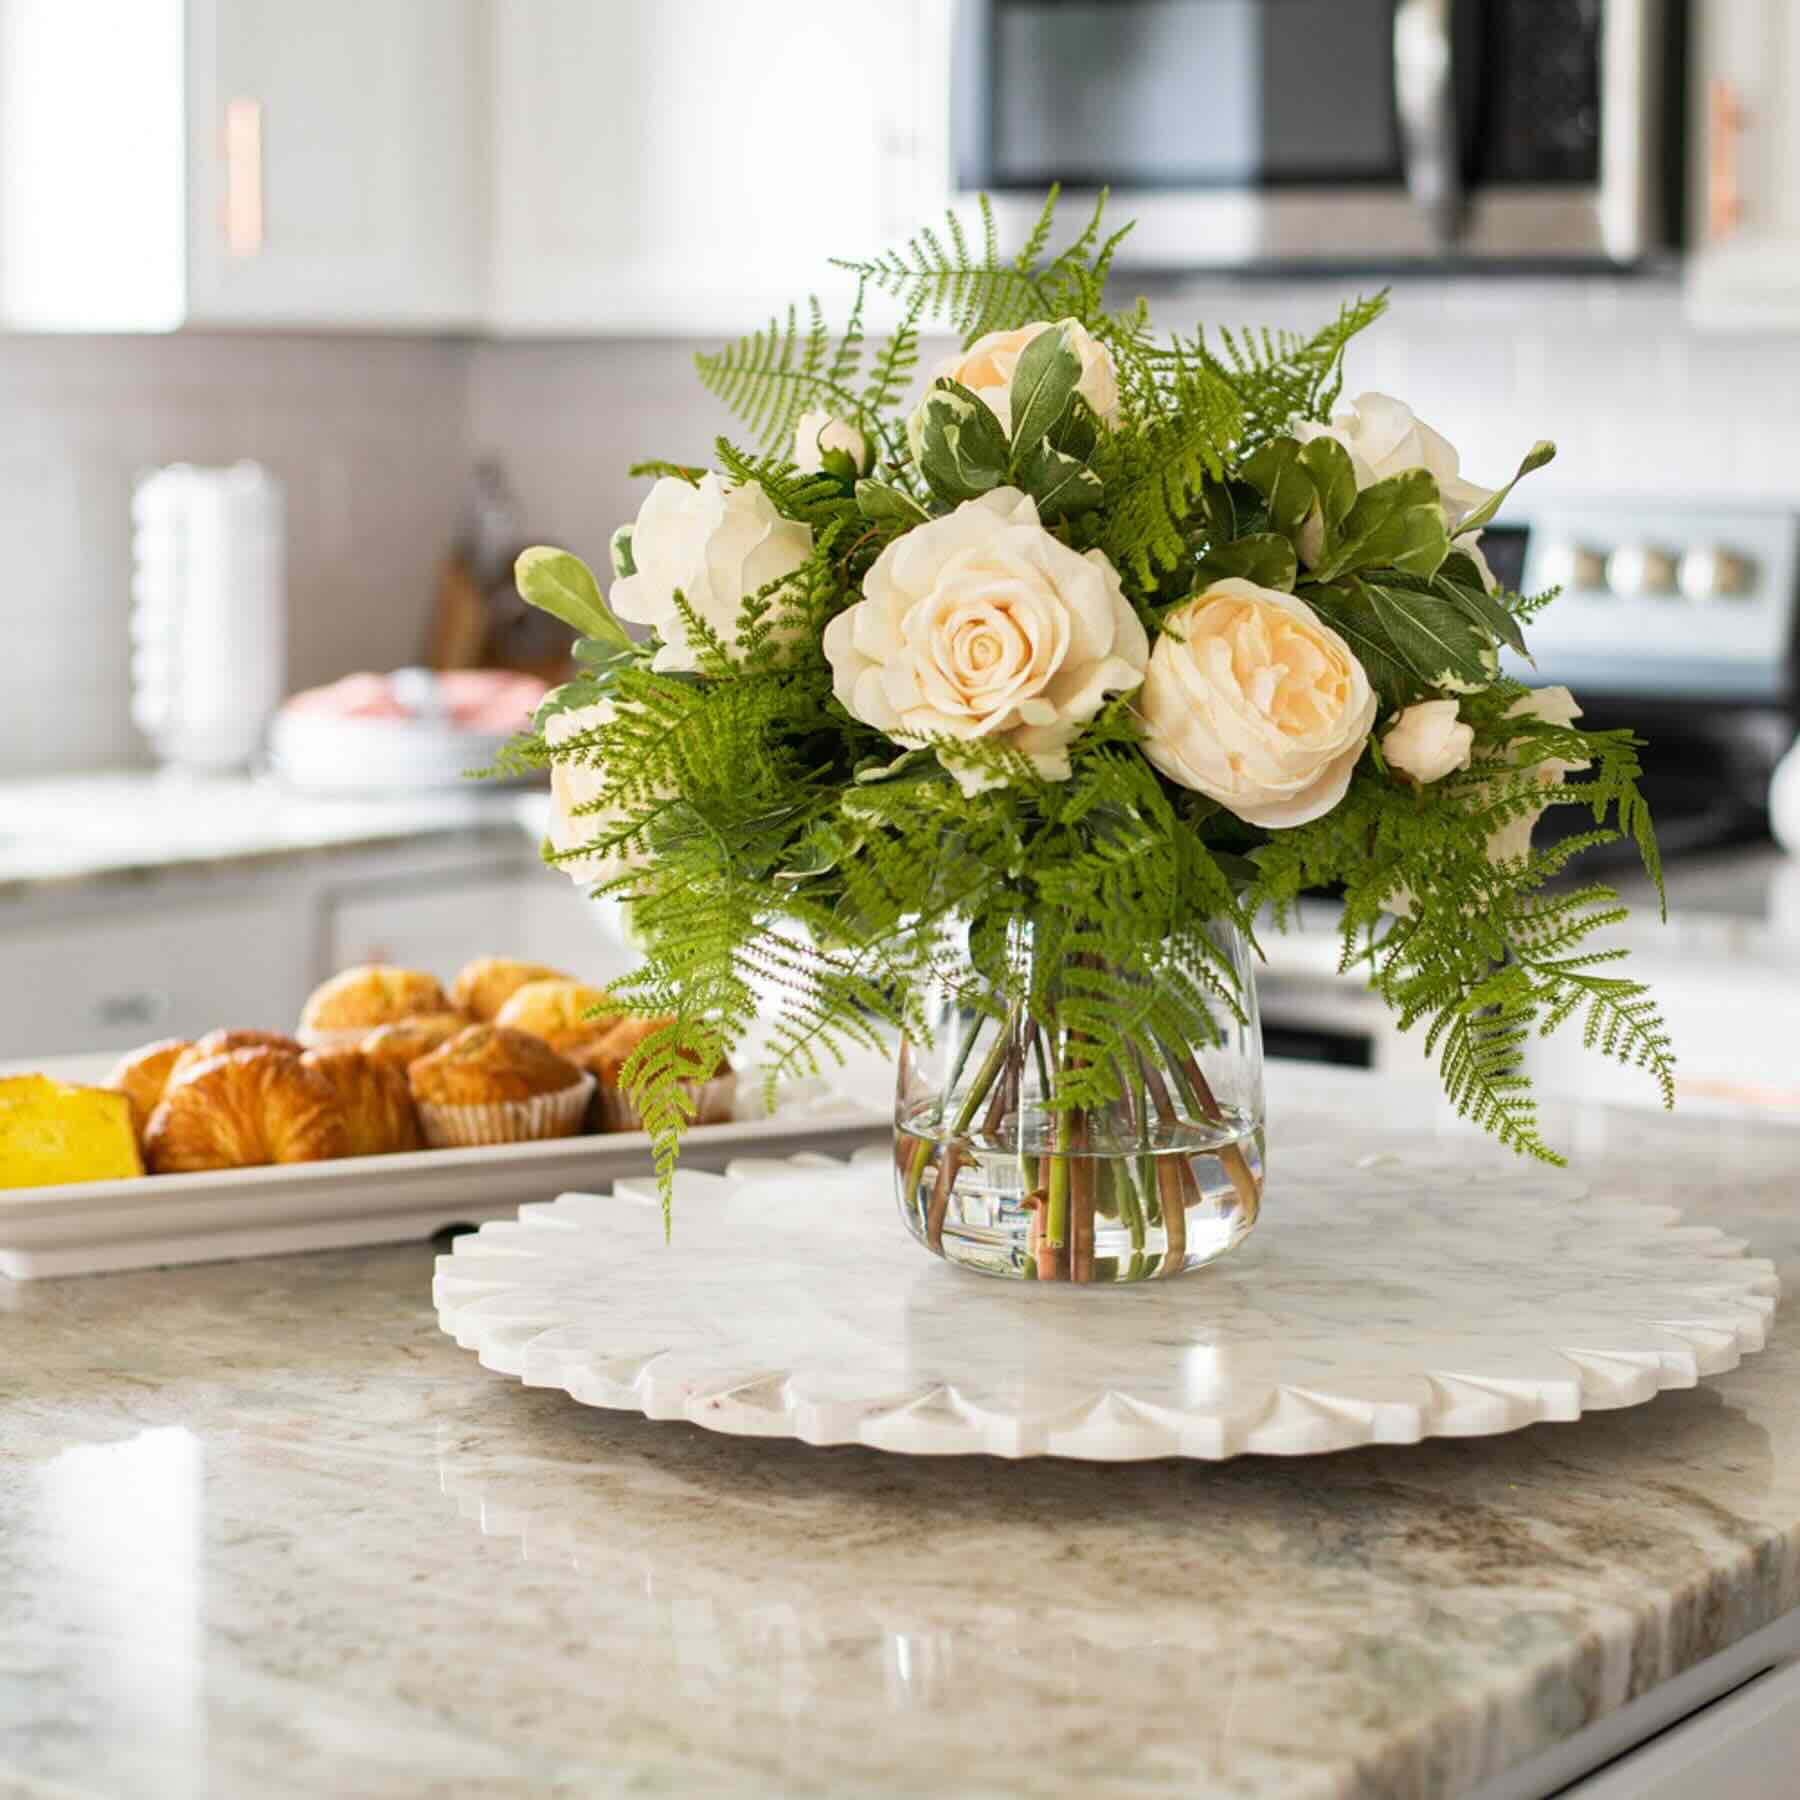
- Add focal flowers: Choose one or two focal flowers, such as roses or lilies, and insert them into the chicken wire. These flowers will be the center of attention and should be placed strategically to create a focal point in your arrangement.
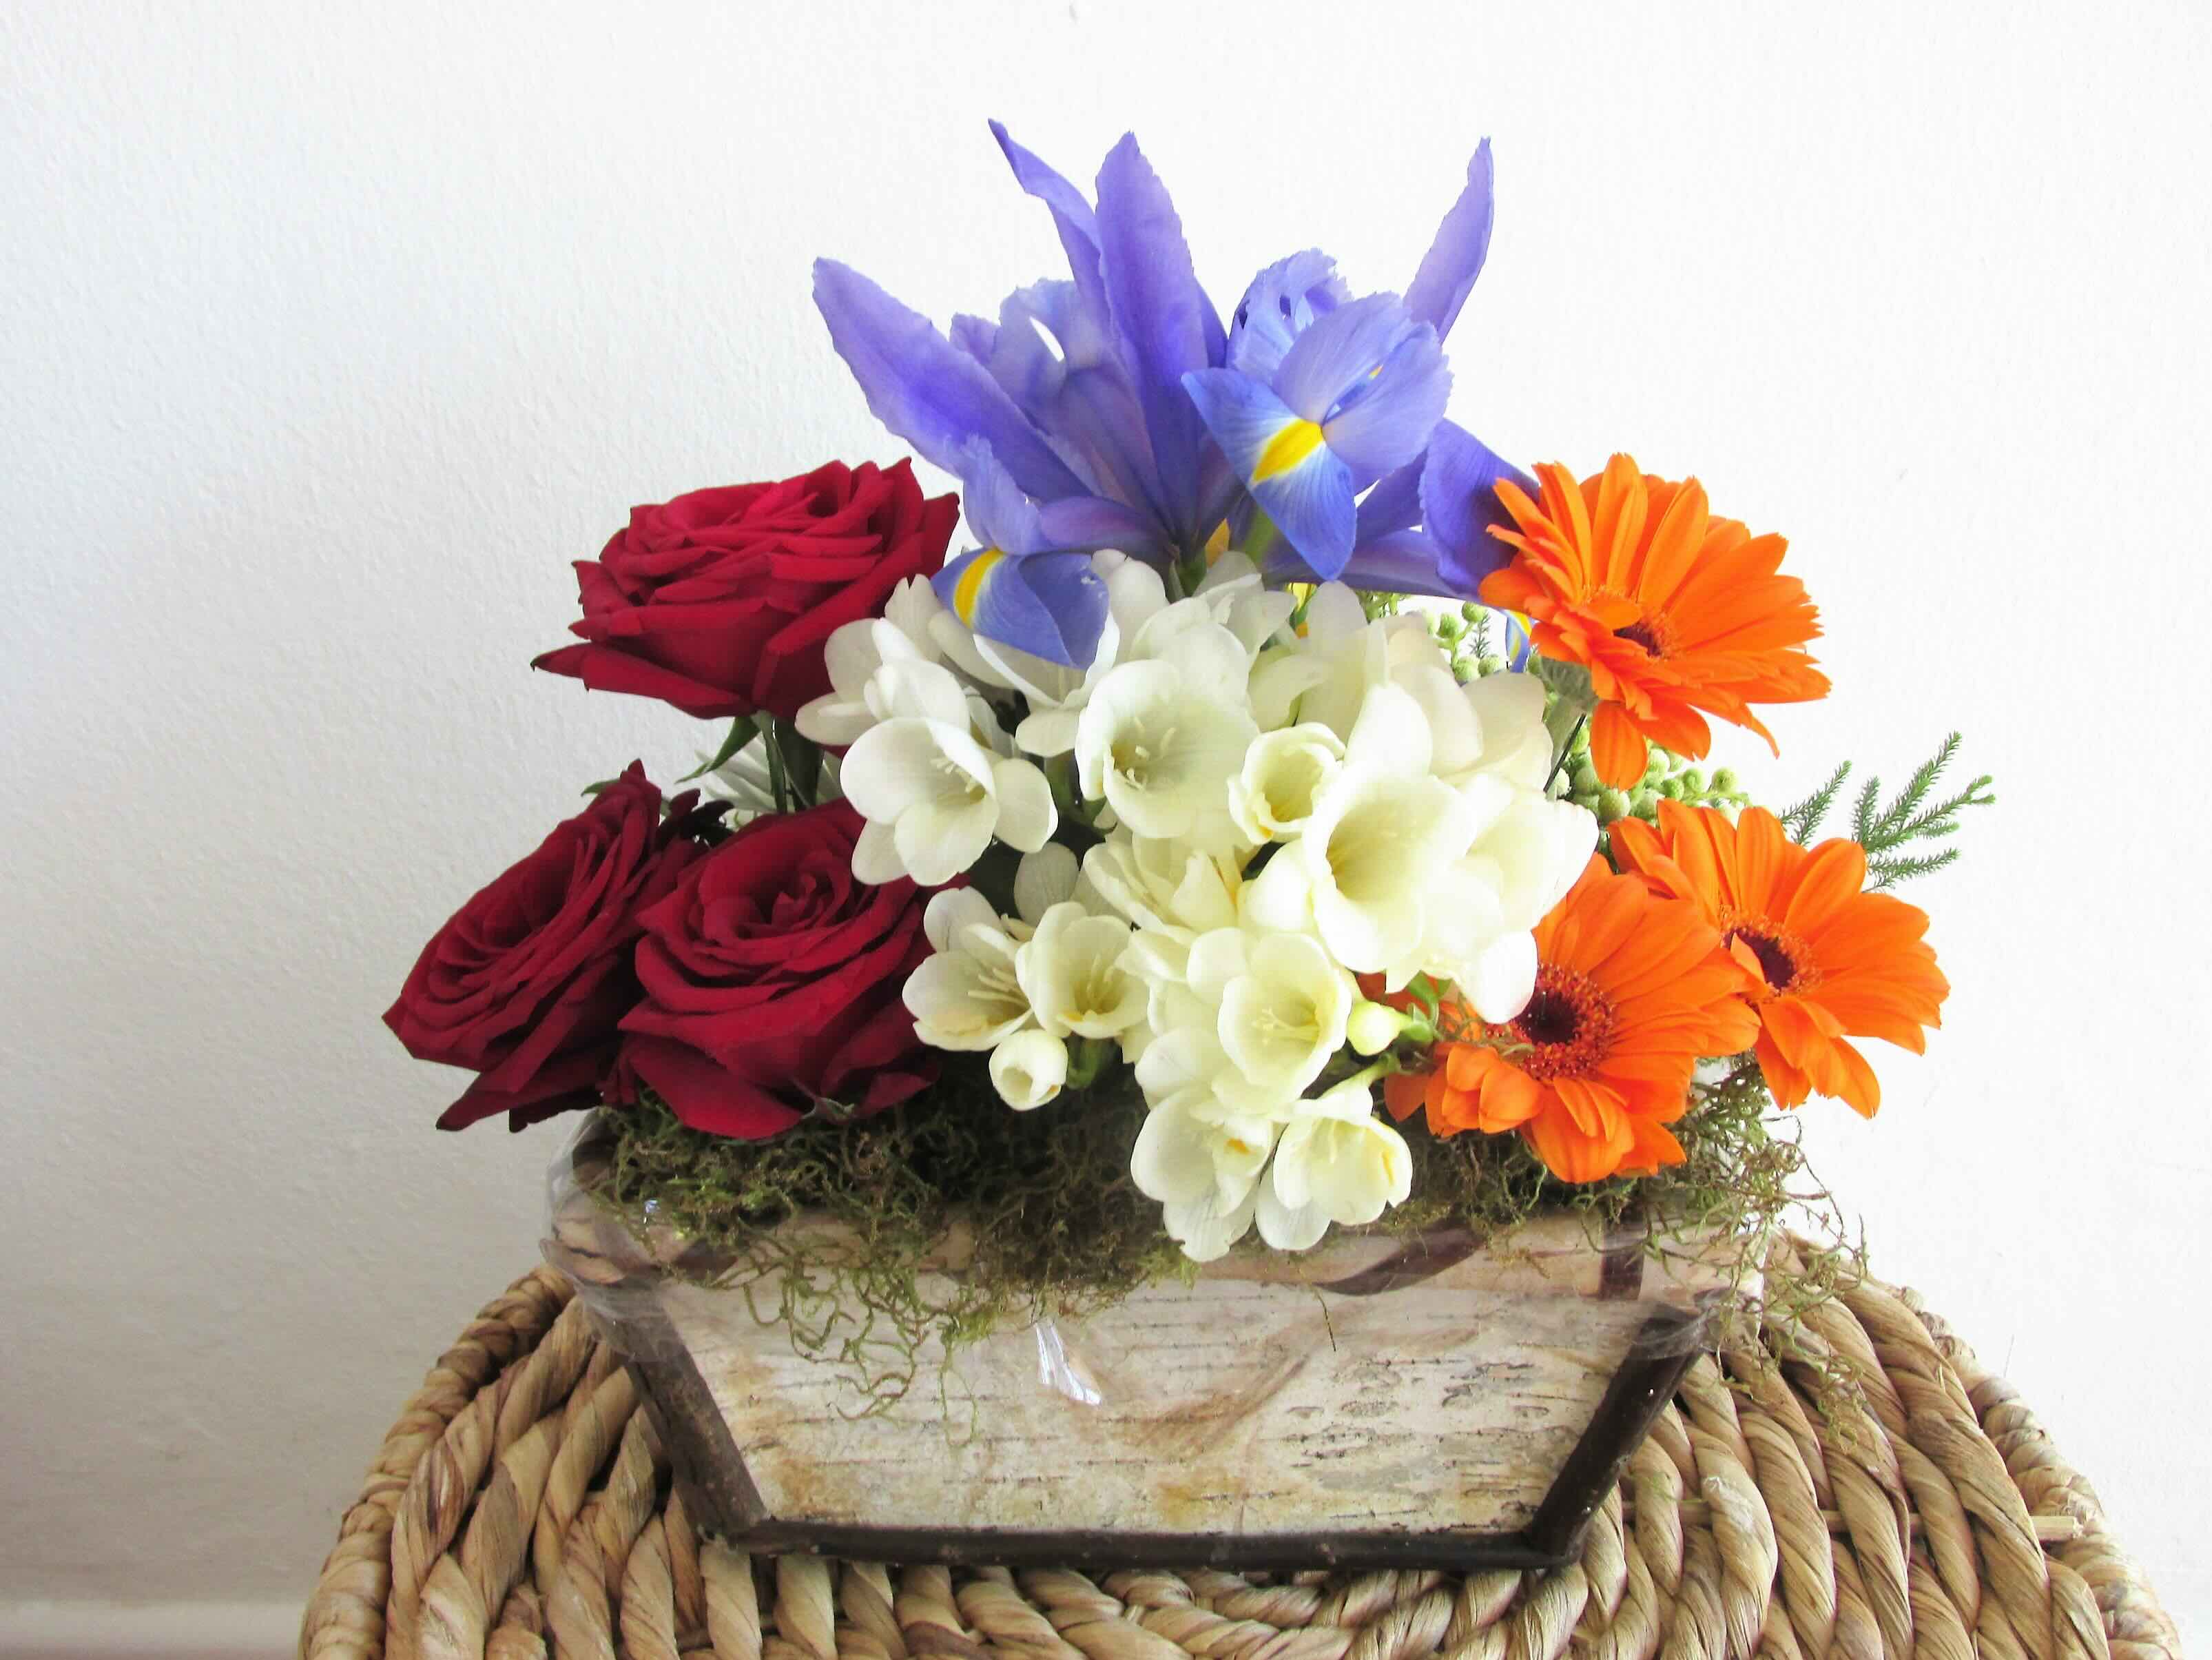
- Fill in with other flowers: Continue adding the remaining flowers, distributing them evenly throughout the arrangement. Vary the heights and sizes of the blooms to create visual interest.
- Adjust and tweak: Step back and assess your arrangement. Make any necessary adjustments by rearranging flowers or adding more greenery to achieve the desired look.
Remember to work with the natural flow and shape of the flowers. Experiment with different arrangements and combinations until you achieve the desired aesthetic. With the chicken wire providing support, you can easily insert and position the stems to create a beautiful and stable arrangement.
Now that you’ve mastered the basics, let’s explore some special techniques you can use with chicken wire to elevate your floral arrangements even further.
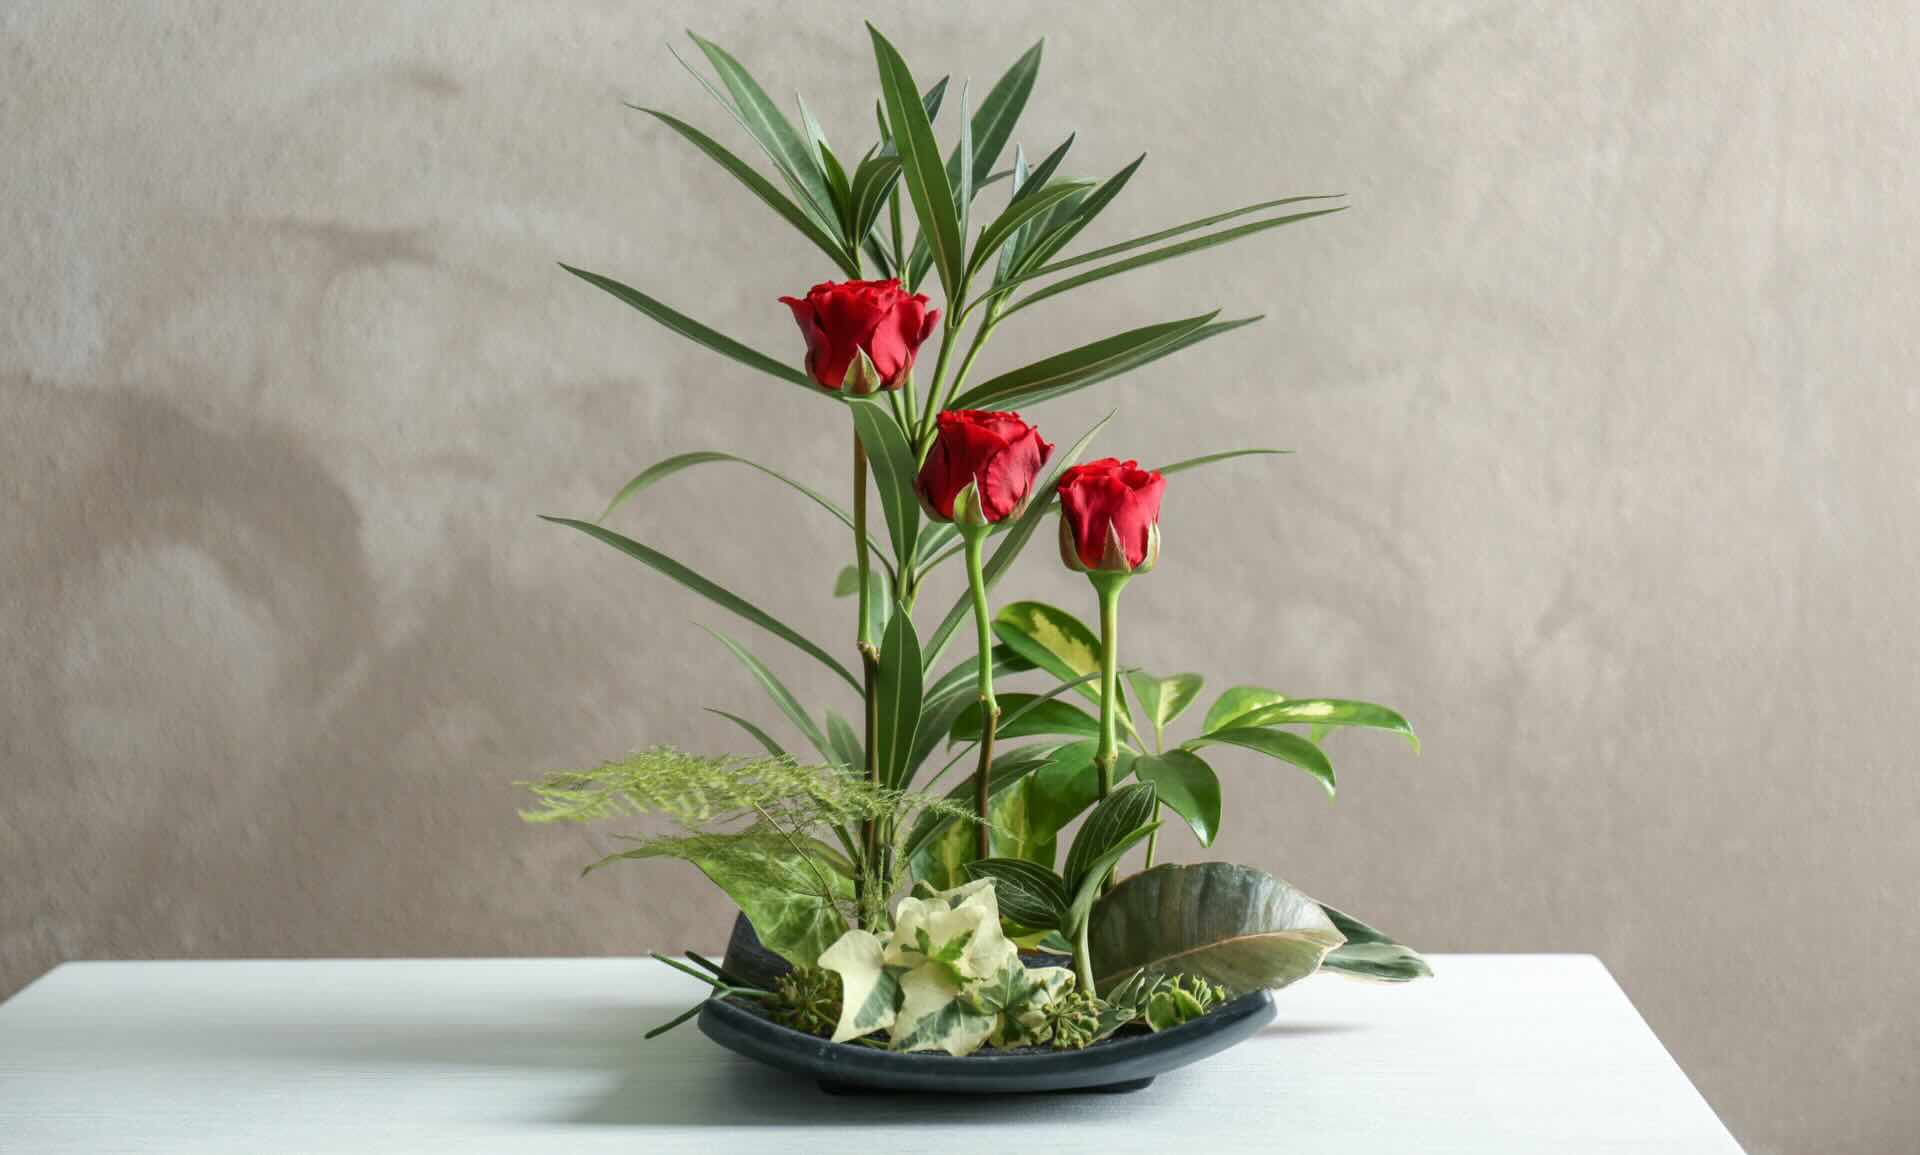
Step 4: Using Chicken Wire for Special Floral Techniques
Chicken wire offers endless possibilities for creating unique and eye-catching floral arrangements. Here are a few special techniques you can try:
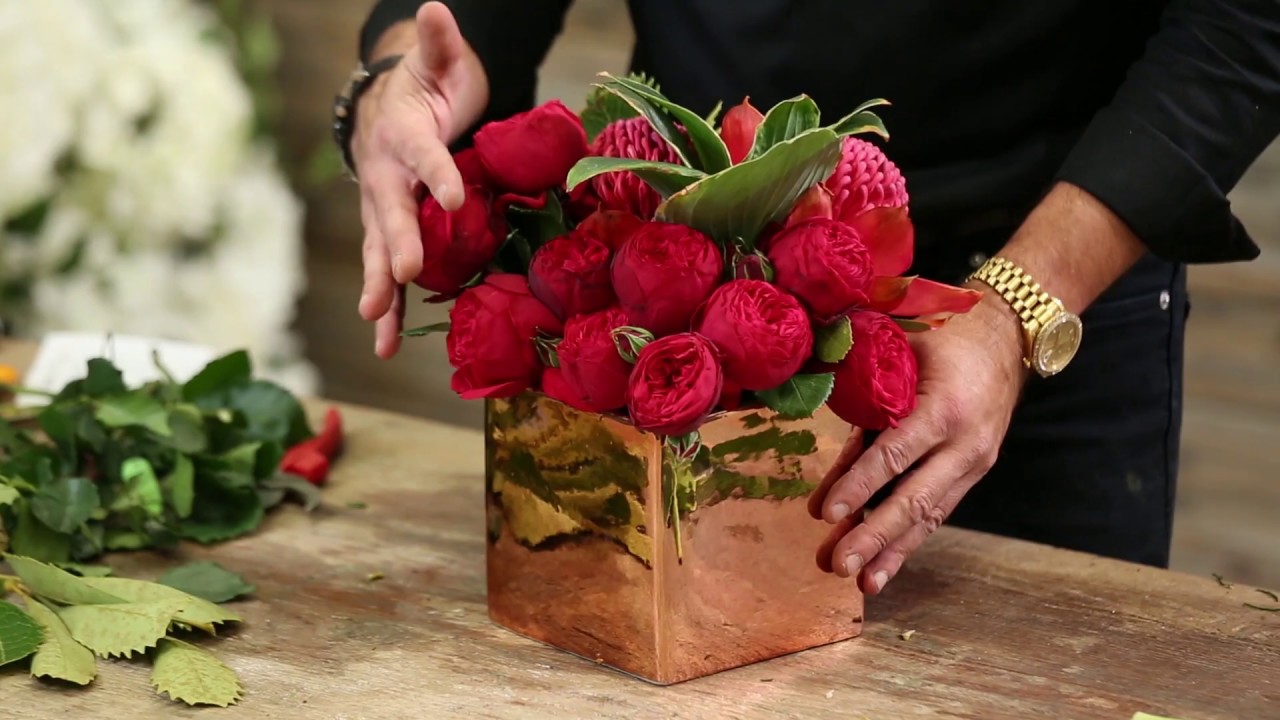
- Armatures: Create intricate structures using chicken wire to form armatures. These can be used to shape flowers into specific designs or to create larger, more elaborate arrangements. Simply shape the wire into the desired form, such as a heart or a cone, and secure it with floral tape or by inserting it into the container.
- Cascading arrangements: For a stunning cascading effect, shape the chicken wire into a cone or a teardrop shape and position it in the container so that it extends outward. Insert your flowers, allowing them to drape and flow naturally down the sides of the wire structure. This technique is ideal for creating dramatic centerpieces or elegant bridal bouquets.
- Hanging installations: Chicken wire can also be used to create unique hanging floral installations. Shape the wire into a ball or any other desired shape and secure it with strong wire. Attach a string or wire to the top of the structure and hang it from a ceiling or a sturdy support. Insert flowers into the wire, allowing them to cascade down and create a mesmerizing suspended arrangement.
- Securing flowers: Instead of relying solely on floral foam or water tubes, chicken wire provides a secure and stable way to hold flowers in place. Insert the stems directly into the wire, arranging them at various heights and angles to create dimension and visual interest.
These techniques allow you to unleash your creativity and experiment with different shapes, sizes, and arrangements. Chicken wire provides the structure and support needed to create stunning floral masterpieces that are sure to impress.
Now that you’ve learned these special techniques, let’s move on to some valuable tips and tricks for working with chicken wire in floral arrangements.
Step 5: Tips and Tricks for Working with Chicken Wire
Working with chicken wire for floral arrangements can be a breeze with the right tips and tricks. Here are some valuable insights to help you make the most out of your chicken wire creations:
- Handle with care: Chicken wire can have sharp edges, so handle it with caution to avoid injury. Use gloves if necessary and be mindful of your fingers while cutting and shaping the wire.
- Secure the wire: To ensure that the chicken wire stays in place, consider using floral tape or a piece of clear tape to secure it to the top rim of the container. This will provide extra stability and prevent the wire from shifting during the arrangement process.
- Trim excess wire discreetly: If you have any excess chicken wire sticking out from the arrangement, tuck it behind foliage or bend it inward to conceal it. This will create a cleaner and more polished look.
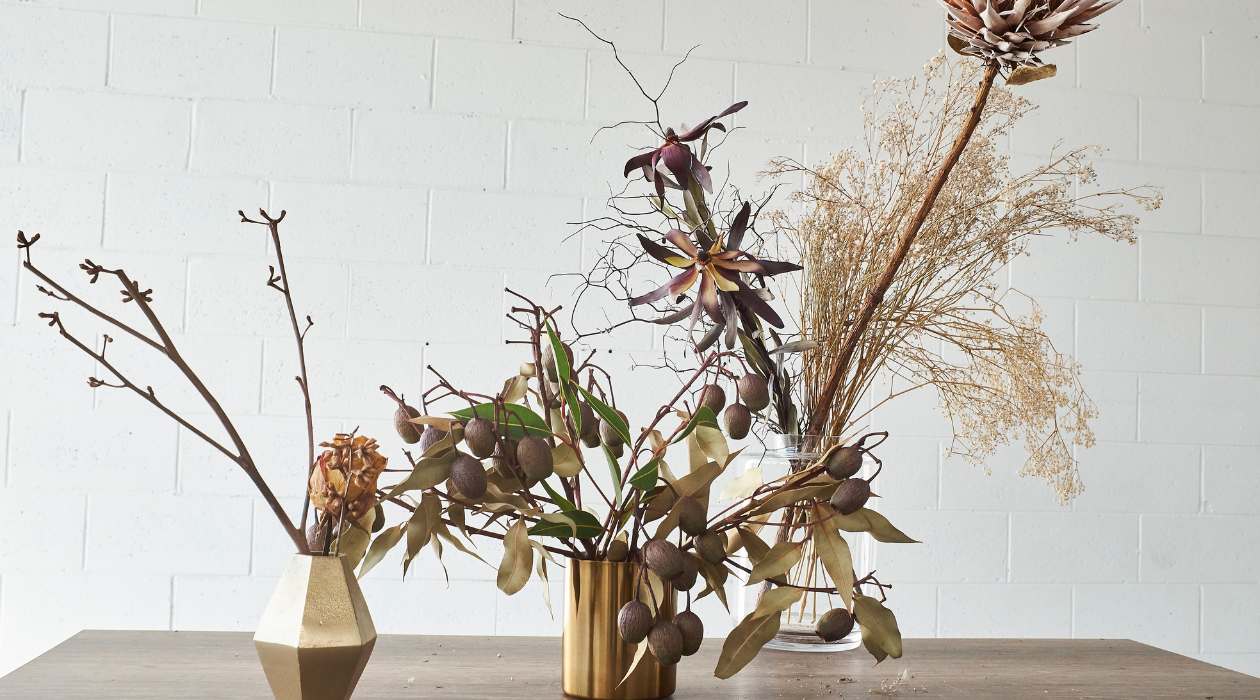
- Vary the shape: Don’t limit yourself to a traditional round-shaped chicken wire arrangement. Experiment with different shapes, such as squares or triangles, to create unique designs and showcase your creativity.
- Layer the wire: For larger arrangements or to create a more secure base, consider layering two or more pieces of chicken wire together. This will provide additional support and help hold the stems in place.
- Reposition flowers easily: One of the advantages of using chicken wire is that it allows you to reposition and adjust your flowers as needed. If you’re not satisfied with the placement, simply remove the stem from the wire and insert it again in a different spot.
- Fill gaps with foliage: If you notice any visible gaps between the flowers or in the arrangement, fill them in with additional foliage or greenery. This will create a fuller look and enhance the overall aesthetic.
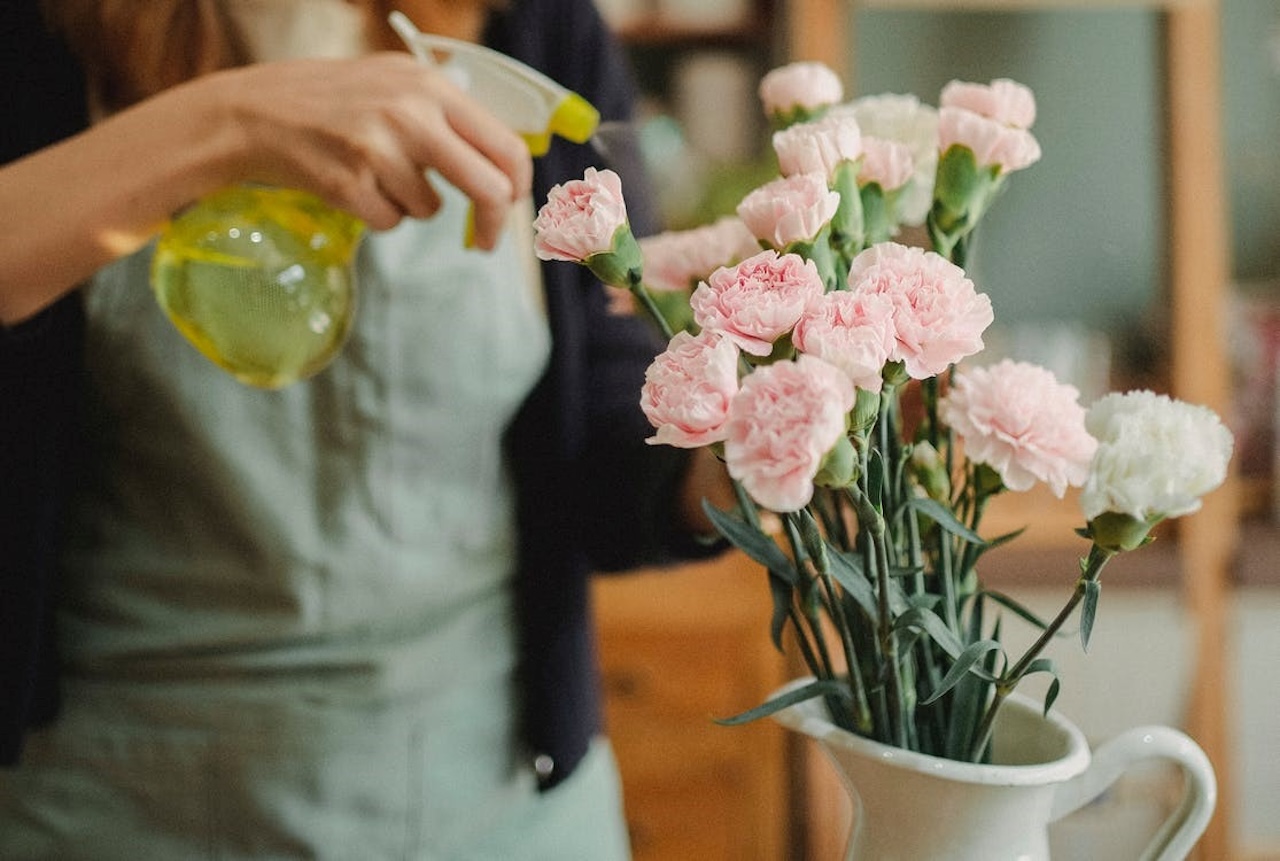
- Mist the arrangement: To keep your flowers hydrated, mist the arrangement with water regularly. This will help extend the lifespan of the blooms and ensure they stay fresh for longer.
Remember, practice makes perfect. Experiment with different techniques, shapes, and flower combinations to develop your unique style and create stunning floral arrangements that wow your guests or beautify your space.
With these tips and tricks in your toolkit, you’re now equipped to use chicken wire confidently in your floral creations!
Conclusion
Using chicken wire for floral arrangements is a fantastic way to add creativity and versatility to your table decor. Its flexible mesh structure provides excellent support for flowers and opens up endless possibilities for unique designs. By following the steps outlined in this article, you can create stunning arrangements that are sure to impress.
From choosing the right chicken wire to preparing it, creating basic arrangements, exploring special techniques, and implementing helpful tips and tricks, you now have the knowledge and tools to work with chicken wire confidently.
Remember to unleash your creativity and experiment with different shapes, sizes, and flower combinations. Allow the chicken wire to provide a secure base for your arrangements while giving you the freedom to position the flowers exactly as you envision.
Whether you’re preparing for a special event, designing a stunning centerpiece, or looking to accentuate your home with beautiful floral arrangements, chicken wire can be your secret weapon for creating breathtaking pieces of art.
So, embrace the possibilities, let your imagination flourish, and have fun exploring the wonderful world of table decor with chicken wire!
Frequently Asked Questions about How To Use Chicken Wire For Floral Arrangements
Was this page helpful?
At Storables.com, we guarantee accurate and reliable information. Our content, validated by Expert Board Contributors, is crafted following stringent Editorial Policies. We're committed to providing you with well-researched, expert-backed insights for all your informational needs.


0 thoughts on “How To Use Chicken Wire For Floral Arrangements”