Tableware
How To Protect Your Dining Table
Modified: September 1, 2024
Learn how to protect your dining table with the right tableware and keep it looking pristine for years to come. Find tips and tricks to avoid scratches, stains, and damage.
(Many of the links in this article redirect to a specific reviewed product. Your purchase of these products through affiliate links helps to generate commission for Storables.com, at no extra cost. Learn more)
Introduction
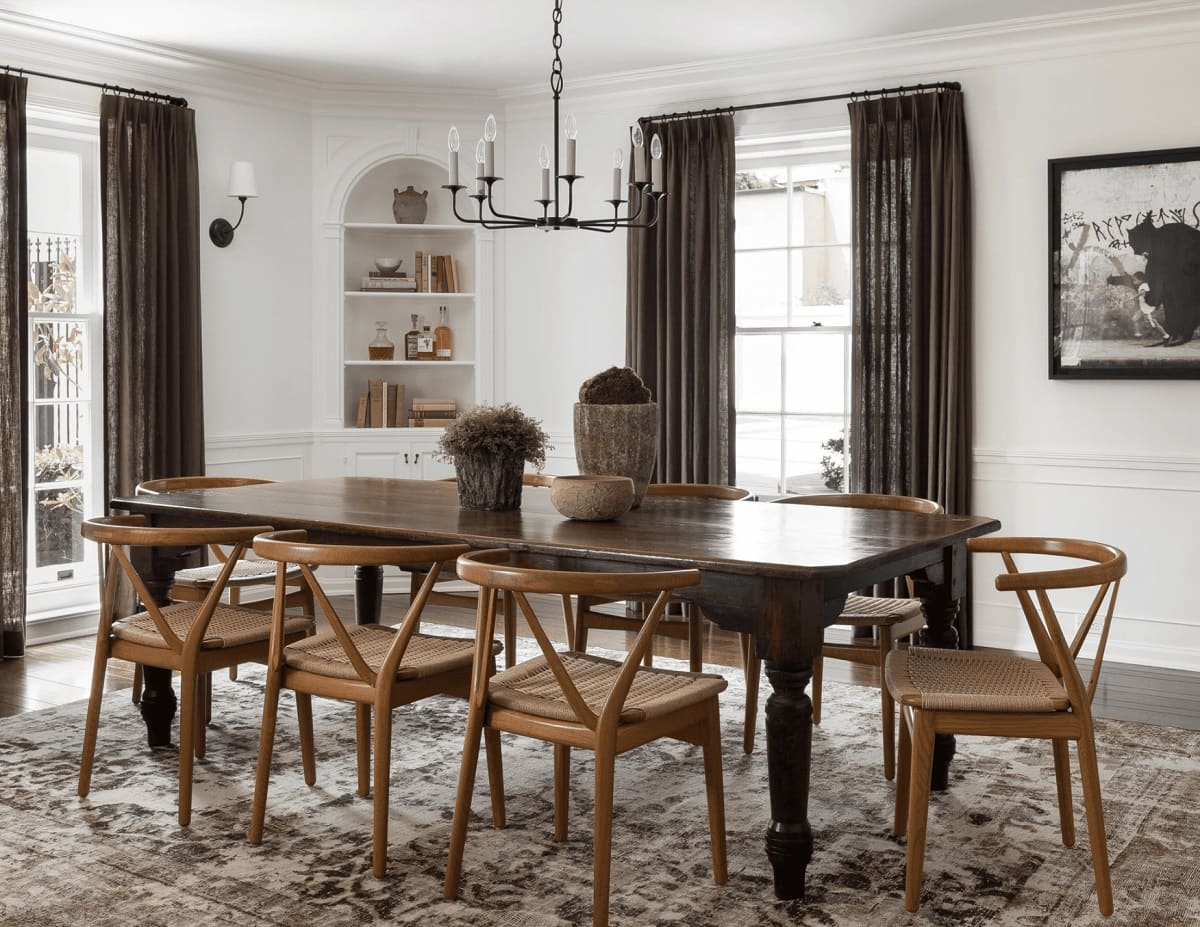
Welcome to our comprehensive guide on how to protect your dining table. Your dining table serves as the centerpiece of your dining room, not only providing a place to enjoy meals but also playing host to conversations, celebrations, and countless memorable moments. As such, it is essential to take proper care of your table to ensure its longevity and keep it looking its best.
In this article, we will provide you with practical tips and useful advice on how to protect your dining table from everyday wear and tear, spills, heat, and other potential damage. By following these guidelines, you can preserve the beauty and functionality of your table for years to come.
Key Takeaways:
- Protect your dining table by using placemats or tablecloths to prevent scratches, stains, and heat damage while adding style to your dining experience. Clean up spills immediately and use coasters for drinks to maintain the table’s pristine appearance.
- Safeguard your dining table from warping, fading, and heat damage by avoiding direct heat and sunlight, using trivets for hot dishes, and keeping sharp objects away. Consider using table pads or covers for an extra layer of protection during special occasions or large gatherings.
Read more: How To Protect An Acacia Wood Dining Table
Step 1: Use Placemats or Tablecloths
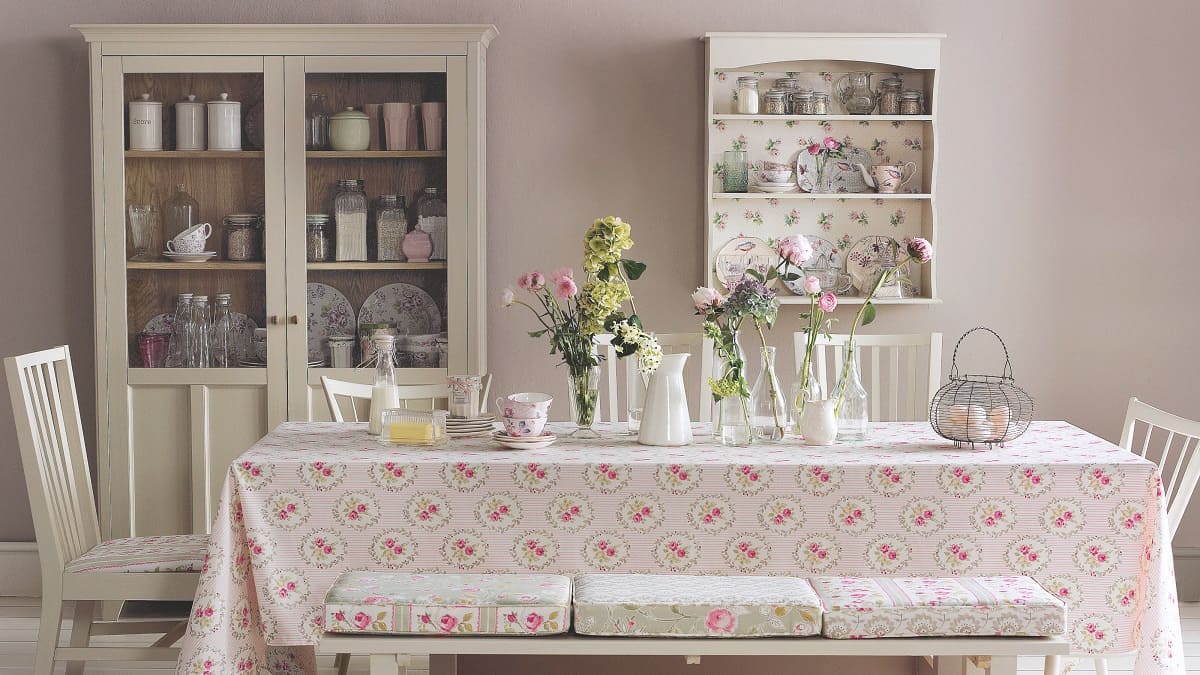
One of the easiest and most effective ways to protect your dining table is by using placemats or tablecloths. Placemats provide a barrier between the table surface and plates, utensils, and glassware. They help prevent scratches, stains, and heat damage from hot dishes. Plus, they add a touch of style and elegance to your table setting.
When choosing placemats, opt for materials that are easy to clean and durable. Consider silicone, vinyl, or fabric placemats that can be wiped clean or machine washed. You can also select a placemat design that complements your dining room decor or adds a pop of color.
If you prefer a more formal and traditional look, a tablecloth can be a great option. A quality tablecloth not only protects the surface of your table but also adds an element of sophistication to your dining area. Choose a tablecloth made from a durable fabric, such as cotton or linen, that can withstand frequent use and washing.
When using a tablecloth, make sure it hangs evenly on all sides and doesn’t bunch up or hang too low. This will prevent it from being pulled and potentially causing items to topple over. Consider using tablecloth clips or weights to keep the cloth in place during meals.
Remember to clean placemats and tablecloths regularly to remove any food particles, stains, or spills. Follow the manufacturer’s instructions for proper care and washing to maintain their quality and longevity. By using placemats or tablecloths, you can protect your dining table from scratches, heat, and spills while adding a touch of style to your meals.
Step 2: Clean up Spills Immediately
Accidents happen, especially during meals. Whether it’s a glass of wine, a plate of pasta sauce, or a cup of coffee, spills are bound to occur on your dining table. The key to protecting your table from stains and damage is to clean up spills immediately.
When a spill happens, act quickly. Use a clean cloth or paper towel to blot the liquid as soon as possible. Avoid rubbing the spill, as this can spread the stain further and potentially damage the table’s surface. Gently blot the area until you have absorbed most of the spill.
If the spill has left a stain, mix a solution of mild dish soap and warm water. Dampen a clean cloth with this solution and gently blot the stained area. Avoid applying excessive pressure or scrubbing vigorously, as this can cause discoloration or damage to the table’s finish.
For stubborn stains, you can try using a specialized furniture cleaner or a mixture of baking soda and water. Test any cleaning solution in an inconspicuous area of the table first to ensure it doesn’t cause any damage or discoloration.
Once the spill is cleaned, make sure to dry the table thoroughly to prevent any moisture from seeping into the wood or causing water stains. Use a clean, dry cloth or towel to pat the area dry.
Regularly checking and cleaning your dining table will help you catch and address spills promptly, minimizing the risk of permanent damage. By acting quickly and using appropriate cleaning methods, you can keep your table looking pristine and extend its lifespan.
Step 3: Use Coasters for Drinks
One common cause of damage to dining tables is the condensation from cold drinks or the heat from hot beverages. To protect your table from these potential threats, it’s essential to use coasters.
Coasters create a barrier between the glass or cup and the table surface, preventing water rings, heat marks, and potential scratches. They come in various materials and designs to fit your style and match your dining decor.
When selecting coasters, choose ones that are absorbent and durable. Cork, felt, or silicone coasters are popular choices, as they can effectively absorb moisture and withstand heat. Avoid using coasters made of hard materials like stone or metal, as they can potentially scratch or dent the table’s surface.
Place coasters strategically around your dining table, ensuring that they are easily accessible to everyone. Encourage your family members and guests to use the coasters for their beverages to protect the table from any potential damage.
Additionally, if you are hosting a large gathering or a dinner party, consider using coasters specifically designed for wine bottles or pitchers. These coasters can catch any drips or spills that may occur when pouring drinks, preventing them from reaching the table surface.
Remember to clean the coasters regularly to prevent any buildup of moisture or residue. Depending on the material, you can either wash them with warm soapy water or simply wipe them down with a damp cloth.
By using coasters for your drinks, you can effectively protect your dining table from water rings, heat marks, and potential scratches caused by beverages. It’s a small investment that can make a significant difference in maintaining the beauty and functionality of your dining table.
Step 4: Avoid Direct Heat and Sunlight
Exposure to direct heat and sunlight can be detrimental to the condition of your dining table. These elements can cause fading, warping, and even damage to the finish or surface of the table. To protect your table, it’s important to avoid placing it in areas where it is exposed to excessive heat or direct sunlight.
Heat can cause the wood to expand and contract, leading to warping and cracking over time. Avoid placing hot dishes, pots, or pans directly on the table surface without using a protective trivet or heat-resistant pad underneath. The trapped heat can penetrate the finish and leave marks or discoloration on the table.
Sunlight, especially direct sunlight, can fade or bleach the color of your dining table over time. Prolonged exposure to UV rays can cause the wood to dry out and become more prone to cracking. If possible, position your table away from windows or use window treatments such as curtains or blinds to filter and reduce the amount of sunlight that reaches the table.
If you have no choice but to place your table in an area where it is exposed to direct sunlight, consider using table covers or table pads to provide an additional layer of protection. These covers can help block out the harmful UV rays and minimize the risk of fading or discoloration.
Regularly rotate or rearrange the furniture in your dining room to ensure even sun exposure across the entire table surface. This can help prevent uneven fading or discoloration caused by prolonged exposure to sunlight.
By avoiding direct heat and excessive sunlight, you can preserve the integrity and appearance of your dining table. Taking proactive measures to protect your table from these elements will ensure its longevity and maintain its visual appeal for years to come.
Read more: How To Design Your Dining Room
Step 5: Use Trivets for Hot Dishes
When serving hot dishes, it’s crucial to protect your dining table from the potential damage caused by heat. Placing hot pots, pans, or plates directly on the table surface can lead to heat marks, discoloration, and even permanent damage. To prevent this, always use trivets or heat-resistant pads.
Trivets are heat-resistant mats or stands that provide a stable and insulated surface to place hot dishes on. They are typically made from materials such as silicone, cork, or metal. The purpose of a trivet is to create a barrier between the hot dish and the table surface, preventing direct contact and heat transfer.
When using trivets, ensure that they are large enough to accommodate the size of the dish or pot. This will help distribute the weight and prevent any imbalance that could cause spills or accidents. Place the trivet in the center of the dining table or at the individual place settings to make it easily accessible for everyone.
If you don’t have trivets readily available, you can use heat-resistant pads or even thick kitchen towels folded in multiple layers. These makeshift trivets can provide temporary protection for your table until you can acquire proper trivets for future use.
Remember to clean the trivets or heat-resistant pads regularly to remove any food debris or stains. Follow the manufacturer’s instructions for cleaning and care to ensure their longevity.
Using trivets or heat-resistant pads not only protects your dining table from heat damage but also helps to maintain a safe dining environment. By implementing this simple step, you can enjoy your hot meals worry-free and keep your table looking its best.
Use coasters and placemats to protect your dining table from heat, moisture, and scratches. This will help maintain the table’s finish and prevent any damage.
Step 6: Regularly Dust and Polish the Table
To keep your dining table looking clean and beautiful, it’s essential to establish a regular dusting and polishing routine. Dust and debris can accumulate on the surface of the table, dulling its shine and potentially scratching the finish. By regularly dusting and polishing, you can maintain the table’s appearance and prolong its lifespan.
Start by using a soft, lint-free cloth or a feather duster to gently remove any loose dust or dirt from the table surface. Avoid using abrasive materials or harsh chemicals that can damage the finish. Ensure that the cloth is clean to prevent any particles from scratching the table.
Once the dust is removed, it’s time to give your table a gentle polish. Use a high-quality furniture polish or a specialized wood cleaner to restore the luster and shine of the table. Apply a small amount of polish onto a soft cloth and gently rub it onto the table surface in a circular motion. Follow the manufacturer’s instructions for the specific polish or cleaner you are using.
Avoid spraying the polish directly onto the table surface to prevent any excess liquid from seeping into the wood or leaving streaks. Always apply the polish onto the cloth and then gently buff the table. Pay close attention to any areas that may have lost their shine or show signs of wear.
It’s important to note that different types of dining tables may require specific care instructions. Solid wood tables may benefit from occasional waxing to protect and enhance the natural wood grain. However, it’s crucial to check the manufacturer’s guidelines or consult a professional to ensure you are using the correct polish or wax for your table’s specific finish.
Regularly dusting and polishing your dining table not only helps to maintain its appearance and shine but also ensures the removal of any potential substances that could cause long-term damage. Implementing this step into your cleaning routine will help keep your table looking its best and contribute to its overall longevity.
Step 7: Keep Sharp Objects Away
When it comes to protecting your dining table, it’s crucial to keep sharp objects at a safe distance. Knives, scissors, and other sharp utensils can easily scratch or gouge the surface of the table, causing permanent damage.
When setting the table or clearing dishes, be mindful of where you place sharp objects. Avoid placing knives directly on the table surface. Instead, use designated knife blocks or sheaths to store them safely. If you need to temporarily set a knife down, place it on a cutting board or a separate plate to prevent direct contact with the table.
When serving food, use appropriate serving utensils that won’t scratch the table. Avoid using metal utensils with sharp edges or prongs that can dig into the surface. Opt for wooden or silicone utensils that are gentle on the table while still serving their purpose.
If you accidentally find a scratch on your dining table, don’t panic. There are several methods for repairing minor scratches, such as using wood filler or touch-up markers specifically designed for furniture. However, prevention is key, so it’s best to be proactive in keeping sharp objects away from the table.
Additionally, it’s important to educate and remind your household members and guests about the importance of handling sharp objects with care. Encourage proper knife handling and storage habits to minimize the risk of accidental damage to the table.
By being mindful of sharp objects and taking proactive measures to keep them at a safe distance, you can protect your dining table from unsightly scratches and maintain its pristine appearance.
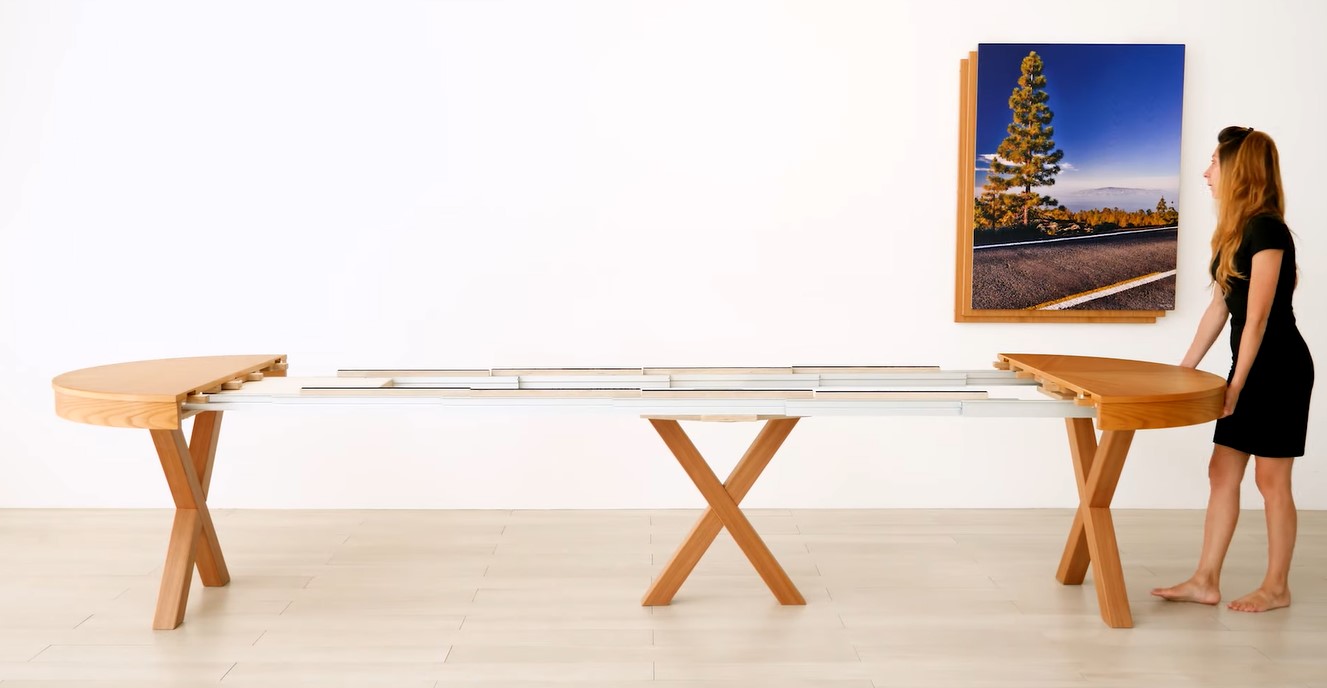
Step 8: Store Away Table Extensions
Many dining tables come with the flexibility of adding extensions to accommodate larger gatherings or special occasions. While these table extensions provide valuable space, it’s important to store them away properly when not in use to protect both the extensions and the table itself.
When it’s time to remove the table extensions, ensure that you have a safe and designated storage space for them. Ideally, store them in a clean and dry area where they are protected from dust, moisture, and any potential damage. Consider using a storage bag or cover specifically designed for table extensions to provide an extra layer of protection.
Before storing the extensions, make sure they are clean and dry. Wipe them down with a soft, lint-free cloth to remove any crumbs or spills. If necessary, use a gentle cleaning solution recommended by the manufacturer to ensure they are thoroughly clean before storage.
When inserting or removing table extensions, follow the instructions provided by the manufacturer to prevent any mishaps or potential damage to both the table and the extensions. Take care to align the extensions properly and avoid any unnecessary force or pressure that could cause bending or warping.
Regularly inspect the table extensions for any signs of damage or wear. Check for loose joints or any cracks that may require repair or replacement. Addressing any issues promptly will help maintain the integrity and functionality of both the extensions and the dining table.
By storing the table extensions properly and ensuring their cleanliness and maintenance, you can safeguard them from potential damage and prolong their lifespan. This step not only protects the extensions themselves but also ensures that your dining table remains in optimal condition.
Read more: How To Decorate Your Dining Room
Step 9: Avoid Using Harsh Chemicals
When it comes to cleaning and maintaining your dining table, it’s important to be mindful of the products you use. Harsh chemicals can be damaging to the finish, surface, and overall appearance of the table. To protect your table, it’s best to avoid using harsh chemicals and opt for gentle, non-abrasive cleaning methods.
Avoid using cleaners that contain bleach, ammonia, or other strong chemicals that can strip away the table’s protective coating or cause discoloration. These chemicals can be particularly harmful to wooden tables, as they can dry out the wood and lead to cracking or fading.
Instead, choose mild and natural cleaning solutions for your table. Diluted dish soap or a mixture of vinegar and water can be effective in removing dirt, grime, and fingerprints without causing any damage. Simply combine a few drops of dish soap or vinegar with warm water in a spray bottle, and gently wipe the table surface with a soft cloth.
If you have a specific type of dining table, such as marble or glass, consult the manufacturer’s guidelines for suitable cleaning methods. Each material may require specific care and cleaning techniques to maintain its quality and appearance.
In addition to avoiding harsh chemicals, it’s important to use gentle cleaning tools as well. Opt for soft cloths, microfiber towels, or non-abrasive sponges to prevent scratching or damaging the table’s surface. Steer clear of abrasive scrub brushes or scouring pads that can leave permanent marks.
Regularly dusting and wiping down your dining table with gentle cleaning solutions will help keep it clean without compromising its integrity. By avoiding the use of harsh chemicals, you can protect the finish, color, and overall quality of your table for years to come.
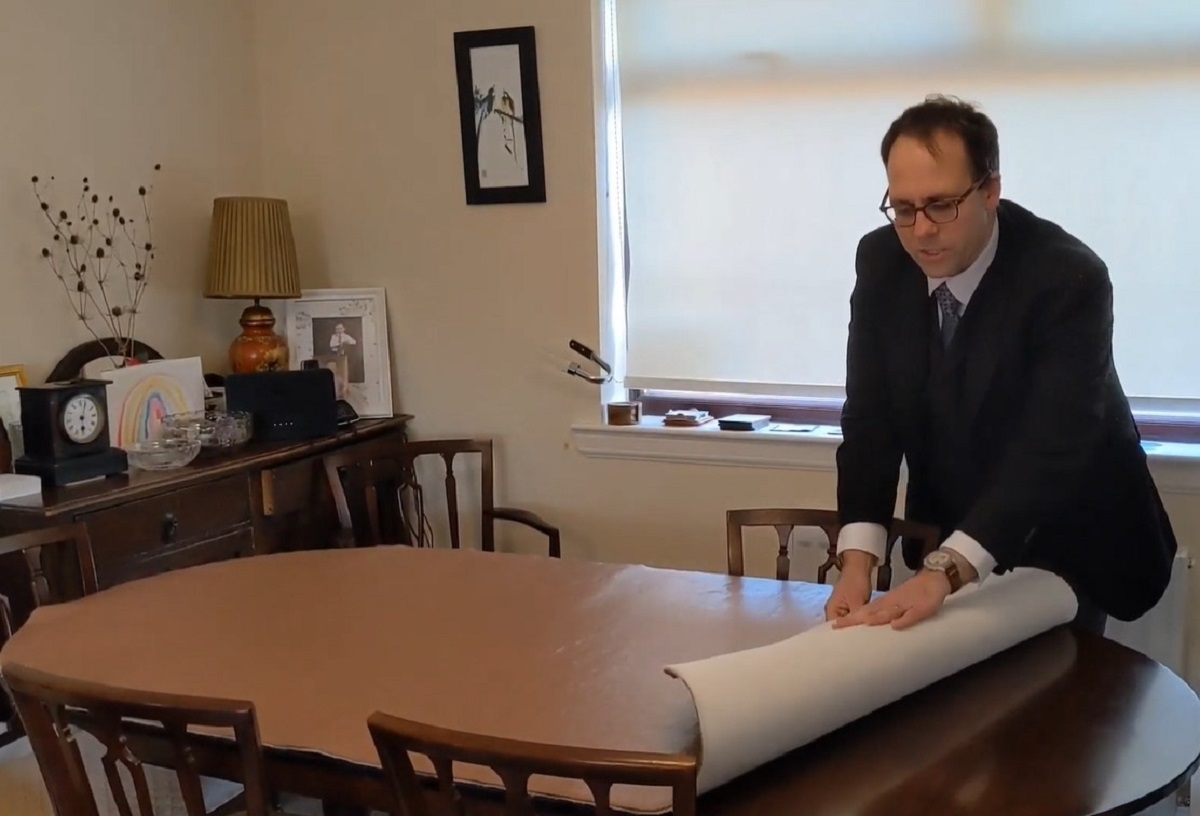
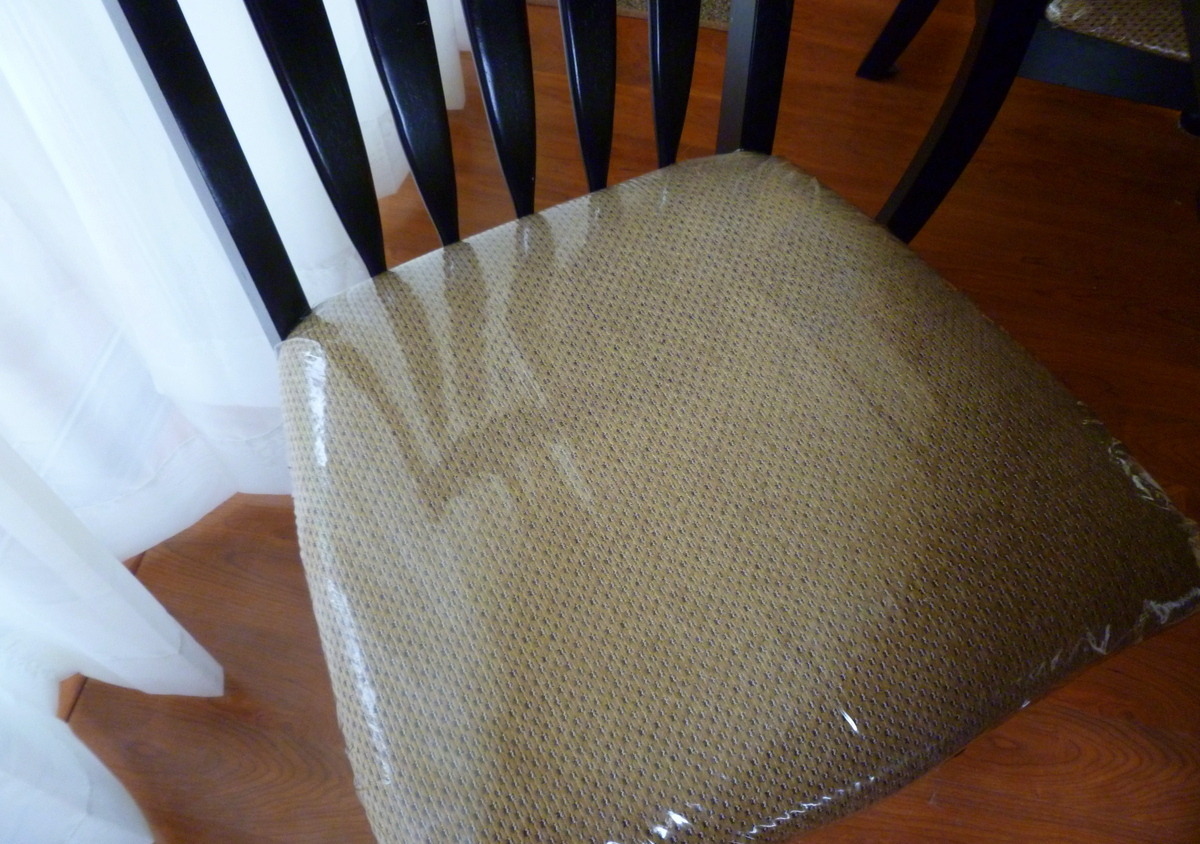
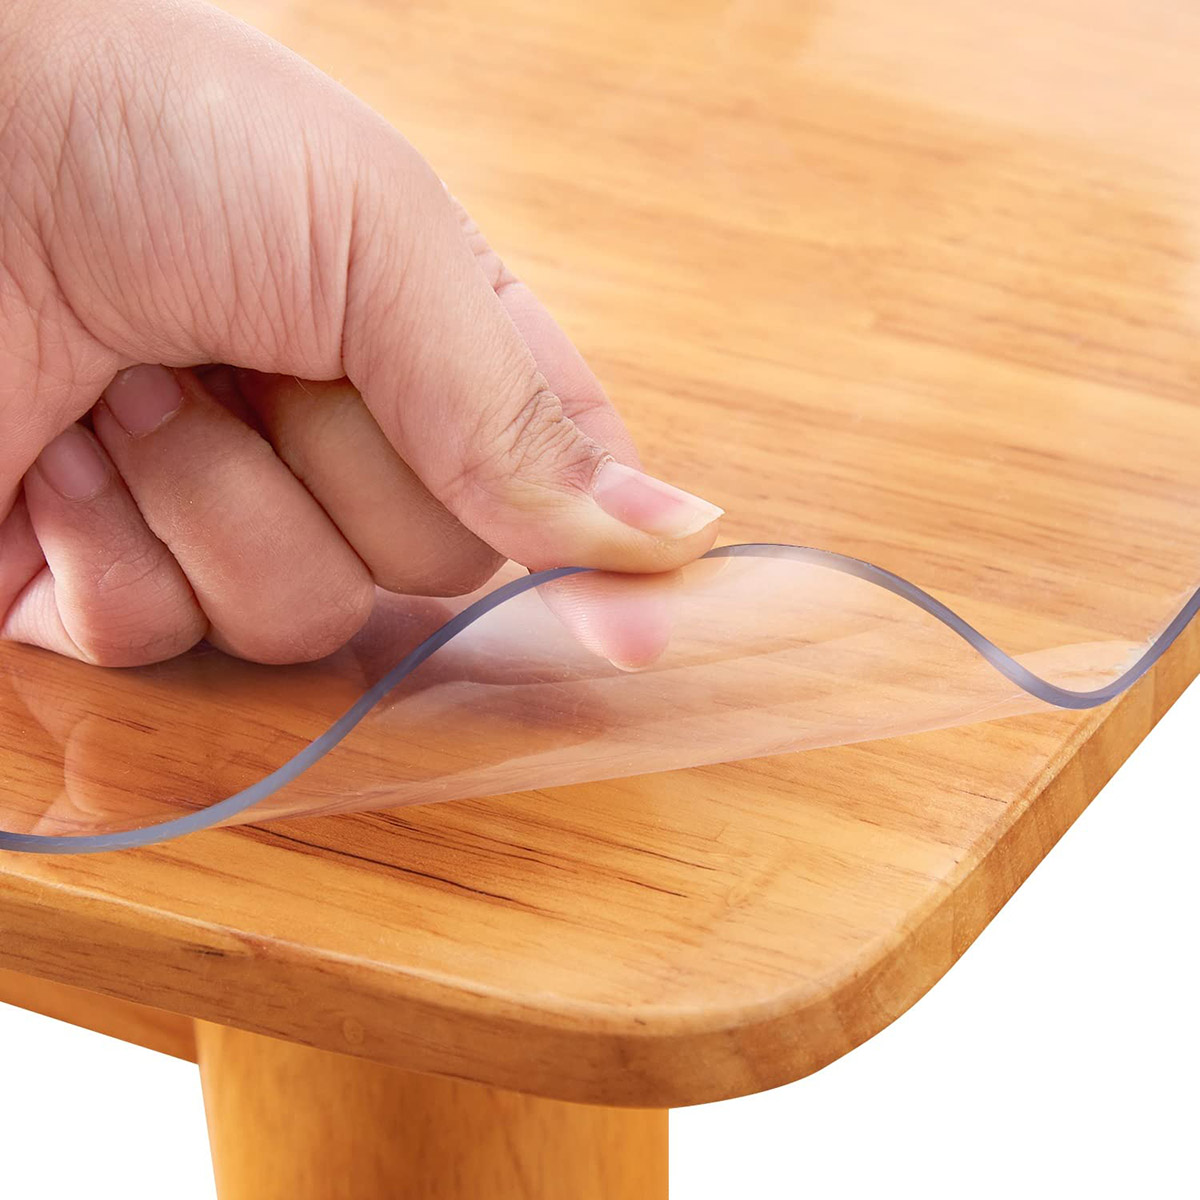
Step 10: Consider Using Table Pads or Covers
For an extra layer of protection for your dining table, consider using table pads or covers. These can provide an additional barrier against spills, scratches, heat, and other potential damage, helping to preserve the look and longevity of your table.
Table pads are custom-made, cushioned pads that fit the exact dimensions of your dining table. They are typically made from materials such as vinyl or felt and can be easily placed on top of the table when needed. Table pads offer protection against spills, heat, and scratches, making them an excellent investment for those who frequently entertain, have young children, or simply want to safeguard their table.
Table covers, on the other hand, are larger fabric or vinyl covers that drape over the entire table. They can protect not only the surface of the table but also the edges and legs. Table covers come in a variety of designs, colors, and materials, allowing you to choose one that complements your dining room decor.
Both table pads and covers can be easily cleaned and maintained. Simply wipe them down with a damp cloth after use or follow the manufacturer’s instructions for cleaning. Regularly inspect and clean the pads or covers for any spills or stains to prevent them from seeping into the table’s surface.
Using table pads or covers is particularly beneficial on special occasions or when hosting large gatherings. They provide peace of mind, knowing that your table is protected from accidental spills or any potential damage caused by hot dishes or sharp objects.
However, it’s important to note that while table pads and covers offer excellent protection, they may alter the aesthetic appeal of your dining table. Some people prefer the natural beauty of the table to be showcased, while others prioritize functionality and protection. Consider your personal preferences and balance them with the level of protection you desire.
By considering the use of table pads or covers, you can add an extra layer of protection and ensure that your dining table remains in pristine condition, even under heavy use or during special events.
Conclusion
Your dining table is an important piece of furniture that deserves proper care and protection. By following the steps outlined in this guide, you can ensure that your table remains in excellent condition for years to come.
Using placemats or tablecloths can prevent scratches, stains, and heat damage, while also adding a touch of style to your dining experience. Cleaning up spills immediately and using coasters for drinks can prevent permanent stains and marks on the table’s surface.
Avoiding direct heat and sunlight, as well as using trivets for hot dishes, protects your table from warping, fading, and heat damage. Regular dusting and polishing help maintain its appearance, while keeping sharp objects away prevents scratches and gouges.
Storing away table extensions and avoiding the use of harsh chemicals are essential steps in protecting your table’s integrity. Finally, considering the use of table pads or covers adds an additional layer of defense against spills, scratches, and other potential damage.
By implementing these steps and incorporating them into your regular cleaning and maintenance routine, you can enjoy a beautiful and well-protected dining table for years to come.
Remember that each table may have its specific care requirements, so always refer to the manufacturer’s recommendations for your specific table model and material. With the proper care and attention, your dining table can continue to be a centerpiece of joy, gathering, and cherished memories for years to come.
Frequently Asked Questions about How To Protect Your Dining Table
Was this page helpful?
At Storables.com, we guarantee accurate and reliable information. Our content, validated by Expert Board Contributors, is crafted following stringent Editorial Policies. We're committed to providing you with well-researched, expert-backed insights for all your informational needs.


0 thoughts on “How To Protect Your Dining Table”