Home>Dining>Tableware>How To Extend Your Dining Table For Guests
Tableware
How To Extend Your Dining Table For Guests
Modified: September 1, 2024
Discover how to easily extend your dining table for guests with the right tableware options. Make every dinner party a success with these tips and ideas.
(Many of the links in this article redirect to a specific reviewed product. Your purchase of these products through affiliate links helps to generate commission for Storables.com, at no extra cost. Learn more)
Introduction
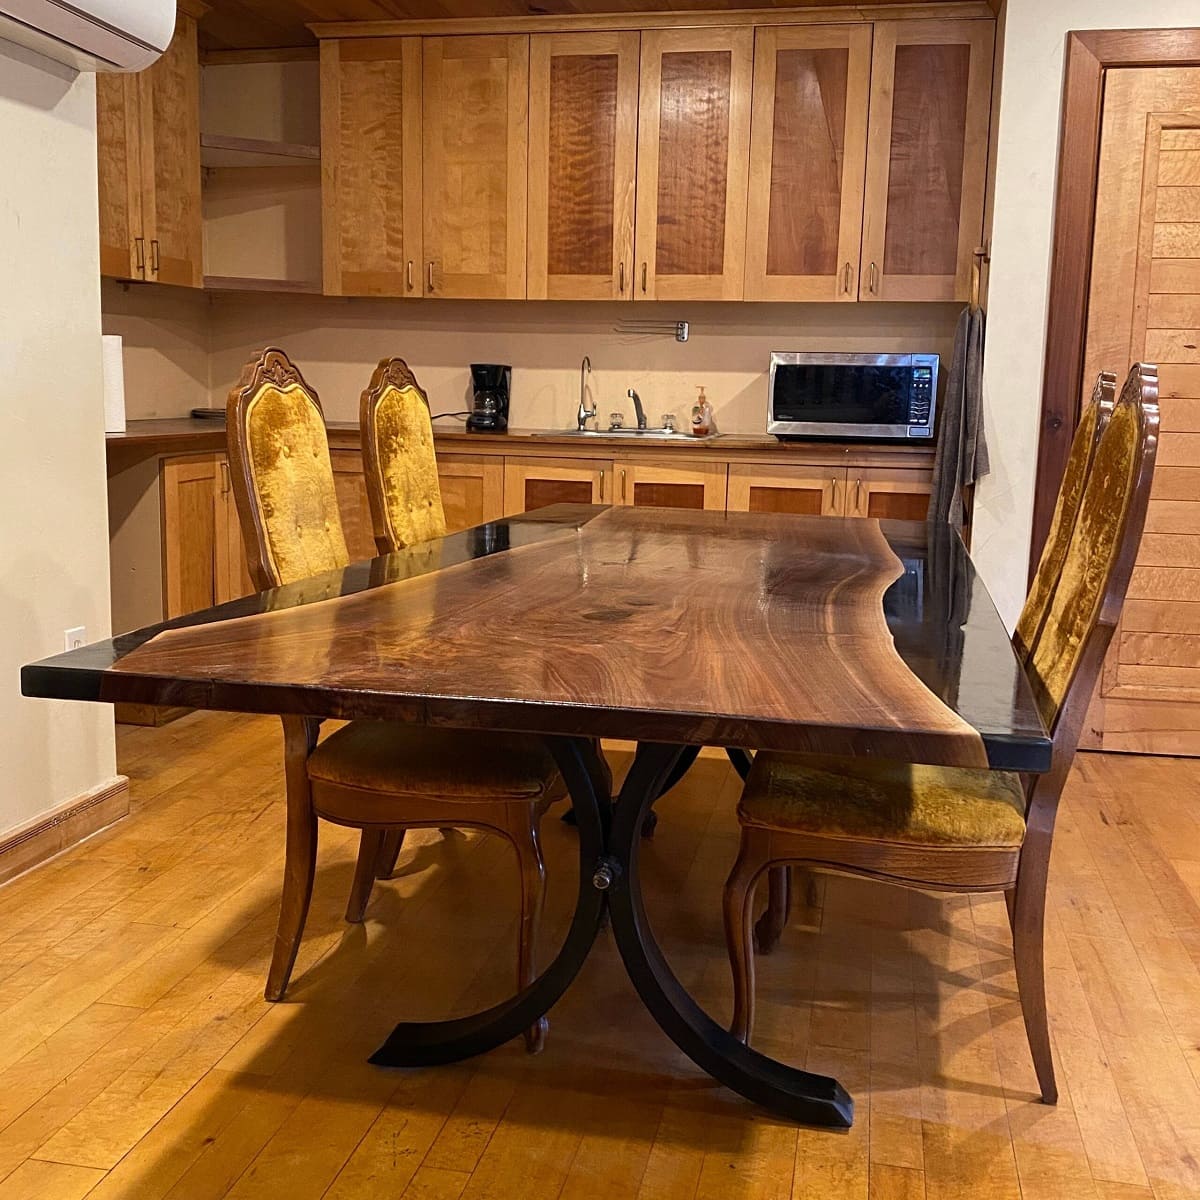
Welcome to our comprehensive guide on how to extend your dining table for guests. Hosting dinner parties or accommodating larger gatherings can sometimes be a challenge when you have a limited seating capacity. However, with the right knowledge and tools, you can easily extend your dining table to create the space you need to entertain your guests comfortably.
Whether you have a small apartment or a spacious dining room, extending your table is a practical solution that allows you to adapt to different occasions. From family gatherings to festive celebrations, having a flexible dining area ensures that everyone can enjoy a meal together.
In this article, we will walk you through a step-by-step process to extend your dining table effectively. This includes assessing your current table, choosing the appropriate extension method, measuring and preparing the extension pieces, attaching them securely, testing for stability, and finally, adding the finishing touches to enhance the overall aesthetics of your extended dining table.
We understand that everyone’s tableware needs are different, so we will provide you with a range of options and techniques to suit various table sizes, shapes, and materials. Whether you have a wooden, glass, or metal table, our guide will cover all the necessary steps to extend your dining table with confidence.
So, if you’re ready to create more space for your guests and elevate your dining experience, let’s dive into the details of how to extend your dining table for any occasion.
Key Takeaways:
- Transform your dining space into a versatile area that comfortably accommodates gatherings of various sizes by following the step-by-step process of extending your dining table. From assessing your table to decorating the extended space, create a functional, stable, and visually appealing dining experience.
- Extending your dining table not only provides practical benefits for accommodating larger gatherings but also adds sophistication and elegance to your dining space. With the right extension method and thoughtful decor, create a warm and inviting atmosphere that enhances any dining occasion.
Read more: How To Extend A Dining Table
Step 1: Assessing the dining table
Before you begin the process of extending your dining table, it is essential to assess its current condition and determine its suitability for extension. This step will help you identify any potential issues and guide you in making the right decisions throughout the process.
Here are a few key factors to consider when assessing your dining table:
- Size and shape: Take measurements of your table’s length and width. This will help you determine how much additional space you need when extending the table. Additionally, note down the shape of your table, whether it’s rectangular, round, oval, or any other unique shape. Different extension methods work better for different table shapes.
- Material: Identify the material of your table. Is it made of wood, glass, metal, or a combination? This information is crucial as it dictates the type of extension options available and the tools or techniques required to extend the table without causing damage.
- Table legs: Examine the structure and stability of the table legs. Look for any signs of weakness or wobbling. If there are any concerns, consider reinforcing or replacing the table legs before proceeding with the extension process.
- Design and style: Evaluate the design and style of your dining table. Pay attention to the details and finishes. It’s important to choose extension options that complement the existing aesthetic of your table to maintain a cohesive look.
By thoroughly assessing your dining table, you will have a clear understanding of its limitations and possibilities when it comes to extending it. This knowledge will guide you in making informed decisions in the subsequent steps of the process.
Once you have assessed your dining table, you can move on to the next step of choosing the right extension method.
Step 2: Choosing the right extension method
After assessing your dining table, the next step is to choose the most suitable extension method. There are various options available, each with its own advantages and considerations. The choice of extension method will depend on factors such as the table’s size, shape, material, and your personal preferences.
Here are some popular extension methods to consider:
- Drop-leaf extensions: Drop-leaf extensions are a great option for small spaces or when you only occasionally need extra seating. These extensions are hinged on one or both ends of the table and can be folded down when not in use. When extended, the drop-leaf extensions provide additional surface area, creating a larger dining space.
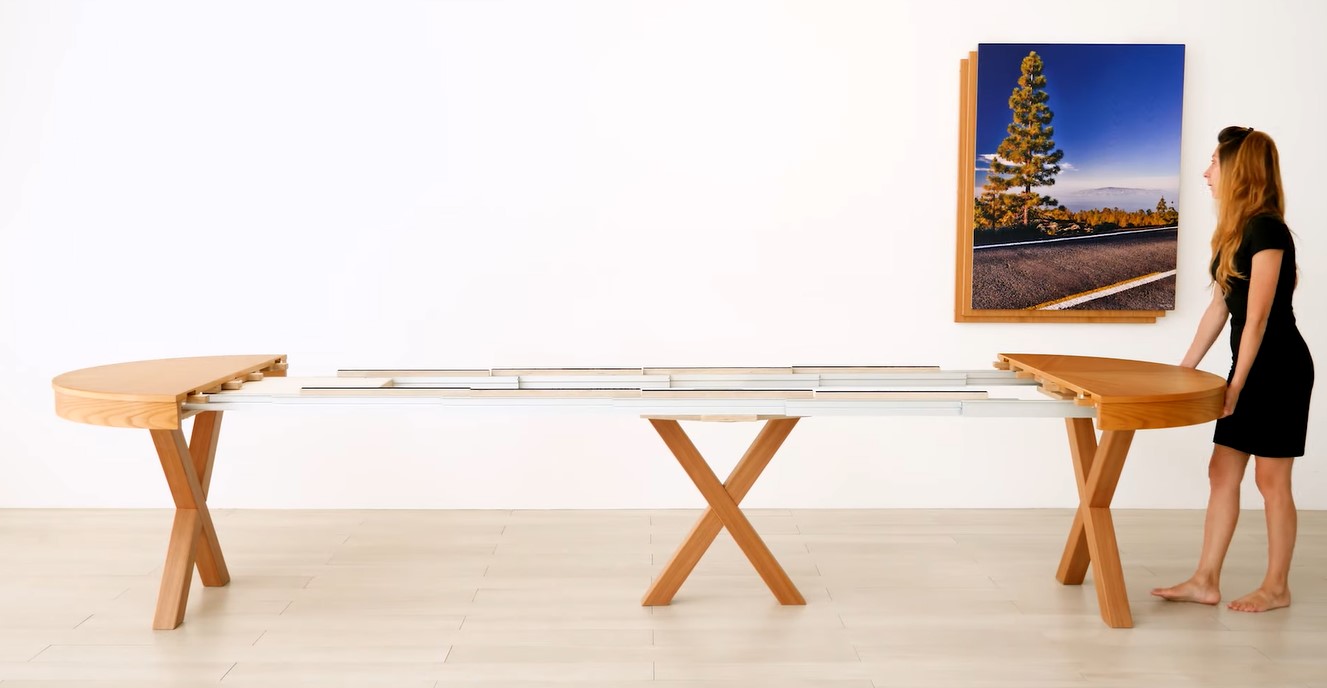
- Butterfly extensions: Butterfly extensions are similar to drop-leaf extensions, but they are hidden under the table’s surface. When needed, the tabletop splits in the middle, and the butterfly extension folds out, making the table larger. This option is ideal if you prefer a seamless surface when the extension is not in use.
- Table inserts: Table inserts, also known as table leaves or extension leaves, are separate pieces that can be added to the table’s center. They are available in various sizes and shapes, allowing you to customize the extension based on your needs. Table inserts are a versatile option and can be used with a wide range of table designs.
- Modular extension systems: Modular extension systems are versatile and offer flexibility in extending your dining table. These systems typically comprise additional table segments that can be added or removed as needed. They are a popular choice for rectangular or square tables and are known for their seamless integration.
- Custom-built extensions: If none of the pre-made extension options suit your dining table, you can opt for custom-built extensions. This involves working with a skilled craftsman who can design and create extensions that match your table’s exact specifications. Custom-built extensions offer maximum flexibility and allow for complete customization.
Consider the pros and cons of each extension method in relation to your dining table’s specific requirements. Take into account factors such as ease of installation, aesthetics, durability, and the overall impact on the table’s functionality.
Remember, when choosing the right extension method, it’s important to ensure compatibility with your table’s design and material. Consult with a furniture expert or manufacturer if you have any doubts or need additional guidance in selecting the most suitable option for your dining table.
Once you have decided on the extension method, you can proceed to the next step of measuring and preparing the extension pieces.
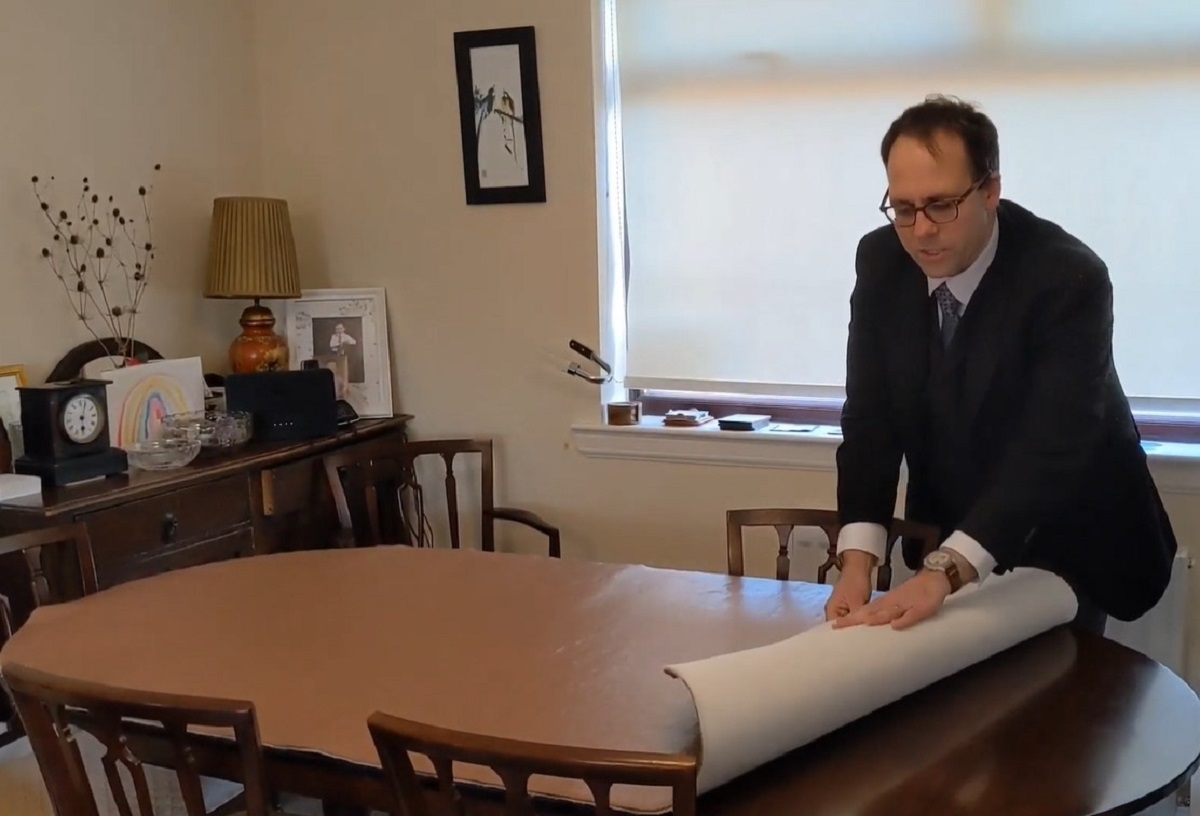
Step 3: Measure and prepare the extension pieces
Once you have chosen the right extension method for your dining table, it’s time to measure and prepare the extension pieces. Proper measurement and preparation ensure a seamless and secure fit, resulting in a stable and functional extended dining table.
Here are the steps to follow:
- Measure the table: Start by measuring the dimensions of your table to determine the size and shape of the extension pieces you will need. Consider the length, width, and height of the table. Take accurate measurements to ensure a precise fit.
- Choose the extension materials: Depending on the extension method you have selected, you may need to choose extension materials that match or complement your dining table. It’s important to select materials that are of similar quality, finish, and thickness to achieve a cohesive look.
- Cut or purchase the extension pieces: Using the measurements you took earlier, cut or purchase the extension pieces according to the specifications. If you’re working with a drop-leaf or butterfly extension, follow the manufacturer’s instructions for cutting the pieces or inquire about pre-made extensions available for purchase.
- Ensure proper alignment: Before proceeding, make sure the extension pieces align properly with the existing table. Check for any gaps or misalignments and make adjustments as necessary. This step is crucial in achieving a seamless and sturdy extended dining surface.
- Sand and finish the extension pieces: If you have chosen to cut your own extension pieces, make sure to sand them down and apply a finish that matches the original table. This will ensure a uniform appearance and protect the extension pieces from damage or wear.
- Test the fit: After preparing the extension pieces, carefully place them on the table in their extended position. Test the fit to ensure that they align properly and provide a secure and stable surface. Make any necessary adjustments or refinements before proceeding to the next step.
Remember to handle the extension pieces with care to avoid any damage, scratches, or dents. If you’re unsure about cutting or preparing the extension pieces yourself, consider seeking the assistance of a professional or consulting with a skilled craftsman to ensure the best results.
With the extension pieces prepared and tested, you are ready to move on to the next step of attaching them securely to the dining table.
Step 4: Attaching the extensions to the dining table
With the extension pieces prepared, it’s time to securely attach them to your dining table. Proper attachment is crucial for ensuring stability and preventing any wobbling or movement during use. The method of attachment will depend on the type of extension chosen and the design of your table.
Here are the steps to follow when attaching the extensions:
- Follow installation instructions: If you are using pre-made extension pieces, carefully read and follow the manufacturer’s installation instructions. These instructions will provide guidance on how to properly attach the extensions to the table. Pay close attention to any specific tools or hardware that may be required for a secure installation.
- Use sturdy brackets or fasteners: For some extension methods, such as table inserts or modular extension systems, you may need to use sturdy brackets or fasteners to secure the extensions to the table. Make sure to choose high-quality hardware that can withstand the weight and pressure exerted on the extended surface.
- Consider reinforcement: If your dining table requires additional reinforcement for the extension pieces, use extra support brackets or braces to ensure stability. Reinforcement is especially important for larger or heavier extension pieces that may put additional stress on the table structure.
- Test the stability: Once the extensions are attached, test the stability of the extended dining table. Apply gentle pressure or weight to different areas of the table to ensure it remains sturdy and secure. If there is any wobbling or movement, recheck the attachment points and make any necessary adjustments.
- Inspect the overall appearance: Take a moment to step back and inspect the overall appearance of the extended dining table. Ensure that the extensions are aligned properly with the original table and that there are no visible gaps or inconsistencies. If needed, make any final adjustments to improve the visual cohesion.
It’s important to note that the attachment process may vary depending on the specific extension method and your table’s design. If you’re unsure about the proper attachment technique, consult the manufacturer’s guidelines or seek the assistance of a professional for guidance.
By securely attaching the extensions, you’ll have a stable and functional extended dining table that can comfortably accommodate your guests. With the extensions in place, it’s time to move on to step 5 and ensure the stability and security of the extended table.
Consider using a table extender or adding a temporary table to accommodate extra guests. You can also use foldable tables or countertop extensions for additional seating.
Read more: How To Extend A Dining Room Table
Step 5: Ensuring stability and security
Once the extensions are securely attached, it’s important to ensure the stability and security of your extended dining table. This step is crucial for the safety of your guests and the longevity of your table. By taking the necessary precautions, you can enjoy your meals with confidence, knowing that your extended table is sturdy and reliable.
Here are some steps to follow to ensure stability and security:
- Check the table level: Use a level to ensure that your extended dining table is properly leveled. Adjust the table legs if necessary to eliminate any tilting or wobbling. A stable and level surface is essential for a comfortable dining experience.
- Inspect the attachment points: Examine the attachment points of the extensions to ensure they are securely fastened to the table. Tighten any loose screws or bolts and ensure that the brackets or fasteners are firmly in place. This will prevent the extensions from becoming loose or detached during use.
- Test the weight capacity: Depending on the design and materials of your dining table, there may be limitations to the weight that the extensions can support. Be mindful of the weight capacity and avoid overloading the extended table to maintain its stability and structural integrity.
- Consider additional support: In some cases, especially with larger or heavier extension pieces, additional support may be necessary to enhance stability. This can include using support beams underneath the extended surface or placing additional legs at strategic points. Consult a furniture expert if you have any concerns or need advice on reinforcing your table.
- Regular maintenance: To ensure the long-term stability and security of your extended dining table, perform regular maintenance. This includes checking for any signs of wear, repairing any damages promptly, and tightening any loose hardware. Regular maintenance will help prevent any potential issues and extend the lifespan of your table.
By following these steps, you can ensure that your extended dining table remains stable, secure, and safe for use. It’s important to periodically inspect and recheck the stability of your table, especially after prolonged use or if you notice any changes in its performance.
With your extended dining table now stable and secure, it’s time to move on to the next step – testing the extended table to ensure its functionality and comfort.
Step 6: Testing the extended dining table
After ensuring the stability and security of your extended dining table, it’s crucial to test its functionality and comfort. To do this, set your table as you would for a meal and evaluate its practicality. Testing the table in this way allows you to make any necessary adjustments and ensure that it meets your expectations in terms of usability and convenience.
Here are some steps to follow when testing the extended dining table:
- Seat placement: Take into consideration the number of guests you intend to accommodate and arrange the seating accordingly. Make sure there is ample space for each person to sit comfortably and move around the table without any obstructions or overcrowding.
- Sit and assess the comfort: Sit at the extended dining table and assess the comfort level. Pay attention to legroom, elbow clearance, and overall ease of movement. Ensure that there is sufficient space for everyone to feel at ease during meals and conversations.
- Test the durability: Apply gentle pressure and simulate everyday usage to test the durability of the extended table. Gently lean on the table and check for any movement or instability. Test its ability to withstand the weight of plates, utensils, and serving dishes.
- Check for table surface consistency: Run your hand along the edges and joints of the extended table to ensure a smooth and consistent surface. There should be no raised edges or gaps that could cause discomfort or disrupt the dining experience.
- Assess overall functionality: Consider the overall functionality of the extended table, such as ease of extending and retracting, ability to store extension pieces when not in use, and any additional features or adjustments that enhance usability. Ensure that the extended table meets your specific needs and requirements.
During the testing process, pay attention to any feedback from your guests and consider their comfort and satisfaction. This will help you make any necessary adjustments or improvements to further enhance the functionality and usability of your extended dining table.
If you encounter any issues during the testing phase, such as instability or discomfort, don’t hesitate to revisit the previous steps and make the necessary adjustments. It’s important to address any concerns before hosting your next gathering to ensure a pleasant dining experience for everyone.
Once you are satisfied with the functionality and comfort of your extended dining table, it’s time to move on to the final step – decorating the extended table to create an inviting atmosphere.
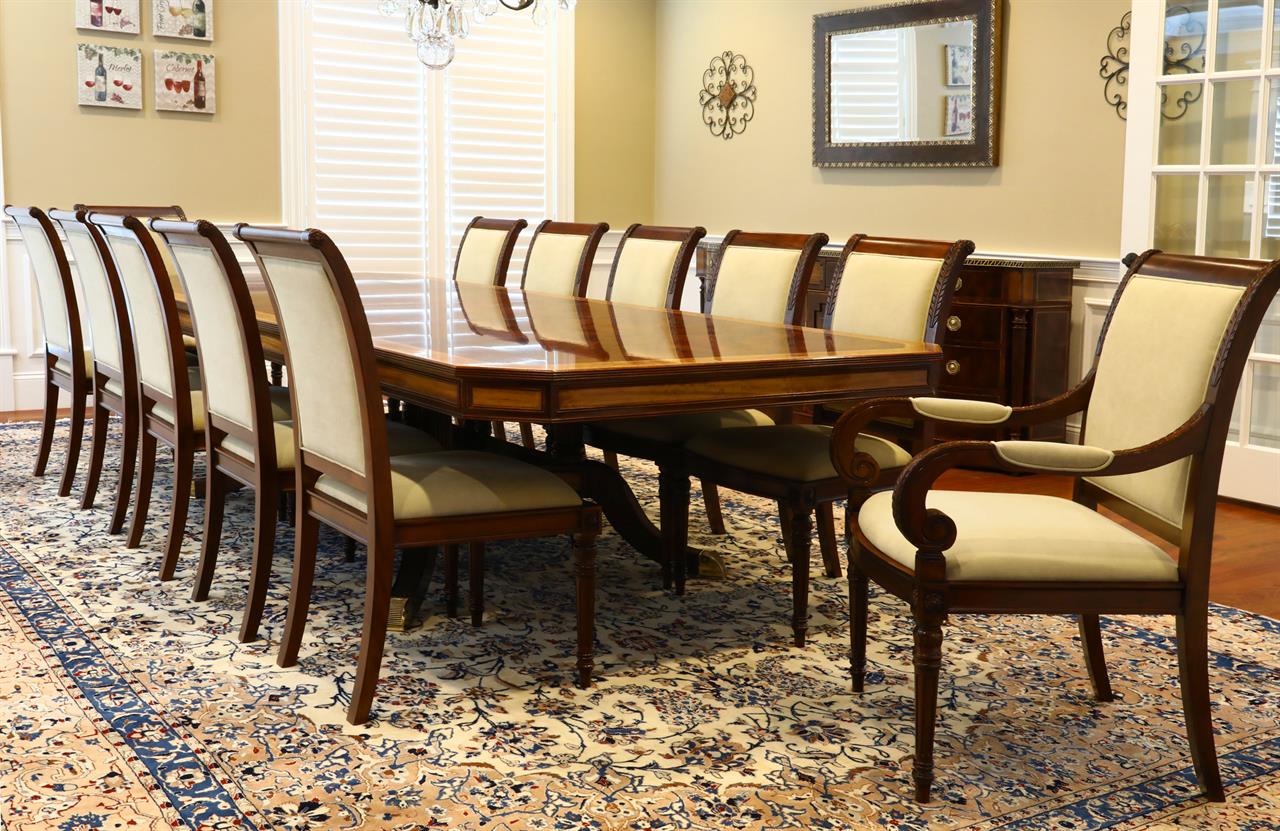
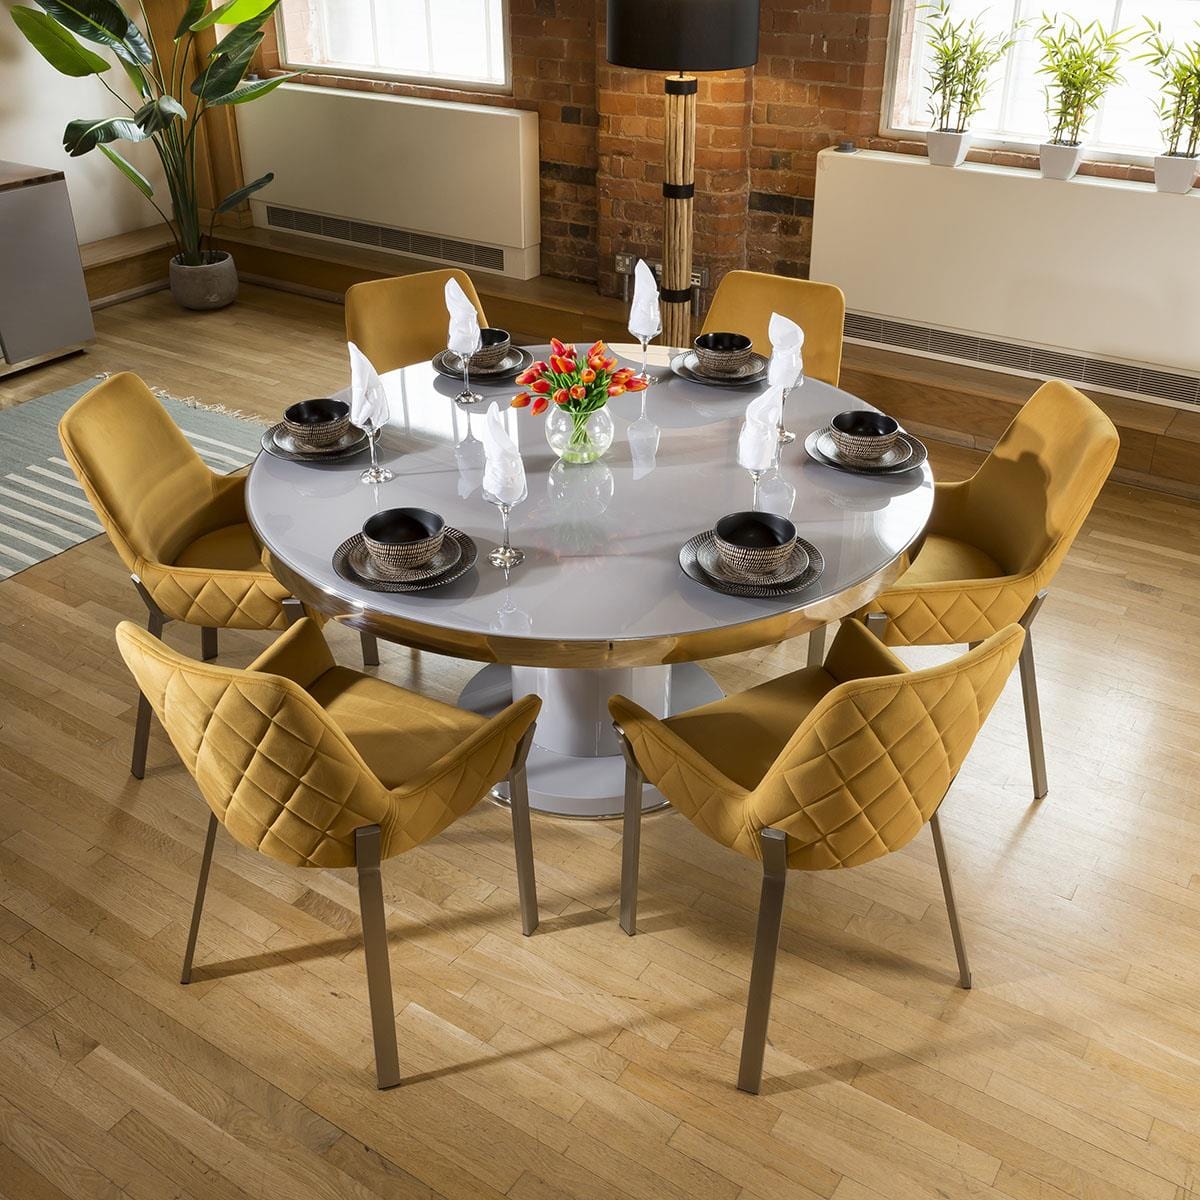
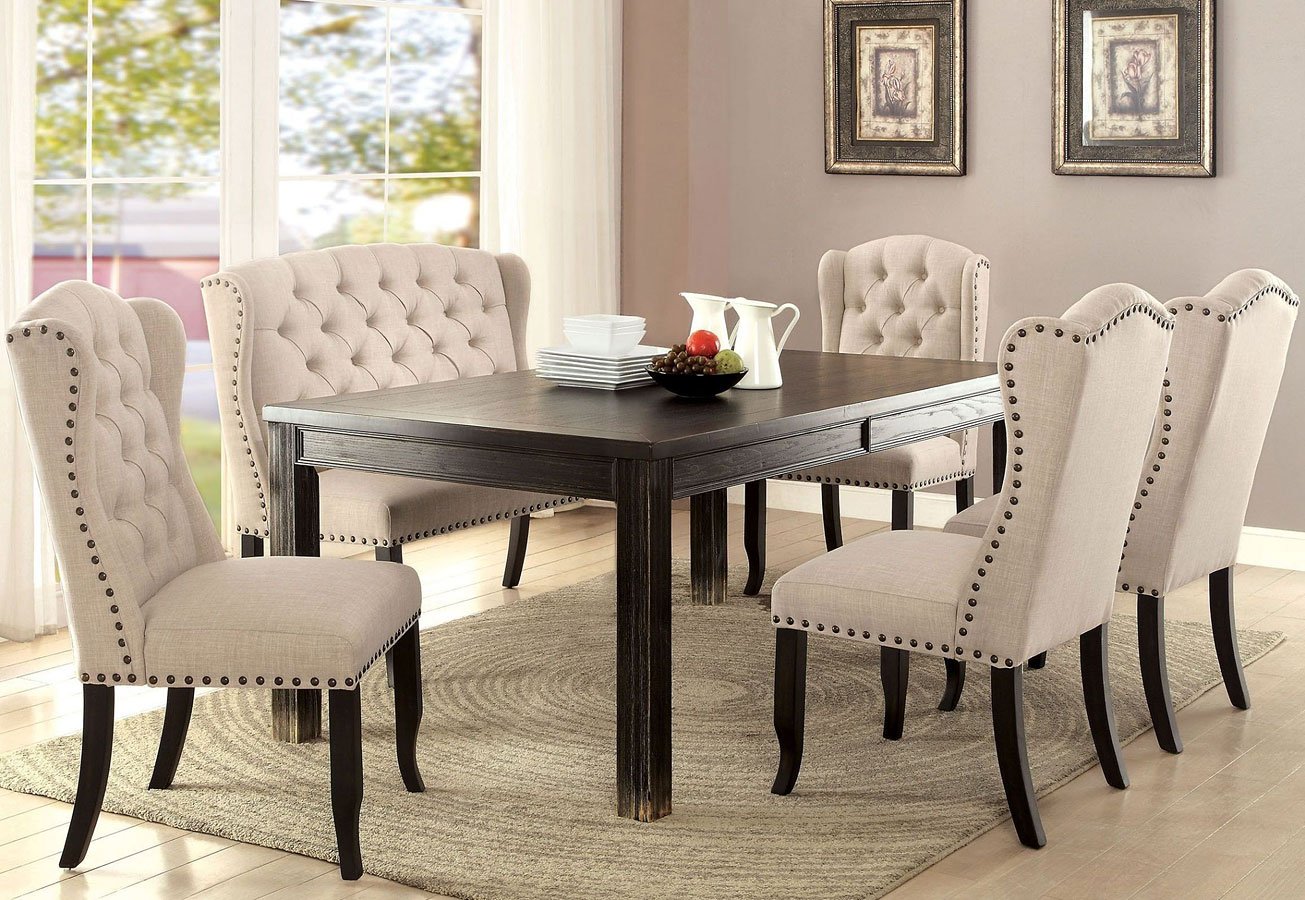
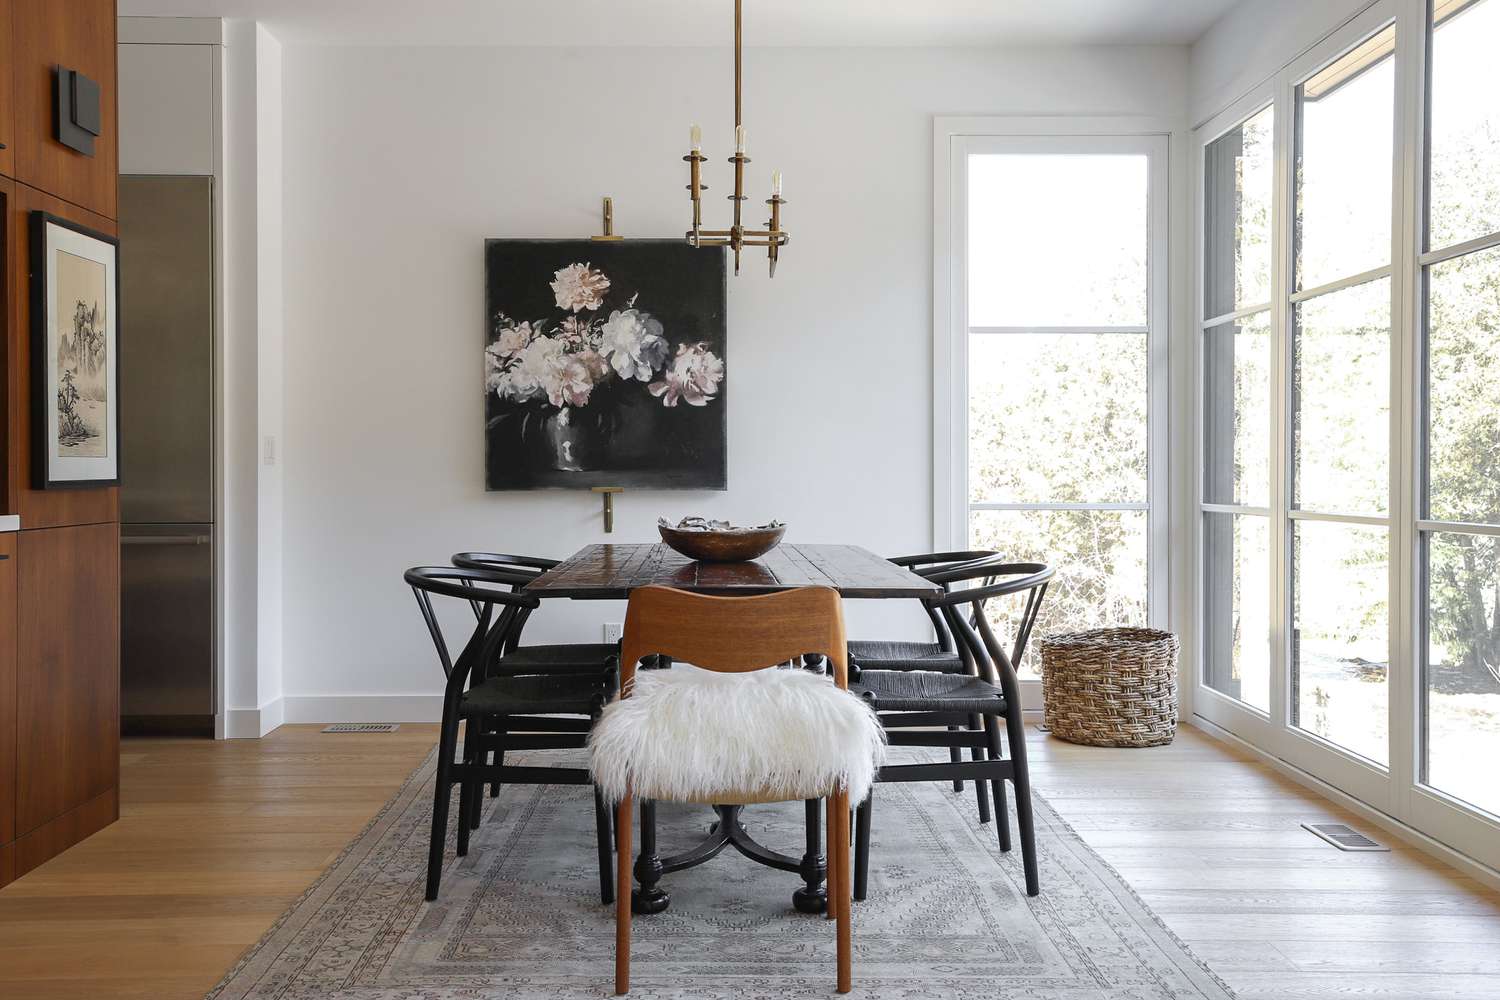
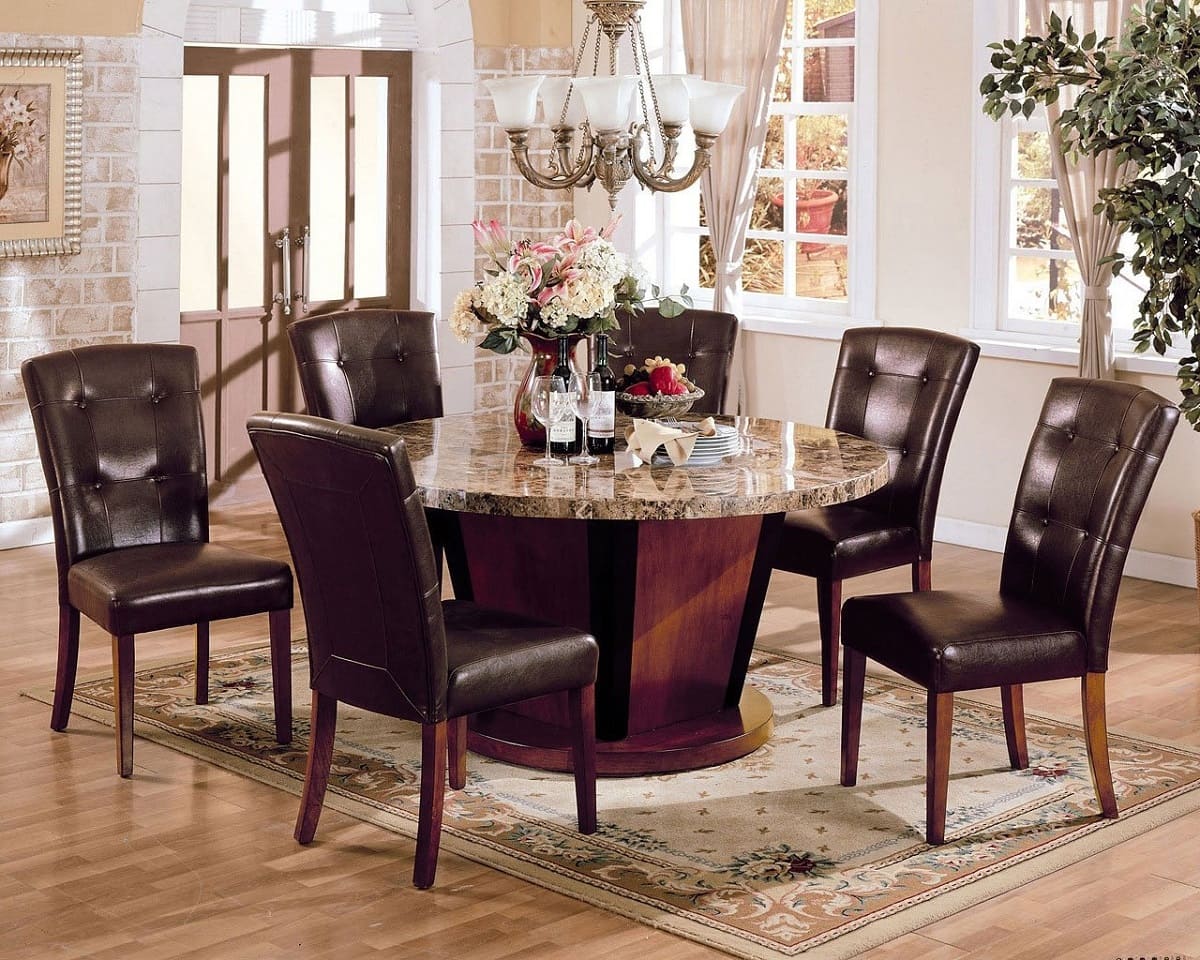
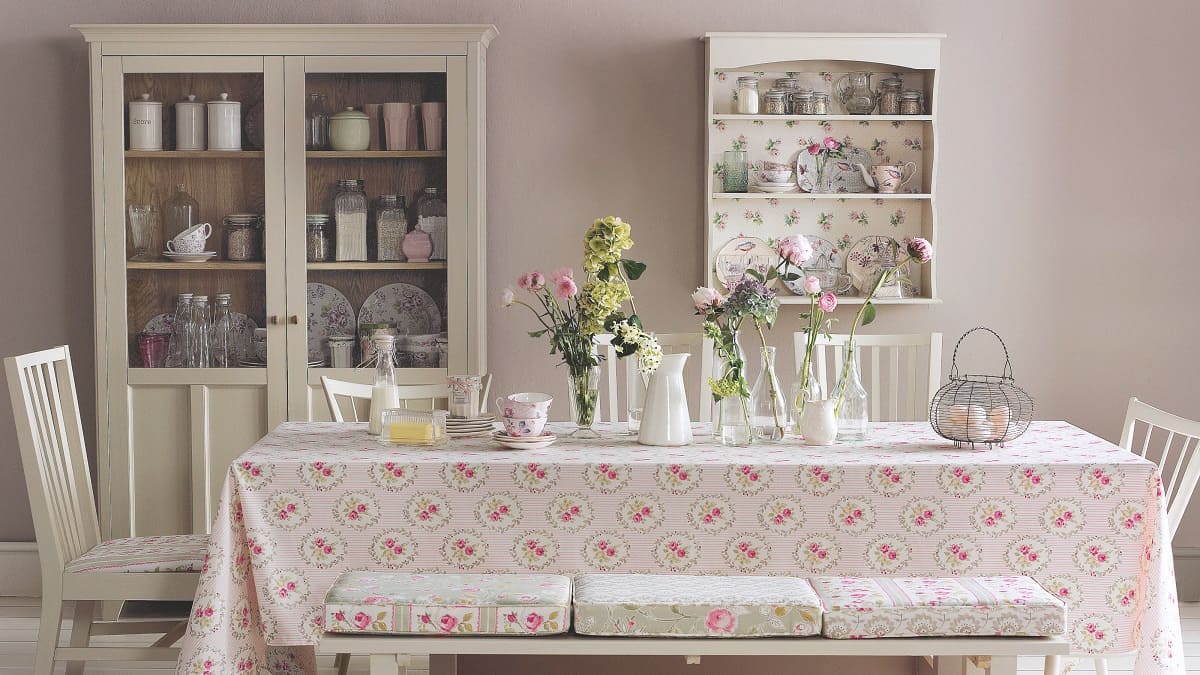
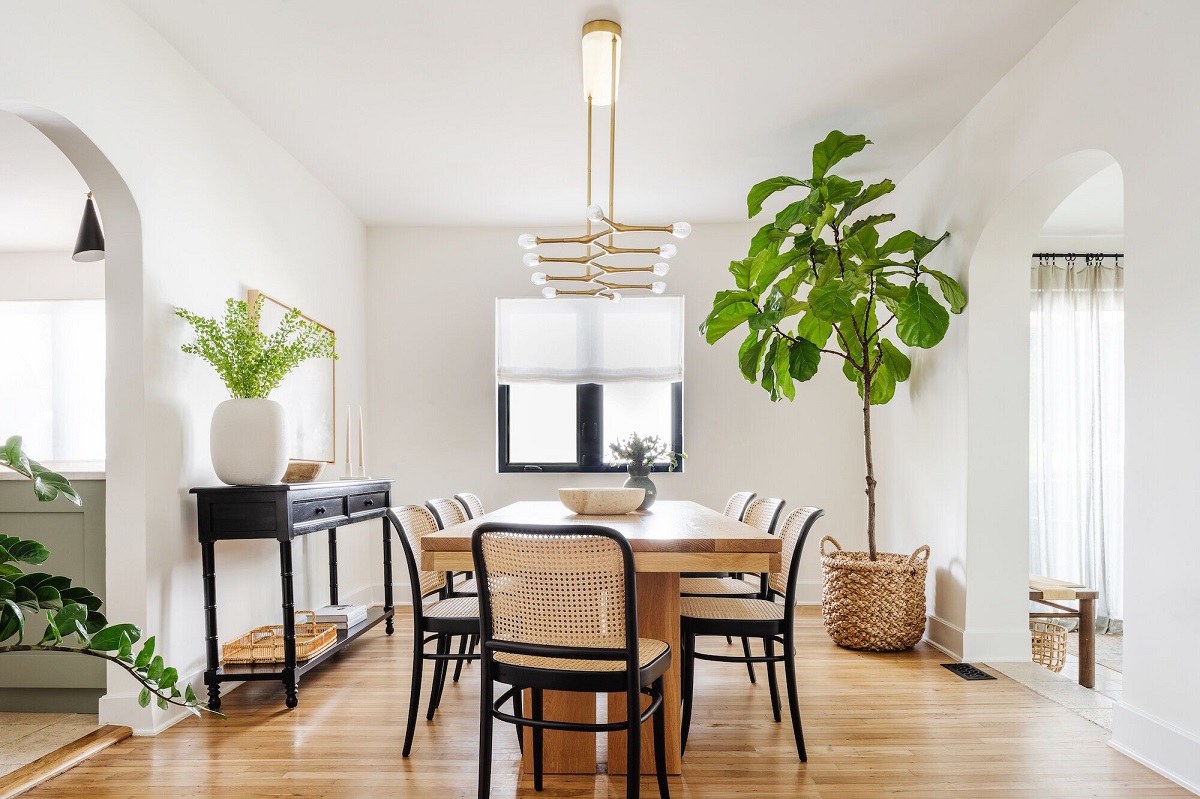
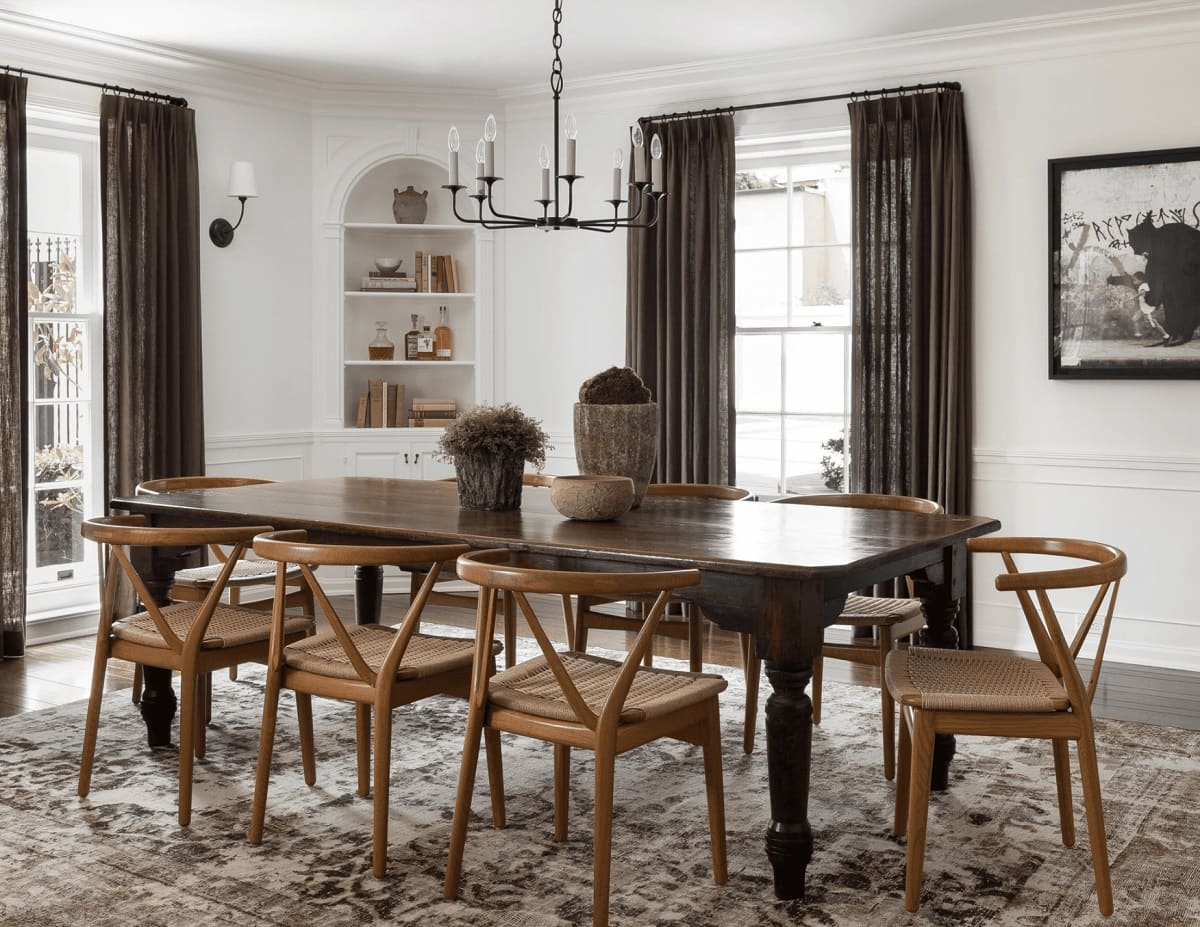
Step 7: Decorating the extended dining table
Now that your extended dining table is stable, secure, and functional, it’s time to add the finishing touches to create an inviting and aesthetically pleasing atmosphere. Decorating your extended table not only enhances the overall ambiance but also adds a personal touch to your dining space.
Here are some ideas and tips for decorating your extended dining table:
- Tablecloth or table runner: Start by selecting a beautiful tablecloth or table runner that complements your dining room decor and the style of your extended table. This not only protects the table surface but also adds a pop of color and texture to the overall look.
- Centerpiece: Create a striking centerpiece that serves as the focal point of your table. Consider using fresh flowers, a decorative bowl filled with fruits, or a collection of candles. Make sure the height and scale of the centerpiece are appropriate for the size of your extended table, allowing for unobstructed sightlines during conversations.
- Place settings: Set the table with stylish and coordinated place settings. Use matching or complementary dinnerware, glassware, and cutlery to create an elegant and cohesive look. Add a personal touch by incorporating napkin rings, place cards, or decorative accents that reflect your personal style.
- Table accents: Add visual interest and variety to your extended dining table by incorporating small table accents. This can include decorative vases, candle holders, or small figurines. Just remember to keep the decor minimal and well-spaced, ensuring there is still enough space for guests to comfortably dine.
- Lighting: Consider the lighting above your extended dining table to create the desired ambiance. Install a pendant light or chandelier that complements the style and size of your table. You can also use candlelight or decorative lamps to add warmth and a cozy glow during evening gatherings.
- Personalize: Showcase your personal style and interests by incorporating meaningful items or family heirlooms into the table decor. This can include photographs, small mementos, or cherished artifacts that spark conversations and add a personal touch to the dining experience.
Remember, the goal of decorating your extended dining table is to create a welcoming and visually appealing space for your guests to enjoy. Experiment with different arrangements, colors, and styles until you achieve the desired look that complements your dining room and reflects your personal taste.
By dedicating time and attention to the decoration of your extended dining table, you can elevate the overall dining experience and make every meal a special occasion.
With the final step completed, you have successfully extended your dining table and transformed it into a functional and inviting space for entertaining your guests. Enjoy hosting memorable gatherings and sharing delicious meals around your extended dining table!
Conclusion
Congratulations! You have successfully learned how to extend your dining table for guests. By following the step-by-step process outlined in this guide, you have transformed your dining space into a versatile area that comfortably accommodates gatherings of various sizes.
Assessing your dining table, choosing the right extension method, measuring and preparing the extension pieces, attaching them securely, ensuring stability and security, testing the extended table, and decorating it have all been important steps in this process. Each step plays a vital role in creating a functional, stable, and visually appealing extended dining table.
Remember to consider the specific characteristics of your dining table, such as the size, shape, material, and design, when making decisions at each step. This will ensure that the extension seamlessly integrates with the original table, creating a cohesive and inviting dining experience.
Not only does extending your dining table provide practical benefits in terms of accommodating larger gatherings, but it also adds a touch of sophistication and elegance to your dining space. With the right extension method and thoughtful decor, you can create a warm and inviting atmosphere that enhances any dining occasion.
Keep in mind that maintaining and periodically inspecting your extended dining table is important for its long-term stability and performance. Regular maintenance ensures that the table remains in excellent condition and can be enjoyed for years to come.
Now that you have the knowledge and skills to extend your dining table, it’s time to put them into action. Prepare to host memorable gatherings and create cherished moments with your loved ones around your extended dining table.
Happy entertaining!
Frequently Asked Questions about How To Extend Your Dining Table For Guests
Was this page helpful?
At Storables.com, we guarantee accurate and reliable information. Our content, validated by Expert Board Contributors, is crafted following stringent Editorial Policies. We're committed to providing you with well-researched, expert-backed insights for all your informational needs.


0 thoughts on “How To Extend Your Dining Table For Guests”