Home>Dining>Tableware>How To Decorate Champagne Flutes For A Wedding
Tableware
How To Decorate Champagne Flutes For A Wedding
Modified: August 18, 2024
Learn how to beautifully decorate champagne flutes for your wedding with our step-by-step guide. Elevate your tableware with personalized touches that will leave a lasting impression.
(Many of the links in this article redirect to a specific reviewed product. Your purchase of these products through affiliate links helps to generate commission for Storables.com, at no extra cost. Learn more)
Introduction
Welcome to the world of wedding tableware, where every detail matters and every element contributes to creating a truly memorable event. One of the most important aspects of tableware for a wedding is the champagne flutes. These elegant and delicate glasses are not only used for toasting, but they also serve as a beautiful centerpiece on the dining tables.
In this article, we will delve into the art of decorating champagne flutes to add a personalized touch to your special day. Whether you are a bride-to-be, a wedding planner, or a creative enthusiast, this guide will provide you with ideas and inspiration to make your champagne flutes stand out and become a unique part of your wedding decor.
But before we jump into the creative process, let’s start with choosing the right champagne flutes.
Key Takeaways:
- Personalize your wedding with unique champagne flute decorations, from engraving to adding ribbons and bows. Infuse your style and theme into every detail for a memorable and visually stunning table setting.
- Elevate your wedding decor with champagne flute decorations that reflect your theme and personality. Whether it’s glitter and sparkle or fresh flowers and greenery, let your creativity shine for an unforgettable celebration.
Read more: How To Place Champagne Flutes At A Wedding
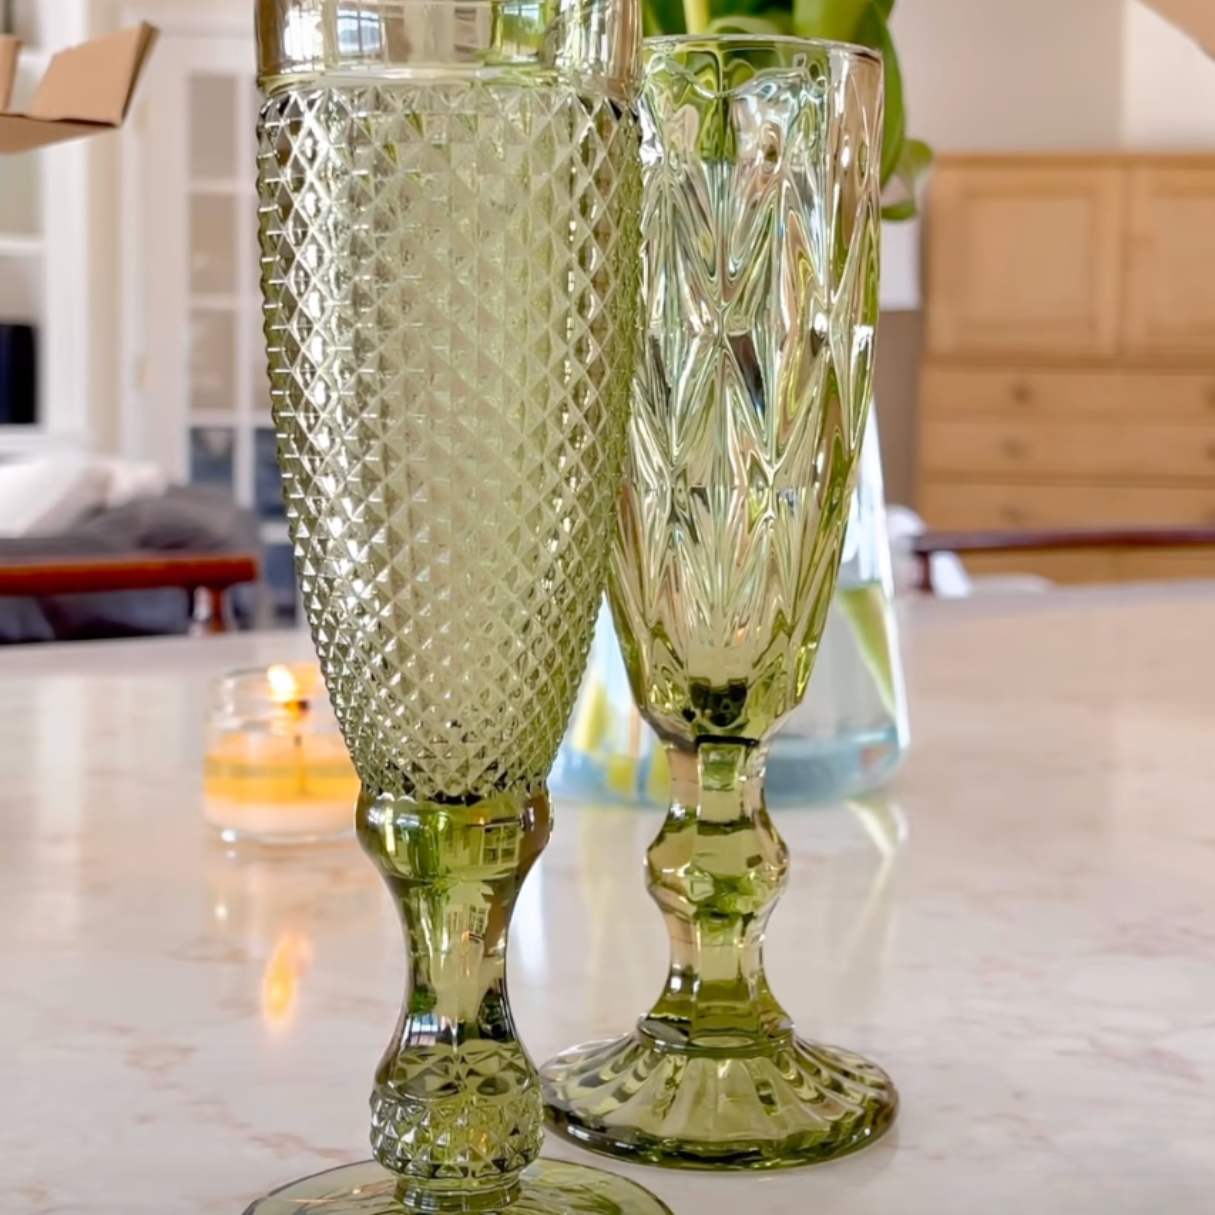
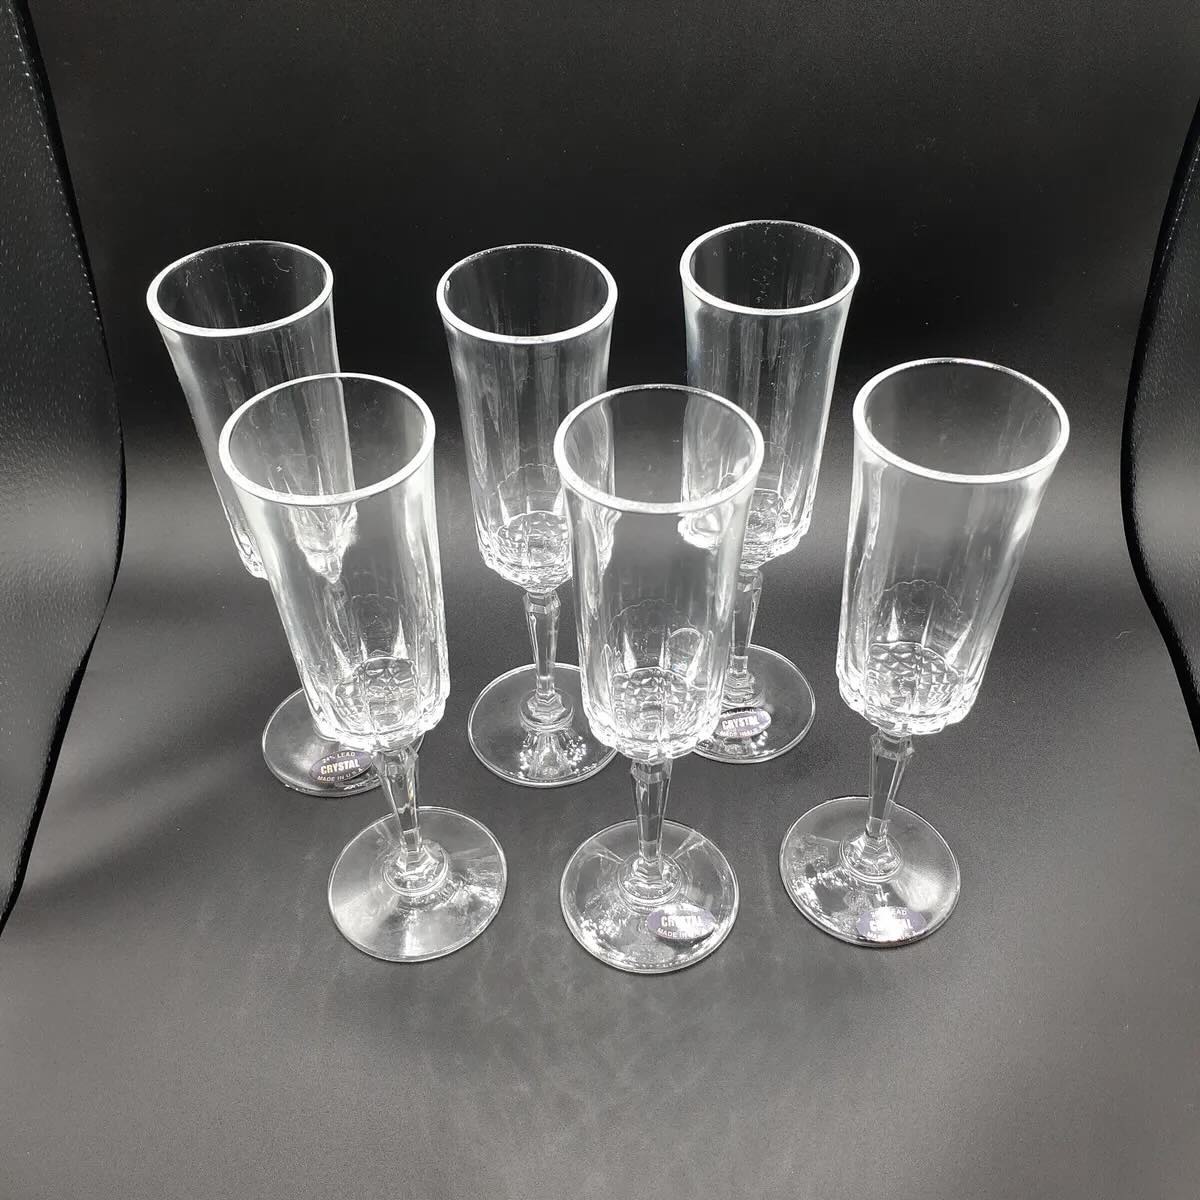
Choosing the Right Champagne Flutes
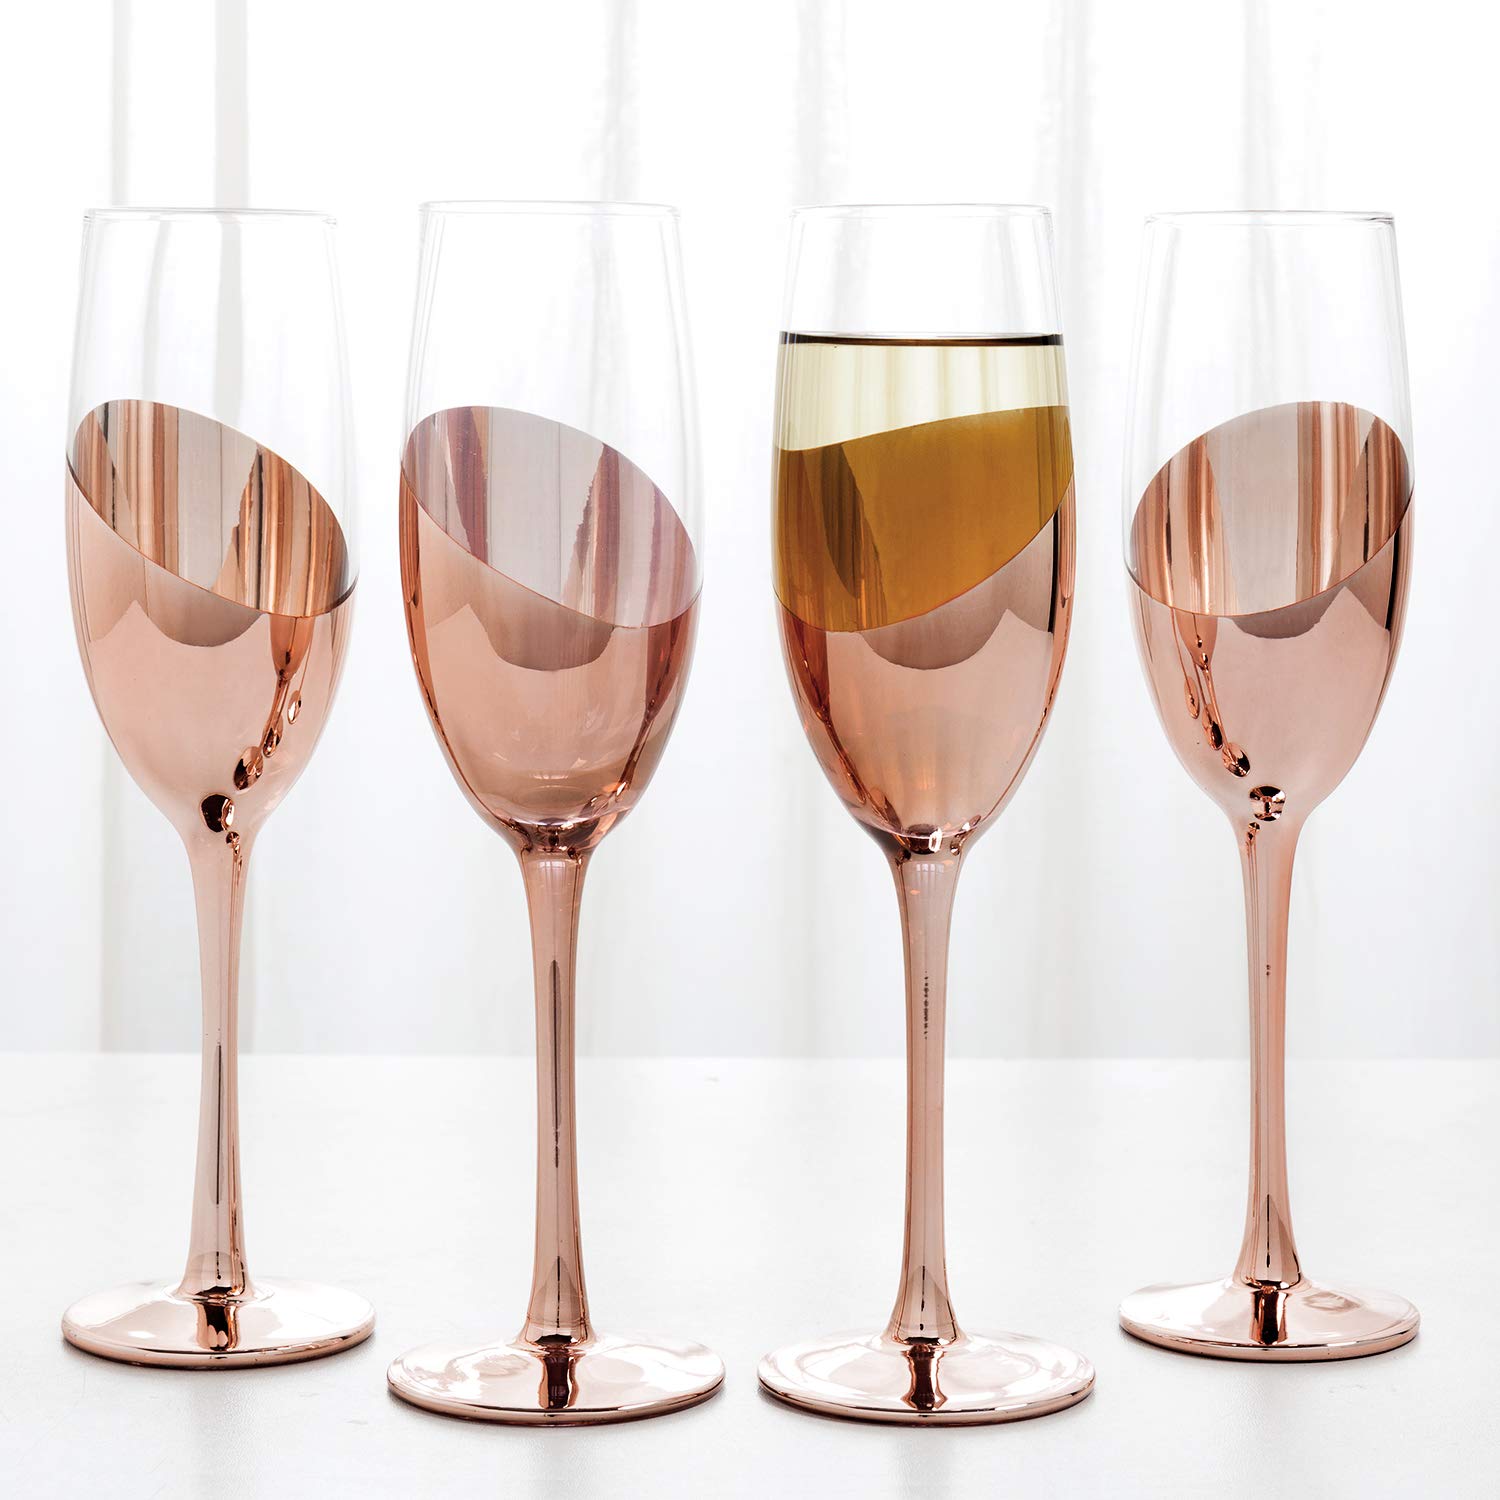
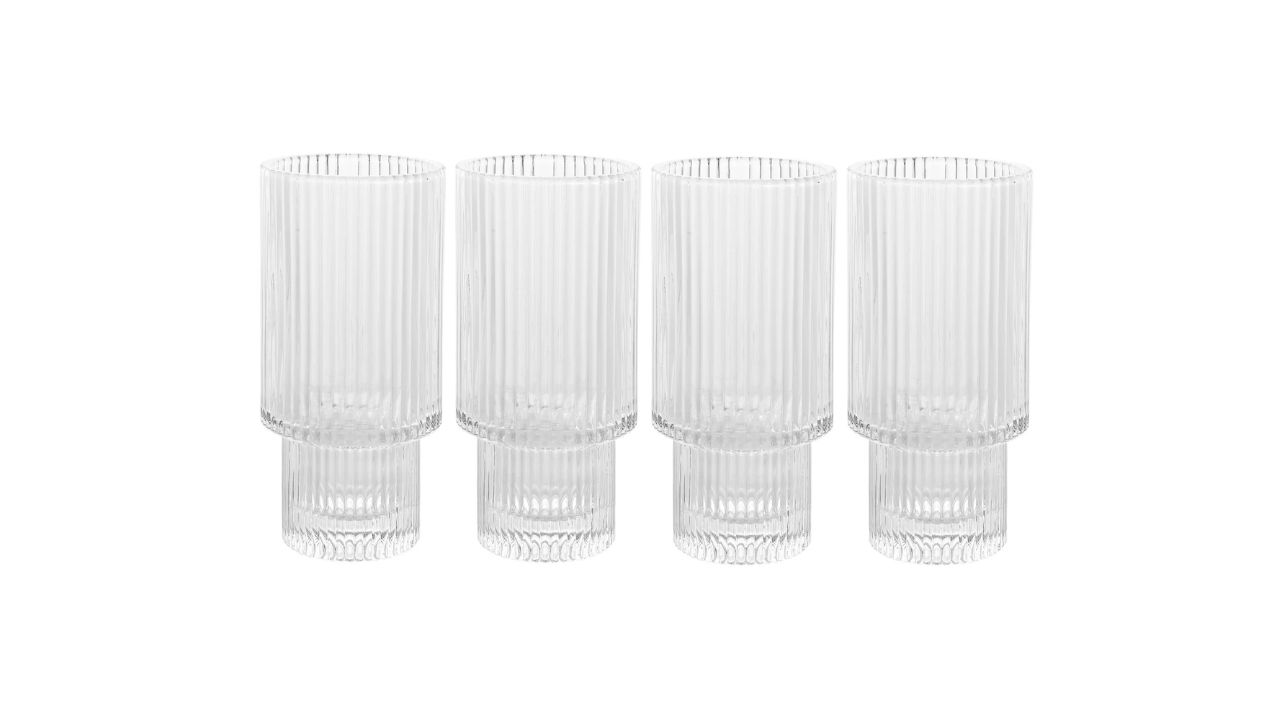
When it comes to selecting champagne flutes for your wedding, there are a few key factors to consider. The first is the material of the flutes. While traditional crystal flutes have a timeless elegance, they can be quite expensive. Alternatively, you can opt for glass flutes, which are more budget-friendly while still maintaining a sleek and sophisticated look.
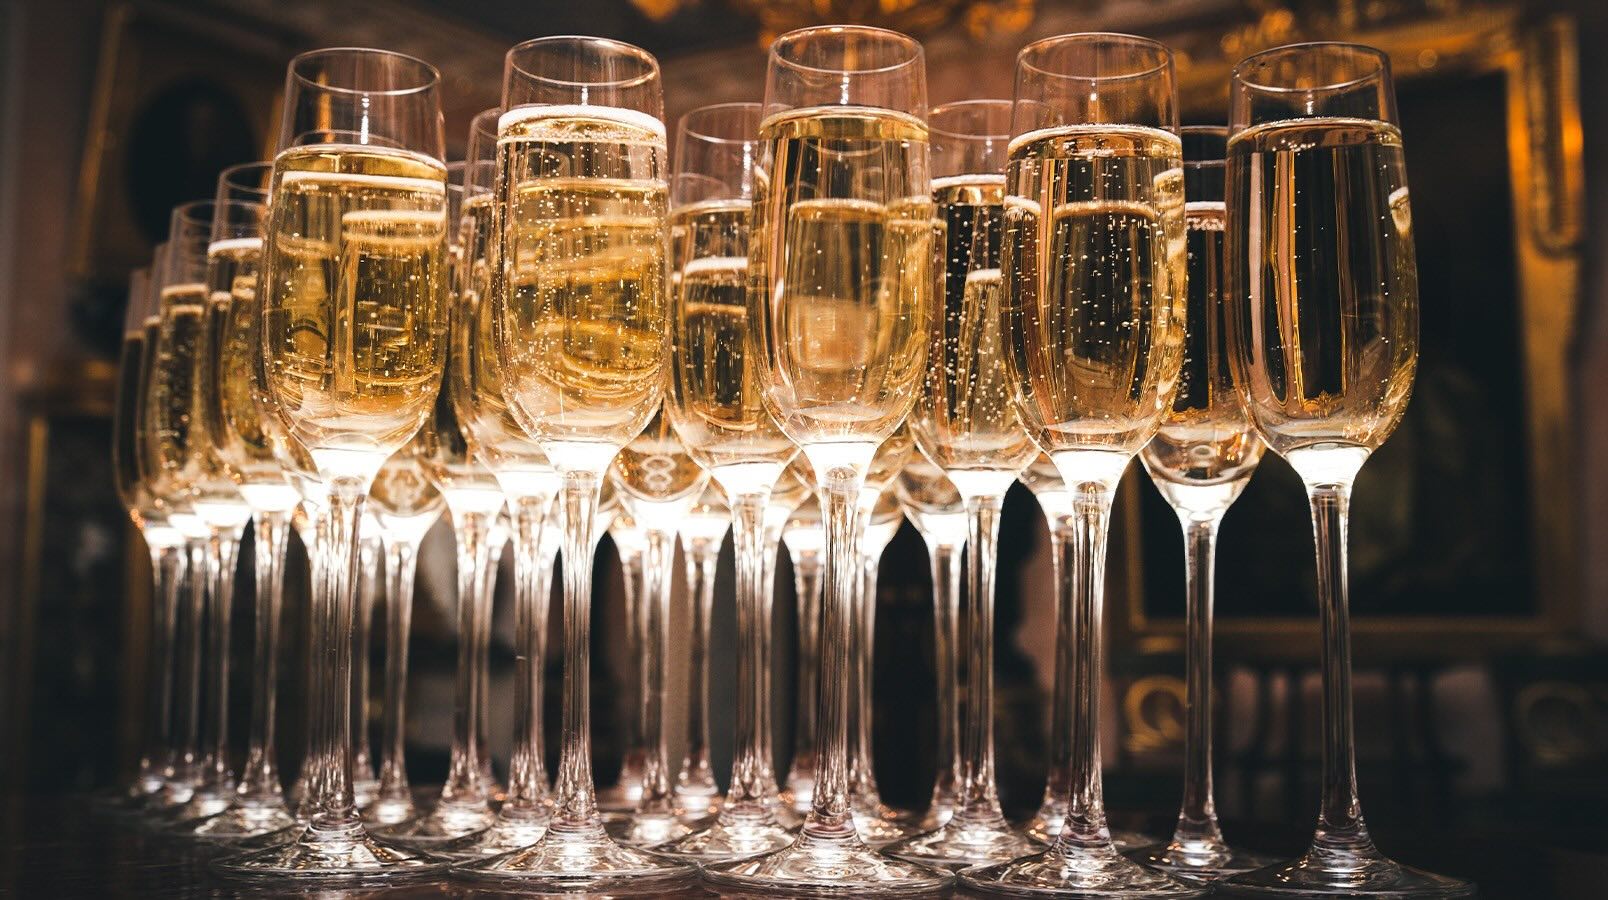
Another consideration is the shape of the flute. The classic tall, slender shape is ideal for showcasing the effervescence and bubbles of champagne. However, you may also choose flutes with a wider bowl or a unique shape to add a modern twist to your table setting.
Next, think about the level of customization that you want to achieve. Some flutes come with pre-engraved designs or patterns, while others are plain and ready for your personal touch. It all depends on the style and theme of your wedding.
Lastly, consider the number of flutes you will need. Calculate the total number of guests and ensure that you have enough flutes for everyone. It’s always a good idea to have a few extras just in case of breakage or unexpected additions to your guest list.
Once you have chosen the perfect champagne flutes, it’s time to move on to the next step: cleaning and preparing them for decoration.
Cleaning and Preparing the Flutes
Before you begin decorating your champagne flutes, it’s essential to know how to clean champagne flutes properly. Ensuring they are free from any debris or fingerprints is crucial. Thoroughly cleaning the flutes will not only make them look pristine but also provide a smooth surface for any decorations you apply.
Start by gently rinsing the flutes in warm water to remove any dust or particles. Be careful not to apply too much pressure as it may damage delicate engravings or decorations already on the flutes.
Next, mix a solution of warm water and mild dish soap. Dip a soft cloth or sponge into the soapy water and carefully clean the inside and outside of the flutes. Pay special attention to the rim and the base, ensuring that all areas are thoroughly cleaned. Rinse the flutes again with warm water to remove any soap residue.
To avoid water spots or streaks, use a lint-free cloth to dry the flutes. Gently pat them dry rather than rubbing to prevent any scratches or smudges.
Once the flutes are clean and dry, it’s time to prepare them for decoration. If you plan to engrave or etch the flutes, make sure to mark the area where you want the design to be. You can use a clear adhesive tape or a removable marker to create a guide for precise placement.
If you’re using other decorative elements like ribbons or gems, gather all the necessary supplies and have them within reach. This will allow you to easily access and apply the decorations while avoiding any potential damage to the flutes during the process.
With the flutes cleaned, dried, and prepared, you are now ready to set your table with creativity and make these glass beauties truly unique and stunning for your wedding!
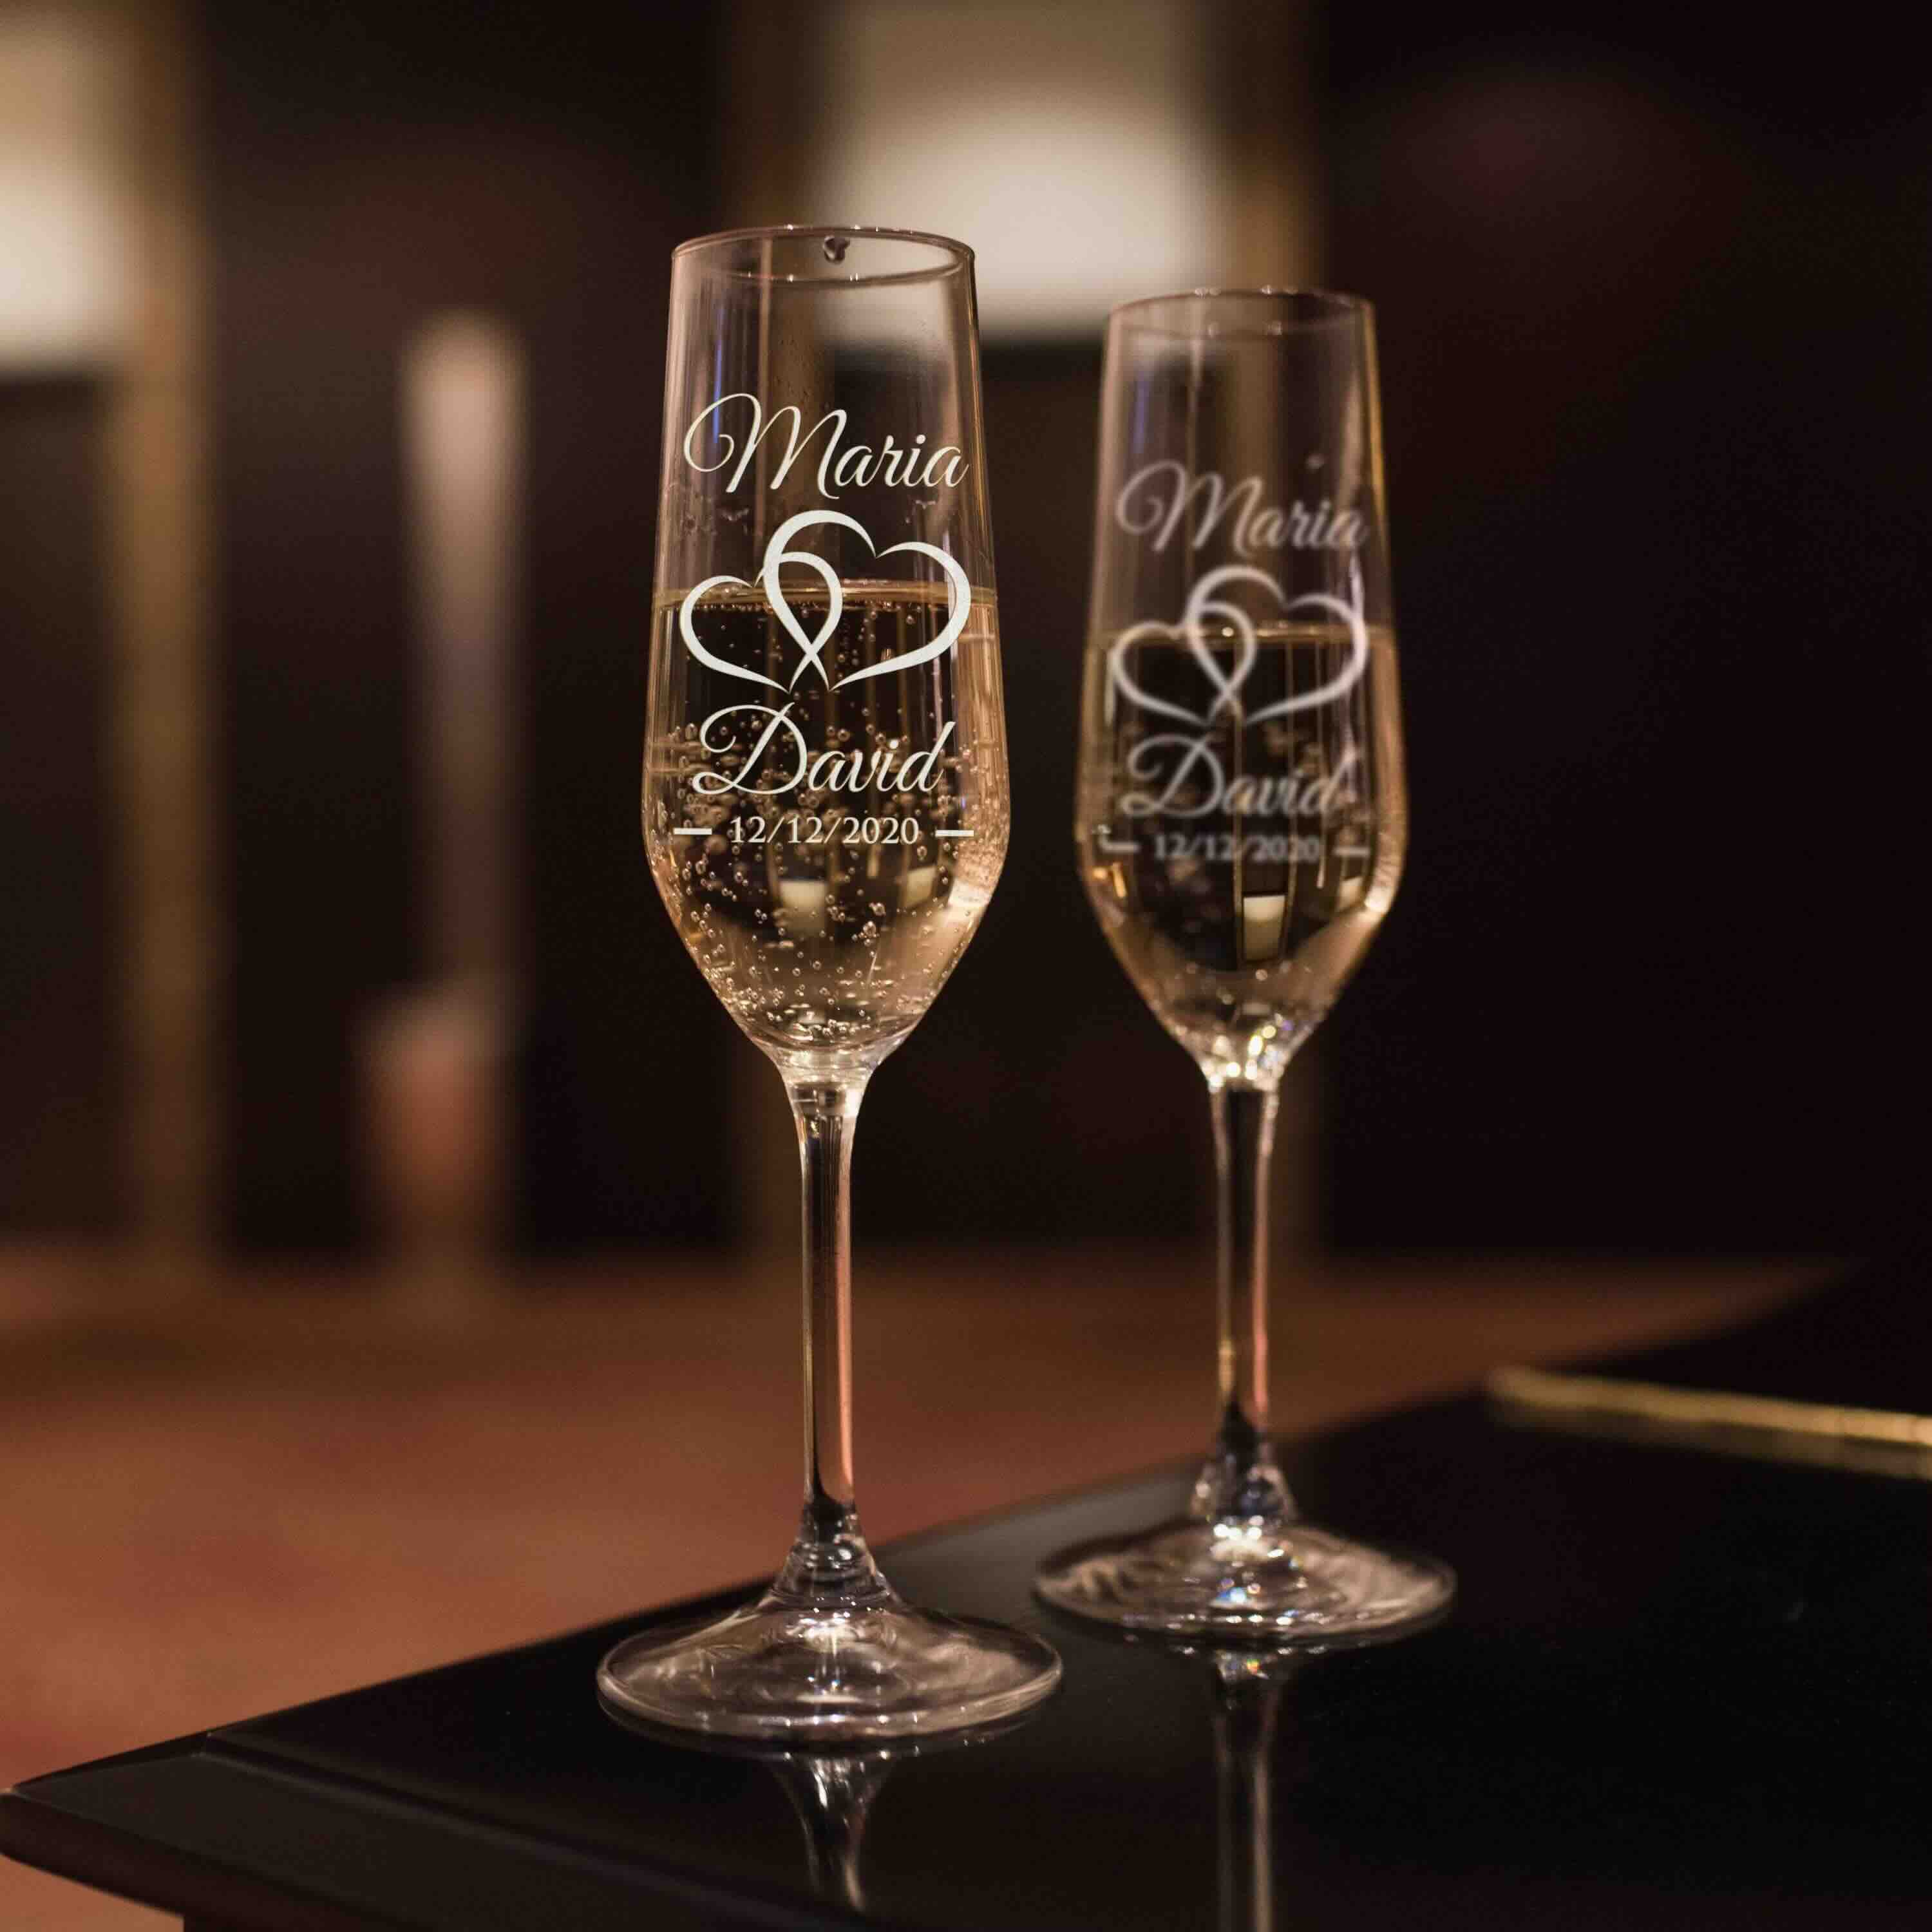
Personalizing with Engraving or Etching
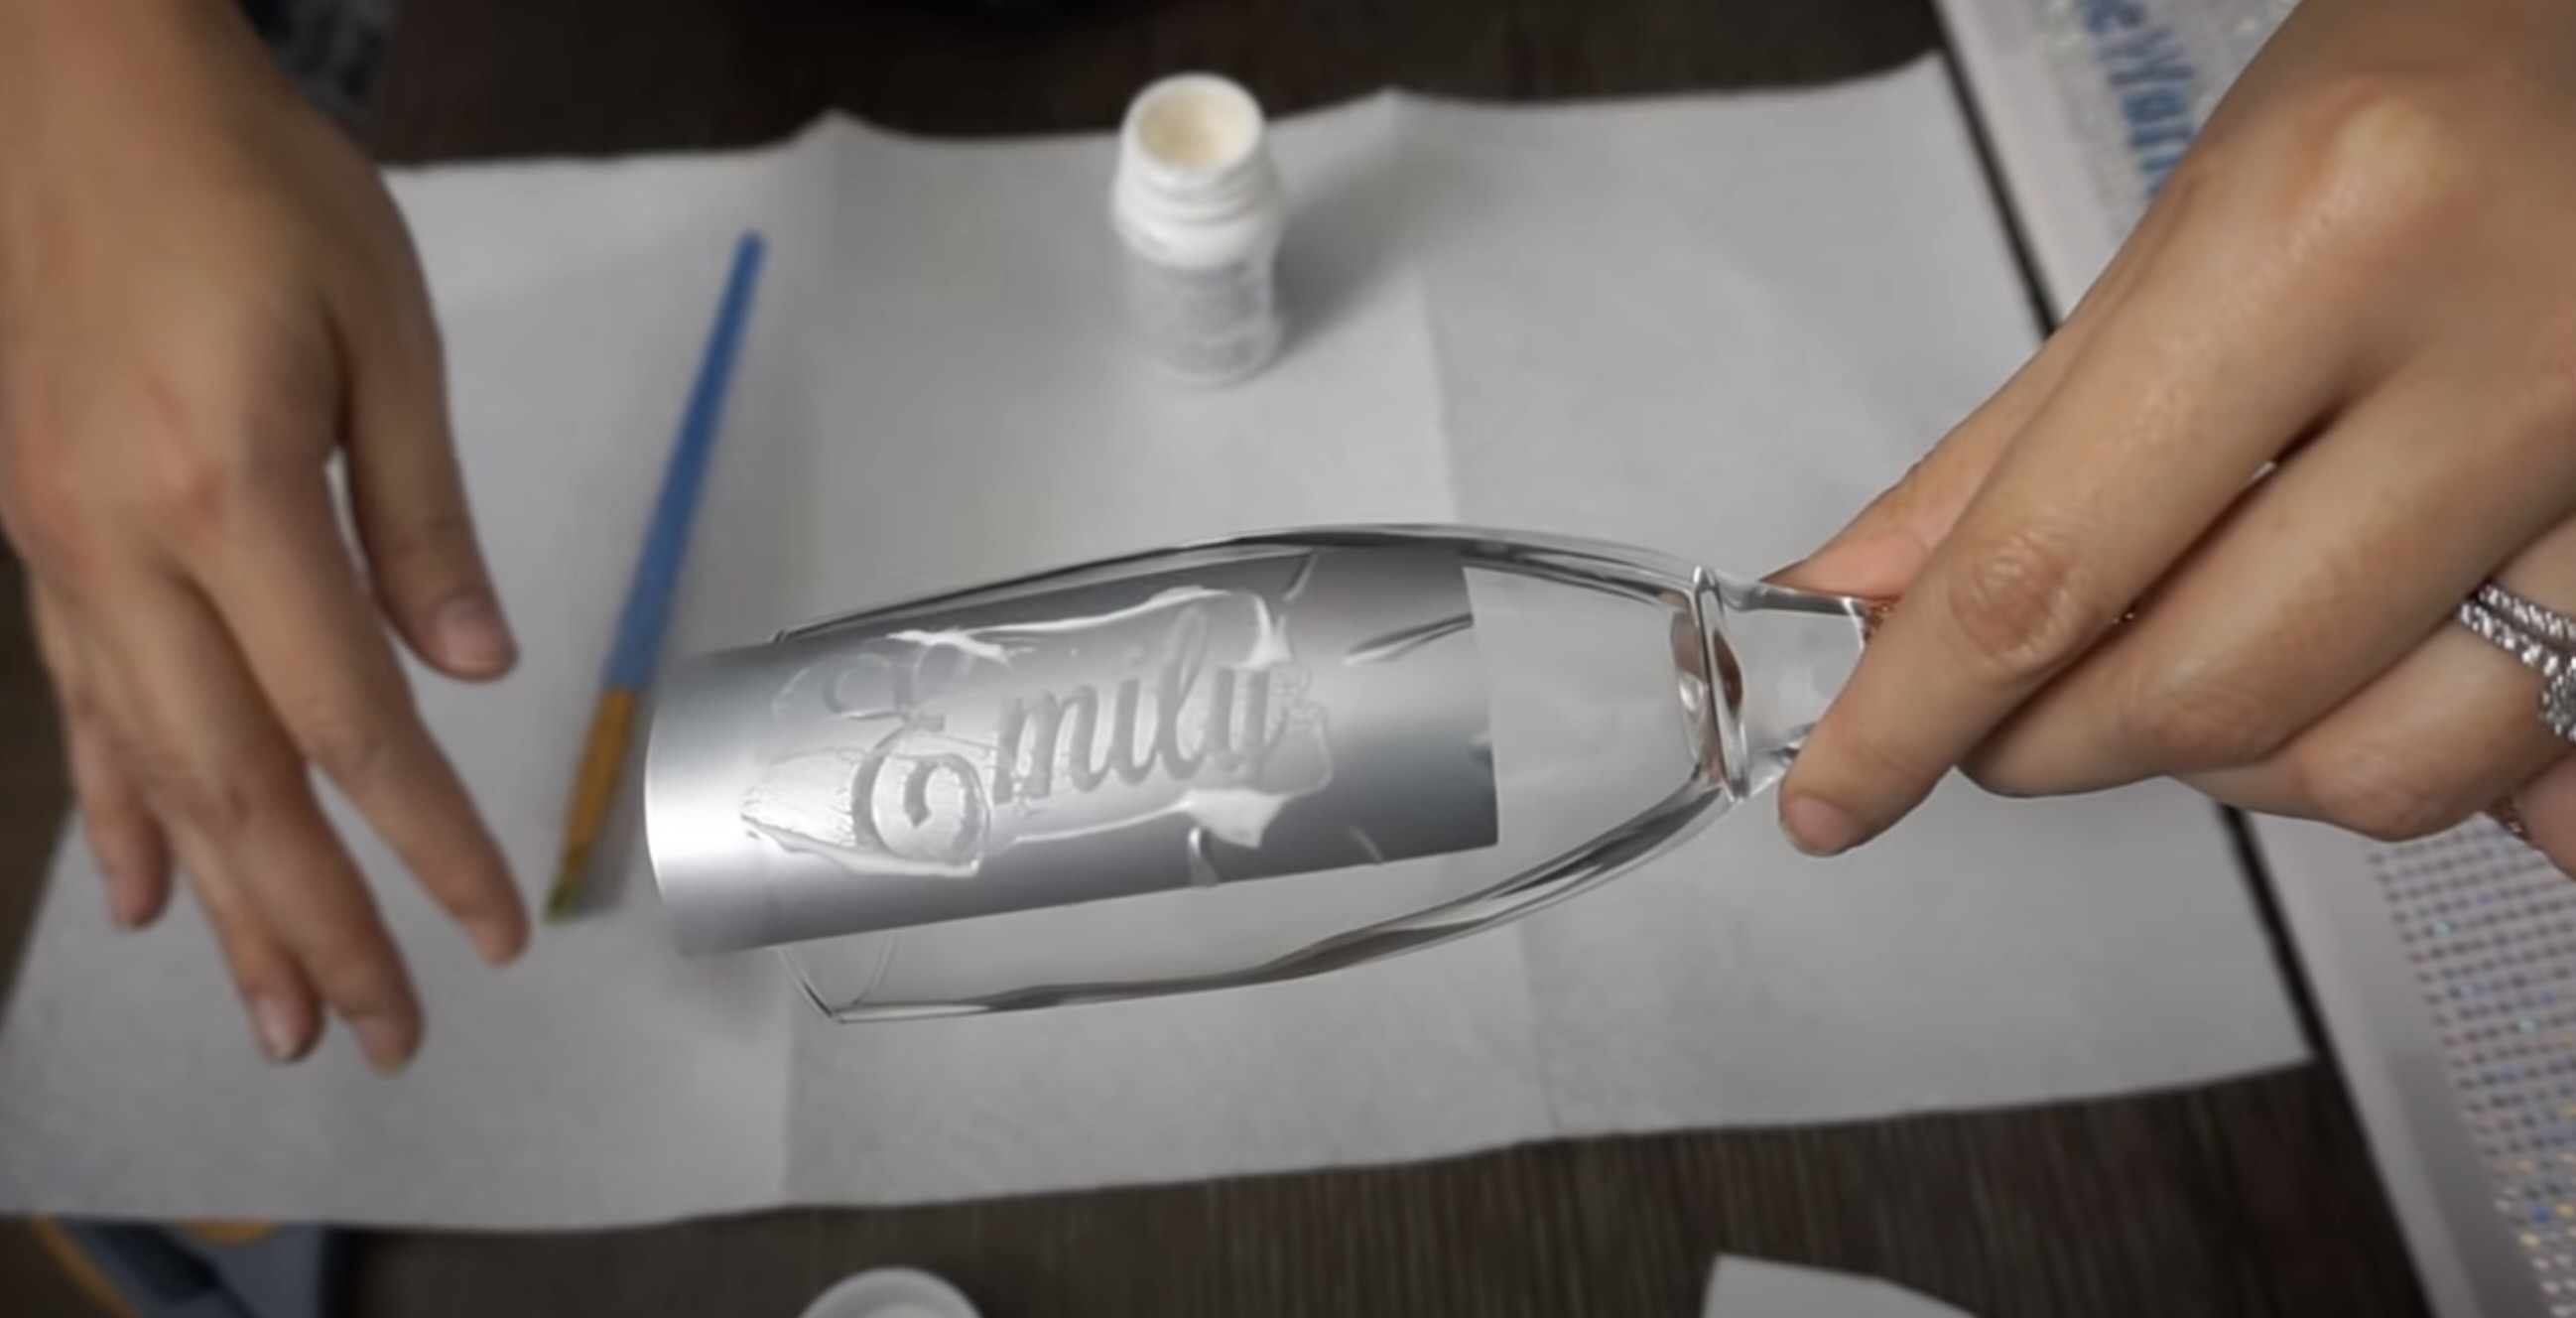
One of the most elegant and timeless ways to decorate champagne flutes is through engraving or etching. These techniques allow you to personalize the flutes with names, initials, dates, or even special messages to commemorate your wedding day.
If you are skilled in calligraphy or have access to a professional engraver, you can hand-engrave the flutes using a diamond-tipped tool. This meticulous process requires precision and patience but results in beautifully crafted designs that will last a lifetime.
For those who prefer a more accessible option, many local engraving services offer personalized flutes with various font options to choose from. You can visit a local engraving shop or search for online services that specialize in custom glassware. Provide them with your desired text or design, and they will expertly engrave your flutes to your specifications.
Etching is another technique that can create exquisite designs on champagne flutes. Etching involves using an acid or a sandblasting method to create a frosted or textured appearance on the glass. This technique allows for more intricate patterns and designs, such as delicate floral motifs or geometric shapes.
If you are considering etching the flutes yourself, make sure to follow the instructions provided with the etching kit carefully. Proper safety precautions, such as wearing gloves and protective eyewear, should be taken to avoid any harm from the acid or sandblasting materials.
Personalizing your champagne flutes through engraving or etching adds a sentimental and unique touch to your wedding tableware. They become not only a beautiful decoration but also a cherished keepsake for years to come.
Next, we’ll explore how you can enhance the elegance of your champagne flutes with ribbons and bows.
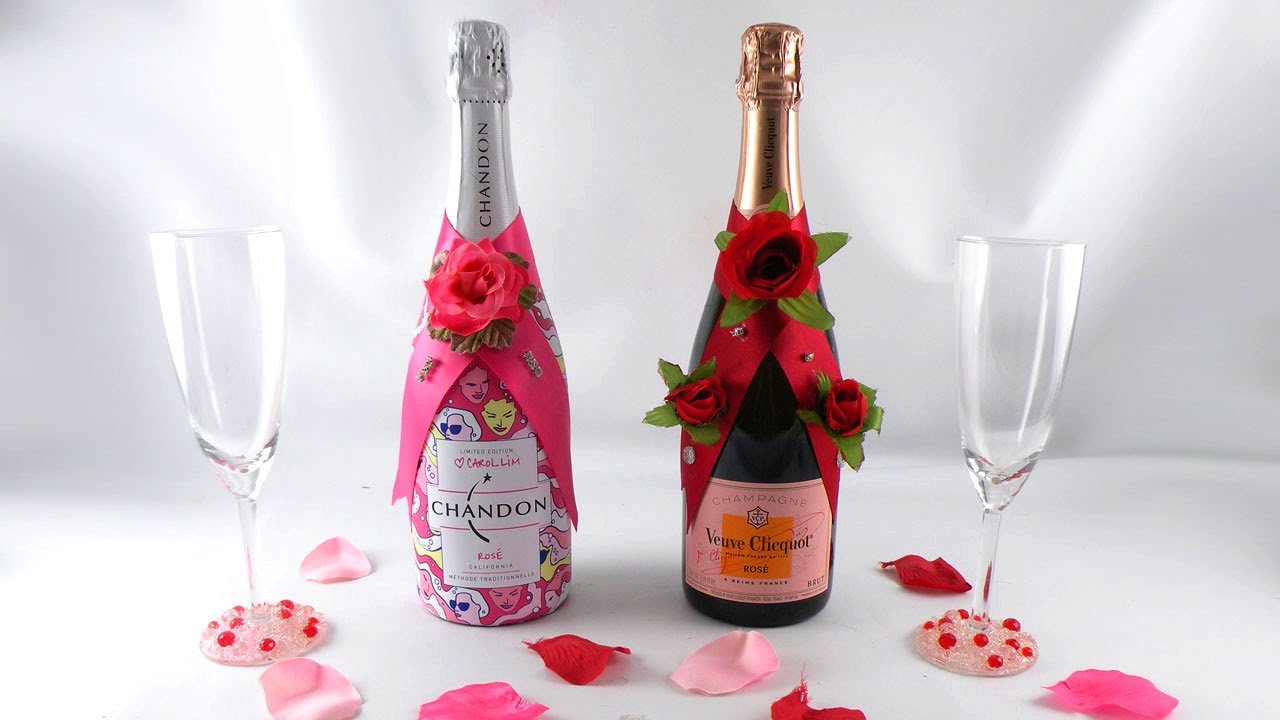
Adding Charm with Ribbons and Bows
A simple and versatile way to decorate champagne flutes is by adding charm with ribbons and bows. This technique allows you to incorporate your wedding colors or themes into the design and gives the flutes a festive and celebratory look.
Start by selecting ribbon or satin fabric in the color and width of your choice. Wrap it around the stem of the flute, starting from the base and moving upwards. You can secure the ribbon with a small dot of clear adhesive or use a decorative pin to hold it in place.
To create a bow, cut a length of ribbon, leaving enough extra for the tails. Form a loop with one end of the ribbon, and then make a second loop in the opposite direction. Cross the two loops in the center, creating an X shape. Pull the ends of the ribbon through the loops, and gently tighten the bow. Trim the ends of the ribbon into a V-shape for a polished finish.
Another charming option is to tie a bow around the base of the flute where it meets the stem. This adds a romantic and whimsical touch to the flutes without interfering with the drinking experience.
If you prefer a more minimalist look, you can opt for a single thin ribbon tied in a simple knot or a delicate bow. This approach adds a subtle accent without overwhelming the elegance of the flute.
When choosing ribbon or fabric, consider the texture and finish that will complement the overall aesthetic of your wedding. Satin, organza, or lace ribbons can add a touch of luxury, while burlap or twine can create a rustic and natural vibe. Experiment with different materials to find the perfect fit for your wedding theme.
Adding charm with ribbons and bows is a delightful and straightforward way to elevate the look of your champagne flutes. Whether you choose bold and vibrant colors or soft and romantic hues, this decoration option instantly adds a touch of whimsy and celebration to your tabletop.
Next, we’ll explore how to bring some sparkle and glam to your flutes with glitter and shimmer.
Read more: What To Engrave On Wedding Champagne Flutes
Applying Glitter and Sparkle
If you’re looking to add a touch of glamour and excitement to your champagne flutes, applying glitter and sparkle is the perfect choice. This sparkling decoration option will make your flutes shine and catch the light, creating a dazzling effect that will surely captivate your guests.
To begin, gather your supplies. You will need clear adhesive glue, a small brush or sponge applicator, and your choice of glitter. Choose a fine glitter that complements your wedding theme or color palette. You can also opt for a mix of different-sized glitters for a multidimensional effect.
Start by cleaning the area of the flute where you want to apply the glitter. This could be the base, the stem, or even the rim. Ensure that the surface is dry and free from any residue or oils.
Next, apply a thin, even layer of adhesive glue to the desired area using the brush or sponge applicator. You can cover the entire surface or create patterns and designs with the glue, depending on your creativity and preference.
Once the adhesive is applied, sprinkle the glitter onto the glue-covered area. Make sure to cover it completely and evenly. Gently tap off any excess glitter and allow the flutes to dry for the recommended time mentioned on the adhesive glue packaging.
For added durability, you can seal the glitter with a clear protective spray or a layer of clear adhesive glue. This will prevent the glitter from flaking or rubbing off during handling or washing.
If you want to take the sparkle to the next level, you can also incorporate rhinestones or sequins into your design. Apply them using a dab of clear adhesive glue, arranging them in patterns or creating a border along the rim of the flutes.
Glitter and sparkle instantly transform champagne flutes into eye-catching and glamorous pieces. They add a touch of luxury and celebration to your wedding table, making each champagne toast even more memorable.
Now that we’ve added some shimmer and glam, let’s explore another fabulous way to enhance your flutes using adhesive gems or rhinestones.
Consider adding a personal touch to champagne flutes by tying a ribbon around the stem or attaching a small charm. This simple decoration can add elegance and individuality to the glasses for a wedding celebration.
Using Adhesive Gems or Rhinestones
If you’re aiming for a more luxurious and dazzling look with your champagne flutes, using adhesive gems or rhinestones is a fantastic option. These exquisite embellishments will add a touch of elegance and sophistication to your table setting.
Start by selecting adhesive gems or rhinestones in the colors and sizes that best complement your wedding theme or color scheme. You can choose clear crystals for a classic and timeless look, or opt for colored gems to match your wedding decor.
Before applying the gems, clean the surface of the flute where you want to place them. Make sure it is dry and free from any dust or debris. This will ensure that the adhesive bonds properly and securely.
Using small craft tweezers or a toothpick, carefully pick up each gem or rhinestone and apply a small amount of clear adhesive glue to the back. Place the gem onto the flute and gently press it down, allowing the adhesive to bond with the glass. Repeat this process for each gem, creating your desired pattern or design.
You can apply the gems or rhinestones in a variety of ways. Create a border along the rim of the flute, make a vine-like pattern wrapping around the stem, or even spell out initials or words. The possibilities are endless, and you can let your creativity shine.
For a more dramatic effect, consider using gemstones in different shapes and sizes. Mixing round, oval, and teardrop-shaped gems can create a visually stunning and captivating design.
When handling the flutes during and after the gem application, be gentle to avoid dislodging the gems or rhinestones. Allow the adhesive to fully dry and cure according to the manufacturer’s instructions before using or displaying the flutes.
Using adhesive gems or rhinestones is a fabulous way to add a touch of glamour and luxury to your champagne flutes. These sparkling embellishments will surely catch the light and create a dazzling display that will leave your guests in awe.
Next, we’ll explore how to bring a touch of elegance and romance to your flutes using lace or fabric.
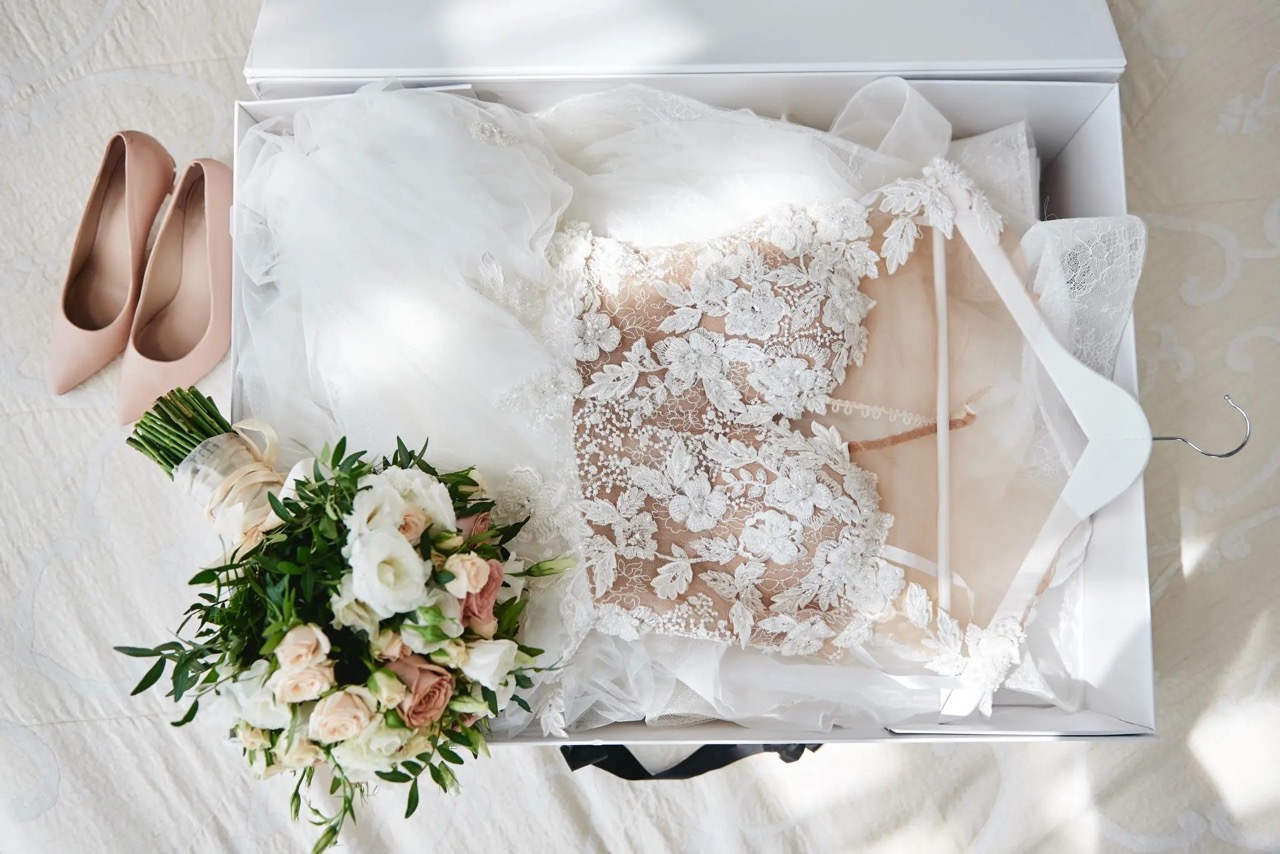
Decorating with Lace or Fabric
If you’re aiming for a romantic and elegant look for your champagne flutes, decorating them with lace or fabric is an exquisite option. The delicate texture and intricate patterns of lace can add a touch of sophistication and vintage charm to your table setting.
Start by selecting lace or fabric that complements your wedding theme or color palette. Opt for a lace trim or fabric that is wide enough to wrap around the base of the flute or to cover the stem. You can choose lace in classic white or ivory for a timeless look, or select a colored lace that matches your wedding decor.
Measure the length of lace or fabric needed to cover the desired area of the flute. Cut the lace or fabric accordingly, leaving a slight overlap for a seamless finish. You can secure the lace using clear adhesive glue or double-sided tape.
Wrap the lace or fabric around the base of the flute, starting from the bottom and working your way up. Gently press it onto the glass, ensuring a snug and secure fit. Trim any excess lace or fabric, making sure the edges are neat and tidy.
For a more intricate design, you can use lace appliques or fabric patches. These can be attached to the flutes using clear adhesive glue or fabric-friendly glue. Arrange them in a pattern or design that suits your wedding theme, such as lace flowers or filigree motifs.
To add a finishing touch, consider tying a thin satin ribbon or a piece of lace around the base of the flute where the lace or fabric ends. This will secure the lace or fabric in place and create a beautiful and cohesive look.
Decorating your champagne flutes with lace or fabric adds a touch of elegance and romance to your tableware. It seamlessly blends old-world charm with modern sophistication, creating a truly captivating visual display for your wedding.
Now that we’ve explored the elegance of lace and fabric, let’s move on to a more organic and natural way to decorate your champagne flutes using fresh flowers or greenery.
Enhancing with Fresh Flowers or Greenery
Bringing the beauty of nature to your champagne flutes can be achieved by enhancing them with fresh flowers or greenery. This organic and natural approach adds a touch of freshness and elegance to your table setting, creating a stunning visual impact.
Start by selecting fresh flowers or greenery that match your wedding theme or color scheme. Choose flowers that are small and delicate, such as baby’s breath, lavender sprigs, or miniature roses. You can also opt for foliage such as eucalyptus leaves, ivy, or ferns for a lush and green look.
Before applying the flowers or greenery, make sure they are clean and free from any dirt or insects. Trim the stems to the desired length, ensuring that they will fit comfortably in the flute without touching the liquid.
If you prefer a simple and elegant look, you can place a single flower or sprig of greenery inside the flute. Insert the stem gently, making sure it is secure and centered. This minimalist approach adds a subtle yet impactful touch to the overall aesthetic.
For a more whimsical and romantic look, you can create a small bouquet or arrangement with multiple flowers or greenery. Group them together and tie them with a thin ribbon or twine. Place the bouquet inside the flute, adjusting the height and position to your liking.
If you want the flowers or greenery to last longer, you can use small water tubes or floral picks. Fill the tubes with water and insert the stem of the flower or greenery into the tube. This will help keep them fresh throughout the duration of your wedding event.
When working with fresh flowers, it’s important to remember that some flowers may release pollen or have delicate petals that can easily detach. Consider the potential risk of staining or falling petals and choose flowers that are less prone to these issues.
Enhancing your champagne flutes with fresh flowers or greenery brings a touch of natural beauty and elegance to your tableware. It creates a stunning focal point and adds a delightful fragrance to your wedding reception.
Now that we’ve explored the beauty of nature, let’s tie everything together by incorporating a theme into your champagne flute decoration.
Read more: How To Clean Champagne Flutes
Tying it All Together with a Theme
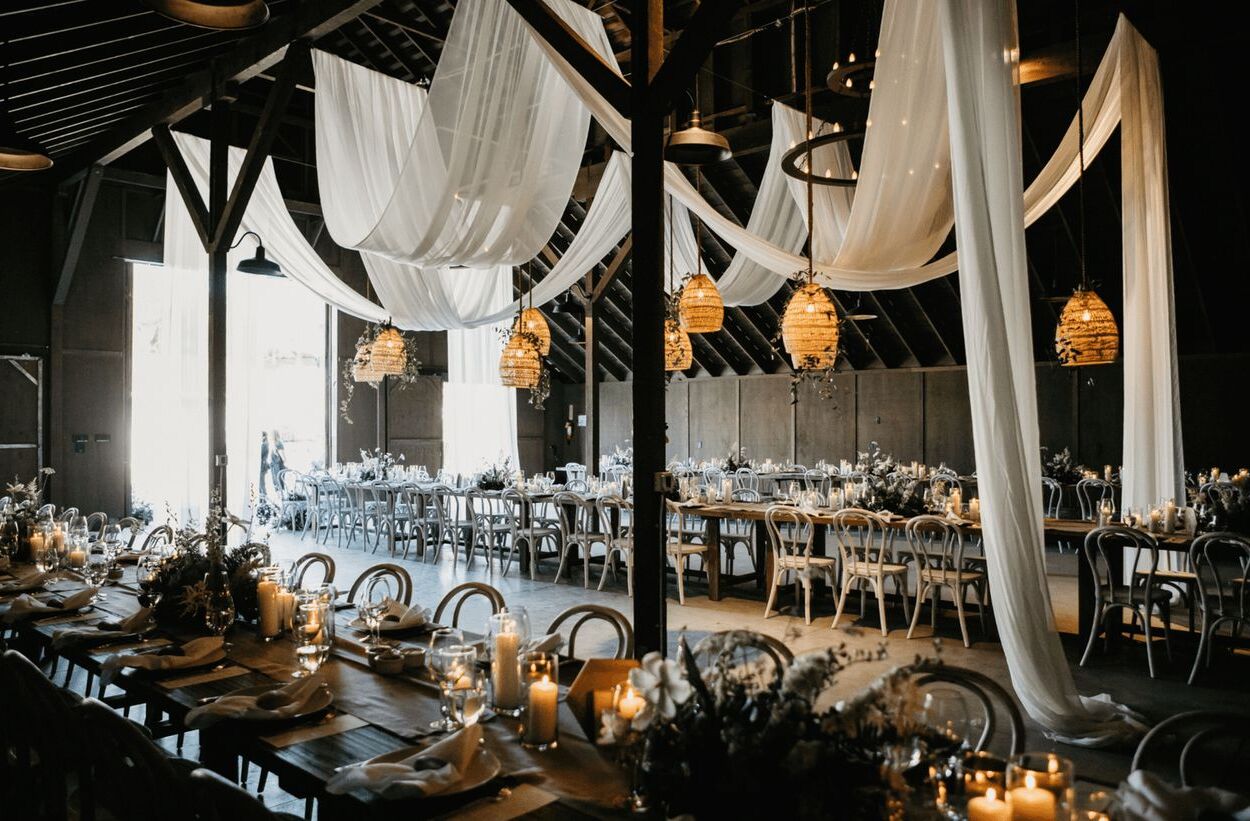
When it comes to decorating champagne flutes for a wedding, incorporating a theme can elevate the overall look and create a cohesive and harmonious display. A themed approach allows you to infuse your personal style and story into every detail of your tableware, including the champagne flutes.
Start by selecting a theme that resonates with you and your partner. It could be anything from a rustic garden theme to a glamorous Hollywood-inspired affair. Let your imagination run wild, and choose a theme that reflects your personalities and vision for your special day.
Once you have decided on a theme, consider how to translate it into the design of your champagne flutes. Think about the colors, patterns, and decorative elements that are associated with your theme.
For example, if you’re having a beach-themed wedding, you can decorate the flutes with seashells, starfish, or a touch of blue ribbon to mimic the ocean. Alternatively, for a vintage-inspired theme, you can opt for delicate lace, pearls, and a soft color palette to create an elegant and romantic look.
When selecting the decorations, ensure that they complement your chosen theme and the overall aesthetic of your wedding. Consistency is key to creating a visually appealing and cohesive table setting.
Consider incorporating the theme into other elements of your tableware as well. Coordinate the colors and style of the tablecloth, napkins, and centerpieces with the design of your champagne flutes. This will create a harmonious and visually impactful presentation for your guests to enjoy.
Remember that less is often more. It’s important not to overwhelm the flutes with too many decorations or conflicting elements. Choose a few key focal points that tie into your theme and let them shine.
By tying it all together with a theme, you create a visually stunning and cohesive display for your wedding tableware. It adds a touch of personality and creativity while showcasing your attention to detail and design.
With these various techniques and ideas for decorating champagne flutes, you are now ready to embark on the journey of transforming these simple glass vessels into beautiful works of art. Let your creativity flow, and have fun in the process of making your wedding day even more memorable with personalized and enchanting tableware.
Remember, the possibilities are endless, and the key is to infuse your own unique style and personality into your champagne flute decorations. Cheers to a beautiful and unforgettable wedding!
Conclusion
Decorating champagne flutes for a wedding adds a special touch to your tableware and enhances the overall ambiance of your big day. From choosing the right flutes to incorporating personalized details, there are countless ways to make your champagne flutes unique and memorable.
Whether you opt for engraving or etching, adding charm with ribbons and bows, applying glitter and sparkle, using adhesive gems or rhinestones, decorating with lace or fabric, or enhancing with fresh flowers or greenery, each technique brings its own charm and elegance to the flutes.
By selecting a theme that resonates with you and tying it all together, you can create a cohesive and visually stunning display that will awe your guests. Let your creativity flourish and infuse your personal style into every aspect of the decoration process.
Remember, while it’s important to make your champagne flutes visually appealing, it is equally essential to ensure that they are functional and safe to use. Take precautions when adding decorations, considering the placement and potential interference with drinking from the flute.
Throughout the wedding planning journey, have fun exploring different ideas and experimenting with various techniques. Incorporating these special touches into your wedding day will create memorable moments and add a unique charm to your celebration.
Cheers to a beautiful and unforgettable wedding day, filled with love, joy, and beautifully decorated champagne flutes!
Frequently Asked Questions about How To Decorate Champagne Flutes For A Wedding
Was this page helpful?
At Storables.com, we guarantee accurate and reliable information. Our content, validated by Expert Board Contributors, is crafted following stringent Editorial Policies. We're committed to providing you with well-researched, expert-backed insights for all your informational needs.

0 thoughts on “How To Decorate Champagne Flutes For A Wedding”