Home>Dining>Tableware>How To Etch Champagne Flutes Using Cricut
Tableware
How To Etch Champagne Flutes Using Cricut
Modified: October 18, 2024
Learn how to etch stunning champagne flutes effortlessly with the help of Cricut. Transform your tableware into unique and elegant pieces with this step-by-step guide.
(Many of the links in this article redirect to a specific reviewed product. Your purchase of these products through affiliate links helps to generate commission for Storables.com, at no extra cost. Learn more)
Introduction
Welcome to the world of DIY tableware customization! If you’re looking to add a personal touch to your table setting or create a unique and memorable gift, etching champagne flutes with the help of a Cricut machine is the perfect project for you. With its precision cutting capabilities, the Cricut makes it easy to create stunning designs that will stand out on any occasion.
In this article, we will guide you through the step-by-step process of etching champagne flutes using a Cricut machine. We will cover everything from preparing the design to applying the vinyl decals, and even share some helpful tips and tricks along the way. So, let’s raise a toast to creativity and get started!
But first, let’s gather the materials you’ll need for this project.
Key Takeaways:
- Elevate your table setting with personalized champagne flutes etched using a Cricut machine. From design preparation to application and finishing, create stunning, one-of-a-kind tableware that impresses guests and makes memorable gifts.
- Unleash your creativity and add a personal touch to special occasions by etching champagne flutes with a Cricut machine. Follow the step-by-step process and essential tips to achieve professional-looking results effortlessly.
Read more: How To Clean Champagne Flutes
Materials Needed
Before diving into the etching process, it’s important to have all the necessary materials ready. Here’s a list of items you’ll need for this project:
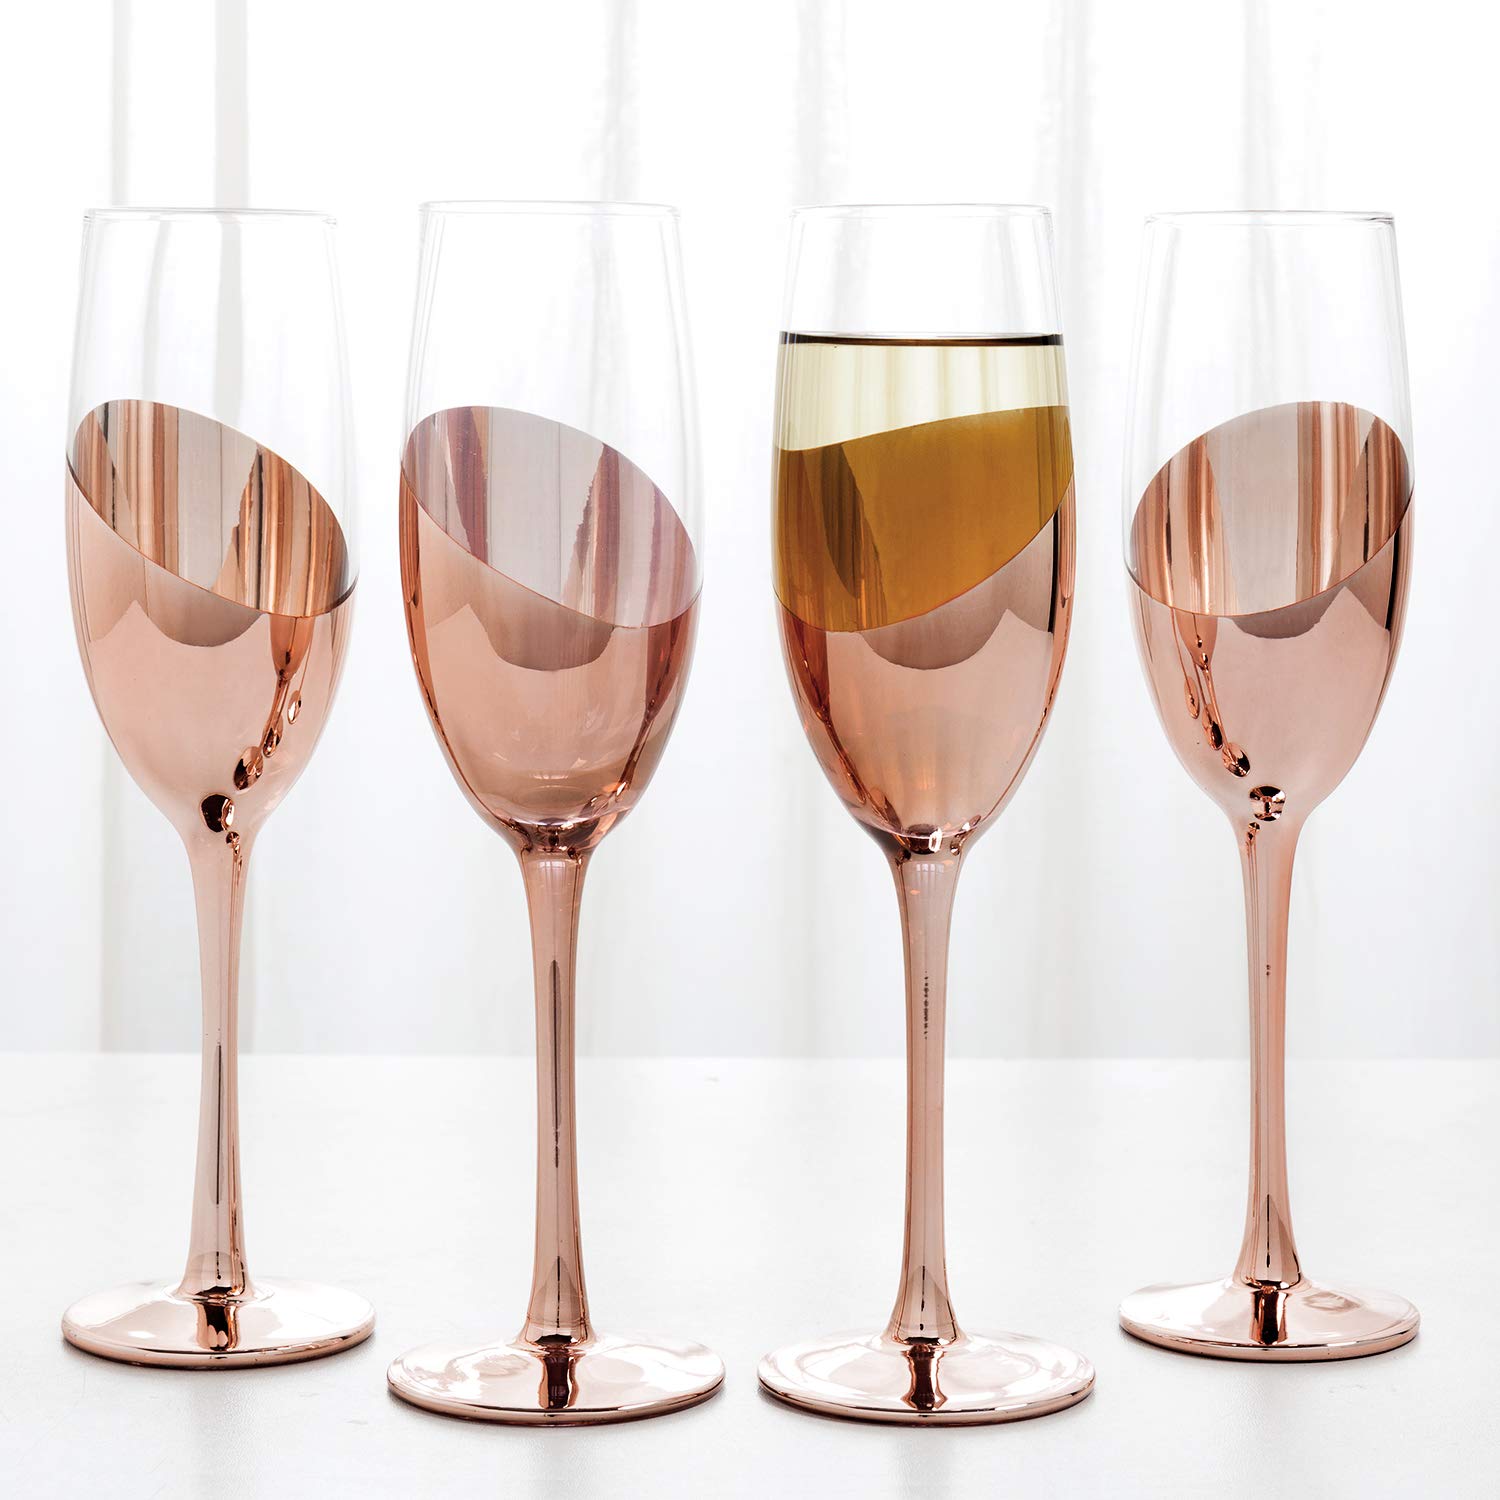
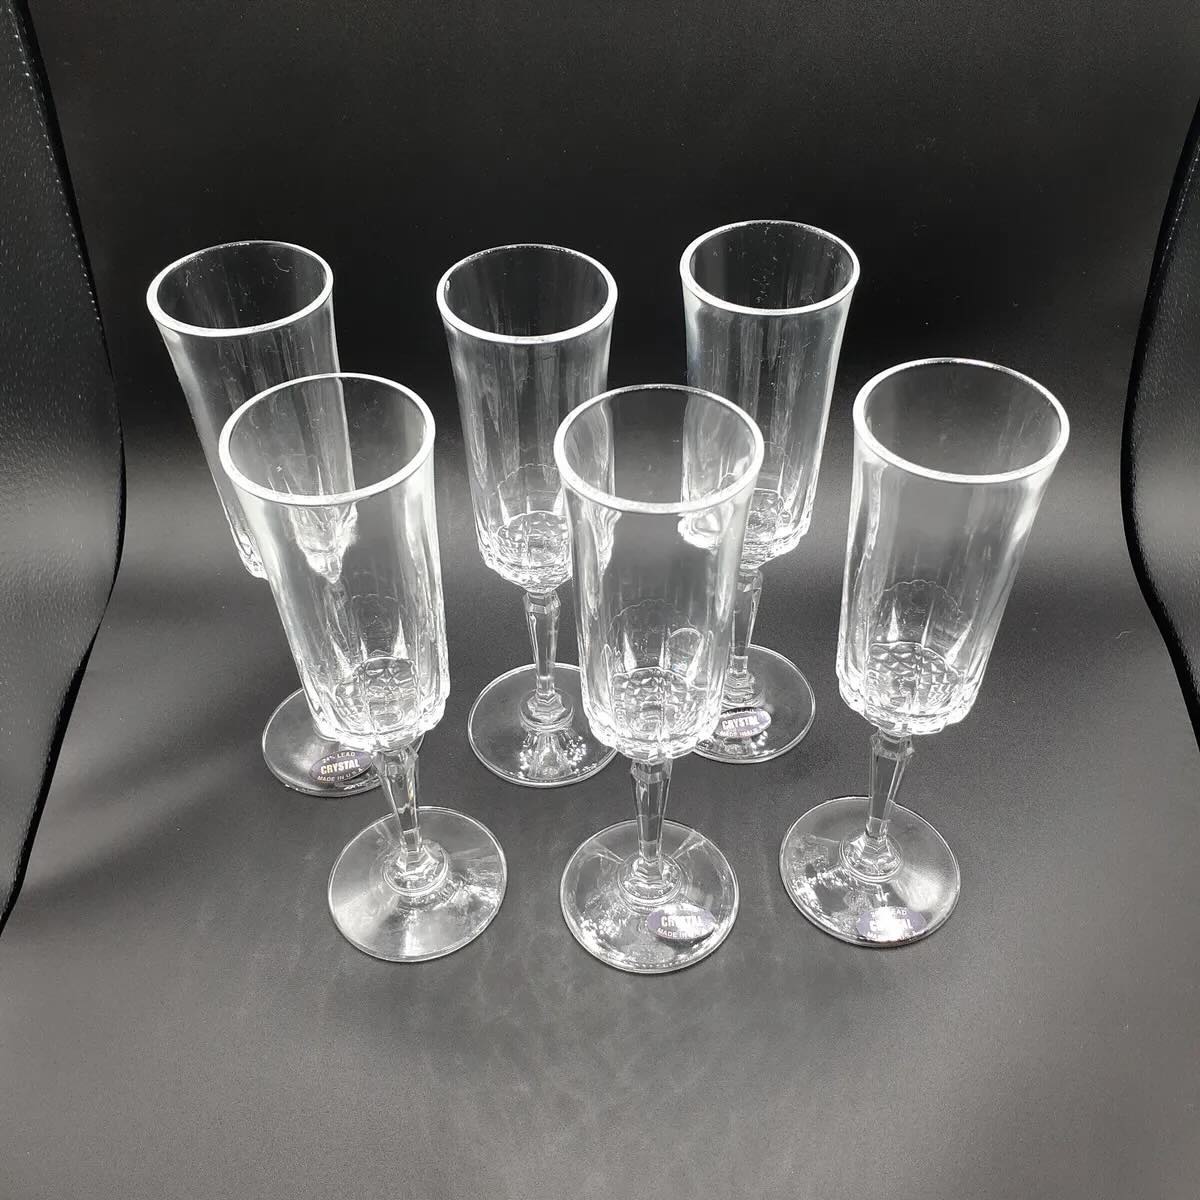
- Champagne flutes: Select a set of high-quality glass champagne flutes. Ensure that they are clean and free from any dirt or residue.
- Cricut machine: This versatile cutting machine will be your key tool for creating the vinyl decals.
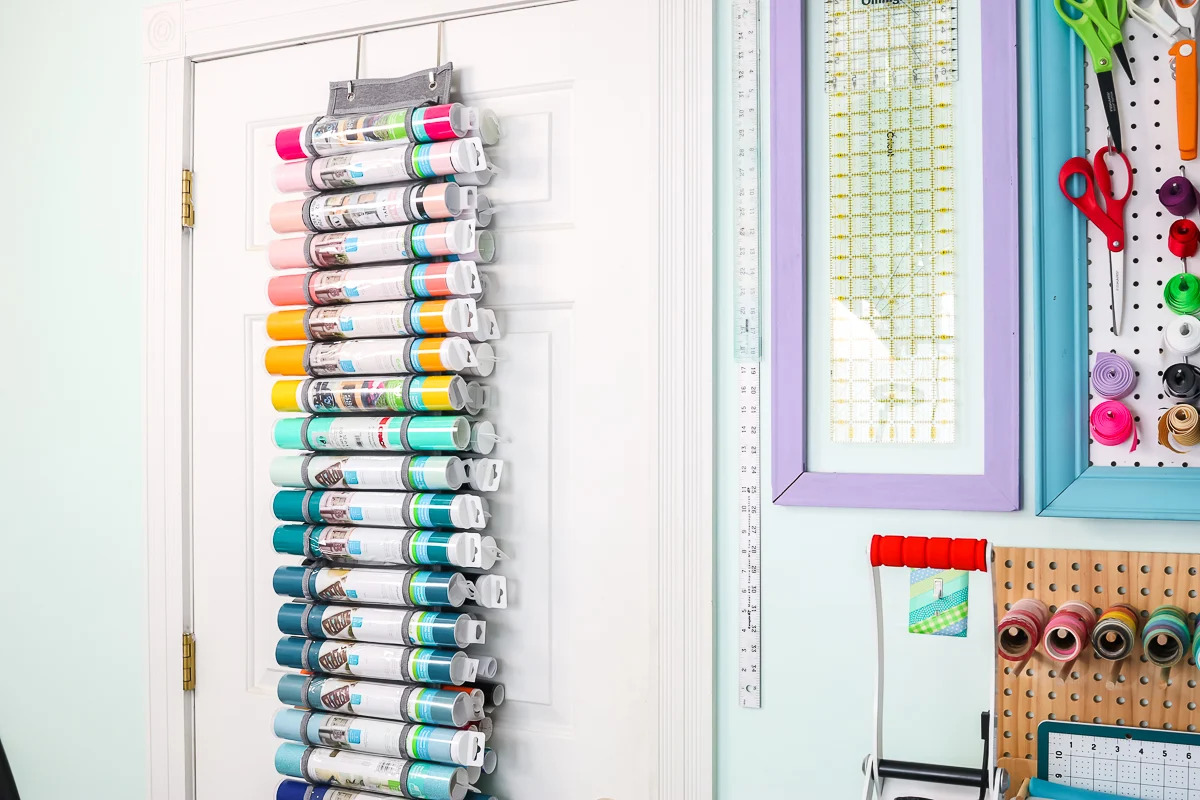
- Vinyl sheets: Choose a vinyl color of your preference. Make sure it is compatible with your Cricut machine.
- Transfer tape: This adhesive tape helps transfer the vinyl design from the cutting mat to the champagne flute.
- Etching cream: Invest in a high-quality etching cream that is safe for glass surfaces. This is what will create the permanent etched design.
- Disposable gloves: Protect your hands by wearing disposable gloves while handling the etching cream.
- Paintbrush or spatula: You’ll need a brush or spatula to apply the etching cream smoothly and evenly.
- Painter’s tape: This will be used to create a clean and defined area for the etching.
- Scissors: Use a pair of scissors to trim the vinyl decals to the right size.
- Soap and water: To clean the champagne flutes before and after the etching process.
- Protective eyewear: Ensure your eyes are protected by wearing safety glasses or goggles.
- Well-ventilated area: Work in a room with good ventilation or in an outdoor area to avoid inhaling fumes from the etching cream.
Now that you have all the materials ready, you’re one step closer to creating stunning customized champagne flutes. Let’s move on to the first step: preparing the design!
Step 1: Preparing the Design
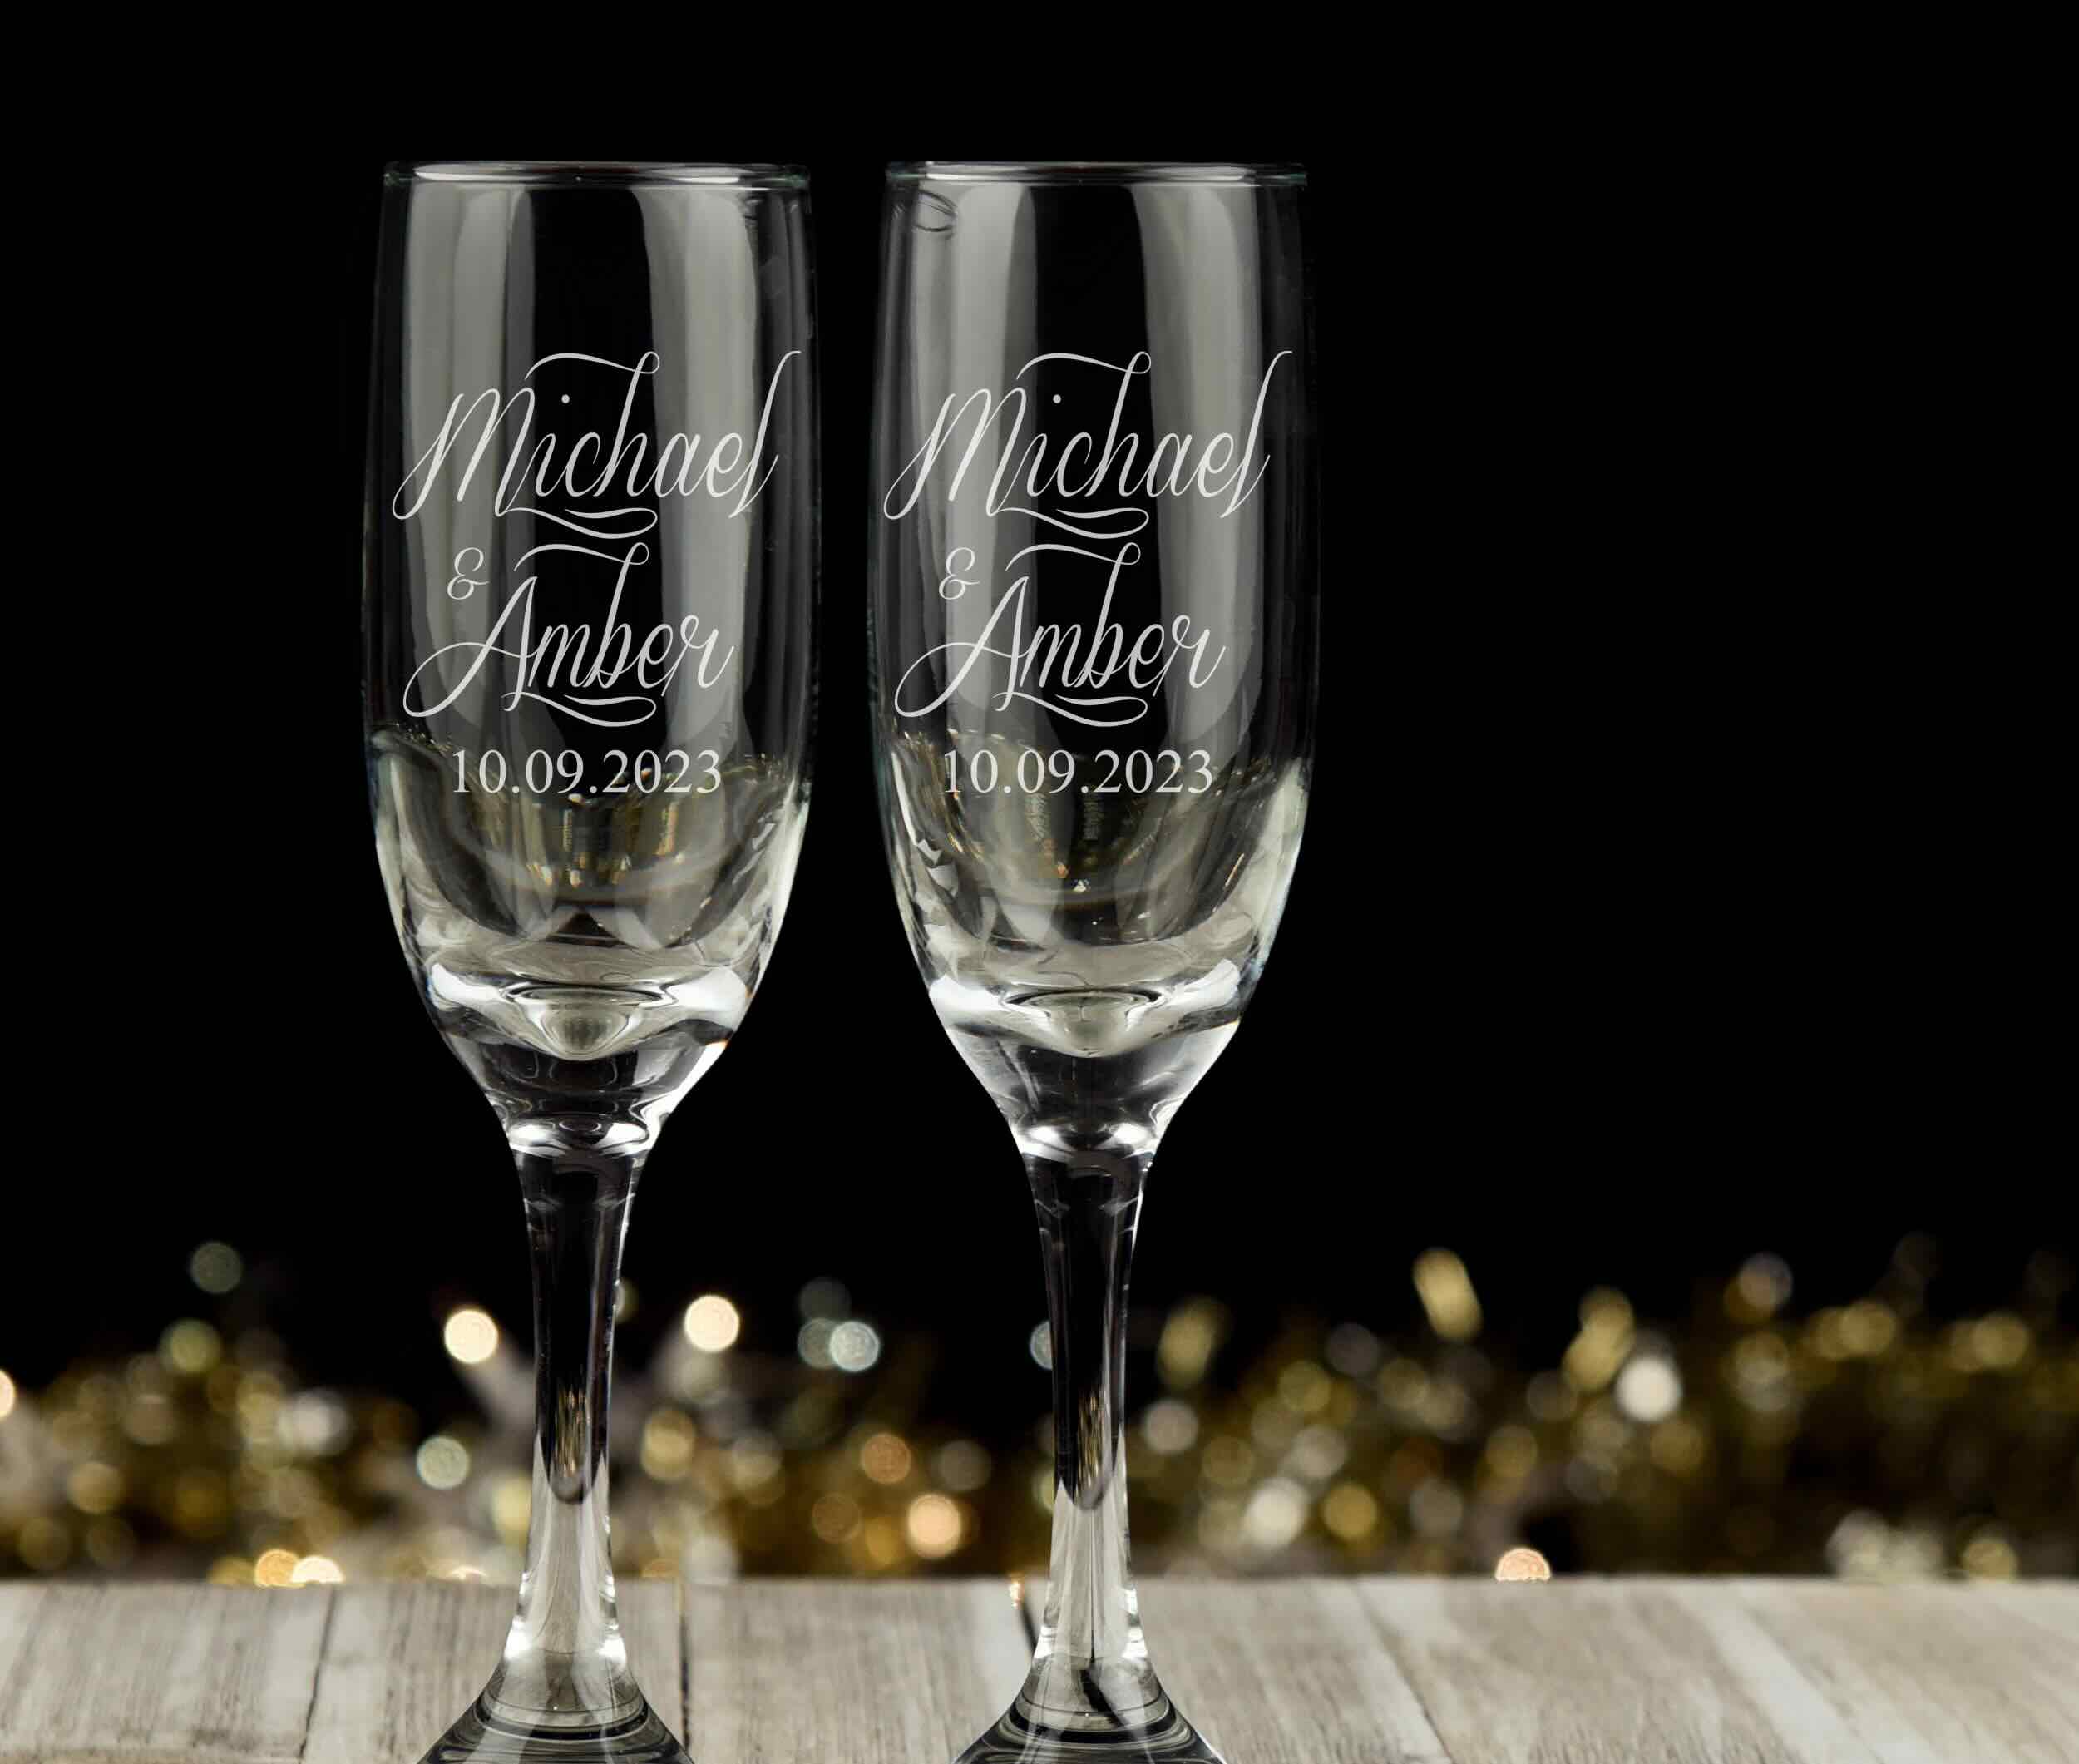
The design is the heart of your etched champagne flute project. Before you start cutting the vinyl, it’s important to have a clear idea of the design you want to etch onto your flutes. Whether it’s initials, a monogram, a pattern, or a custom message, the possibilities are endless.
To prepare the design, follow these steps:
- Open your preferred design software or use the design software provided with your Cricut machine.
- Create a new project and set the dimensions to match the size of your champagne flute. This will help you visualize how your design will look on the final product.
- Select the fonts, shapes, and images you want to use for your design. Customize the layout and placement until you are satisfied with the design.
- Keep in mind that intricate designs with fine details might be challenging to cut cleanly on vinyl and transfer to the flute. It’s best to start with simpler designs if you’re new to this process.
- Once you’ve finalized your design, double-check the dimensions to ensure it will fit comfortably on the champagne flute.
- Save the design in a format that is compatible with your Cricut machine software. SVG or PNG formats are commonly used.
With your design prepared, you’re ready to move on to the next step: preparing the champagne flutes for etching. Let’s get started!
Step 2: Preparing the Champagne Flutes
Now that you have your design ready, it’s time to prepare the champagne flutes for etching. This step ensures that the surface of the glass is clean and free from any oils or residue, allowing the vinyl decals to adhere properly.
- Start by washing the champagne flutes with warm water and mild soap. Rinse them thoroughly to remove any soap residue.
- Dry the flutes using a lint-free cloth. Make sure there are no streaks or moisture left on the surface of the glass.
- Next, using rubbing alcohol or glass cleaner, wipe down the entire exterior surface of the champagne flutes. This step is crucial in removing any oils or fingerprints that may prevent the vinyl from sticking properly.
- Ensure that the flutes are completely dry before proceeding to the next step.
Once your champagne flutes are cleaned and thoroughly dry, you’re ready to move on to the exciting part – cutting the vinyl decals with your Cricut machine. Keep reading to learn how!
Step 3: Cutting the Vinyl Decals
With the champagne flutes prepped and ready, it’s time to unleash the cutting powers of your Cricut machine to create the vinyl decals for the etching process.
- Open the design software for your Cricut machine and load the saved design file.
- Measure the circumference of your champagne flute and resize the design accordingly to fit comfortably around the glass. It’s a good idea to leave a small gap between the edges of the design and the top and bottom of the flute to ensure better adhesion.
- Place the vinyl sheet on the cutting mat and load it into the Cricut machine according to the manufacturer’s instructions.
- In the design software, select the appropriate settings for cutting vinyl. These settings may vary depending on the model of your Cricut machine.
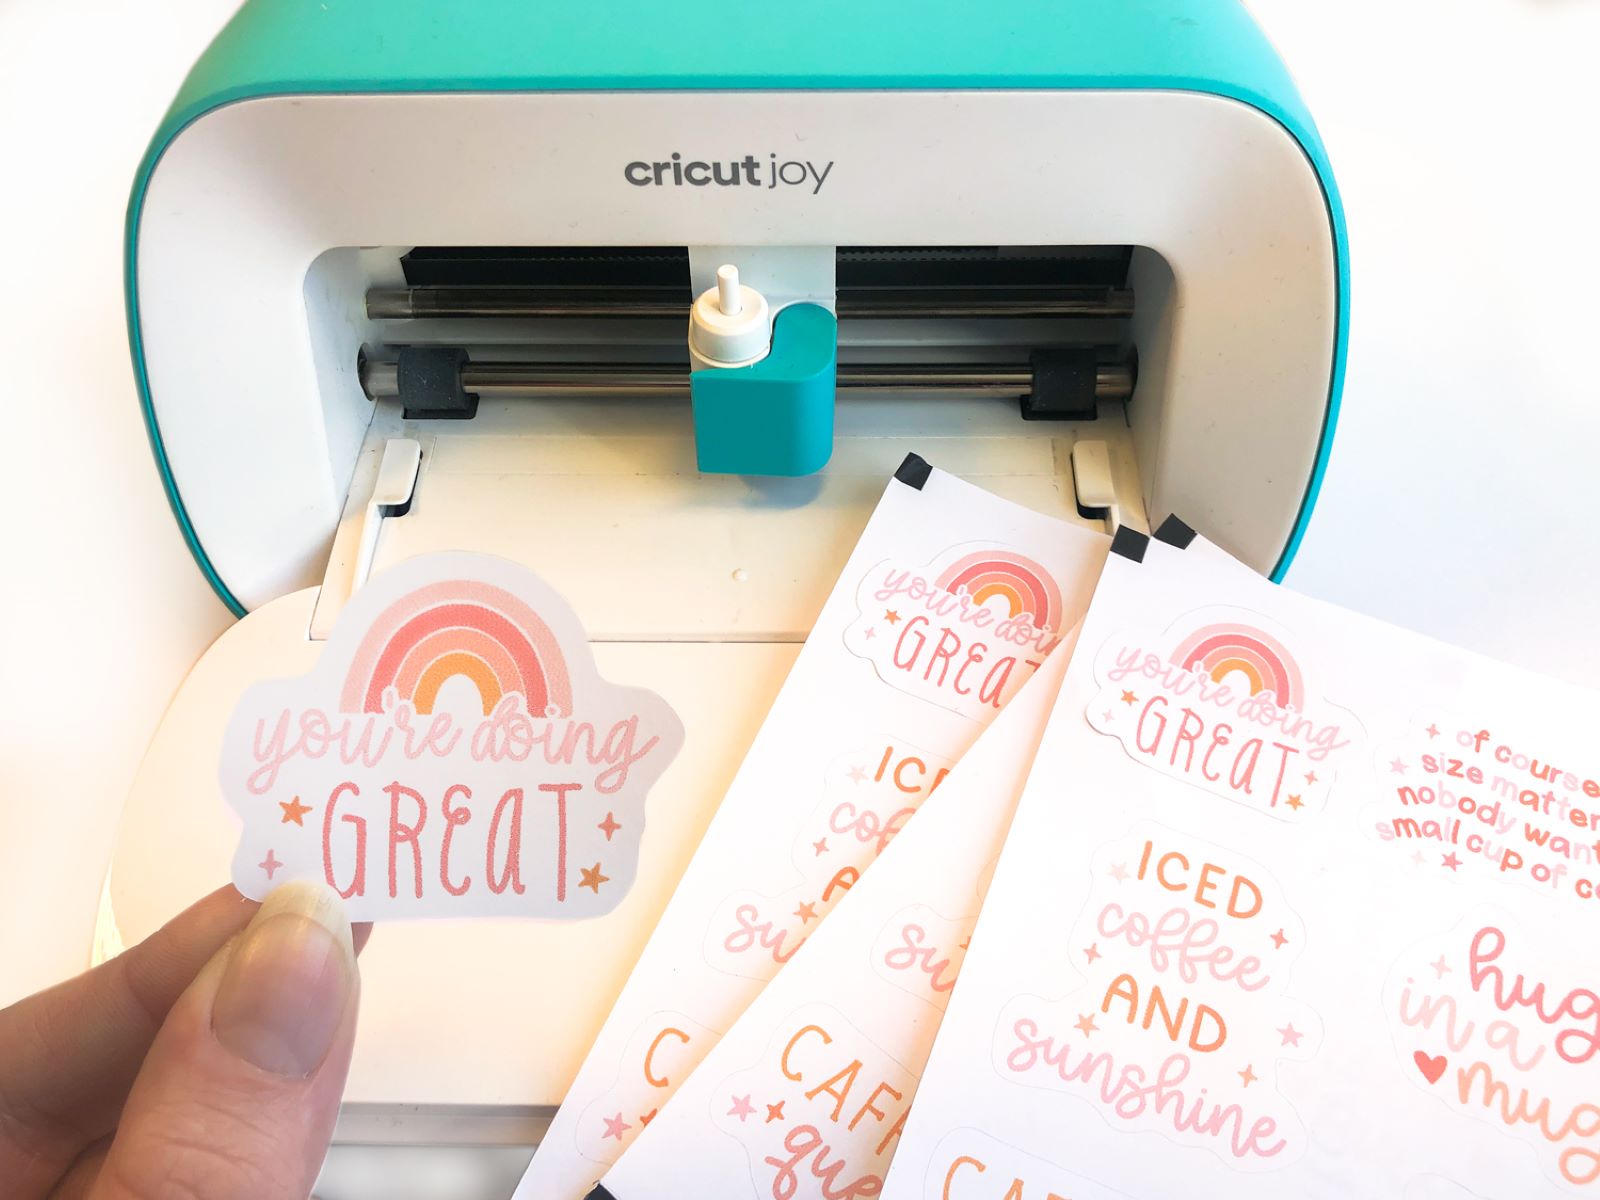
- Click the “Cut” button in the software to start the cutting process.
- Once the machine has finished cutting the design, carefully remove the vinyl decal from the cutting mat. Use a weeding tool or your fingers to remove any excess vinyl from the design, leaving only the desired shape behind.
- Repeat the process for each vinyl decal you need for your champagne flutes.
Now that you have your vinyl decals cut and ready, it’s time to move on to the next step: applying the decals to the champagne flutes. Read on to learn how to do it like a pro!
When etching champagne flutes using a Cricut, be sure to thoroughly clean the glass and dry it completely before applying the vinyl stencil. This will ensure a clean and precise etching.
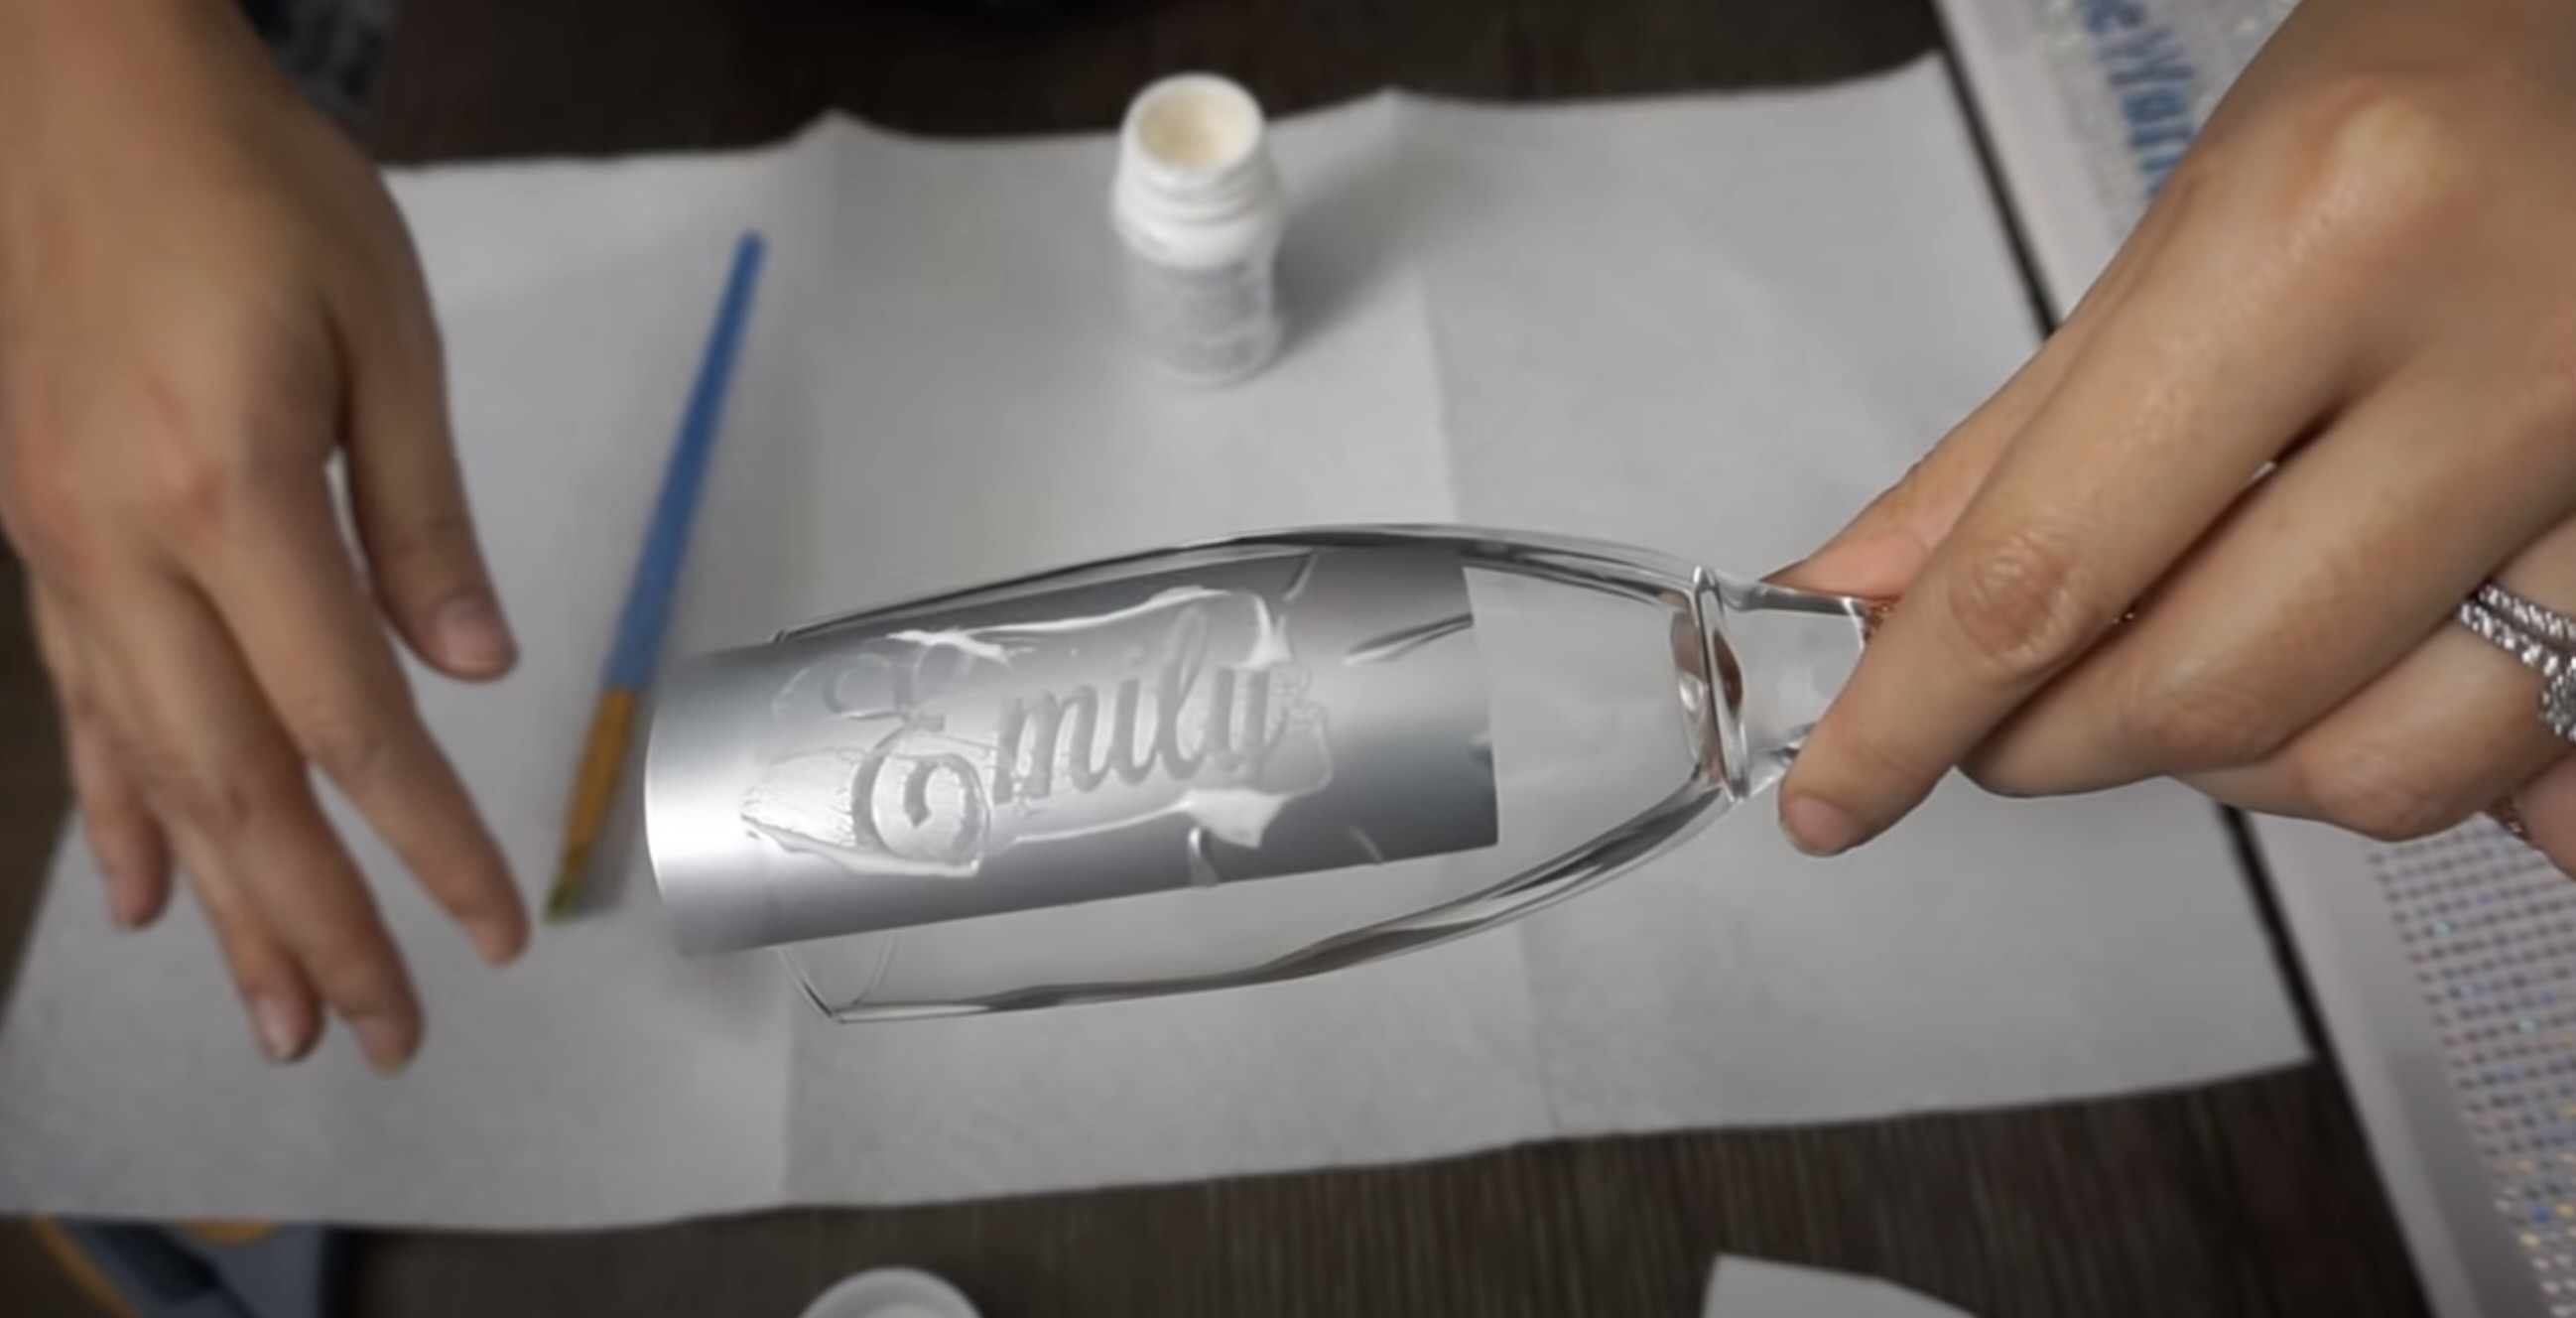
Step 4: Applying the Vinyl Decals
With the vinyl decals cut and weeded, it’s time to apply them to the champagne flutes. This step requires patience and precision to ensure a smooth and accurate application.
- Start by peeling off the backing paper from the vinyl decal, revealing the adhesive side of the design.
- Carefully align the vinyl decal on the champagne flute, making sure it is centered and positioned exactly where you want it.
- Once you have the vinyl decal in the desired position, slowly press it onto the surface of the champagne flute, starting from the center and working your way outward to avoid any air bubbles or wrinkles.
- Use a scraper tool or a credit card to firmly press down on the vinyl decal, ensuring it adheres smoothly to the glass.
- Gently remove the transfer tape, pulling it away at a diagonal angle. This will help prevent the vinyl decal from lifting or tearing.
- Inspect the vinyl decal for any bubbles or imperfections. If you notice any, gently lift the affected area and press it back down to smooth it out.
- Repeat the process for each vinyl decal you want to apply to your champagne flutes.
Now that your vinyl decals are successfully applied, it’s time to move on to the next step: curing and finishing the flutes. Keep reading to learn how to achieve a long-lasting etch!
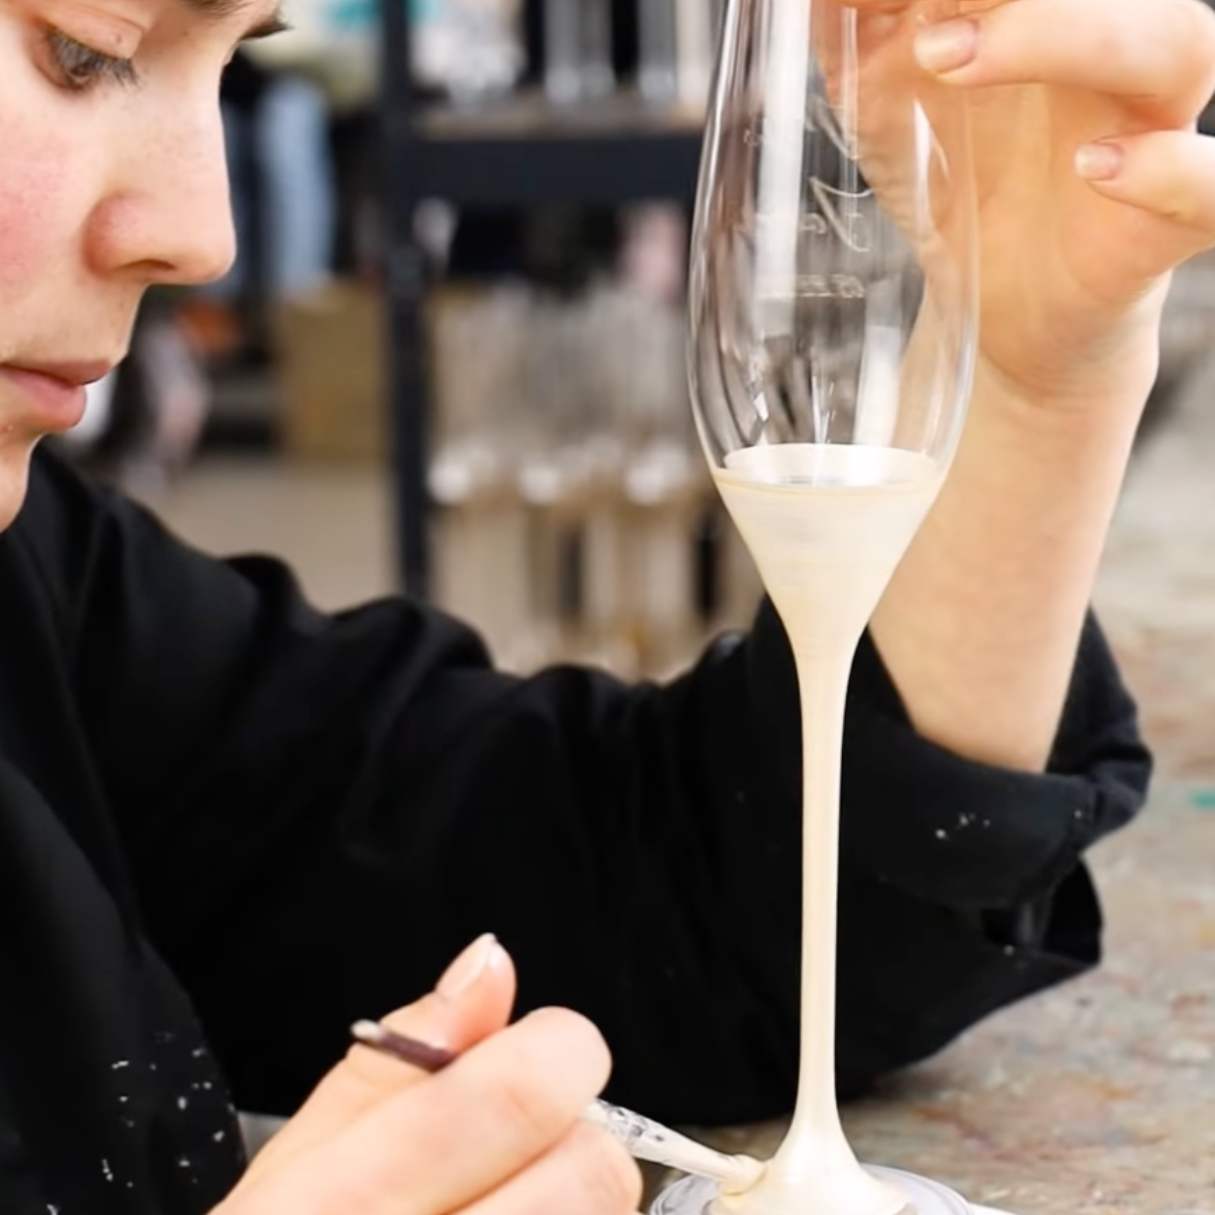
Step 5: Curing and Finishing the Flutes
Once the vinyl decals are securely applied to the champagne flutes, it’s time to give them a professional finish and ensure the longevity of the etched design.
- Start by using painter’s tape to create a clean and defined area around the vinyl decal. This will protect the rest of the flute from any accidental contact with the etching cream.
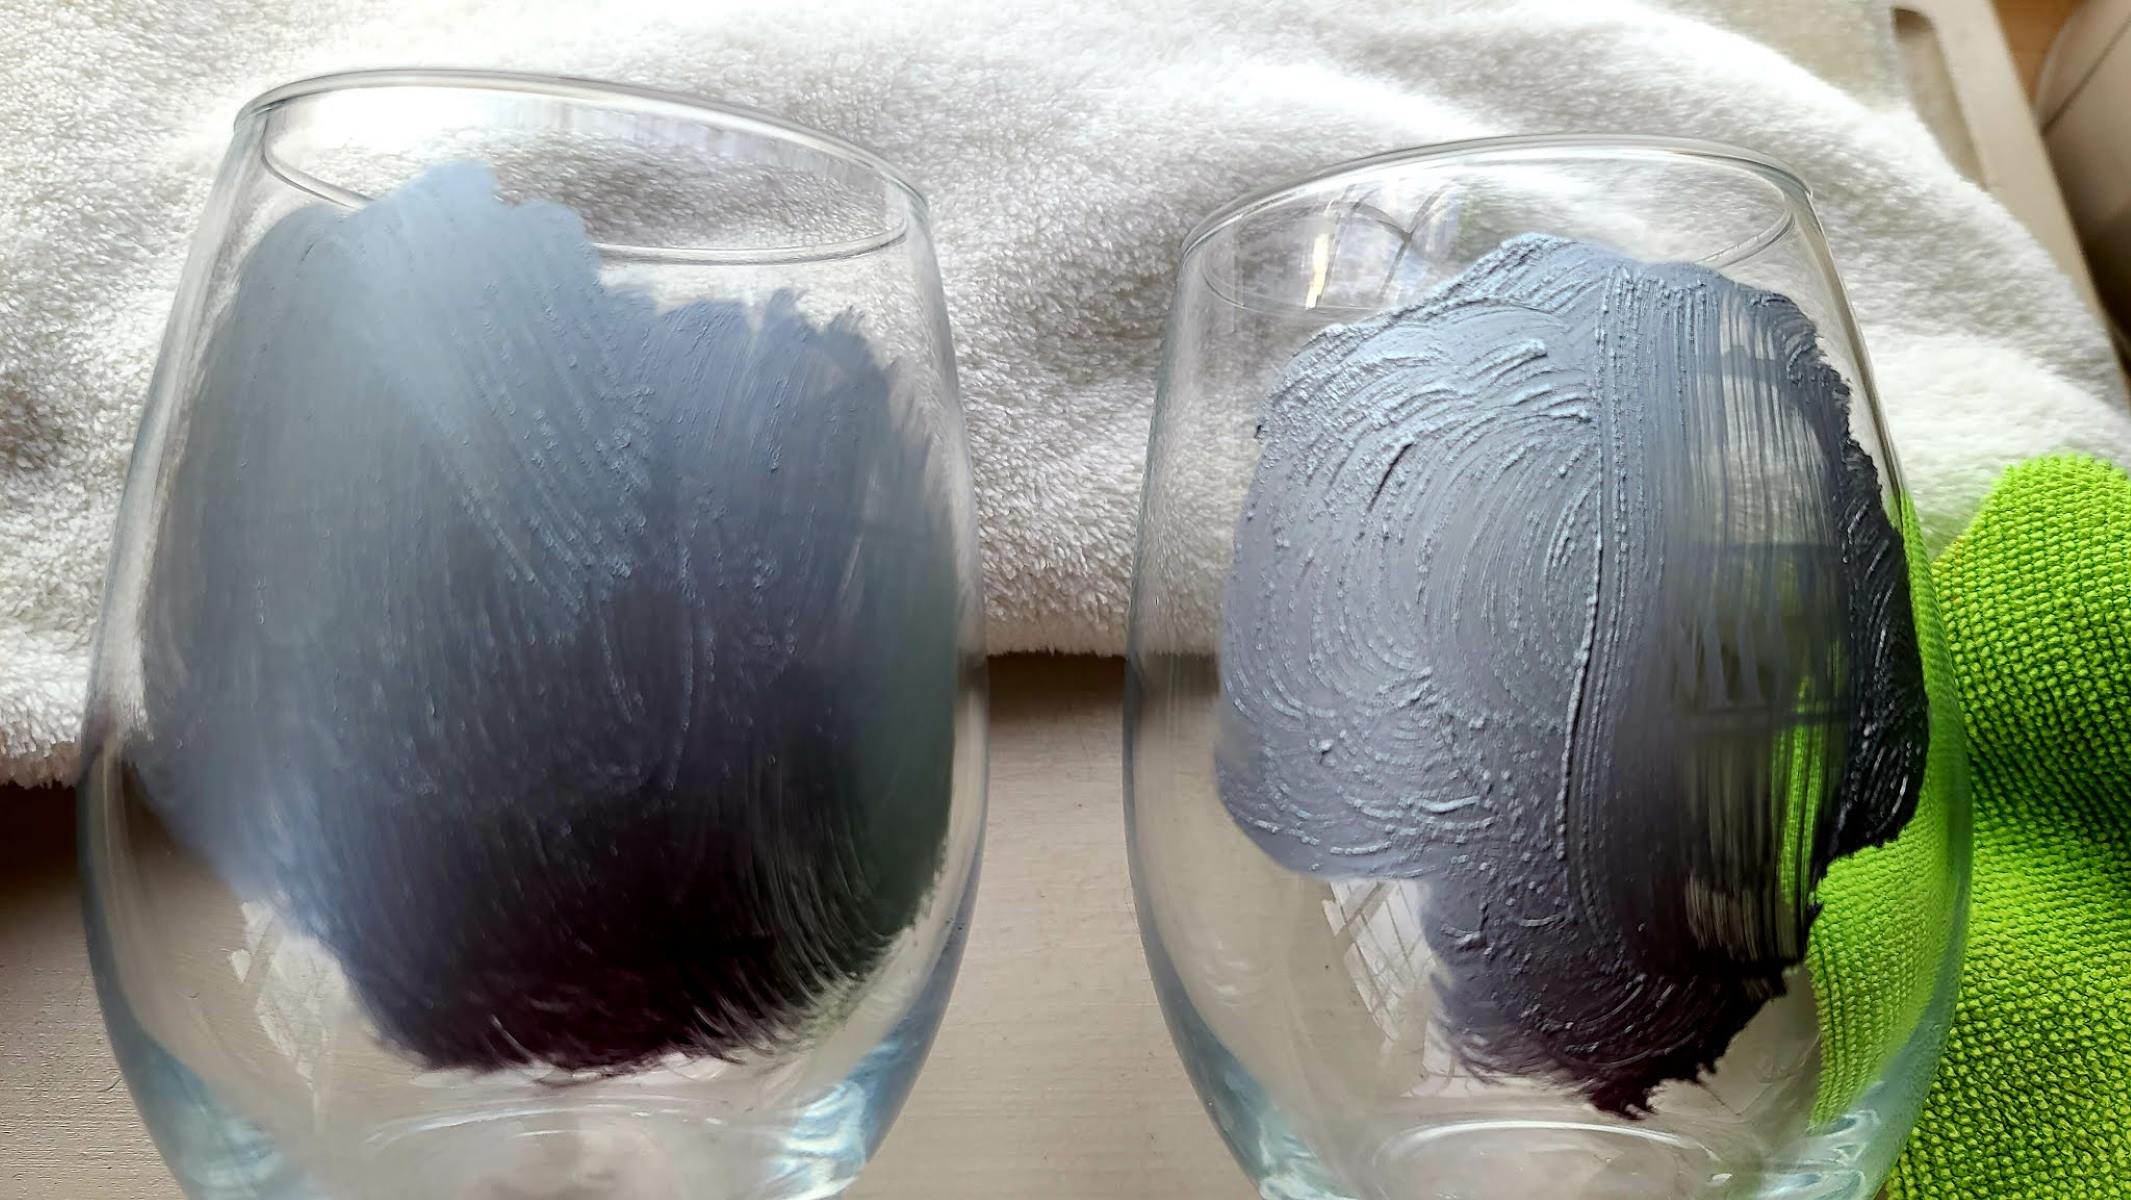
- Put on your disposable gloves and open the bottle of etching cream. Using a paintbrush or spatula, carefully apply a thick, even layer of etching cream onto the exposed glass of the vinyl decal.
- Follow the instructions provided with the etching cream for the recommended amount of time to leave it on the glass. This is usually around 5-10 minutes.
- After the recommended time has passed, rinse the champagne flute under running water to remove the etching cream. Make sure to remove all traces of the cream before removing the painter’s tape.
- Gently scrub the champagne flute with your fingers to remove any remaining adhesive residue from the vinyl decal.
- Remove the painter’s tape and rinse the flute once again to ensure it is completely clean.
- Finally, dry the flute with a lint-free cloth and inspect the etched design. If you’re satisfied with the result, pat yourself on the back for a job well done!
With the curing and finishing steps completed, your personalized etched champagne flutes are now ready to dazzle your guests or be gifted to someone special. Remember to hand-wash the flutes carefully, avoiding harsh scrubbing or abrasive materials, to maintain the integrity of the etched design.
Now that you have successfully etched your champagne flutes using a Cricut machine, let’s go over some essential tips and tricks to ensure a smooth and enjoyable experience. Continue reading to discover some helpful insights!
Tips and Tricks
Etching champagne flutes with a Cricut machine can be a fun and rewarding project. To help you achieve the best results, here are some tips and tricks to keep in mind:
- Experiment with different vinyl colors and finishes. Metallic or glitter vinyl can add an extra touch of elegance to your etched design.
- Before applying the vinyl decal to the champagne flute, practice the placement on a different surface, such as a piece of paper or a spare glass. This will help you determine the ideal positioning and alignment.
- Make sure the surface of the champagne flute is clean and dry before applying the vinyl decal to ensure maximum adhesion.
- Use a weeding tool or a set of tweezers to help remove any intricate or small pieces of excess vinyl from the design.
- If you’re working with curved flutes, gently stretch the vinyl decal while applying it to accommodate the shape of the glass. This will help prevent wrinkles or air bubbles.
- Allow the etching cream to sit on the glass for the recommended amount of time. Be careful not to exceed the recommended time, as it may lead to over-etching and creating a deeper and less precise design.
- When rinsing the flute to remove the etching cream, use lukewarm water. Avoid using hot water, as it can affect the integrity of the vinyl decal.
- If you’re etching multiple champagne flutes, it’s a good idea to work in small batches to ensure you have enough time to apply the etching cream and rinse each flute individually.
- After etching, let the champagne flutes cure for at least 24 hours before using or handling them. This will ensure the etched design sets properly.
- If you want to further protect the etched design, consider applying a sealant or clear coat specifically designed for glass surfaces.
By keeping these tips and tricks in mind, you will enhance your etching experience and create stunning and personalized champagne flutes that will impress everyone.
As we come to the end of this guide, let’s summarize the key points and wrap up the article.
Conclusion
Congratulations on completing your journey into the world of etching champagne flutes using a Cricut machine! Now that you’ve mastered this craft, you can set your table with personalized and elegant tableware that will leave a lasting impression on your guests. Your newfound skills enable you to create unique and thoughtful gifts that are sure to be cherished.
Throughout this article, we guided you through the step-by-step process of etching champagne flutes – from preparing the design to applying the vinyl decals and finally curing and finishing the flutes. By following our instructions and incorporating the tips and tricks we shared, you can achieve professional-looking results with ease.
A project like this allows you to express your creativity and add a personal touch to your table setting or gift-giving occasions. So, let your imagination run wild and experiment with different designs, colors, and finishes to make your etched champagne flutes truly one-of-a-kind.
Remember, practice makes perfect. Don’t be discouraged if your first attempt doesn’t turn out exactly as planned. With some practice and refinement, you’ll master the art of etching and be able to create stunning designs effortlessly.
Thank you for joining us on this journey of DIY tableware customization. We hope this article has inspired you to explore your creativity and embark on more exciting projects. Cheers to your future etching endeavors!
Frequently Asked Questions about How To Etch Champagne Flutes Using Cricut
Was this page helpful?
At Storables.com, we guarantee accurate and reliable information. Our content, validated by Expert Board Contributors, is crafted following stringent Editorial Policies. We're committed to providing you with well-researched, expert-backed insights for all your informational needs.


0 thoughts on “How To Etch Champagne Flutes Using Cricut”