Home>Garden Essentials>How To Decorate Champagne Flutes With Greenery
Garden Essentials
How To Decorate Champagne Flutes With Greenery
Modified: March 7, 2024
Learn how to decorate champagne flutes with greenery and add a touch of garden-inspired elegance to your table setting.
(Many of the links in this article redirect to a specific reviewed product. Your purchase of these products through affiliate links helps to generate commission for Storables.com, at no extra cost. Learn more)
Introduction
Welcome to the world of unique and personalized party decorations. If you’re looking to add a touch of elegance and natural charm to your special occasions, decorating champagne flutes with greenery is the perfect solution. Not only does it create a visually stunning effect, but it also gives a fresh and organic feel to your tablescapes.
Whether you’re planning a wedding, bridal shower, anniversary celebration, or simply a fancy dinner party, adorning your champagne flutes with greenery will elevate the ambiance and leave a lasting impression on your guests. In this article, we will guide you through the step-by-step process of creating beautiful and enchanting champagne flutes using greenery.
Before we dive into the details, let’s gather the materials you’ll need for this delightful DIY project.
Key Takeaways:
- Elevate your special occasions by decorating champagne flutes with greenery for a natural and elegant touch. Impress your guests and create unforgettable tablescapes with personalized charm.
- Choose fresh or artificial greenery to match your event’s theme and color scheme. Add finishing touches like ribbons and charms for a unique and stunning look. Enjoy creating memorable decorations for any celebration!
Read more: How To Clean Champagne Flutes
Materials Needed
Before you get started, make sure you have the following materials on hand:
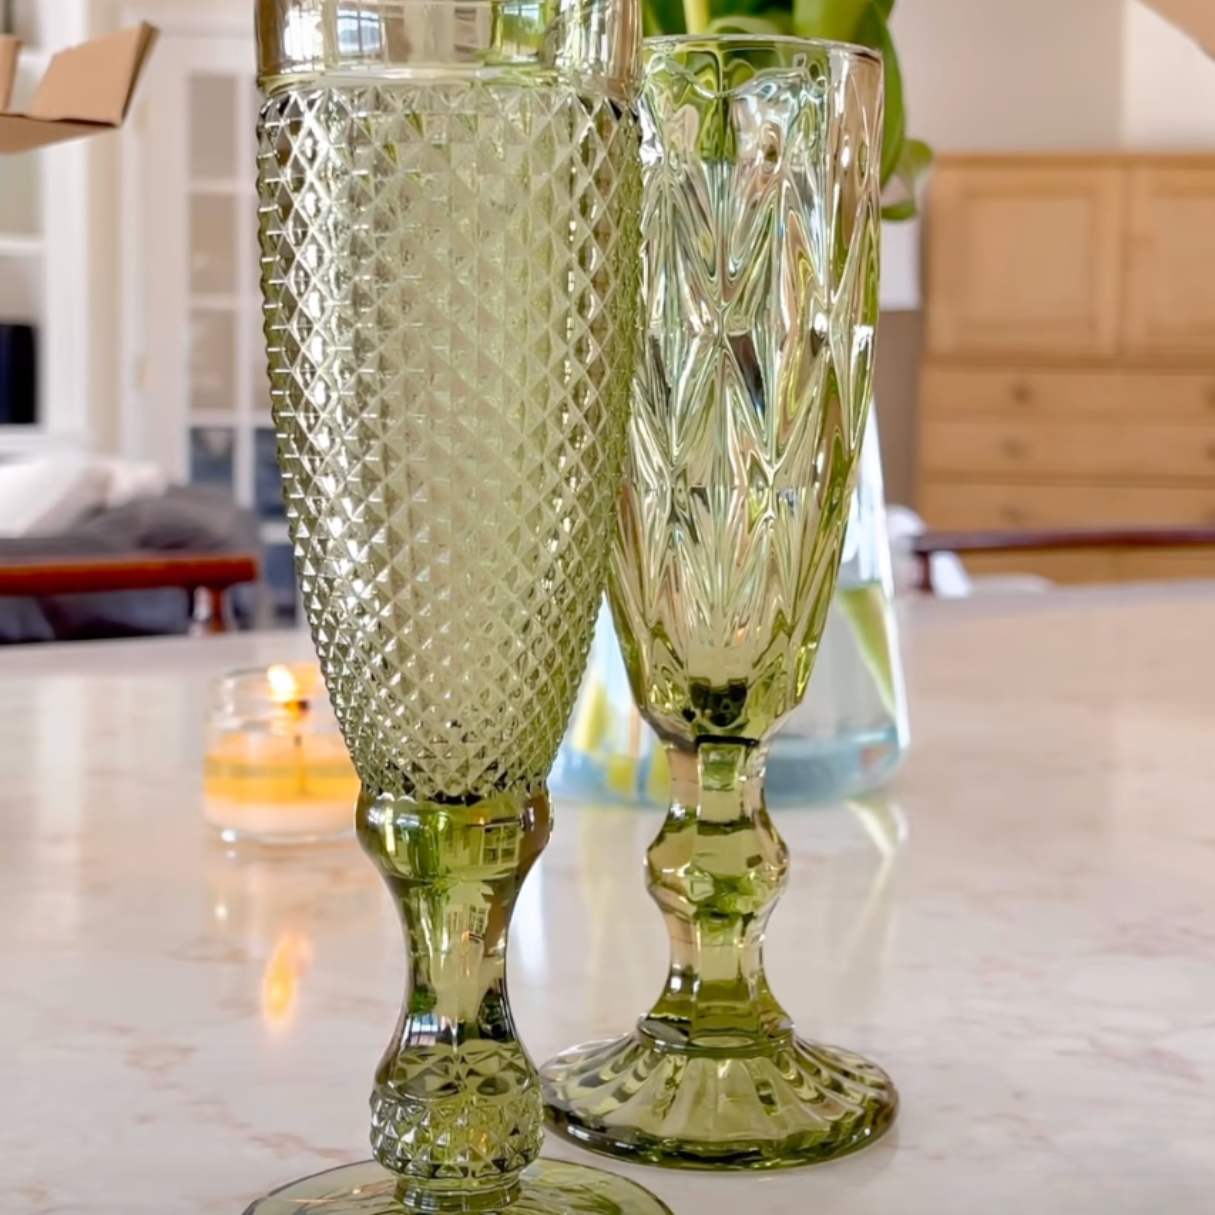
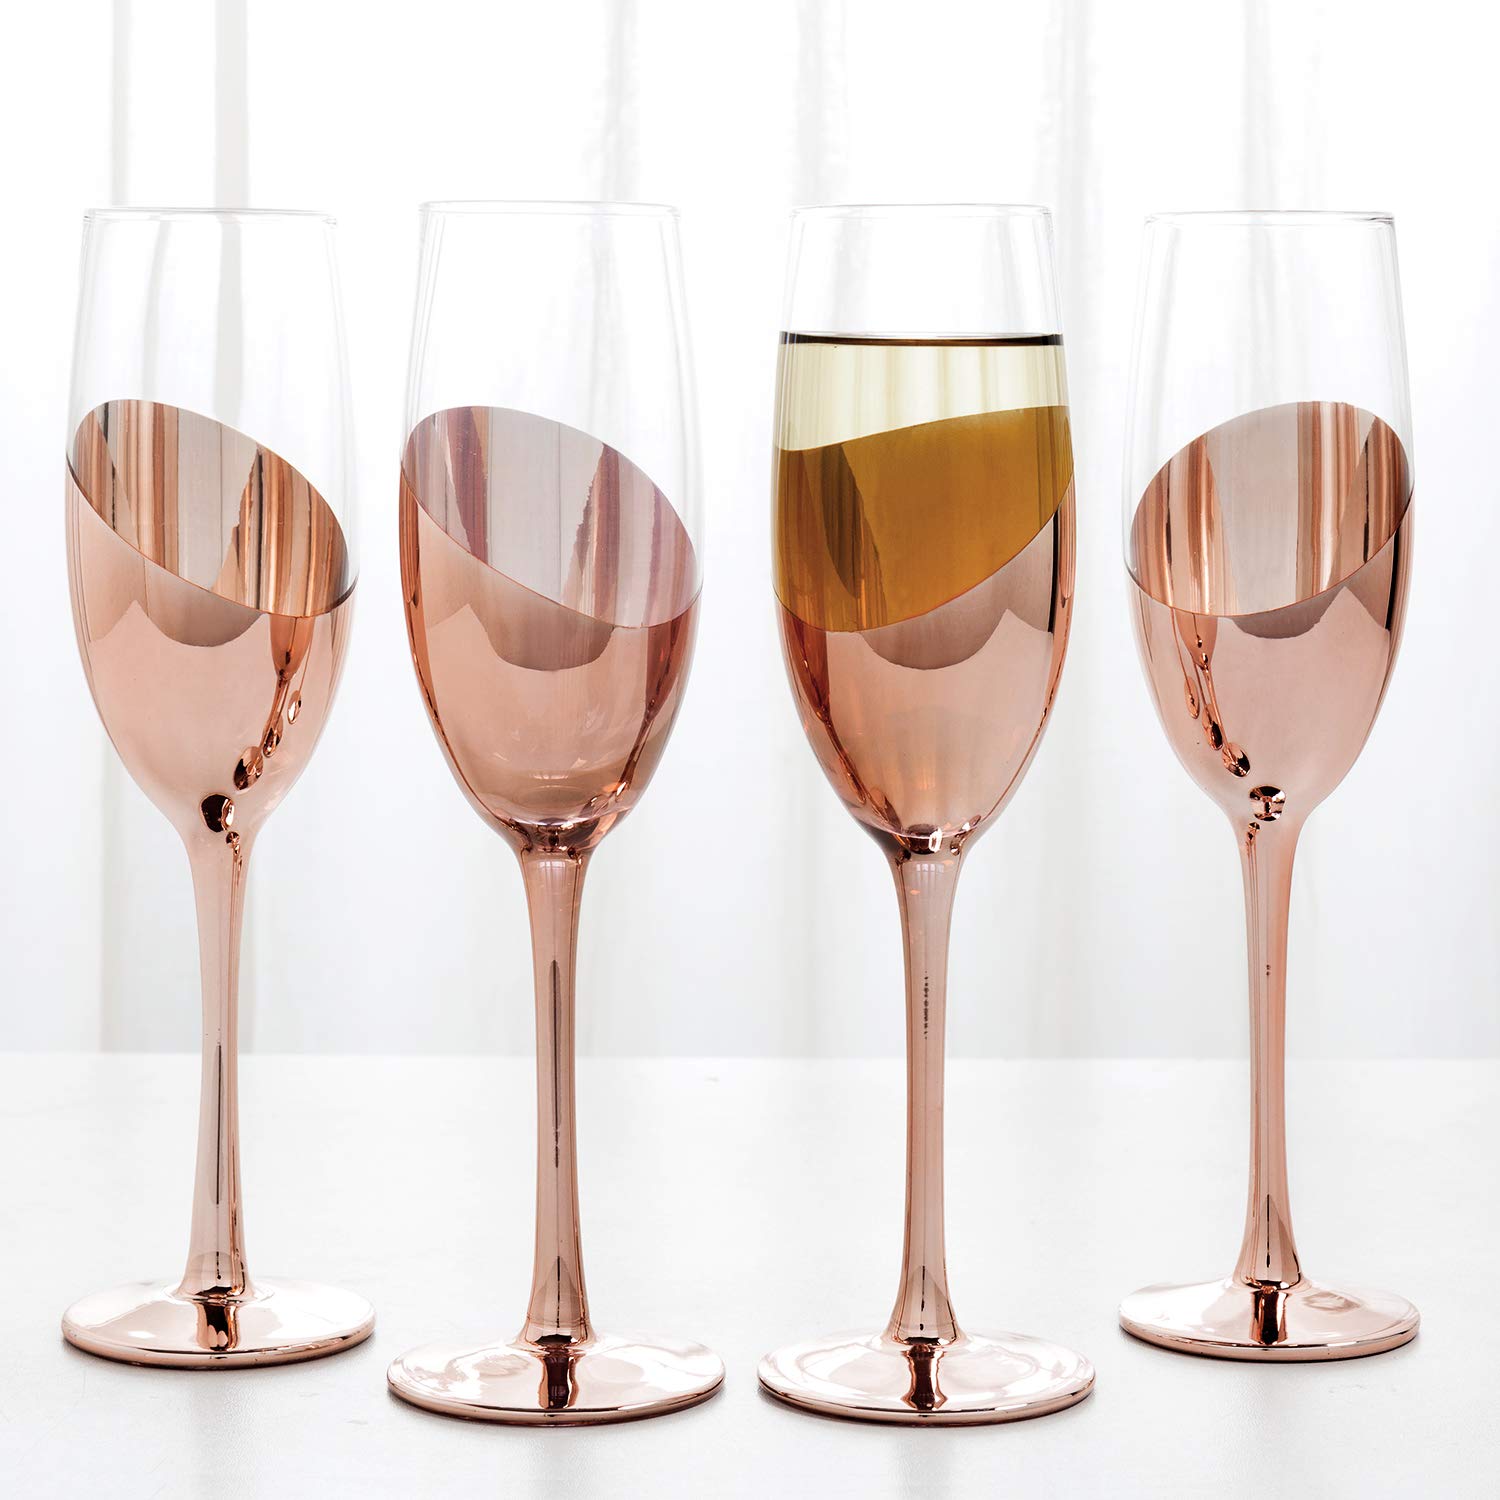
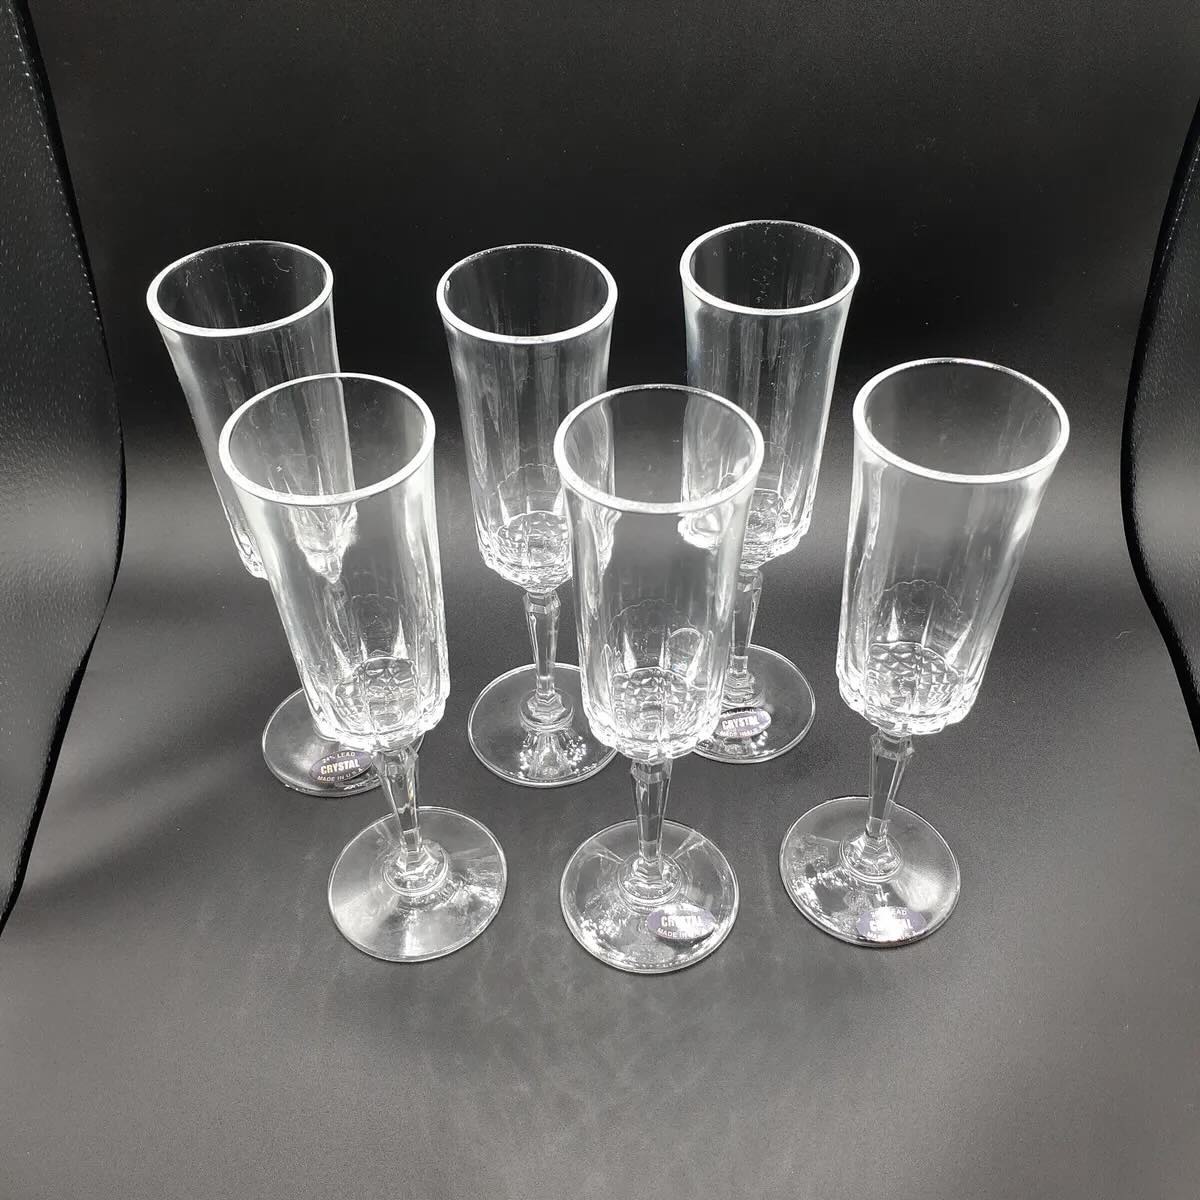
- Champagne flutes: Choose clear glass flutes of various shapes and sizes to add visual interest to your table setup.
- Greenery: Foliage options such as eucalyptus, ivy, ferns, or any other type of lush green leaves. Opt for fresh greenery for a natural touch, or use artificial greenery for a long-lasting decoration.
- Floral wire: This will be used to secure the greenery to the champagne flutes.
- Scissors: To trim and shape the greenery as needed.
- Ribbon (optional): If you want to add an extra decorative touch, choose a ribbon that matches your event’s color scheme.
Once you have gathered all the necessary materials, you’re ready to start creating your stunning champagne flute decorations. Follow along as we guide you through each step of the process.
Step 1: Selecting the Greenery
The first step in creating your beautiful champagne flute decorations is selecting the right greenery. You want to choose foliage that is fresh, vibrant, and can withstand being attached to the glass surface.
Eucalyptus is a popular choice for its elegant, long-lasting leaves and pleasant fragrance. Ivy is another versatile option that adds a touch of whimsy. Other options like ferns or even small sprigs of herbs can also work well.
Consider the theme or color palette of your event when selecting the greenery. If you’re aiming for a rustic or natural vibe, choose greenery with a lot of texture and varying shades of green. For a more formal or modern look, opt for sleek and simple greenery.
If you’re using fresh greenery, make sure to mist or water it lightly before attaching it to the champagne flutes. This will help keep it looking fresh throughout your event.
Once you’ve chosen your greenery, trim off any excess stems or leaves that may hinder the attachment process. Now you’re ready to move on to the next step: preparing the champagne flutes.
Step 2: Preparing the Champagne Flutes
Now that you have your selected greenery, it’s time to prepare the champagne flutes for decoration. Follow these steps to ensure a clean and secure attachment:
- Start by thoroughly cleaning the champagne flutes to remove any dust, fingerprints, or residue that might prevent the greenery from adhering properly.
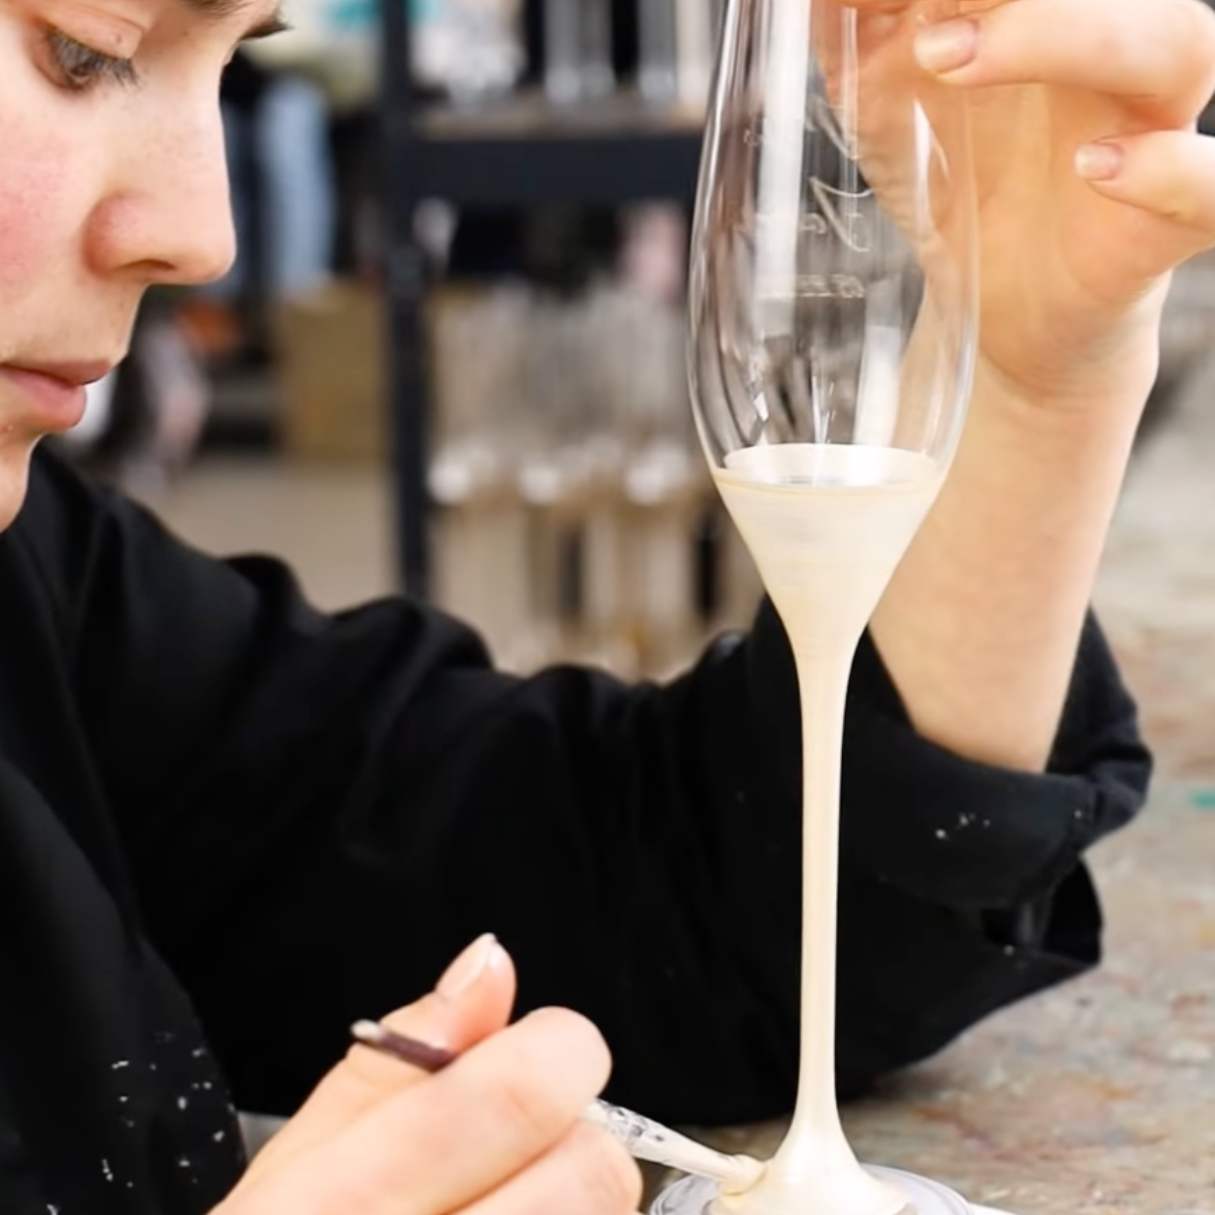
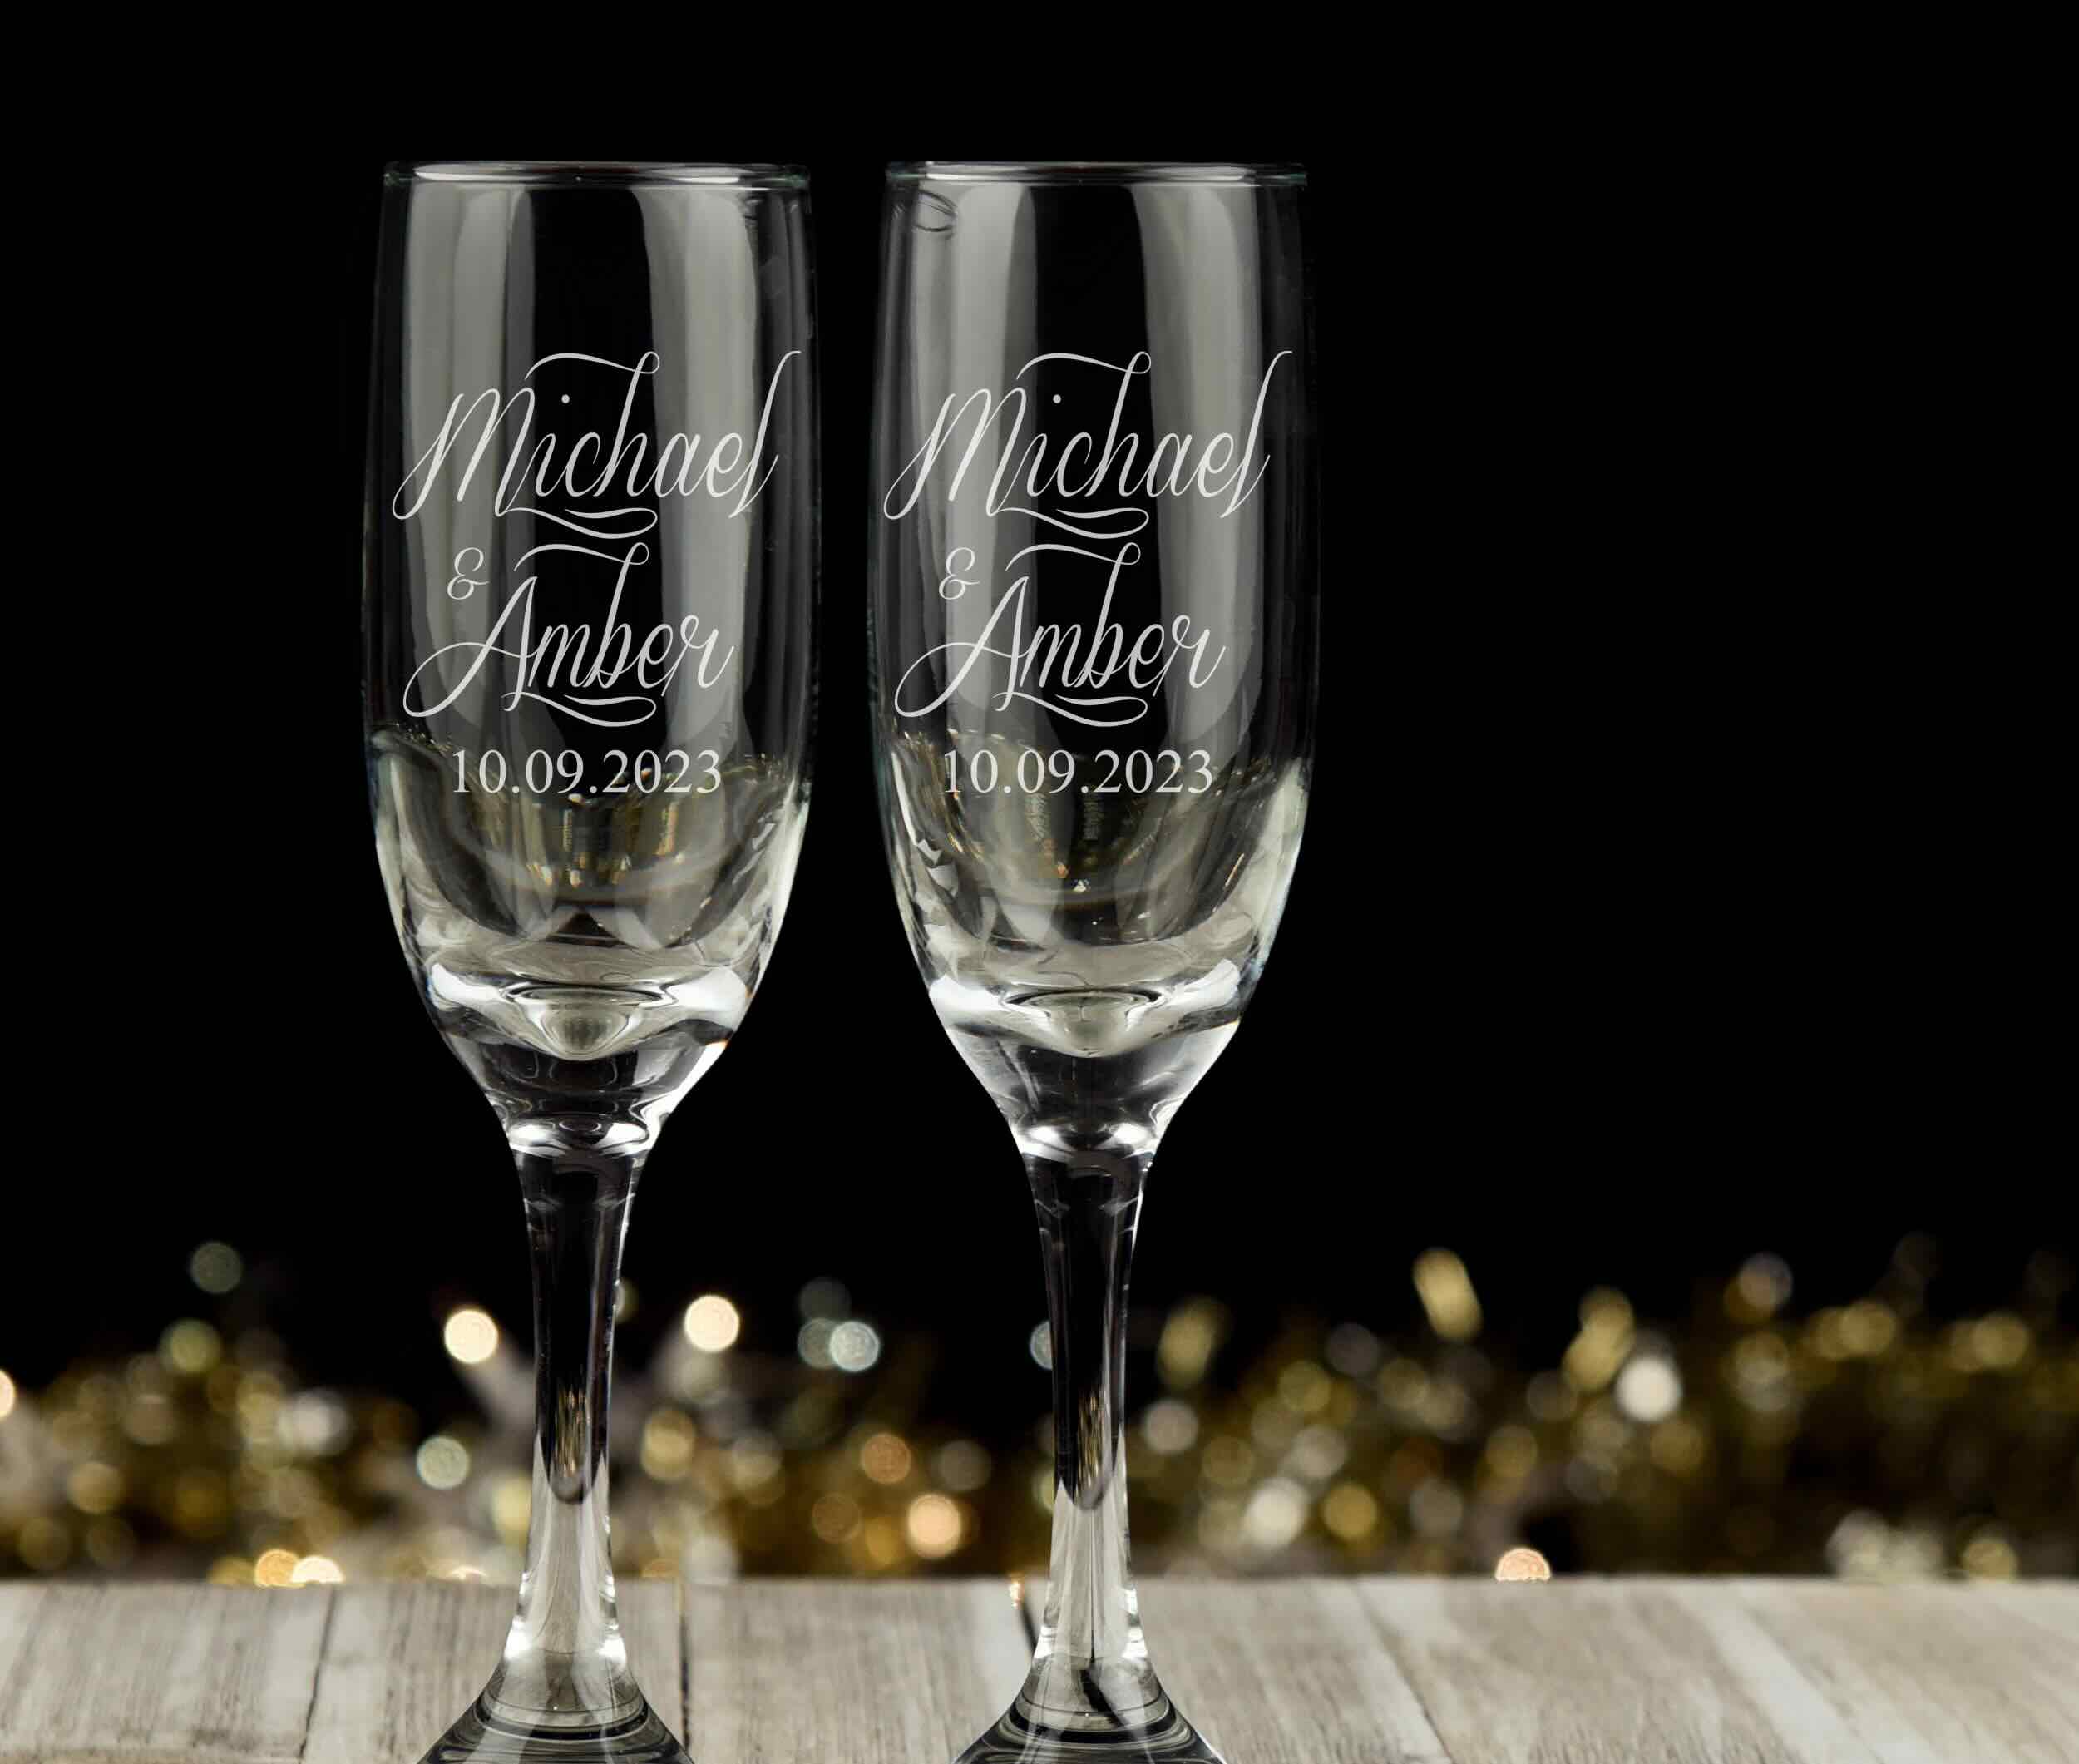
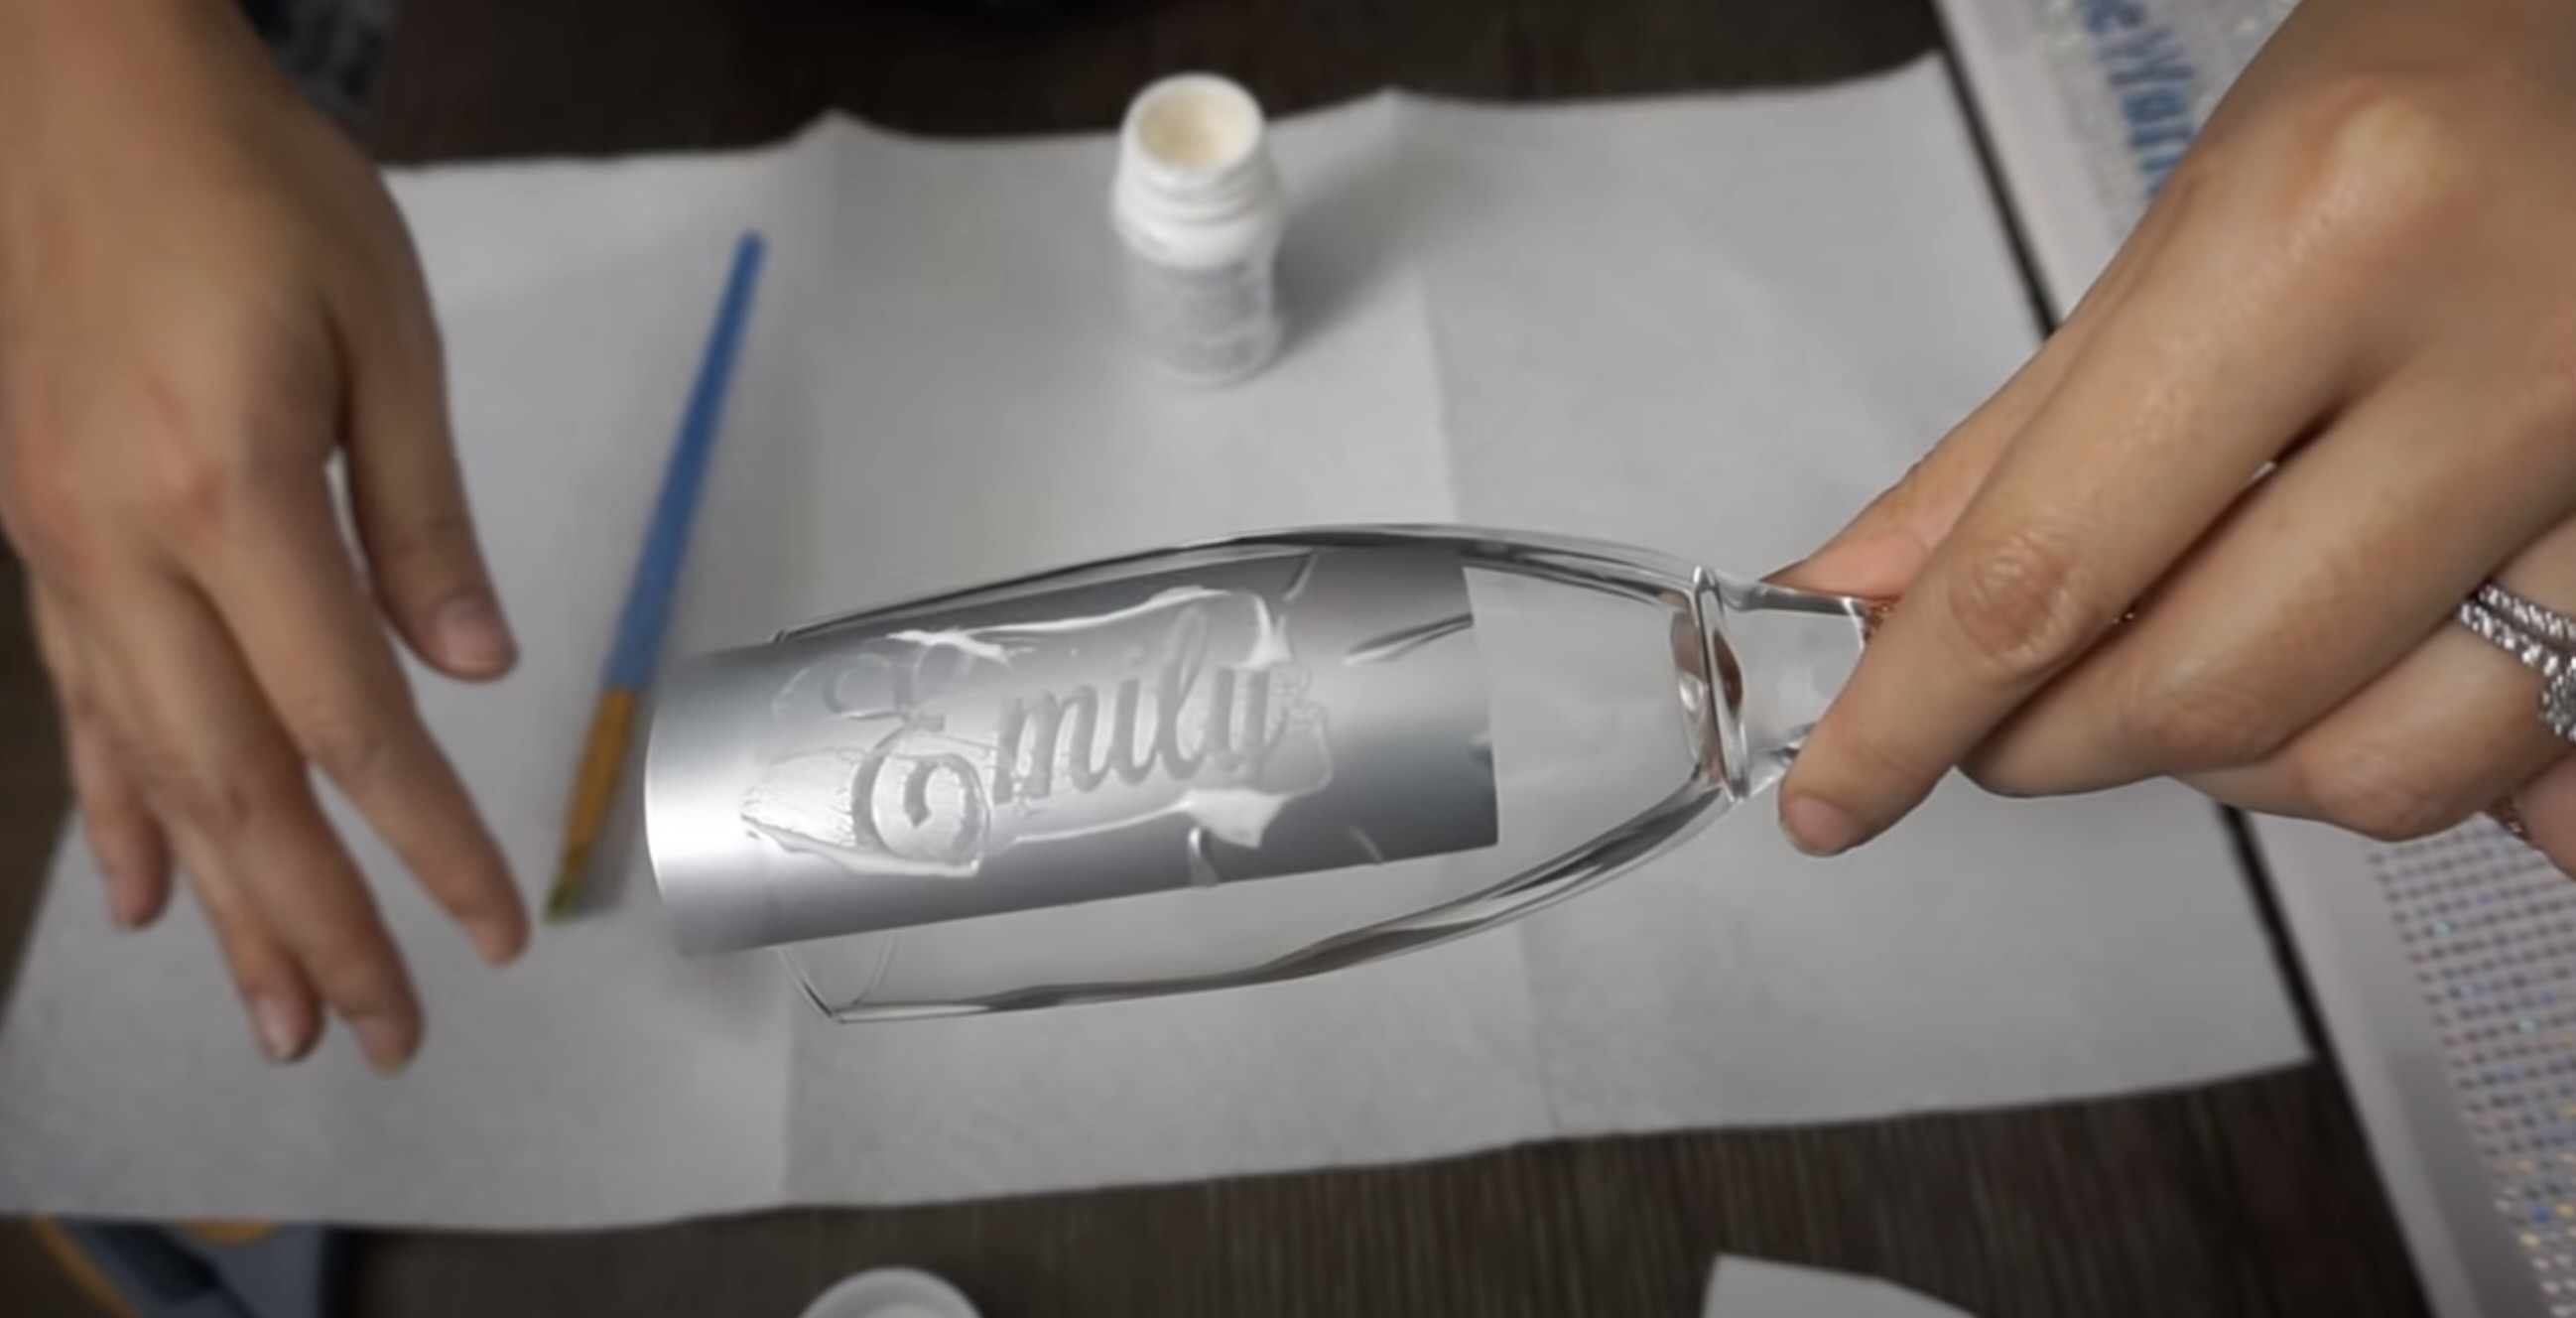
- If desired, you can add a personal touch to the flutes by etching or painting names or initials onto the glass. This will give your decorations an extra level of customization.
- Next, measure the length of your chosen greenery against the height of the flute. Trim each stem accordingly so that it fits nicely without overwhelming the glass.
- Attach small pieces of double-sided tape or adhesive dots to the back of each stem, about halfway down.
Take your time when attaching the adhesive; you want to ensure it is secure enough to hold the greenery in place but not so strong that it damages the glass when removed.
If you’re using artificial greenery, you can skip the adhesive step and proceed directly to attaching the greenery. However, for a more secure attachment, you can use a small amount of clear, waterproof glue to adhere the stems to the champagne flutes.
Once you have prepared the champagne flutes, it’s time to move on to the exciting part: attaching the greenery.
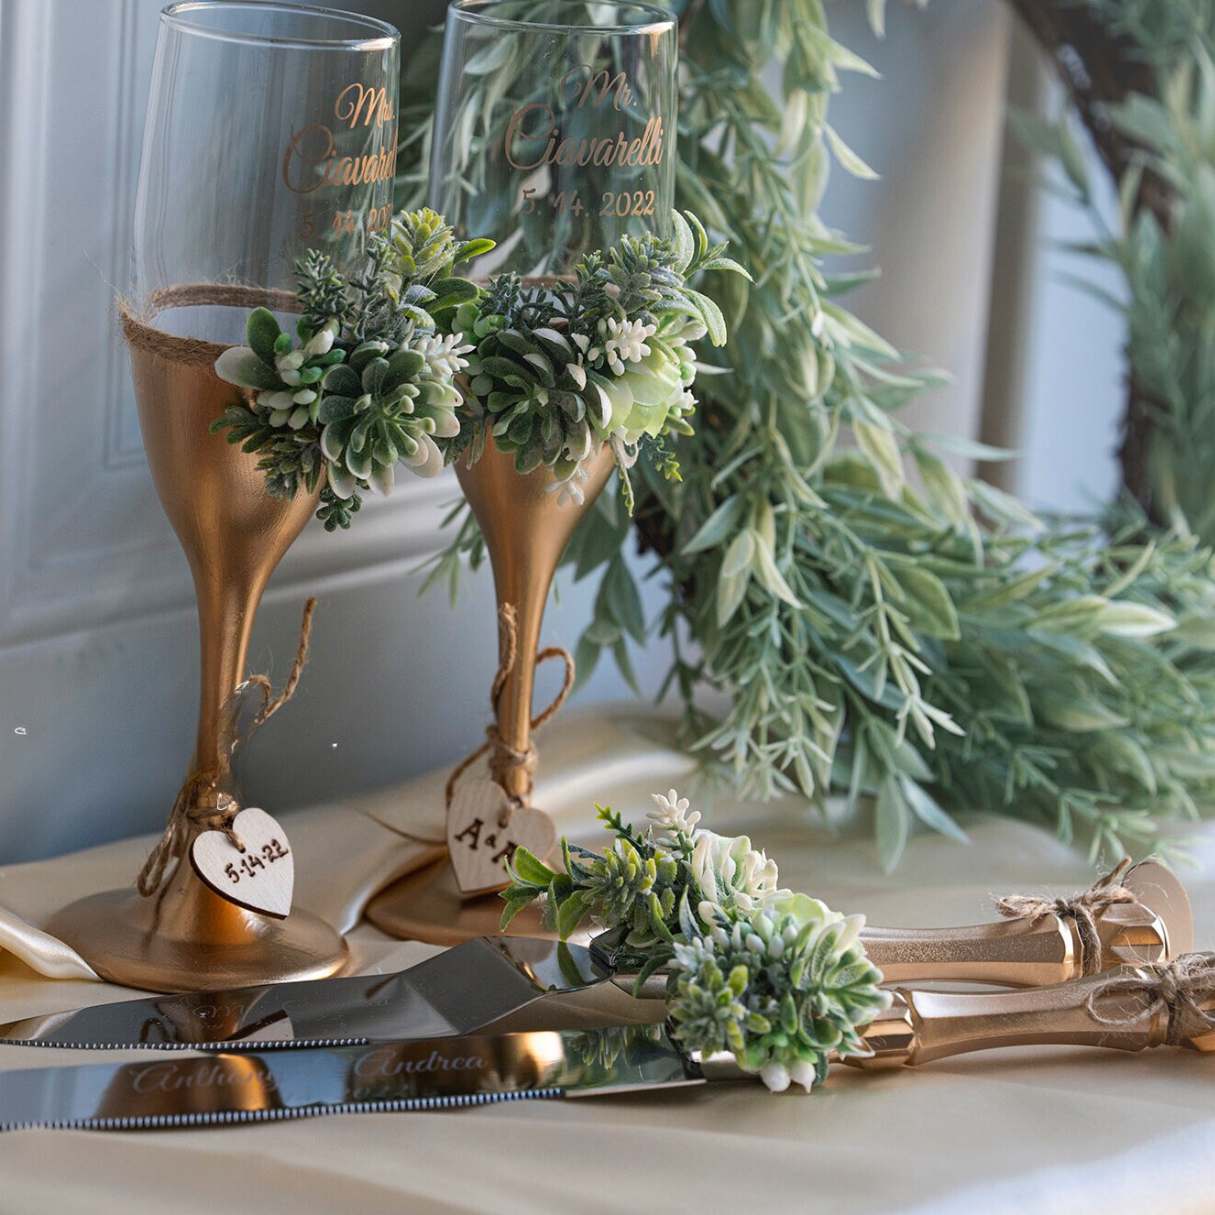
To decorate champagne flutes with greenery, simply tie a small sprig of fresh greenery, such as eucalyptus or rosemary, around the stem of the flute with a thin ribbon or twine for a natural and elegant touch.
Step 3: Attaching the Greenery
With the champagne flutes prepared, it’s time to attach the greenery and bring your decorations to life. Follow these steps to achieve a beautiful and cohesive look:
- Take one stem of your selected greenery and position it against the back of the champagne flute, just above the base. Ensure that the stem overlaps the double-sided tape or adhesive dots.
- Gently press the stem onto the adhesive, securing it in place. If you’re using artificial greenery, use a small amount of clear, waterproof glue to affix it to the glass.
- Repeat this process, working your way around the flute, adding more stems of greenery. Vary the lengths and angles to create a natural and visually interesting arrangement.
- If you’re using different types of greenery, mix them together for added texture and dimension.
- Continue attaching the greenery until you reach the desired level of coverage. You can cover the entire flute or leave parts of the glass visible for a more minimalist look.
Take your time during this step, adjusting the positioning of the greenery as needed. Step back occasionally to assess the overall appearance and make any necessary adjustments for balance and symmetry.
Once you’re satisfied with the arrangement of the greenery, move on to the final step: adding the finishing touches.
Step 4: Finishing Touches
Now that you have attached the greenery to your champagne flutes, it’s time to add some finishing touches to complete the look. These optional embellishments will further elevate your decorations:
- Wrap a thin ribbon or twine around the stems of the greenery to create a polished and cohesive appearance. Choose a ribbon that complements the color scheme of your event.
- Consider adding small floral accents or decorative elements such as tiny flowers, pearls, or crystals to the greenery. These delicate touches will add a touch of whimsy and elegance.
- If you want to personalize the champagne flutes further, attach small charms or tags with the names or initials of your guests.
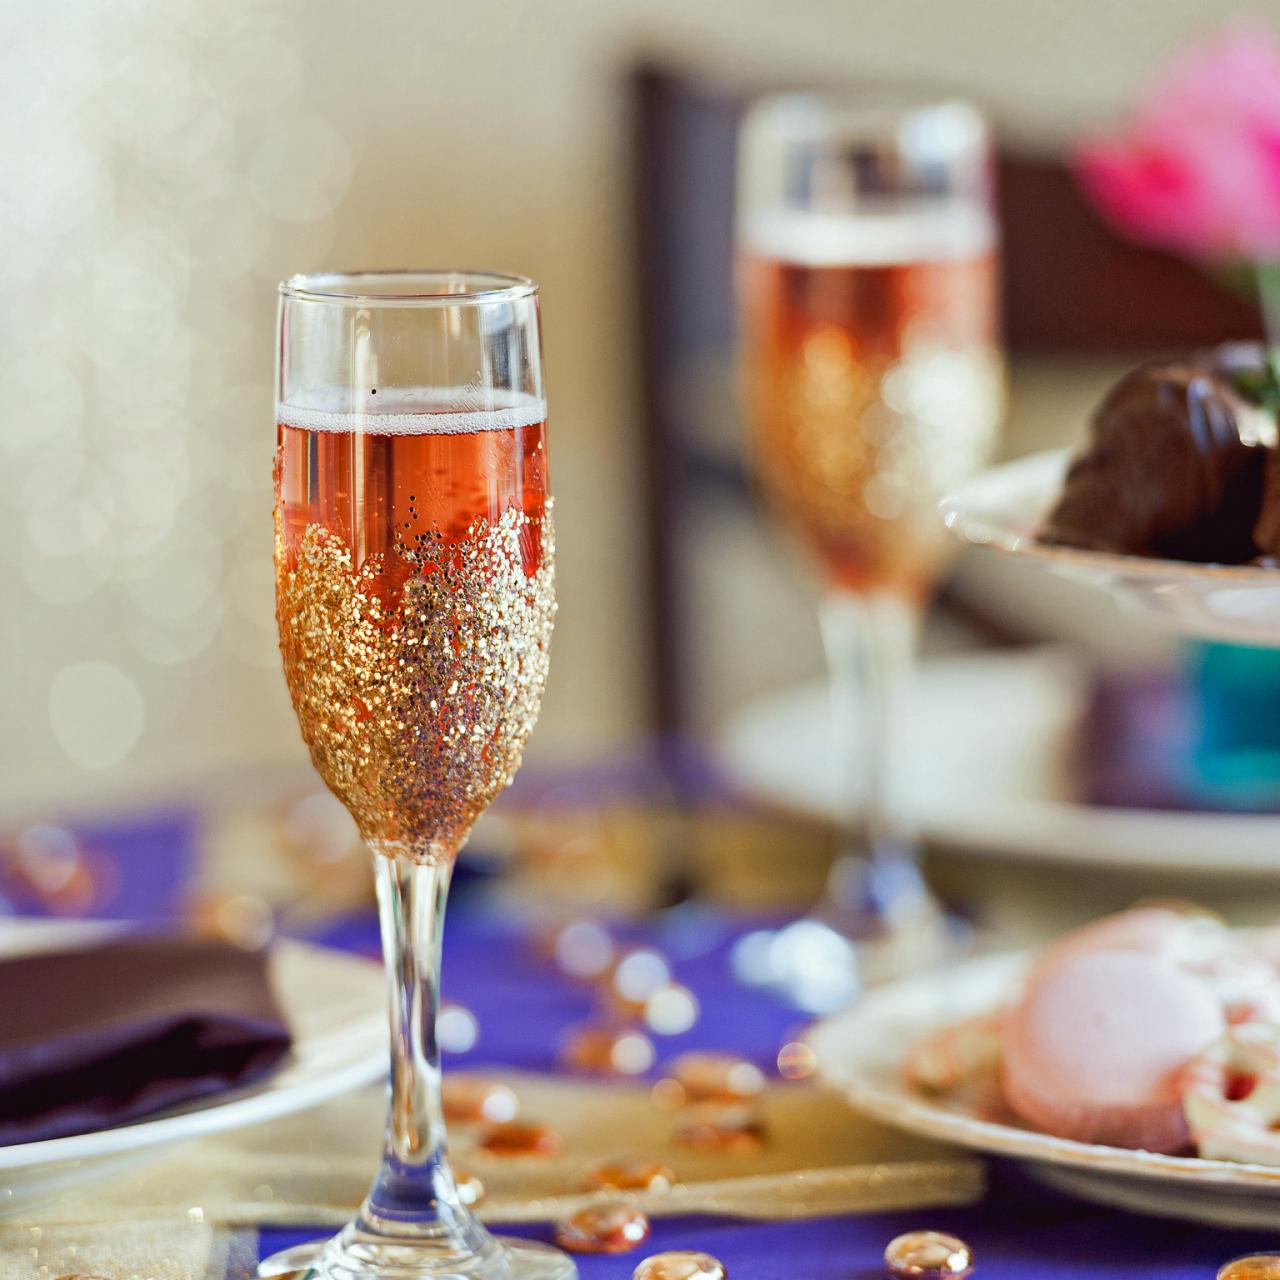
- Place the decorated champagne flutes on a beautifully styled table setting or incorporate them into a centerpiece arrangement with candles, flowers, or other decorative elements.
Remember to consider the overall aesthetic of your event while adding these finishing touches. Keep it simple and elegant or let your creativity shine with more elaborate embellishments.
With the finishing touches complete, step back and admire your stunning champagne flute decorations. Your guests will be impressed by the unique and natural charm they add to the celebration.
Now that you’ve mastered the art of decorating champagne flutes with greenery, you can adapt this idea to suit any occasion and create unforgettable tablescapes.
Enjoy the process of creating these beautiful decorations and have a wonderful time celebrating your special moments with your loved ones!
Conclusion
Decorating champagne flutes with greenery is a simple yet impactful way to add a touch of elegance and natural beauty to any special occasion. By following the steps outlined in this article, you can easily create stunning and personalized decorations that will impress your guests and elevate the ambiance of your event.
From weddings and anniversaries to bridal showers and dinner parties, adorned champagne flutes will enhance the visual appeal of your tablescapes and create a memorable experience. The greenery adds a fresh and organic touch, bringing a sense of nature and charm to your celebrations.
Remember to choose the right greenery that aligns with your event’s theme and color scheme. Consider the types of foliage that will complement your desired aesthetic, whether it’s the elegant leaves of eucalyptus or the whimsical tendrils of ivy.
With proper preparation, attachment, and finishing touches, your champagne flutes will look like works of art. Don’t be afraid to get creative with embellishments such as ribbons, floral accents, or personalized charms. These details will add that extra layer of individuality and style.
So, the next time you’re planning a special occasion, unleash your creativity and transform ordinary champagne flutes into extraordinary decorations with the beauty of greenery. Your guests will be captivated by the elegance and natural charm they bring to the table.
Enjoy the process of creating these stunning decorations, and make lasting memories that will be cherished for years to come. Cheers to your creativity and the joy of celebration!
Frequently Asked Questions about How To Decorate Champagne Flutes With Greenery
Was this page helpful?
At Storables.com, we guarantee accurate and reliable information. Our content, validated by Expert Board Contributors, is crafted following stringent Editorial Policies. We're committed to providing you with well-researched, expert-backed insights for all your informational needs.


0 thoughts on “How To Decorate Champagne Flutes With Greenery”