Home>Dining>Tableware>How To Wrap Champagne Flutes With A Champagne Bottle
Tableware
How To Wrap Champagne Flutes With A Champagne Bottle
Modified: November 2, 2024
Discover the art of wrapping Champagne flutes with a Champagne bottle for a touch of elegance to your tableware. Learn how to create a stunning table setting with this unique technique.
(Many of the links in this article redirect to a specific reviewed product. Your purchase of these products through affiliate links helps to generate commission for Storables.com, at no extra cost. Learn more)
Introduction
Welcome to the world of tableware, where elegance and sophistication meet functionality and style. One essential item in the realm of tableware is the champagne flute, a tall and slender glass designed specifically for enjoying the effervescence and flavors of champagne. Whether you are hosting a special occasion or simply want to elevate your dining experience, knowing how to wrap champagne flutes with a champagne bottle can add a touch of glamour to your tabletop setup.
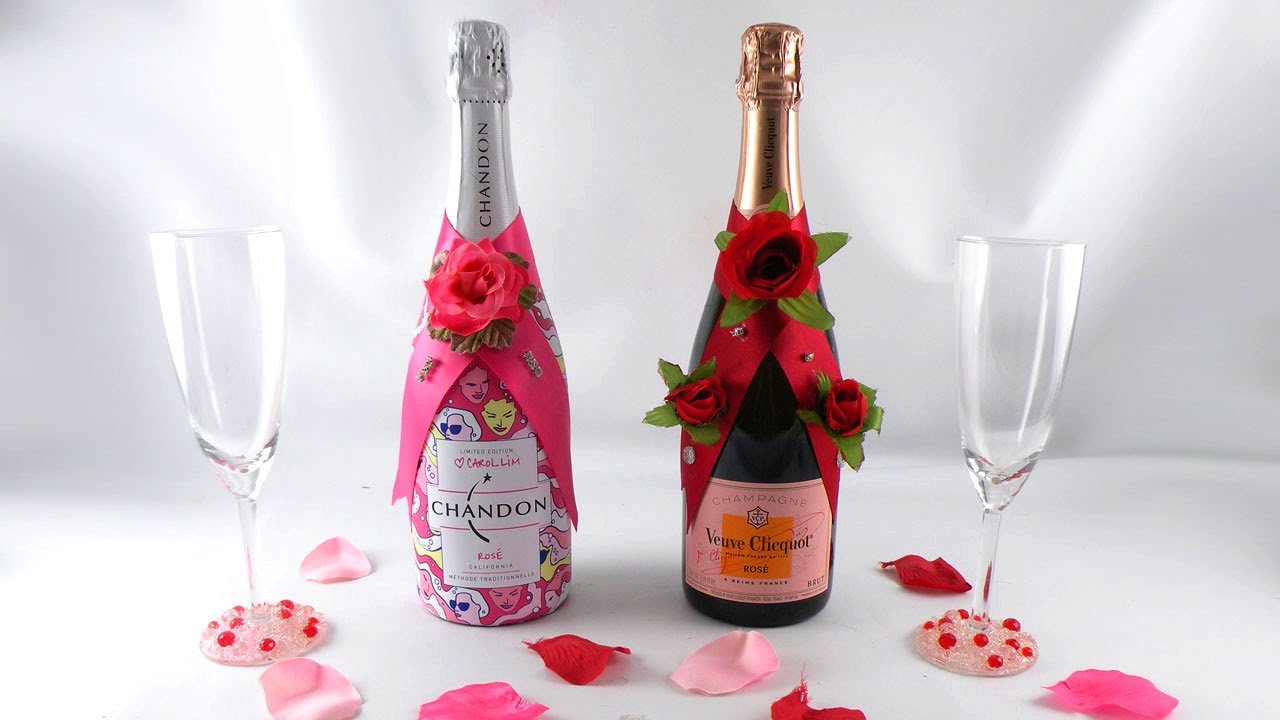
Wrapping champagne flutes with a champagne bottle not only adds a visually appealing element to your table decor but also serves as a practical way to present and transport these delicate glasses. By securely attaching the flutes to the bottle, you can prevent them from tipping over or getting damaged during transportation. Additionally, wrapping the entire ensemble with tissue paper and cellophane gives it a polished and professional finish.
In this article, we will guide you through the step-by-step process of wrapping champagne flutes with a champagne bottle. So let’s gather the materials needed and get ready to create an eye-catching centerpiece for your next celebration or dinner party!
Key Takeaways:
- Elevate your table setting with a touch of glamour by wrapping champagne flutes with a champagne bottle. Create a visually stunning ensemble for any special occasion or gathering.
- Personalize and customize the presentation of your wrapped champagne flutes and bottle with decorative elements, adding a unique and elegant touch to your tabletop or gift.
Read more: How Many Champagne Flutes In A Bottle?
Materials Needed
To successfully wrap champagne flutes with a champagne bottle, you will need the following materials:
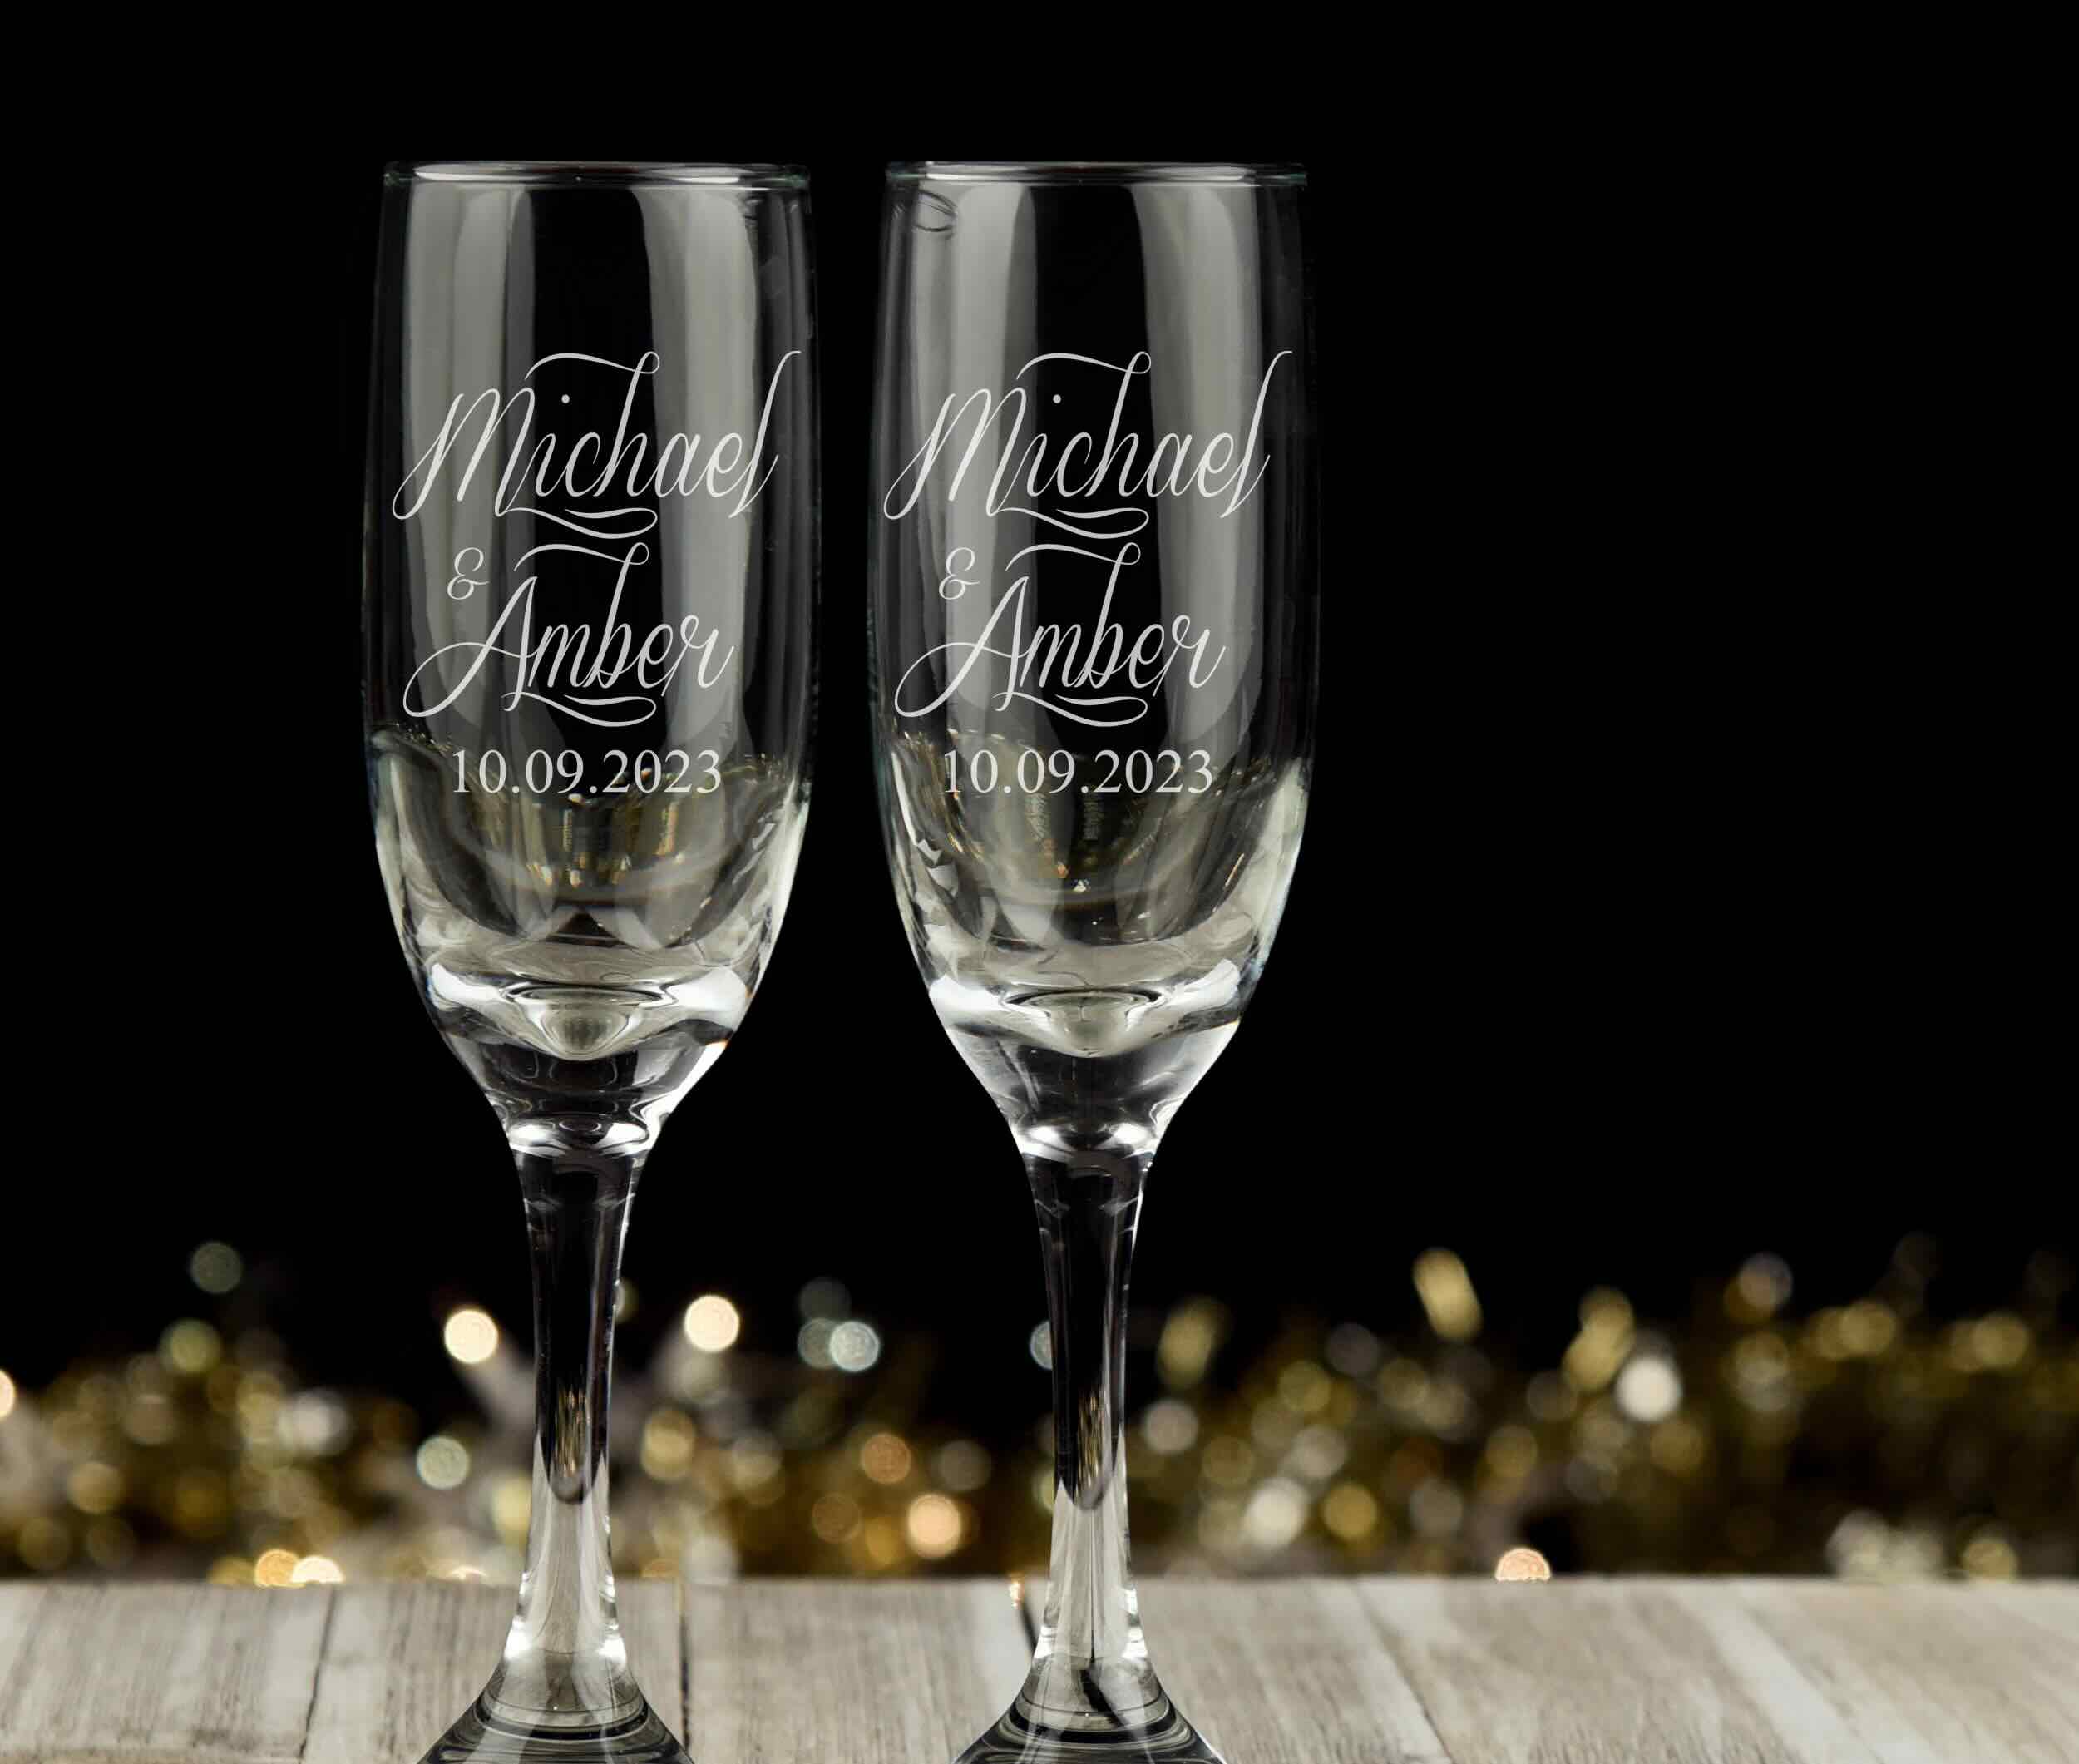
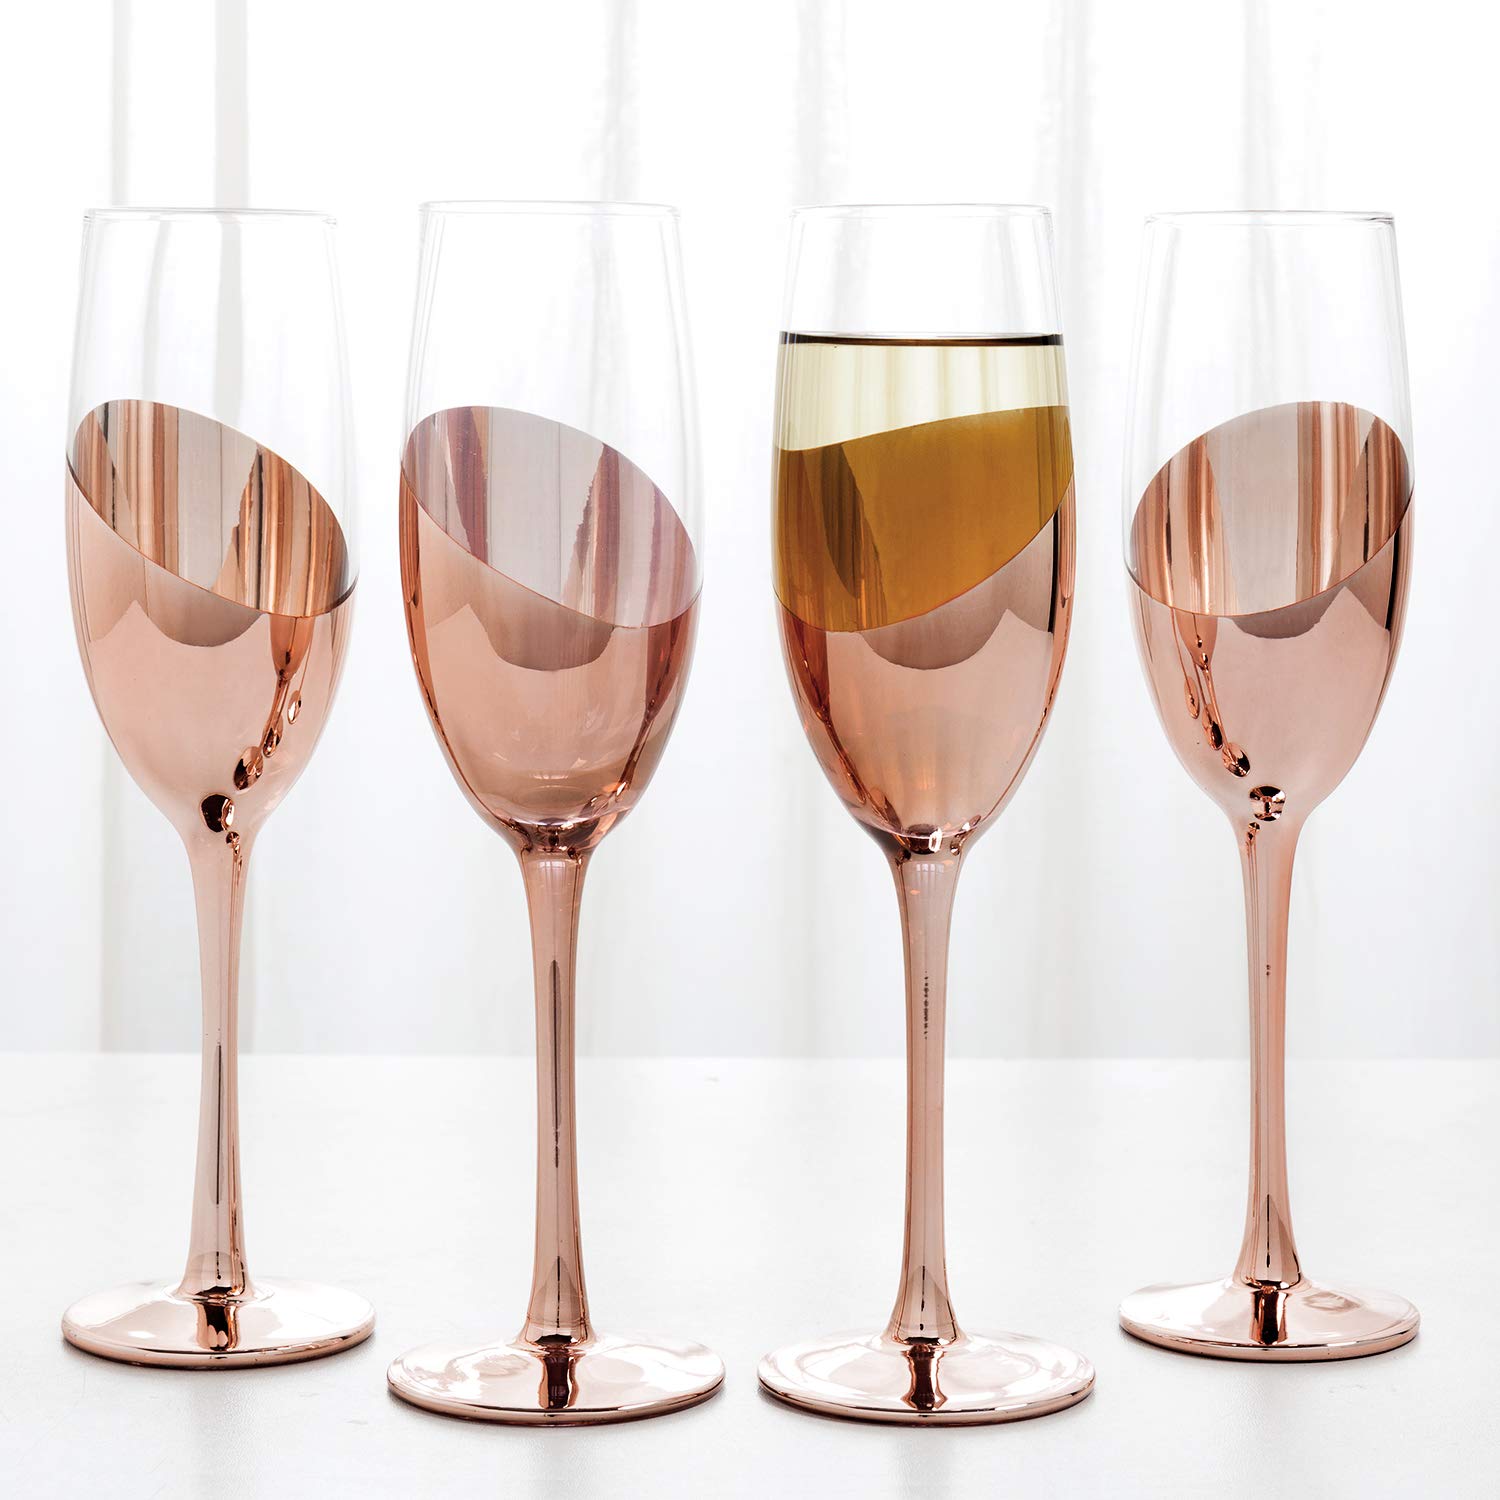
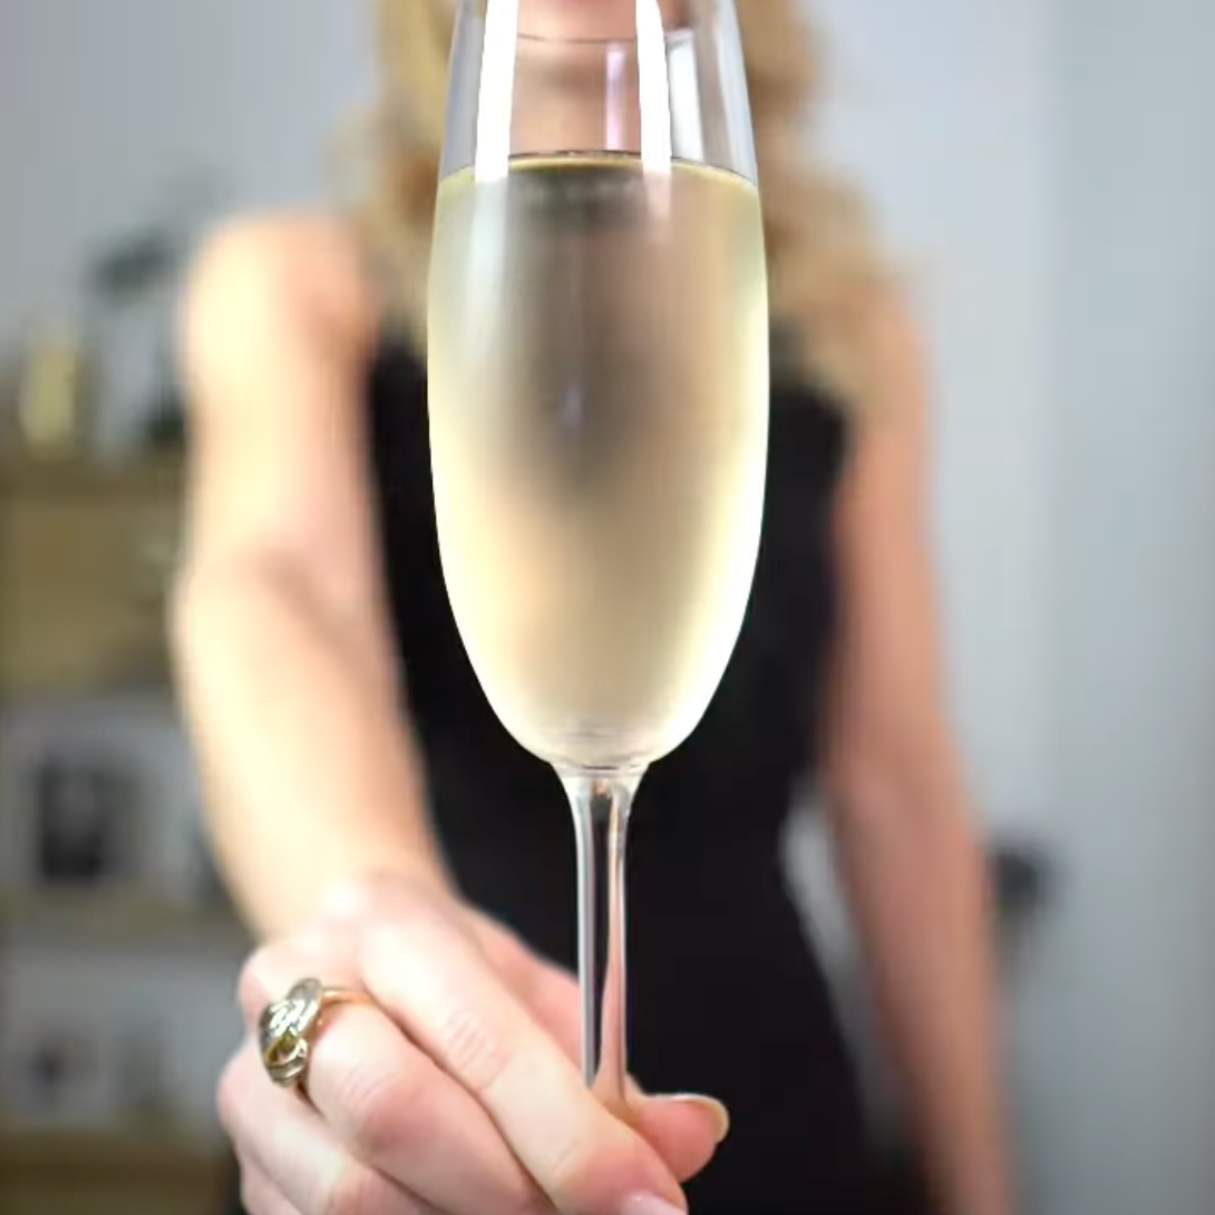
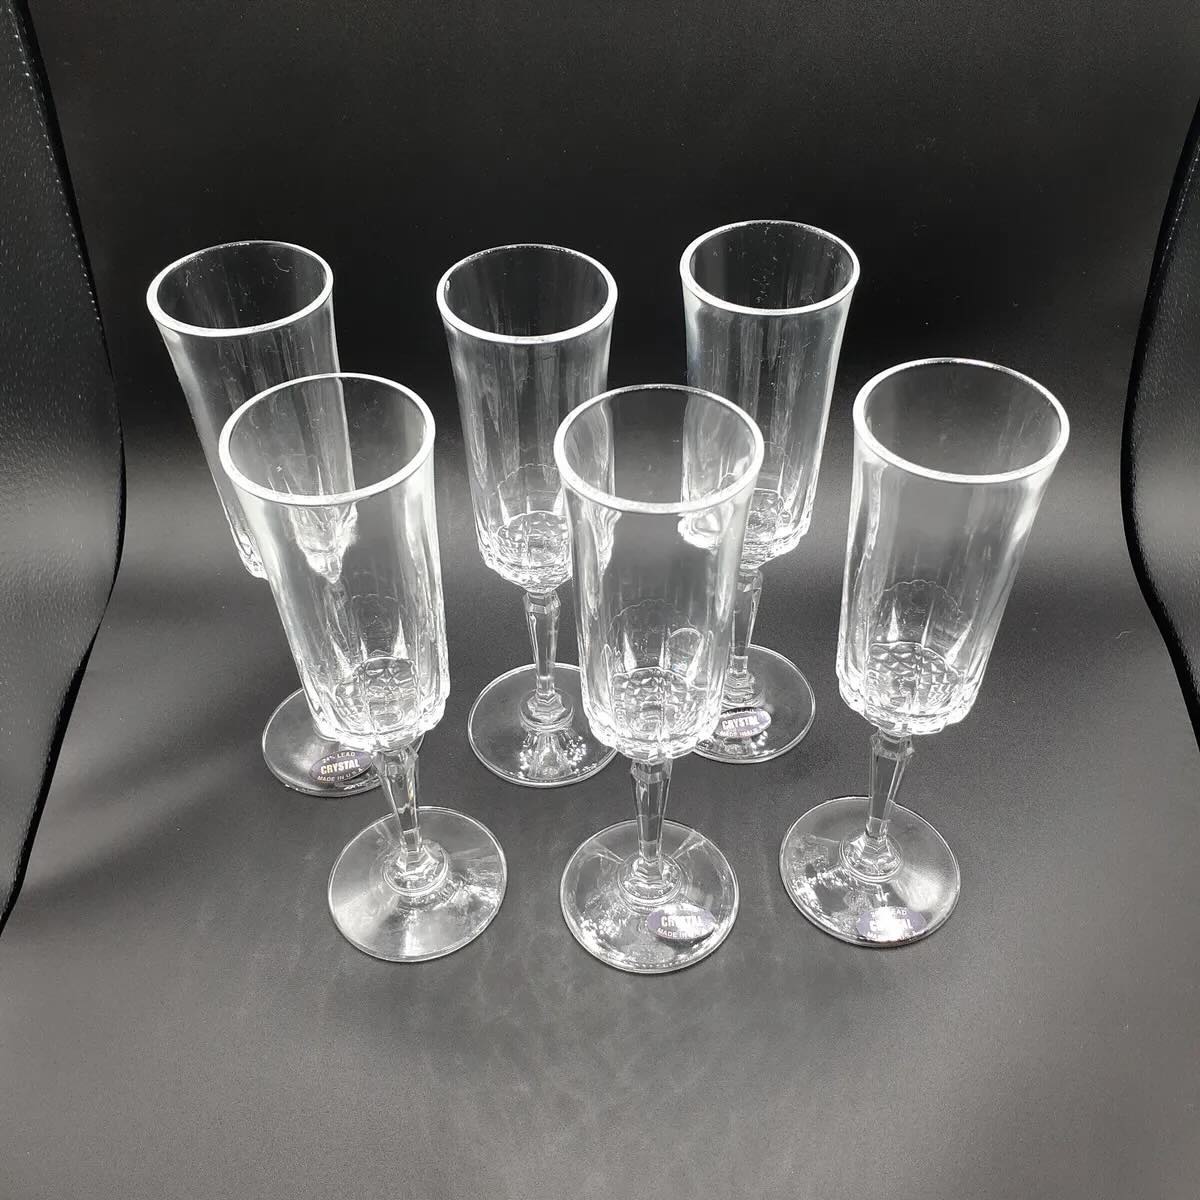
- Champagne flutes: Choose a set of champagne flutes that match your style and preference. Opt for delicate and slender glasses to complement the elegant nature of champagne.
- Champagne bottle: Select a bottle of champagne that you would like to showcase alongside the flutes. Make sure the bottle is properly sealed to avoid any spills or leaks.
- Tissue paper: You will need tissue paper to wrap the flutes and the bottle. Choose a color that coordinates with your table setting or a neutral shade for a classic look.
- Cellophane: Use cellophane to secure and seal the entire ensemble. Transparent cellophane works best to showcase the flutes and the bottle.
- Ribbon or twine: Opt for a ribbon or twine that complements your chosen color scheme or adds a festive touch. It will be used to tie the cellophane and add a decorative element to the wrapped package.
- Scissors: Prepare a pair of scissors to cut the tissue paper, cellophane, and ribbon.
- Decorative elements: Consider adding additional decorative elements such as artificial flowers, foliage, or small gift tags to personalize the wrapped package and make it more visually appealing.
Once you have gathered all the necessary materials, you are ready to begin the process of wrapping the champagne flutes with the bottle. Let’s move on to the first step of preparing the flutes.
Step 1: Prepare the Flutes
Before wrapping the champagne flutes with the champagne bottle, it is important to prepare the flutes to ensure they are clean and ready for presentation. Follow these steps to properly prepare the flutes:
- Wash the flutes: Start by washing the champagne flutes with warm soapy water and rinse them thoroughly. This will remove any dirt or residue from the glasses.
- Dry the flutes: After washing, carefully dry the flutes with a soft, lint-free cloth. Make sure to remove any water droplets to prevent water stains from forming on the glasses.
- Inspect for any damages: Take a close look at each flute to check for any chips, cracks, or other damages. It is important to ensure that the flutes are in good condition before proceeding with the wrapping process.
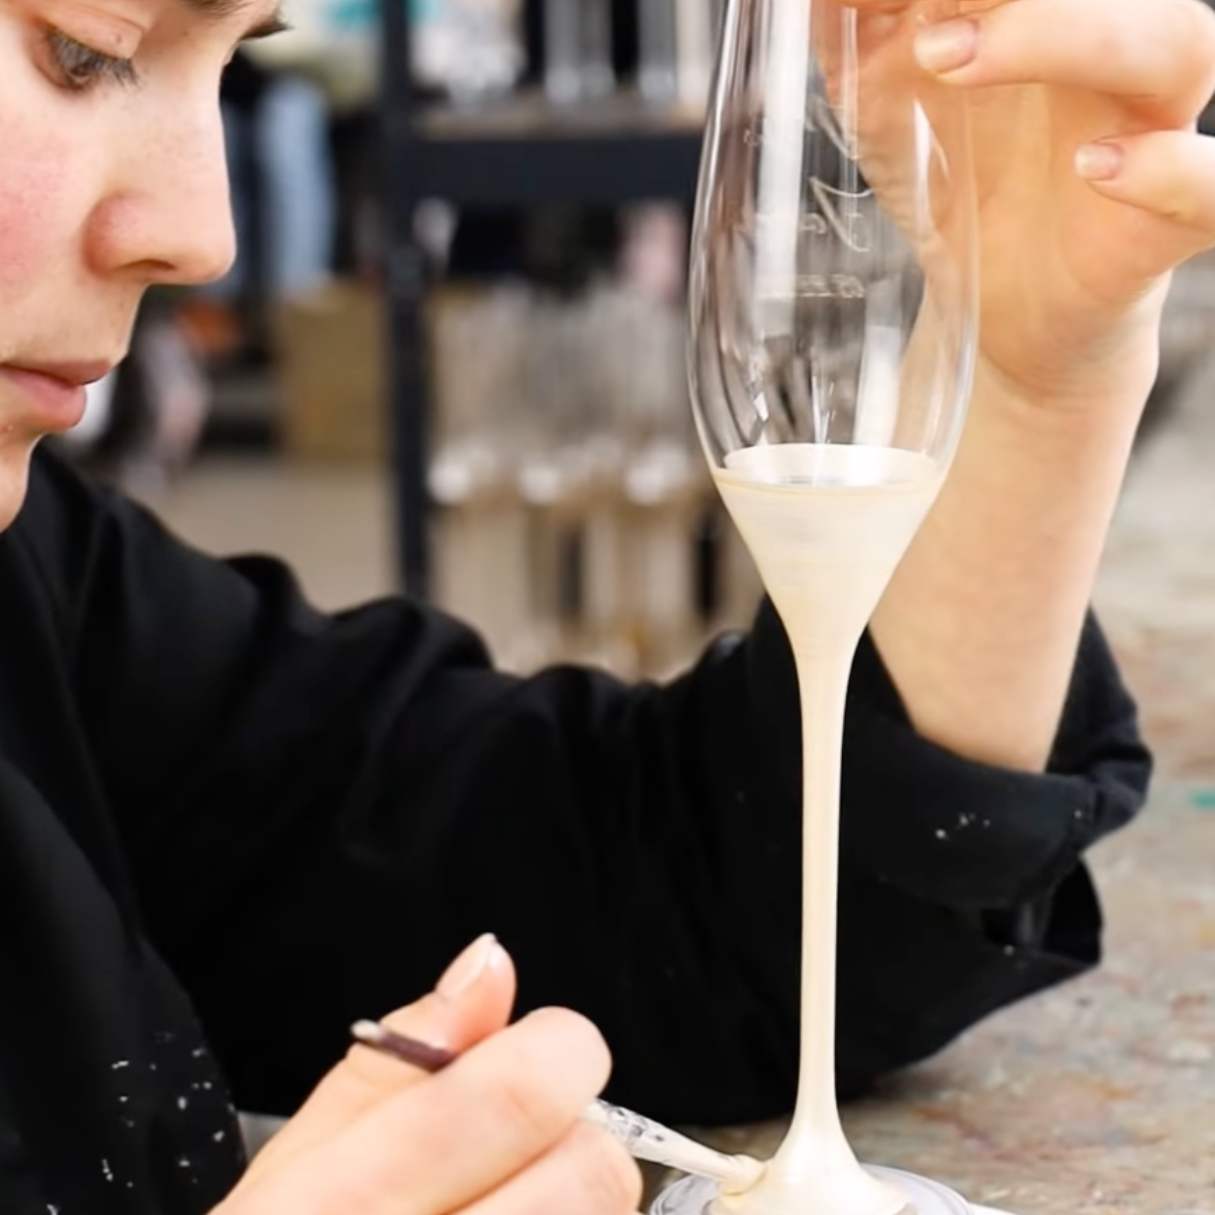
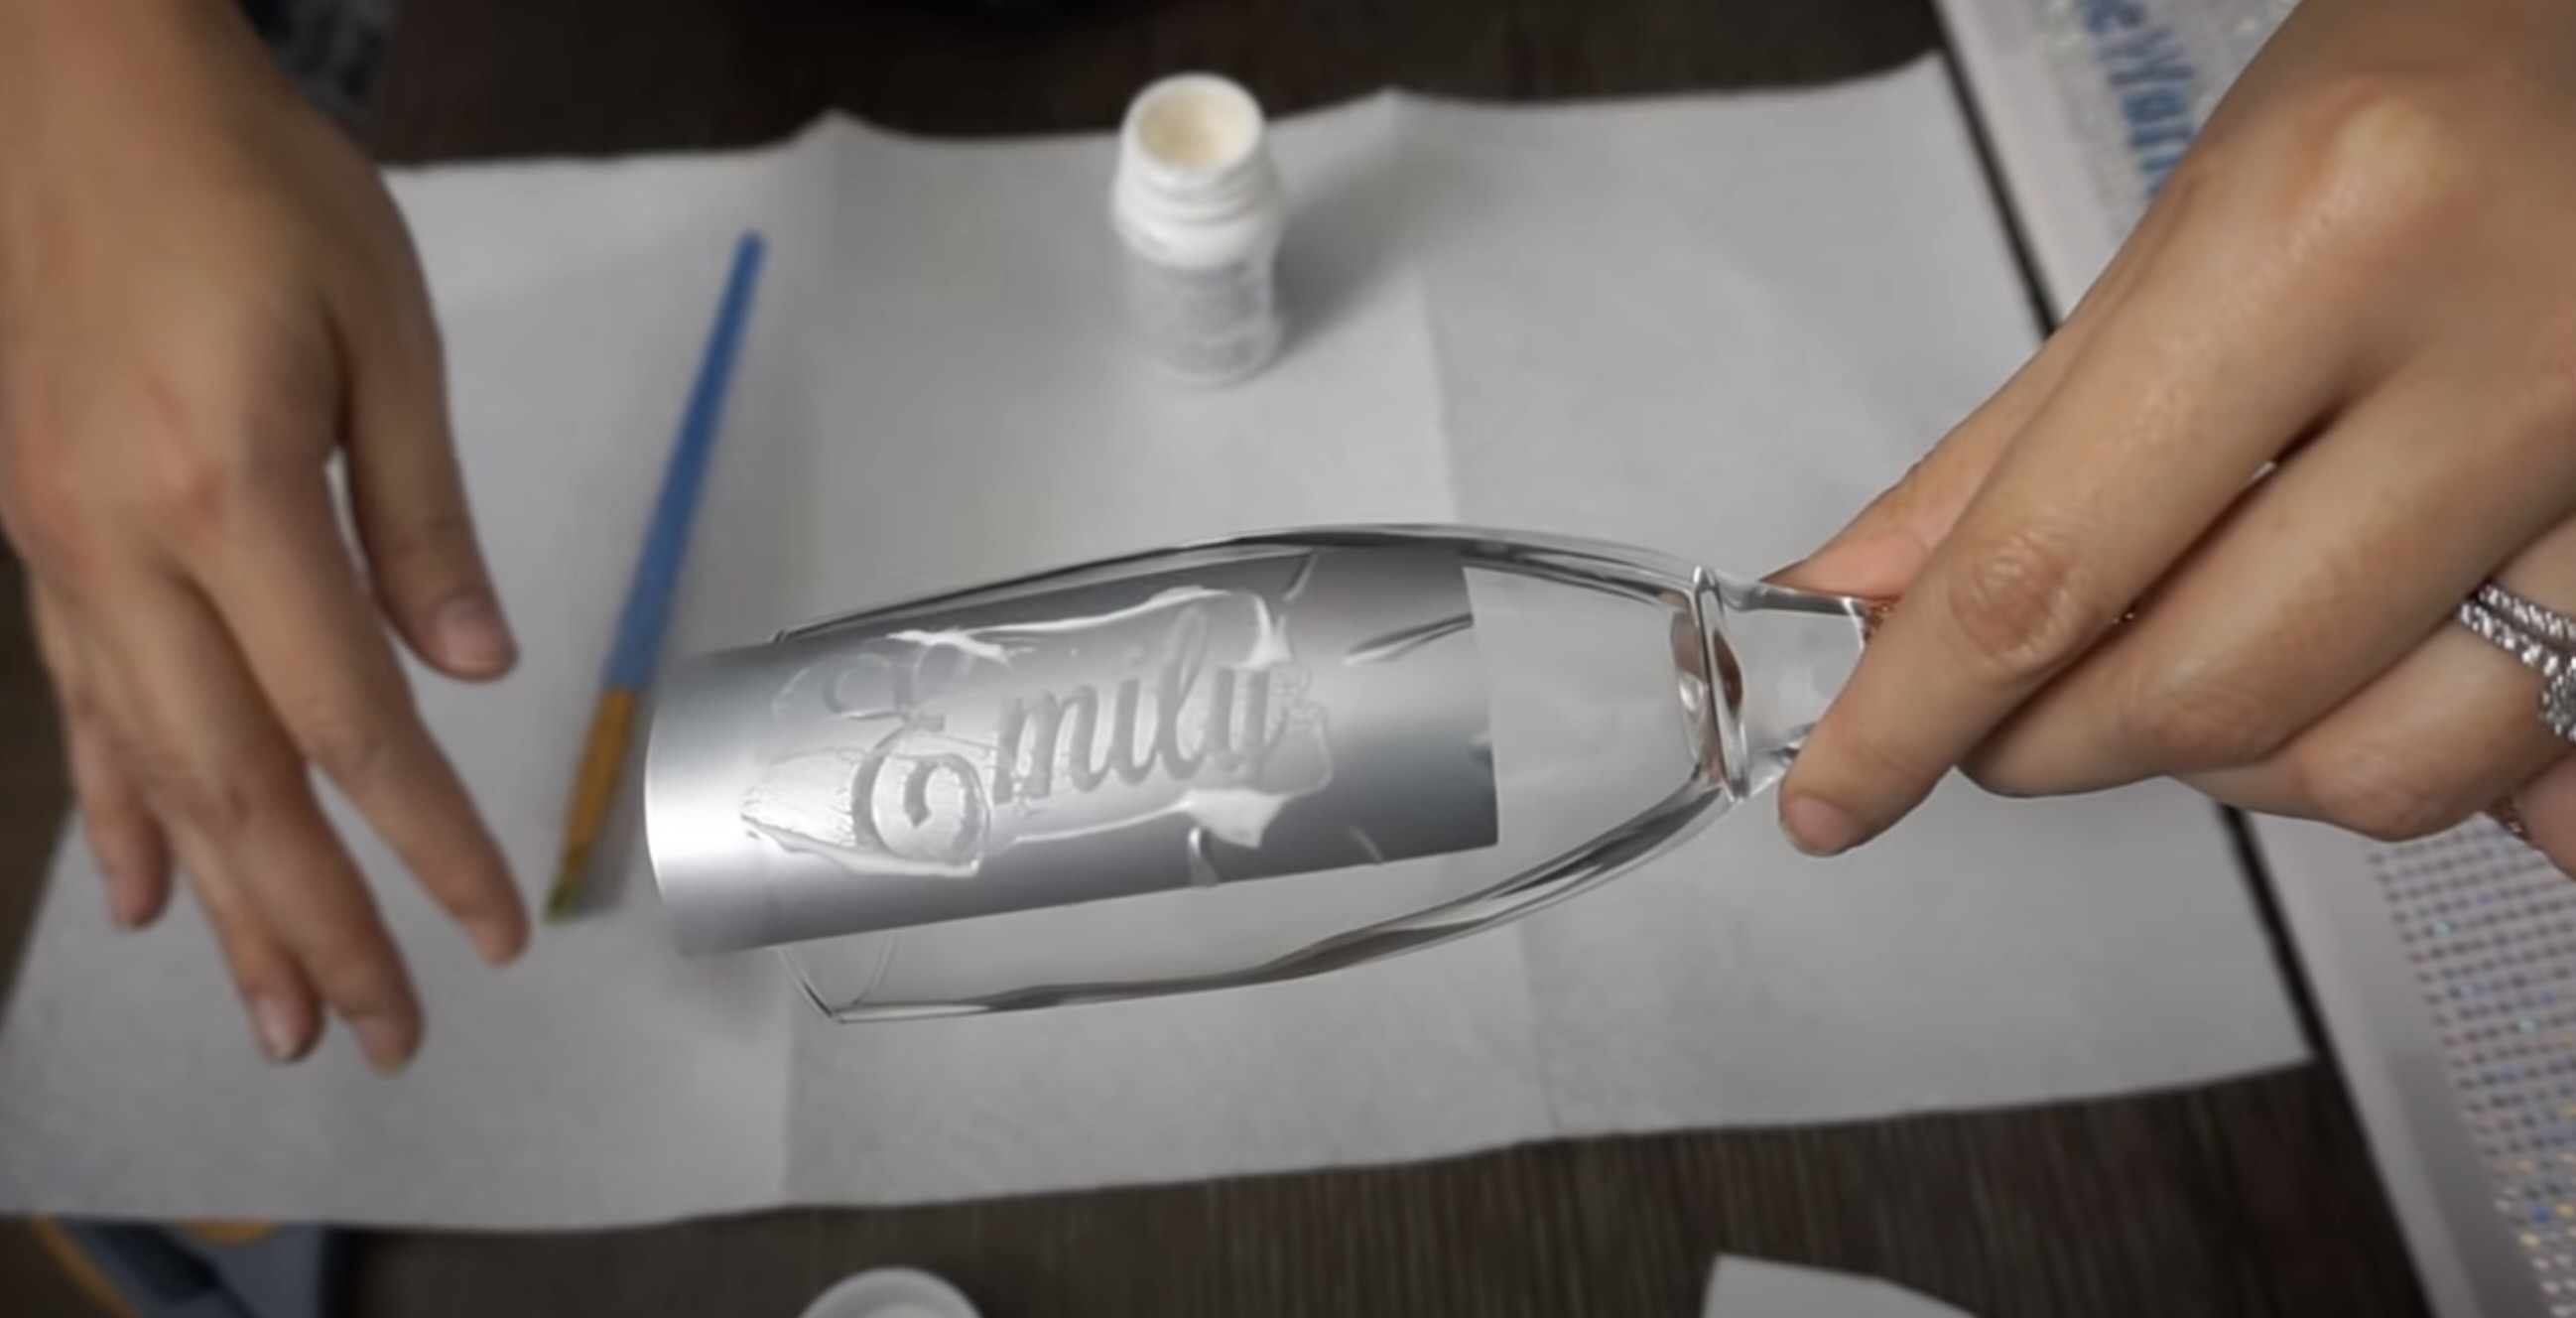
- Polish the flutes (optional): If you want to add an extra touch of sparkle to the flutes, you can use a glass cleaner or polish specifically designed for glassware. Apply the cleaner to a microfiber cloth and gently polish each flute to remove any smudges or fingerprints.
Once you have prepared the flutes, they are now ready to be paired with the champagne bottle. In the next step, we will guide you through the process of preparing the champagne bottle for wrapping.
Step 2: Prepare the Champagne Bottle
After preparing the champagne flutes, it’s time to get the champagne bottle ready for wrapping. Follow these steps to ensure the bottle is properly prepared:
- Clean the bottle: Before wrapping, make sure the champagne bottle is clean and free from any dust or dirt. Gently wipe the bottle with a clean cloth to remove any residue or fingerprints.
- Check the bottle seal: Ensure that the champagne bottle is properly sealed to avoid any potential leaks or spills. If the seal is damaged or compromised, consider using a different bottle to prevent any mishaps.
- Remove any labels or stickers: If there are any labels or stickers on the bottle, carefully peel them off. You want the bottle to look sleek and uncluttered when wrapped.
- Inspect the bottle for imperfections: Take a close look at the champagne bottle to check for any imperfections, such as scratches or dents. If you notice any significant flaws, consider using a different bottle or choosing a strategic position for wrapping to hide the imperfections.
By properly preparing the champagne bottle, you can ensure that it looks pristine and fits seamlessly with the wrapped flutes. Now that the flutes and the bottle are both ready, let’s move on to the next step of securing the flutes to the bottle.
Step 3: Secure the Flutes to the Bottle
Now that the flutes and the champagne bottle are prepared, it’s time to secure the flutes to the bottle. This step will ensure that the flutes stay in place and prevent them from tipping over or getting damaged. Follow these steps to securely attach the flutes to the bottle:
- Choose the placement: Decide where you want to position the flutes on the bottle. The most common placement is to position them symmetrically on either side of the bottle neck.
- Apply adhesive: Use a strong adhesive, such as double-sided tape or glue dots, to secure the stems of the flutes to the bottle. Apply a small amount of adhesive to the base of each flute’s stem.
- Press and hold: Gently press the stems of the flutes onto the bottle, ensuring they are firmly attached. Hold them in place for a few seconds to allow the adhesive to adhere properly.
- Check stability: Once the flutes are attached, check that they are stable and secure. Gently give them a little shake to ensure they do not wobble or come loose.
By following these steps, you can ensure that the flutes are securely fastened to the champagne bottle. This will not only enhance the visual appeal but also provide stability during transportation. Now that the flutes are secured, let’s move on to the next step of wrapping the bottle and flutes with tissue paper.
When wrapping champagne flutes with a champagne bottle, use tissue paper or bubble wrap to protect the delicate glass. Place the flutes around the bottle and secure with ribbon or twine for a beautiful presentation.
Read more: How To Clean Champagne Flutes
Step 4: Wrap the Bottle and Flutes with Tissue Paper
With the flutes securely attached to the champagne bottle, it’s time to start wrapping the ensemble with tissue paper. This step not only adds a layer of protection but also adds an elegant touch to the overall presentation. Follow these steps to wrap the bottle and flutes with tissue paper:
- Measure and cut the tissue paper: Start by measuring and cutting a piece of tissue paper that is large enough to wrap around the entire bottle and flutes. The size of the tissue paper will depend on the size of the bottle and the number of flutes attached.
- Place the bottle on the tissue paper: Position the champagne bottle with the attached flutes in the center of the tissue paper.
- Wrap the tissue paper around the bottle: Carefully bring the edges of the tissue paper up and around the bottle, making sure to cover the flutes as well. Ensure that the tissue paper is smooth and secure, but not too tight.
- Tuck and fold the excess tissue paper: If there is excess tissue paper at the top or bottom of the bottle, tuck and fold it neatly to create a clean and polished look.
- Secure with tape or ribbon: Use a small piece of clear tape or a ribbon to secure the tissue paper in place. Place the tape or tie the ribbon near the neck of the bottle for a seamless appearance.
Wrapping the bottle and flutes with tissue paper provides an extra layer of protection and adds an elegant touch to the overall presentation. Now that the bottle and flutes are wrapped with tissue paper, let’s move on to the next step of wrapping them with cellophane.
Step 5: Wrap the Bottle and Flutes with Cellophane
After wrapping the bottle and flutes with tissue paper, it’s time to add another layer of protection and a touch of transparency with cellophane. Follow these steps to wrap the bottle and flutes with cellophane:
- Measure and cut the cellophane: Measure and cut a piece of transparent cellophane that is larger than the tissue paper-wrapped bottle and flutes. The extra size will allow you to gather and secure the cellophane at the top.
- Place the tissue-wrapped bottle and flutes in the center of the cellophane: Position the ensemble in the middle of the cellophane, making sure the flutes and the bottle are fully covered.
- Bring the cellophane up and around the bottle and flutes: Carefully bring the edges of the cellophane up and around the bottle and flutes, creating a gathering effect at the top.
- Secure the cellophane at the top: Use a piece of ribbon or twine to secure the gathered cellophane at the top. Tie it in a knot or a bow to add a decorative element and keep the cellophane in place.
- Trim excess cellophane if necessary: If there is excess cellophane at the top, trim it with scissors to create a clean and neat finish.
Wrapping the bottle and flutes with cellophane not only adds an additional layer of protection but also gives a glossy and transparent appearance to the ensemble. Now that the bottle and flutes are safely wrapped with cellophane, let’s move on to the next step of adding decorative elements to enhance the overall presentation.
Step 6: Add Decorative Elements
Adding decorative elements to the wrapped bottle and flutes can elevate the presentation and make it more visually appealing. This step allows you to customize the ensemble to match the theme or occasion. Follow these steps to add decorative elements:
- Choose your decorative elements: Select decorative elements that complement the overall aesthetic and theme you have in mind. Consider using artificial flowers, foliage, small gift tags, or any other accents that align with your desired look.
- Attach the decorative elements: Carefully attach the decorative elements to the ribbon or twine that secures the cellophane. You can tie them to the ribbon or twine or use adhesive to affix them to the cellophane.
- Arrange and adjust: Take a step back and assess the arrangement of the decorative elements. Make any necessary adjustments to ensure a balanced and visually pleasing composition.
Adding decorative elements is the perfect opportunity to personalize the wrapped ensemble and set your table with an elegant touch. It allows you to add your own creative flair, making it a standout centerpiece. Now that you have added the decorative elements, let’s move on to the final step: adding some finishing touches and presenting the wrapped bottle and flutes on your beautifully set table.
Step 7: Final Touches and Presentation
Congratulations! You have successfully wrapped the champagne flutes with the champagne bottle. Now it’s time for the final touches to complete the presentation. Follow these steps to add those final touches and present the wrapped ensemble:
- Inspect the wrapped ensemble: Take a moment to inspect the wrapped bottle and flutes for any loose ends or imperfections. Smooth out any wrinkles or adjust the position of the flutes if needed.
- Check the stability: Ensure that the flutes are securely attached to the bottle and there is no chance of them coming loose or falling off during transportation or handling.
- Enhance with additional details: Consider adding some extra details to elevate the presentation further. This could include tying a small card with a personalized message or embellishing the ribbon with a decorative charm.
- Prepare for presentation: Once you are satisfied with the overall look, find an appropriate spot to present the wrapped ensemble. It could be the center of your dining table, a sideboard, or any other location that showcases the elegance and beauty of the wrapped bottle and flutes.
- Share and enjoy: Finally, it’s time to share and enjoy the beautifully wrapped champagne flutes with the champagne bottle. Whether you are hosting a celebration or giving it as a gift, the presentation will surely impress and delight your guests or recipients.
Remember, the presentation is just as important as the gift itself. So take the time to ensure that the wrapped ensemble looks impeccable and reflects your personal style. Now sit back, raise a toast, and enjoy the special moments with your elegantly presented champagne flutes and bottle.
Cheers!
Read more: Why Are Champagne Flutes Tall?
Conclusion
Wrapping champagne flutes with a champagne bottle is a wonderful way to add elegance and sophistication to your table setting or gift presentation. By following the steps outlined in this guide, you can create a visually stunning ensemble that not only protects the delicate flutes but also showcases the beauty of the champagne bottle for any special occasion or gathering.
Starting with the preparation of the flutes and bottle, ensuring they are clean, intact, and ready for presentation, sets the foundation for a polished final result. Securing the flutes to the bottle with adhesive ensures stability and prevents any mishaps during transportation. Wrapping the ensemble with tissue paper adds a layer of protection and prepares it for the subsequent layers.
Once wrapped in tissue paper, wrapping the bottle and flutes with transparent cellophane provides a glossy and transparent finish, enhancing the overall aesthetics. Adding decorative elements allows you to personalize and customize the ensemble, making it truly unique and tailored to your desired theme or occasion.
Finally, the final touches and presentation are crucial in creating a memorable experience. Taking the time to inspect and perfect the wrapped ensemble, as well as selecting an appropriate location for presentation, ensures that it becomes the centerpiece of attention and admiration. Whether you are displaying it on your own table or presenting it as a gift, the wrapped champagne flutes and bottle are sure to impress and delight.
Remember, creativity and attention to detail are key when wrapping champagne flutes with a champagne bottle. Let your imagination soar, experiment with different decorative elements, and tailor the presentation to suit your personal style and the occasion at hand. With these tips and steps, you are ready to create a stunning tabletop masterpiece that will make any celebration or gathering truly unforgettable.
Cheers to celebrating in style!
Frequently Asked Questions about How To Wrap Champagne Flutes With A Champagne Bottle
Was this page helpful?
At Storables.com, we guarantee accurate and reliable information. Our content, validated by Expert Board Contributors, is crafted following stringent Editorial Policies. We're committed to providing you with well-researched, expert-backed insights for all your informational needs.


0 thoughts on “How To Wrap Champagne Flutes With A Champagne Bottle”