Home>Dining>Tableware>How To Apply Glitter On Champagne Flutes


Tableware
How To Apply Glitter On Champagne Flutes
Modified: January 5, 2024
Learn how to apply glitter on champagne flutes and elevate your tableware game. Step-by-step guide to create stunning, sparkling glassware.
(Many of the links in this article redirect to a specific reviewed product. Your purchase of these products through affiliate links helps to generate commission for Storables.com, at no extra cost. Learn more)
Introduction
Have you ever attended a special event or celebration where champagne flutes were elegantly adorned with sparkling glitter? The shimmering beauty of these tableware pieces can add a touch of glamour and sophistication to any occasion. If you’re wondering how to achieve that dazzling effect on your own champagne flutes, you’re in the right place.
In this article, we will guide you step-by-step on how to apply glitter to champagne flutes. Whether you’re preparing for a wedding, anniversary, New Year’s Eve party, or simply want to add some sparkle to your home decor, this DIY project is perfect for adding a touch of personal flair.
To get started, gather the necessary materials, prepare the champagne flutes, and follow our detailed instructions to create your own sparkling masterpieces. So let’s dive in and discover the magic of glittering champagne flutes!
Key Takeaways:
- Elevate any special occasion with DIY glittered champagne flutes. Follow our step-by-step guide for stunning, personalized tableware that adds glamour and charm to your celebrations.
- Transform plain glass into dazzling, sparkling tableware with our glitter application tips. Showcase your personal style and creativity with glittered champagne flutes for memorable moments.
Materials Needed
Before you begin the glittering process, make sure you have all the necessary materials at hand. Here’s a list of items you will need:
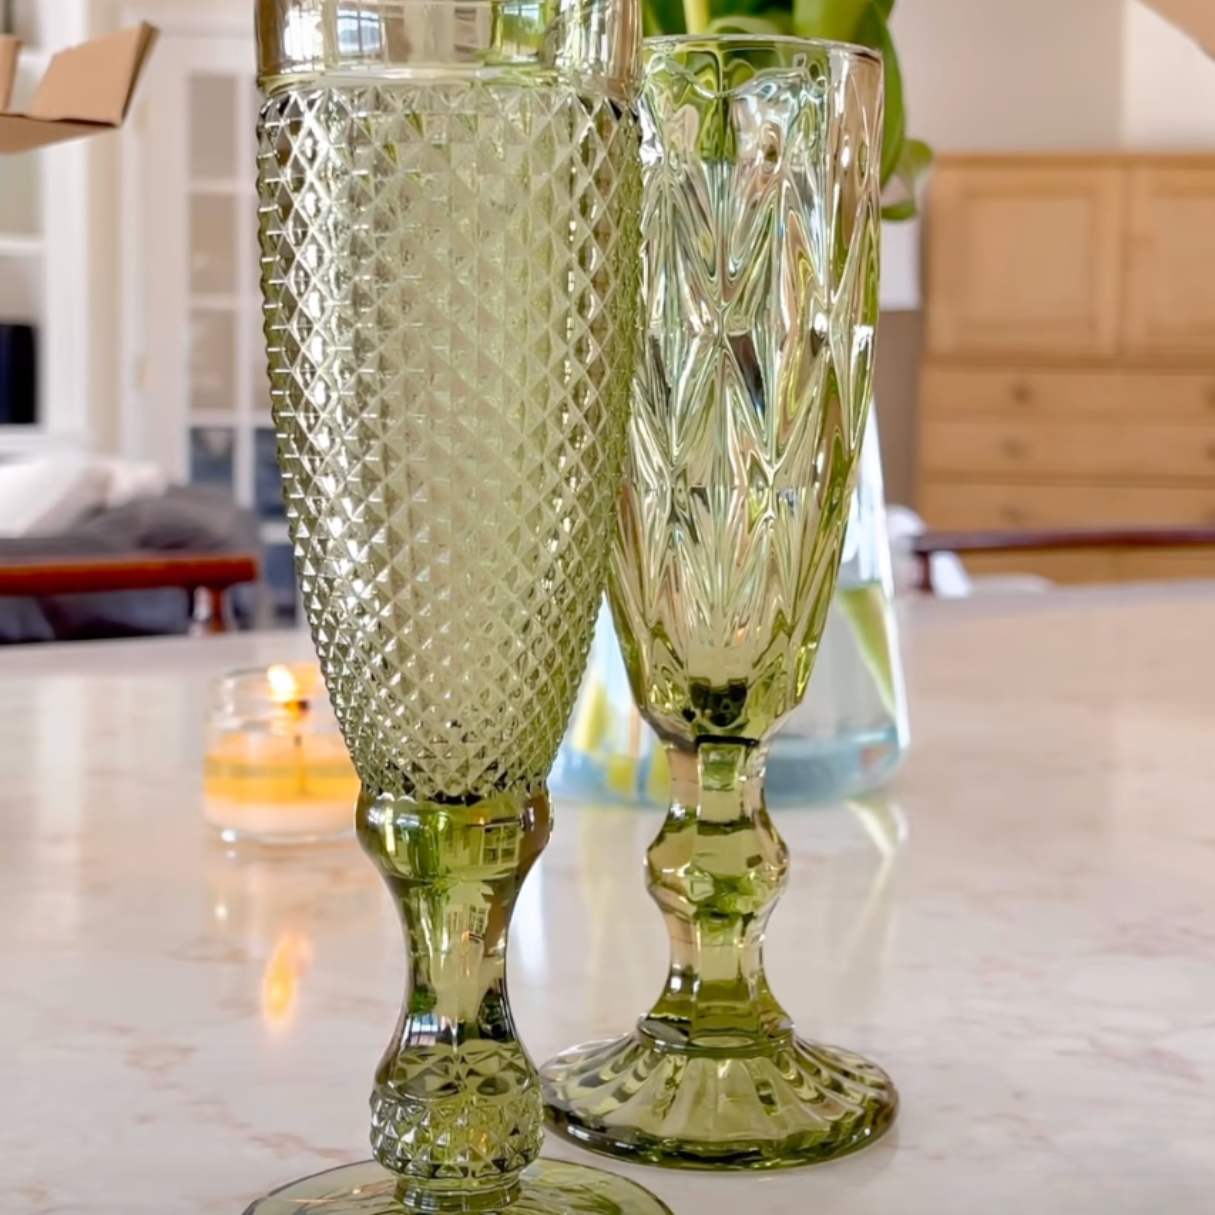
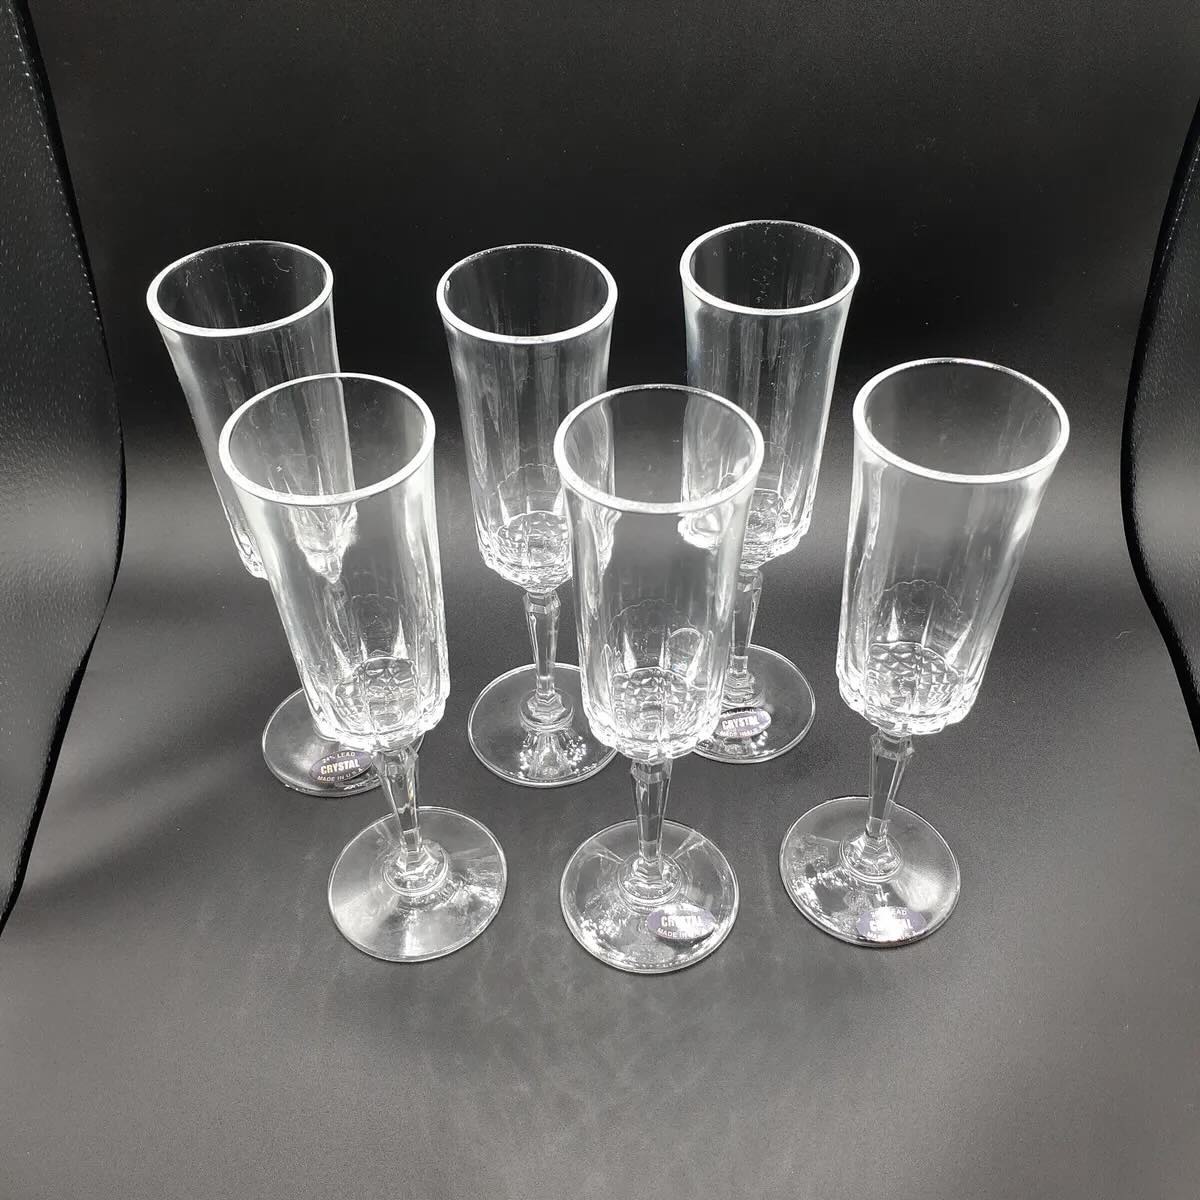
- Champagne flutes: Choose clear glass flutes with smooth surfaces to ensure the glitter adheres properly.
- Glitter: Select a color or combination of colors that complement your party or event theme. Make sure the glitter is fine and non-toxic.
- Mod Podge or glue: Use a clear-drying adhesive like Mod Podge, which is widely available and suitable for glass surfaces.
- Small paintbrush: This will be used to apply the glue evenly on the flute.
- Painter’s tape: Optional, but recommended for creating clean lines and preventing glitter from getting on unwanted areas.
- Protective covering: A drop cloth, old newspapers, or any other protective material to cover your work surface.
- Disposable gloves: If you prefer to keep your hands clean while working with glue and glitter, disposable gloves are a good option.
- Clear acrylic sealer: This step is optional but can help seal the glitter and prevent it from flaking off over time.
Make sure you have all these materials ready before you start the glittering process. It’s important to be prepared and have everything within reach to ensure a smooth and successful project.
Preparing the Champagne Flutes
Before you begin applying glitter to your champagne flutes, it’s crucial to properly prepare them to ensure the best adhesion and long-lasting results. Follow these steps:
- Clean the flutes: Thoroughly wash the champagne flutes with warm soapy water to remove any dust, fingerprints, or residue from manufacturing. Rinse them well and pat them dry with a lint-free cloth.
- Prep the surface: If your flutes have any stubborn spots or stains, gently buff them with a soft cloth and a small amount of rubbing alcohol. This will ensure a clean and smooth surface, allowing the glitter to adhere easily.
- Use painter’s tape: If you want to create a defined line where the glitter will stop, apply painter’s tape around the flute, leaving the desired area exposed. This will help prevent any unwanted glitter from landing on other parts of the flute.
- Protect the base: Place a piece of tape or cover the base of the flute with a protective material to avoid glitter getting on the stem or base. This will ensure a clean and polished look for your finished champagne flutes.
By taking these preparation steps, you’re setting the stage for successful glitter application. The clean and smooth surface will enhance the adherence of the glitter and create a stunning final result.
Applying Glue
Now that your champagne flutes are prepped and ready, it’s time to apply the glue. Follow these steps to ensure an even and secure application:
- Prepare your work surface: Lay down a drop cloth or old newspapers to catch any excess glue or glitter and protect your work area.
- Put on disposable gloves: If you want to keep your hands clean during the process, it’s a good idea to wear disposable gloves.
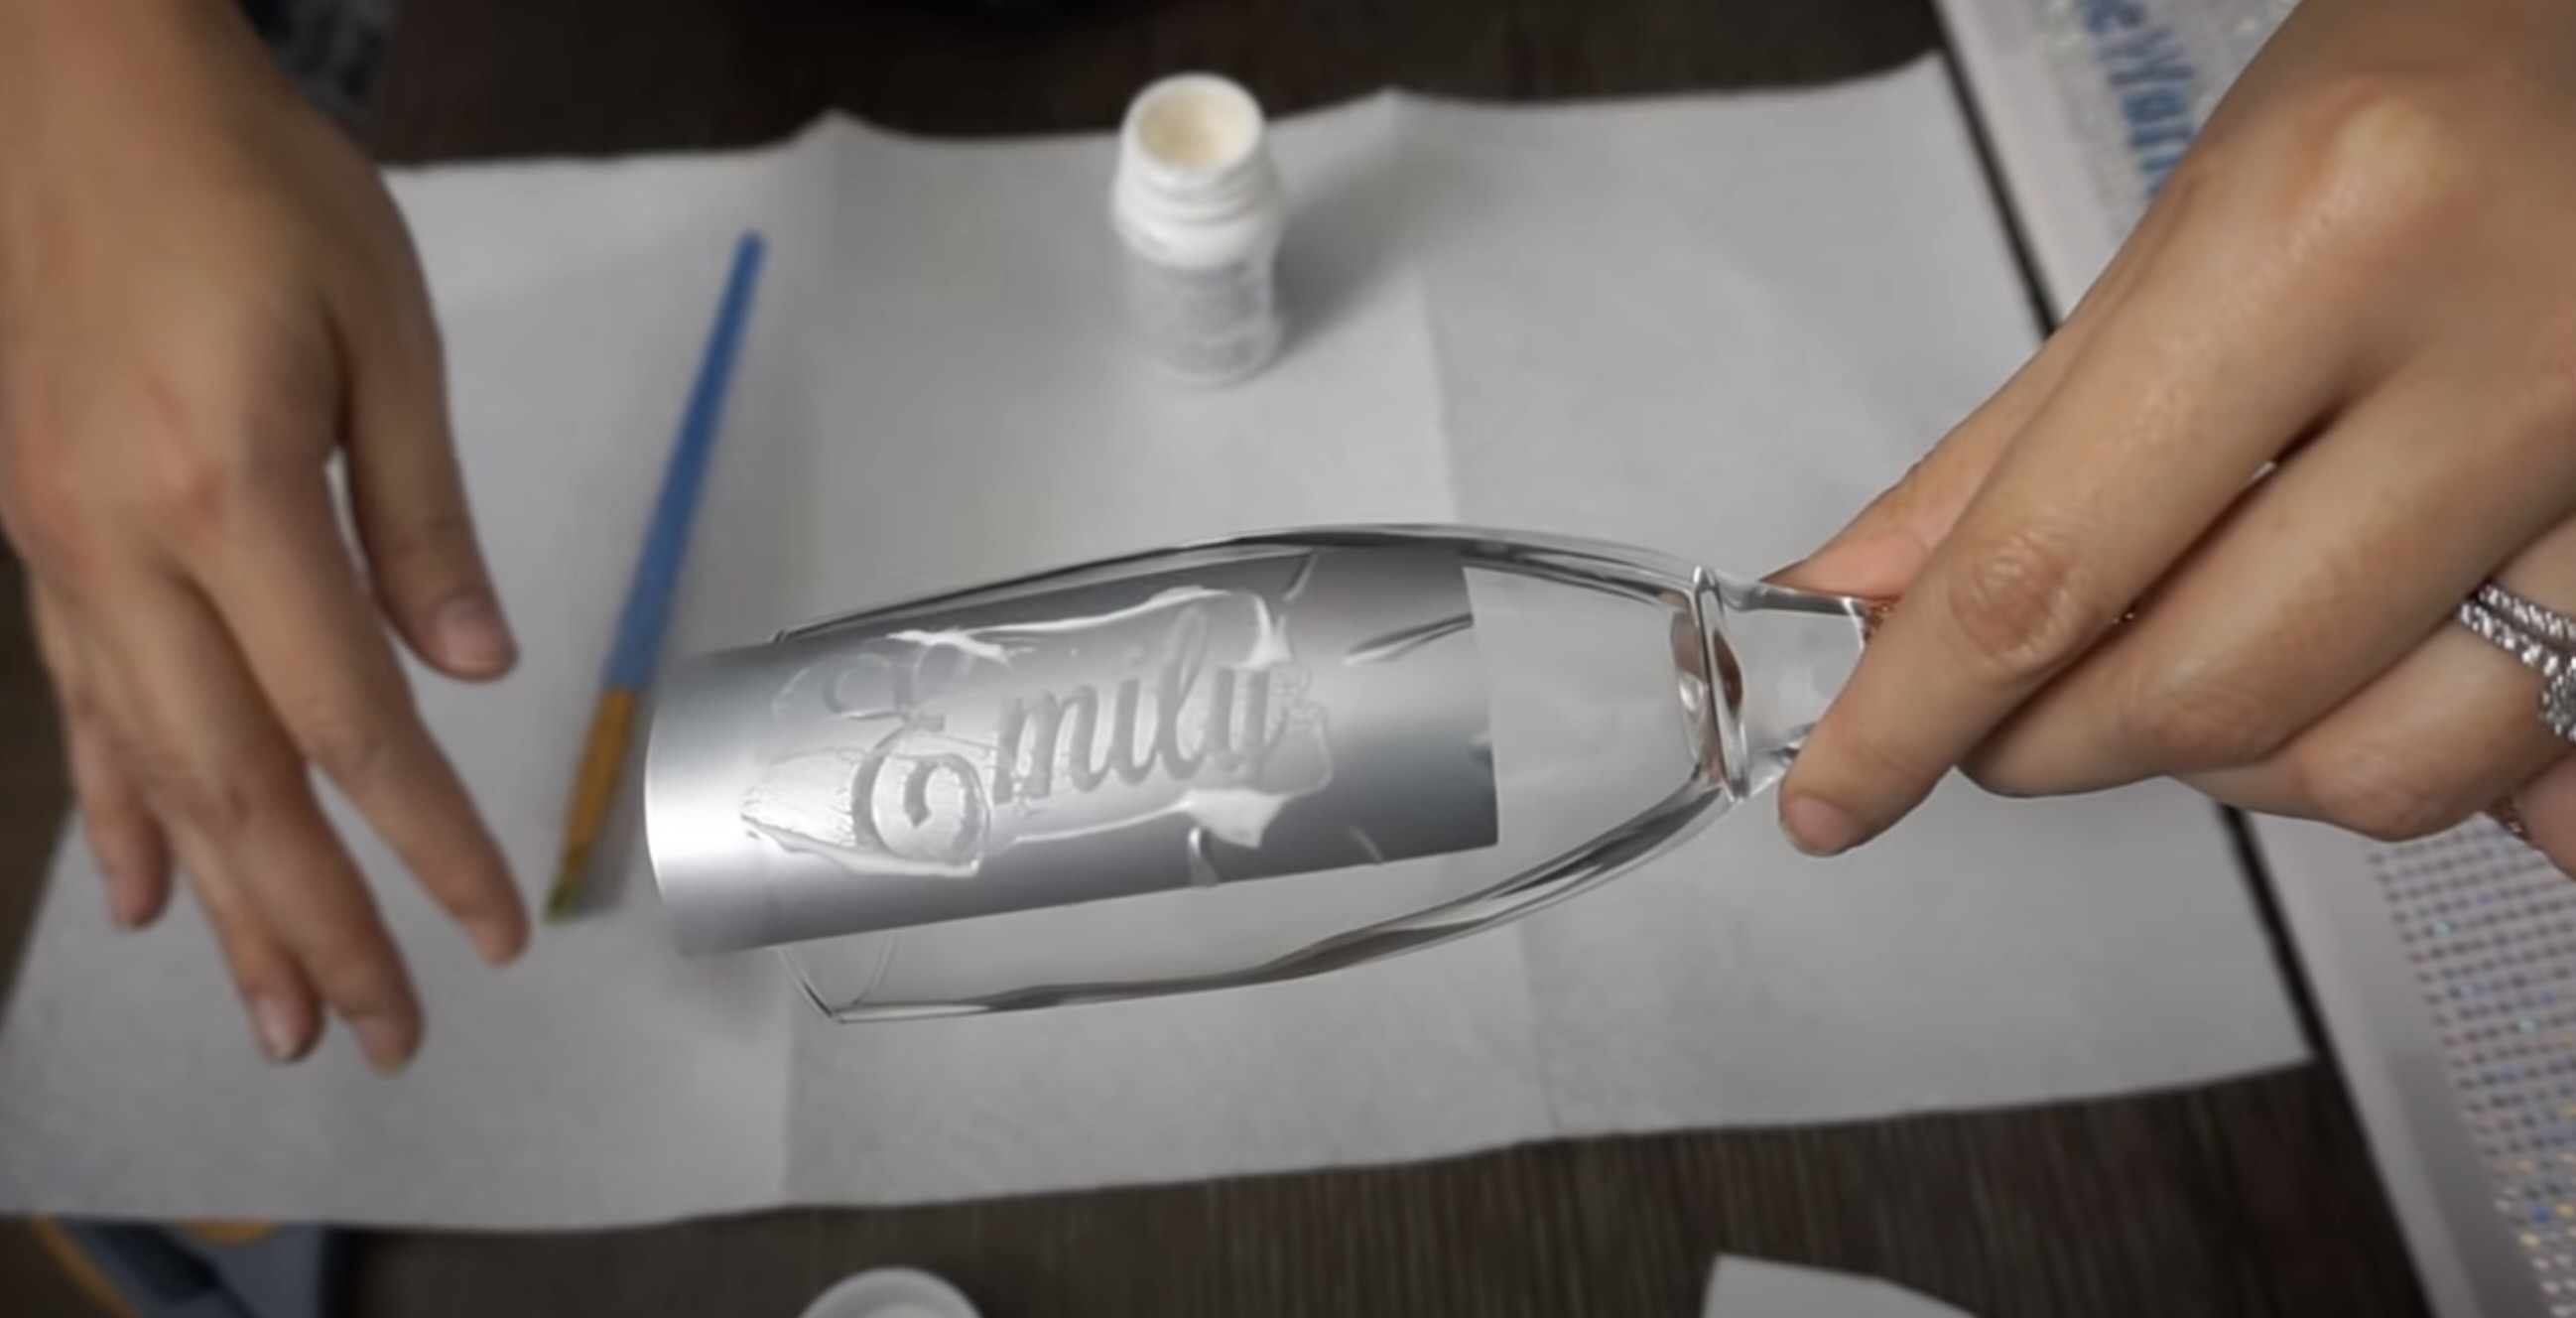
- Dip the paintbrush into the glue: Open the Mod Podge or adhesive of your choice and dip the paintbrush into the glue. Make sure to coat the bristles evenly but not excessively.
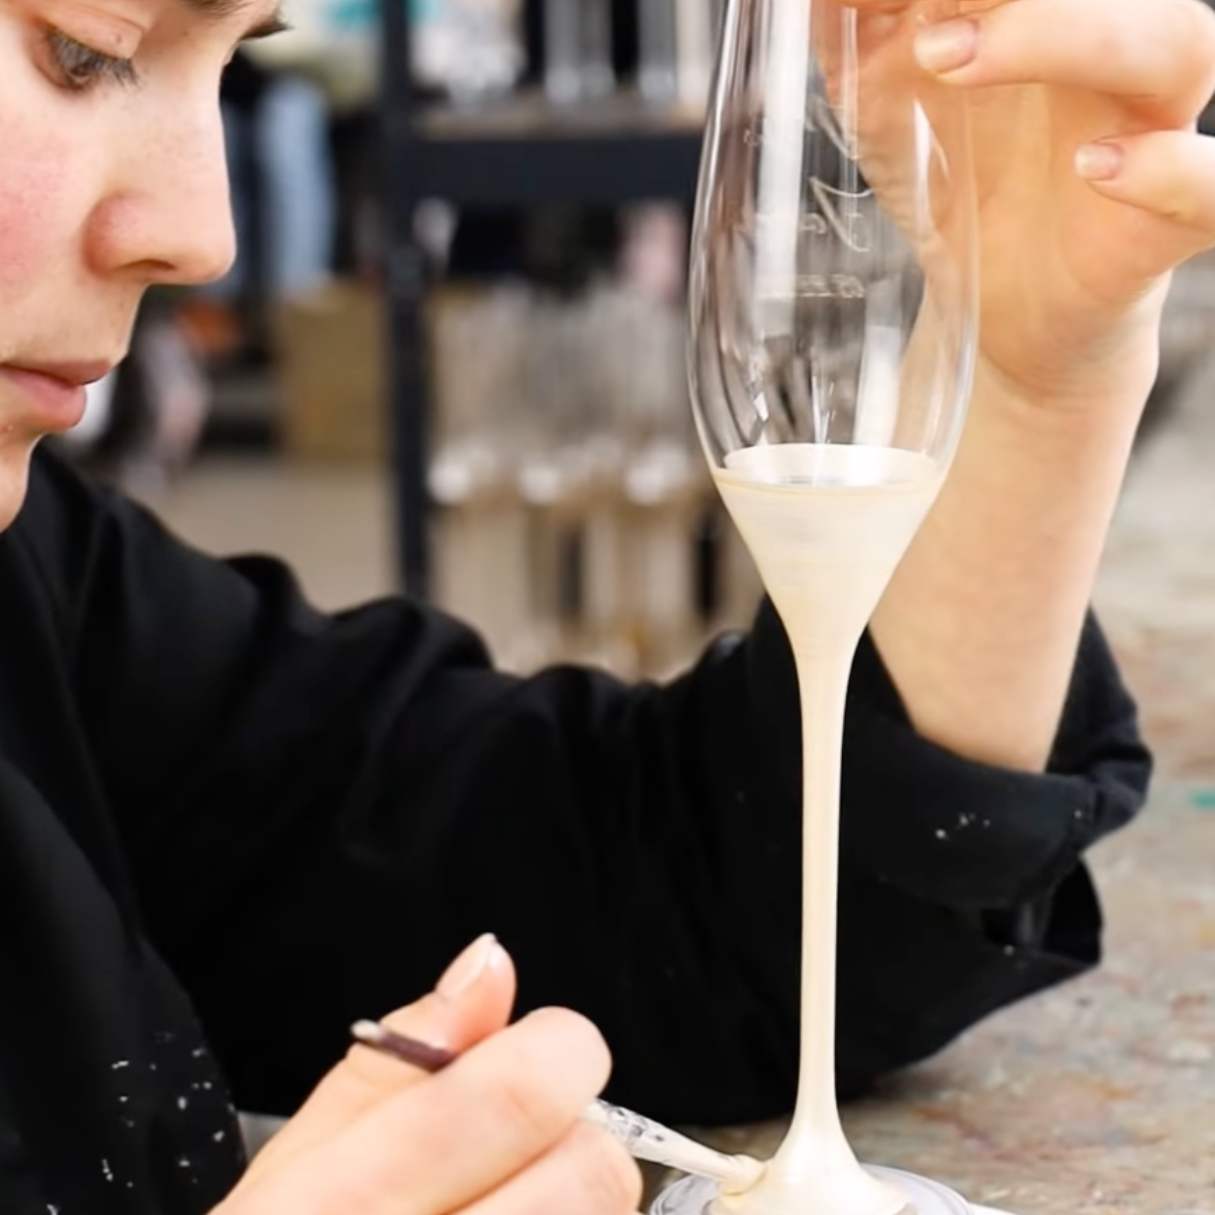
- Apply a thin layer of glue: Starting from the top of the flute, gently brush a thin and even layer of glue over the area where you want the glitter to adhere. Take care not to apply too much glue to avoid clumps or drips.
- Work in sections: If you’re planning to create a gradient effect with different colors of glitter, work in small sections to avoid the glue drying before you have a chance to apply the glitter.
- Apply glue to the stem and base (optional): If you want to extend the glitter to the stem or base of the flute, use the paintbrush to apply a thin layer of glue to those areas as well. Remember to protect the base with tape if you don’t want glitter on that part of the flute.
Take your time and ensure that the glue is evenly applied to the desired areas of the flute. This step is crucial as it acts as the adhesive bond for the glitter. Remember, a thin and even layer will yield the best results.
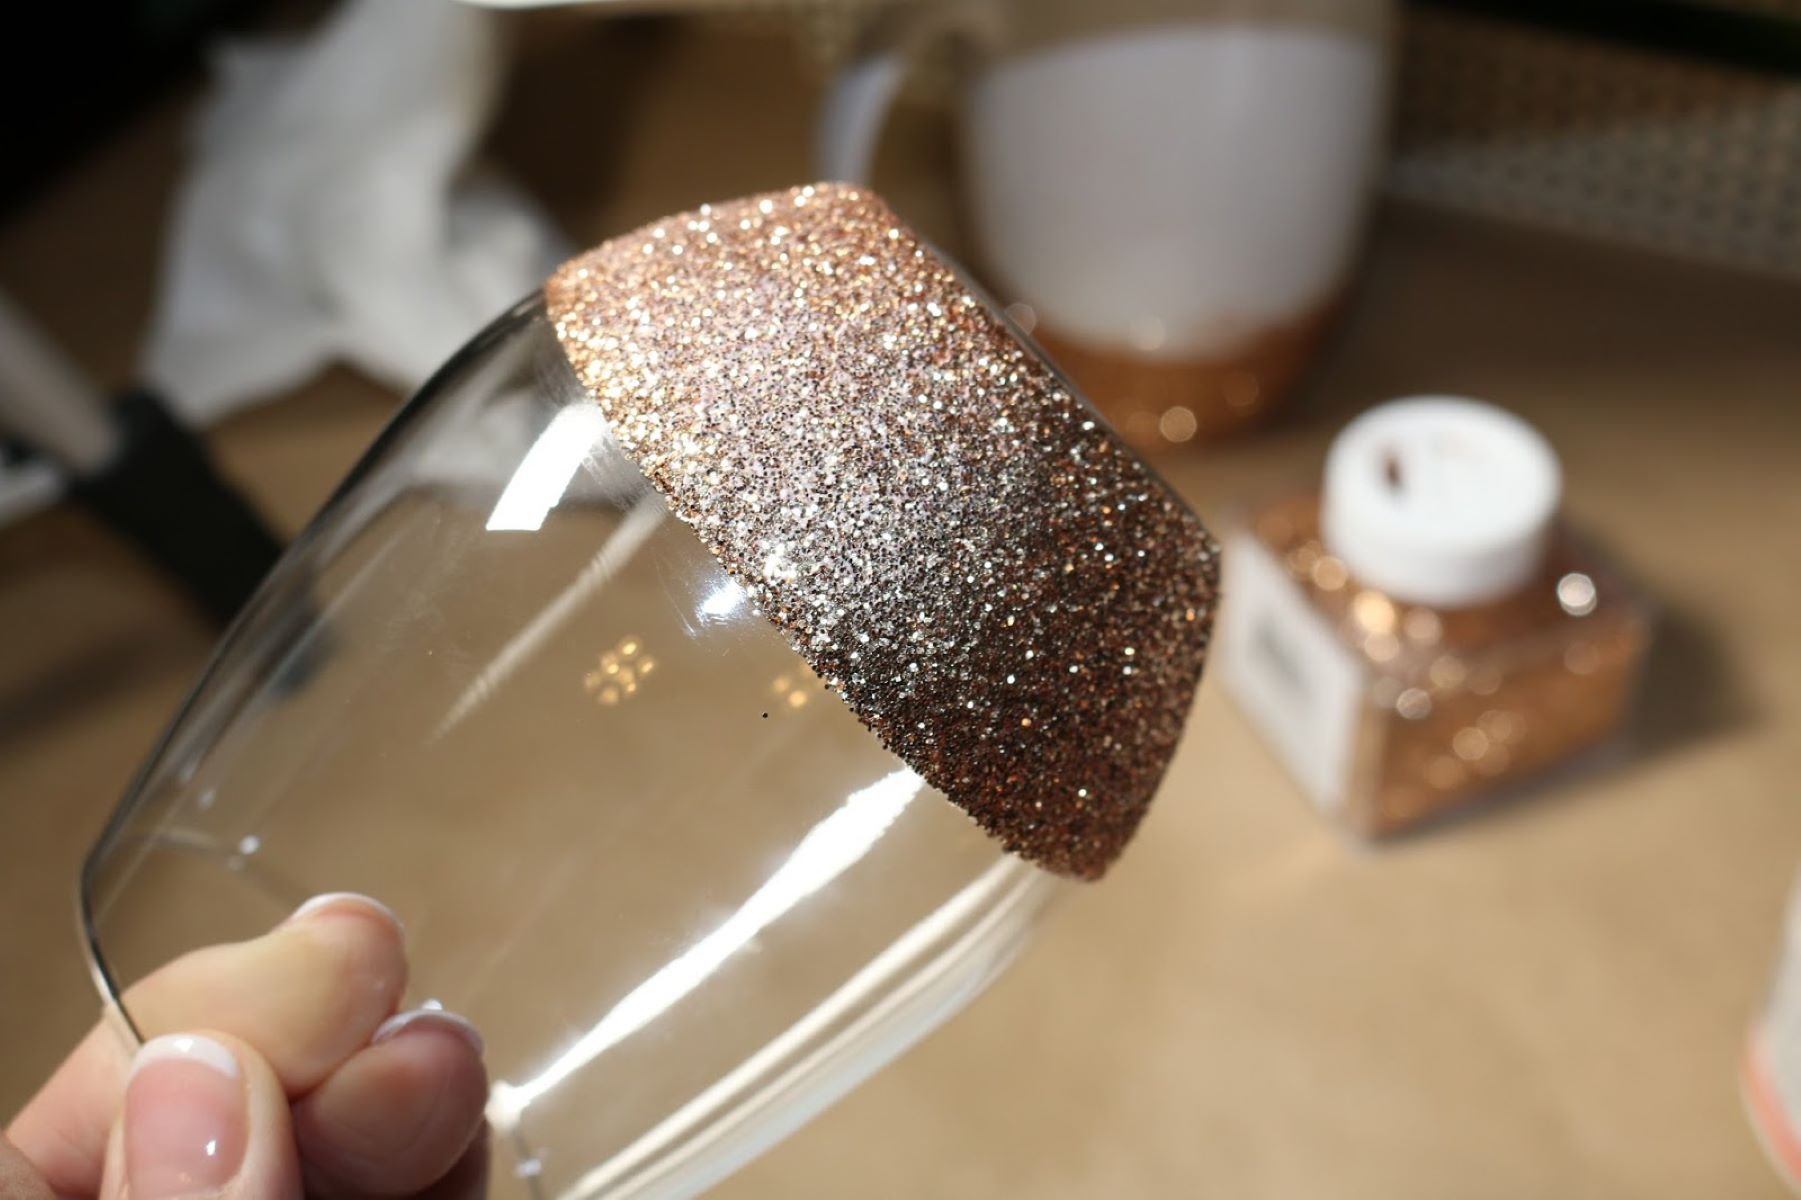
After cleaning the champagne flute, apply a thin layer of adhesive or glue to the area where you want the glitter. Sprinkle the glitter over the adhesive and gently tap off any excess. Allow it to dry completely before using.
Applying Glitter
With the glue applied to the champagne flutes, it’s time to bring on the sparkle! Follow these steps to apply the glitter evenly and achieve the desired effect:
- Choose your glitter: Take the desired glitter color or combination and pour it into a small container or bowl. This will make it easier to control and apply the glitter.
- Hold the flute over the container: Position the flute over the container or bowl to catch any excess glitter that falls off during the application process.
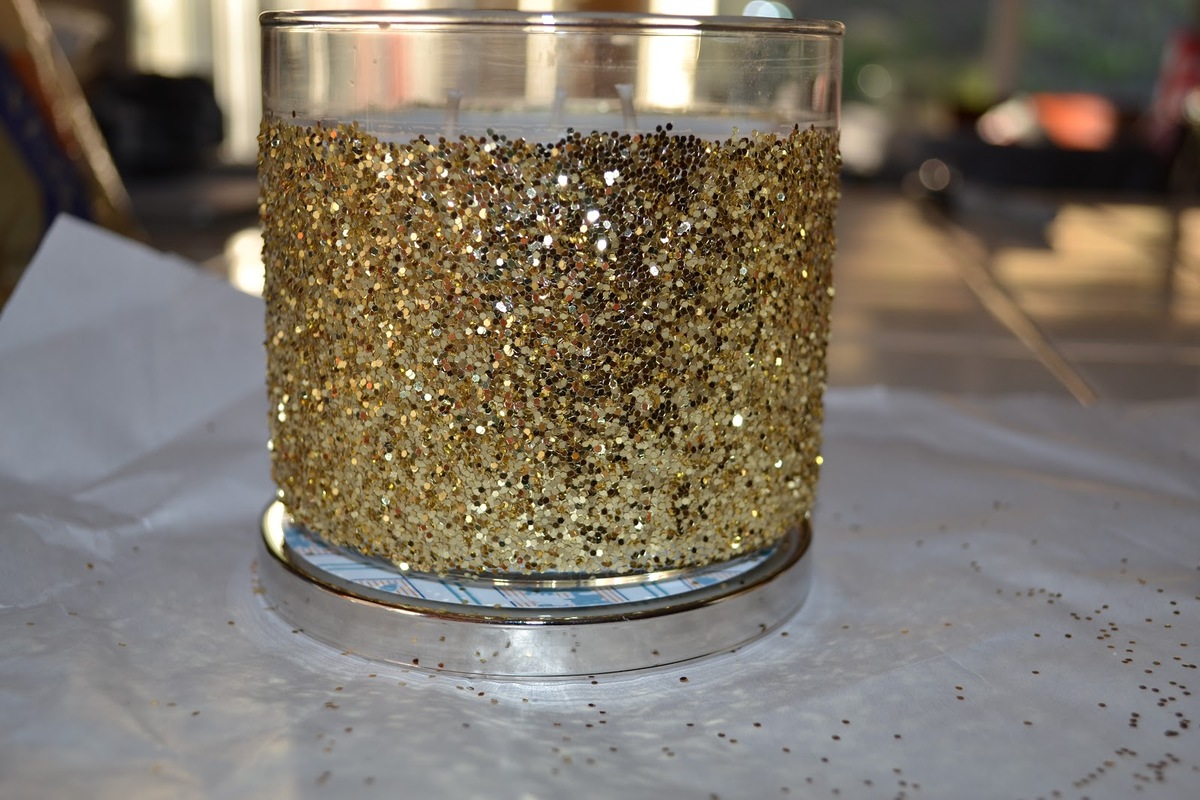
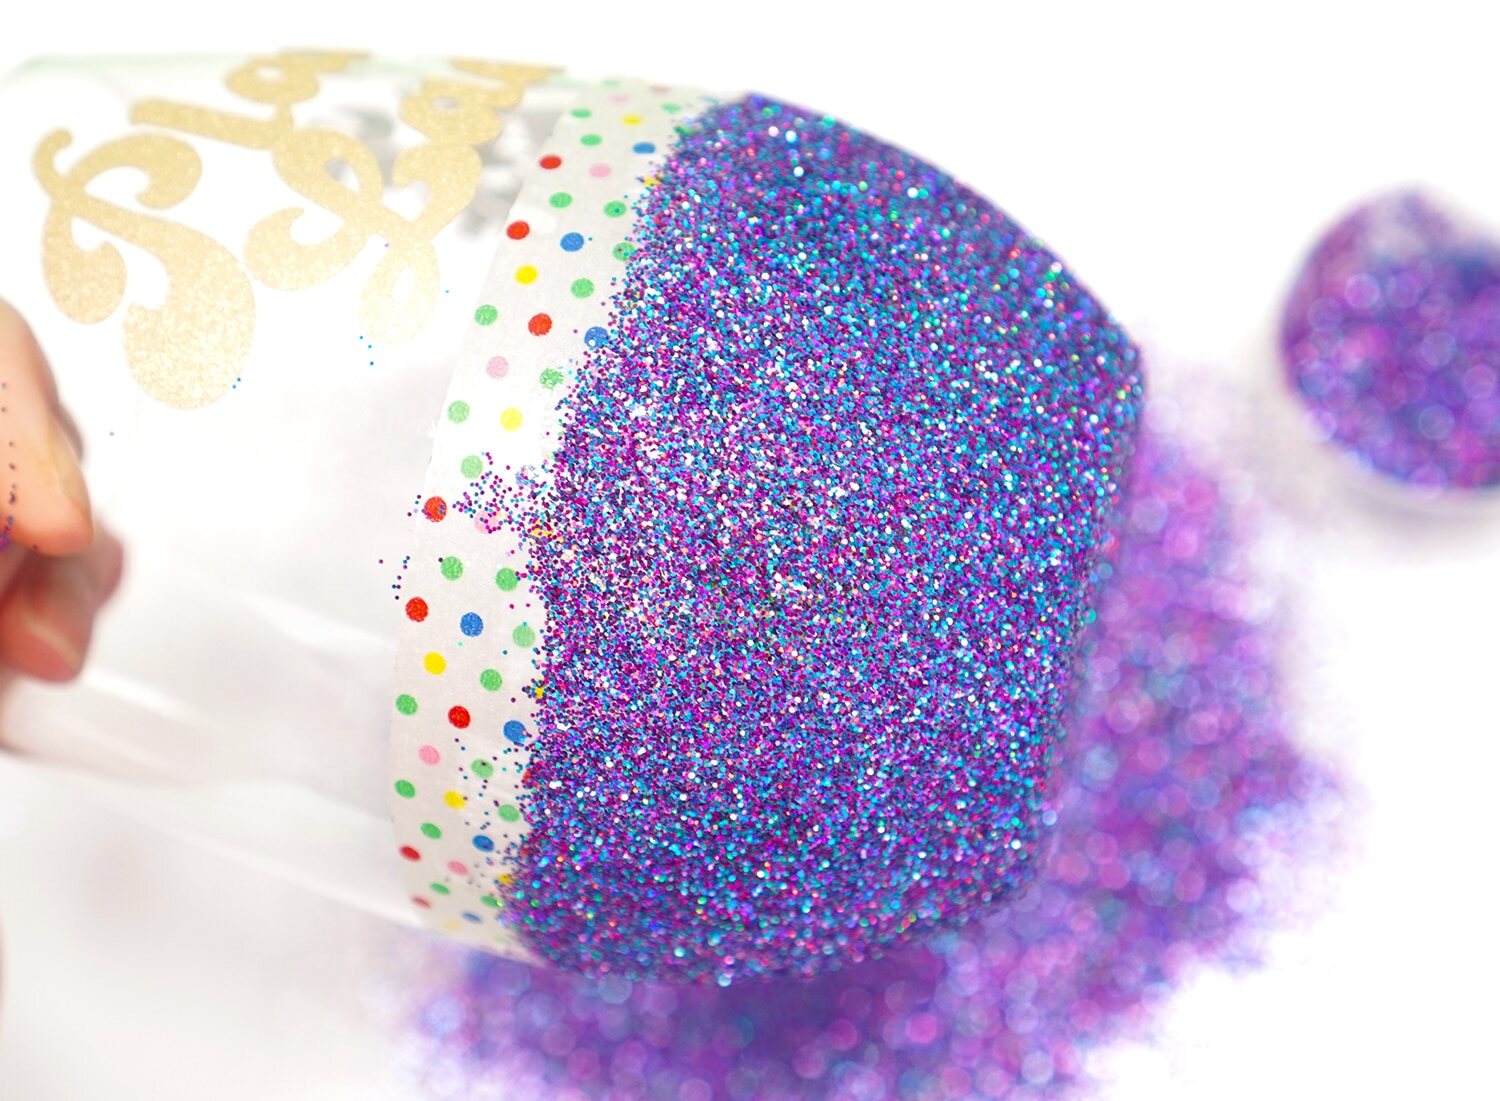
- Sprinkle the glitter: Using a clean hand or a spoon, gently sprinkle the glitter onto the glue-covered areas of the flute. Make sure to cover the entire area evenly, applying more glitter as needed.
- Tap off excess glitter: Once the glue is covered with glitter, gently tap the flute to remove any excess glitter. This will prevent clumps and give you a smooth and uniform finish.
- Rotate and repeat: Slowly rotate the flute to cover all sides, and repeat the process of applying a thin layer of glue and sprinkling glitter until you achieve the desired coverage and effect.
- Let it dry: Allow the glitter to set and dry on the flutes for the recommended time indicated on the adhesive packaging. This will ensure that the glitter adheres securely and prevents smudging or smearing.
By following these steps, you’ll be able to apply the glitter evenly and achieve a stunning, dazzling appearance on your champagne flutes. Remember to work in a well-ventilated area and take care to keep the glitter contained to avoid a messy workspace.
Read more: What Are Champagne Flutes?
Drying and Finishing
After applying the glitter to your champagne flutes, it’s important to allow them to dry completely before handling or using them. Follow these steps to ensure a proper drying process and add a finishing touch:
- Let them air dry: Place the glittered champagne flutes on a clean, flat surface in a well-ventilated area. Allow them to air dry for the recommended time specified on the adhesive packaging. This may take a few hours or overnight.
- Inspect for any loose glitter: Once the flutes are dry, gently inspect them for any loose or stray glitter. If you notice any, use a soft brush or your fingertips to remove it carefully. This will give your flutes a clean and polished appearance.
- Apply clear acrylic sealer (optional): For added durability and to prevent the glitter from flaking off over time, you can choose to apply a clear acrylic sealer. This will give your champagne flutes an extra protective layer. Follow the instructions on the sealer product for proper application.
- Remove painter’s tape (if used): If you used painter’s tape to create clean lines, carefully remove it once the flutes are completely dry. Peel it off slowly and gently to avoid any damage or smudging.
Once your glittered champagne flutes are dry and any finishing touches are completed, they are ready to be admired and used for your special occasion or event. Place them on a display shelf or table, and let them add a touch of elegance and sparkle to your celebration.
Conclusion
Creating glittered champagne flutes is a fun and creative DIY project that can add a touch of glamour and charm to any special occasion or event. By following the step-by-step instructions provided in this article, you can achieve stunning results and showcase your personal style.
Remember to gather all the necessary materials and properly prepare the champagne flutes before applying the glue and glitter. Take your time during each step to ensure an even application and minimize any mess or mistakes. Let the flutes dry completely before inspecting them for any loose glitter or applying a clear acrylic sealer for added protection.
Once your glittered champagne flutes are complete, they can serve as beautiful decorative pieces or be used to toast and celebrate memorable moments. Whether it’s a wedding, anniversary, New Year’s Eve party, or any other special gathering, the glittered flutes will surely make a statement and leave a lasting impression.
So, why settle for ordinary champagne flutes when you can elevate them to extraordinary with a touch of glitter? Embrace your creativity and enjoy the process of transforming plain glass into stunning, sparkling tableware. Get ready to raise a glass and toast to dazzling celebrations!
Frequently Asked Questions about How To Apply Glitter On Champagne Flutes
Was this page helpful?
At Storables.com, we guarantee accurate and reliable information. Our content, validated by Expert Board Contributors, is crafted following stringent Editorial Policies. We're committed to providing you with well-researched, expert-backed insights for all your informational needs.






0 thoughts on “How To Apply Glitter On Champagne Flutes”