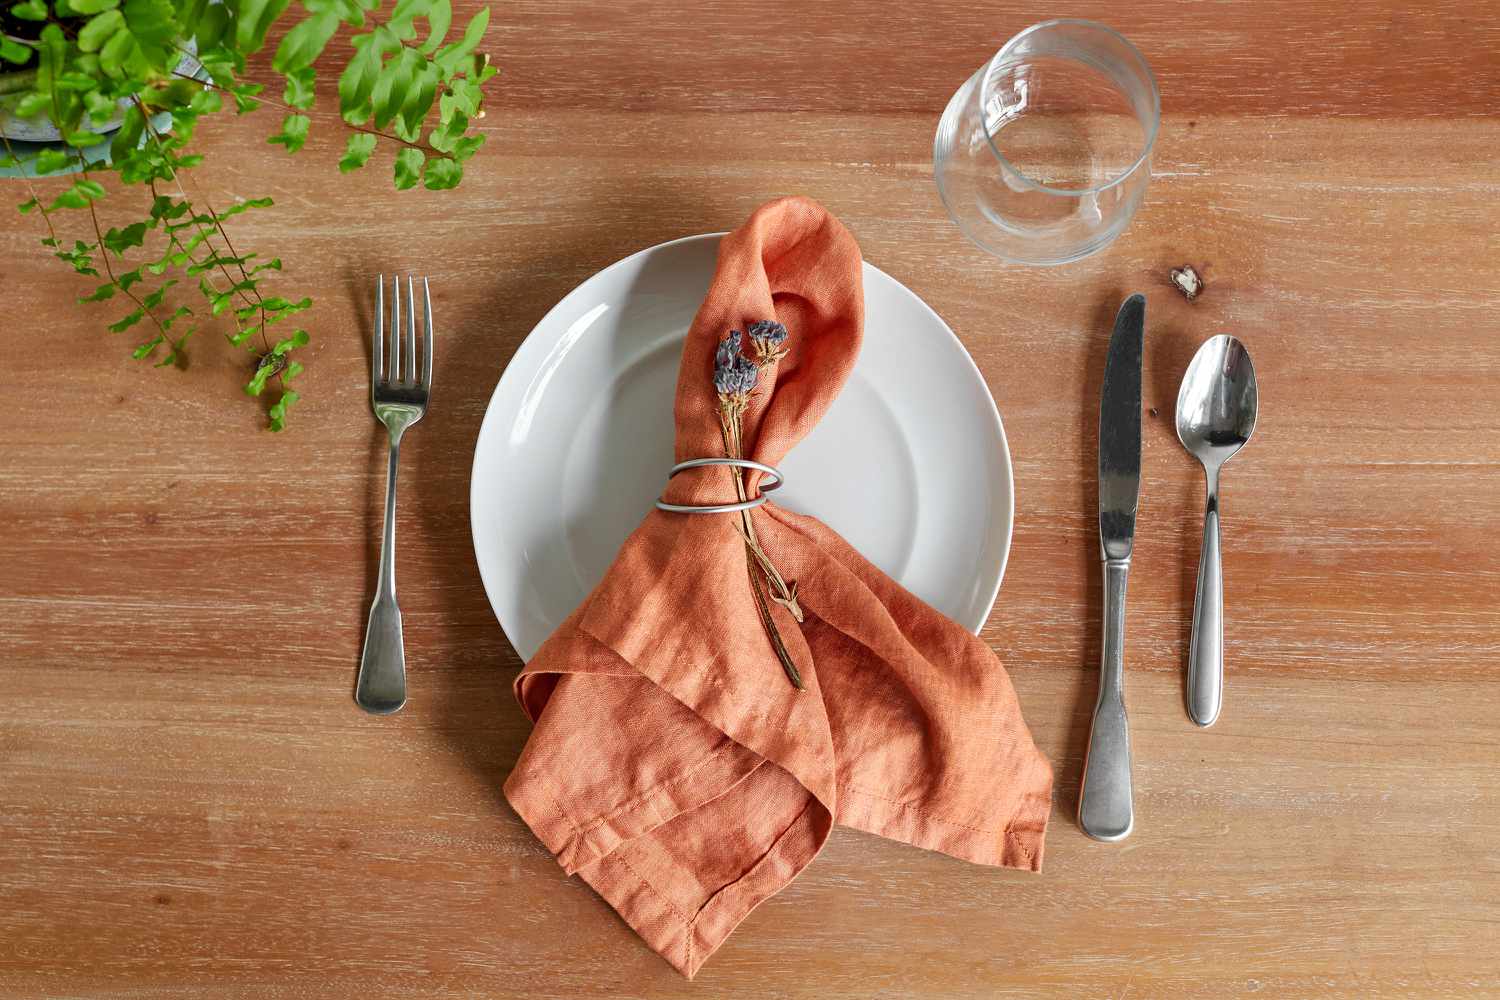
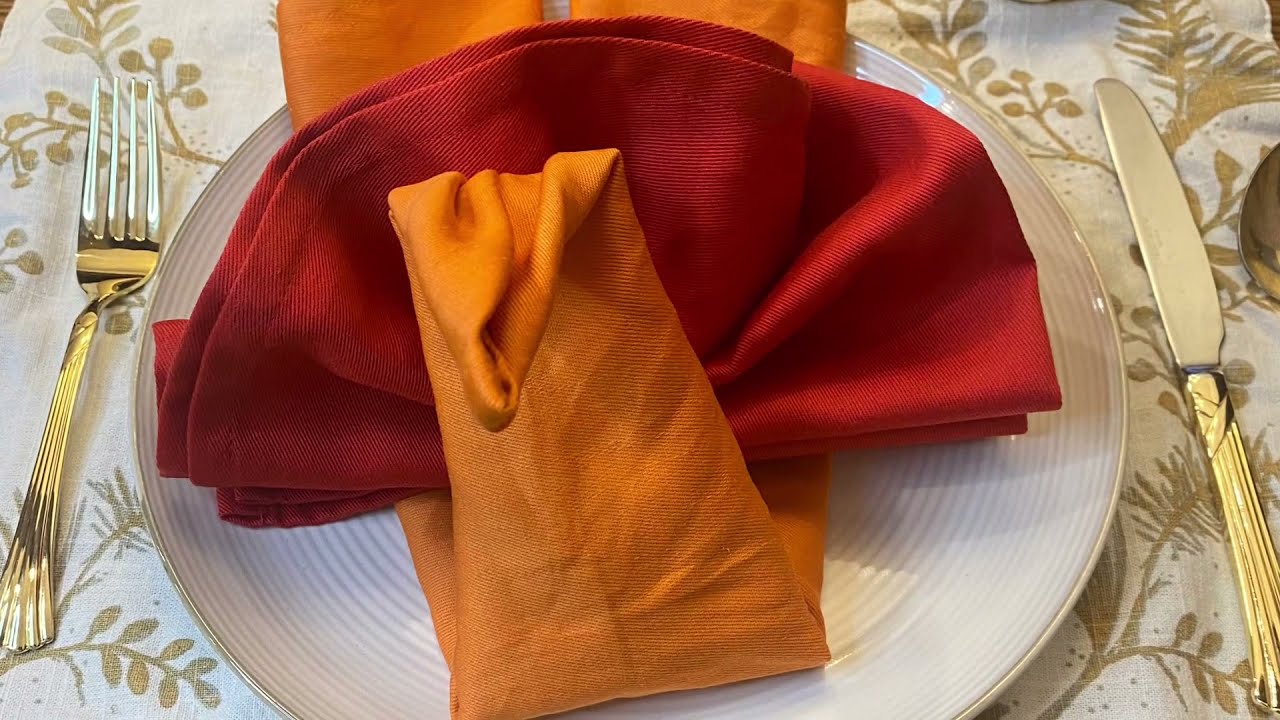
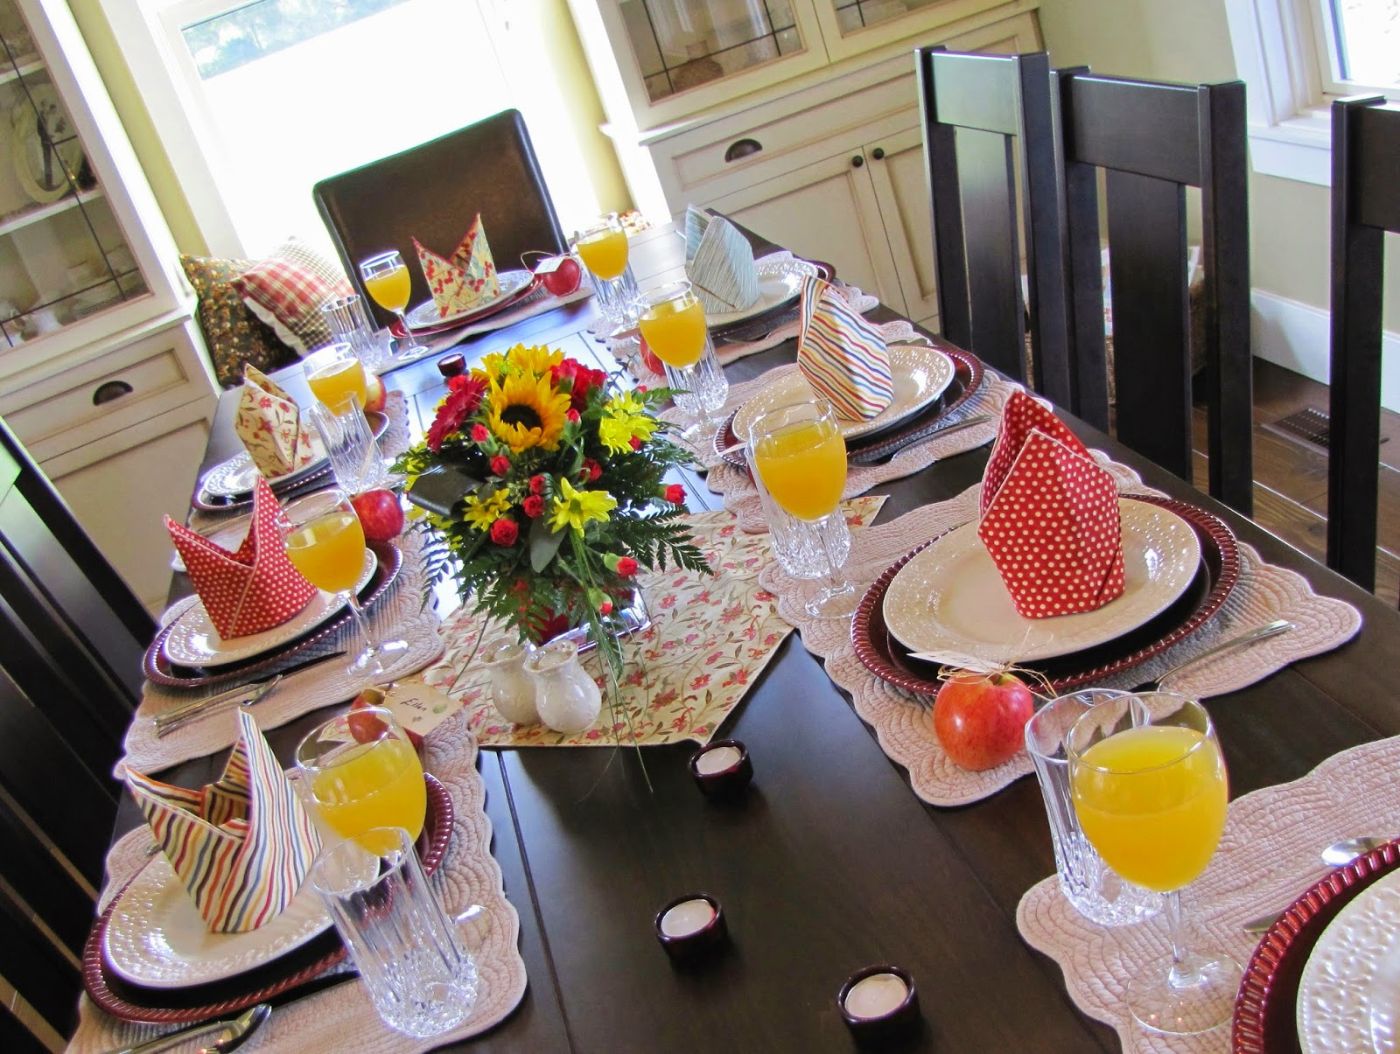
Tableware
How To Fold A Linen Napkin
Modified: December 7, 2023
Learn the art of folding a linen napkin with our step-by-step guide. Elevate your tableware game with this essential skill.
(Many of the links in this article redirect to a specific reviewed product. Your purchase of these products through affiliate links helps to generate commission for Storables.com, at no extra cost. Learn more)
Introduction:
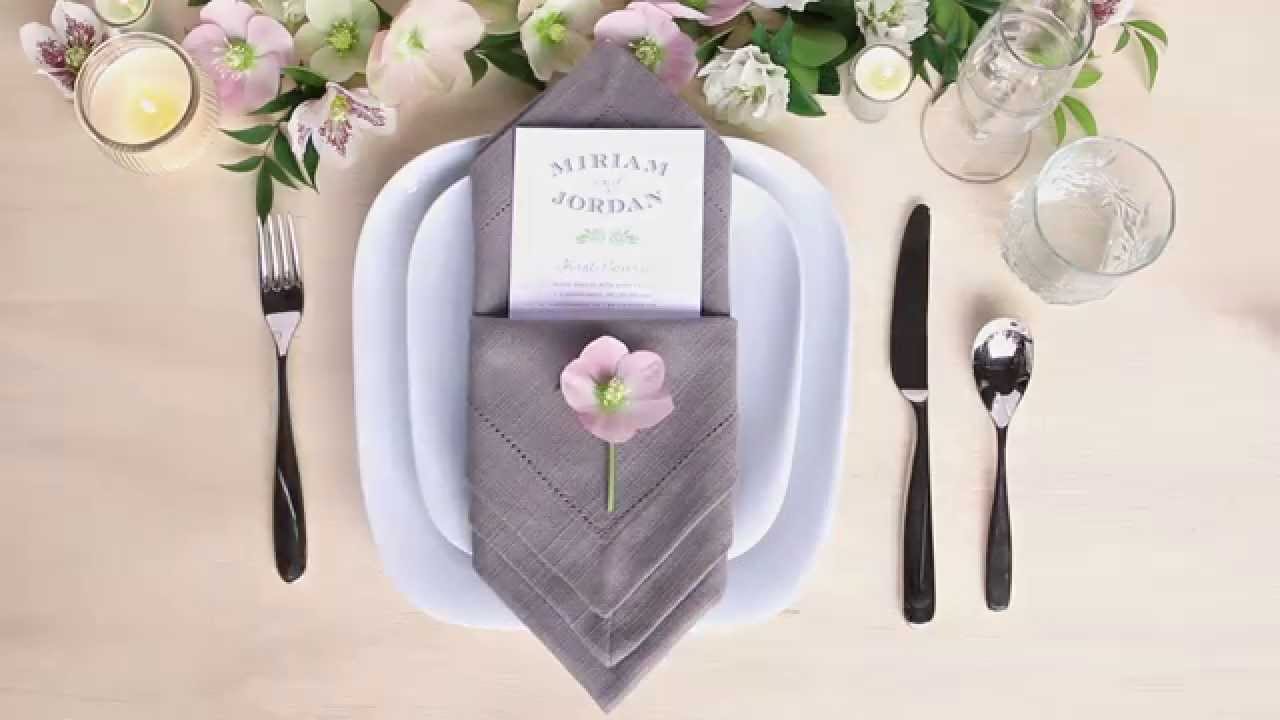
Tableware plays a vital role in enhancing the dining experience, and one element that adds a touch of elegance and sophistication to any table setting is a beautifully folded linen napkin. Whether you are hosting a formal dinner party or simply want to elevate your everyday meals, mastering the art of folding a linen napkin can truly transform your table.
Not only does a well-folded napkin showcase your attention to detail, but it also adds a sense of style and refinement to your dining presentation. While it may seem like a daunting task, folding a linen napkin is easier than you might think. With a few simple steps and some practice, you can create stunning napkin folds that will impress your guests and make every meal feel like a special occasion.
In this article, we will guide you through the process of folding a linen napkin with precision and grace. We will cover different folding techniques that are not only visually appealing but also practical and functional. So, let’s gather our materials and dive into the art of napkin folding!
Key Takeaways:
- Elevate your dining experience with beautifully folded linen napkins. Follow the step-by-step guide to impress your guests and add a touch of elegance to every meal.
- Master the art of linen napkin folding for formal dinners or everyday meals. Choose high-quality linen for impeccable presentation and create visually appealing, sophisticated table settings.
Read more: How To Fold A Napkin With A Napkin Ring
Step 1: Gather Materials:
Before you begin folding your linen napkin, it’s essential to gather all the necessary materials. Here’s a list of what you’ll need:
- A clean and ironed linen napkin: Linen is a great choice for napkins as it is durable, absorbent, and adds a touch of sophistication to your table.
- A flat surface: Find a clean and flat surface to work on, such as a table or countertop. This will make the folding process easier.
- Optional: Napkin ring or decorative element: If you want to add an extra touch of elegance or personalization to your folded napkin, you can use a decorative napkin ring or any other decorative element of your choice.
Once you have gathered these materials, you are ready to proceed to the next step and start folding your linen napkin.
Remember, the quality of the linen napkin you choose can make a significant difference in the final presentation. Opt for a high-quality linen fabric that is soft, smooth, and has a nice drape. This will ensure that your folded napkin looks impeccable and enhances the overall aesthetic of your table setting.
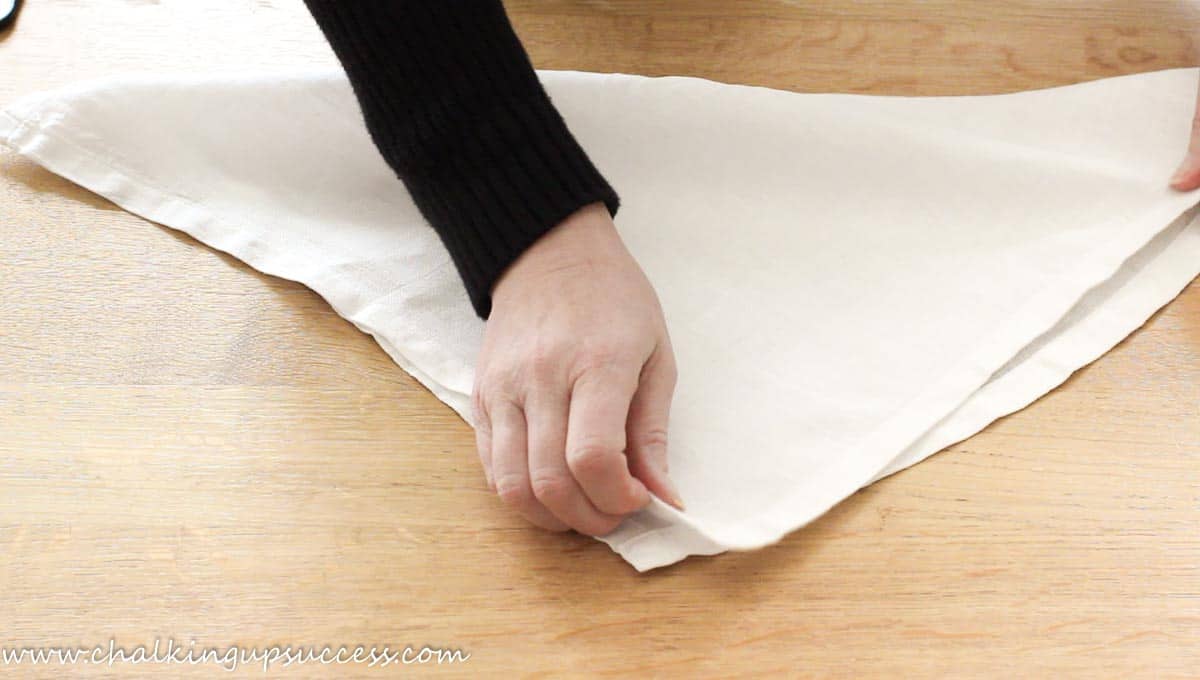
Step 2: Lay the Napkin Flat:
Now that you have gathered your materials, it’s time to begin the folding process. Start by laying the linen napkin flat on a clean and flat surface, ensuring that it is free from any wrinkles or creases.
Smooth out the napkin gently with your hands or use a light iron to remove any visible wrinkles. This step is crucial as it ensures that your folded napkin will have a clean and polished appearance.
Make sure that the napkin is laid out in a square shape, with all four corners aligned. Double-check that the edges are straight and even, as this will help you achieve a symmetrical and well-balanced fold.
Take a moment to admire the beautiful fabric and appreciate the quality of the linen napkin. The smooth texture and elegant drape of linen will add a touch of luxury to your dining experience, making it a perfect choice for special occasions.
Once you have prepared the linen napkin and ensured that it is flat and wrinkle-free, you are ready to move on to the next step and start folding.
Step 3: Fold the Napkin in Half:
Now that you have laid the napkin flat, it’s time to start creating your first fold. Begin by folding the napkin in half horizontally, bringing the top edge down to meet the bottom edge.
Ensure that the edges are aligned and the fold is straight. You can use your fingers or a flat object, such as a ruler, to smooth out any creases and make the fold neat and precise.
This simple fold creates a center line in the napkin and helps establish the foundation for the subsequent folds. Pay attention to the symmetry of the folded edges, as a straight and even fold will contribute to an overall polished look.
Once you have folded the napkin in half, take a moment to appreciate the clean lines and the satisfying feeling of creating a perfectly symmetrical fold. This initial fold sets the stage for the more intricate folding techniques that you will explore later in the process.
By folding the napkin in half, you are also making it more compact and easier to work with in the subsequent steps. This fold allows you to create additional layers and intricate designs without the napkin becoming excessively thick or bulky.
With the napkin now folded in half, you are ready to move on to the next step and continue creating a beautifully folded linen napkin.
Step 4: Fold the Napkin in Half Again:
Now that you have folded the napkin in half horizontally, it’s time to take it a step further and fold it in half once more. This additional fold adds structure and creates more layers, resulting in a more intricate and visually appealing fold.
To achieve this, take the bottom edge of the napkin and fold it up to meet the top edge. Ensure that the edges align perfectly and that the crease is sharp. Use your fingers or a ruler to smooth out any wrinkles and create a clean fold.
By folding the napkin in half again, you are effectively doubling the layers and reinforcing the structure of the napkin. This will make the subsequent folds more stable and help maintain the shape of the final fold.
As you fold the napkin in half for the second time, notice how the layers stack on top of each other, creating a compact and sturdy base. This foundation will allow you to create more intricate folds and designs without the napkin losing its shape.
Appreciate the transformation of the napkin as it becomes more compact and takes on a sleeker appearance. The multiple layers add depth and dimension, making the folded linen napkin look sophisticated and refined.
With the napkin now folded in half again, you are ready to move on to the next step and continue the process of creating an exquisite linen napkin fold.
Read more: How To Fold A Napkin
Step 5: Fold the Bottom Corners Inward:
With the napkin folded in half twice, it’s time to start shaping the corners to create a more intricate and visually appealing fold. In this step, you will fold the bottom corners of the napkin inward.
Start by taking the bottom left corner of the folded napkin and fold it diagonally towards the center. Make sure the corner aligns with the top center point of the napkin.
Next, repeat the same process with the bottom right corner. Fold it diagonally towards the center, aligning it with the top center point of the napkin.
Ensure that both corners are folded neatly and create a symmetrical shape. The folded corners should point towards the center of the napkin.
This folding technique adds a decorative element to the napkin, bringing attention to the center and creating a more intricate design. It also gives the napkin stability and helps hold its shape throughout the rest of the folding process.
Take a moment to admire the transformation of the napkin as the corners fold inward. Notice how the folded corners add depth and dimension to the overall design, giving the napkin a more refined and elegant appearance.
With the bottom corners of the napkin neatly folded inward, you are ready to move on to the next step and continue shaping your linen napkin fold.
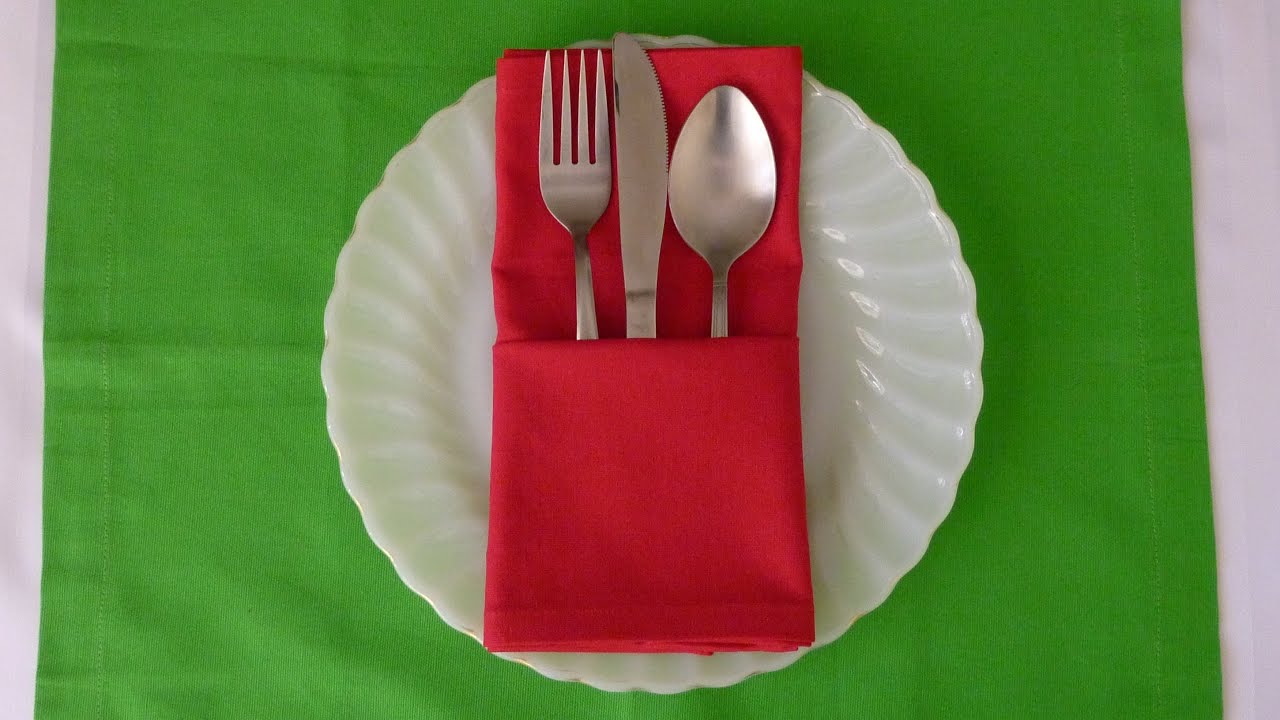
When folding a linen napkin, start by laying it flat and then fold it in half diagonally to form a triangle. Then, fold the two corners of the longest side towards the middle to create a narrow rectangle. Finally, fold the napkin in half lengthwise to form a pocket for silverware.
Step 6: Fold the Bottom Edge Upward:
With the bottom corners of the napkin neatly folded inward, it’s time to create another fold that adds further structure and depth to the linen napkin. In this step, you will fold the bottom edge of the napkin upward.
Start by taking the bottom edge of the napkin and fold it upward, towards the top edge. Ensure that the fold is straight and aligns with the top edge. Smooth out any wrinkles or creases along the fold for a clean and polished appearance.
As you fold the bottom edge upward, you will notice that the napkin starts taking shape and the layers begin to stack on top of each other. This fold adds more stability and helps create a solid base for the final fold.
Pay attention to precision as you fold the bottom edge upward. A straight and even fold will result in a more professional and aesthetically pleasing presentation.
Take a moment to appreciate the transformation of the linen napkin as the bottom edge is folded upward. Notice how the additional layer adds depth and texture, making the final fold look more intricate and refined.
With the bottom edge of the napkin neatly folded upward, you are now ready to move on to the next step and continue crafting a beautifully folded linen napkin.
Step 7: Flip the Napkin Over:
Now that you have folded the bottom edge of the napkin upward, it’s time to flip the napkin over. This step helps create the desired shape and structure for the final fold.
Carefully hold the folded napkin from underneath and flip it over, making sure to keep your hands steady to maintain the shape you have created so far.
When you flip the napkin over, you will see a neat and symmetrical arrangement of folded corners and edges. This step ensures that the final fold will have a clean and uniform presentation.
Take a moment to appreciate the transformation of the napkin as you flip it over. Notice how the folds come together to create a beautifully layered and structured base for the final design.
Once the napkin is flipped over, you are ready to move on to the next steps and continue the process of folding the linen napkin into a remarkable presentation.
Step 8: Fold the Left Side Inward:
With the napkin flipped over, it’s time to add more intricacy to the fold by shaping the sides. In this step, you will fold the left side of the napkin inward.
Start by taking the left edge of the napkin and fold it inward towards the center. Ensure that the edge aligns with the centerline of the napkin.
Smooth out any wrinkles or creases along the fold for a clean and polished appearance. Pay attention to precision as you fold the left side inward, as a straight and even fold will result in a visually pleasing final presentation.
This folding technique creates a more refined and structured look for the linen napkin, adding depth and dimension to the overall design.
Take a moment to admire the transformation of the napkin as the left side is neatly folded inward. Notice how the fold enhances the overall visual appeal and gives the napkin a more sophisticated and elegant touch.
With the left side neatly folded inward, you are now ready to move on to the next step and continue crafting a beautifully folded linen napkin.
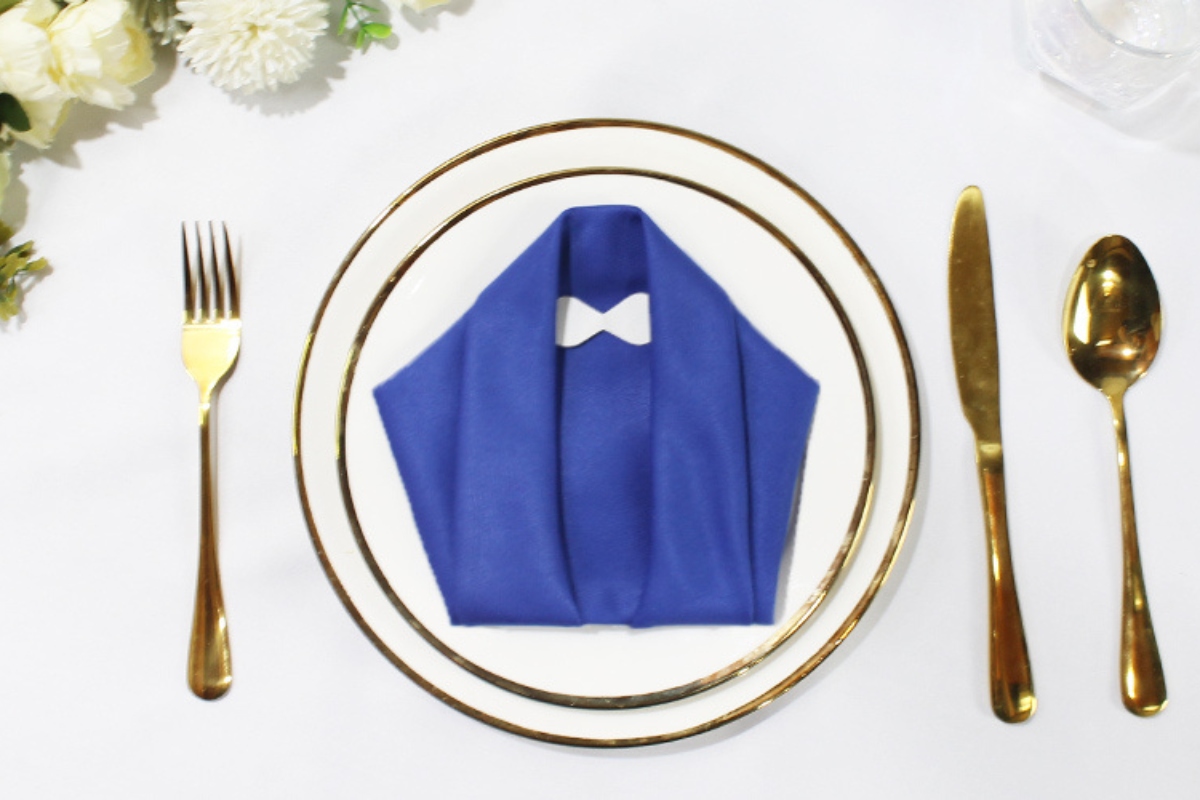
Read more: How To Fold A Napkin Into A Suit
Step 9: Fold the Right Side Inward:
With the left side of the napkin neatly folded inward, it’s time to balance the design by folding the right side inward. This step will create symmetry and add a sense of harmony to your folded linen napkin.
Begin by taking the right edge of the napkin and fold it inward towards the center, just like you did with the left side. Ensure that the edge aligns with the centerline of the napkin.
Smooth out any wrinkles or creases along the fold to achieve a clean and polished appearance. Pay attention to precision and ensure that the fold is straight and even for a visually pleasing final presentation.
This folding technique complements the previous fold on the left side, enhancing the overall aesthetic of the linen napkin. It helps create a cohesive design, adding balance and sophistication to your table setting.
Take a moment to appreciate the transformation of the napkin as the right side is neatly folded inward. Notice how the fold adds depth and texture to the overall design, making the folded linen napkin a stunning centerpiece on your dining table.
With the right side of the napkin neatly folded inward, you are now ready to move on to the final step and complete the folding process of your linen napkin.
Step 10: Tuck in the Napkin Ends:
Now that you have folded both the left and right sides inward, it’s time to secure the napkin fold by tucking in the ends. This final step will give your linen napkin a polished and finished look.
Start by taking one end of the napkin and carefully tuck it into the fold of the other end. You want to create a pocket-like shape, securing the folded corners and edges in place.
Ensure that the ends are tucked in securely but not too tightly, allowing the fold to maintain its shape without compromising the elegant appearance of the napkin.
Take a moment to adjust the tucks and make any necessary refinements to ensure a clean and refined presentation. Smooth out any wrinkles or creases along the napkin fold, creating a flawless and professional finish.
By tucking in the napkin ends, you are not only securing the fold but also adding stability and ensuring that the elegant design remains intact throughout your meal. This step ensures that the napkin stays in place, even when in use.
Take a step back and admire your beautifully folded linen napkin. Notice how all the carefully executed folds and tucks have come together to create a remarkable visual centerpiece for your table.
With the ends of the napkin neatly tucked in, you have successfully completed the folding process and created a stunning linen napkin fold. Your table setting is now adorned with a touch of elegance and sophistication.
It’s time to showcase your beautifully folded linen napkin to your guests and enjoy the enhanced dining experience that it brings.
Conclusion:
Folding a linen napkin is a skill that adds a touch of elegance and refinement to any table setting. With the right techniques and a little practice, you can effortlessly create stunning folds that will impress your guests and elevate your dining experience.
Throughout this article, we have explored the step-by-step process of folding a linen napkin. From gathering the materials to tucking in the ends, each step plays a crucial role in crafting a beautifully folded napkin.
By following these steps, you can create a sophisticated and visually appealing linen napkin fold. The crisp lines, intricate folds, and attention to detail will enhance the overall presentation of your table and make every meal feel like a special occasion.
Remember, the quality of the linen napkin you choose is essential. Opt for a high-quality fabric that is soft, smooth, and has a nice drape. This will ensure that your folded napkin looks impeccable and enhances the overall aesthetic of your table setting.
Whether you are hosting a formal dinner party, a casual gathering, or simply want to add a touch of elegance to your everyday meals, mastering the art of folding a linen napkin is a valuable skill. It showcases your attention to detail and adds a sense of style and sophistication to your table.
So, the next time you set the table, take the time to fold a linen napkin with precision and grace. Your guests will appreciate the thoughtful touch, and you will enjoy the satisfaction of creating a harmonious and visually pleasing dining experience.
Now, go ahead and practice these folding techniques, experiment with different designs, and have fun creating stunning linen napkin folds that will leave a lasting impression on your guests!
Frequently Asked Questions about How To Fold A Linen Napkin
Was this page helpful?
At Storables.com, we guarantee accurate and reliable information. Our content, validated by Expert Board Contributors, is crafted following stringent Editorial Policies. We're committed to providing you with well-researched, expert-backed insights for all your informational needs.

0 thoughts on “How To Fold A Linen Napkin”