Home>Dining>Tableware>How To Fold A Napkin Into A Poinsettia
Tableware
How To Fold A Napkin Into A Poinsettia
Modified: January 3, 2024
Learn how to fold a napkin into a beautiful poinsettia shape with our step-by-step guide. Impress your guests with this stunning tableware decoration.
(Many of the links in this article redirect to a specific reviewed product. Your purchase of these products through affiliate links helps to generate commission for Storables.com, at no extra cost. Learn more)
Introduction
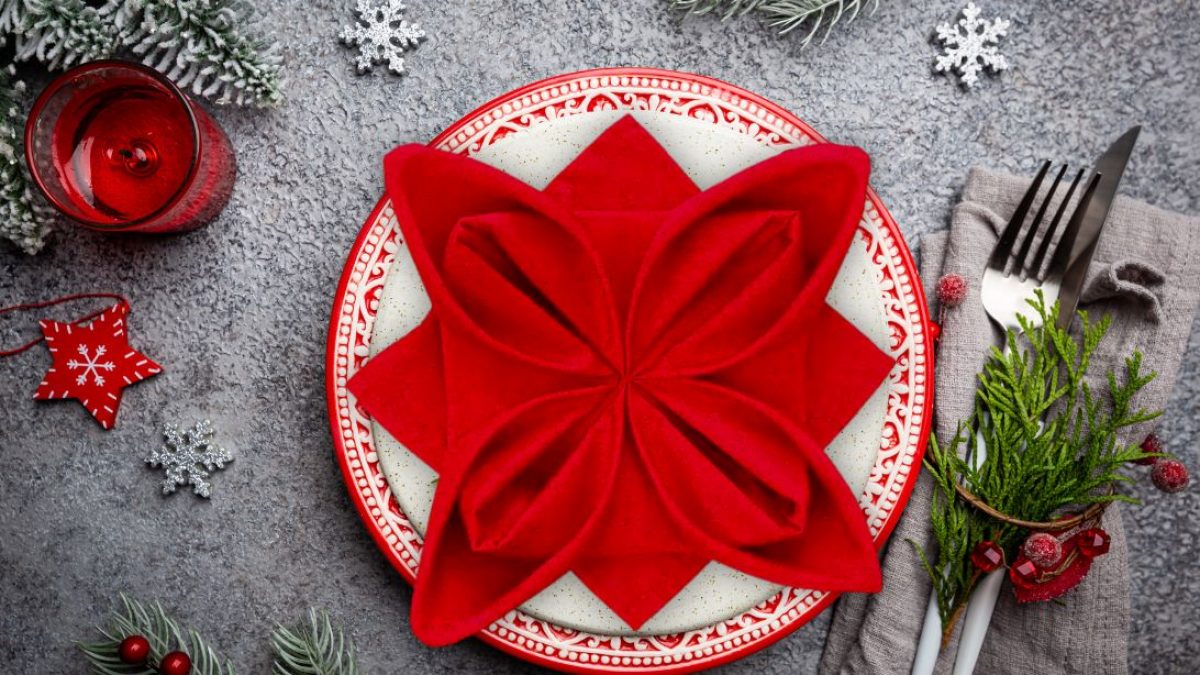
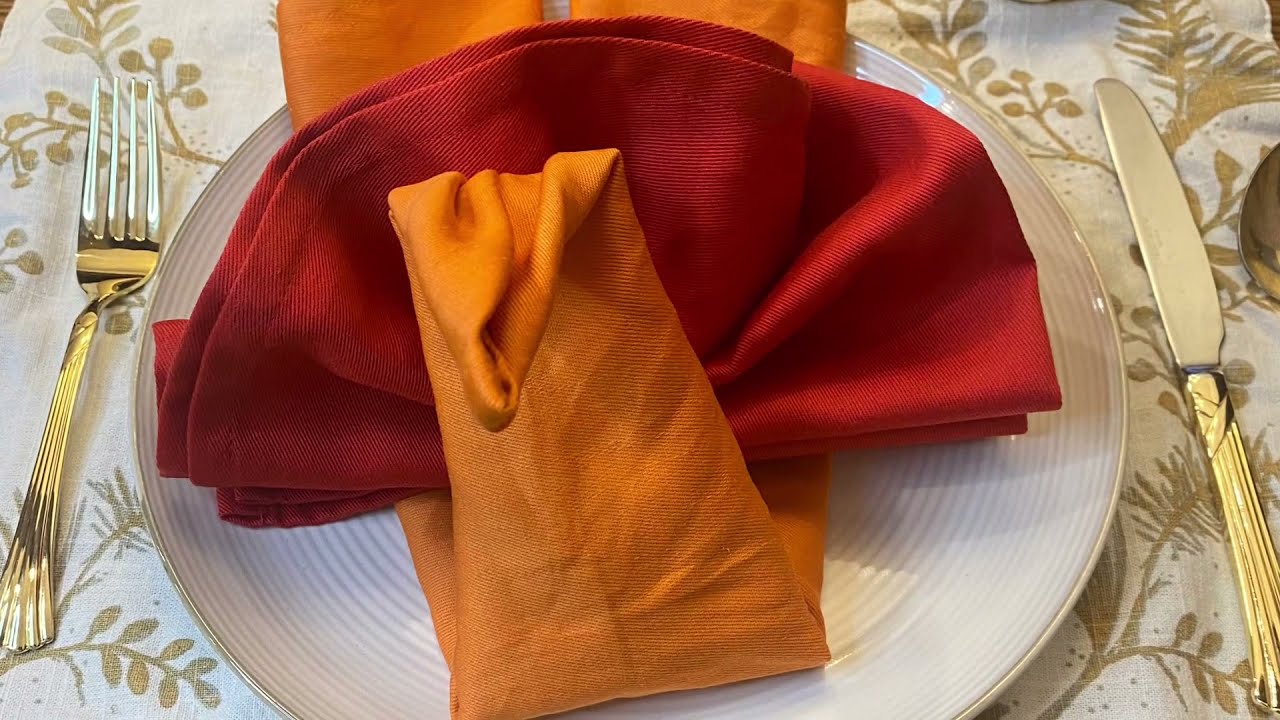
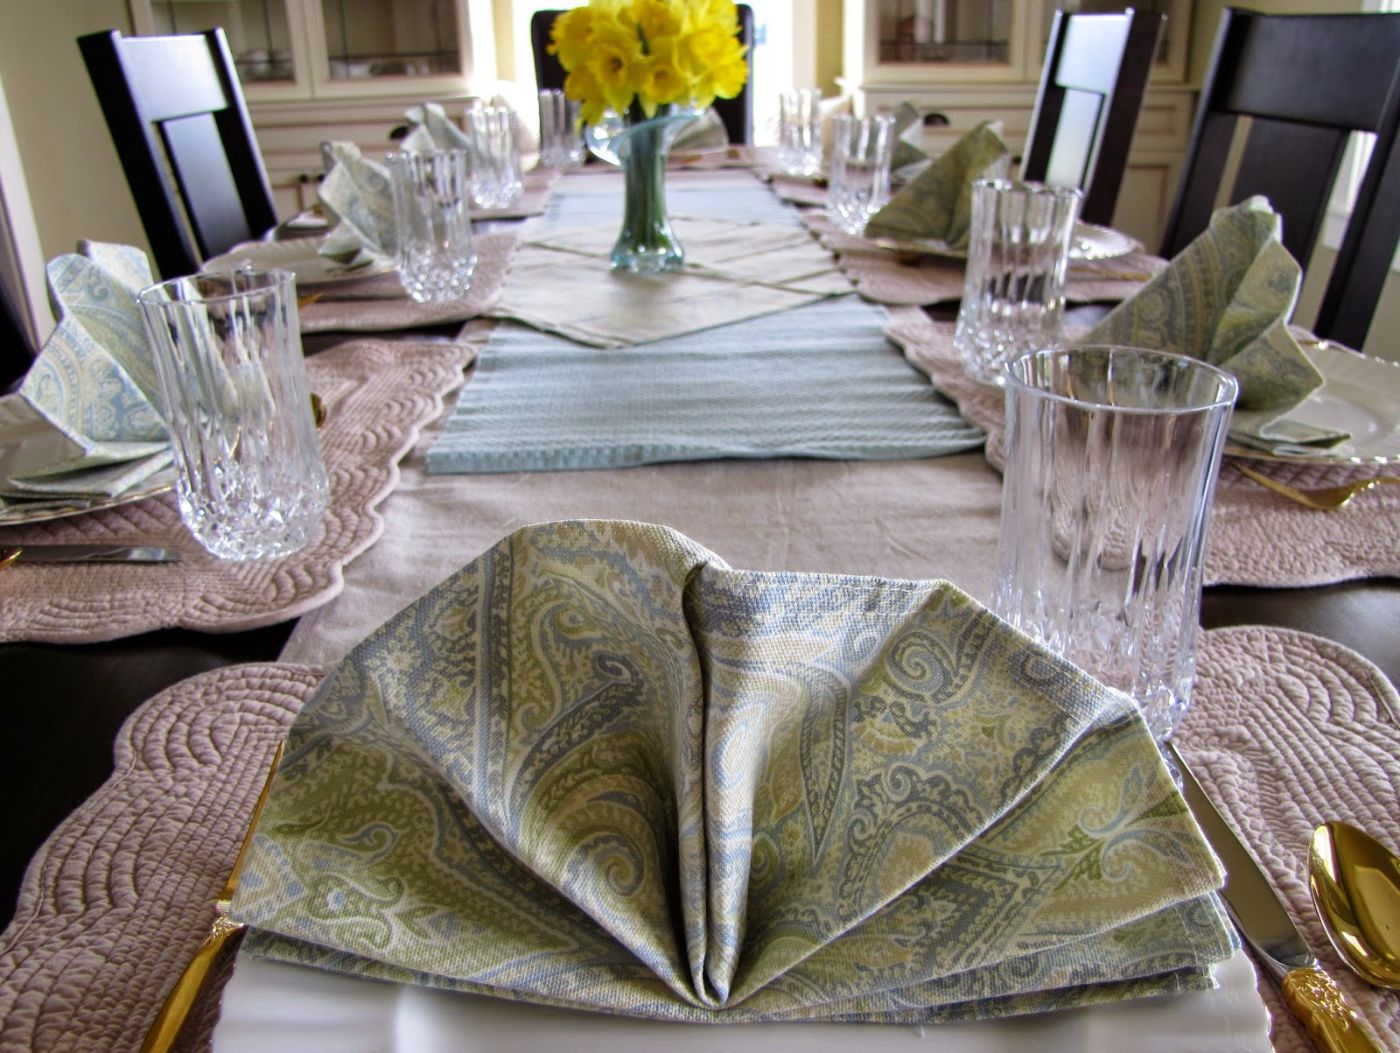
Welcome to the art of napkin folding! If you’re looking to add an extra touch of elegance to your table setting, then mastering the art of folding a napkin into a poinsettia is just what you need. This stunning folded napkin resembles the beautiful flower associated with the holiday season, making it perfect for Christmas dinners, winter parties, or any festive occasion.
Creating a poinsettia from a napkin may seem like a daunting task, but fear not! With a little practice and guidance, you’ll soon be able to impress your guests with your newfound tableware folding skills. In this article, we will take you through each step of the process, providing clear instructions and tips to ensure your poinsettia napkin fold turns out absolutely stunning.
Not only is folding a napkin into a poinsettia a delightful way to elevate your table decor, but it also serves as a conversation starter and adds a touch of whimsy to your dining experience. So, let’s gather our materials, roll up our sleeves, and embark on this creative journey of napkin folding!
Key Takeaways:
- Elevate your table setting with a stunning poinsettia napkin fold, perfect for Christmas dinners and festive occasions. Impress your guests with this delightful tableware folding technique and add a touch of elegance to your gatherings.
- Transform simple napkins into beautiful floral arrangements with patience and creativity. The poinsettia napkin fold not only adds aesthetic appeal but also serves as a conversation starter, bringing joy to your holiday gatherings.
Read more: How To Fold A Napkin With A Napkin Ring
Materials Needed
Gathering the right materials is the first step towards successfully folding a napkin into a poinsettia. Thankfully, you won’t need any special or hard-to-find items for this project. Here’s what you’ll need:
- A square napkin: Choose a napkin with a festive color or pattern that complements your table setting. A 16-inch square napkin works best for this particular fold, but you can adjust the size if needed.
- A flat surface: Find a clean, flat surface to work on, such as a tabletop or countertop. This will provide stability and make the folding process easier.
- A little patience and creativity: Folding a napkin into a poinsettia requires a bit of patience and a willingness to experiment. Don’t be afraid to make adjustments and add your own personal flair to the final result.
Once you have these materials ready, you’re all set to embark on this delightful napkin folding adventure. So, let’s dive into the step-by-step process of turning a simple napkin into a beautiful poinsettia that will leave everyone in awe!
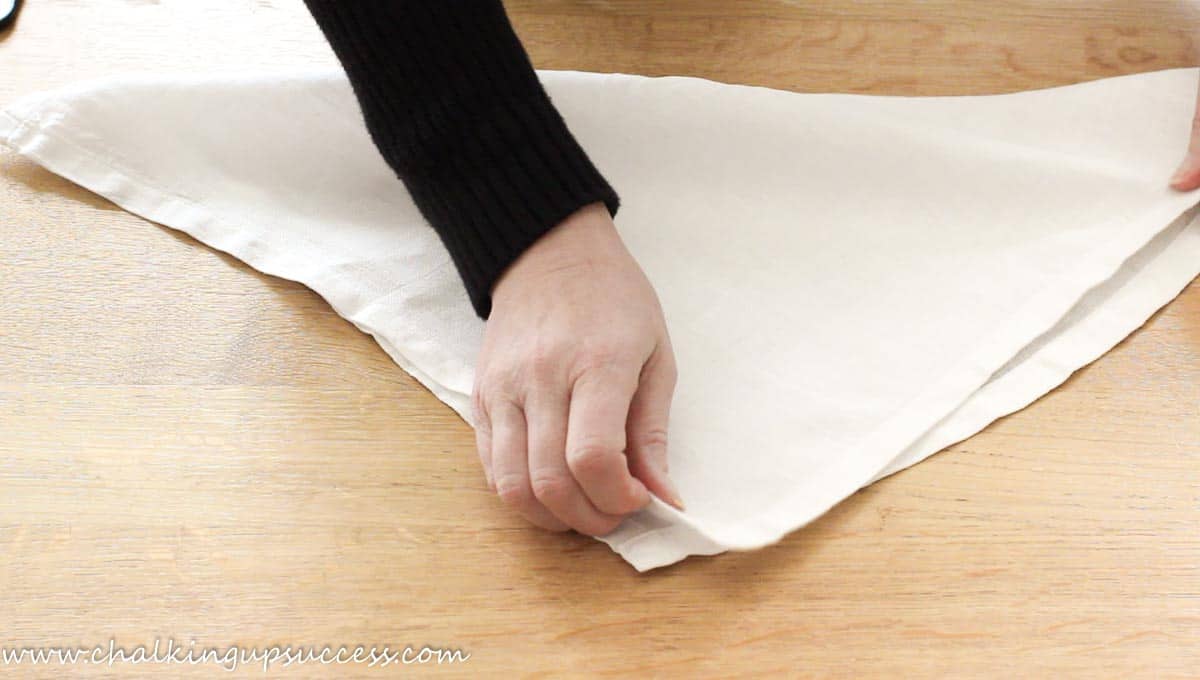
Step 1: Folding the Napkin in Half Diagonally
The first step in creating a poinsettia napkin fold is to fold the napkin in half diagonally. Follow these simple instructions:
- Start with a square napkin and lay it flat on your working surface.
- Take the top right corner of the napkin and fold it down to meet the bottom left corner, creating a triangle shape.
- Ensure that the edges align perfectly to create a sharp fold.
- Smooth out any wrinkles or creases to ensure a clean, polished look.
By folding the napkin in half diagonally, you have laid the foundation for the poinsettia napkin fold. This initial triangular shape will serve as the base for the subsequent steps. Take a moment to appreciate the symmetry and precision of the fold before moving on to the next step.
Step 2: Folding the Bottom Corners
Now that you have the napkin folded in half diagonally, it’s time to move on to the next step: folding the bottom corners. Follow these simple instructions:
- Take the bottom corner of the triangle and fold it up towards the top point, aligning the edges.
- Make sure the fold is neat and crisp, with no overlapping or misaligned edges.
- Repeat the same fold with the opposite bottom corner of the triangle, folding it up towards the top point and aligning the edges.
- Take a moment to adjust the folds and ensure that the bottom corners are neatly folded up.
By folding the bottom corners up, you are starting to create the distinctive petal-like shape of the poinsettia. These folded corners will become the outer petals of the flower, adding depth and dimension to the napkin fold. Keep in mind that precision is key in this step, as it sets the stage for the final result.
Once you have completed this step, your napkin should now resemble a smaller triangle with the bottom corners folded up. Take a moment to admire your progress before proceeding to the next step.
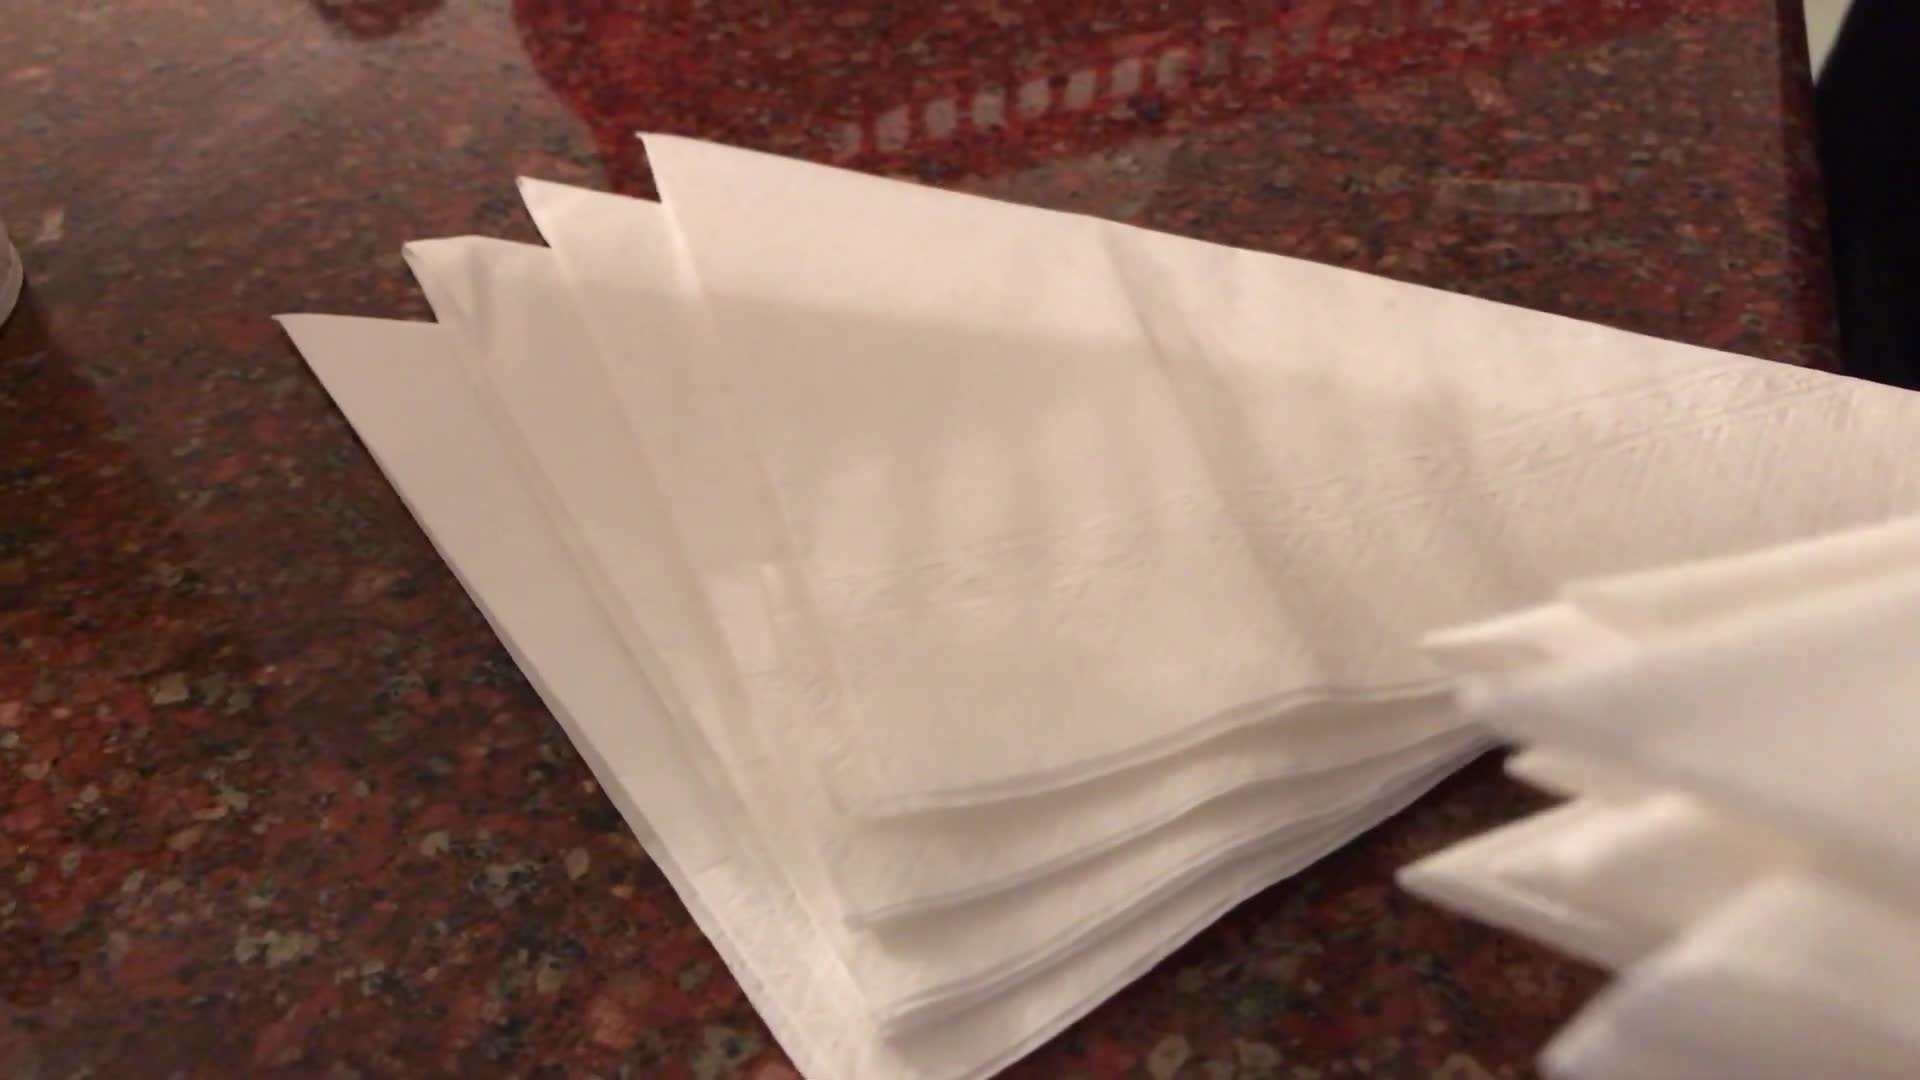
Step 3: Folding the Side Corners
Now that you have folded the bottom corners, it’s time to move on to the next step: folding the side corners. Follow these instructions to continue creating the poinsettia napkin fold:
- Take the right corner of the triangle and fold it towards the center, aligning it with the top point of the triangle.
- Make sure the edges are neatly aligned and the fold is crisp.
- Repeat the same fold with the left corner of the triangle, folding it towards the center and aligning it with the top point.
- Ensure that the folds on both sides are symmetrical and aligned with the top point.
By folding the side corners towards the center, you are further defining the petal shape of the poinsettia. These folded corners will form the inner petals of the flower, contributing to the beautiful layered effect. Take your time to adjust the folds and ensure they are aligned properly.
Once you have completed this step, your napkin should now resemble a smaller triangle with both side corners folded towards the top point. Admire your progress before moving on to the next step.
To fold a napkin into a poinsettia, start by folding it in half diagonally to form a triangle. Then, fold the two corners of the triangle towards the center to create the poinsettia shape.
Read more: How To Fold A Napkin
Step 4: Folding the Outer Points
As we near the final steps of creating the poinsettia napkin fold, it’s time to focus on folding the outer points. Follow these instructions to continue transforming your napkin into a stunning poinsettia:
- Take the outer point of the right side of the triangle and fold it towards the center, aligning it with the top point.
- Ensure that the folded edge is crisp and the point lines up with the top point.
- Repeat the same fold with the outer point of the left side of the triangle, folding it towards the center and aligning it with the top point.
- Make sure both folds are symmetrical and the points align with the top point.
By folding the outer points towards the center, you are adding further intricacy and dimension to your poinsettia napkin fold. These folds will create additional layers and petals, mimicking the natural design of a poinsettia flower. Take your time to ensure the folds are precise and symmetrical.
Take a moment to appreciate the transformation of your napkin, as it now resembles a beautiful poinsettia with layered petals. The intricate details are coming together, bringing an elegant touch to your table setting. Well done!
Step 5: Shaping the Poinsettia
Now that the main folds are complete, it’s time to shape your poinsettia napkin and bring it to life. Follow these instructions to give your fold its distinctive flower-like appearance:
- Hold the folded napkin gently with one hand, and use your other hand to carefully separate and fluff the layers.
- Gently pull the folded layers apart, starting from the center and working your way outwards.
- Take a moment to adjust each layer, making them look more petal-like and giving them a natural, organic shape.
- Continue shaping and fluffing the layers until you are satisfied with the overall appearance of your poinsettia.
The key to shaping a poinsettia napkin is to be delicate and patient. Take your time to separate and adjust each layer, creating an aesthetically pleasing flower-like shape. Don’t be afraid to experiment and give your poinsettia a unique touch.
Once you are happy with the shape and appearance, set your poinsettia napkin on a flat surface and give it a final adjustment if needed. Now, take a step back and admire your beautiful creation!
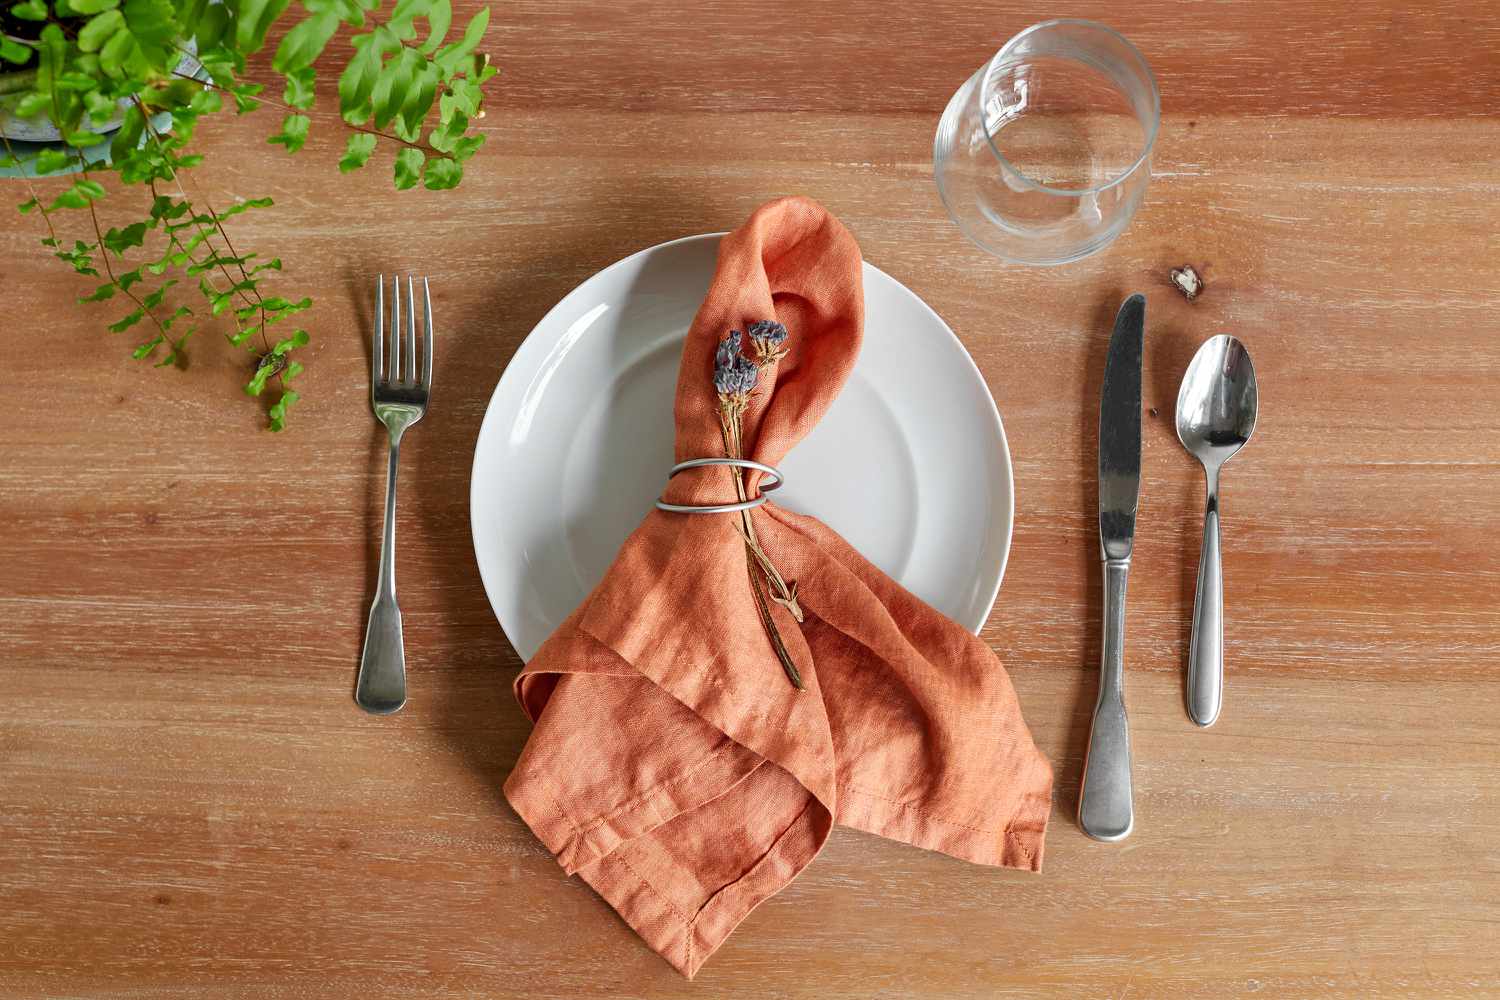
Step 6: Final Touches and Display Options
Congratulations! You’ve successfully folded your napkin into a stunning poinsettia. Now, let’s add some final touches and explore different display options for your masterpiece:
- Smooth out any wrinkles or creases on the napkin, ensuring it looks polished and neat. Use your fingers or a gentle ironing if necessary.
- Consider adding some embellishments to enhance the festive look of your poinsettia. You can attach a small jingle bell, a sprig of holly, or a decorative napkin ring to the center of the flower.
- Place your poinsettia napkin fold in the center of each plate to serve as a beautiful decorative element during your holiday meal.
- If you have a napkin ring, you can slide the folded poinsettia into it for an elegant and secure display.
- You can also create a vibrant poinsettia bouquet by folding multiple napkins and arranging them in a decorative bowl or basket as a centerpiece.
- Experiment with different colors and textures of napkins to match your table decor and personal style.
Remember that the poinsettia napkin fold is not only a decorative masterpiece but also a conversation starter. Your guests will be impressed by your creativity and attention to detail.
Once your tablescape is complete with the poinsettia napkin folds, step back and enjoy the festive ambiance you’ve created. The beauty of this fold lies not only in its aesthetic appeal but also in the joy it brings to your holiday gathering.
So, let your creativity flourish, and have fun with this delightful tableware folding technique!
Conclusion
Congratulations on mastering the art of folding a napkin into a poinsettia! By following these step-by-step instructions and adding your personal touch, you have transformed a simple napkin into a stunning floral arrangement that will elevate any table setting. Whether it’s for a Christmas dinner, winter party, or festive occasion, your poinsettia napkin fold will surely impress your guests.
Throughout this journey, you learned how to fold the napkin in half diagonally, fold the bottom and side corners, fold the outer points, shape the poinsettia, and add the final touches. Each step contributed to the intricate design and overall beauty of the poinsettia fold.
Remember, when it comes to napkin folding, patience and creativity are your greatest tools. Don’t be afraid to experiment, adjust, and add embellishments to make your poinsettia napkin fold truly unique.
Displaying your folded poinsettia napkin at each place setting or as a centerpiece will instantly create a festive atmosphere. The vibrant colors and elegant shape of the poinsettia will captivate your guests and make your table come alive with holiday spirit.
So, gather your materials, follow the steps, and enjoy the process of creating beautiful poinsettia napkins. It’s an art form that adds an extra touch of elegance and creativity to any occasion.
Now, it’s time to showcase your newfound napkin folding skills and make your next gathering truly memorable. It’s not just tableware – it’s an expression of your style, creativity, and attention to detail.
Embrace the beauty of the poinsettia napkin fold and let it be a testament to your festive spirit and artistic flair. Happy folding!
Frequently Asked Questions about How To Fold A Napkin Into A Poinsettia
Was this page helpful?
At Storables.com, we guarantee accurate and reliable information. Our content, validated by Expert Board Contributors, is crafted following stringent Editorial Policies. We're committed to providing you with well-researched, expert-backed insights for all your informational needs.

0 thoughts on “How To Fold A Napkin Into A Poinsettia”