
Tableware
How To Fold A Napkin Into A Pyramid
Modified: October 20, 2024
Learn how to fold a napkin into a stunning pyramid with our step-by-step guide. Elevate your tableware decor and impress your guests.
(Many of the links in this article redirect to a specific reviewed product. Your purchase of these products through affiliate links helps to generate commission for Storables.com, at no extra cost. Learn more)
Introduction
When it comes to setting a beautiful table, the small details can make all the difference. One of those details is the way you fold your napkins. Folding a napkin into a pyramid shape adds an elegant touch to your tableware and can impress your guests with your attention to detail.
In this article, we will guide you step by step on how to fold a napkin into a pyramid shape. With just a few simple folds, you can transform an ordinary napkin into a stunning centerpiece for your table.
Whether you are hosting a formal dinner party, a wedding reception, or simply want to elevate your everyday meals, learning this folding technique will be a valuable skill. So, let’s gather our materials and get started!
Key Takeaways:
- Elevate your table setting with a touch of elegance by learning how to fold a napkin into a stunning pyramid shape. Impress your guests and enhance the visual appeal of any meal or event with this simple yet sophisticated folding technique.
- Transform an ordinary napkin into a captivating centerpiece with just a few simple folds. Master the art of creating visually pleasing napkin pyramids and elevate the ambiance of your table setting with this elegant and impressive skill.
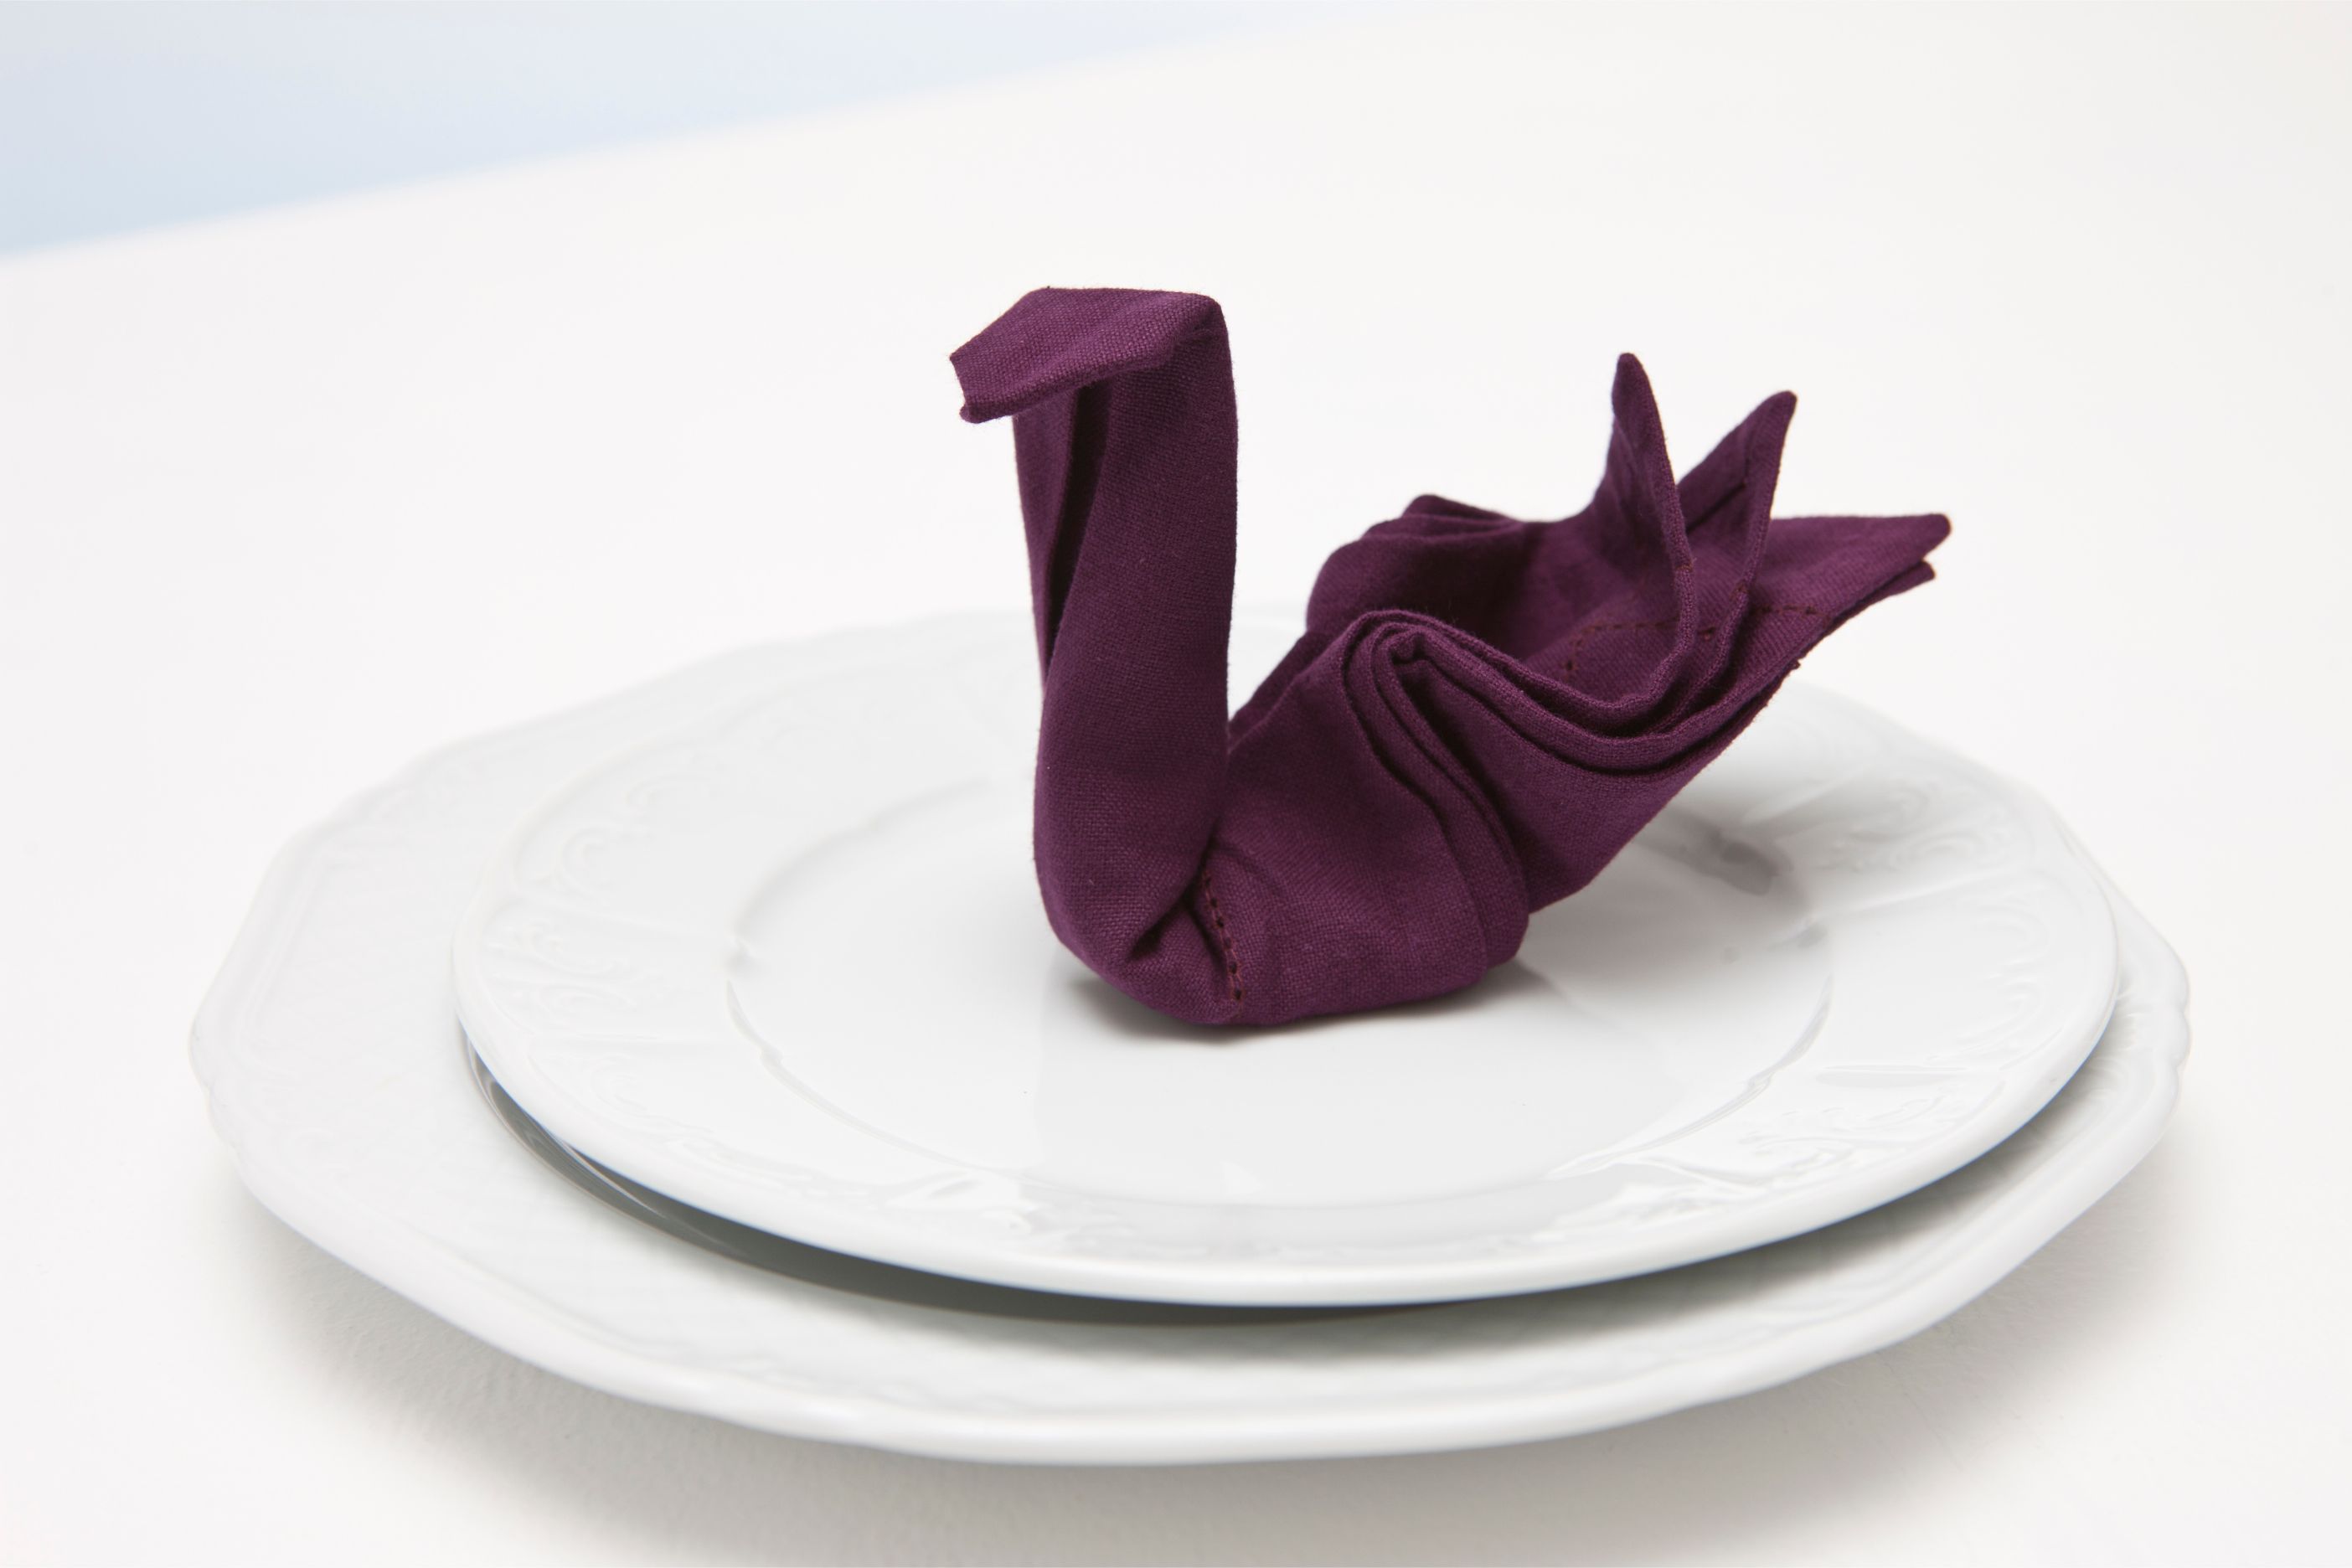
Read more: How To Fold A Napkin With A Napkin Ring
Materials Needed
Before we begin folding our napkin into a pyramid shape, let’s make sure we have all the necessary materials nearby. Here’s what you’ll need:
- A square napkin: Use a cloth napkin for a more luxurious and durable finish. However, if you don’t have a cloth napkin, a paper napkin will work just fine.
- A flat surface: Find a clean and flat surface, such as a table or countertop, to work on.
Once you have these materials ready, you’re all set to begin folding your napkin into a beautiful pyramid shape. Let’s move on to the step-by-step instructions.
Step 1: Start with a square napkin
The first step in folding a napkin into a pyramid shape is to start with a square napkin. If your napkin is rectangular, you can easily transform it into a square shape by folding one corner diagonally to the opposite corner and then trimming off the excess.
Once you have a square napkin, lay it flat on your working surface with one corner facing towards you and the other corner facing away. Make sure the napkin is smooth and free from any wrinkles or creases.
This square shape will provide a strong base for our pyramid fold and ensure that the final result is symmetrical and visually pleasing.
Now that we have our square napkin ready, we can move on to the next step in the folding process.
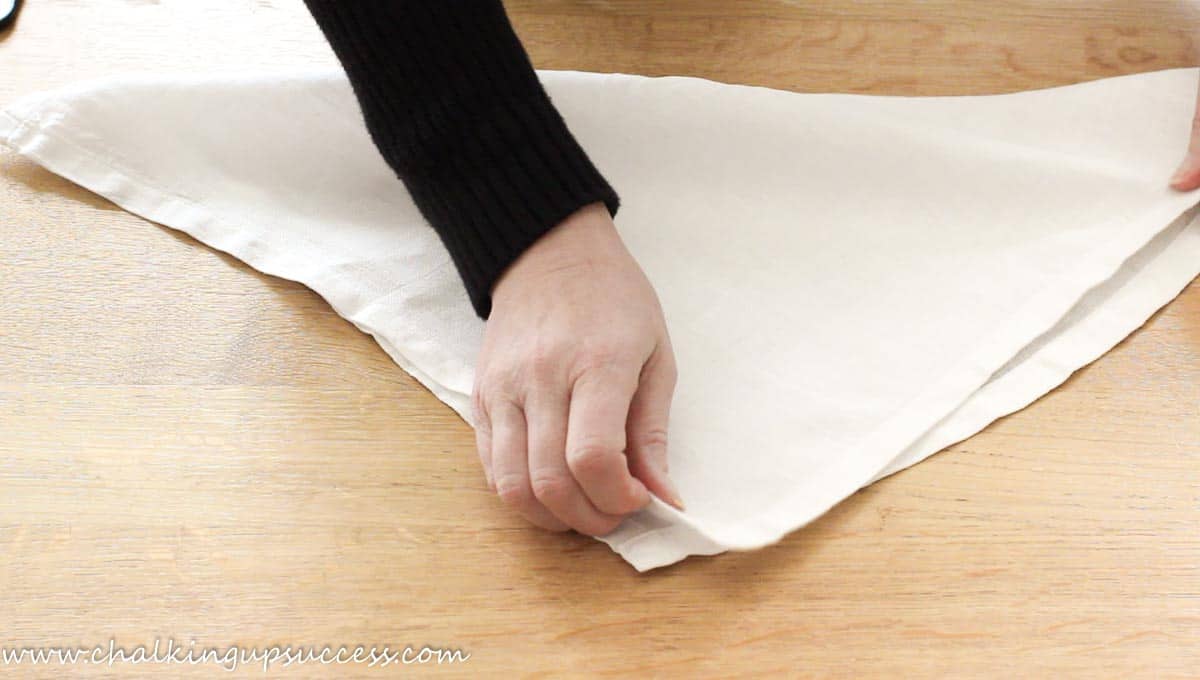
Step 2: Fold the napkin in half diagonally
In the second step of folding a napkin into a pyramid shape, we will fold it in half diagonally. This fold will create a triangle shape with the open corner facing upwards.
To achieve this fold, take the bottom corner of the napkin and fold it up to meet the top corner. Ensure that the edges align perfectly and that the fold is crisp. You can use your fingers or a flat edge, such as a ruler, to smooth out any wrinkles or unevenness.
When you have successfully folded the napkin in half diagonally, you should have a perfect triangle shape with two open corners at the bottom.
This triangle shape will serve as the foundation for the subsequent folds in creating the pyramid shape. With the napkin now folded in half diagonally, we can move on to the next step.
Step 3: Bring the bottom corner up to the top corner
In step 3 of folding a napkin into a pyramid shape, we will bring the bottom corner of the triangle up to meet the top corner. This fold will create a smaller triangle with a flat side at the bottom and a point at the top.
To achieve this fold, take the bottom corner of the triangle and fold it up towards the top corner. Make sure to align the edges perfectly and create a crisp fold. You can use your fingers or a flat edge to help smooth out any wrinkles or unevenness.
Once you have folded the bottom corner up to the top corner, you should be left with a smaller triangle shape. The bottom edge of the napkin should be flat, with two open corners at the top.
This fold will help create the layers of the pyramid shape and provide stability to the final structure. With the bottom corner now brought up to the top corner, we can proceed to the next step.
Read more: How To Fold A Napkin
Step 4: Fold the right corner over to the left corner
For the fourth step in folding a napkin into a pyramid shape, we will fold the right corner of the triangle over to meet the left corner. This fold will add another layer to our pyramid and create a tapered effect.
To achieve this fold, take the right corner of the triangle and bring it over to meet the left corner. Make sure the edges align perfectly and create a crisp fold. Smooth out any wrinkles or unevenness to maintain a clean and polished look.
When you have successfully folded the right corner over to the left corner, you will notice that the top of the napkin now has a triangular shape, while the bottom has two folds creating a layered effect.
This fold adds dimension to the pyramid shape and further enhances its visual impact. With the right corner now folded over to the left corner, let’s move on to the next step.
When folding a napkin into a pyramid, start by laying the napkin flat and folding it in half diagonally to form a triangle. Then, fold the two outer corners towards the top corner to create the pyramid shape. Smooth out any wrinkles for a clean finish.
Step 5: Flip the napkin over
In the fifth step of folding a napkin into a pyramid shape, we will flip the napkin over. This step is important to ensure that the final pyramid shape is symmetrical and well-balanced.
To flip the napkin over, carefully lift it from the working surface and rotate it 180 degrees. This means that the original top corner, where the open edges of the napkin were facing, will now become the bottom corner.
By flipping the napkin over, we bring the folded layers to the top, allowing us to shape the pyramid more effectively in the upcoming steps. This step also helps to evenly distribute the layers and create a visually pleasing pyramid shape from all angles.
Take your time to ensure a smooth flip without disturbing the folds we have made so far. When you have successfully flipped the napkin over, you are ready to proceed to the next step and continue shaping the pyramid.
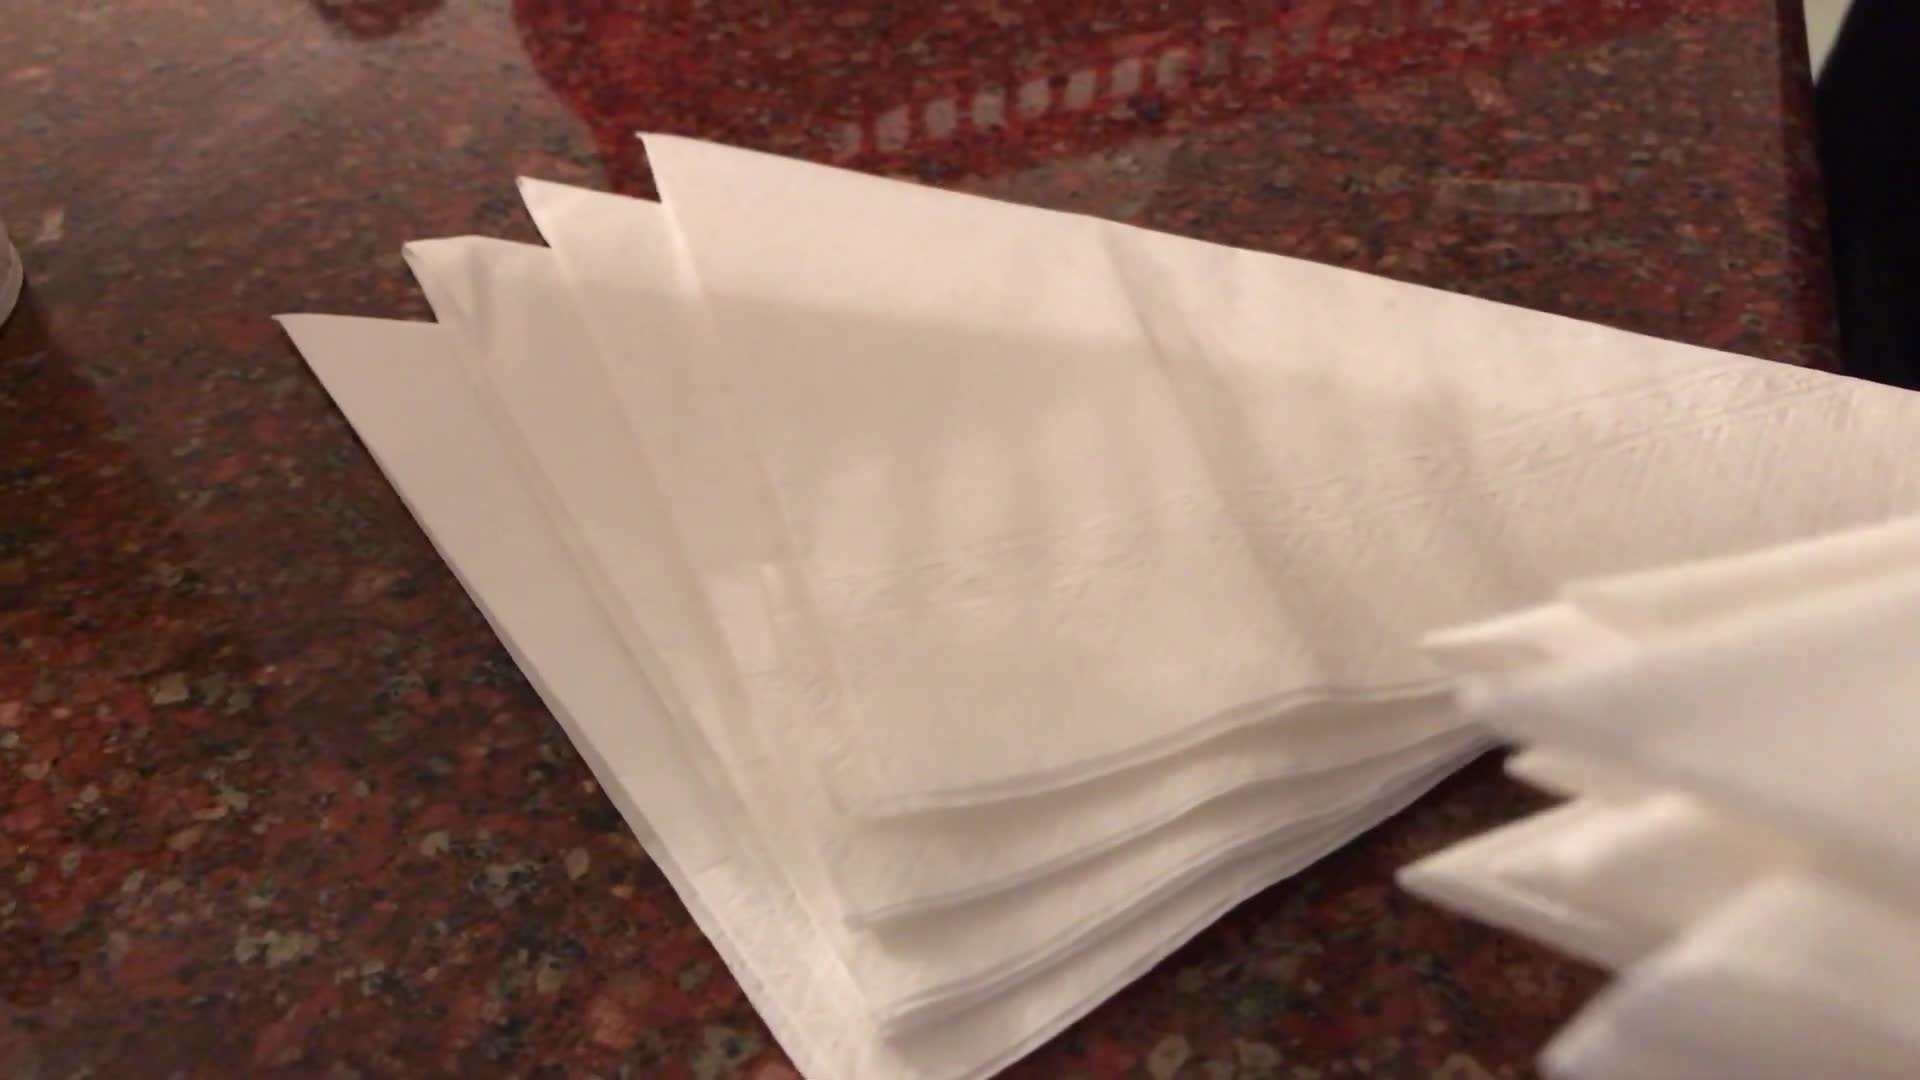
Step 6: Fold the left and right corners inward
In step 6 of folding a napkin into a pyramid shape, we will fold the left and right corners inward. This fold will create the sides of the pyramid and give it a more solid and defined structure.
To achieve this fold, take the left corner of the napkin and fold it inward towards the center of the pyramid. Repeat the same fold with the right corner, bringing it inward and overlapping it slightly with the left corner.
Make sure to align the edges of the corners and create a crisp fold. Use your fingers or a flat edge to smooth out any wrinkles or unevenness.
When you have successfully folded the left and right corners inward, you will notice that the sides of the napkin now form a triangular shape. The center of the napkin should still have a point, while the bottom has two layers of folded corners.
This fold adds depth and stability to the pyramid shape, creating a more pronounced and visually appealing structure. With the left and right corners now folded inward, we can move on to the next step and bring our pyramid to completion.
Step 7: Fold the bottom point up to the top
In step 7 of folding a napkin into a pyramid shape, we will fold the bottom point of the napkin up to meet the top point. This fold will complete the pyramid structure and give it its distinctive shape.
To achieve this fold, take the bottom point of the napkin and fold it upward towards the top point. Ensure that the edges align perfectly and create a crisp fold. Smooth out any wrinkles or unevenness to maintain a clean and polished look.
When you have successfully folded the bottom point up to the top point, you should now have a triangular pyramid shape with all corners neatly aligned. Each side of the pyramid should have a folded layer, adding to its stability and structure.
This final fold gives the pyramid its iconic form and elevates the overall presentation of your folded napkin. With the bottom point now folded up to the top, we are almost done with our pyramid. Let’s move on to the final step to add the finishing touches.
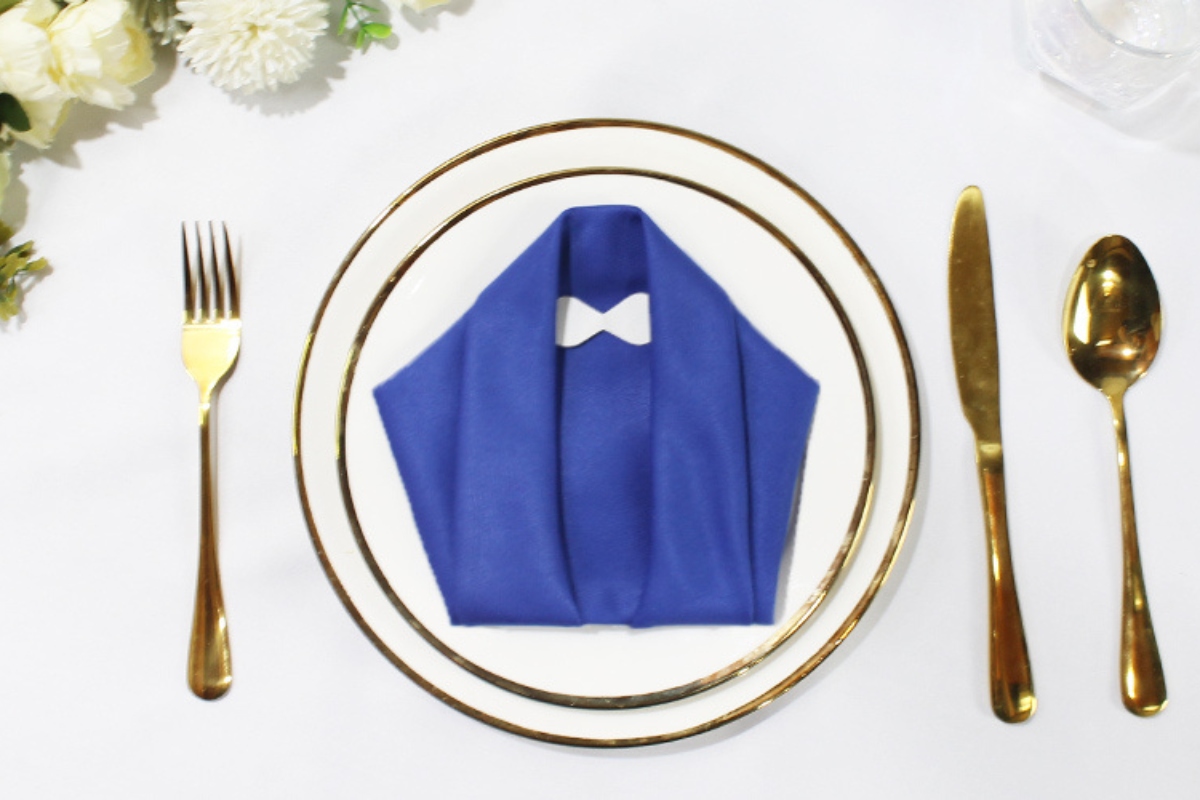
Read more: How To Fold A Napkin Into A Suit
Step 8: Stand the napkin up and adjust the shape
In the final step of folding a napkin into a pyramid shape, we will stand the napkin up and make any necessary adjustments to perfect the shape of our pyramid.
To do this, gently lift the napkin from the working surface and stand it up vertically, with the flat edge at the bottom serving as the base of the pyramid. Press down on the folds to ensure they are secure and stable.
Take a moment to visually inspect the pyramid from all angles. If you notice any unevenness or areas that need adjustment, carefully shape and arrange the napkin to your liking. Smooth out any wrinkles or creases on the surface of the napkin.
You can also use your fingertips to carefully shape the sides of the pyramid, making them more symmetrical and uniform. Take your time and be gentle while adjusting the shape, as the napkin folds may be fragile.
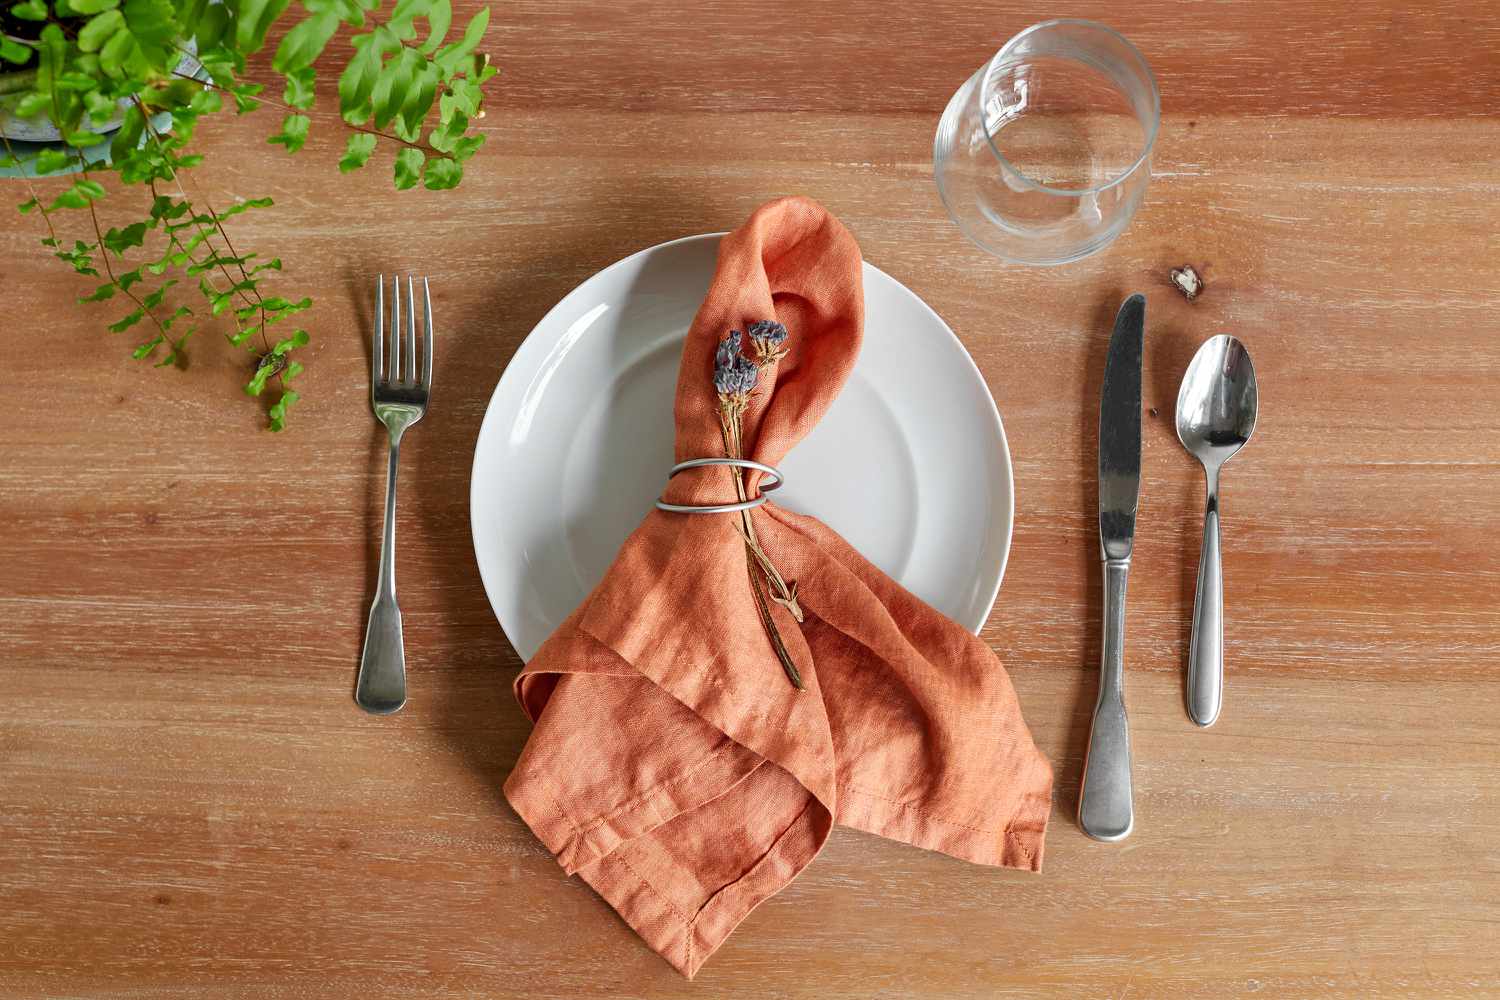
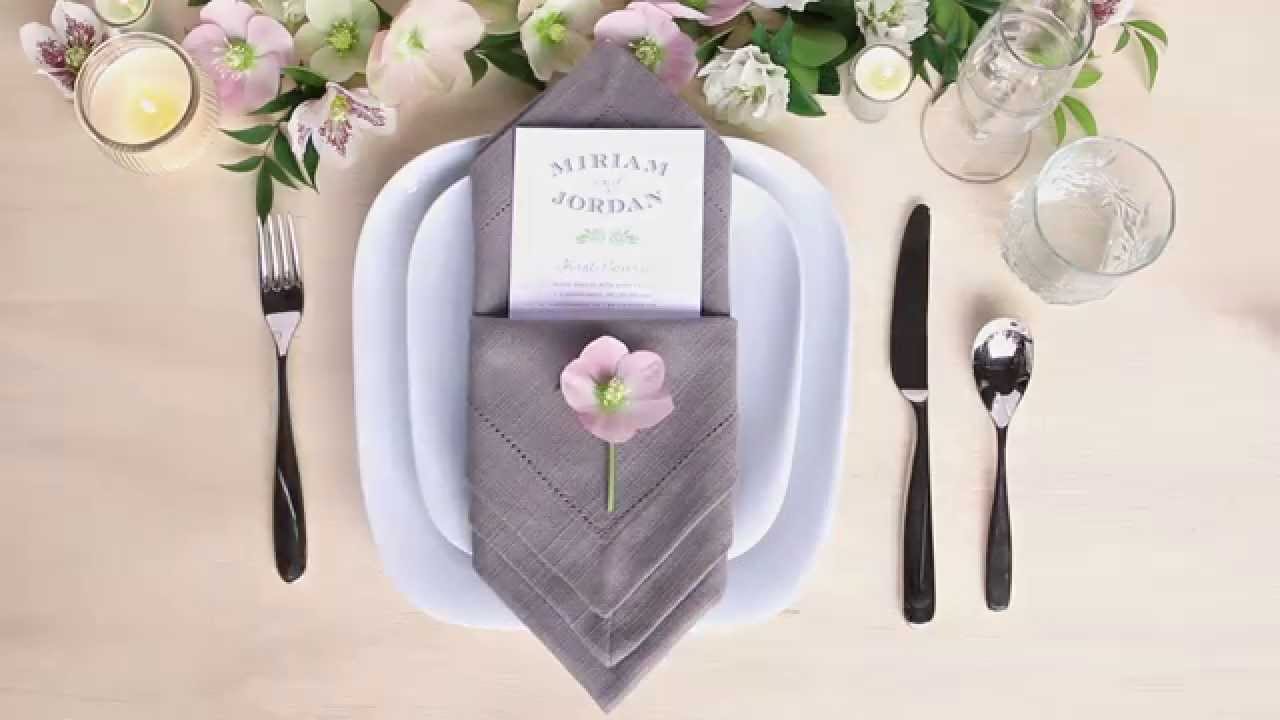
Once you are satisfied with the shape and appearance of your napkin pyramid, it is ready to be displayed as a beautiful centerpiece on your table. The crisp edges, layered folds, and tapered form will surely enhance the overall aesthetic of your table setting.
Remember, practice makes perfect, so don’t be discouraged if your first attempt doesn’t turn out exactly as you envisioned. Keep folding and experimenting, and soon you’ll become a master at creating captivating napkin pyramids.
With step 8 completed, you can now impress your guests with your newly acquired folding skills. Enjoy the admiration and compliments as you showcase your carefully crafted napkin pyramid!
Conclusion
Learning how to fold a napkin into a pyramid shape is a simple yet elegant way to elevate your table setting. Whether you’re hosting a formal dinner party or simply want to add a touch of sophistication to your everyday meals, this folding technique is sure to impress.
In this article, we have provided you with a comprehensive step-by-step guide on how to fold a napkin into a pyramid. Starting with a square napkin, you learned how to fold it diagonally, bring the bottom corner up to the top, fold the right corner over to the left, flip the napkin over, fold the left and right corners inward, fold the bottom point up to the top, and finally, stand the napkin up and adjust the shape.
Through these simple folds, you can transform an ordinary napkin into a stunning centerpiece that adds a touch of elegance and sophistication to your table. The pyramid shape, with its layered folds and tapered edges, creates a visually pleasing structure that will captivate your guests.
Remember, practice makes perfect. Don’t be discouraged if your first attempt doesn’t turn out exactly as you expected. Keep experimenting and refining your technique. With time and practice, you’ll be able to fold a napkin into a pyramid effortlessly.
So, the next time you’re setting the table, don’t forget to try this folding technique and impress your guests with your attention to detail. Enjoy the enhanced ambiance and the added visual appeal that a beautifully folded napkin pyramid brings!
Frequently Asked Questions about How To Fold A Napkin Into A Pyramid
Was this page helpful?
At Storables.com, we guarantee accurate and reliable information. Our content, validated by Expert Board Contributors, is crafted following stringent Editorial Policies. We're committed to providing you with well-researched, expert-backed insights for all your informational needs.


0 thoughts on “How To Fold A Napkin Into A Pyramid”