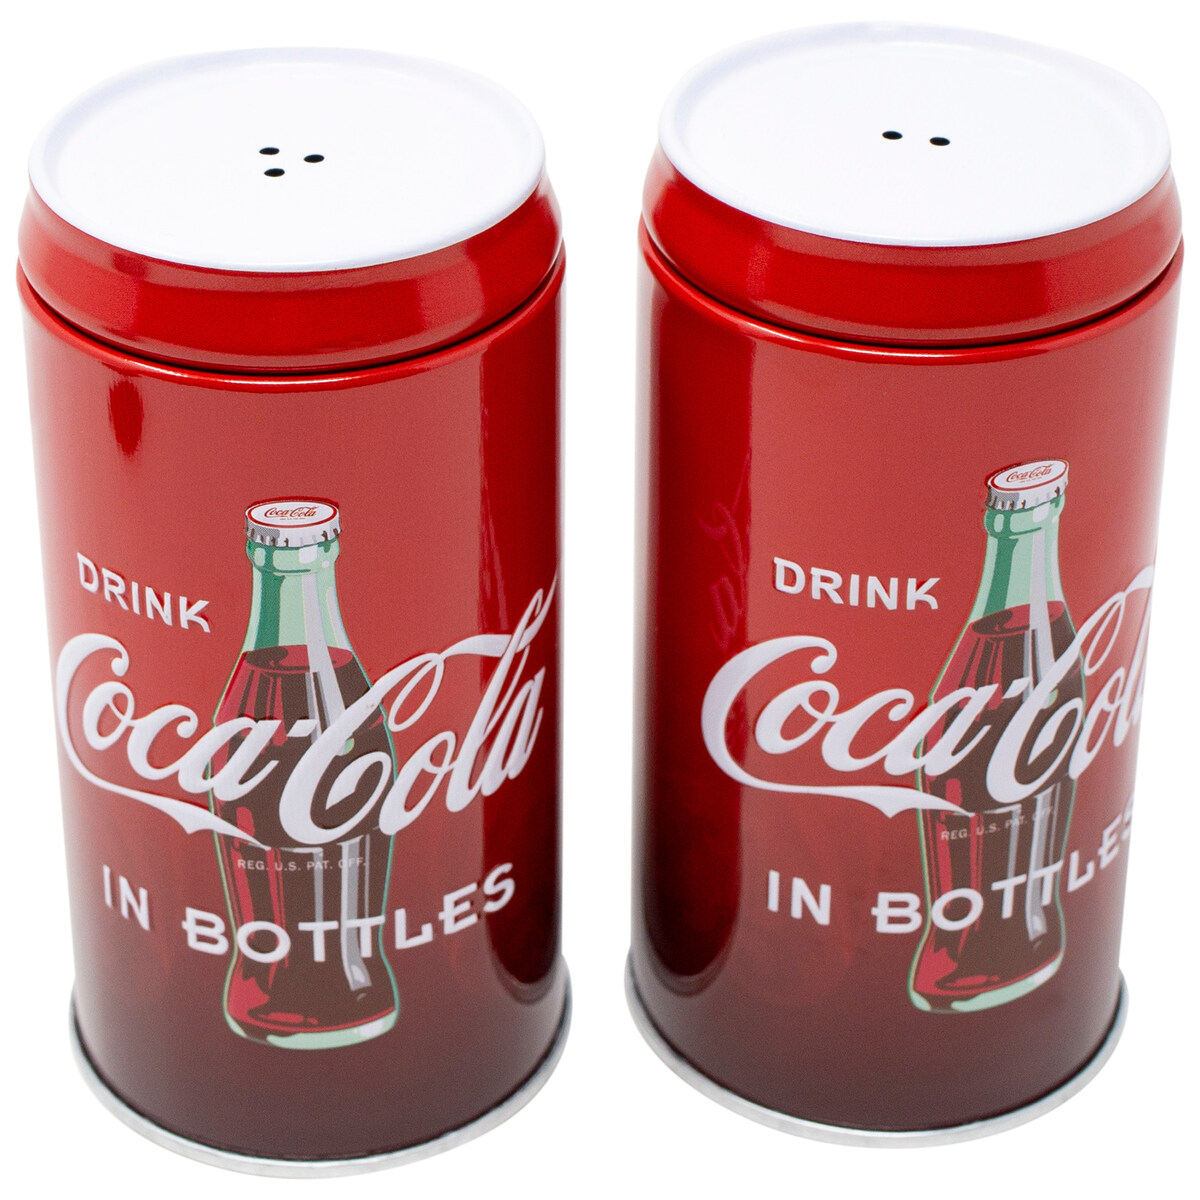
Home>Dining>Tableware>How To Make Salt And Pepper Shakers From Mason Jars
Tableware
How To Make Salt And Pepper Shakers From Mason Jars
Modified: January 2, 2024
Learn how to transform Mason jars into stylish salt and pepper shakers with our easy DIY guide. Upgrade your tableware collection today!
(Many of the links in this article redirect to a specific reviewed product. Your purchase of these products through affiliate links helps to generate commission for Storables.com, at no extra cost. Learn more)
Introduction
Welcome to this step-by-step guide on how to make your very own salt and pepper shakers from Mason jars. Mason jars have become increasingly popular in recent years due to their versatility and rustic charm. They are not only great for canning and preserving food but can also be repurposed into various DIY projects. In this article, we will show you how to transform ordinary Mason jars into functional and stylish salt and pepper shakers.
Why make your own salt and pepper shakers? Well, aside from being a fun and creative project, making your own shakers allows you to customize them to your liking. You can choose the size, shape, and design that matches your kitchen decor. Plus, using Mason jars ensures durability and longevity, making them a sustainable alternative to disposable plastic shakers.
Before we dive into the process, let’s quickly go over the materials you’ll need:
- Mason jars with lids
- Drill with a small bit
- Salt and pepper
- Gasket or rubber stopper
- Decorative elements (optional)
Now that you have everything ready, let’s get started on making your own salt and pepper shakers from Mason jars!
Key Takeaways:
- Transform ordinary Mason jars into stylish and customizable salt and pepper shakers. Enjoy the creative process and impress guests with your personalized kitchenware.
- Create functional and unique salt and pepper shakers while adding a touch of personality to your kitchen. Enjoy the pride of using homemade shakers in your culinary adventures.
Read more: How To Make Salt And Pepper Shakers
Materials Needed
Before we begin the process of making salt and pepper shakers from Mason jars, let’s gather all the materials we’ll need:
- Mason jars with lids: Select Mason jars of your desired size for the shakers. You can find them at most craft stores or online. Make sure the lids are included.
- Drill with a small bit: You’ll need a drill with a small bit to create holes in the lids of the Mason jars. Choose a drill bit size that matches the size of the shaker holes you want.
- Salt and pepper: Of course, you’ll need the essential ingredients for your shakers. Use high-quality salt and pepper for the best flavor.
- Gasket or rubber stopper: To ensure a tight seal on the jars and prevent any spills, you might consider using a gasket or rubber stopper. These can be found at hardware stores or online.
- Decorative elements (optional): If you want to add a touch of personalization and style to your shakers, gather some decorative elements such as ribbons, paint, stickers, or labels.
Now that you have everything ready, let’s move on to the step-by-step process of creating your salt and pepper shakers from Mason jars.
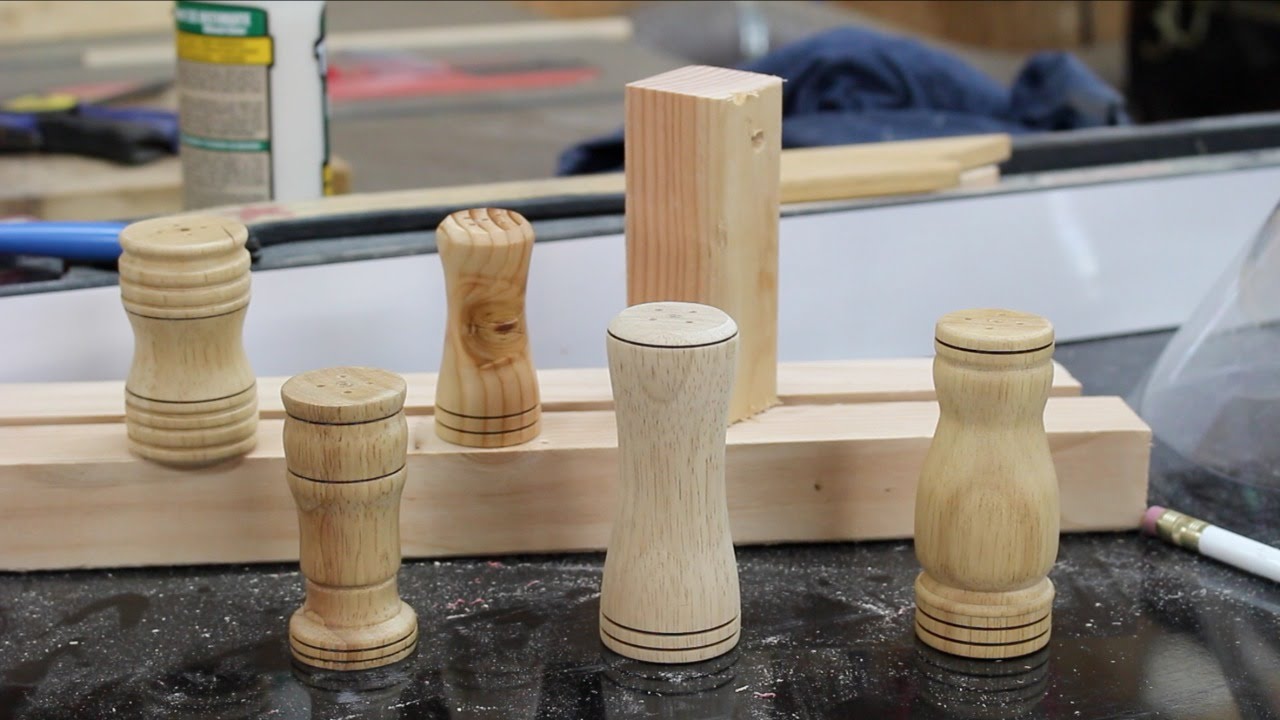
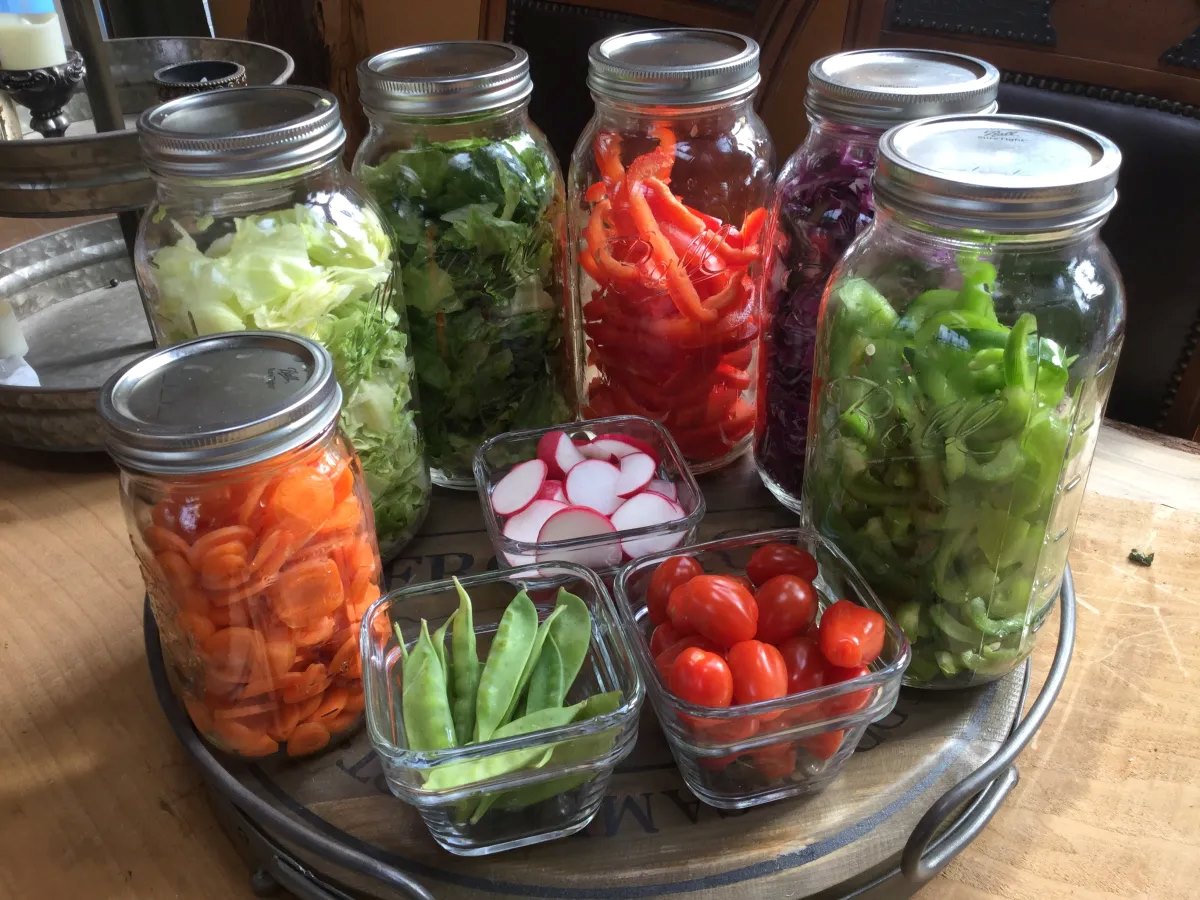
Step 1: Gather Mason Jars
The first step in making your own salt and pepper shakers from Mason jars is to gather the jars themselves. Choose Mason jars that are suitable for use as shakers. You can find a variety of sizes and styles available, so select ones that fit your preference and the amount of salt and pepper you typically use.
Ensure that the jars are clean and free from any residue or odors. If you are using recycled Mason jars, give them a thorough cleaning and sterilization before proceeding with the project.
It’s a good idea to have a few extra jars on hand in case of any mishaps or if you want to create multiple sets of shakers for different spice blends or seasonings.
Once you have your Mason jars ready, you can move on to the next step of preparing the jars for use as salt and pepper shakers.
Step 2: Prepare the Mason Jars
Now that you have gathered your Mason jars, it’s time to prepare them for use as salt and pepper shakers. Follow these steps:
- Remove the lids from the Mason jars: Carefully unscrew the lids from the jars and set them aside.
- Clean the lids: Ensure that the lids are clean and free from any dirt or debris. If necessary, wash the lids with warm soapy water and dry them thoroughly.
- Mark the center of the lid: Use a marker or a small piece of tape to mark the center of each lid. This will serve as a guide when drilling the holes.
- Secure the lid: Hold the lid securely on a sturdy surface. You can use a clamp or simply press it firmly against a stable workbench or table.
- Drill the holes: With the drill and the appropriate small bit, carefully drill holes in the marked center of each lid. Start with a small pilot hole and gradually increase the size if needed. Be sure to apply gentle pressure and move slowly to avoid damaging the lid.
- Clean the lid again: After drilling the holes, clean off any metal shavings or debris from the lids. Rinse them under water and dry them thoroughly.
Once you have prepared the Mason jar lids, you are now ready to turn them into functional shaker lids. In the next step, we will create the salt and pepper shaker lids for the Mason jars.
Step 3: Create the Salt and Pepper Shaker Lids
With the Mason jar lids prepared, it’s time to turn them into functional salt and pepper shaker lids. Follow these steps:
- Insert gaskets or rubber stoppers (optional): If you want to ensure a tight seal and prevent any spills, you can insert gaskets or rubber stoppers into the holes of the lids. This will help control the flow of salt and pepper and prevent them from coming out too quickly.
- Fill the jars with salt and pepper: Carefully fill one jar with salt and the other with pepper. Use a funnel or a small spoon to make the process easier and avoid spilling.
- Screw on the lids: Once the jars are filled, screw the prepared lids onto the jars tightly. Ensure that the lids are securely fastened to prevent any leakage.
Now that you have created the salt and pepper shaker lids, you are one step closer to having your customized Mason jar shakers. In the next step, we will fill the jars with salt and pepper.
When making salt and pepper shakers from mason jars, be sure to use a small drill bit to create the holes in the jar lids for easy dispensing of the salt and pepper. This will ensure a clean and precise result.
Step 4: Fill the Mason Jars with Salt and Pepper
Now that you have the prepared shaker lids in place, it’s time to fill the Mason jars with salt and pepper. Follow these steps:
- Choose high-quality salt and pepper: Select your preferred types of salt and pepper for filling the jars. Opt for high-quality options to ensure the best flavor.
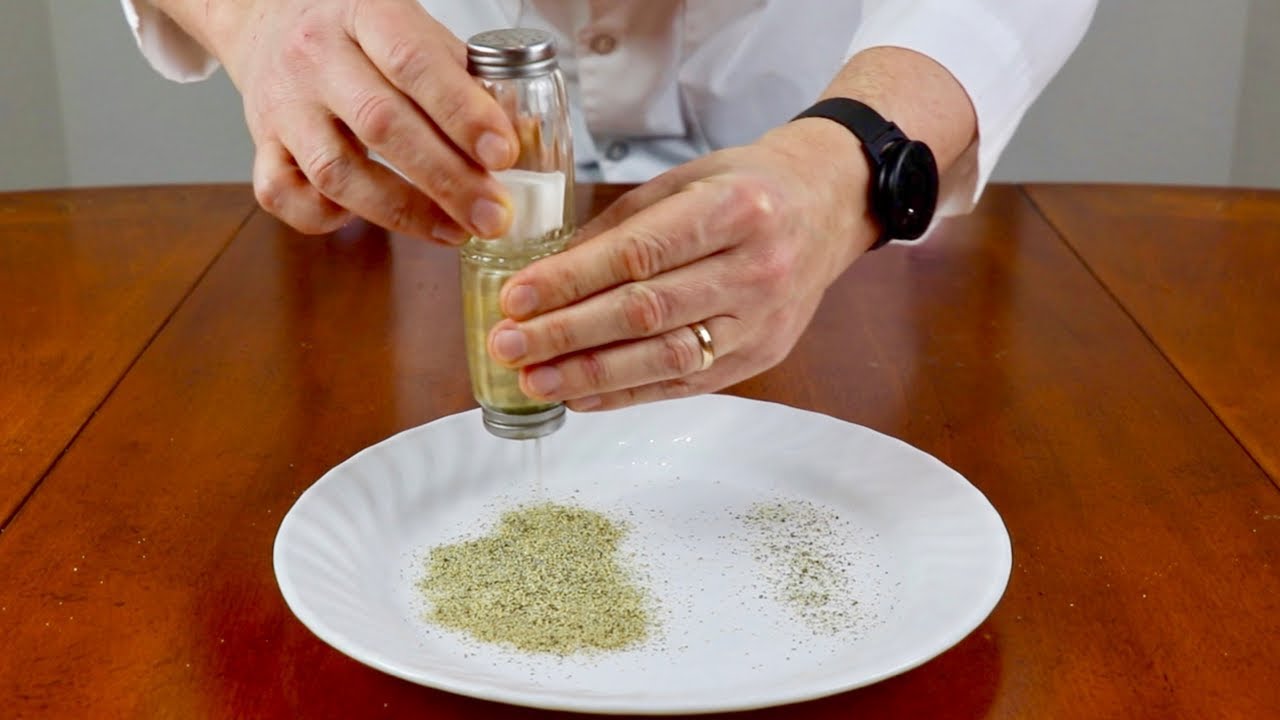
- Open the jar lid: Unscrew the lid of one of the Mason jars, exposing the hole in the shaker lid for pouring in the salt or pepper.
- Fill the jar with salt or pepper: Carefully pour the desired amount of salt or pepper into the open jar. If using a funnel, it can help guide the salt or pepper into the jar without any spills. Fill the jar to your preferred level, leaving enough room for shaking and airflow.
- Repeat for the other jar: Follow the same procedure for the other Mason jar, filling it with the opposite ingredient (salt if the first jar was filled with pepper, and vice versa).
Take your time to fill the jars evenly and avoid any spills. It’s a good idea to have a small brush or cloth on hand to wipe away any excess salt or pepper that may accumulate around the holes or lids.
Now that your Mason jars are filled with salt and pepper, it’s time to move on to the next step—sealing the jars.
Step 5: Seal the Jars
Once you have filled the Mason jars with salt and pepper, it’s important to seal them properly to maintain freshness and prevent any moisture or contaminants from entering. Follow these steps:
- Ensure the lids are securely fastened: Double-check that the lids are tightly screwed onto the jars to create a proper seal. This will prevent any leakage and maintain the integrity of the ingredients inside.
- Store the sealed jars in a cool, dry place: Find a suitable location to store your salt and pepper shakers. Ideally, it should be away from direct sunlight or excessive humidity. This will help preserve the quality of the ingredients and extend their shelf life.
- Avoid any excess moisture: Moisture can cause clumping or dampness in the salt and pepper. To prevent this, ensure that the jars are stored in a dry environment and keep them away from water sources or areas with high humidity.
By sealing the jars properly, you can enjoy fresh and flavorful salt and pepper whenever you need them. And if you’re feeling creative, you can move on to the optional step of decorating the shakers to add a personalized touch.
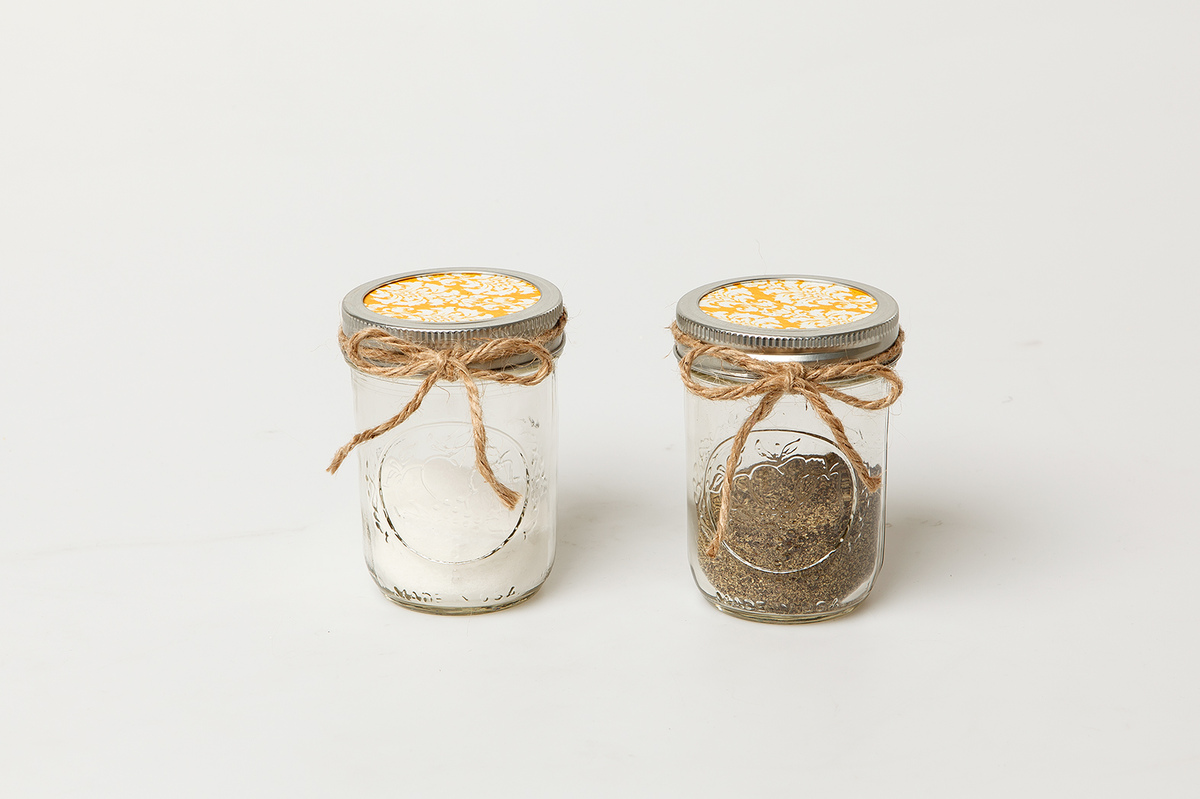
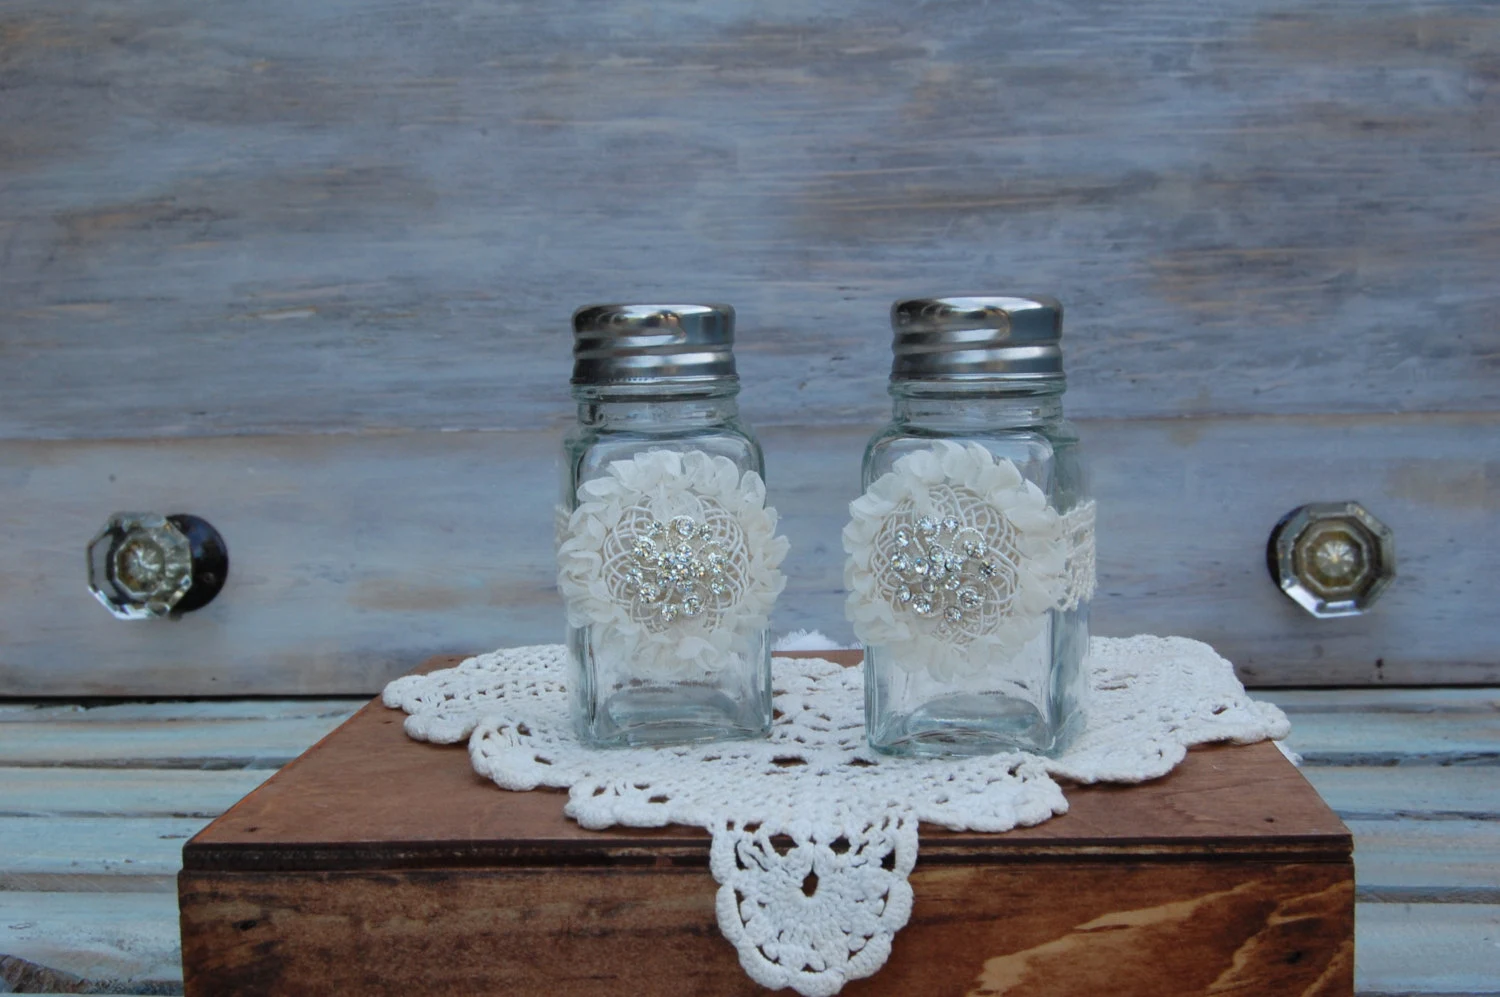
Step 6: Decorate the Shakers (Optional)
If you want to add a personal touch and make your salt and pepper shakers stand out, you can choose to decorate them. Here are some ideas to get you started:
- Paint the lids: Use acrylic paint in your favorite colors to paint the lids of the Mason jars. You can go for a solid color or get creative with patterns and designs.
- Add labels or stickers: Attach labels or stickers to the jars to clearly indicate which one contains salt and which one contains pepper. You can find pre-made labels or create your own using adhesive paper or vinyl.
- Tie a ribbon or twine around the neck: Give your shakers a rustic and charming look by tying a ribbon or twine around the neck of the jars. You can choose a color that complements your kitchen decor.
- Create custom labels: Use your artistic skills or a label-making tool to design and print custom labels for the jars. Include fun graphics or personalized messages to make them truly unique.
- Use decorative washi tape: Wrap some decorative washi tape around the base or neck of the jars to add a pop of color and pattern.
Feel free to experiment with different decorative elements and techniques to create shakers that match your personal style and taste. The possibilities are endless!
Once you’re satisfied with the decorative touches, place your beautifully adorned salt and pepper shakers on display in your kitchen or dining area.
Now that you have completed all the steps, you can enjoy using your homemade Mason jar salt and pepper shakers and impress your guests with your creativity!
Conclusion
Congratulations! You have successfully transformed ordinary Mason jars into functional and stylish salt and pepper shakers. By following this step-by-step guide, you have created customized shakers that are not only practical but also add a touch of personality to your kitchen.
Throughout the process, you have learned how to gather the necessary materials, prepare the Mason jars, create the salt and pepper shaker lids, fill the jars with salt and pepper, seal them for freshness, and even decorate them if desired.
Now, every time you reach for these homemade shakers to season your favorite dishes, you’ll have a sense of pride in knowing that you created them yourself. The beauty of this DIY project is that it allows you to customize your shakers to your liking, making them a unique addition to your kitchen.
Remember to store your sealed shakers in a cool, dry place to maintain the quality and flavor of the salt and pepper. And don’t forget to refill them when needed, enjoying the convenience and aesthetic appeal they bring to your culinary adventures.
So go ahead and show off your creativity by showcasing your homemade salt and pepper shakers to family and friends. They will surely be impressed by your DIY skills and the personal touch you’ve added to your kitchenware.
Enjoy your new salt and pepper shakers, and happy seasoning!
Frequently Asked Questions about How To Make Salt And Pepper Shakers From Mason Jars
Was this page helpful?
At Storables.com, we guarantee accurate and reliable information. Our content, validated by Expert Board Contributors, is crafted following stringent Editorial Policies. We're committed to providing you with well-researched, expert-backed insights for all your informational needs.

0 thoughts on “How To Make Salt And Pepper Shakers From Mason Jars”