Tableware
How To Paint Dining Room Furniture
Modified: February 23, 2024
Learn how to transform your dining room furniture with our step-by-step guide on painting. Discover tips and techniques for updating your tableware for a fresh new look.
(Many of the links in this article redirect to a specific reviewed product. Your purchase of these products through affiliate links helps to generate commission for Storables.com, at no extra cost. Learn more)
Introduction
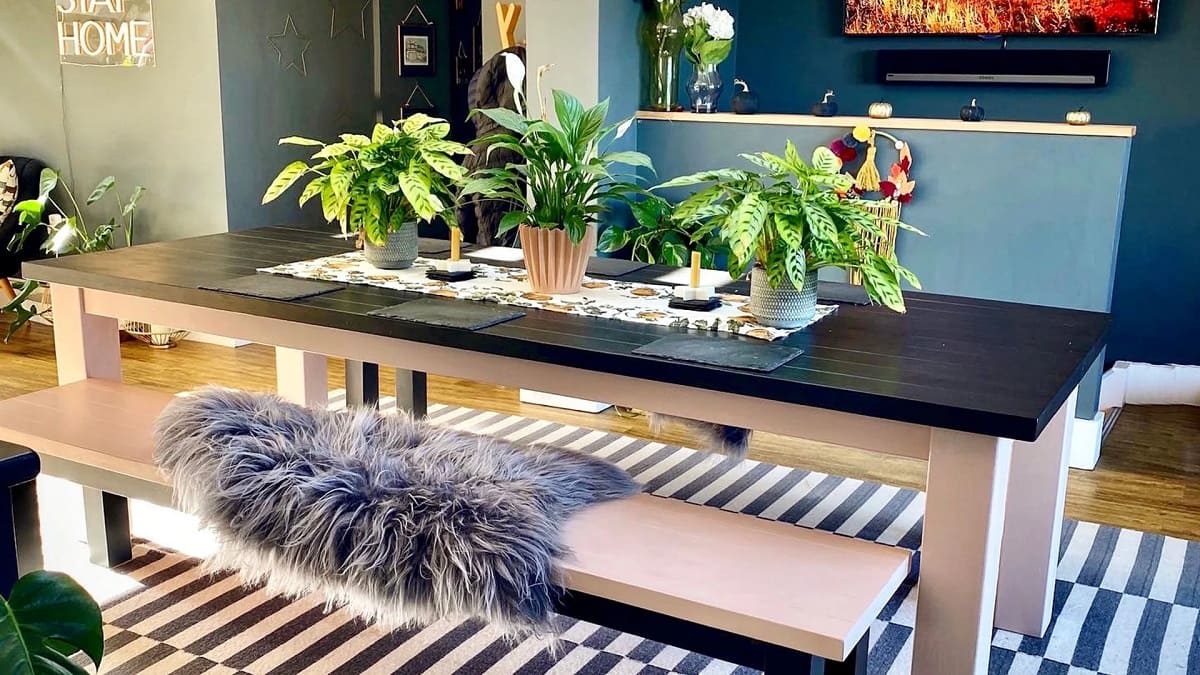
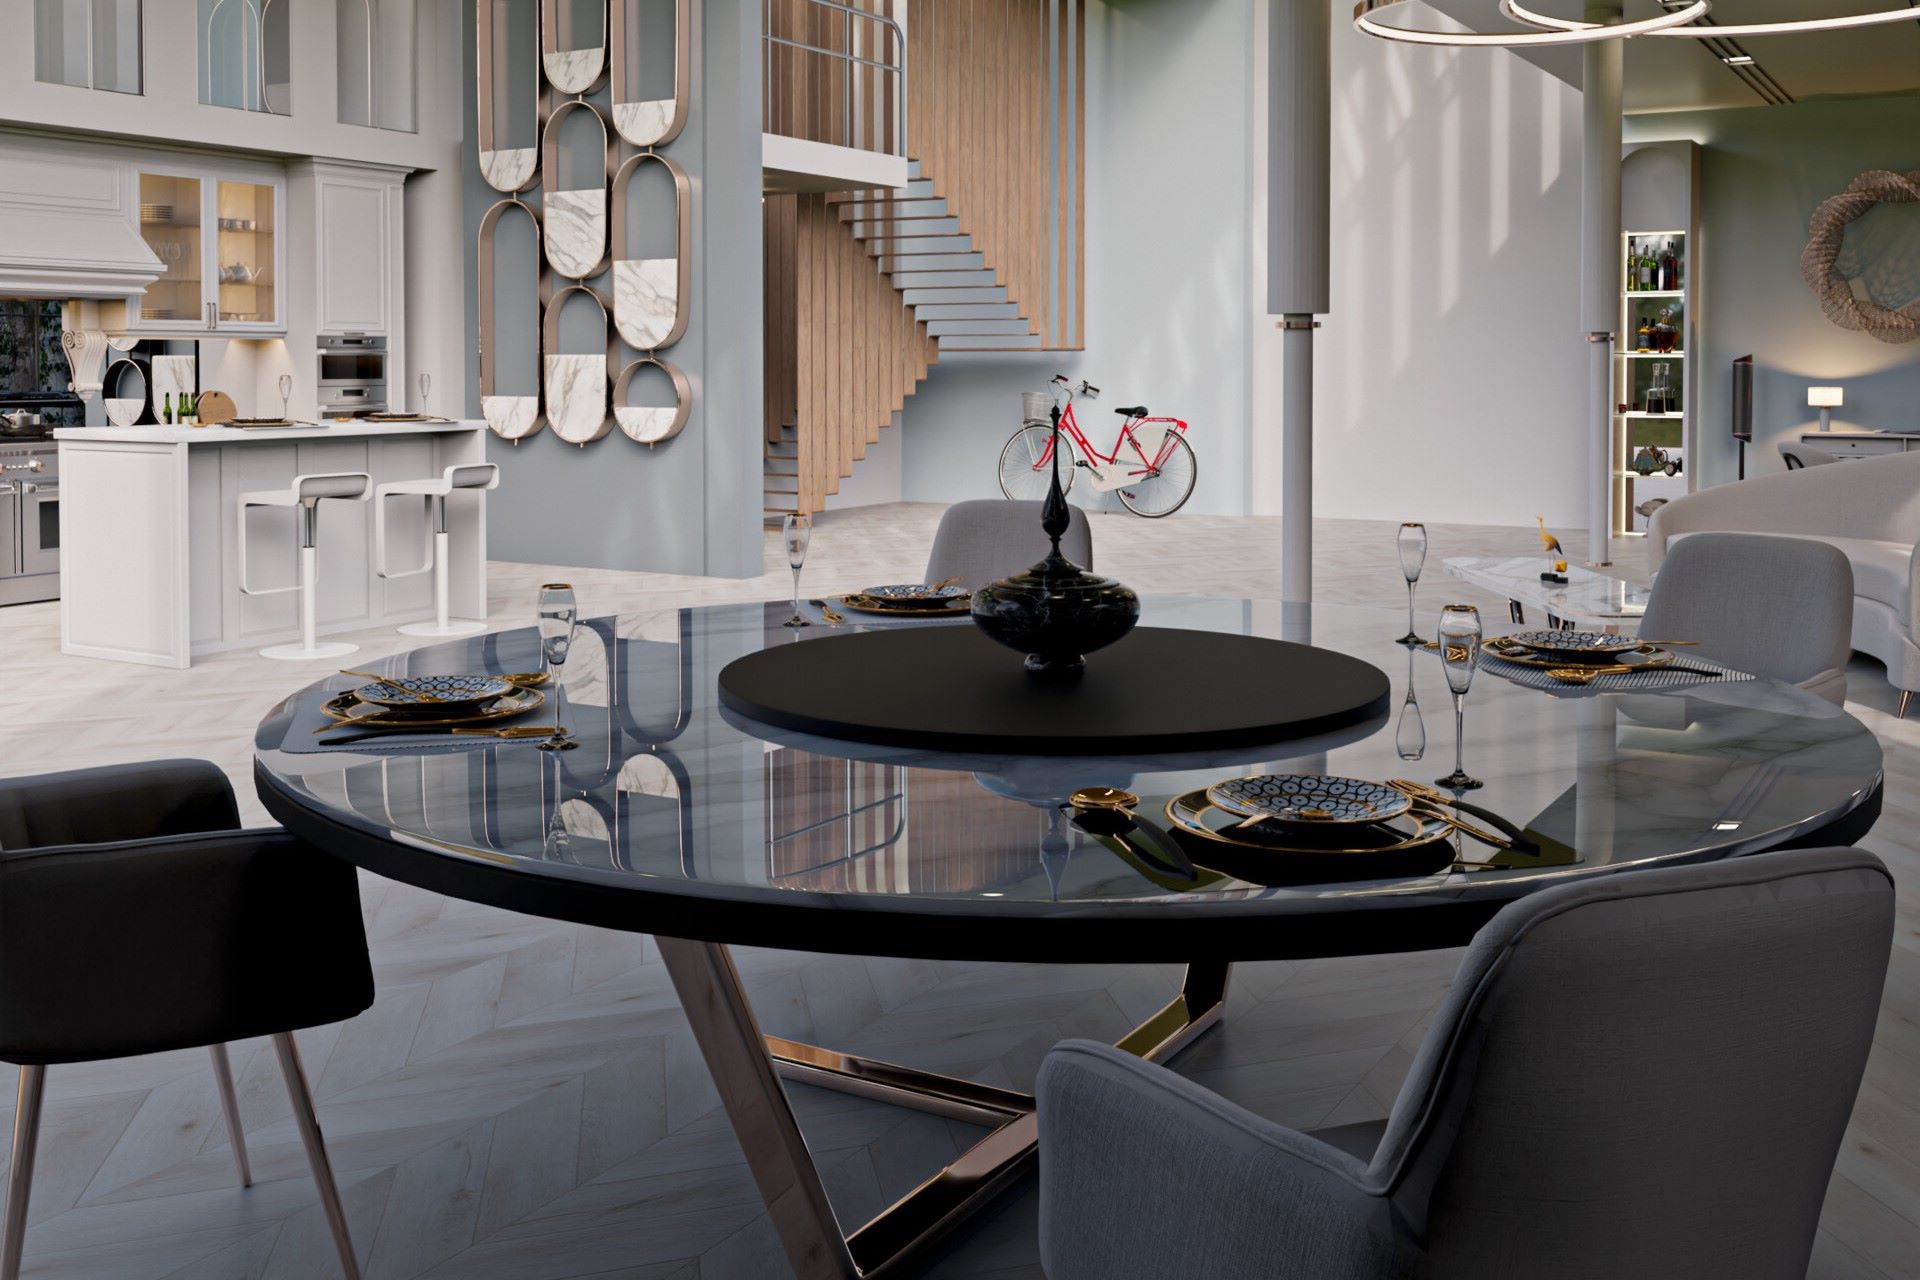
Welcome to the world of tableware and the art of transforming your plain dining room furniture into a stunning masterpiece through the power of paint! Whether you’re looking to revamp your old dining set or add a touch of personalization to a new one, painting your dining room furniture can breathe new life into your space. Not only does it allow you to unleash your creativity, but it also provides an opportunity to customize your furniture to match your unique style and interior decor.
In this comprehensive guide, we will walk you through the step-by-step process of painting your dining room furniture, from choosing the right paint to applying a protective finish. By the end of this article, you’ll have all the knowledge you need to confidently tackle your tableware painting project and achieve professional-looking results.
But before we jump into the nitty-gritty, let’s discuss why painting your dining room furniture can be a game-changer. When you paint your table, chairs, or other furniture pieces, you instantly update their look and create a focal point in your dining area. You can choose a bold color that makes a statement or opt for a subtle hue that complements the rest of your interior design. The possibilities are endless, allowing you to express your personal style and make your dining space truly unique.
Furthermore, painting your dining room furniture can be a cost-effective alternative to purchasing new pieces. Instead of splurging on new tableware, you can breathe new life into your existing furniture by giving it a fresh coat of paint. This not only saves you money but also allows you to repurpose and recycle something you already have, contributing to a more sustainable and eco-friendly lifestyle.
Now that you understand the benefits of painting your dining room furniture, let’s dive into the first step: choosing the right paint.
Key Takeaways:
- Transform your dining room furniture with the power of paint, unleashing your creativity and personalizing your space with vibrant or subtle hues to create a unique and inviting dining area.
- Achieve a professional and long-lasting finish by choosing the right paint, preparing the furniture thoroughly, and applying a protective finish, ensuring your beautifully painted dining room furniture withstands the test of time.
Choosing the Right Paint
When it comes to painting your dining room furniture, selecting the right type of paint is crucial for achieving a long-lasting and professional finish. Here are a few factors to consider when choosing the perfect paint:
- Type of Paint: Opt for a paint specifically formulated for furniture, such as latex or oil-based paint. These types of paint offer durability and ease of application. Latex paint is water-based, dries quickly, and is easy to clean up, making it a popular choice for DIY enthusiasts. On the other hand, oil-based paint provides a smooth, durable finish, but it requires longer drying times and proper ventilation due to its strong odor.
- Finish: Consider the finish you want to achieve. Popular options for furniture painting include satin, semi-gloss, and high gloss. Satin finish provides a subtle sheen and is ideal for a classic, elegant look. Semi-gloss offers a bit more shine and is resistant to stains and marks, making it a practical choice for dining room furniture. High gloss finish delivers a bold and modern statement but requires careful application to ensure a flawless appearance.
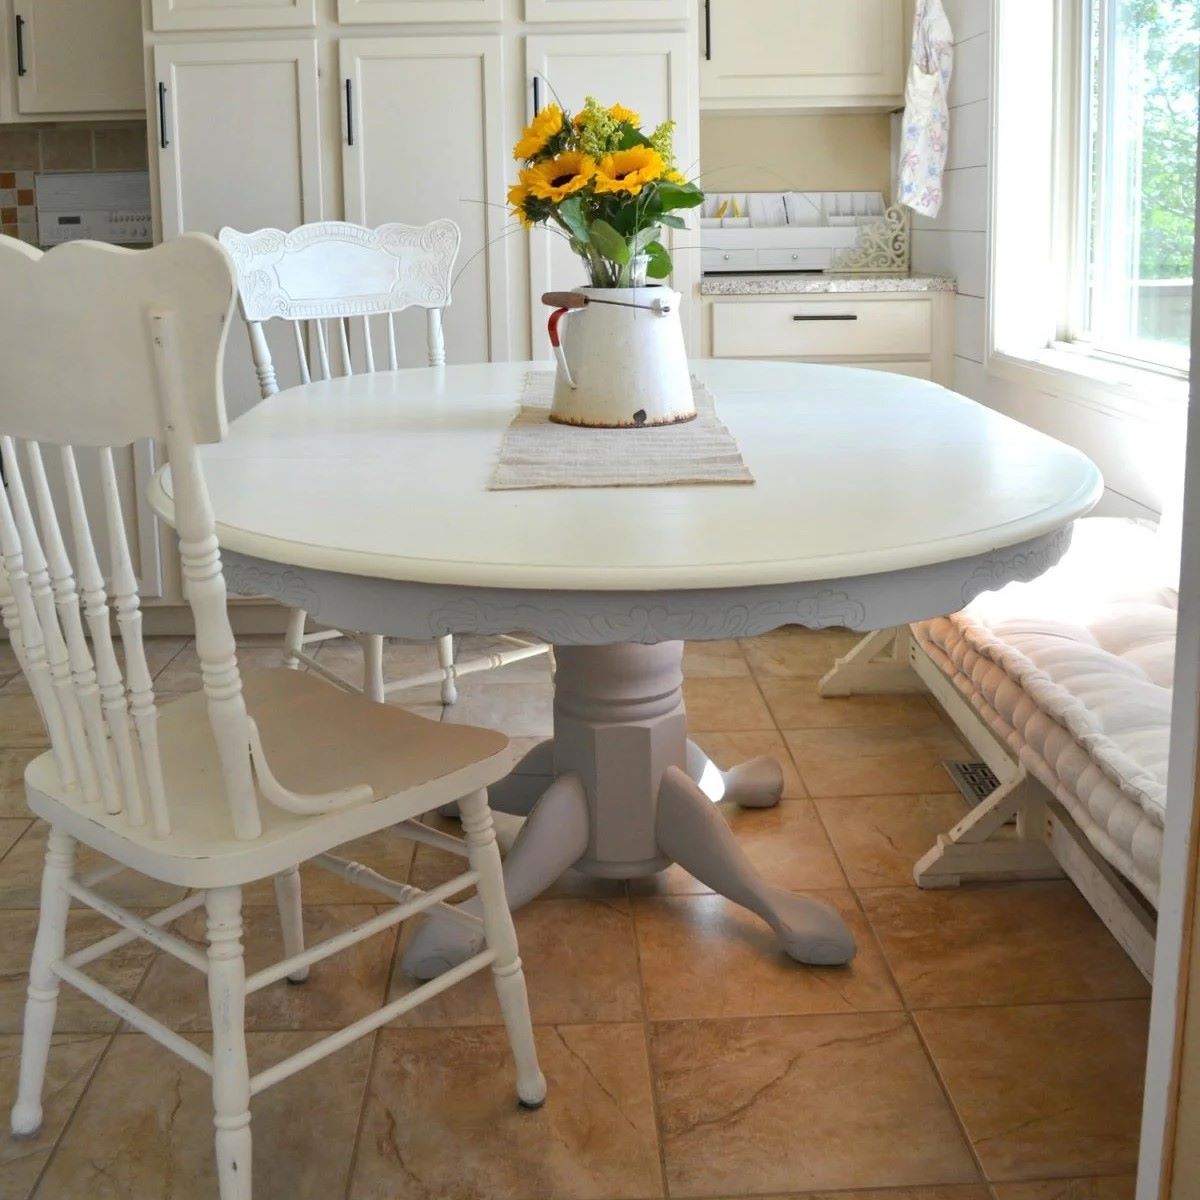
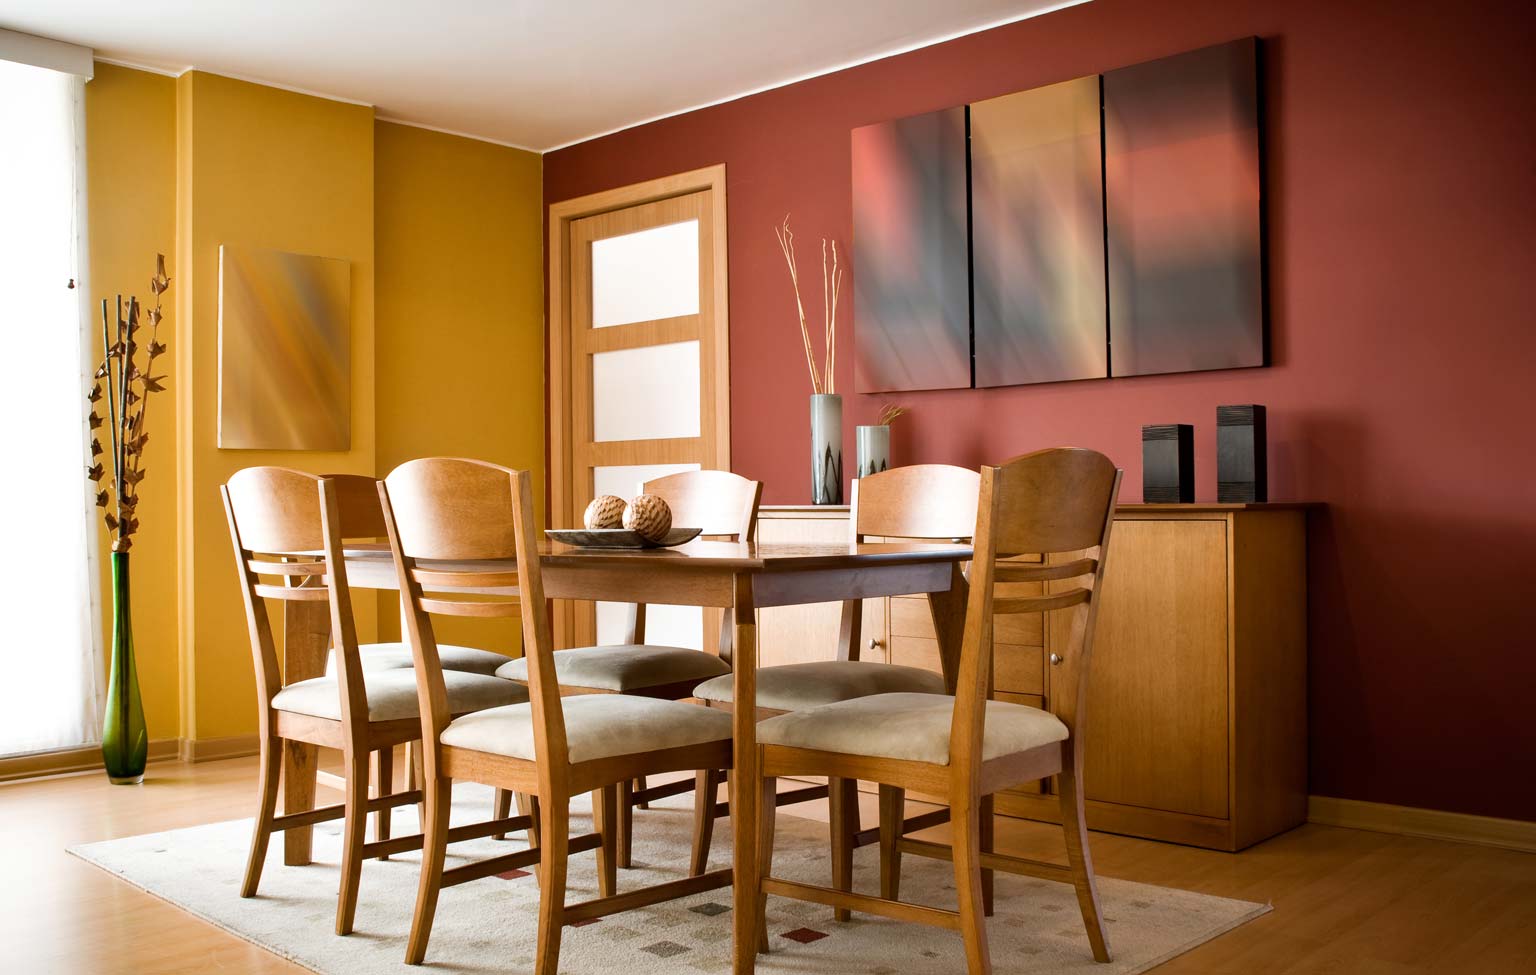
- Color: The color you choose largely depends on your personal preference and the overall aesthetic of your dining room. Consider the existing color scheme and select a paint color that complements or contrasts with it. Earth tones and neutral shades offer a timeless appeal, while bold and vibrant colors can add a pop of personality to your space.
- Quality: Invest in high-quality paint to ensure a durable and long-lasting finish. Cheaper paints may require additional coats and can be prone to chipping and fading over time. Look for reputable brands that offer furniture-grade paint for the best results.
- Primer: Depending on the condition of your furniture and the type of paint you choose, you may need to apply a primer before painting. A primer helps the paint adhere better to the surface and provides a smooth base for an even finish. If you’re painting over a dark or glossy surface, a primer is especially recommended to prevent color bleed-through.
Take the time to research and experiment with different paint options to find the perfect fit for your dining room furniture. It’s worth investing in quality paint and taking the necessary steps to prepare your furniture properly for a professional-looking result.
Next, let’s move on to the preparation stage, where we’ll discuss how to get your furniture ready for painting.
Preparing the Furniture
Before you begin painting your dining room furniture, it’s essential to prepare the surfaces properly. Proper preparation ensures better paint adhesion and a smooth, flawless finish. Here are the steps to follow when preparing your furniture:
- Clean the Furniture: Start by thoroughly cleaning the surfaces of your table, chairs, or any other pieces you plan to paint. Remove any dust, dirt, or grease using a mild detergent and warm water. This step is crucial as it helps the paint adhere better and ensures a clean base for your new finish. Allow the furniture to dry completely before proceeding to the next step.
- Remove Hardware: If your furniture has any hardware such as handles, knobs, or hinges, consider removing them before painting. This makes the painting process easier and allows you to achieve a more professional look. If removing the hardware is not possible, you can cover it with painter’s tape to protect it from paint splatters.
- Repair Any Damage: Inspect your furniture for any signs of damage such as cracks, dents, or loose joints. Use wood filler or putty to fill in any cracks or imperfections and sand them smooth once dry. Tighten any loose screws or joints to ensure stability and longevity.
- Protect Surrounding Areas: If you’re painting indoors, make sure to protect the surrounding areas from paint drips and splatters. Cover the floor with a drop cloth or plastic sheet and use painter’s tape to protect adjacent walls or furniture that won’t be painted.
- Lightly Sand the Surfaces: Sanding the surfaces of your furniture helps create a rough texture that allows the paint to adhere better. Use a medium-grit sandpaper and sand in the direction of the wood grain. Pay extra attention to any glossy or smooth areas to ensure proper adhesion. After sanding, wipe away any sanding dust with a damp cloth or tack cloth.
Following these preparation steps will ensure that your furniture is clean, smooth, and ready to be transformed with paint. Take your time during this stage to achieve the best results and ensure that your paint job lasts for years to come.
Now that your furniture is prepped and ready, let’s move on to the next step: sanding the furniture.
Sanding the Furniture
Sanding is a crucial step in the furniture painting process as it helps create a smooth and even surface for the paint to adhere to. It also removes any imperfections and rough spots, resulting in a professional-looking finish. Here’s a step-by-step guide on how to sand your dining room furniture:
- Choose the Right Sandpaper: Start by selecting the appropriate sandpaper grit for your furniture. For initial sanding and removing any existing finish, use a medium-grit sandpaper (around 120-150 grit). Once the surface is smooth, switch to a finer grit sandpaper (around 220-240 grit) for a final sanding before painting.
- Sand in the Direction of the Grain: When sanding, always follow the direction of the wood grain to avoid damaging or scratching the surface. Use long, even strokes and apply gentle pressure. Sand each surface of the furniture evenly, including the tabletop, legs, and any intricate details.
- Focus on Problem Areas: Pay extra attention to areas with rough patches, raised grains, or imperfections. Use a sanding block or folded sandpaper to sand these areas, ensuring a smooth and uniform surface.
- Remove Sanding Dust: After sanding, wipe away all the sanding dust using a tack cloth or a clean, damp cloth. It’s essential to remove any lingering dust particles as they can affect the paint adhesion and create a bumpy finish.
- Inspect the Surface: Once you’ve completed the sanding process, inspect the furniture thoroughly. Ensure that the surface is smooth to the touch and free of any rough spots or imperfections. If necessary, you can do a final touch-up sanding on any problem areas before moving on to the next step.
Sanding your furniture not only improves the paint adhesion but also helps create a professional finish. Take your time and be thorough during this step to achieve the best results. Remember to wear a dust mask and protective eyewear to prevent inhaling or getting sanding dust in your eyes.
Now that your furniture is sanded to perfection, it’s time to move on to applying a primer.
Applying a Primer
Before painting your dining room furniture, it’s essential to apply a primer. A primer helps create a smooth and even base for the paint, allowing it to adhere better and providing a more durable finish. Here’s a step-by-step guide on how to apply a primer to your furniture:
- Select the Right Primer: Choose a primer that is specifically designed for the type of paint you’ll be using. If you’re using a latex-based paint, opt for a latex primer. If you’re using an oil-based paint, select an oil-based primer. Make sure the primer is suitable for use on wood surfaces.
- Prepare the Primer: Stir the primer thoroughly to ensure it is well-mixed. Be sure to read and follow the manufacturer’s instructions regarding proper mixing and application.
- Apply the Primer: Start by applying the primer to the furniture using a brush or a roller, depending on the size and shape of the piece. Work in small sections, applying the primer evenly and smoothly. Pay extra attention to any intricate details or crevices, ensuring that the primer reaches all surfaces.
- Allow the Primer to Dry: Follow the recommended drying time specified by the primer manufacturer. Typically, this can range from a few hours to overnight. Ensure that the primer is completely dry before proceeding to the next step.
- Inspect the Primer Coat: After the primer has dried, inspect the furniture surface. Look for any areas that may require additional priming, such as spots with uneven coverage or areas that are still showing through. If necessary, apply a second coat of primer to achieve a solid and uniform base.
- Lightly Sand the Primer (Optional): If you notice any rough spots or imperfections after the primer has dried, you can lightly sand the surface with fine-grit sandpaper. This will help create an even smoother base for the paint, enhancing the final finish.
- Remove Sanding Dust: After sanding, wipe away any sanding dust using a tack cloth or a clean, damp cloth. It’s crucial to remove all dust particles before proceeding to the painting stage.
Applying a primer to your furniture is an essential step in the painting process. It helps ensure better paint adhesion, improves the durability of the finish, and provides a uniform surface for the paint. Take your time during this stage to achieve the best results.
Now that the primer is applied and ready, it’s time to move on to the exciting part: painting the furniture!
When painting dining room furniture, be sure to sand the surface thoroughly before applying primer and paint. This will help the paint adhere better and result in a smoother finish.
Read more: How Much To Paint My Dining Room
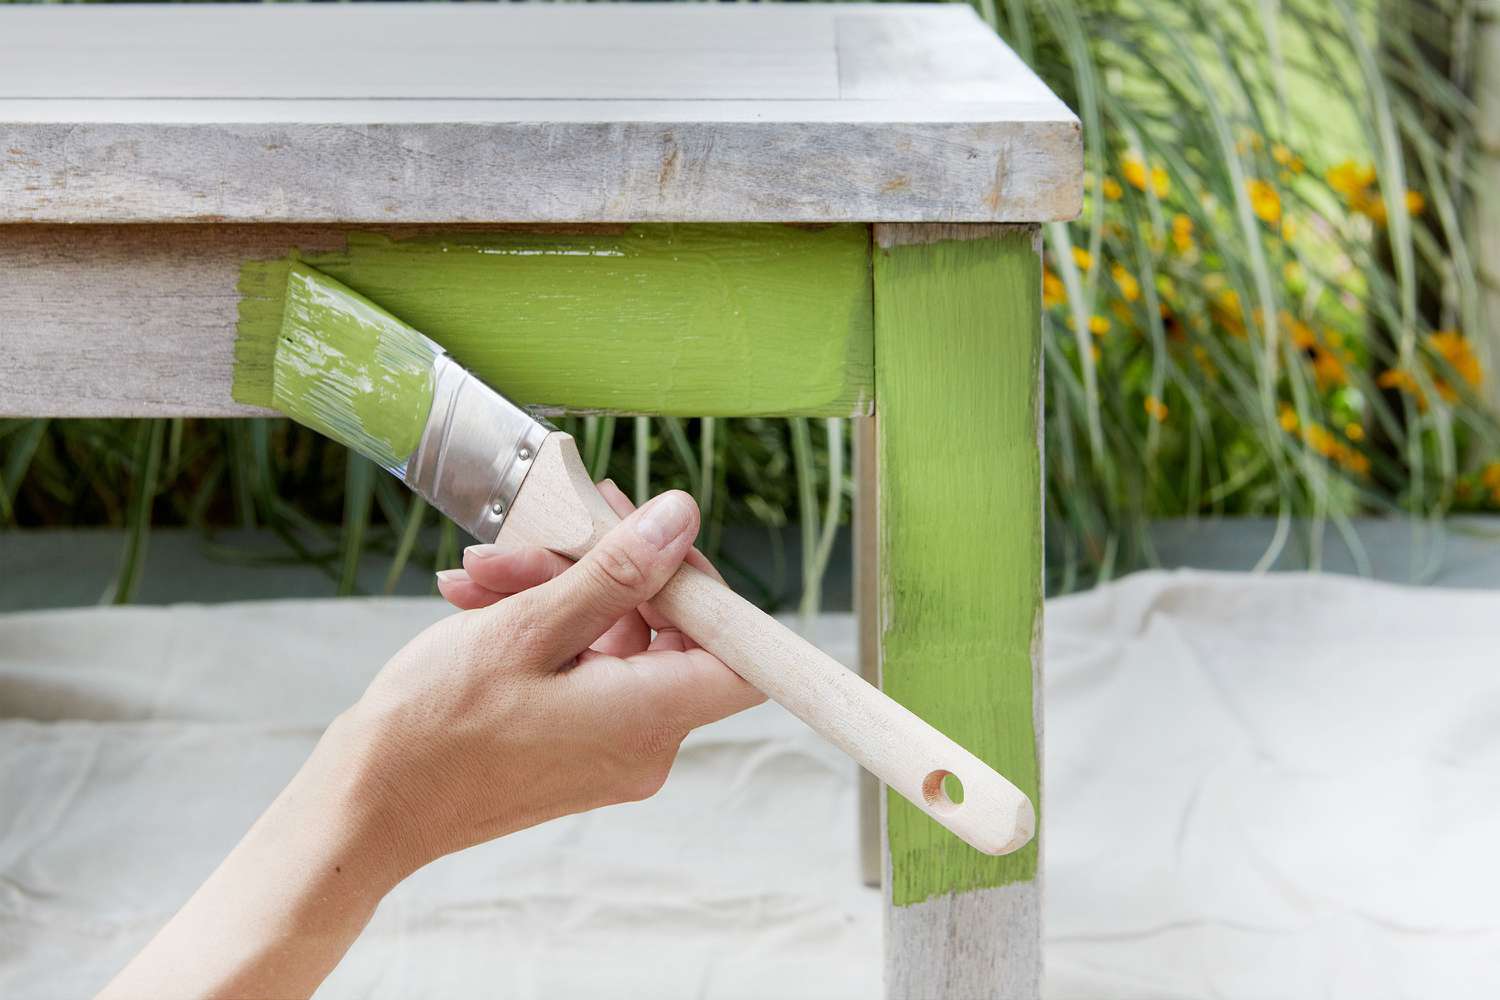
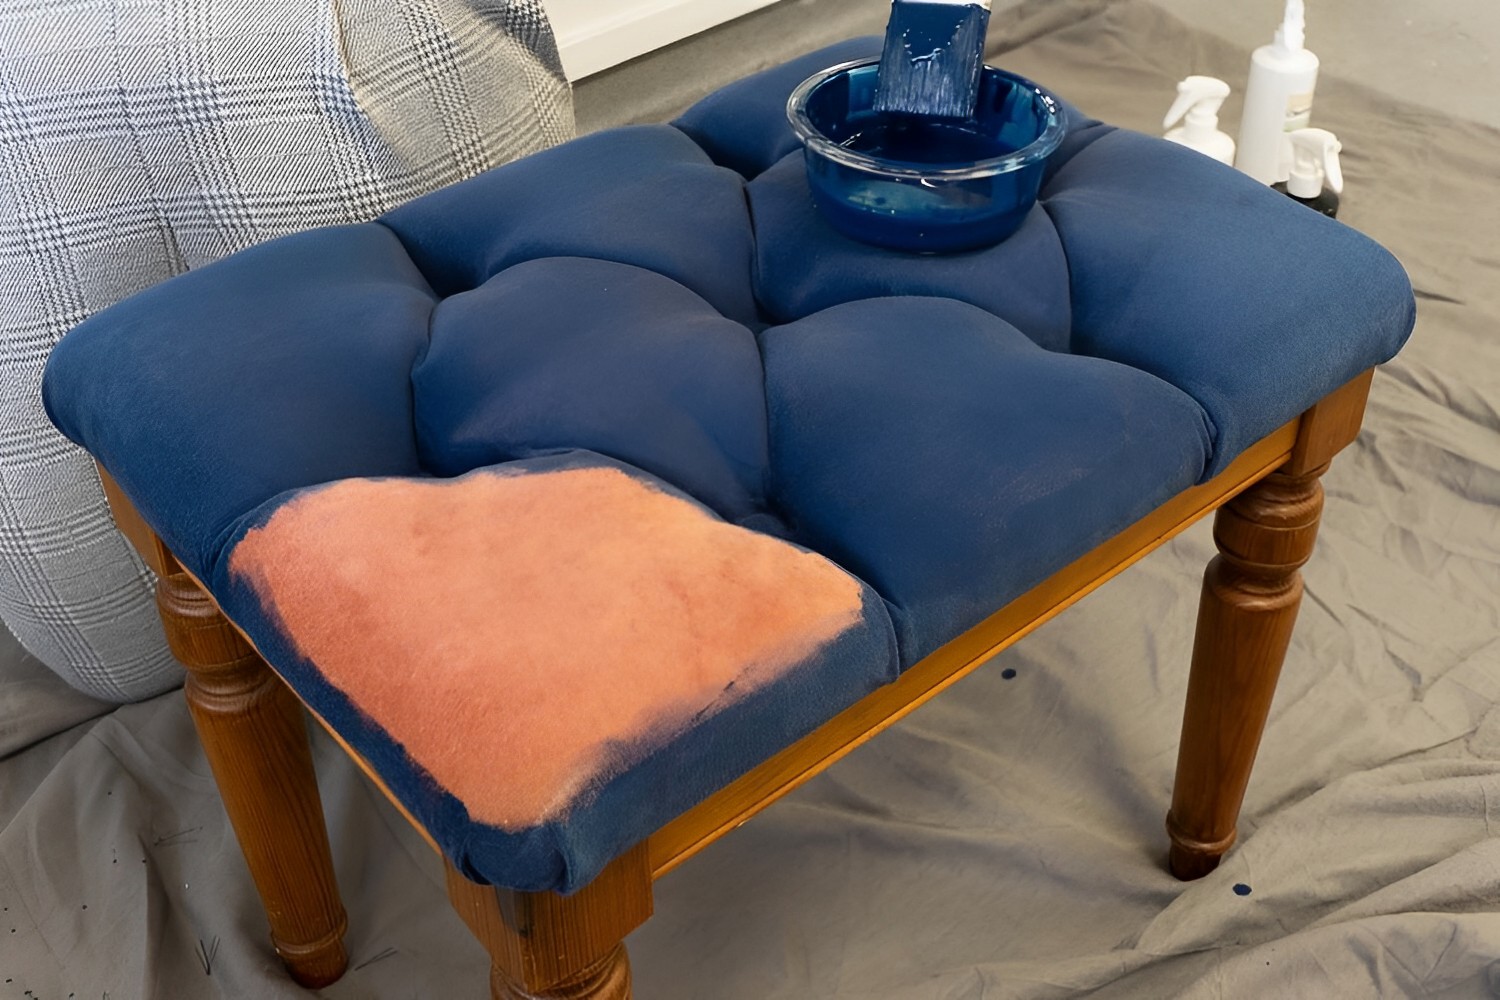
Painting the Furniture
It’s time to transform your dining room furniture with a fresh coat of paint! Painting is the most exciting and creative part of the process, where you can let your personal style shine. Here’s a step-by-step guide on how to paint your dining room furniture:
- Choose the Right Paint Color: Select the paint color that best suits your style and complements your dining room decor. Consider factors such as the existing color scheme, the mood you want to create, and any specific design preferences. Test the color on a small inconspicuous area or a sample board to ensure that you’re happy with the result.
- Prepare the Paint: Stir the paint thoroughly to ensure a consistent color and texture. If necessary, thin the paint according to the manufacturer’s instructions, especially if you’re using a spray gun or if the paint seems too thick.
- Start with Smooth Strokes: Begin painting using smooth strokes, either with a brush or a high-quality roller, depending on the size of the furniture and your personal preference. Work methodically, starting from the top and moving downwards. For larger surfaces, use a roller for even coverage, and then use a brush to reach any crevices or hard-to-reach areas.
- Apply Thin, Even Coats: It’s best to apply thin coats of paint, allowing each layer to dry completely before applying the next one. This helps prevent drips, streaks, and uneven coverage. Follow the drying time specified by the paint manufacturer, which can range from a few hours to overnight.
- Pay Attention to Details: Take your time to ensure that you’re painting all surfaces evenly and covering any intricate details or corners. Smooth out any brush strokes or roller marks as you go along for a seamless finish.
- Allow Sufficient Drying Time: Once you’ve painted all surfaces of the furniture, allow it to dry completely before moving or using it. Be patient and avoid placing any objects on the freshly painted surfaces before they are fully cured to prevent any marks or damage.
- Inspect and Touch Up: After the initial layer of paint has dried, inspect the furniture for any areas that may require touch-ups or additional coats. If necessary, apply a second or third coat of paint for better coverage and a more vibrant color.
- Clean up and Store Unused Paint: Clean your paintbrushes or rollers according to the instructions provided by the paint manufacturer. Properly seal and store any unused paint for future touch-ups or projects.
Remember, painting is a creative process, and there’s room for experimentation and personalization. If you’re feeling adventurous, consider techniques like distressing, color blocking, or adding decorative patterns to elevate the look of your dining room furniture.
With the furniture painted and drying, it’s time to move on to the next step: applying a protective finish.
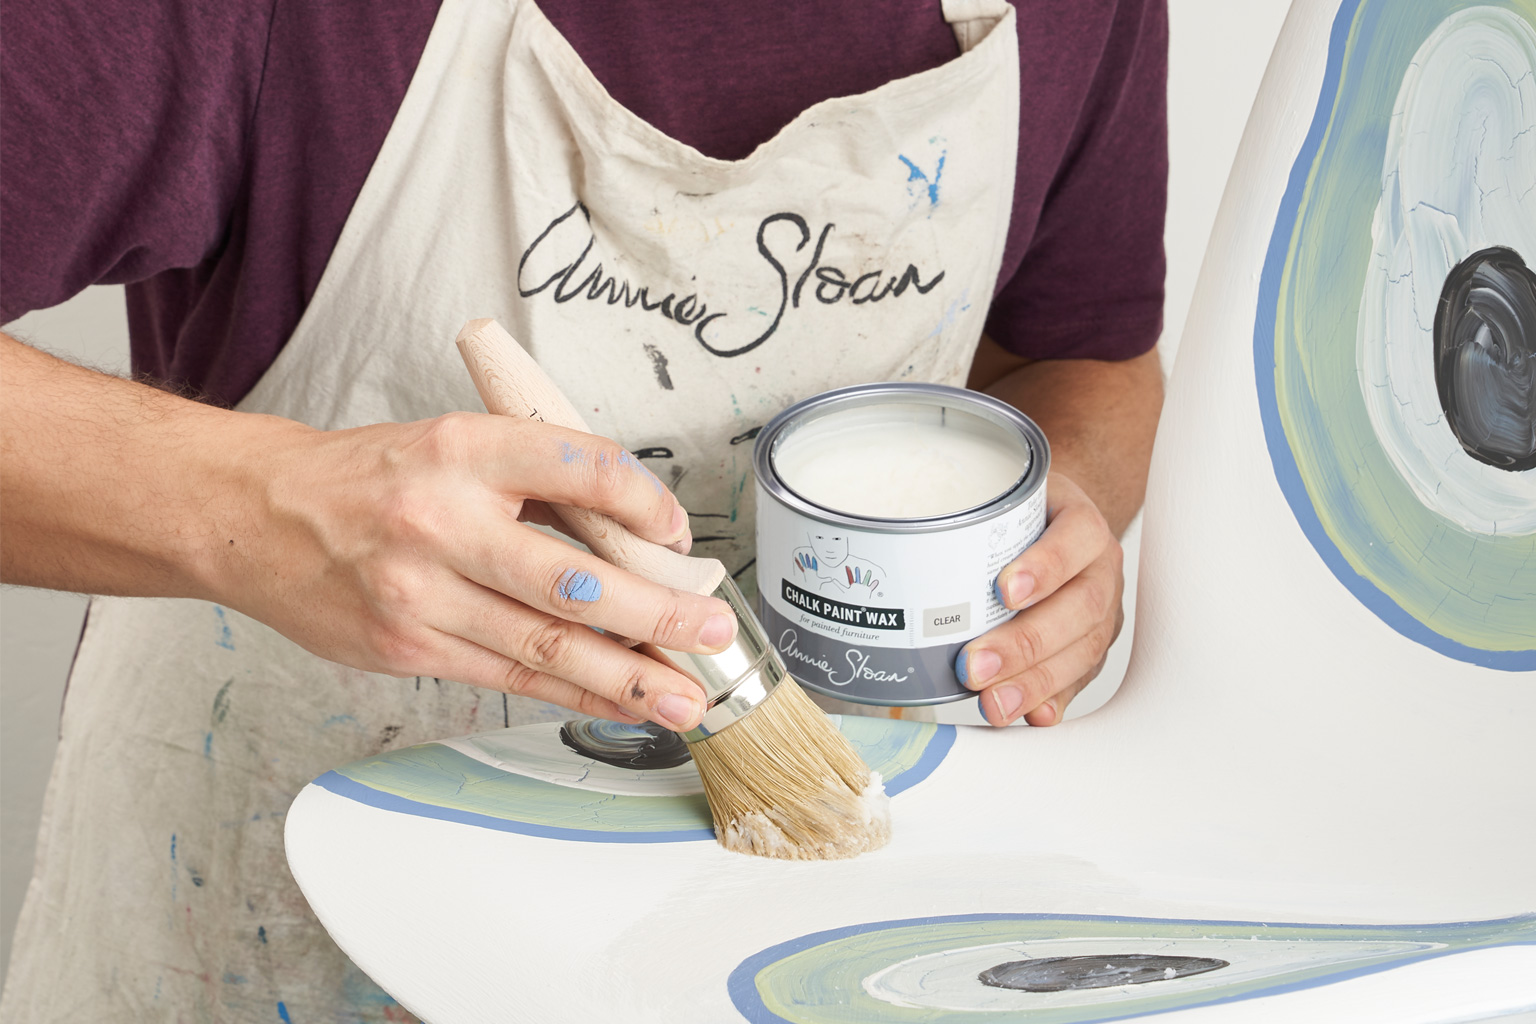
Applying a Protective Finish
Once your dining room furniture is painted to perfection, it’s crucial to protect the newly applied paint and ensure its longevity. Applying a protective finish not only enhances the durability of the paint but also adds a beautiful sheen and a smooth, easy-to-clean surface. Here’s a step-by-step guide on how to apply a protective finish to your furniture:
- Choose the Right Finish: There are several options for protective finishes, including polyurethane, varnish, or wax. Select a finish that is compatible with the type of paint you used and offers the level of durability and sheen you desire. Matte, satin, or semi-gloss finishes are popular choices for dining room furniture.
- Prepare the Finish: Read and follow the manufacturer’s instructions for preparing the protective finish. Some finishes may require stirring, thinning, or mixing before application. Ensure that you have all the necessary tools ready, such as a clean brush or a lint-free cloth for application.
- Apply the Protective Finish: Using even strokes, apply the protective finish to the painted surfaces. Work methodically and avoid excessive brush strokes or drips. If you’re using a varnish or polyurethane, apply thin coats, allowing each coat to dry completely before applying the next one. For waxes, follow the specific instructions for application and buffing.
- Smooth Out Bubbles or Imperfections: While applying the protective finish, watch out for any bubbles or imperfections that may form. If you notice any, gently smooth them out using a brush or a clean cloth to achieve a smooth and even finish.
- Follow the Drying Time Guidelines: Different protective finishes have varying drying times. Refer to the product instructions to determine how long the finish needs to dry before handling the furniture or applying additional coats. It’s important to be patient and allow sufficient drying time for the best results.
- Inspect and Assess: Once the protective finish has dried, inspect the furniture for any areas that may require touch-ups or additional coats. If necessary, repeat the application process to ensure complete coverage and optimal protection.
- Allow for Full Curing: Keep in mind that protective finishes may require additional time to fully cure and harden. Follow the manufacturer’s guidelines regarding curing time before using the furniture and placing objects on the painted surfaces.
Applying a protective finish not only safeguards your beautifully painted furniture but also adds a polished and professional touch. It’s an important step in the process that will help your dining room furniture withstand daily wear and tear, spills, and cleaning.
With the protective finish applied and drying, your newly painted dining room furniture is almost ready to showcase its transformed beauty. But before we wrap up, let’s explore some helpful tips and tricks to achieve a professional finish.
Tips and Tricks for a Professional Finish
Painting your dining room furniture can be a rewarding and creative project. To ensure a professional-looking finish and make the process smoother, here are some tips and tricks to keep in mind:
- Prepare and plan: Proper preparation is essential for a successful paint job. Take the time to clean, sand, and prime the furniture to create a smooth and even surface for the paint to adhere to. Plan your project ahead, considering all the necessary materials and tools you’ll need.
- Use high-quality brushes and rollers: Invest in good-quality brushes and rollers to achieve a smooth and flawless finish. Synthetic brushes are ideal for latex paints, while natural bristle brushes work well with oil-based paints. Consider using foam rollers for larger surfaces to ensure even application and minimize streaking.
- Take your time with drying: Allow each coat of paint, primer, and protective finish to dry thoroughly before applying the next one. Rushing the process can result in smudges, streaks, or uneven coverage. Follow the recommended drying times provided by the product manufacturer.
- Work in a well-ventilated area: If you’re painting indoors, ensure good air circulation by opening windows or using fans. This helps prevent the build-up of fumes and facilitates faster drying times. If possible, paint in a well-ventilated outdoor area to minimize any potential health risks.
- Consider multiple thin coats: It’s better to apply multiple thin coats of paint rather than one thick coat. This allows for better coverage, minimizes the risk of drips or uneven drying, and creates a smoother finish. Be patient and take your time to build up the desired level of coverage.
- Minimize brush strokes: To achieve a seamless finish, minimize visible brush strokes. Use long, smooth strokes and avoid overworking the paint. If you do see any brush strokes, lightly sand the surface before applying additional coats or the protective finish.
- Protect your work area: Place your painted furniture on protective surfaces, such as drop cloths or plastic sheets, to prevent any accidental damage or paint splatters. This ensures that your surrounding area remains clean and free from any paint marks.
- Experiment with different techniques: Don’t be afraid to experiment with different painting techniques, such as distressing or layering colors, to add depth and character to your furniture. Test these techniques on a small, inconspicuous area or on a sample board before applying them to the entire piece.
- Follow the manufacturer’s instructions: Always read and follow the instructions provided by the paint and finish manufacturers. They will provide you with specific guidelines on preparation, application, drying times, and any additional steps required for optimal results.
By following these tips and tricks, you can achieve a professional-looking finish and create a stunning transformed piece of dining room furniture. Remember to have fun throughout the process and let your creativity shine.
Now that you’re armed with all the knowledge and tips, it’s time to put your skills to the test and enjoy the beautiful results of your painted dining room furniture.
Conclusion
Congratulations on completing your journey to transform your dining room furniture through the power of paint! By following the step-by-step process outlined in this guide and incorporating the tips and tricks shared, you are well-equipped to achieve a professional and personalized finish.
Painting your dining room furniture allows you to unleash your creativity and breathe new life into your space. You have the freedom to choose colors that reflect your personal style and complement your interior design. Whether you opt for bold and vibrant hues or subtle and neutral tones, painting your furniture gives you the opportunity to create a unique and inviting dining area.
Remember the importance of choosing the right paint, preparing the furniture properly, and applying a protective finish to ensure a long-lasting result. Taking the time for thorough preparation, using high-quality materials, and following the manufacturer’s instructions will pay off in achieving a flawless finish that will withstand the test of time.
Throughout the process, be patient and enjoy the journey. Painting your dining room furniture is a creative endeavor that allows you to put your personal touch on your home’s decor. Embrace the opportunity to experiment with different colors, techniques, and finishes to make your furniture truly one-of-a-kind.
As you admire your beautifully painted dining room furniture, take a moment to appreciate the transformation you’ve accomplished. Not only have you added a stunning focal point to your dining space, but you’ve also recycled and repurposed existing furniture, contributing to a more sustainable lifestyle.
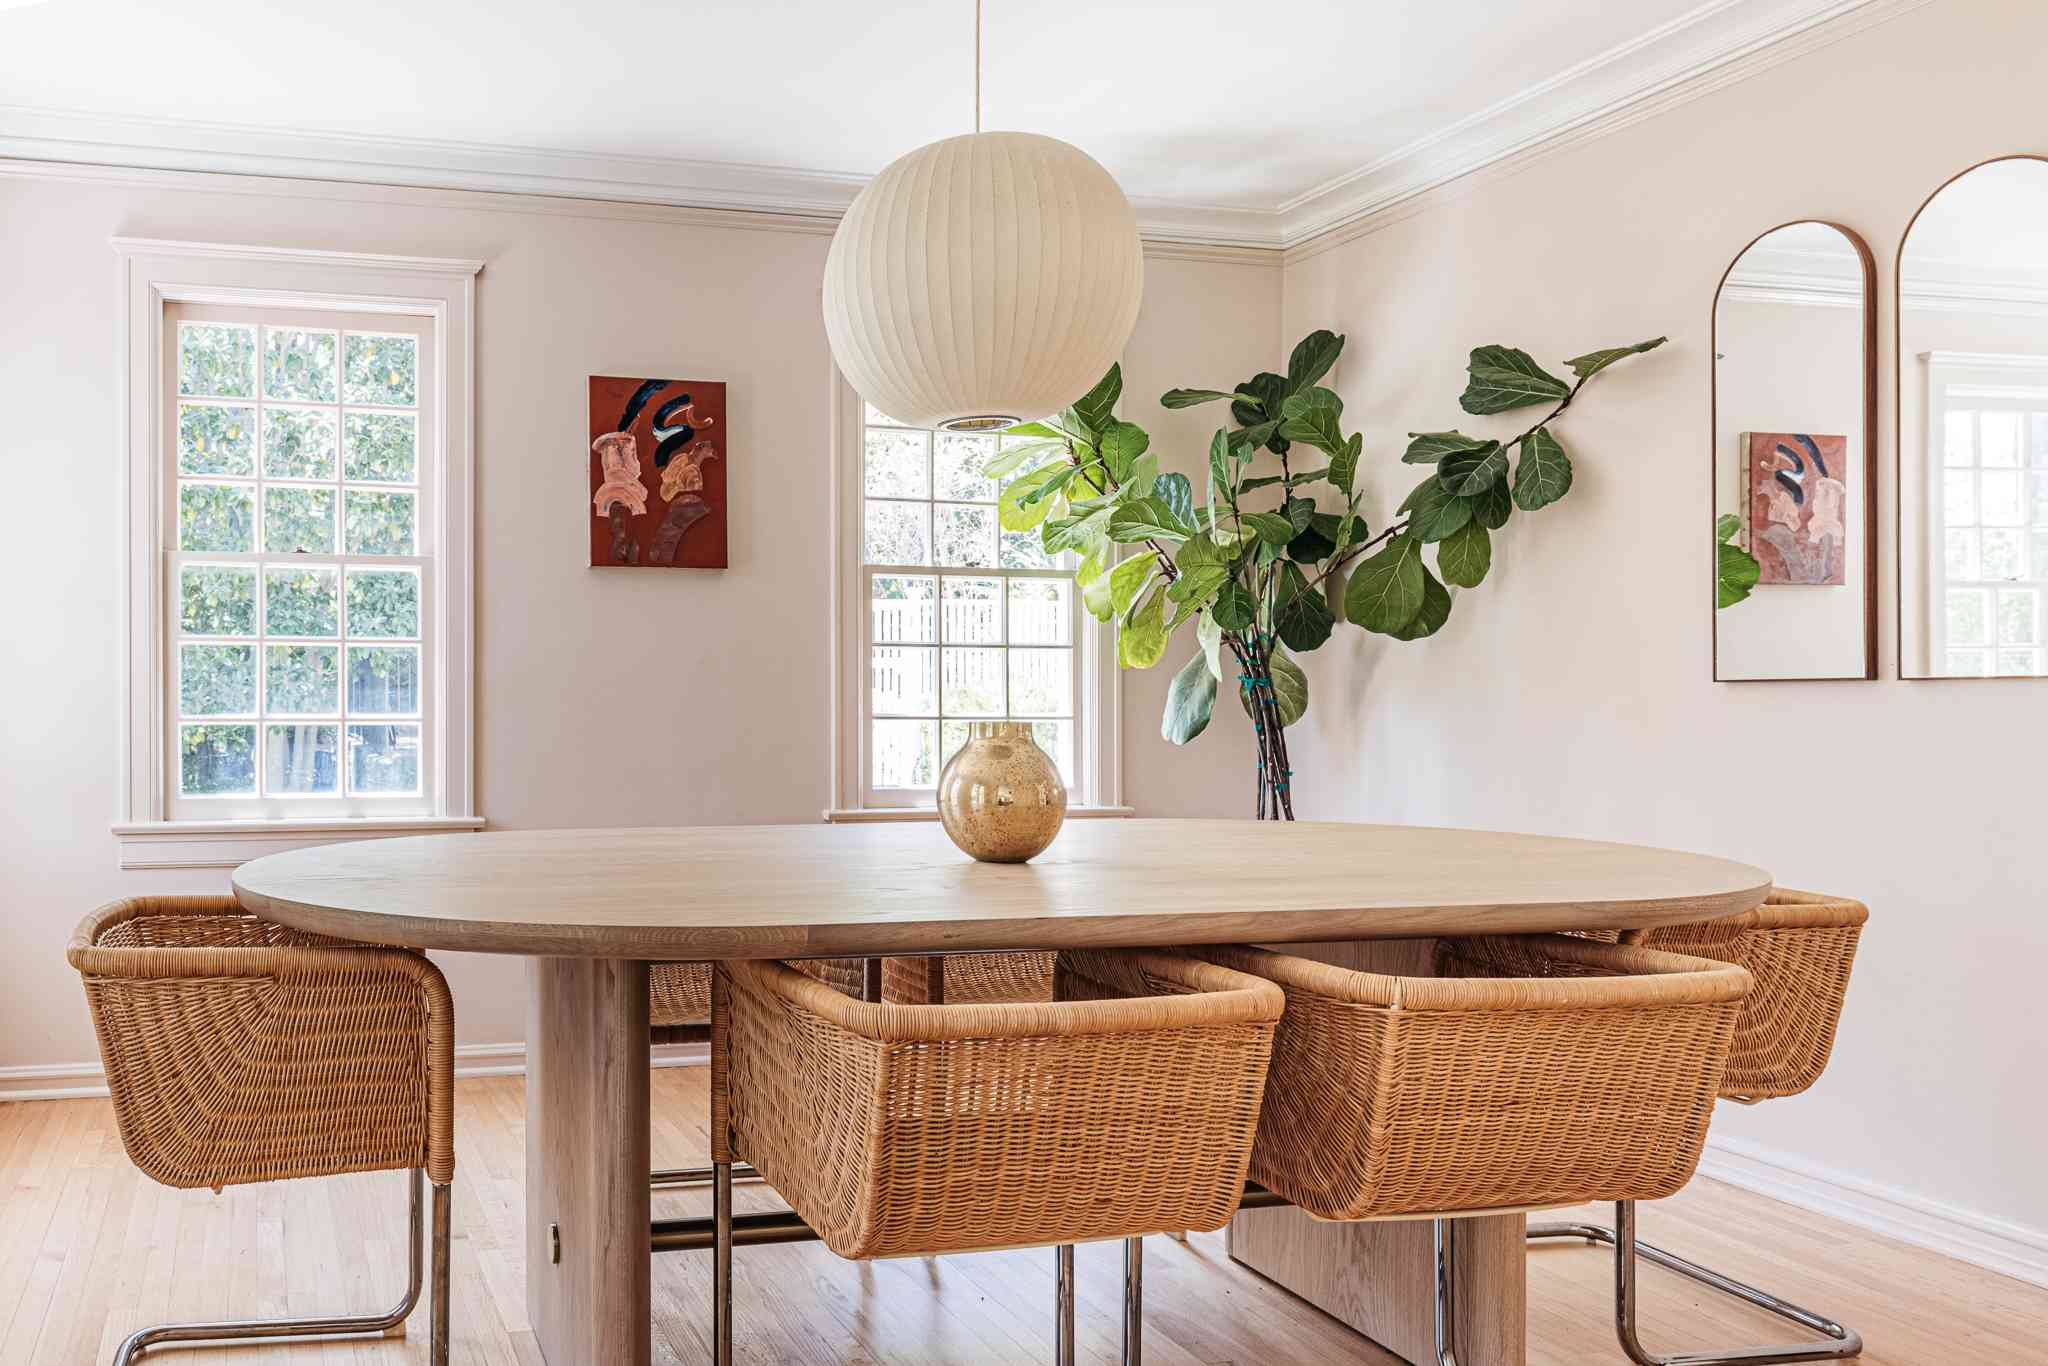
Now, it’s time to set your table and gather your loved ones around your newly transformed dining table, showcasing your creativity and personal style. Enjoy delicious meals and create cherished memories in a dining room that is a true reflection of you.
Thank you for joining us on this tableware painting adventure. We hope it has inspired you to unleash your creativity and embark on more DIY projects in the future. Happy painting!
Frequently Asked Questions about How To Paint Dining Room Furniture
Was this page helpful?
At Storables.com, we guarantee accurate and reliable information. Our content, validated by Expert Board Contributors, is crafted following stringent Editorial Policies. We're committed to providing you with well-researched, expert-backed insights for all your informational needs.


0 thoughts on “How To Paint Dining Room Furniture”